Posts Tagged ‘edible landscaping’

Arugula: Still a Favorite Weed


The post below was one of my very first blog posts back in 2008, and it remains true that arugula is one of my favorite early spring greens and grows everywhere that it is allowed to seed, even in my high-desert climate. I still let it seed itself around in the way described below, but I also reserve a few square feet of bed space to grow it’s specifically for salads. Enrich the soil in the fall, and in late fall or early spring scatter arugula seed thickly around, scratch it into the soil surface or cover it with some compost, and water the area about once a week if you live in a climate as dry as mine. Bymid-spring it will be 4-5 inches high. To gather, hold clumps of leaves with one hand and use scissors to cut them off at the bottom of the leaf, leaving the stems behind. They will still be young and tender and will be quite clean because the closely spaced plants hold each other up off the dirt, so after a rinse and drying in a salad spinner or towel, they will be ready to eat.

In my view it isn’t worthwhile to try to get a second crop, because they are so closely spaced that they are eager to shoot to seed. I just dig up the area and plant something else. They are delicious with a good simple vinaigrette made with some garlic or green garlic and your best red wine vinegar and olive oil. Don’t forget the salt. Do  note that once the dressing is put on it arugula wilts very quickly, so don’t dress it until the last minute before serving. If you are making a mixed salad and want to dress it ahead of time, combine the other greens, dress the salad, and toss in the arugula just before serving.

Once you have it washed and handy in the refrigerator you will find other uses for it, such as scattering around the plate to serve chicken or fish or nearly anything else on, or stuffing into pita with hummus and some tahini dressing. It is one of the joys of spring, so use it instead of those commercial salad mixes.

Arugula, my favorite weed

Posted December 12, 2008 by wooddogs3 in cookingedible landscapingfront yard gardeninggreensherbspreservingrecipesaladsurban homesteadingvegetable gardening. Tagged: arugulacooking greensleafy greenslocal foodpancettapastasaladssustainablevegetable gardening1 Comment

december08-001

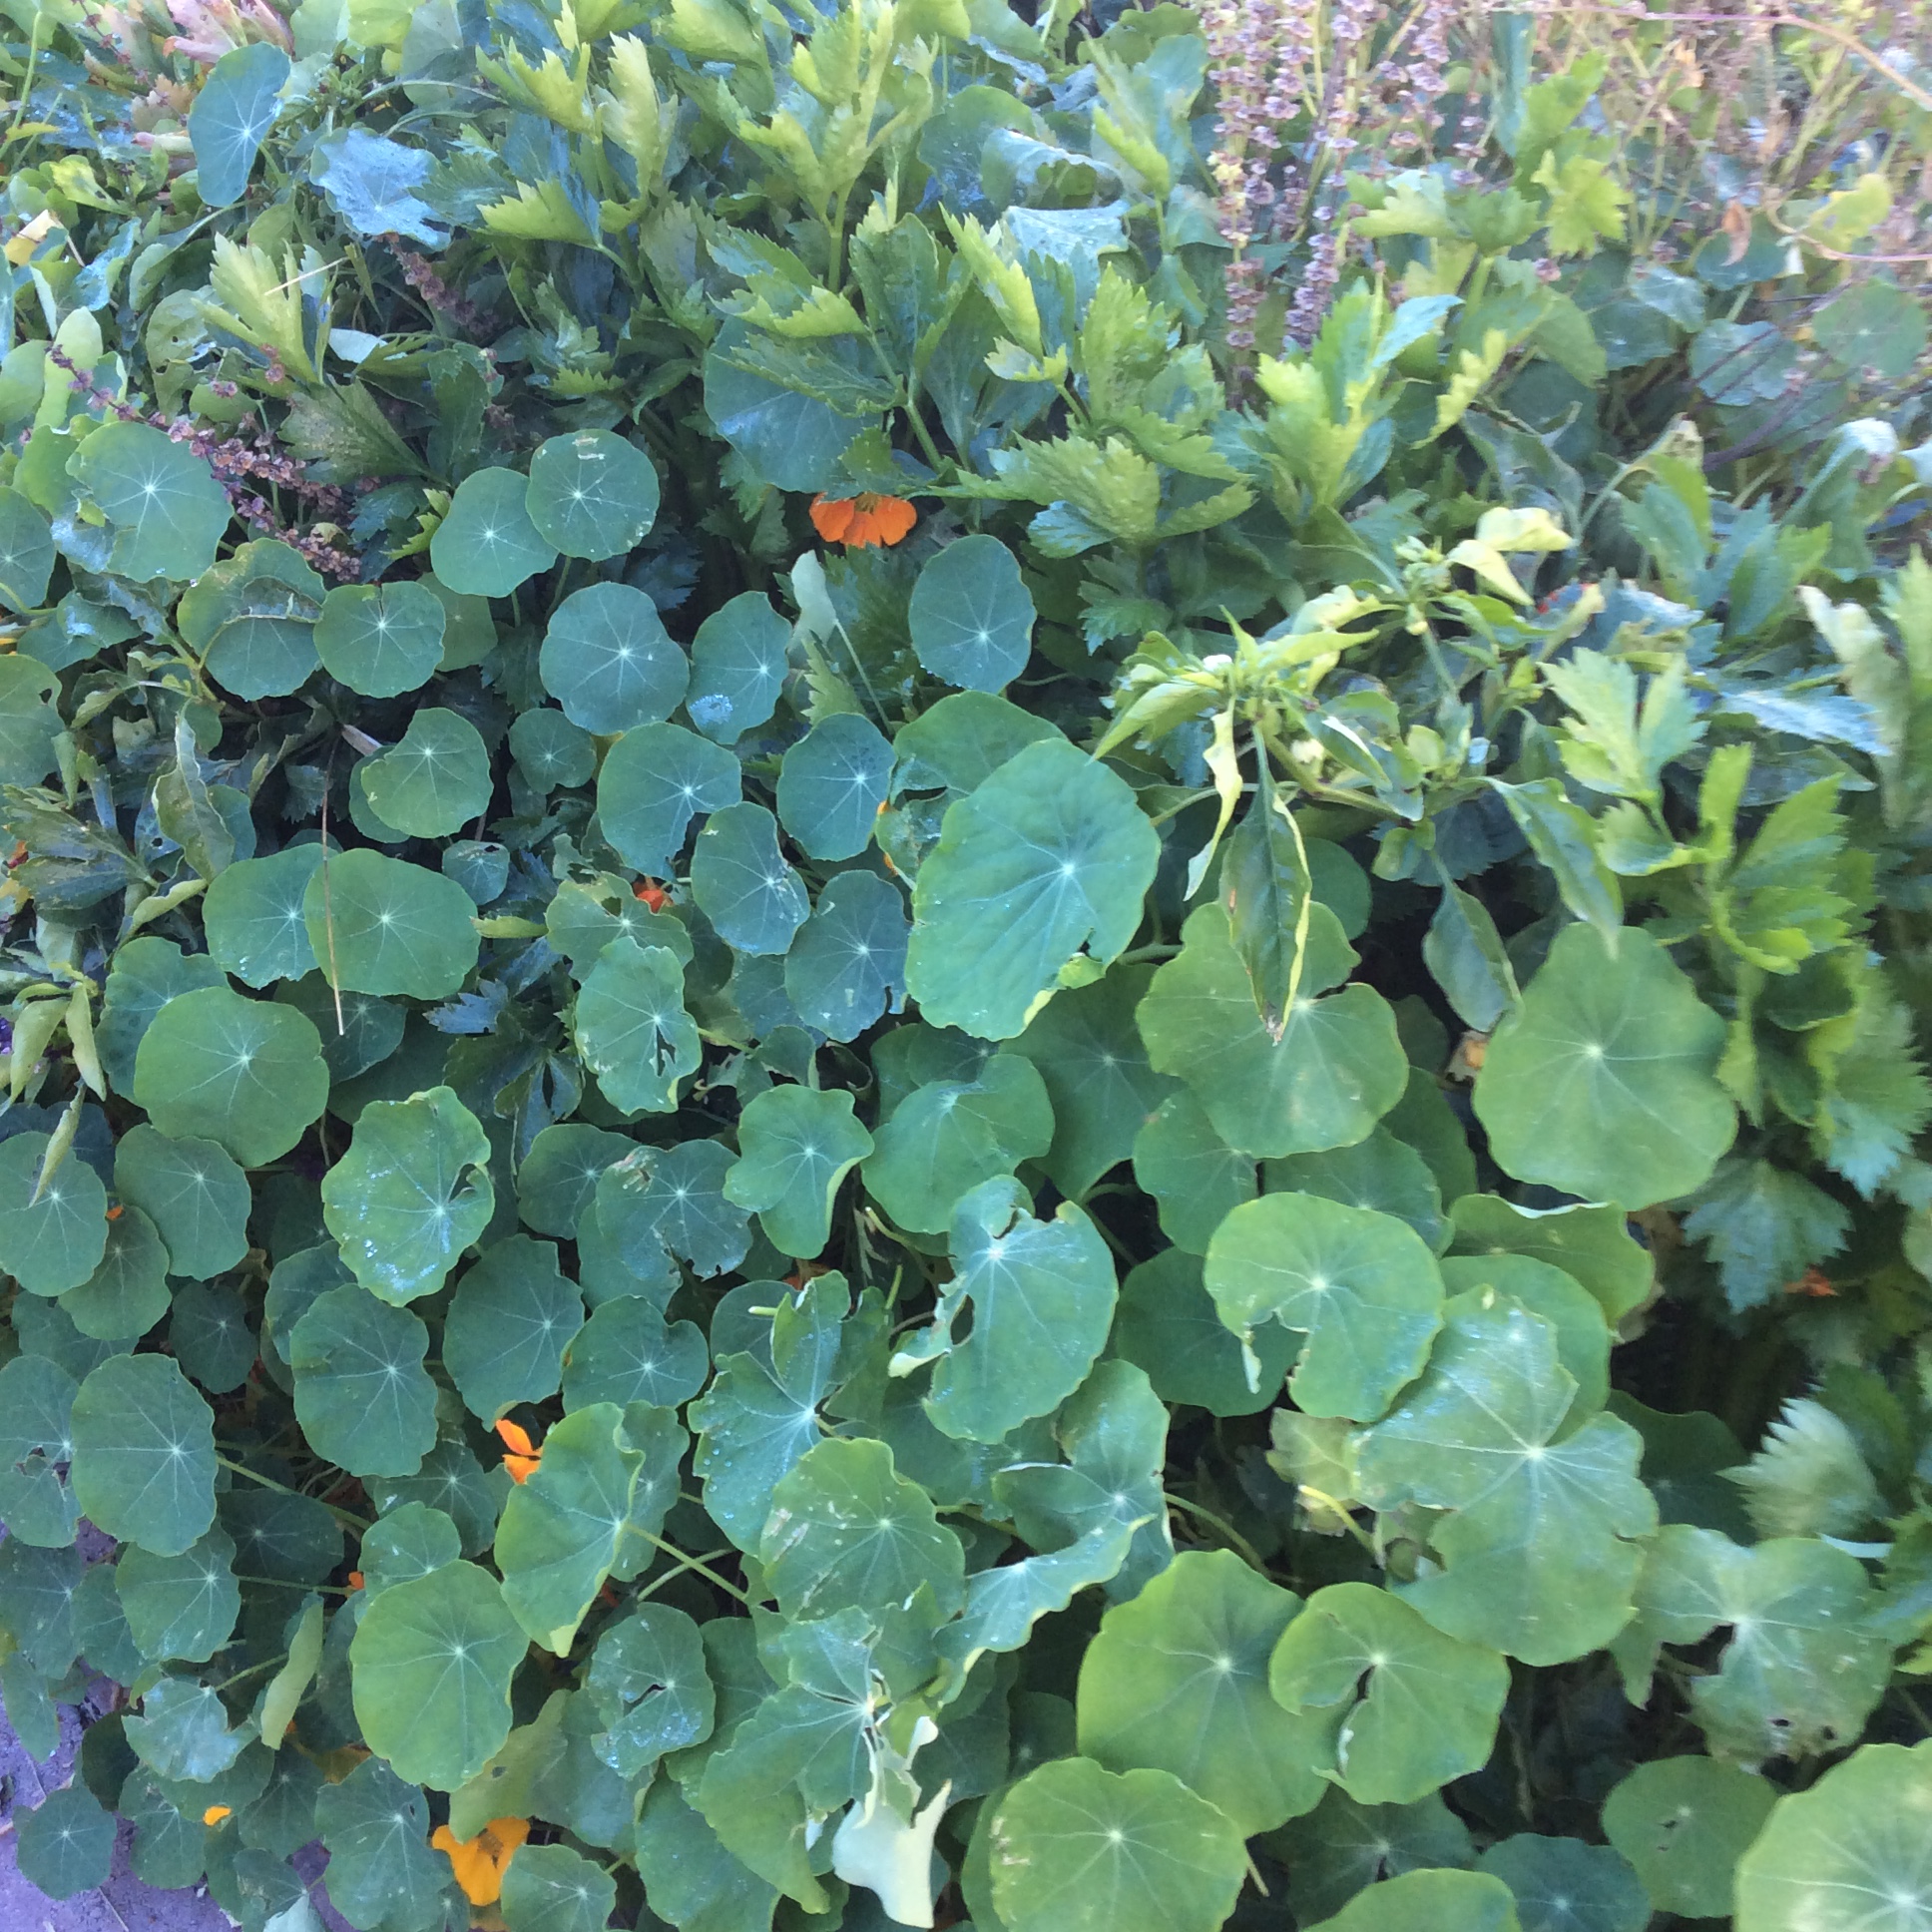
At times I’m very surprised by what grows well in my high desert garden. I wouldn’t have guessed that arugula would not only grow well but would naturalize and happily spread itself about. Arugula is my favorite salad green, and I’ve learned to love it for cooking too. Something about its tender nutty sharpness is like watercress gone to heaven. It likes cold weather, and manages with surprisingly little water.

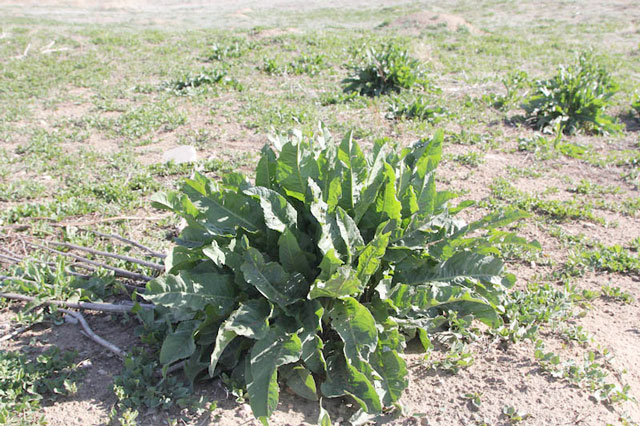
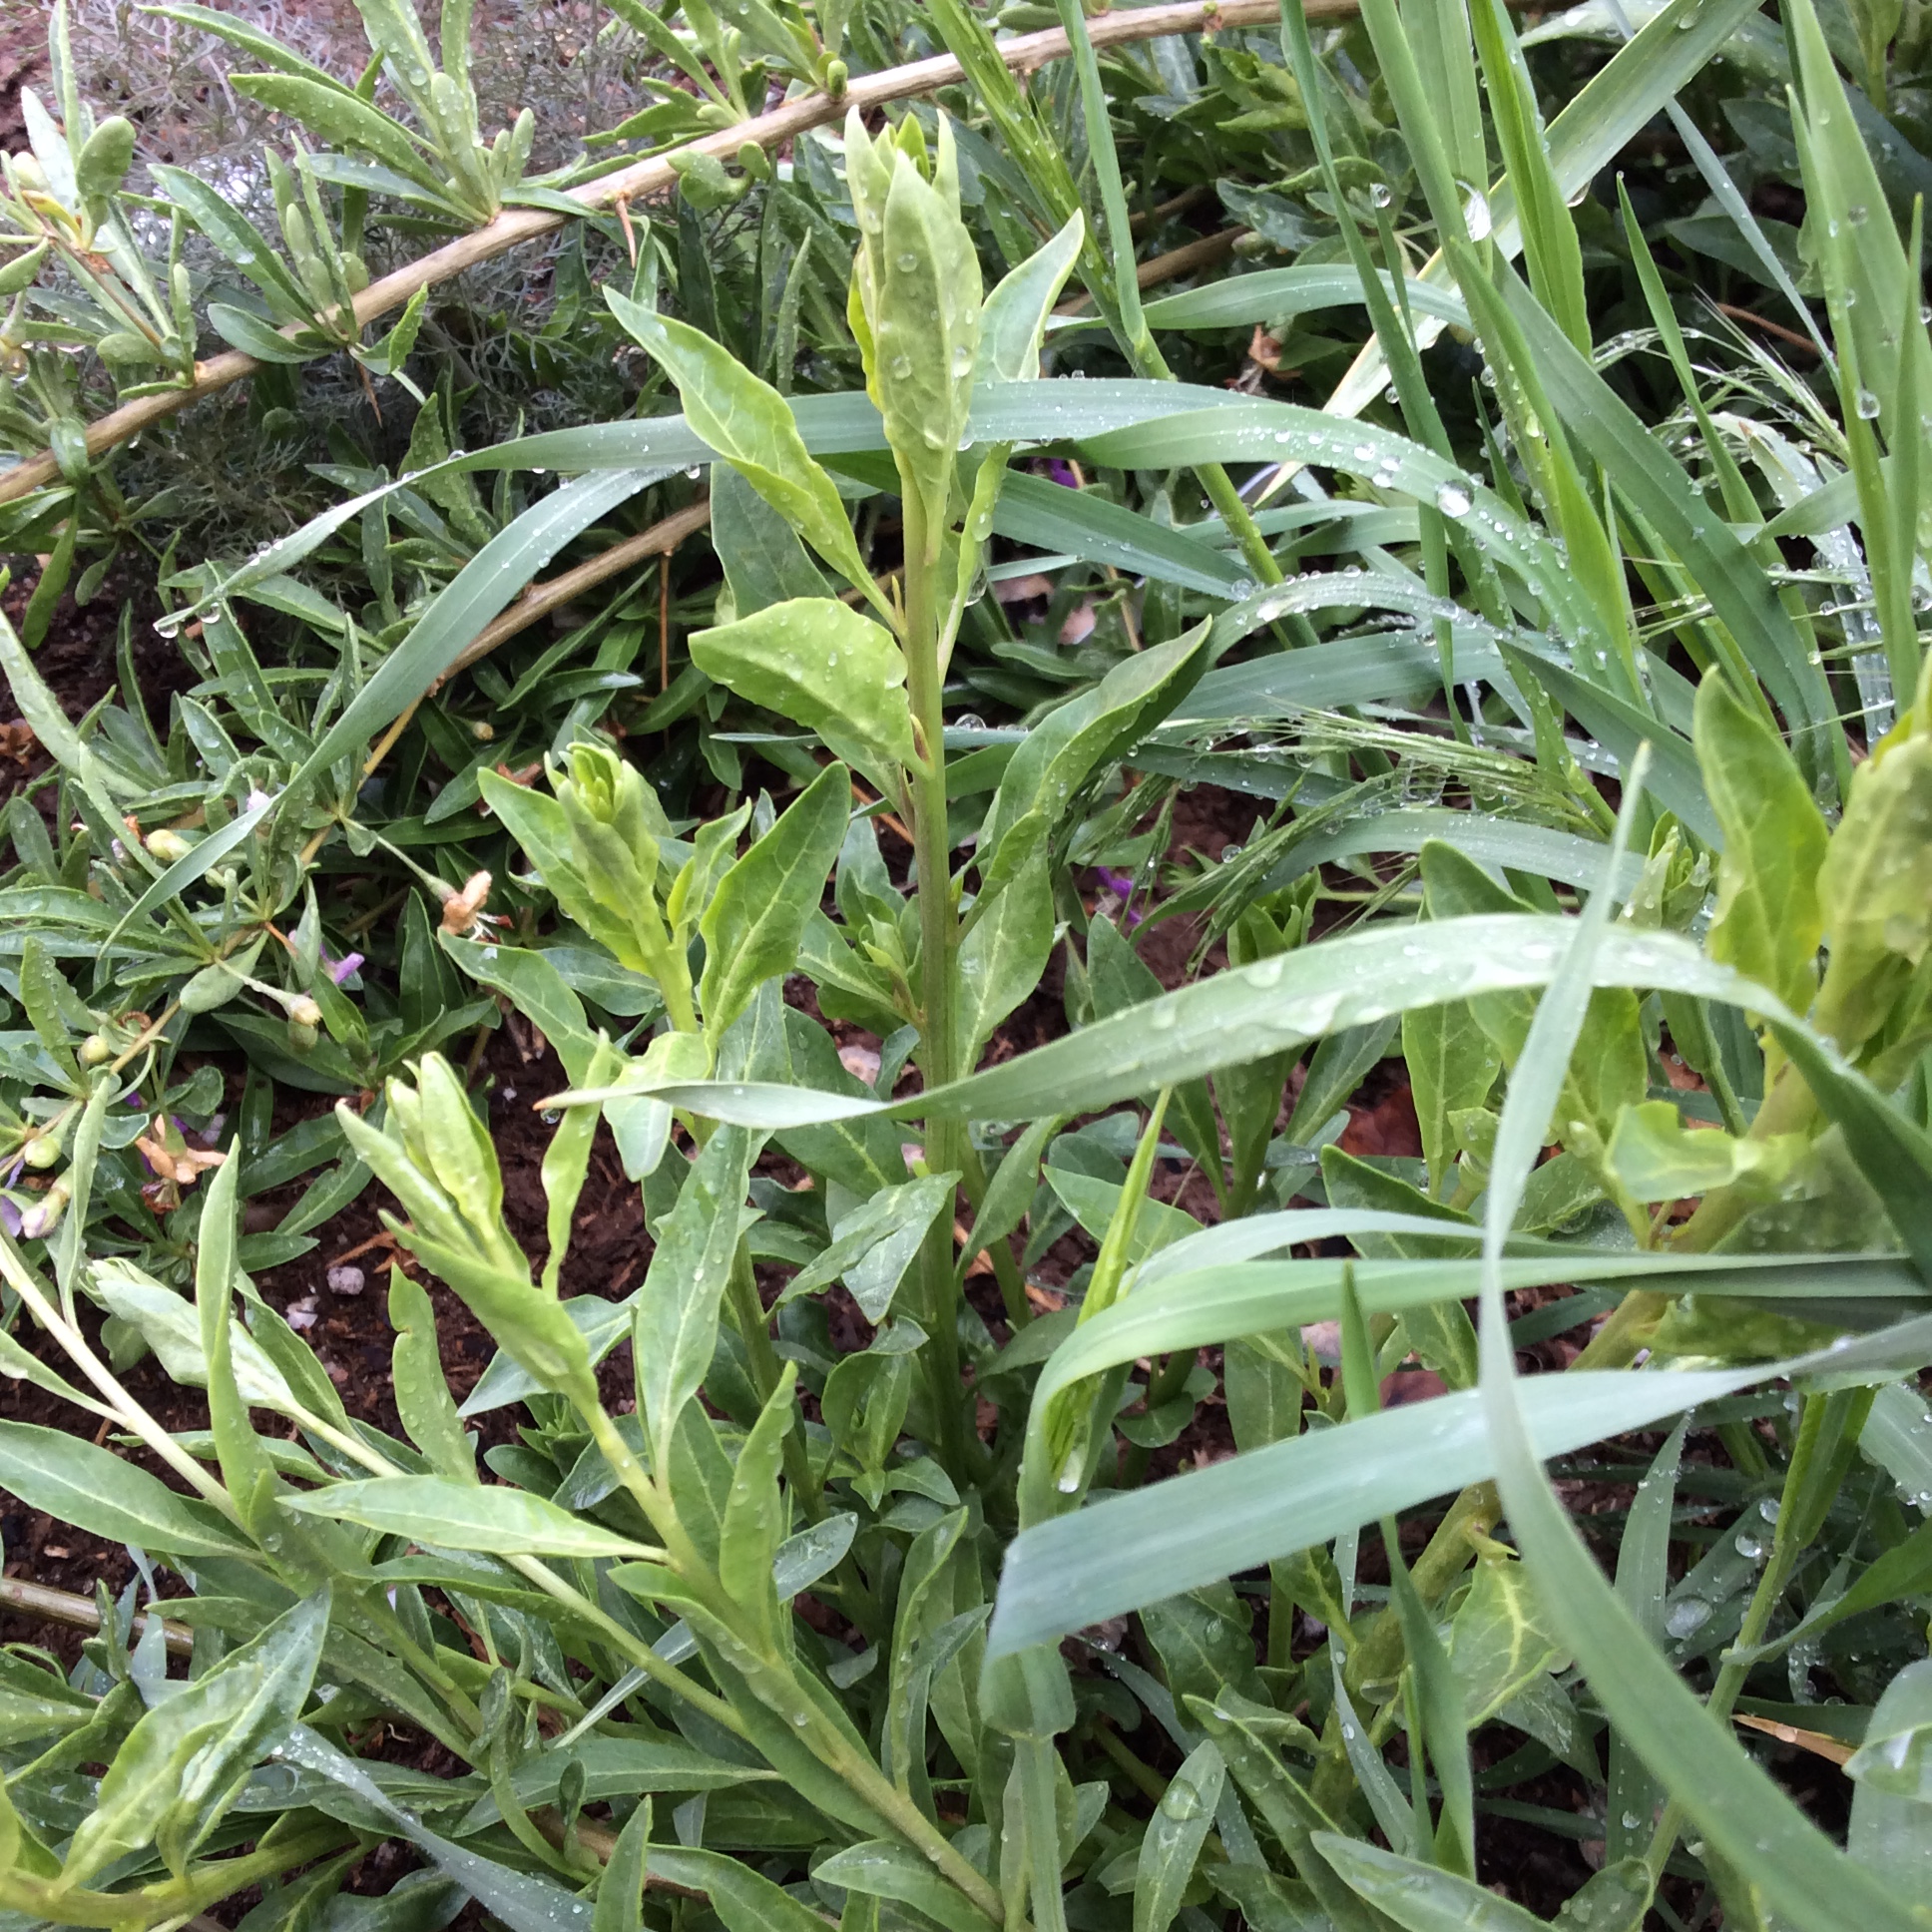
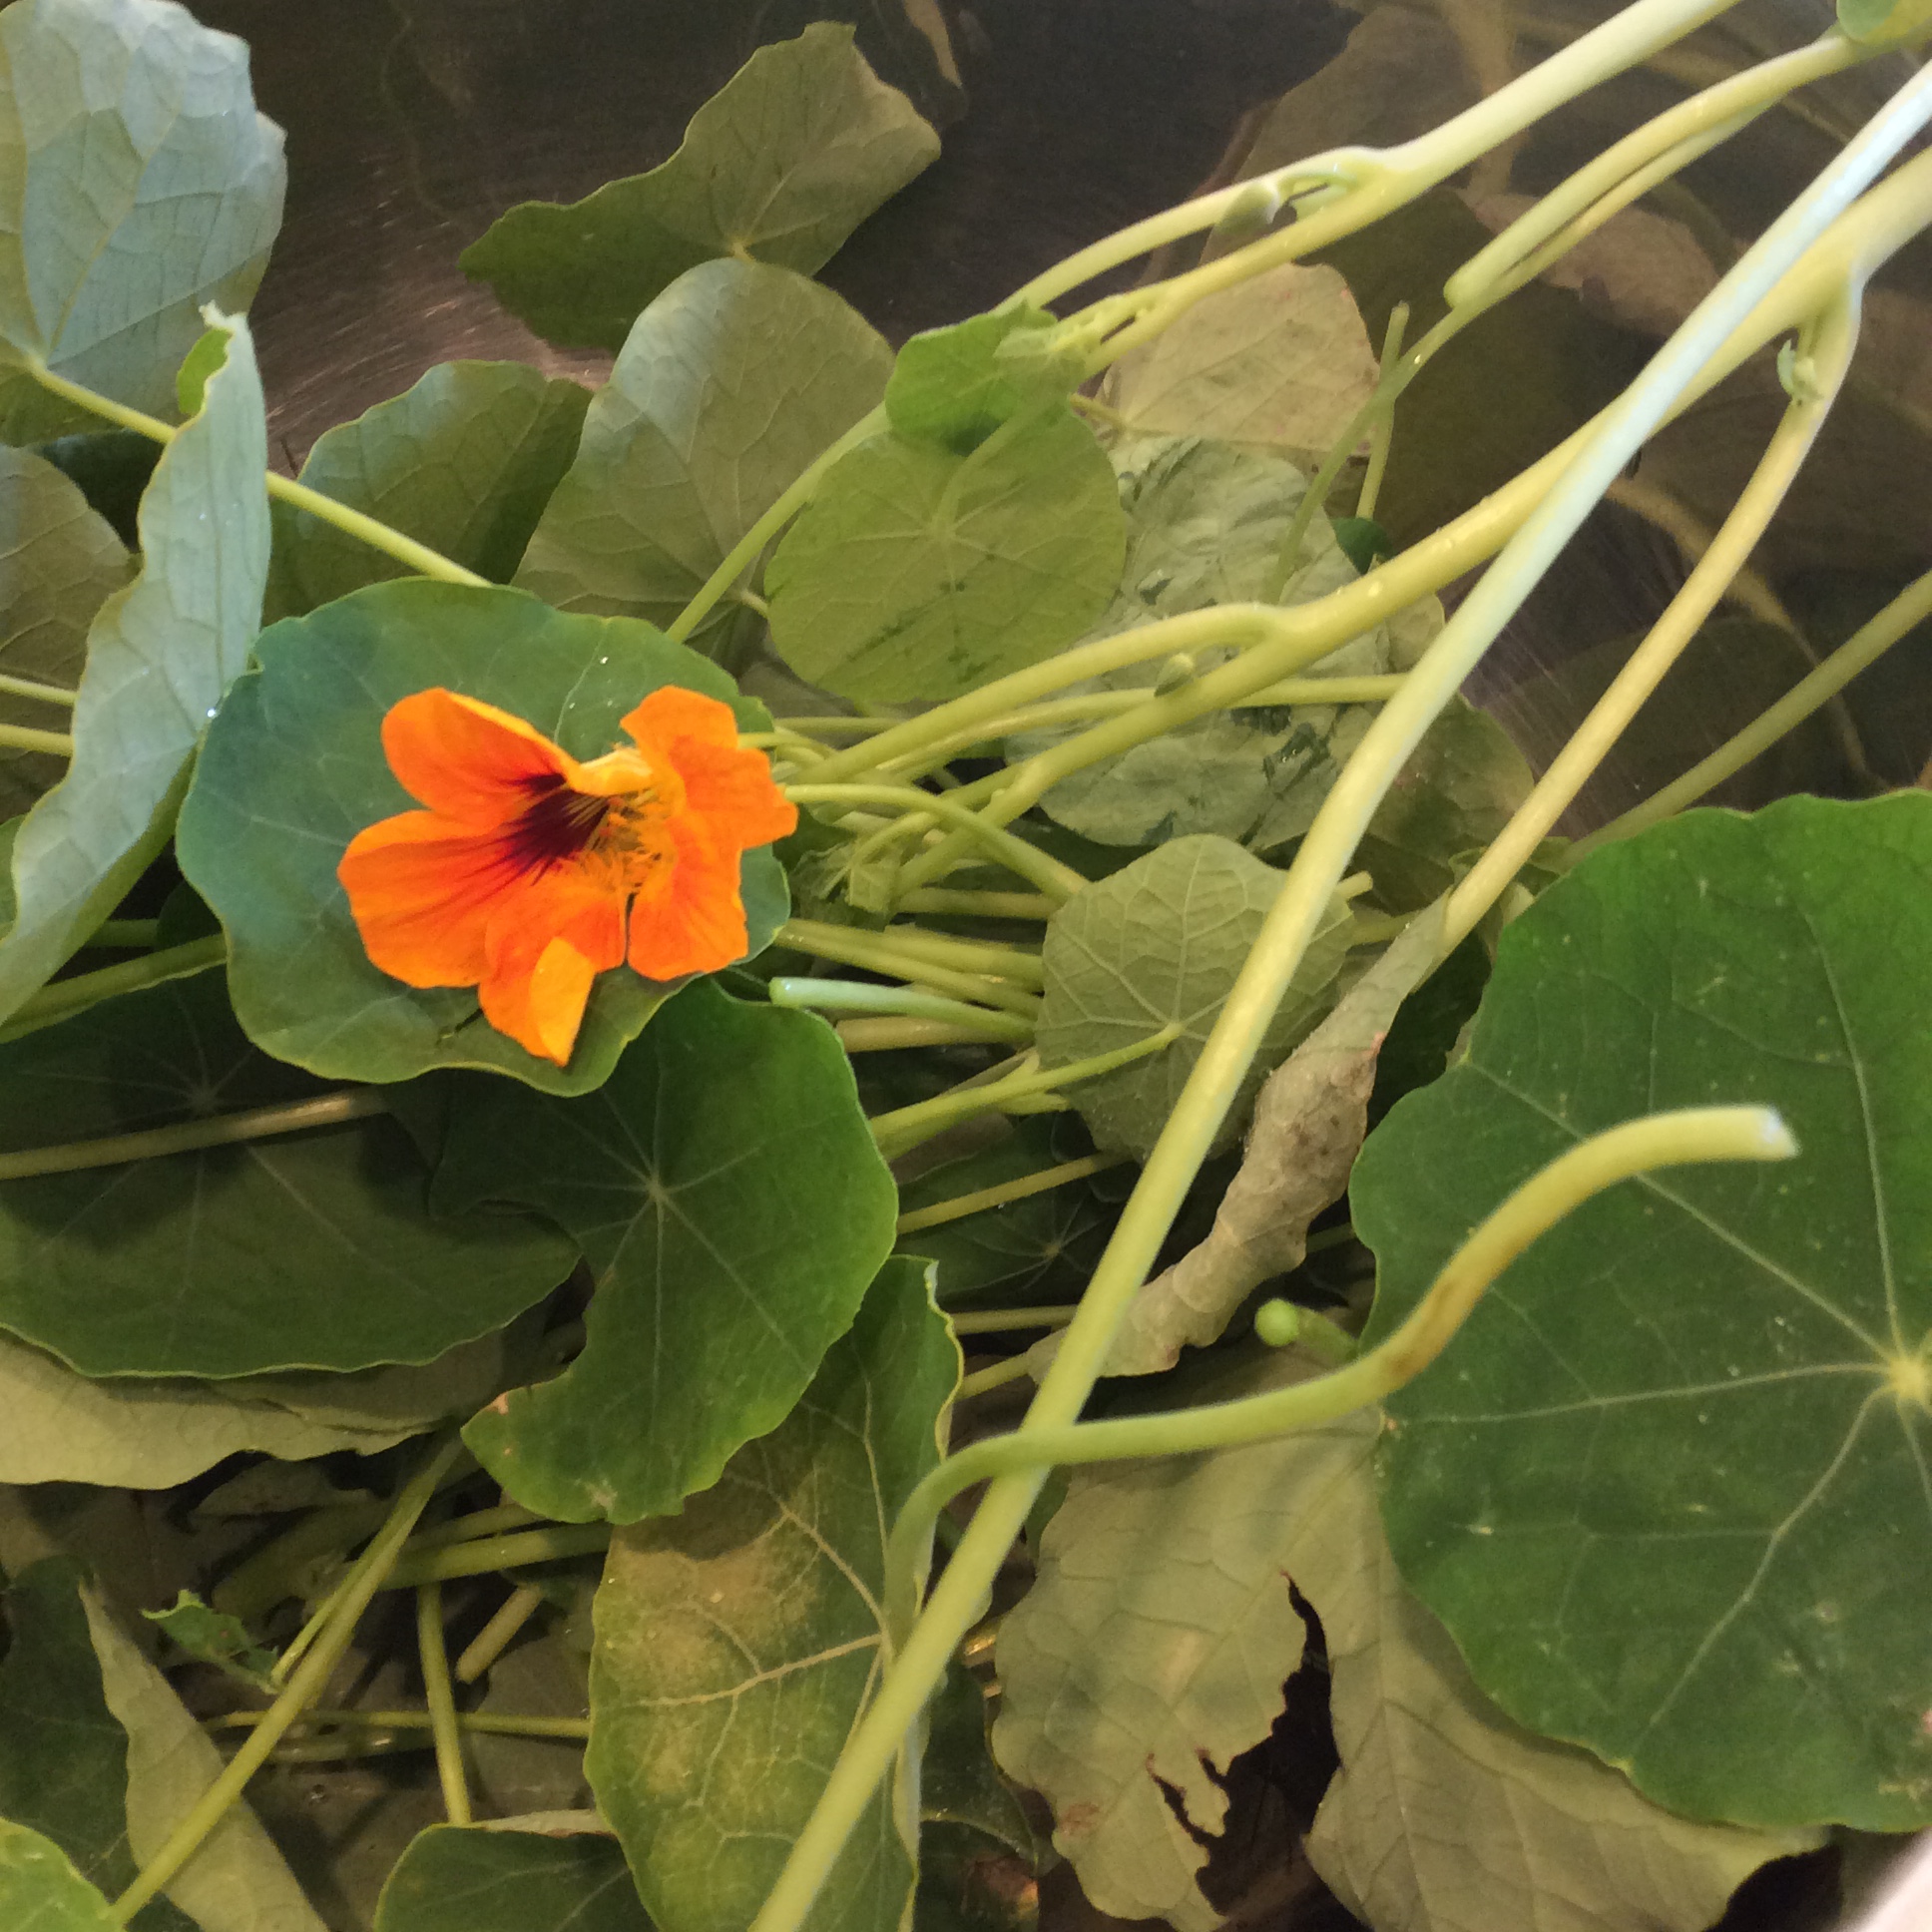
First, get your seed. I don’t recommend the wild-type often sold as “sylvetta” because the leaves are small leading to low yield, and in dry conditions it can get too sharp to be pleasant. Try to get the type designated as ‘cultivated” or the named variety Apollo, although the latter lacks the frilly leaves that make such a nice show on the salad plate. In winter or very early spring, scatter the seed in drifts on prepared ground and rake them in lightly, or scatter them in prepared containers and scratch the seed in a little with your fingers. Water occasionally and keep an eye out. Early in the spring, you’ll notice the little plants struggling up bravely. Give them a little water when the soil is dry, and thin them out to stand about 4-6″ apart. Throw the washed thinnings in your salads, of course. When the plants are about 6″ tall, harvest them heavily for salads, but don’t cut the crown or pull the roots up. Use dressings containing nut oils and good olive oil. Never dress the arugula more than a couple of minutes before eating, because it wilts easily. Eventually the plants will start to bolt to seed. Do nothing to stop them. The next phase of the arugula season is starting.

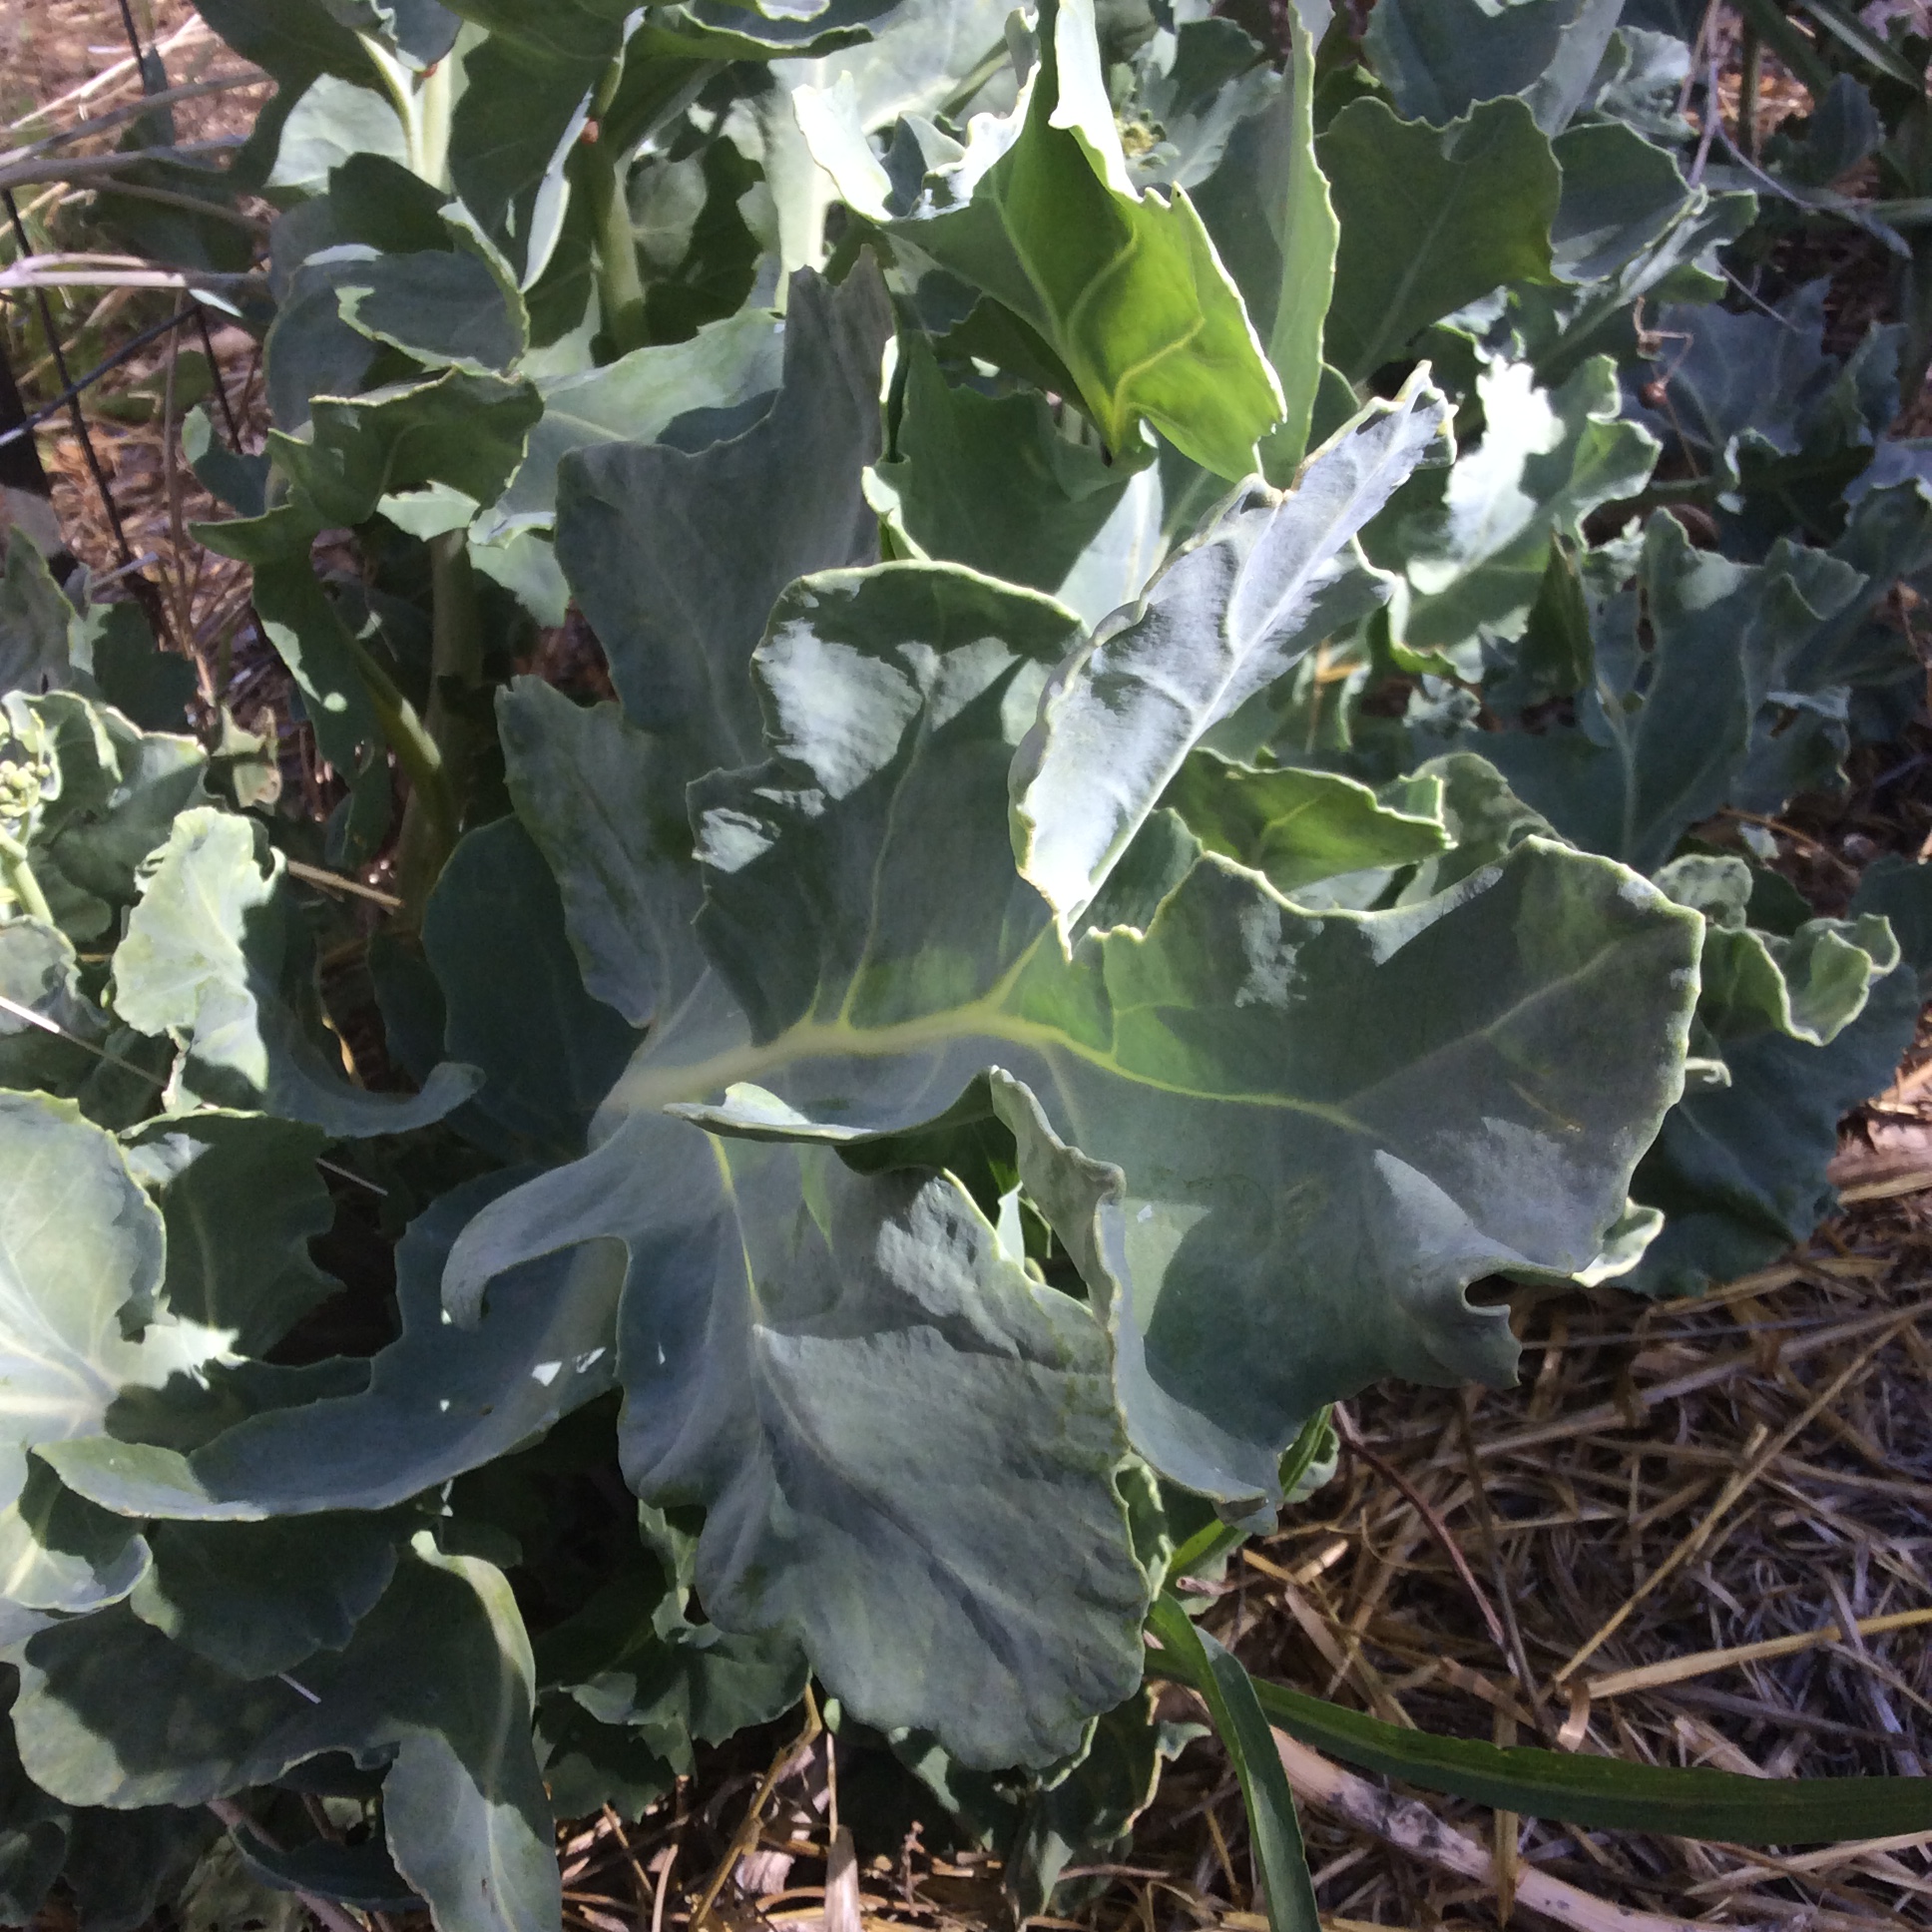
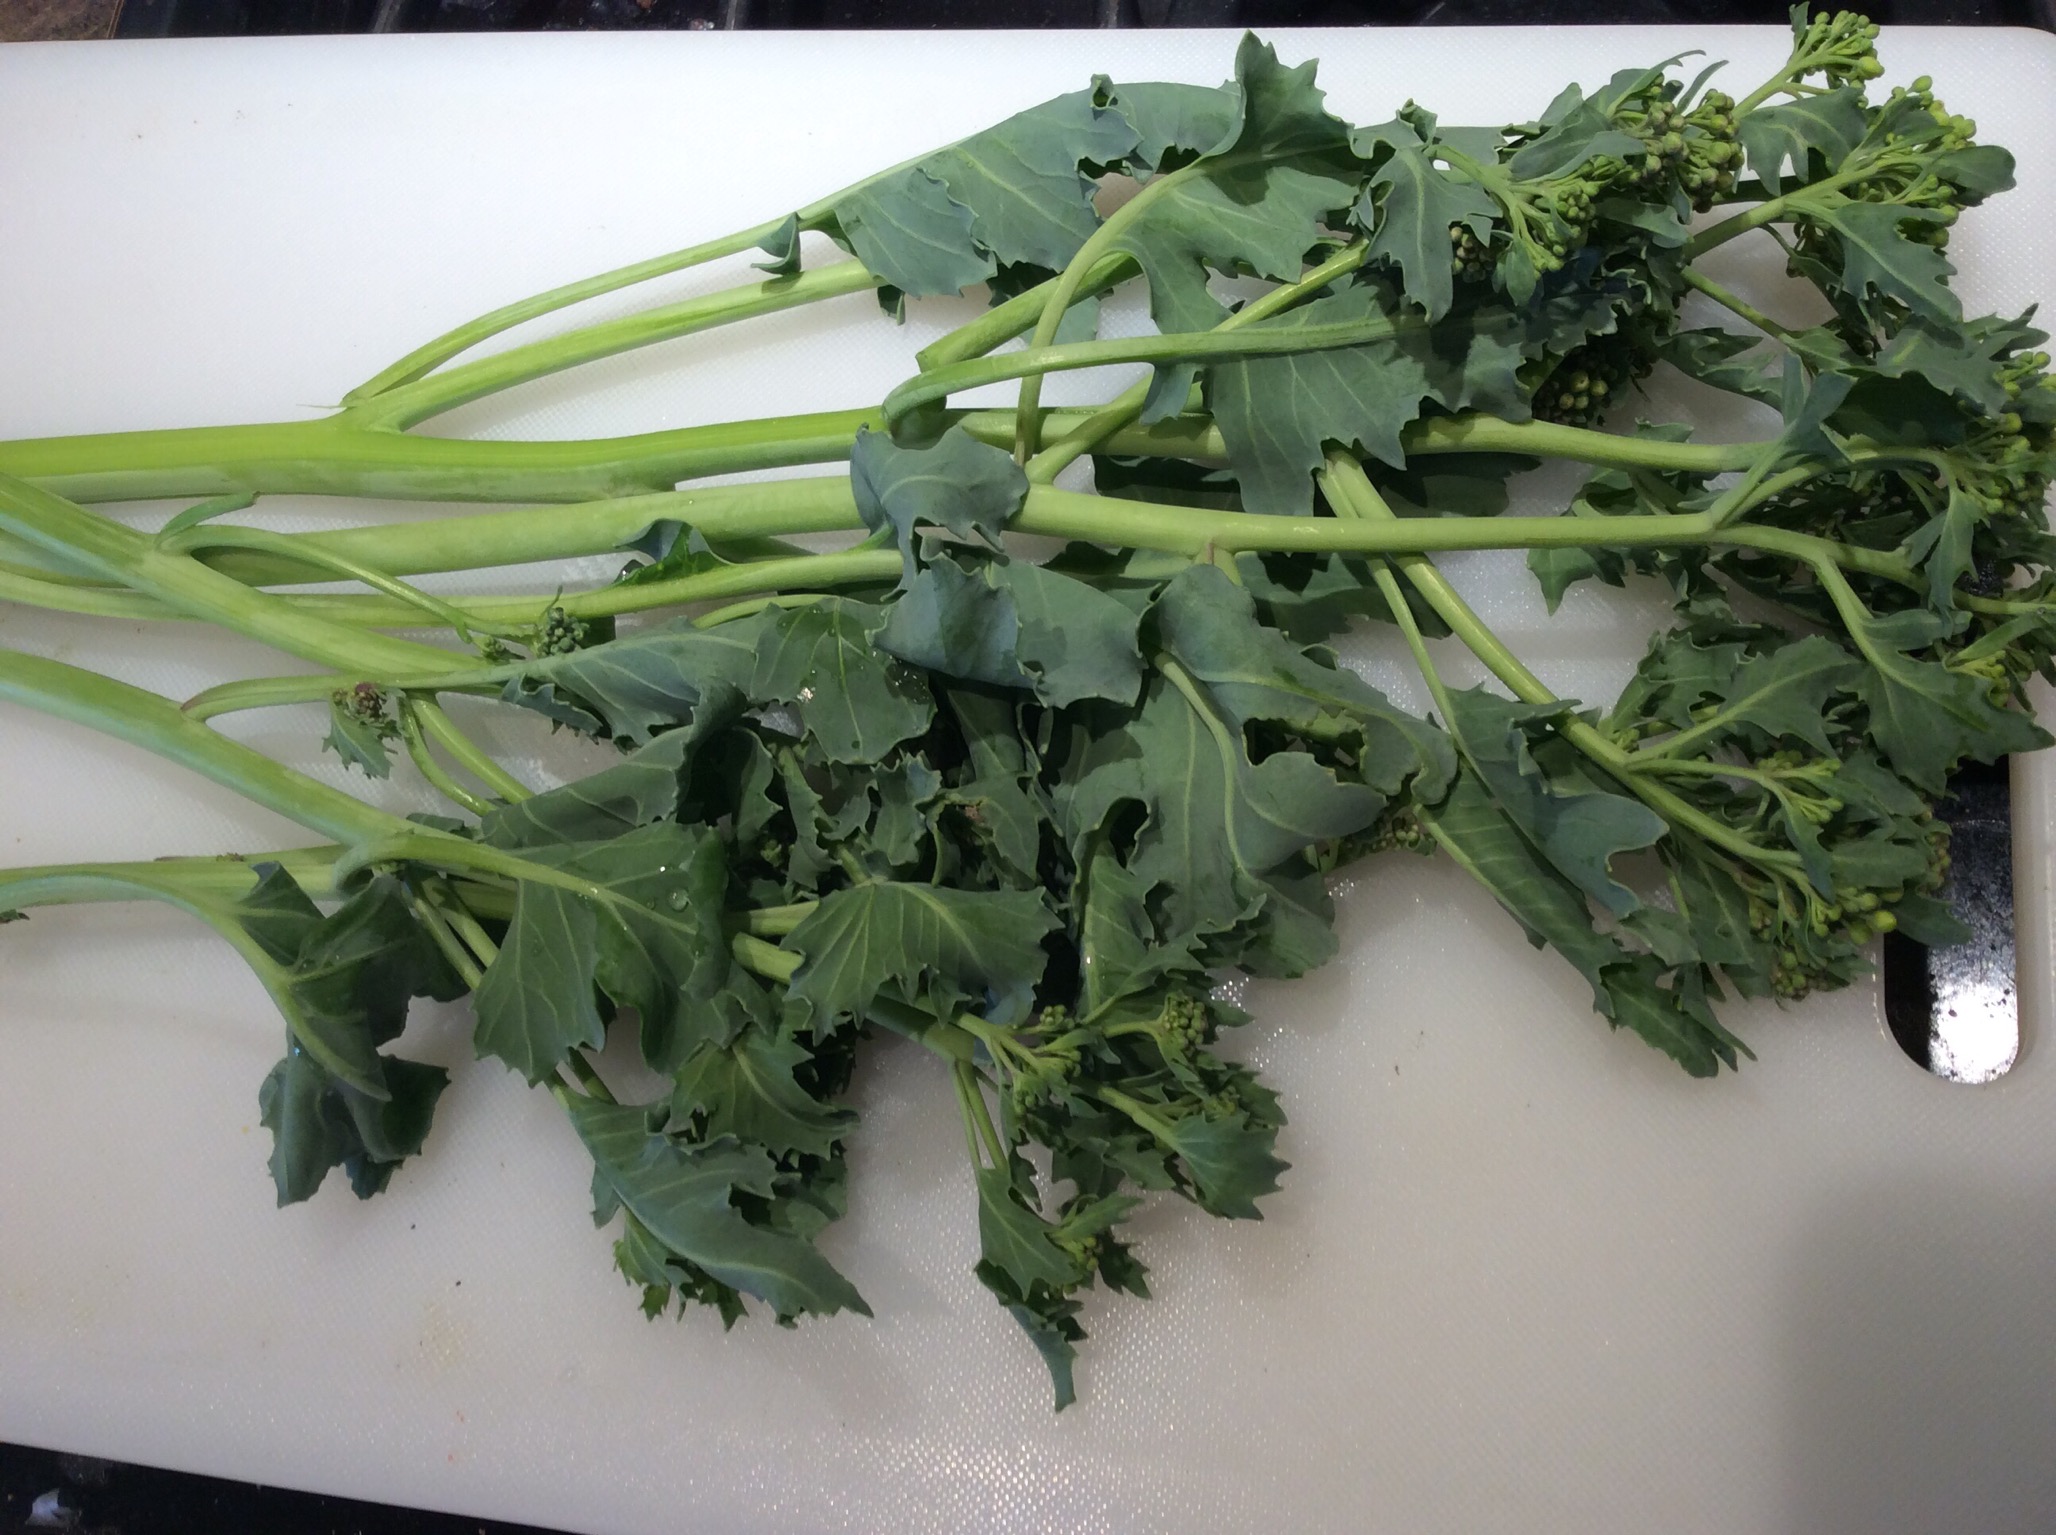
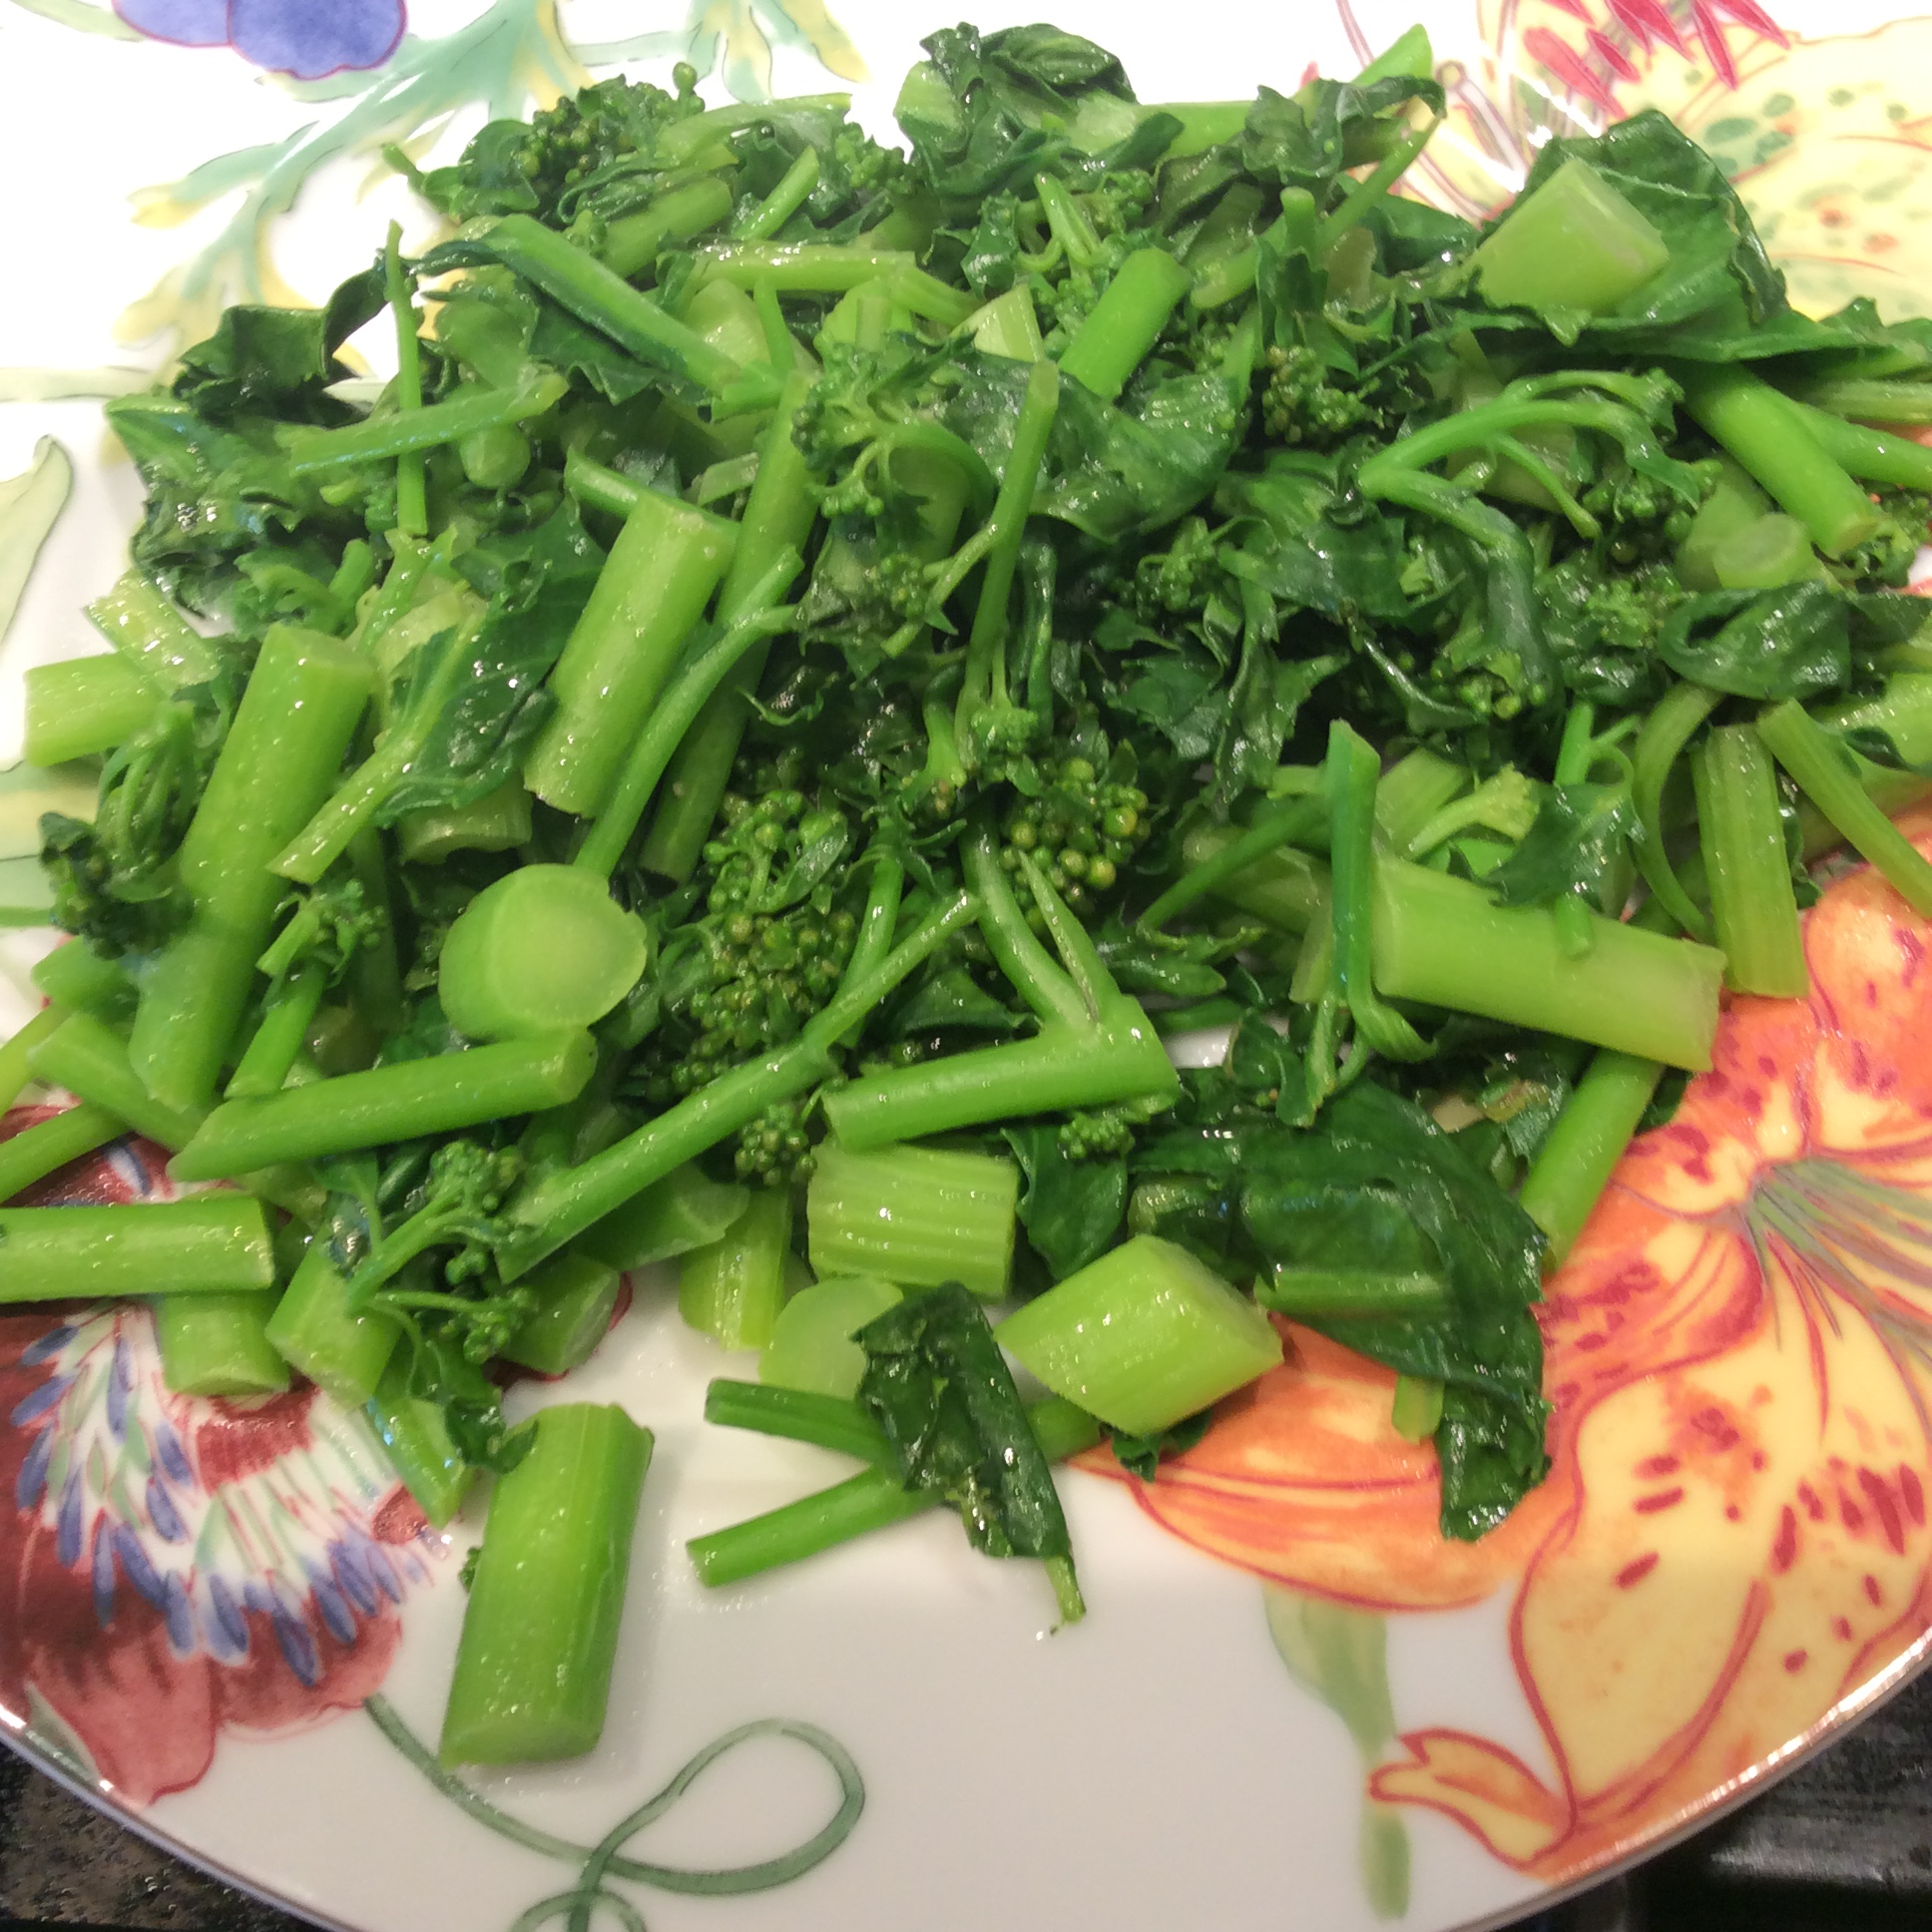
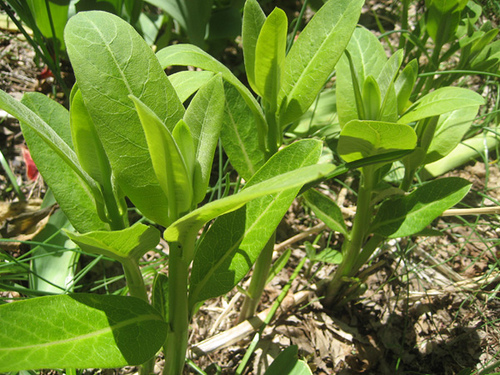
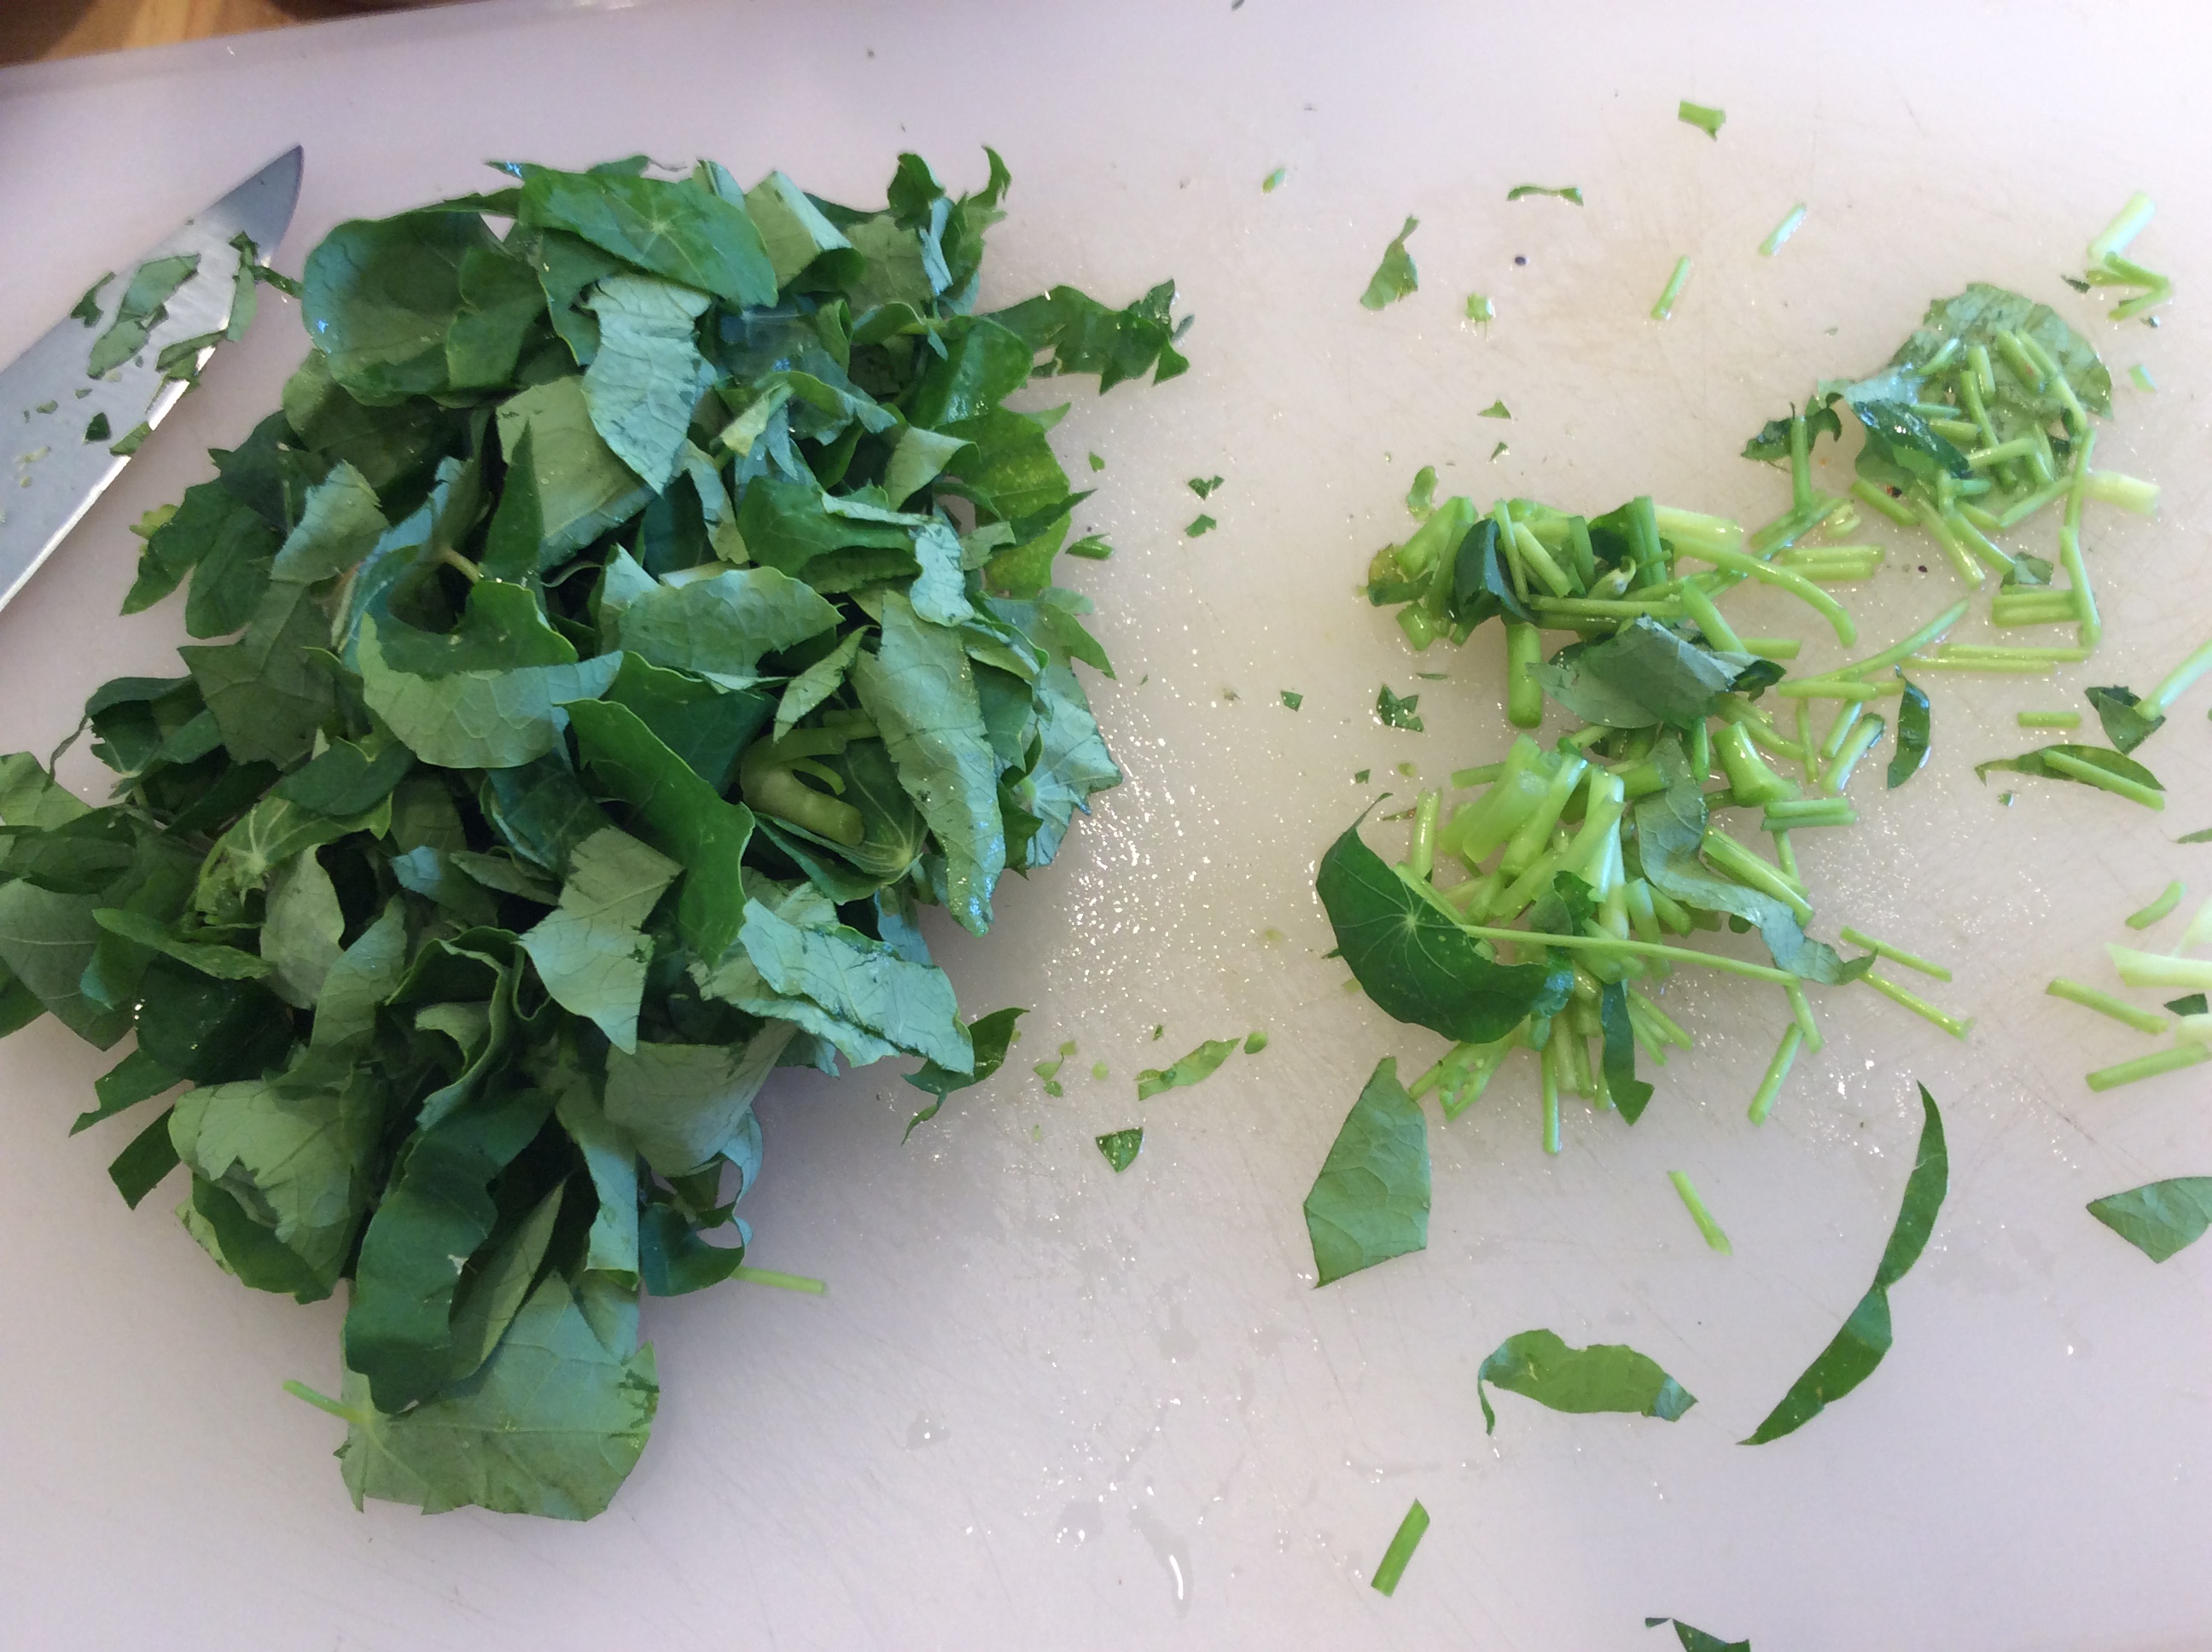
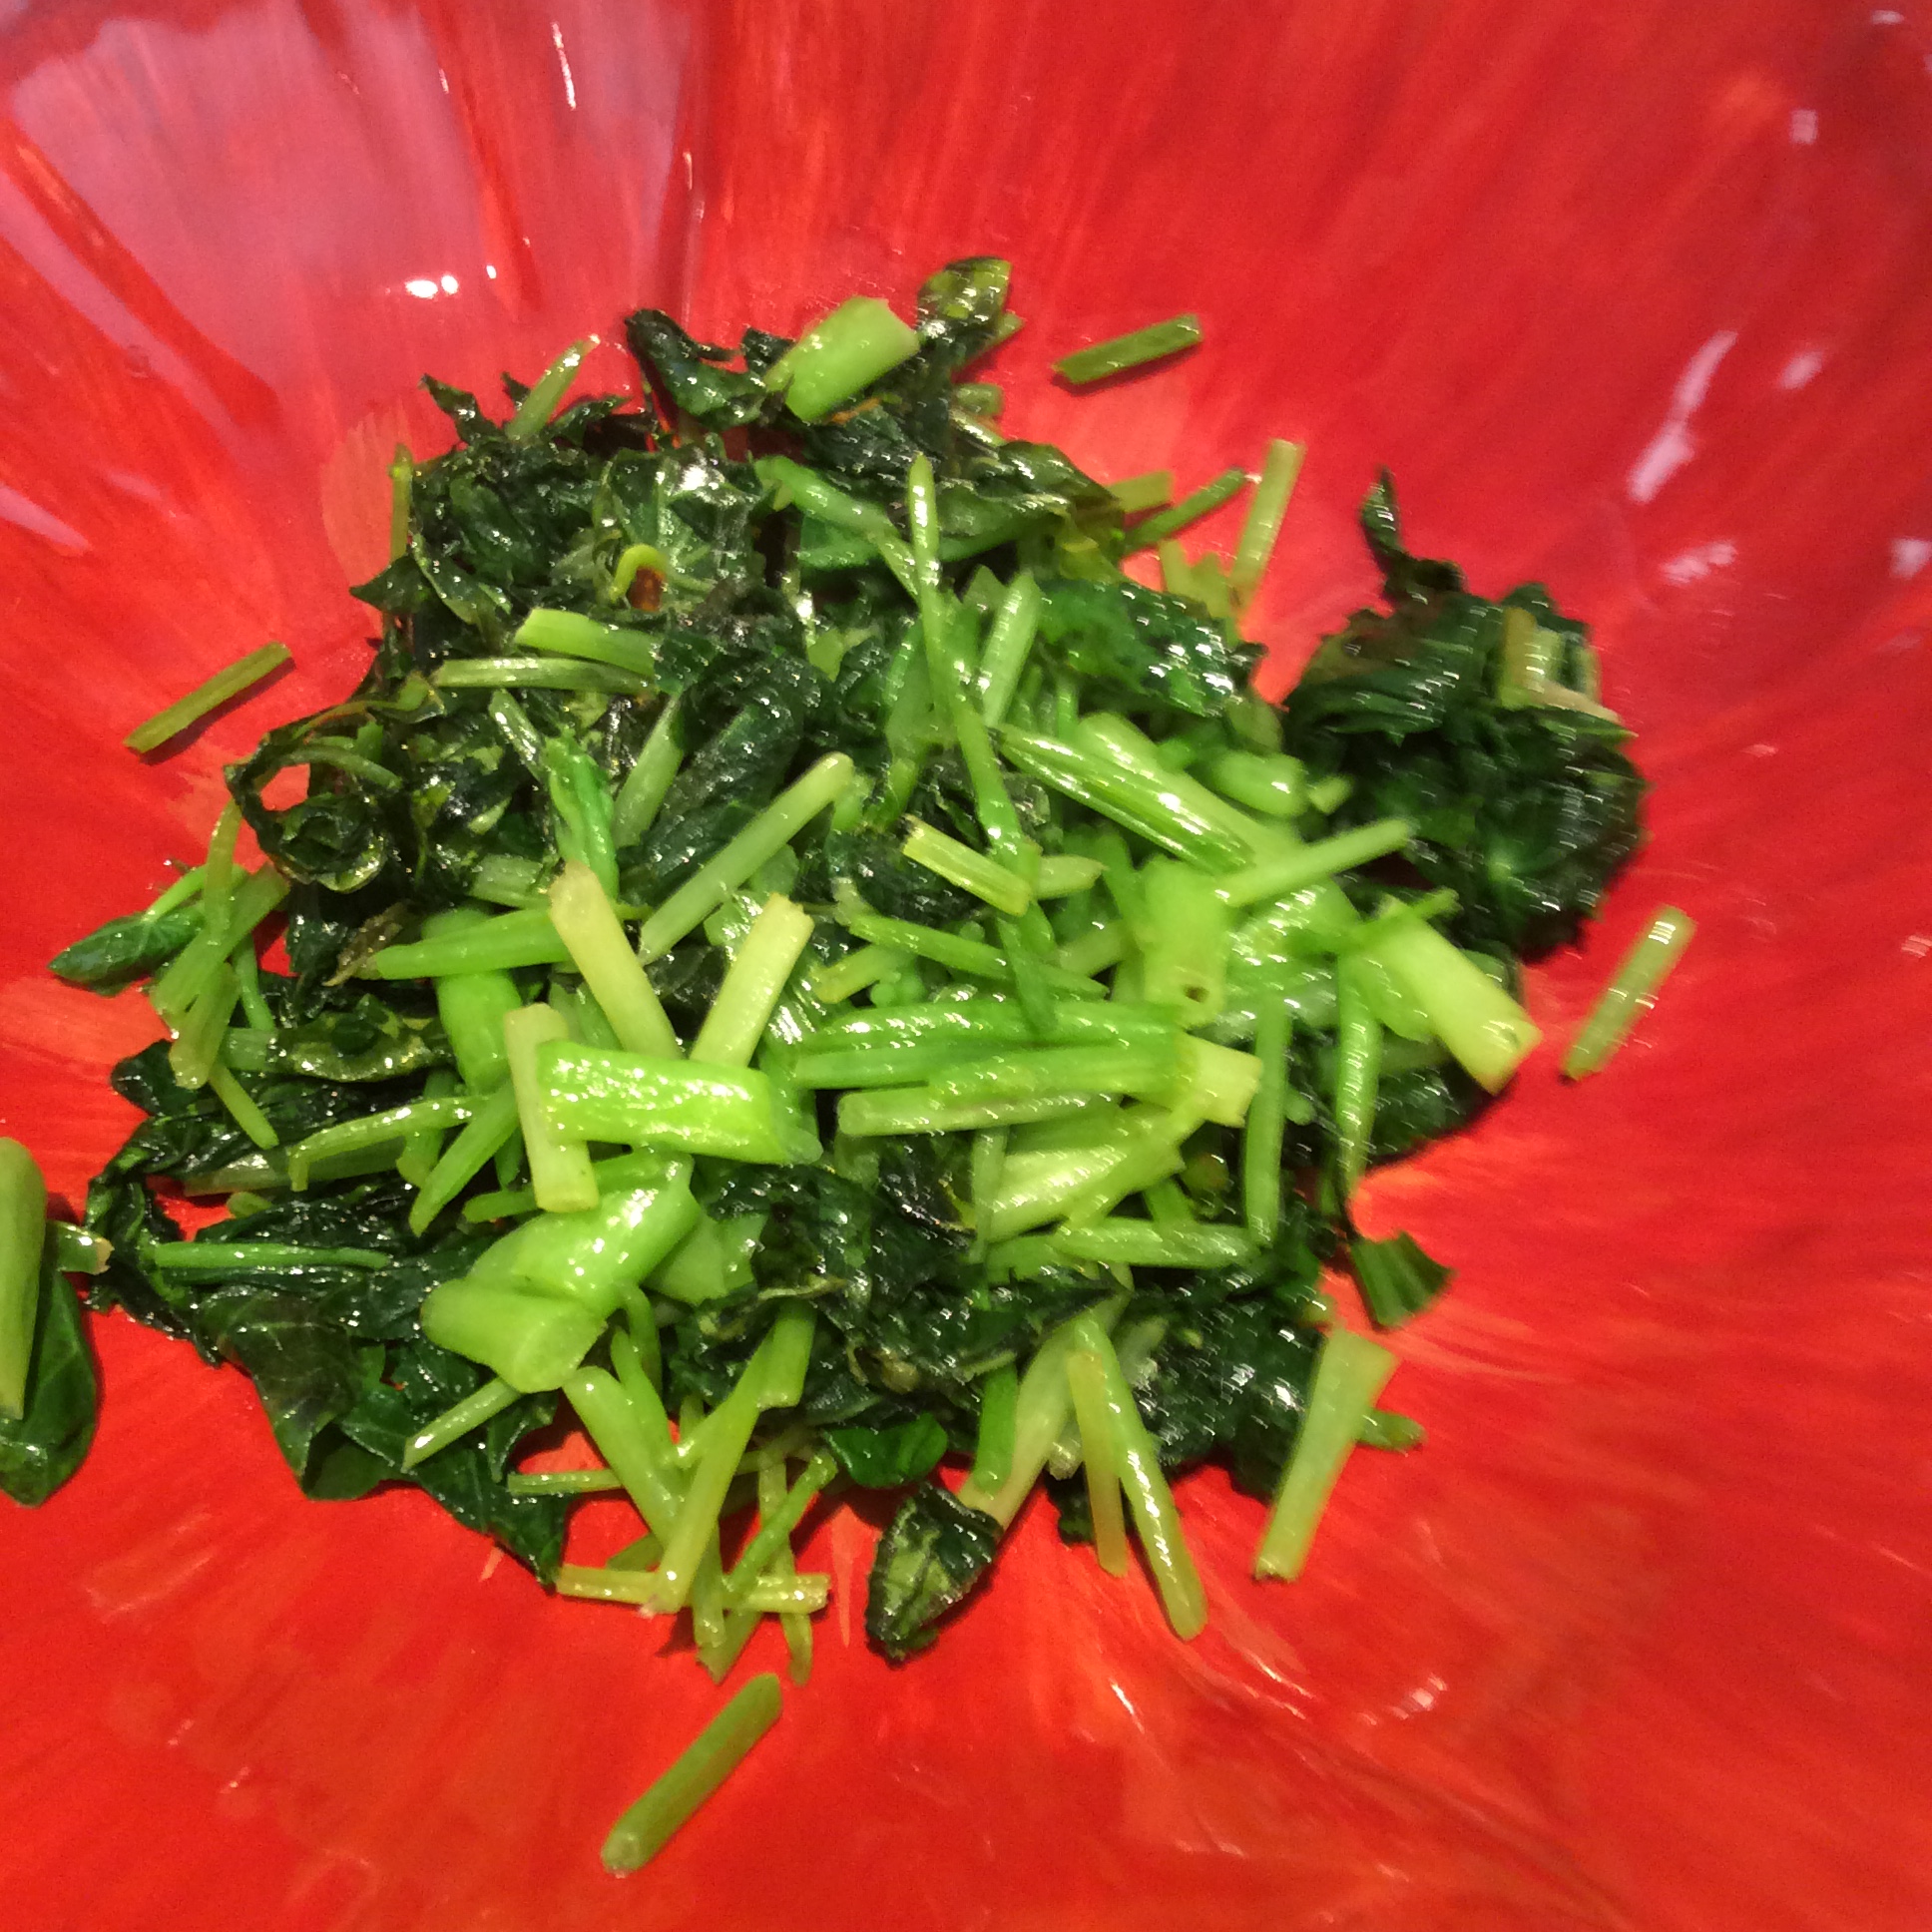
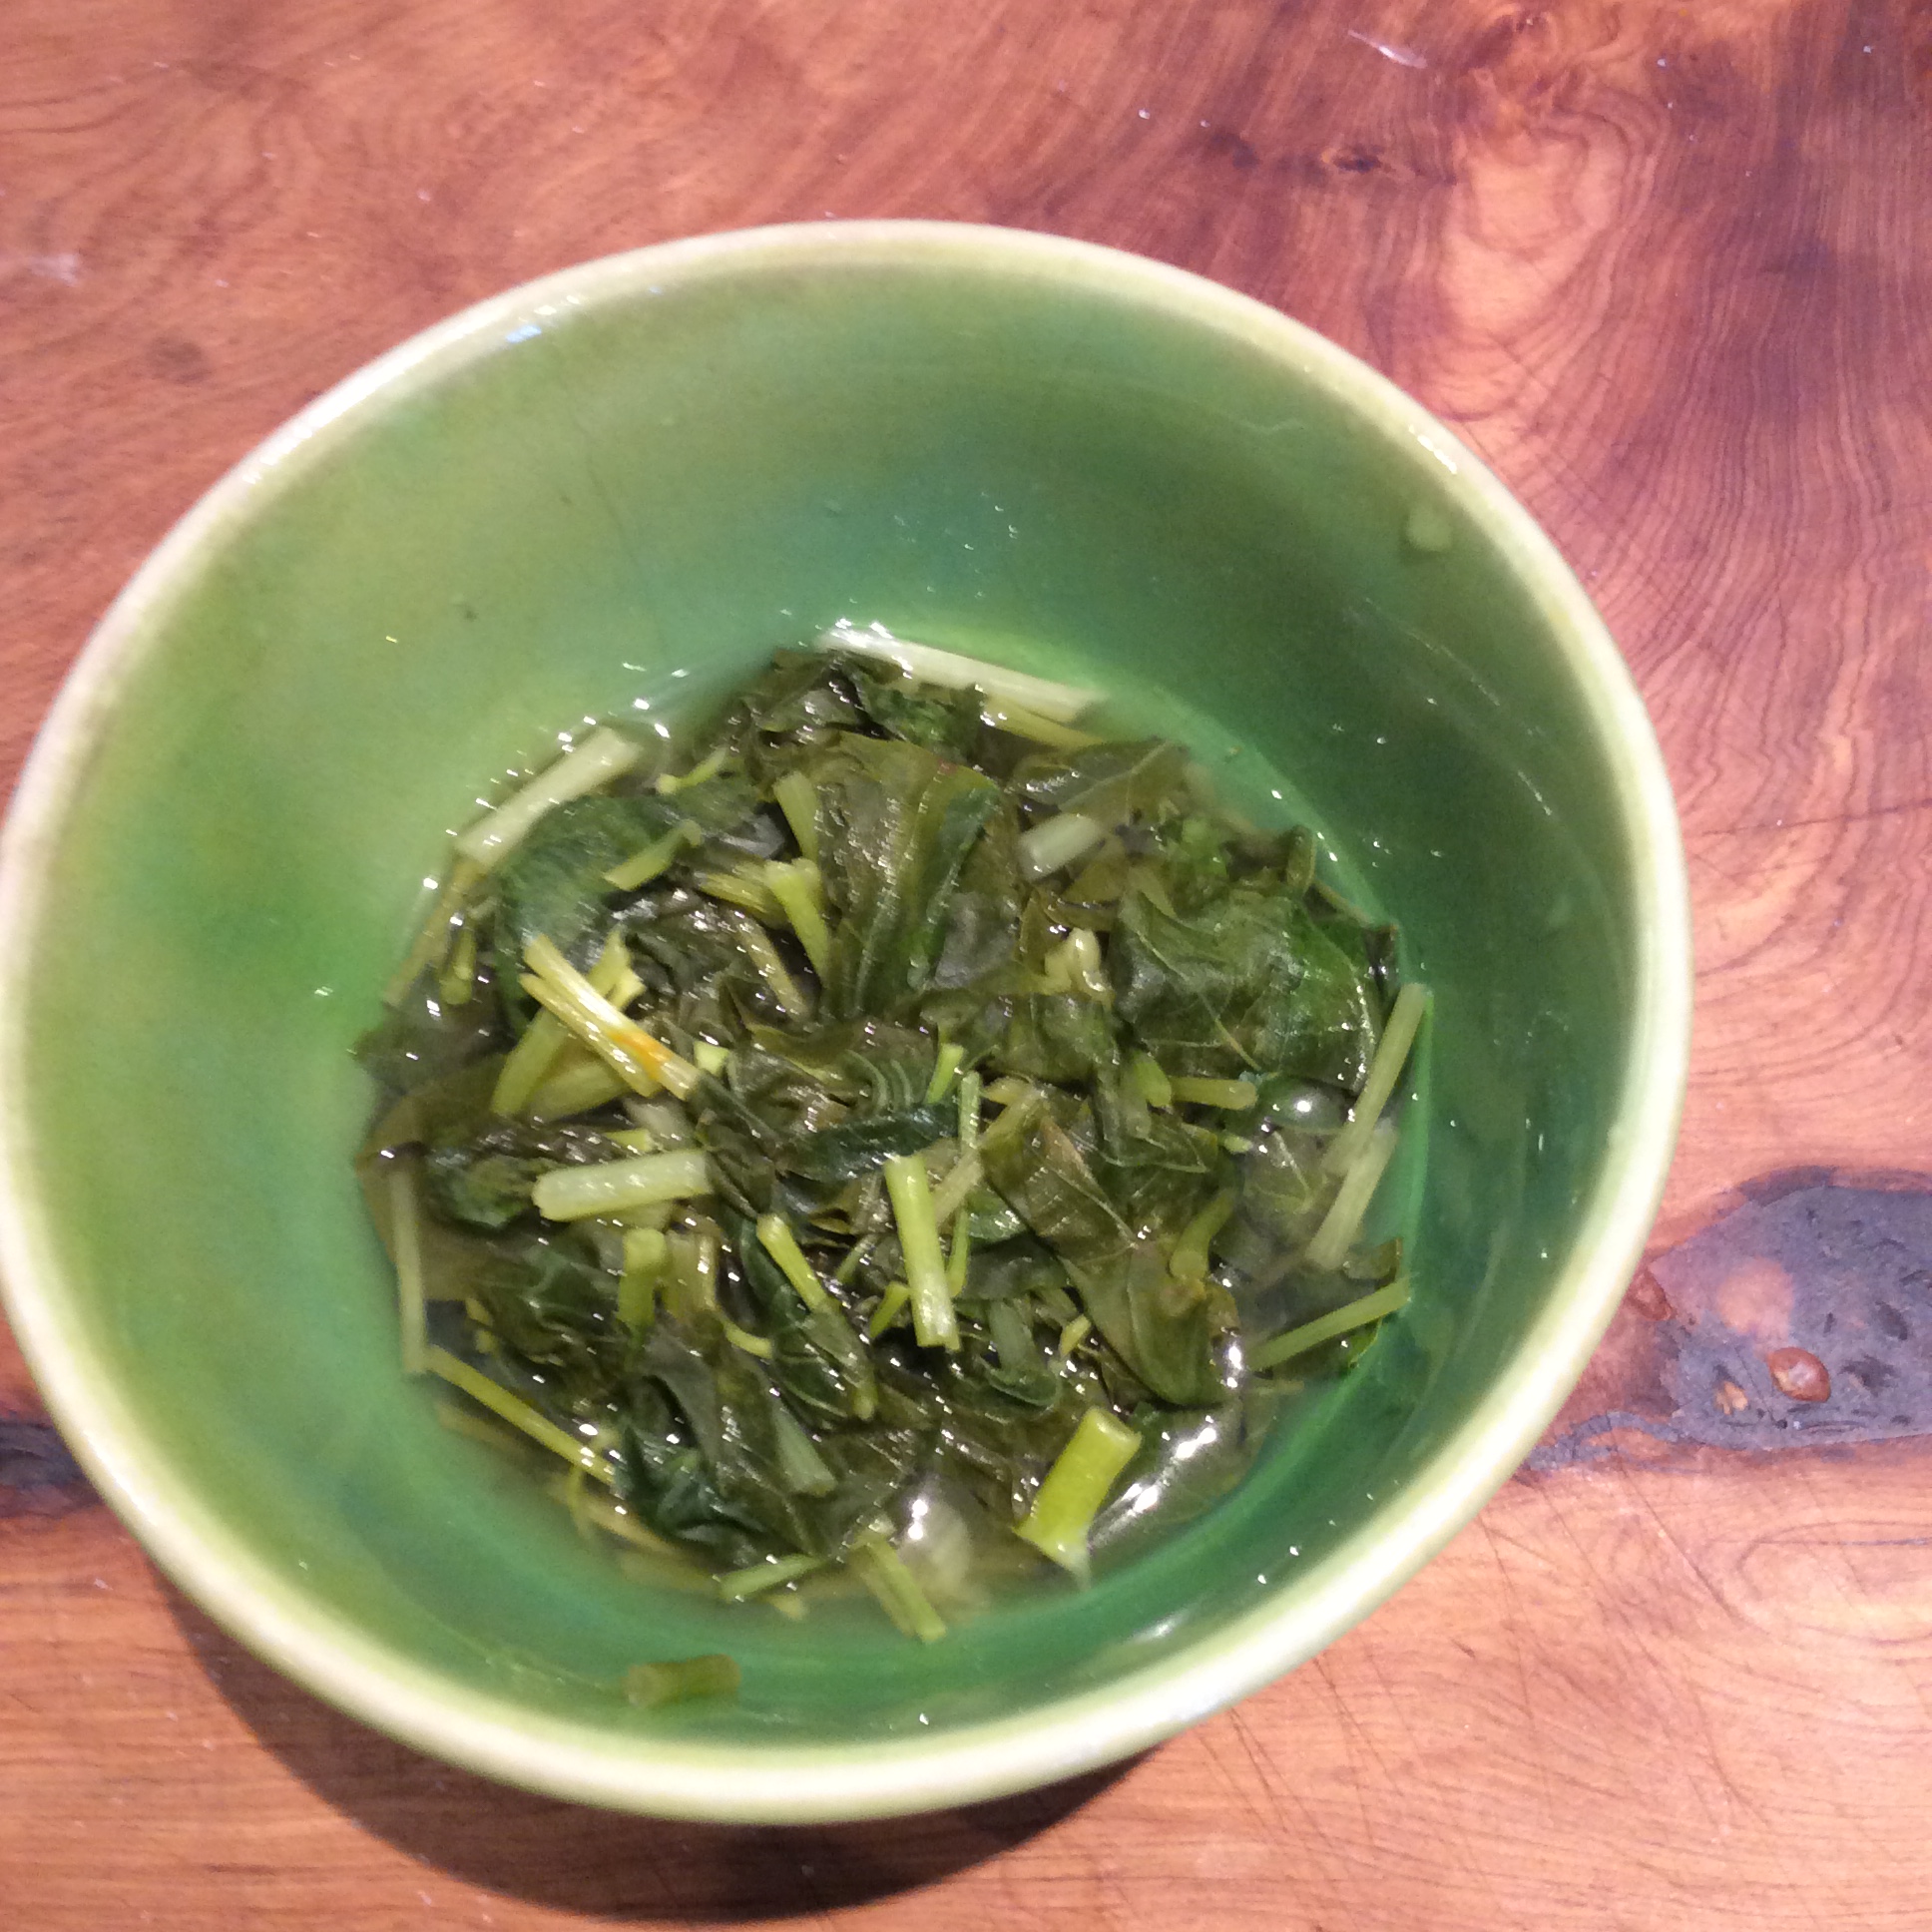
The maturing plant will now stand about 2 feet high, with small clusters of buds. It’s perfect for cooked greens now. Leave one or two plants to bloom and make seed, and cut the rest down to about 3″ high, and bring the cuttings into the kitchen. Pull off and save all leaves, and break the bud sections off wherever the stem will snap without resistance. These are your cooking greens. Wash them carefully. If you want to use the large stems that are left over, cut them in cross sections no more than 1/4 inch long, because they contain strong  stringy fibers. I compost them instead of eating them. Blanch the washed greens in a large quantity of rapidly boiling water for 1 minute, no more. Drain and proceed as desired toward dinner. They have a flavor a little like broccoli rabe, and I love to eat them with pasta. See recipe below, or go to the categories in the sidebar, and click on “greens.”

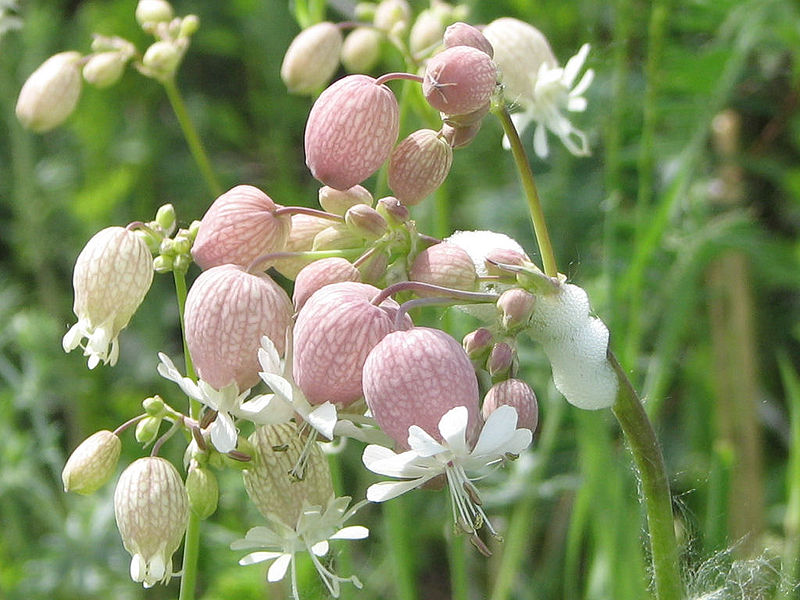
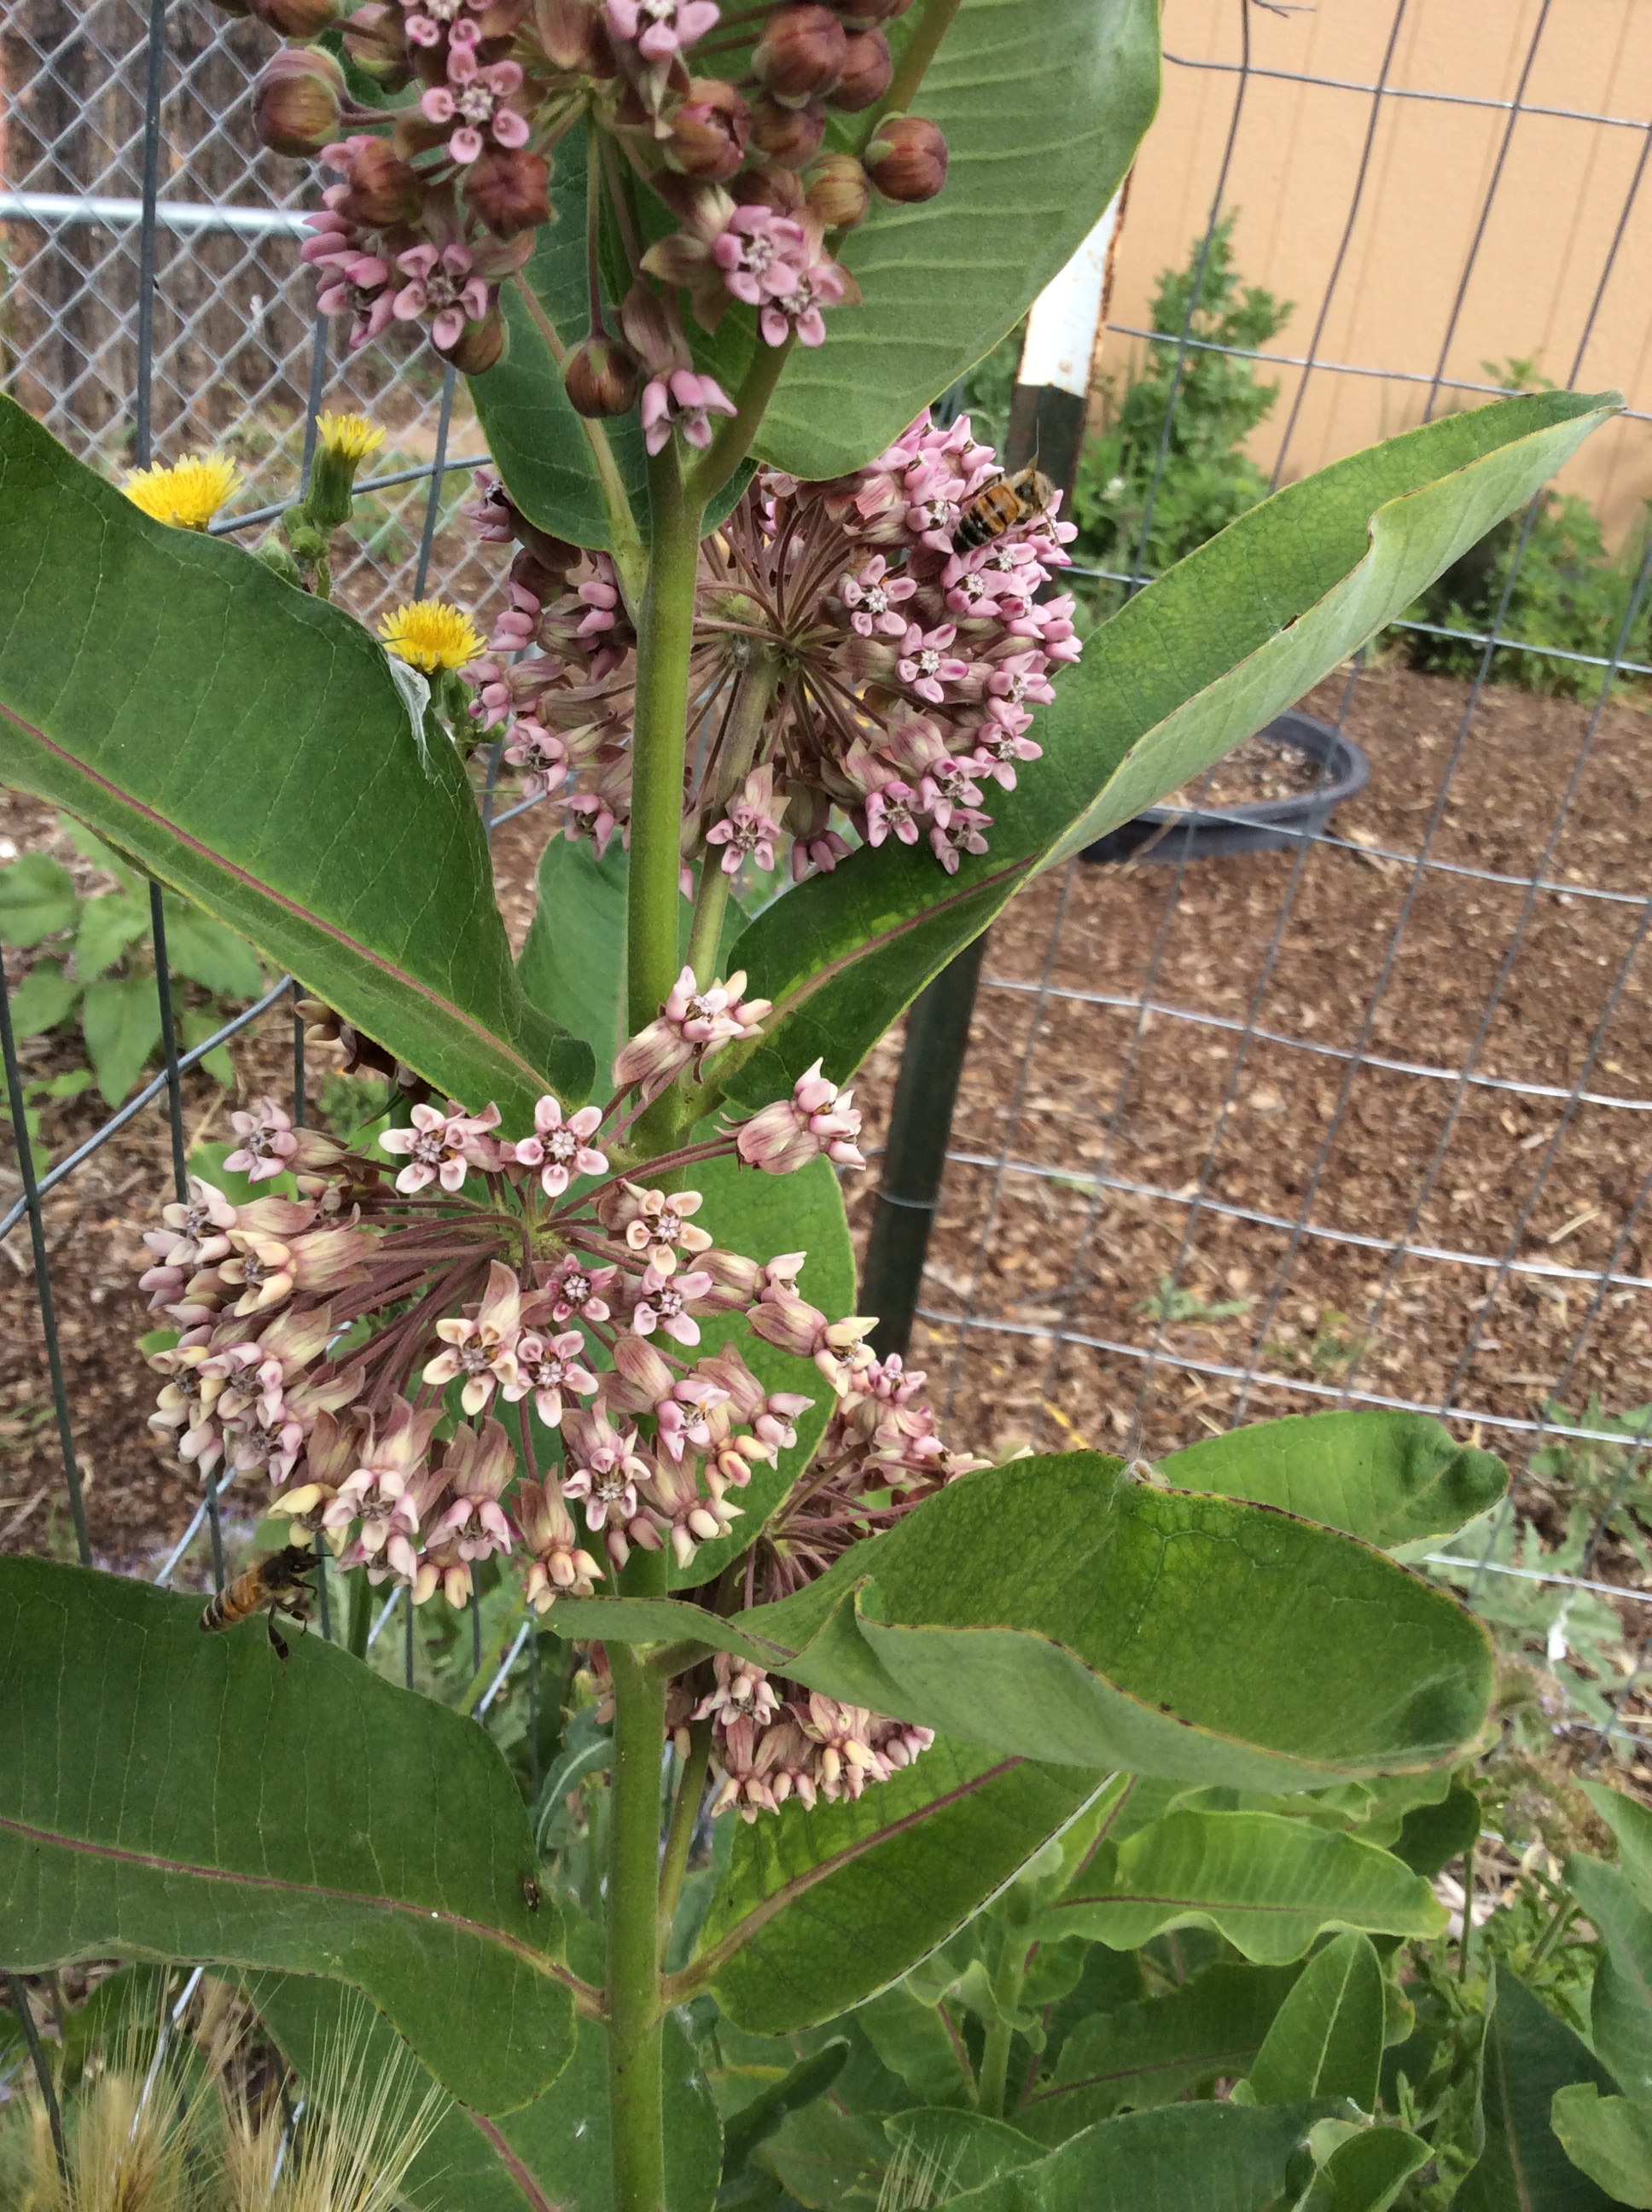
Now, what about the plants you left alone? They will develop into great wispy clouds of small white flowers, a little like annual baby’s breath. Bees adore them. Then they’ll set hundreds of tiny seed pods. When these dry out, let some spill around the mother plant (which can now be pulled up, and should be, because it looks pretty scruffy by now) and toss the rest around wherever you want more arugula. Usually these seeds will be dry and ready for seeding in late summer, will sprout by September, and will be in the salad stage by late October. Leave them over the winter, and the cycle continues.

Pasta with cooked arugula: For two hungry people, or four if using as a first course, Bring a large pot of salted water to a boil. Meanwhile, chop up a slice of good pancetta about 1/4 inch thick into 1/4 inch cubes (or chop up two slices best bacon, if you don’t have pancetta, but the pancetta is better here.) Render the little cubes in a skillet over medium heat until the fat is released. Don’t drain off a single drop of it. Toss in two cloves of garlic, chopped,  and stir briefly. Add half a teaspoon or so of red pepper flakes, stir in, and immediately pour in half a cup of good dry white wine. Boil vigorously for a minute, add salt to taste, and take off the heat.

Meanwhile, your big pot should have come to a boil. You did salt it, didn’t you? Few foods are worse than bland pasta. Throw in half a pound of good pasta. Whole wheat pasta is good here if you like it, but get a very good brand or it can be gluey and awful. When the pasta is about 2 minutes short of done, ie there is a bit of white core remaining when you cut or bite a piece, throw in the arugula greens, stir them in, and continue boiling until the pasta is done to your liking. Drain the pasta and arugula together, toss them with the pancetta mixture, and toss in a generous cup of the best Parmesan you can get, grated. Plate the pasta, grind a little pepper over the whole, shave a few artistic slivers of Parmesan on top, and bear to the table.

A vegetarian version can be made by starting with 1/4 cup of butter in the hot small skillet, stirring in a teaspoon of chopped fresh rosemary and two teaspoons of fresh thyme leaves with the garlic, and proceeding as above.

The Perennial Paddock: Sea Kale

There is an area of my yard that is referred to as “the paddock“ because it was once intended to be an animal paddock. Over time, it has become the area where I move toward permaculture, with more and more perennial edibles accumulating there.  The whole area is kept in a deep mulch, and tends to stay moist enough for growth even in our desert summers.

One of the most decorative plants growing there is seakale, a maritime perennial that tolerates our alkaline soil.  It is very hard to start from seed, and the four plants that have prospered over years for me are those that I paid a small fortune for as plants from a specialty nursery.  If you want seakale, make the investment in getting good plants. Once settled, I am told that they can live 20 or 30 years or more.  They are very pretty in a quiet way, with nothing dramatic or show about them but pleasant to the eyes  in most seasons, except in the fall when mine get very bug-eaten. They are not recognizable at sight as a vegetable, and would pass muster with the strictest homeowner’s association.

There was a time when I thought it would take me 20 years to learn how to use them. The leaves  have a crisp succulent texture and mild flavor, and would be okay in salads, but each plant makes only six or seven leaves and if you take more than one the plant is likely  to die.  If you have 20 plants this might not be an issue, but if you have four, it is.

I read that the buds could be harvested as a broccoli like vegetable, and when I first tried this, they were tasty enough but very tiny indeed. From my four plants, I got enough for one small tasting dish, and no more. But this year I figured out that the bloom stalk is also tender and tasty.  Harvest the whole stalk as close to the base of the plant as you can get without damaging any leaves. Do this before the flowers open, and it will just snap right off. The leaves on the stalk are fine to eat. The lower part of the stem has a tough fibrous outer layer, but it peels off very easily. Everything you have left, stems, leaves, and buds, is good to eat.  Cut in half inch cross sections, cook in very little water until crisp tender, add salt and butter, and eat.  Treated this way, each plant provides a nice vegetable side dish for two people.

In British gardening books I have read references to seakale having a very strong and unpleasant flavor, but I have not experienced this at all with my own plants. The taste is mild, slightly herbal, and inoffensive. The texture is excellent.

One question to consider is whether perennial vegetables are really worth growing, when annual vegetables are so good. Broccoli fresh from the garden is one of my favorite vegetables in the world, and it would be pretty hard for anything to surpass it.   But suppose that you couldn’t plant the broccoli. Suppose that age and infirmity made it impossible for you to garden the way you used to, or that an accident of fate left you unable to garden in the usual way, either temporarily or permanently.  This has happened to me. Because of an orthopedic problem I was unable to do any annual gardening for two years, and even though I have been back at it full tilt for a few years now, I  remember that time and remain aware that a slip, a fall, or a careless driver can put quite a crimp in your gardening career for a while.  Fortunately, even at that time, I had a fair stock of perennial edibles and we still had things to eat from the yard.  Of course, perennials also help prevent soil erosion,  and undug  soil can sequester carbon in a big way.  The microbes and fungi that are so important in building and maintaining healthy soil will flourish in a perennial garden under mulch. But it’s also your insurance that, if fate deals you a blow that you weren’t expecting, your garden will go on producing.

Fall Summation IV part 2: Further Perennials

In my last post, I started to sum up a few perennial edibles around my yard, and found that there are actually a lot more of them then I realized. So here’s part two.

Bladder campion, Silene vulgaris, is always my first green of spring and my last green of fall. It is better cooked than raw in my opinion, but some leaves in a mixed salad will certainly not hurt anything and have a pleasant substantial texture. I had to buy seed of this one to get it started, and it was a couple of years before it really begin to grow well, but now I have enough to need to weed out some. It has never been a problem weed or gotten out of control under my conditions. It seeds itself around a bit, but not unreasonably.

Curled dock is a common weed that most people could not imagine planting on purpose, but in my area it grows mostly along the irrigation ditches, which are also frequented by dogs. So to have a good clean supply, I do grow some in my weed patch. The slightly lemony greens are very good in mixed greens but rapidly get bitter as the weather warms. Get them early. And then get them again late, because like so many perennials, they produce a smaller but useful second crop of leaves in late fall.  This one does seed it self around like crazy, and every single seed seems to be viable, so do be careful to cut off the flower stalks early unless you want a lot more plants. There is a great deal written about the culinary uses of the seeds. I don’t care for them at all, but you can read about this elsewhere if you are interested.  Some people also use the roots medicinally, and that also could be researched elsewhere.

Bronze fennel is a lovely ornamental as well as a delicious seasoning herb and vegetable. I find the flavor a little more pronounced and anisey than that of green fennel. It’s also prettier. In Samuel Thayer‘s newest book, Incredible Wild Edibles, there is a wonderful chapter on how to use fennel.  My very favorite part is the young shoot, and so far I have not been able to induce my plants to make tender shoots in the fall, but I’m still trying. The leaves are a wonderful seasoning for fish and seafood, and are great chopped and sprinkled lavishly over salads.

Burdock has not been a success for me so far, due to personal taste preferences. Even the youngest spring leaves taste rank and have a rough texture, the root is bland and turns an unpleasant color even when cooked with some lemon juice, and the peeled flower stalk is no more than passable to my palate. I think that the peeled stalk chunks might be tastier when cooked with stronger seasonings or perhaps grilled, and I’ll try that next year. It often happens that an edible perennial hangs around my place for years before I learn to use it in ways that I really like, so I think of burdock as a potential vegetable that I haven’t really learned about yet. I am happy enough to give it some space because my goat is crazy about the leaves and leaf stalks, but be aware that even if you think you are cutting down all the flower stalks, it ingeniously forms some tiny short ones that get past you and scatter seeds everywhere. Bees enjoy the flowers and birds enjoy the seeds, but the price of having it around is eternal vigilance and a fair amount of grunt weeding.

Dandelion is not a common weed in my area, believe it or not, and I had to buy seeds to get it started.  But I wanted it and was happy to persevere until I got some to germinate. The young leaves of dandelion have a fair amount of bitterness and might be an acquired taste, and most people start out by disliking them, then later in their foraging career begin to like them, and ultimately crave them.  I’m at the craving stage. I also enjoy using the flowers, although the bitter green sepals have to be pulled off, which is a bit tedious.  I think that the petals might be useful in fritters and similar preparations, but I haven’t done that yet.  There is always more to learn. I do like the young, tightly closed buds when I can get enough of them to bother cooking. I am not a fan of the root, and this is another plant where I leave the root in place to produce the parts that I like better.  Here in the  high desert I like to grow mine in partial shade because the leaves get more tender, less bitter, and quite a bit bigger. Incidentally, I bought some seeds called French Thick Leaf that were supposed to be very superior, and used some seeds from a northeastern person’s yard, and the plants are all pretty much identical.

Common milkweed is another weed that just does not grow in my area, although I often see it when vacationing further north in Colorado. It took me a few tries to start it from seed, and it needs winter stratification. So far I have only had a few bites each of spring shoots and buds, plus one young pod, on my plate because it’s still getting established. But it has the mild “foody” flavor that I remember, especially good with butter. The vanilla-scented flowers are wildly attractive to bees, and of course this is the food plant of the monarch butterfly. Once established, it doesn’t need too much water, but it needs a fair amount to get started. Be sure that you know how to identify it as Asclepius syraica because there are some thin-leaved toxic milkweeds, and if you are foraging it in the wild I strongly suggest reading Samuel Thayer on how to tell the young shoots from dogsbane,  which resemble them in ways but are very bitter. I hope to have a lot of it around in the future.

Pokeweed was one of my favorite wild foods when I was first getting interested in foraging. It’s a big rank plant, up to six feet high and as much across, and has to be sited accordingly. It also REQUIRES preboiling in a large volume of water, which is then thrown out, before further preparation for eating. It is toxic if not prepared properly. Please consult Samuel Thayer’s Incredible Wild Edibles before trying to eat it. Then you’ll have all the information you need to eat it safely. It doesn’t grow in the Southwest, but I finally got two plants started from seed, and hope to have more in the future. Euell Gibbons wrote about forcing pokeweed shoots in winter, and one day I may try some version of that.

Goji Shoots come up everywhere after you’ve grown goji berries for a few years. They are very tasty sautéed in butter or olive oil. To enjoy them, you have to get new shoots as shown. They should be green all over and tender enough to snap when bent. If they have anything resembling brown bark, or have to be cut, skip them. I cut my plants back in late winter and harvest some shoots in spring, and this year I cut some plants back in late fall and put frost blankets over them to see if I can get some winter shoots. I’ll report back.

Hosta shoots are a new vegetable for me, because when I moved to my current home it was a flat lot covered with tumbleweed and baked into adobe by the blazing sun. It’s only now, eight years later, that my trees are big enough to provide shade for the shade-loving hostas. I chose the biggest ones that I could find because the shoots are bigger. I have only eaten them once because my plants are young and I don’t want to weaken them. They were mild and good steamed and eaten with a soy-ginger sauce. There is nothing especially distinctive about the flavor but nothing objectionable either, and the texture is tender as long as you get them before they unfurl. They would probably be a good addition to salads if sliced, although I haven’t tried that yet. It takes a couple of years before they’re established enough to harvest, which is usual with perennials. Once established, they could be harvested for a couple of weeks in spring, then allowed to form ornamental foliage. When the leaves get ratty in late summer they could be cut back, then a few shoots harvested again as they refurbish themselves. Of note, this is an edible perennial that would pass muster with the strictest homeowners’ association so you can grow it whatever your circumstances.

The Greens of Fall: Nasturtiums II

image

After several light frosts and a couple of hard frosts, the nasturtiums in my front yard are still holding their leaves in good condition, and still blooming a bit.  They won’t last much longer though, so this is the time to take advantage of them.  They are always good in salads or used to make hand rolls as suggested in my last post, because they combine a snappy watercress peppery flavor with a tender texture.  Cooked, they lose a lot of their sharpness but remain delicious.

image

I grow the trailing nasturtiums that wind so nicely among other things in the bed, and at this time of year I grab about the last foot of stem. I snap them off wherever the stem snaps cleanly, which is usually while they are still smaller than a pencil. I take everything above that into the kitchen  for cleaning. I wash them and lay them out on the cutting board. The flowers are devoured on the spot as a cook’s treat, or can be saved for the top of a salad.  What remains is cut crosswise into half-inch segments. It’s important to keep them out about this length, or the stems can seem fibrous.

image

Now  stir the sections around a bit with your fingers, then lift off the leaves which are mostly on top and set them to one side, leaving most of the stem segments on the other. There will be a few of each item in the pile of the other, and it doesn’t matter.  This step is so you can give the stems a bit more cooking than the leaves.

image

Now, cook them in any way that you would use other greens, cooking the stem sections for a couple of minutes longer than the leaves. I have two favorite ways. One is to sauté them fast in a tablespoon or so of hot flavorful olive oil, putting the stems in, sautéing for two minutes, then add in the leaves and sauté in for another minute.  Serve with salt and freshly ground pepper. Simple and good.

image

My other favorite use for them is a quick sort of sweet and sour pickle, which I like with grilled meat or dishes in the Japanese fashion.   For a heaping a handful of chopped nasturtium, eat half a cup of water in a small saucepan with 2 tablespoons of rice vinegar and 1 tablespoon of sugar or to taste, or you can use artificial sweetener if it is one that does well with cooking.  And a scant teaspoon of salt and bring to a boil. When it is boiling, put in the stems, boil for about two minutes, and the leaves, and take off the heat immediately and let it sit in the “pickling liquid” until room temperature.  serve immediately or keep in the refrigerator for a day or two.

image

For my taste the flavors in this quick “pickle” are too strong to use it as a side dish, but you could always use less vinegar and sweetening and salt, and use it as a side dish if you prefer that. When I was growing up in the south, collards were sometimes cooked this way, and I seem to remember that they were good.

Some people think highly of the nasturtium as a medicinal herb. If you wish to research this, please keep in mind that the nasturtium flower we are dealing with here is Tropaeolum majus, while  Nasturtium officinale is actually watercress.  This is why we use botanical names; in the long run, it avoids a lot of confusion.   In my view, the fact that they are green and lovely in cold weather and taste good is reason enough to eat them.