I decided to re-up this post on hops shoots without change because this is their brief season and because I still think that this is the best way to cook them.


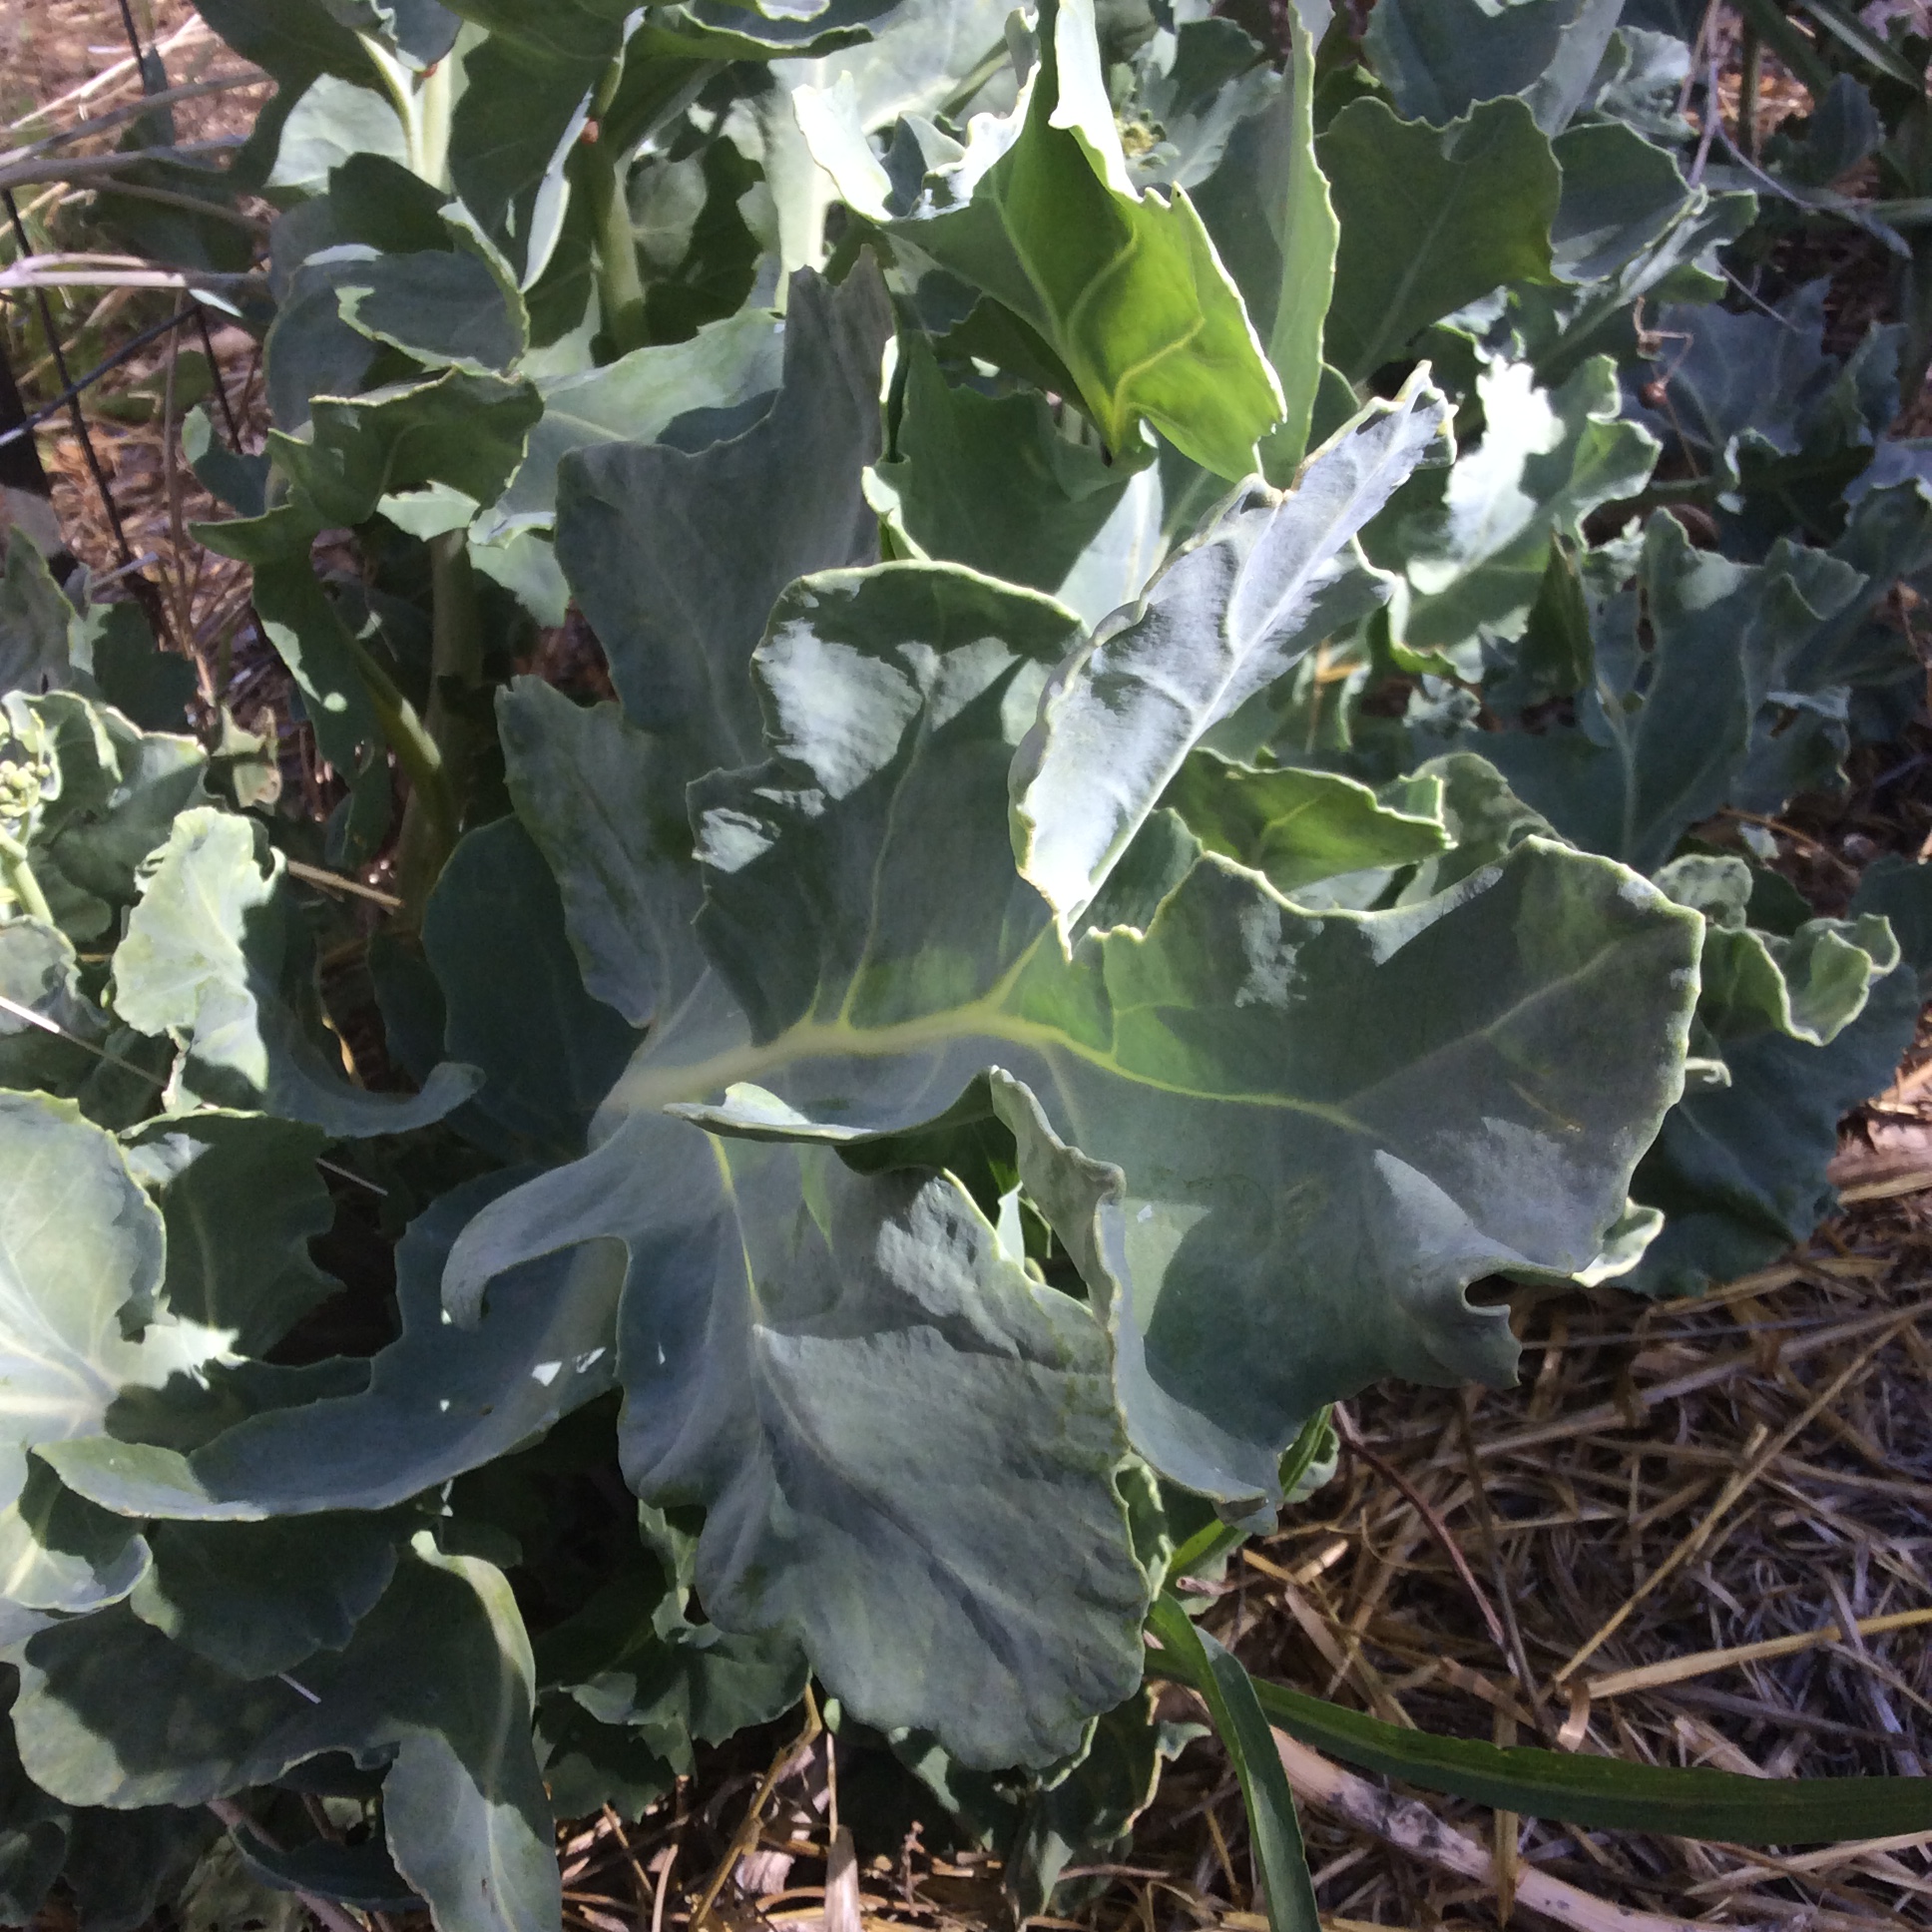
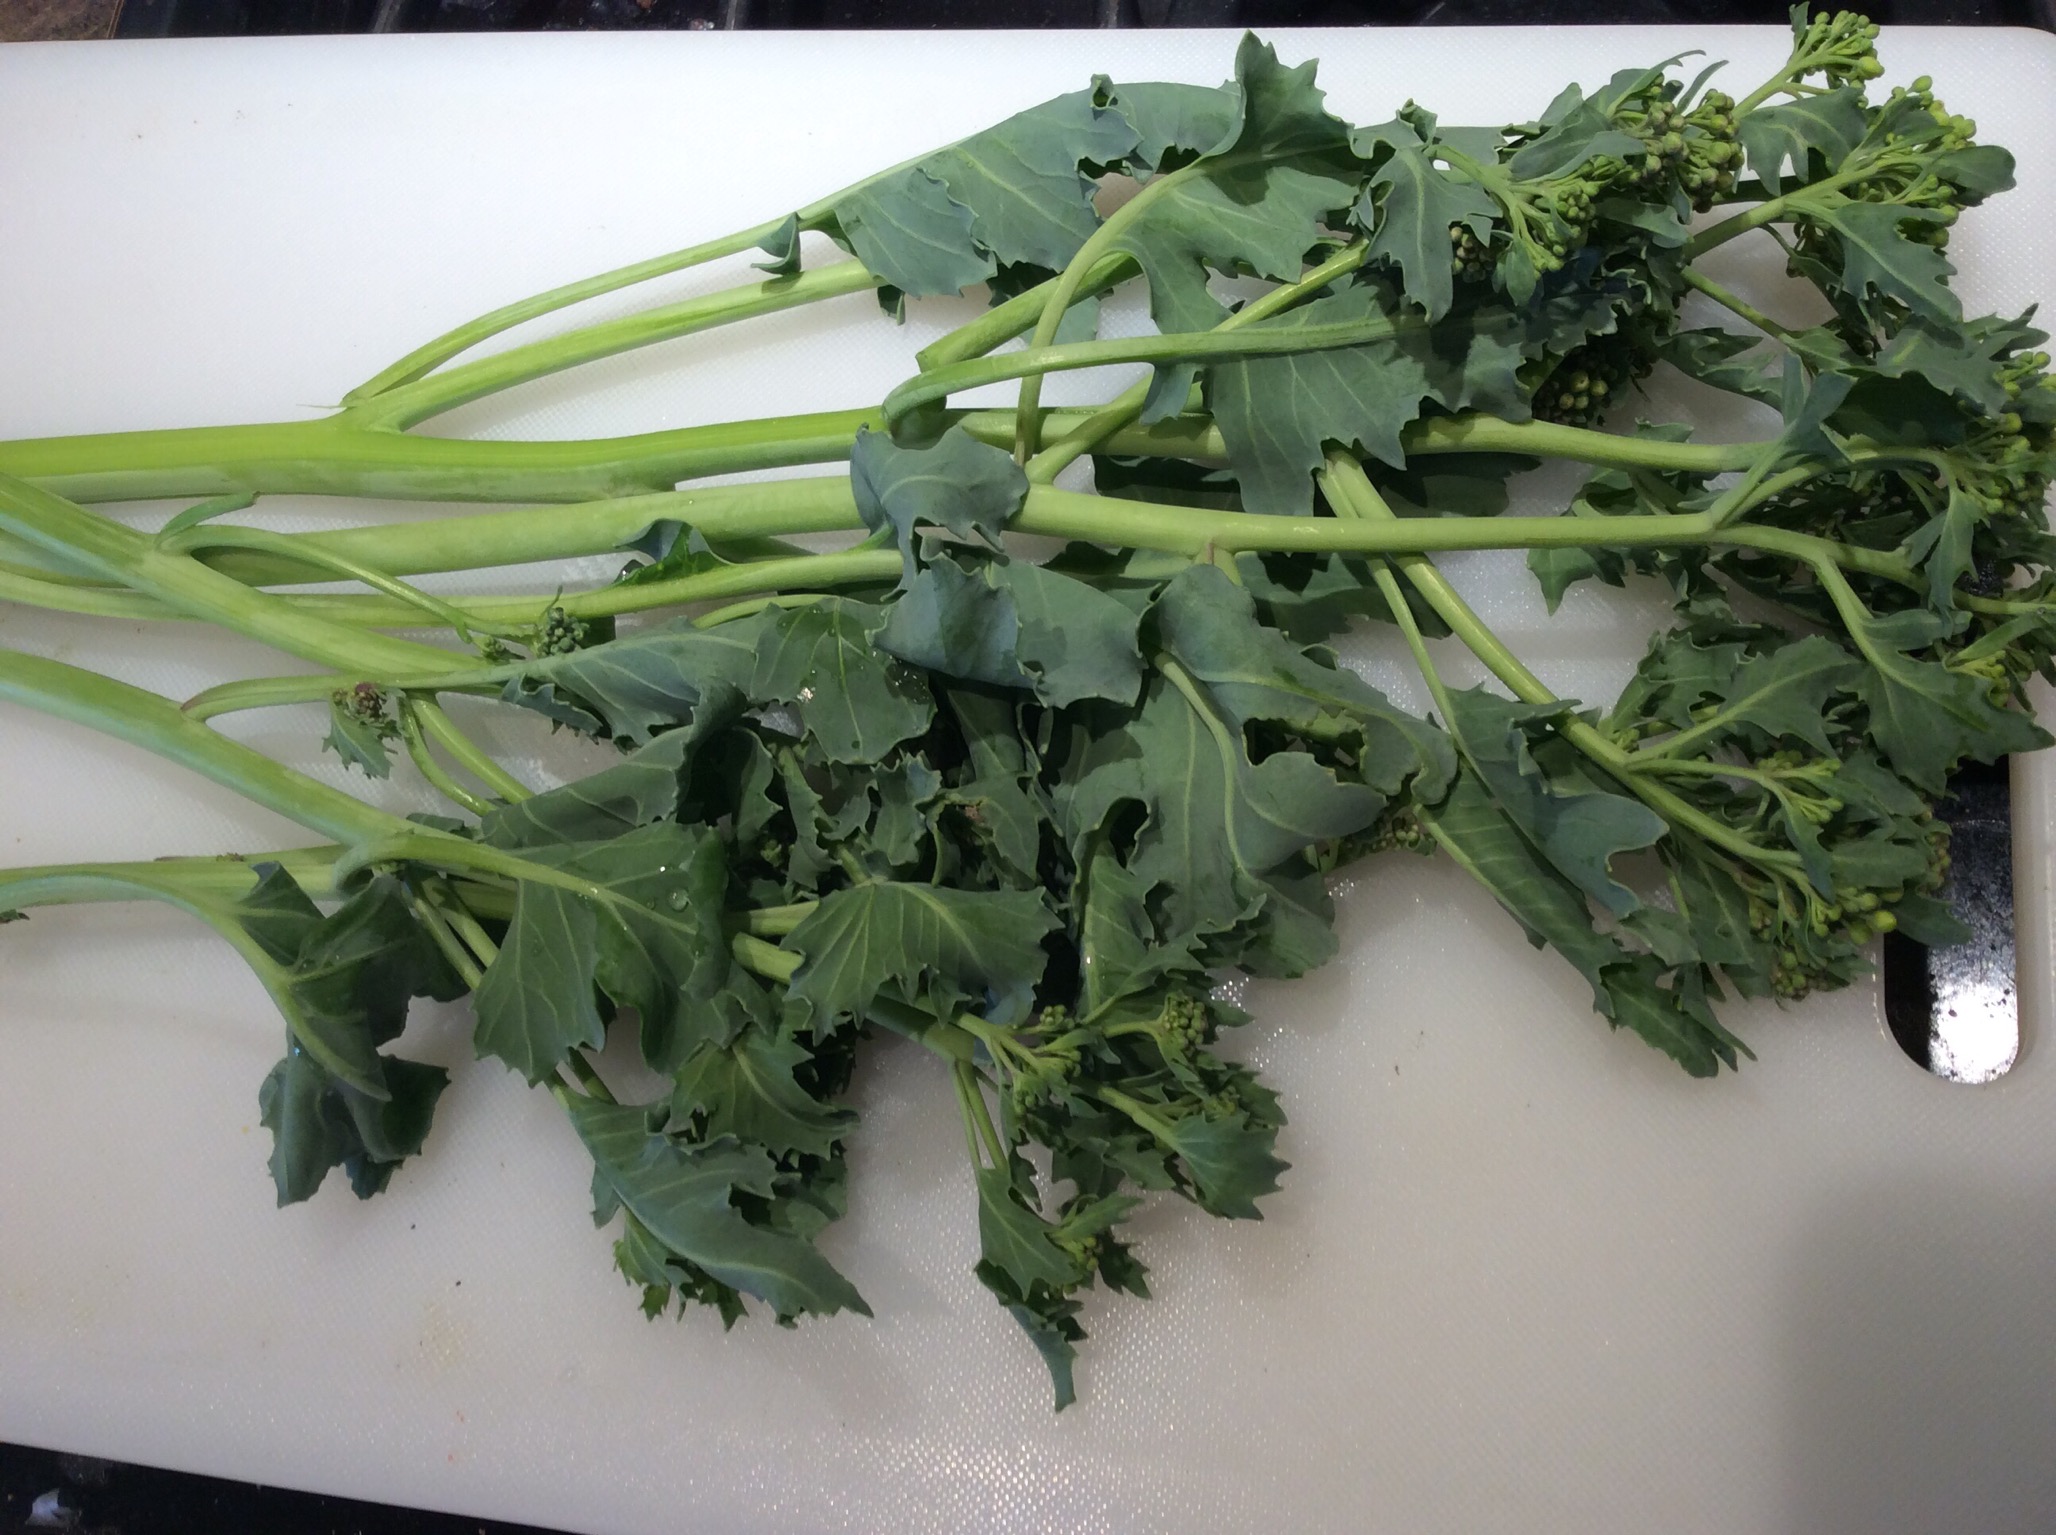
Many years ago I planted hops vines along my fences, planning to use the flowers for brewing. Not long afterwards, I gave up beer for weighty reasons, but in my difficult climate I’m not likely to get rid of plants that grow lustily with no attention. There was also the delightful bonus of hops shoots every spring. Gather the young shoots by snapping them off at the point where they snap easily. This is usually about the terminal 6-7 inches of the vine.
When it comes to cooking them, I’m very opinionated. After trying other ways, I’m convinced that this way suits their rich-bitter flavor best. Rinse the bundle of shoots and cut them in cross section, 1.5-2 inches long. Heat a large skillet over medium-high heat. You don’t want to crowd the pan too much. A 12” skillet is right for one large bundle of shoots. When the pan is hot through, add a glug of good olive oil, swirl it around, and add the shoots. Toss them around, sprinkling them with a good pinch of salt. Toss the shoots every couple of minutes.

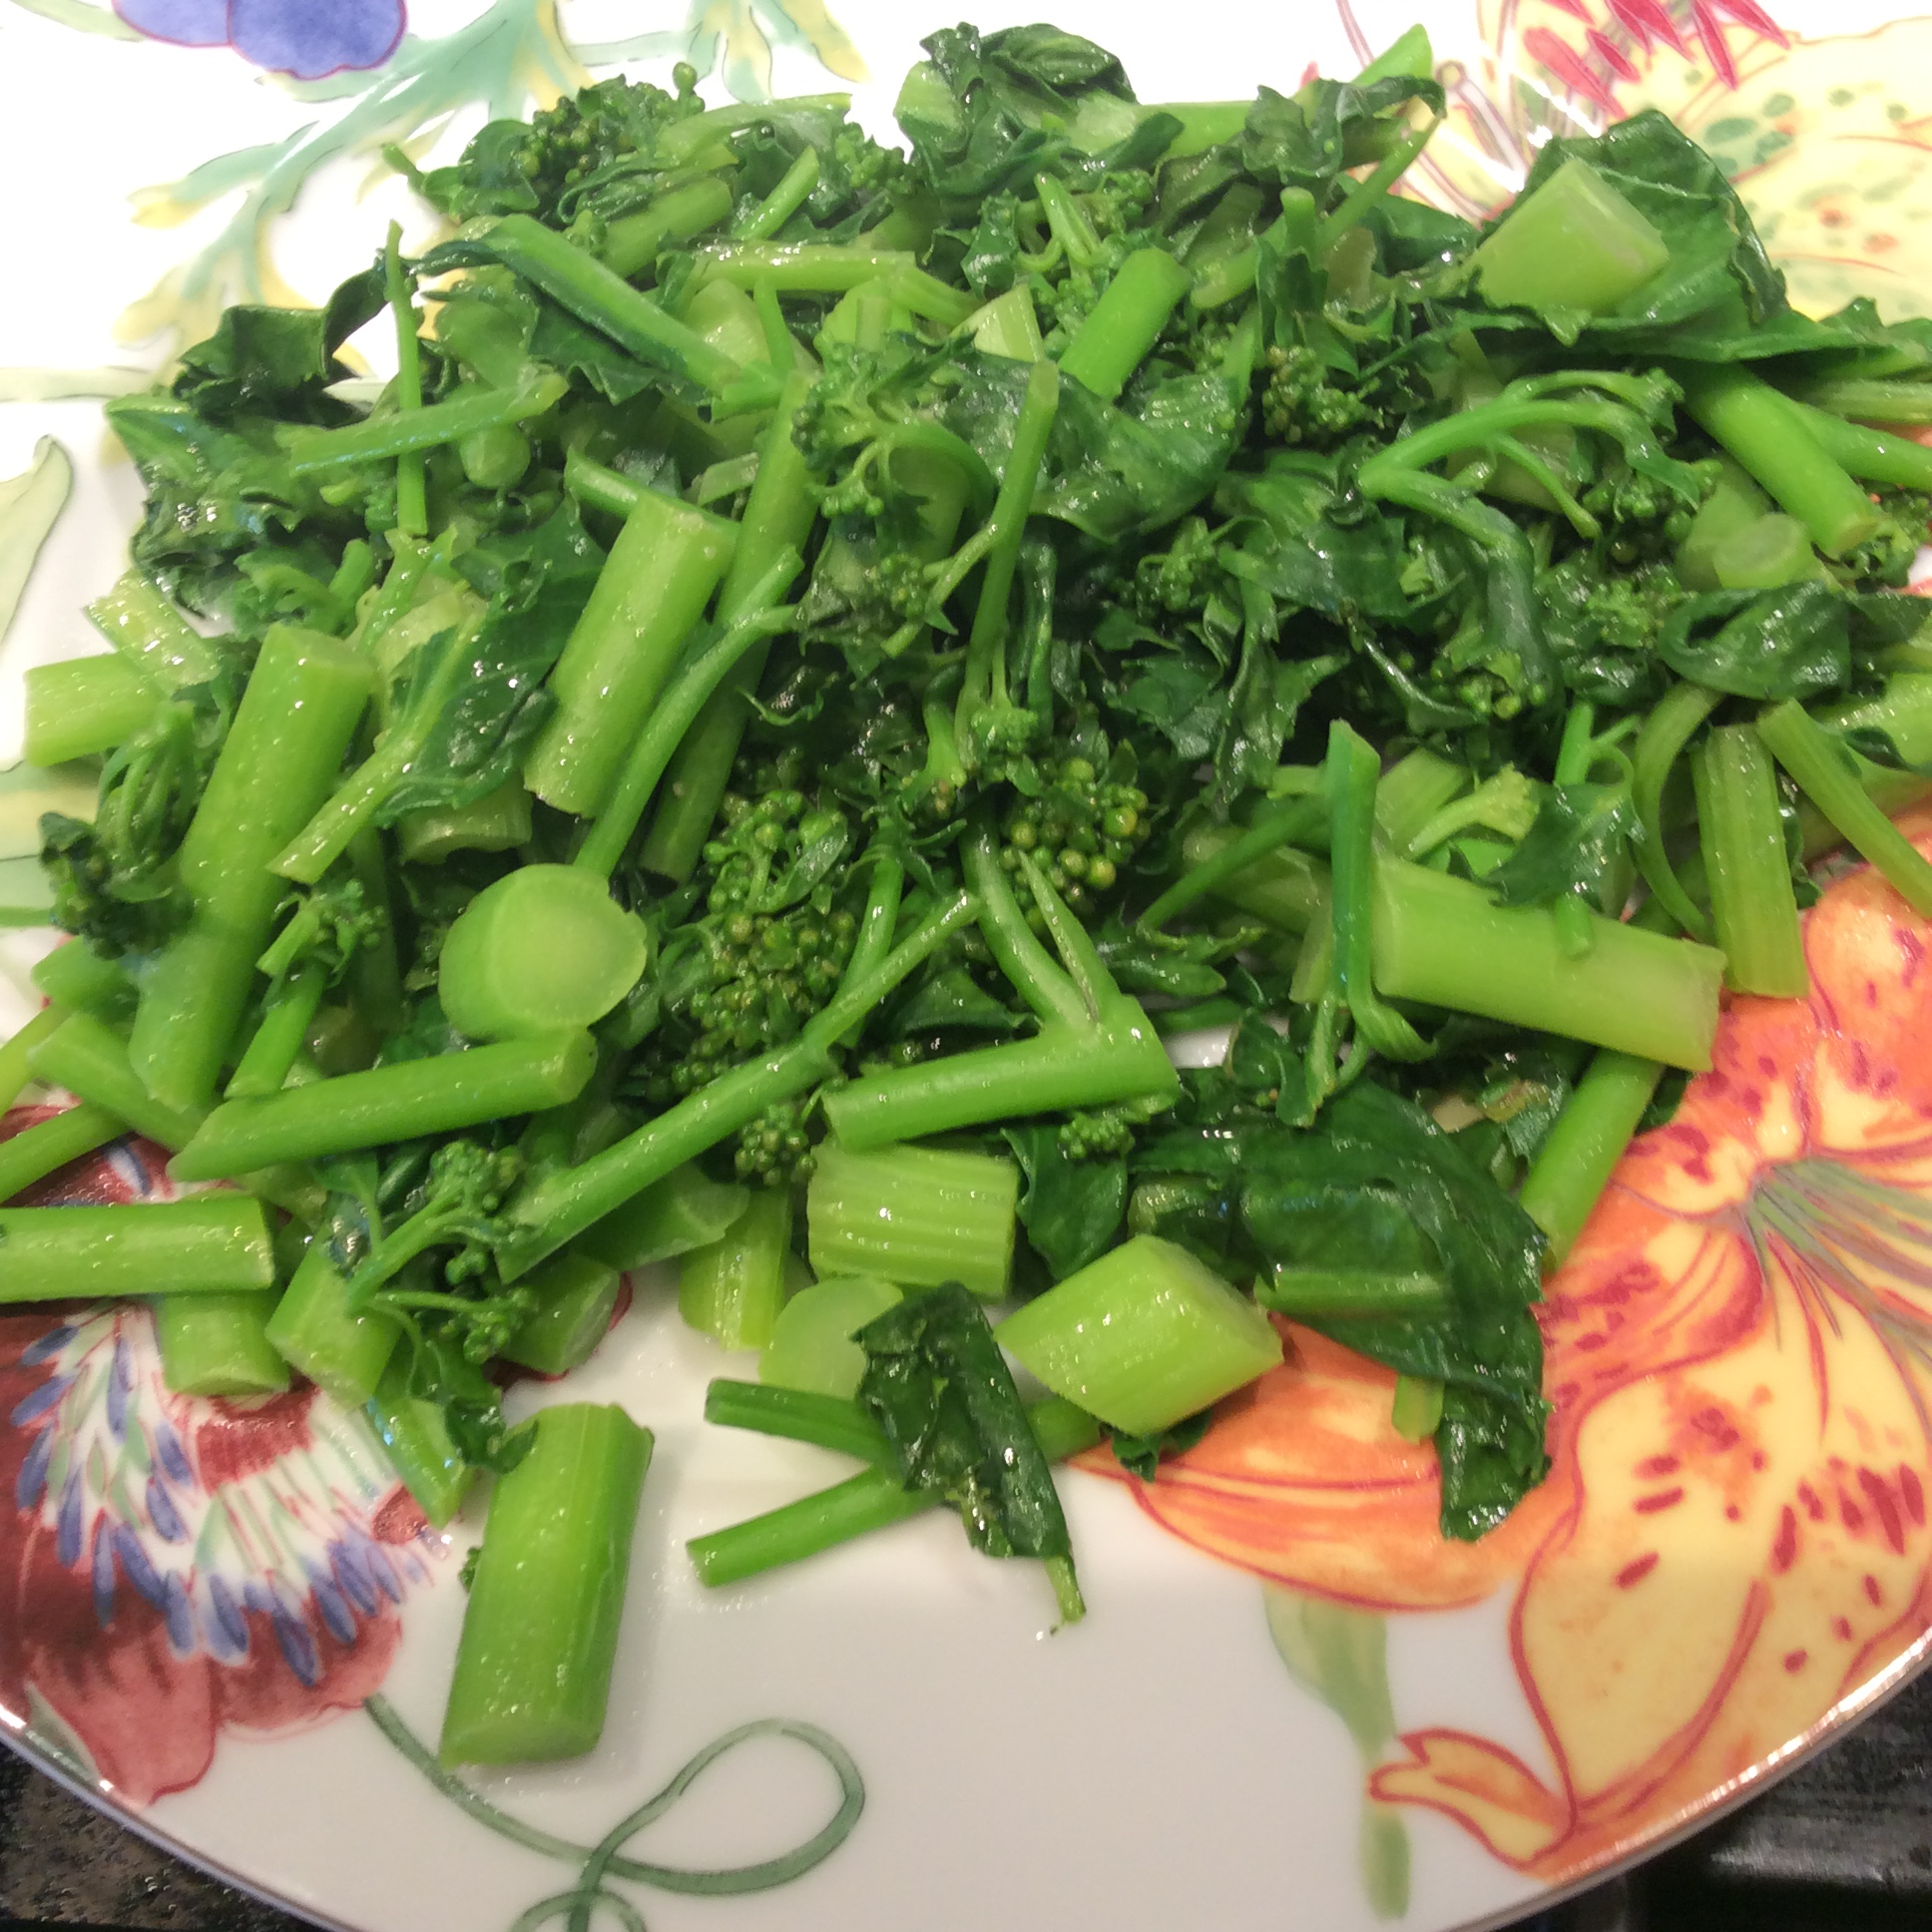
Here’s the part that many find difficult. When they look like this, keep going. Taste them at this stage and, if you like them you can stop here, but I think that you haven’t yet tasted hops shoots at their best. Instead add a pat of butter, at least a tablespoon, and keep cooking.The butter will brown a bit and is important to the flavor.

This stage, in my opinion, is their point of perfection. They have shrunk considerably. The stems are browned in spots and many of the little leaves are brown and crisp. Taste for salt and serve. I find them delicious. They are especially good alongside ham or bacon, and I like them with fried eggs for lunch.
Hops plants are known to contain an estrogenic compound and chalcones. The latter are an interesting group of chemicals with anti-tumor properties, and you can read more about them here. What this means in practice is anybody’s guess, and my own opinion is that it means very little, since the shoots are only in season for about 3 weeks and no one person will eat enough of them to make much difference one way or another. They are a springtime gift of the earth, thrown up exuberantly in great quantities with no effort on the gardener’s part except providing them with something to climb on, and I cherish them as such.
If you plan to grow them, remember that hops are intent on world domination and need a sturdy support. Also, they spread and come up in unexpected places. This is fine with me, since I keep a very untidy yard anyway, but if you like things to stay neatly in their assigned places, the bold independent nature of hops may not be to your taste.