Archive for the ‘preserving’ Category

Fermentation VI: Lacto-fermentation

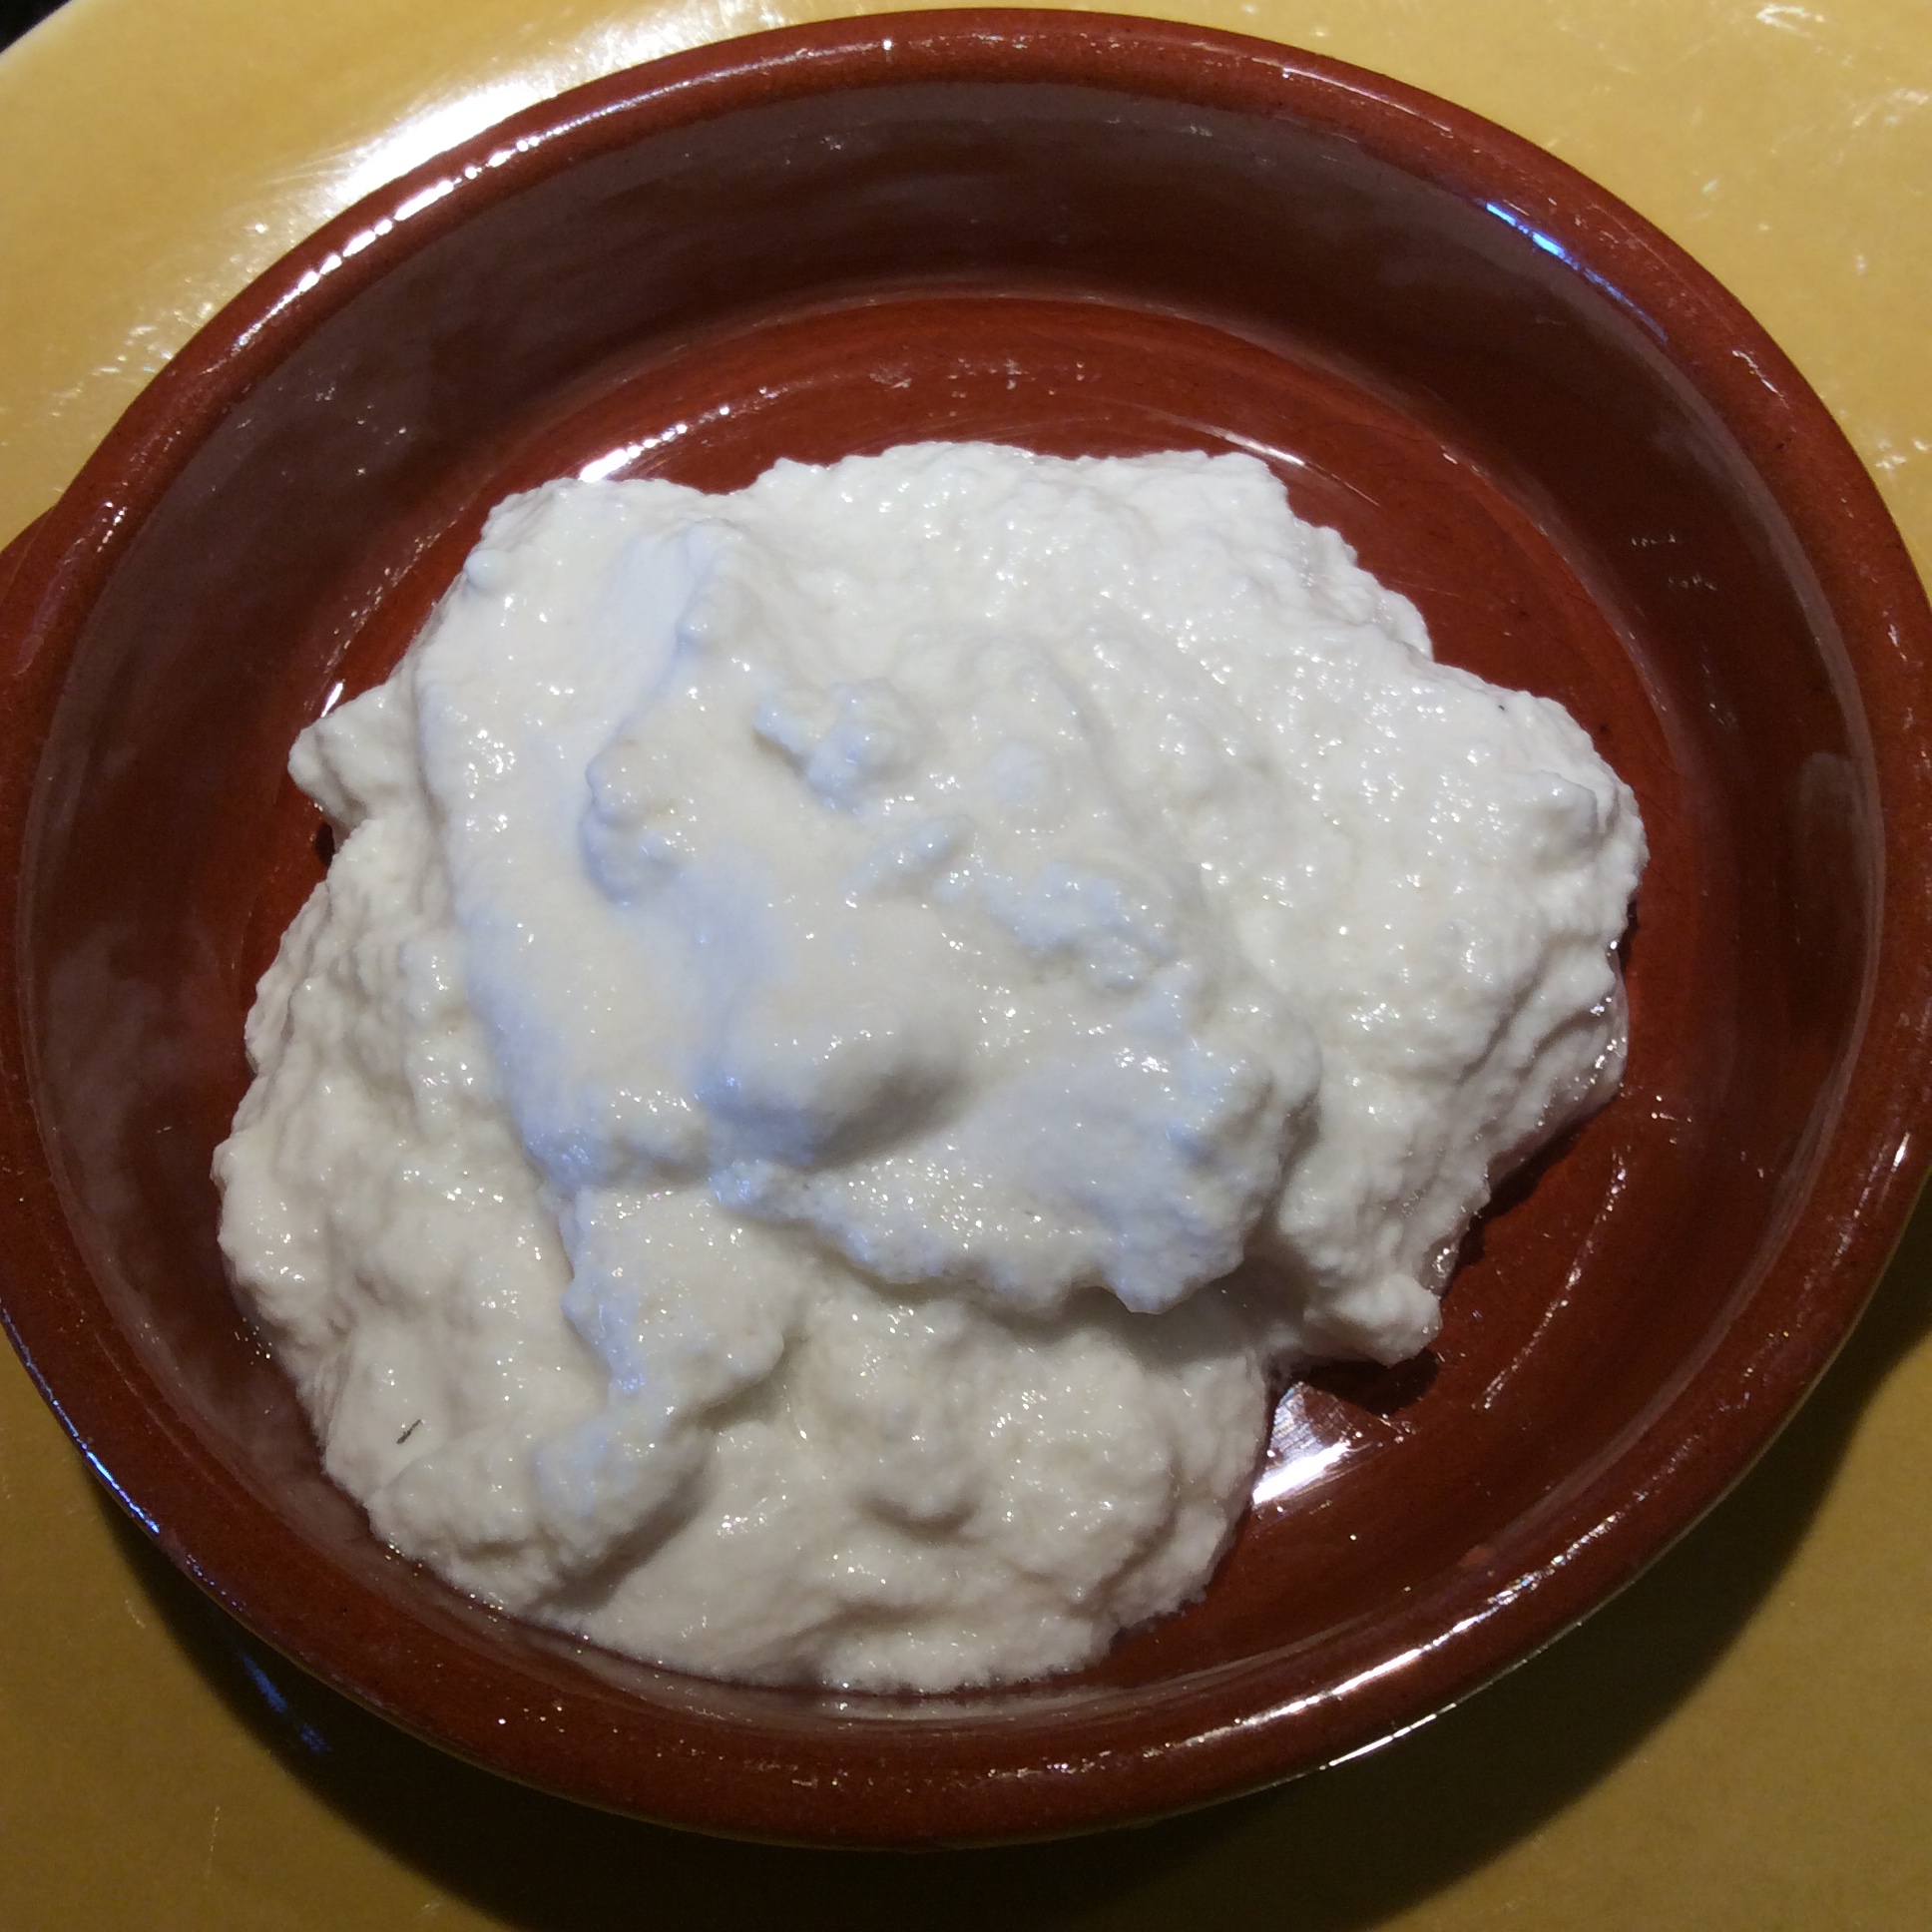
I can’t say enough about how The Noma Guide to Fermentation is livening up my kitchen experiments, but I was fairly sure that I wouldn’t care much for ordinary lacto-fermentation. All fermented pickles and sauerkraut are made by this method, and with the exception of kimchi I’ve never really taken to any of them. But then I bought a couple of pounds of organic cremini mushrooms because they were on sale cheap and I’m a sucker for a bargain, and had to figure out something to do with them. I tried slicing them, tossing with 4% of their weight in salt, and packing into quart mason jars under pickle weights. I set them aside loosely covered, and when I next paid attention to them a week later the mushrooms had shrunk down by half and the jars were filled with fluid. I sniffed the contents, and was surprised at the strong mushroom aroma. I tasted the fluid and it was salty and had a full mushroom flavor. So I started to experiment.

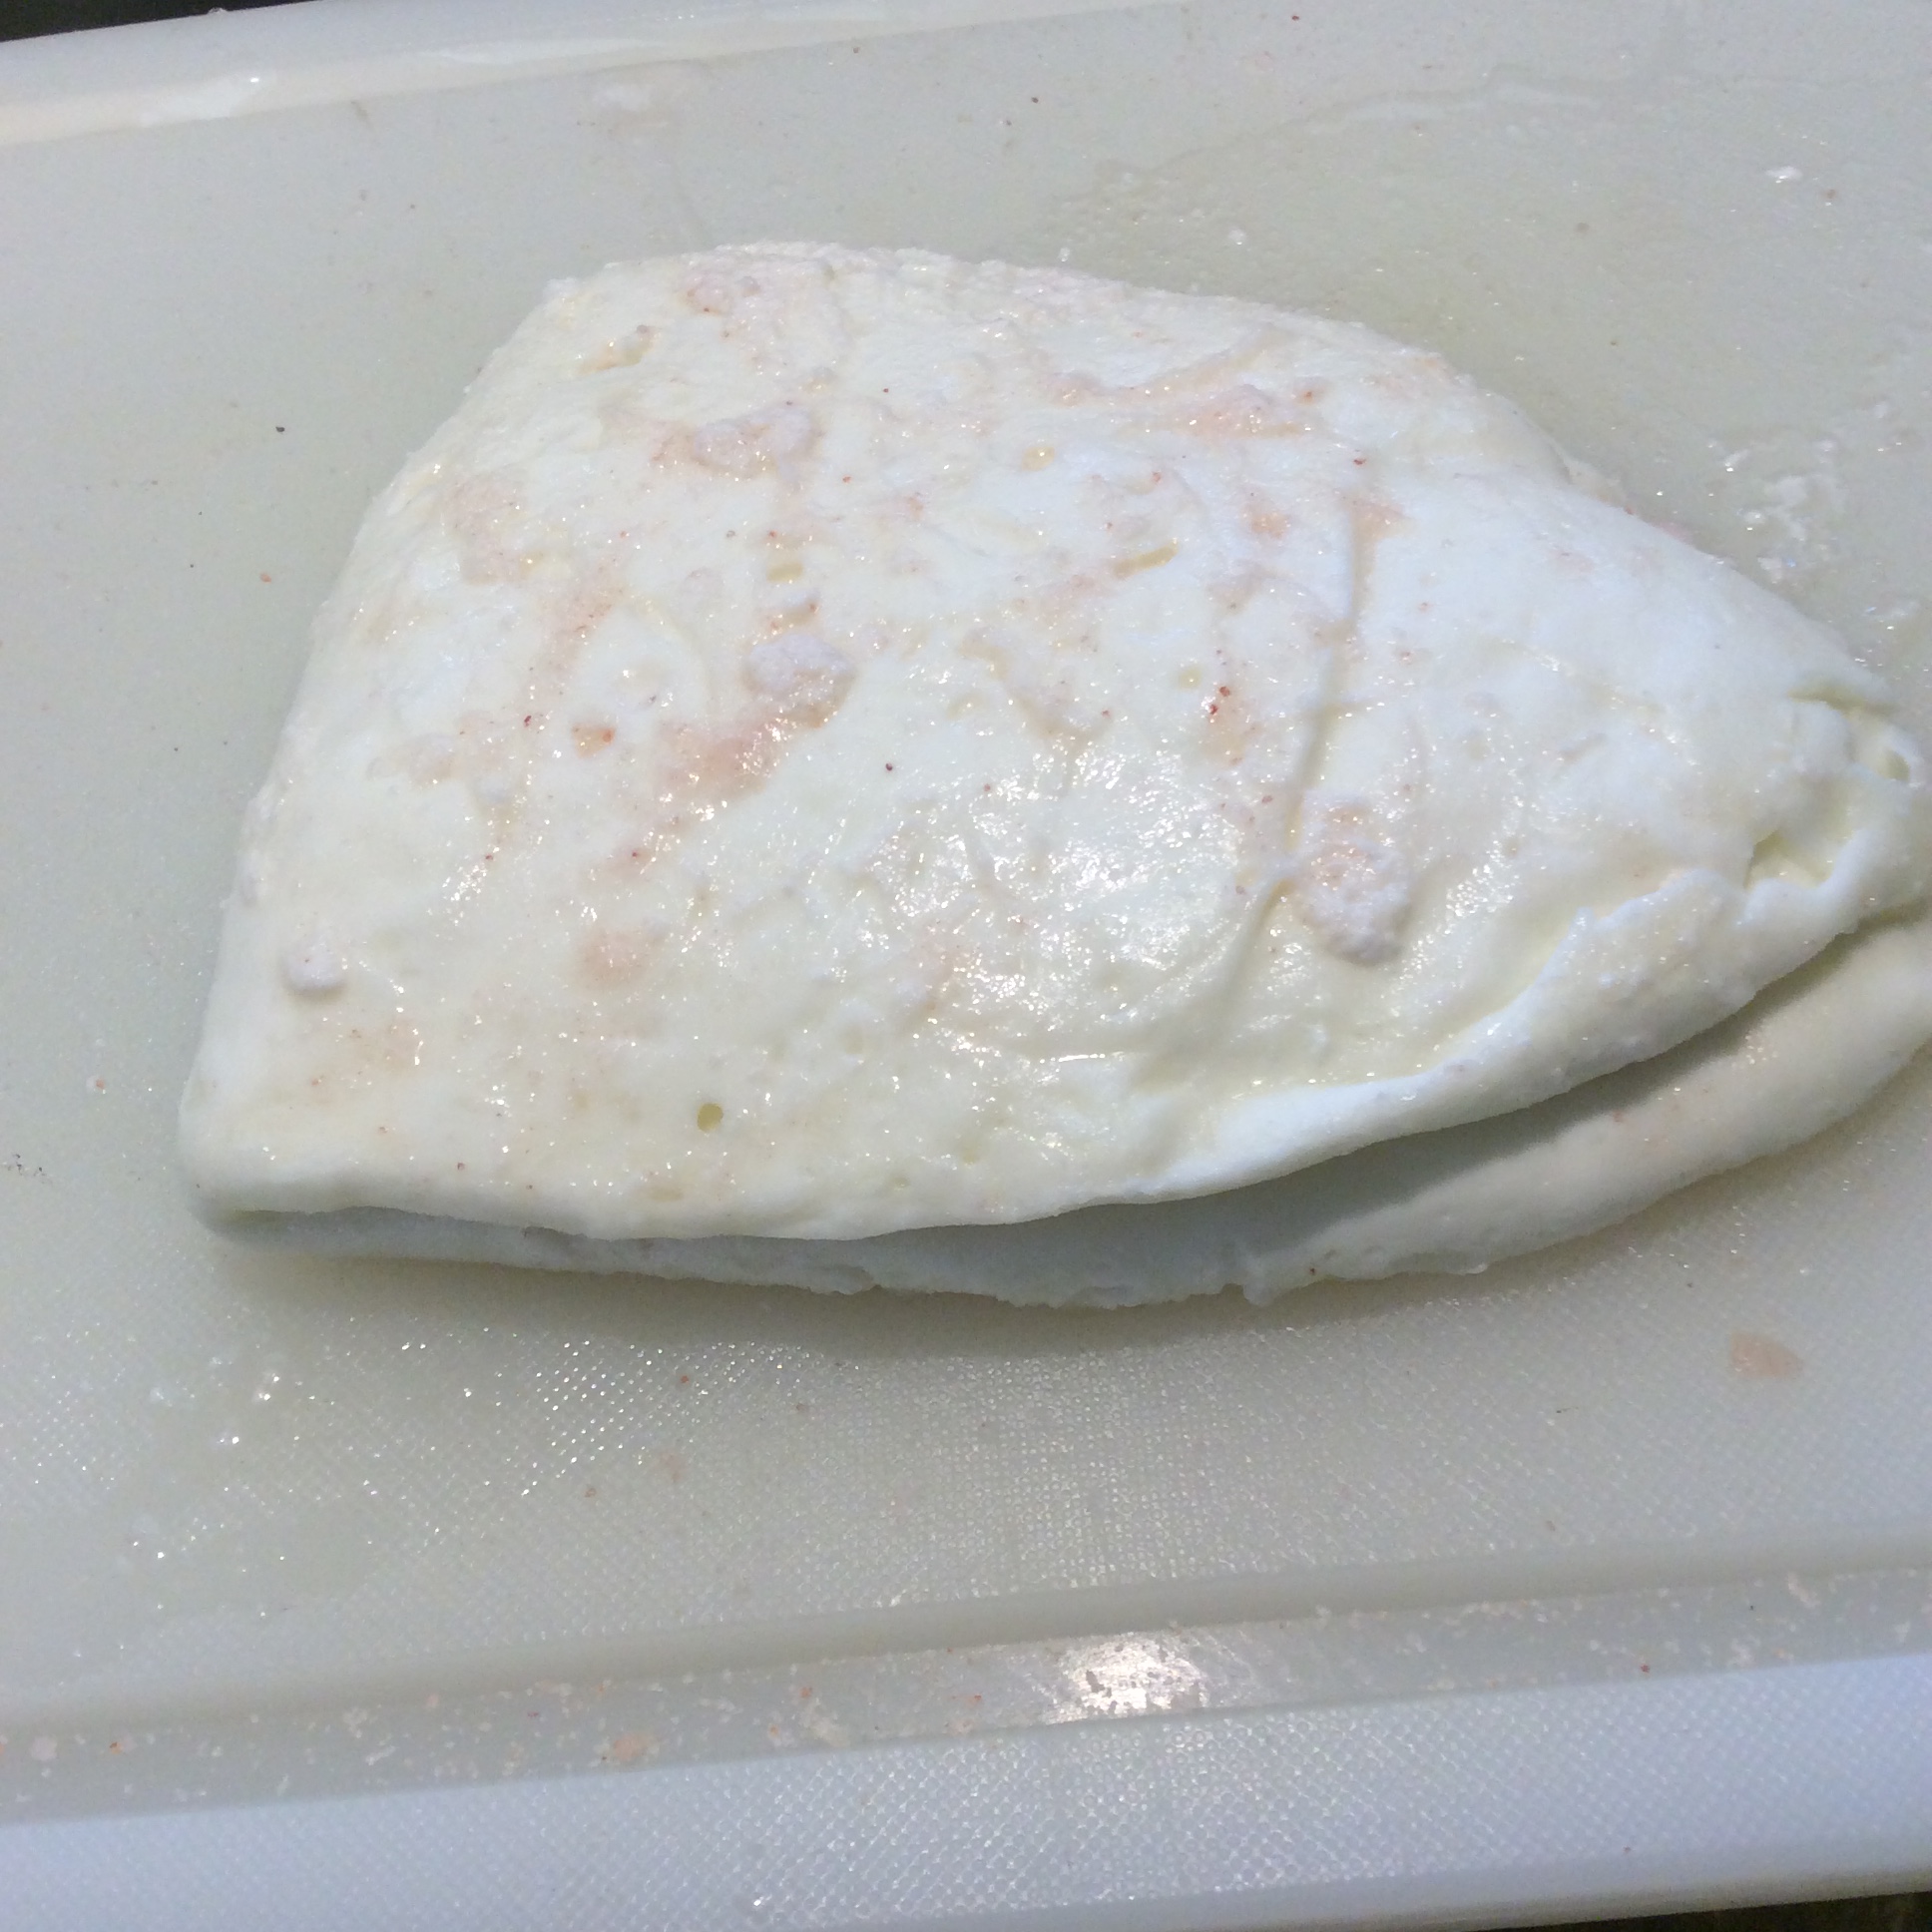
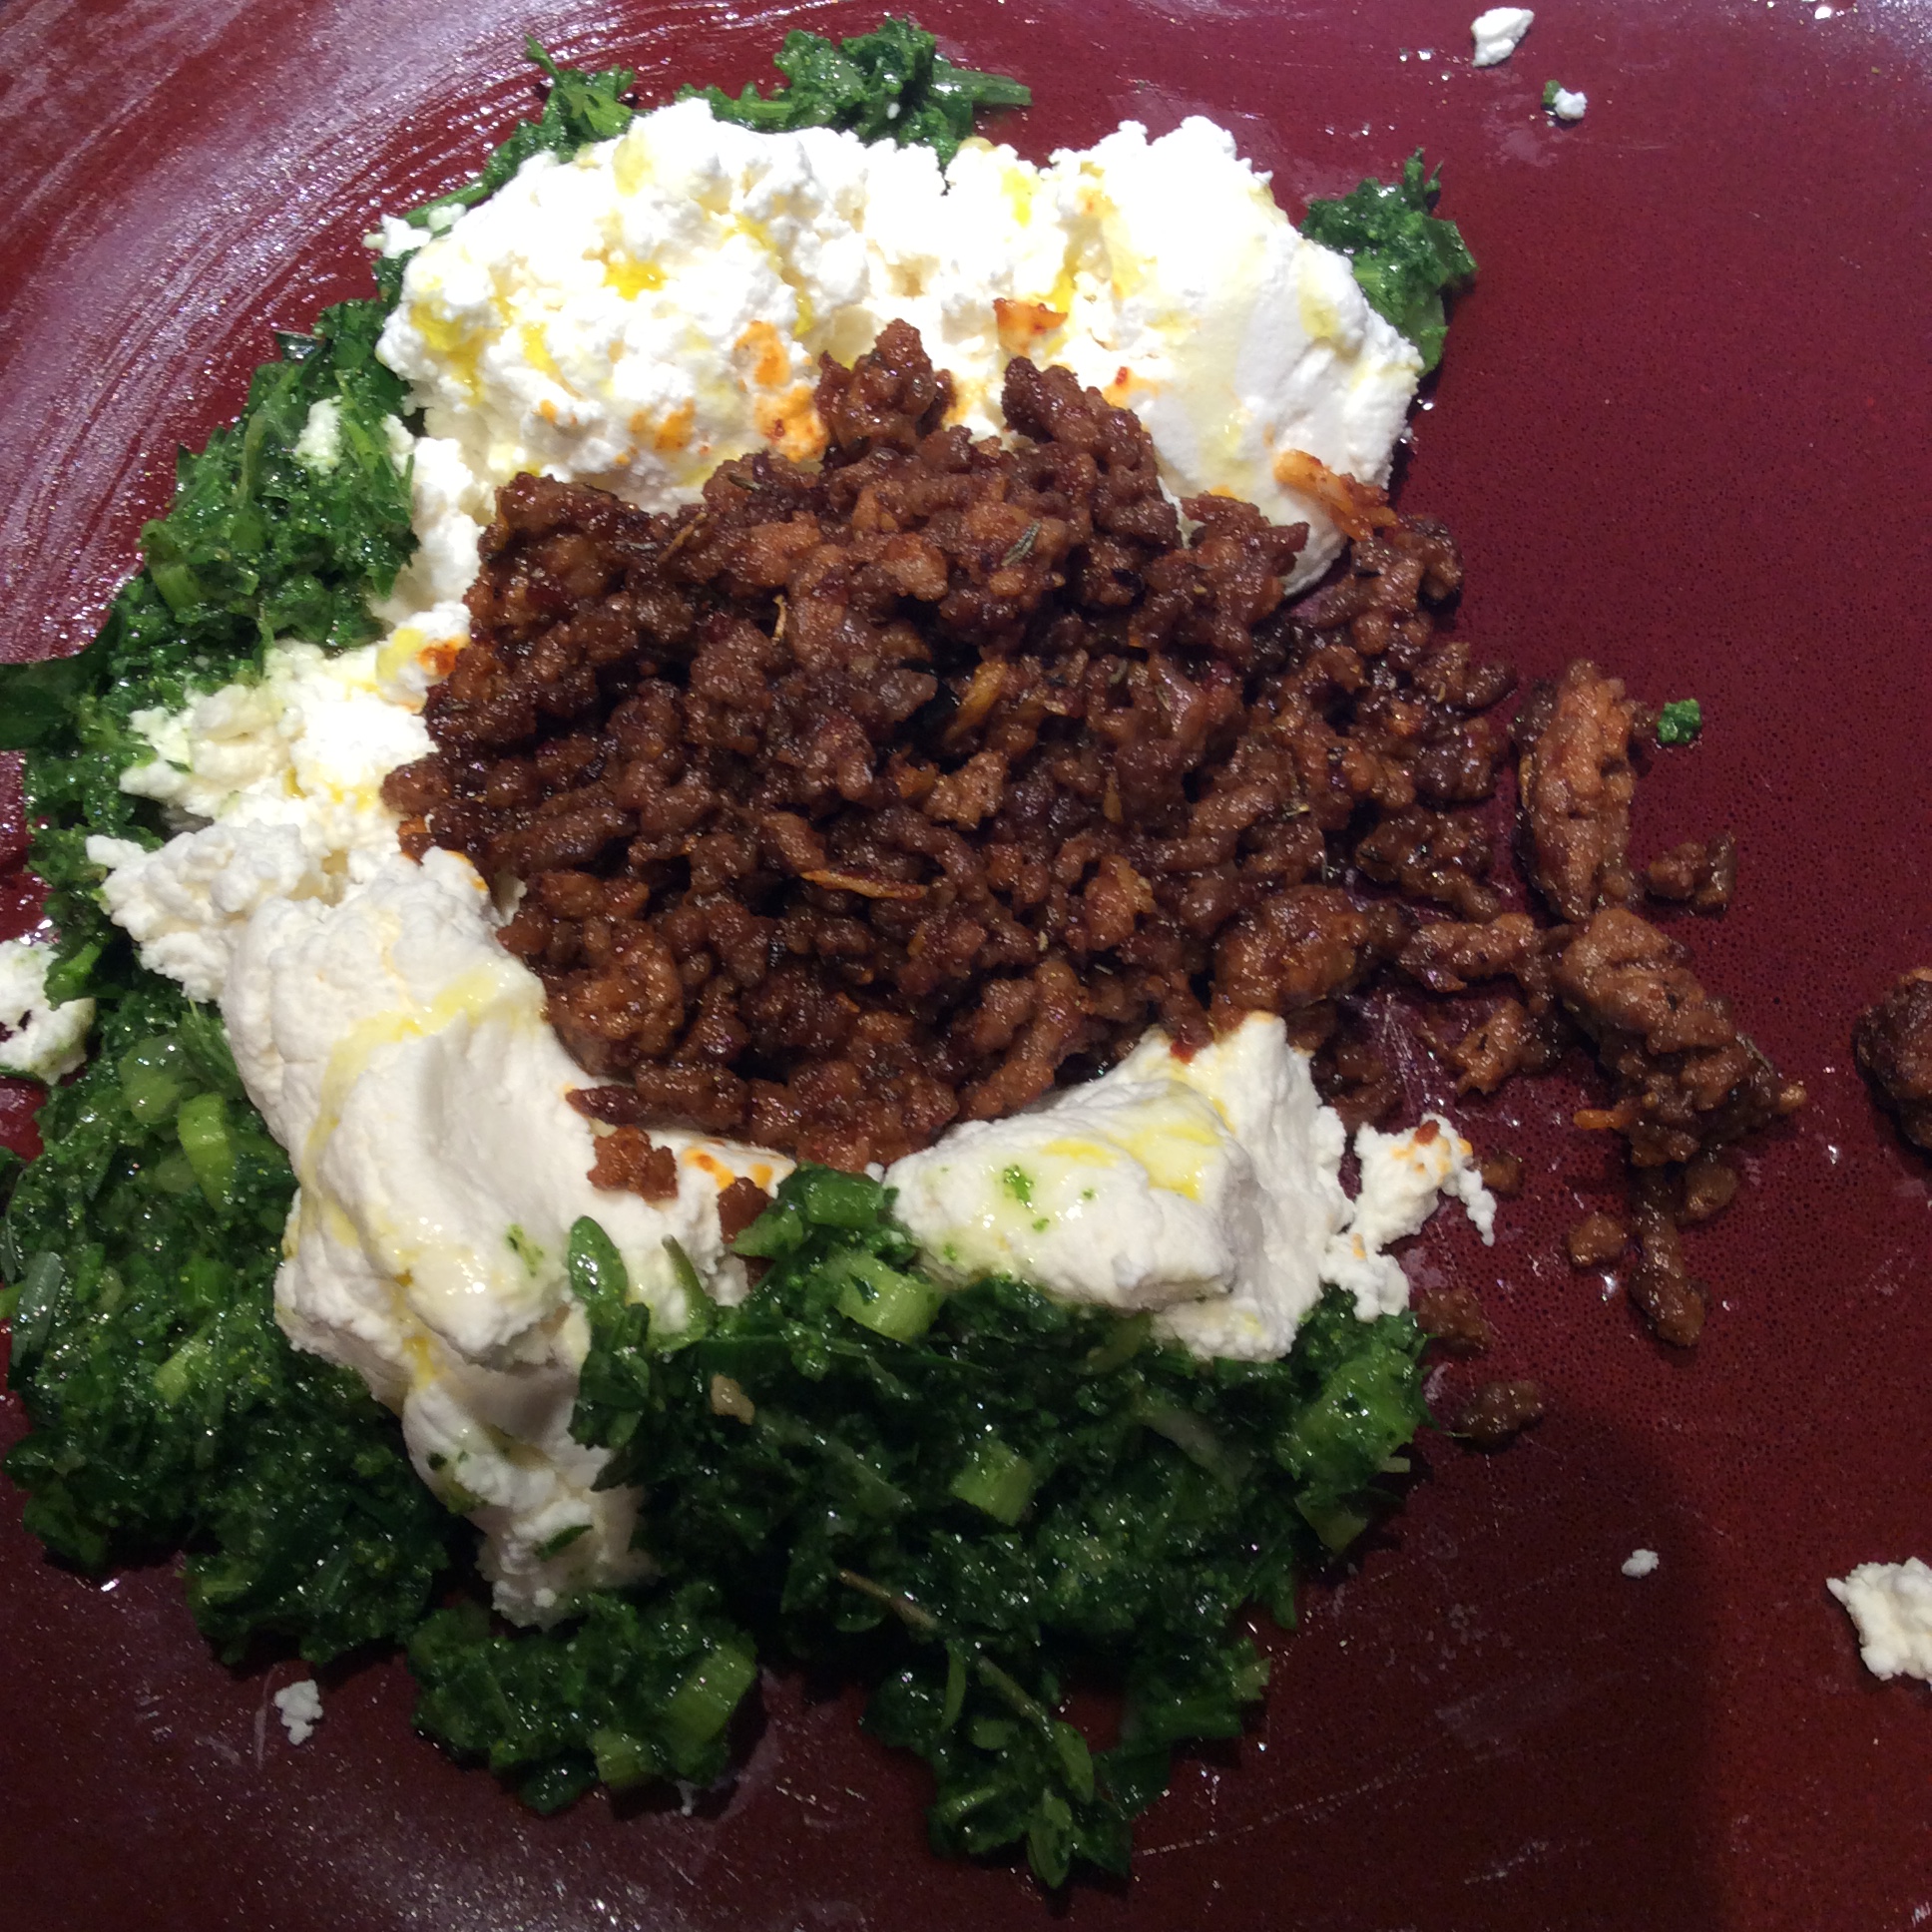
This soup also contains other recent and past experiments.  If there is one thing that I want readers of my blog to do, it is play with their food. Taste, and if the tastes go well together, it doesn’t matter  whether you ever saw a recipe quite like it before.  The flavor of mushrooms and black garlic seem made for each other, and I wanted to try the combination out. I put about a cup of dried porcini slices in hot water to soak. While they soaked, I started the cooking with two cloves of fresh garlic finely minced and eight peeled cloves of black garlic chopped very coarsely. I melted a couple of tablespoons of butter in a saucepan, and added the two garlic types and three slices of bacon sliced 1/4” wide. I sautéed these ingredients slowly over medium heat until the fresh garlic was cooked but not yet coloring, and added a quart of very good chicken broth, the soaked porcinis and their strained soaking water, half a cup of the fermented creminis and their fluid, and a tablespoon of dry sherry and two teaspoons of Red Boat fish sauce. This mixture was brought to a slow boil, and turned down to a simmer for 20 minutes. Meanwhile I peeled another eight cloves of black garlic and pounded them to a smooth paste with a good pinch of salt. When smooth, I pounded in a tablespoon of fermented mushroom liquid, a tablespoon of boiled-down kombucha,  and a tablespoon of red wine vinegar. When the soup was served, a good dollop of this paste was put in each bowl, to be stirred in by the diner. Of course you could just add it to the soup in the pot, but the pleasure of smelling the rich, complex fragrance as the paste melts into the soup would then be lost to all but the cook.

Be aware that lacto-fermentation only preserves food up to a point. After a week fermenting on the counter, the cremini juice is at peak flavor in my opinion. If left at room temp it may go on to develop musty off-flavors. In my kitchen, at the one-week point it goes in the fridge.

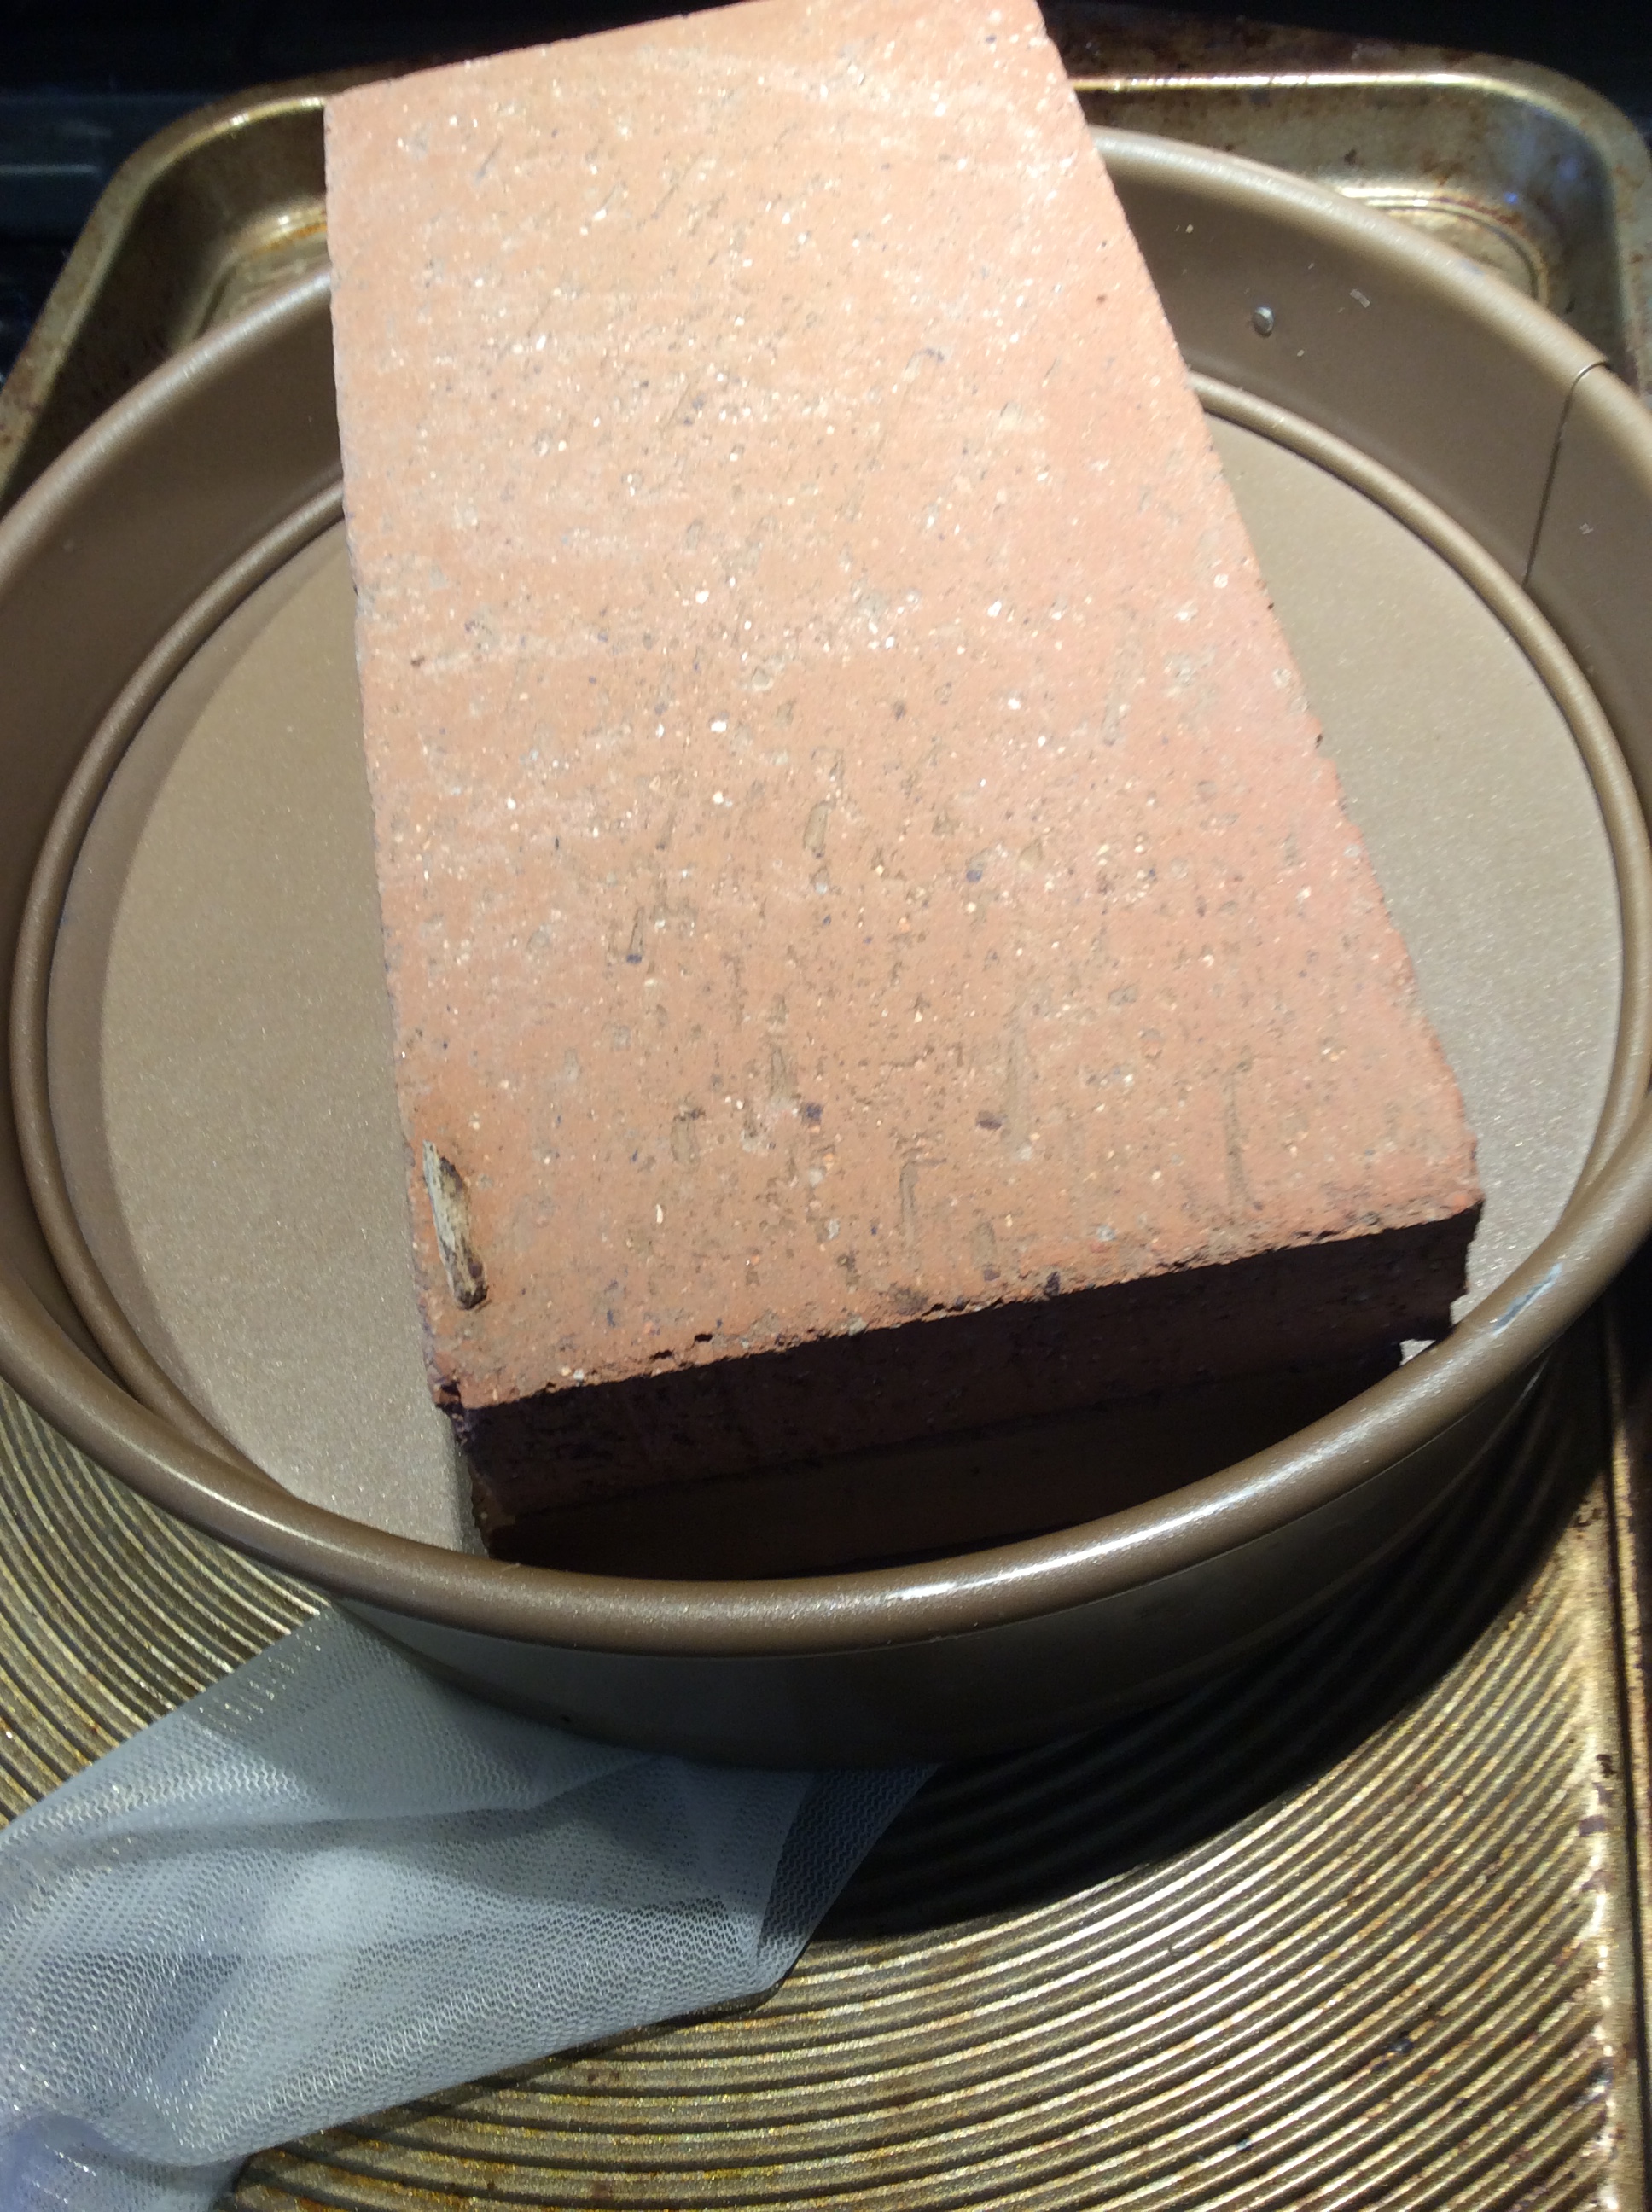
I always use quart wide-mouth mason jars for lacto-fermenting. There are wonderful crocks made especially for the purpose, but I don’t want that much of any one product, so I stick with my jars. Good pickle weights will simplify your lacto-fermenting and help prevent mold. Good weights are glass, solid and heavy, smooth on the bottom, and have a handle on top so that you can get hold of them. Cheaper weights are often hollow on the bottom, creating an airspace that invites mold, and aren’t heavy enough to keep the fermenting veggies submerged. Good ones can be bought here or from other sources. I have one hand-thrown stoneware pickle weight that I love, and have also used smooth rounded rocks of the right size after putting them through the dishwasher. This last is unscientific and probably unsanitary but I bet our ancestors did it too.


Fermentation II: Black Garlic and other goodies


Yesterday’s post was about a truly remarkable cookbook, The Noma Guide to Fermentation. Today I’ll talk about a kind of high-temperature enzymatic reaction, the making of black garlic and other blackened goodies. Properly speaking this is a Maillard reaction and not a fermentation, but let’s not quibble when the result is so delicious.

These products need to be made at a temperature of 140-150 degrees. This is hard to achieve without a specially built chamber, although I notice with interest that a household appliance built especially to make black garlic is available on Amazon. A rice cooker on “keep warm” is suggested, but mine turns off automatically. I am trying my large crockpot on the ‘keep warm” setting and the lid cracked to keep the temperature lower. But the process takes weeks, so I also bought some finished black garlic ready to use. If you go in for this cheat, you have the option to get the Asian kind that is one single huge clove of garlic about an inch across as shown above, but if you buy from Black Garlic North America you can buy it peeled fairly economically or (my choice) you can buy 1.5 pounds unpeeled and have the skins available to put in simmering chicken stock, giving it wonderful depth.  It is also sold in tiny little packets in many grocery stores, but I do not recommend that form. It is often dried out and unpleasant by the time you get it when it should be moist, chewy, and have the complexity of good balsamic vinegar with a different flavor.

As for using it, one of my favorite simple uses is to pound two huge single cloves or 5 to 6 regular cloves of black garlic to a smooth paste in a mortar and pestle with a little salt, then pound in 2 tablespoons of cold butter and a teaspoon of very good balsamic vinegar (nothing from the grocery store.) Pound until you have a smooth mousse-like paste, then use it to top steaks, spread it on bread, or toss with a little pasta. To make the heavenly sauce above is only slightly more complex. Make the black garlic butter paste as described. After pan-grilling a nice bit of steak, while the steak is resting deglaze the pan with water or red wine, boil down the fluid hard, add a cube of beef glacé from the freezer, and when the glacé is melted, add the black garlic paste and stir in thoroughly. Add a little water to thin the sauce to desired consistency, taste for salt, slice the steak, and pour the sauce over the slices.  This amount of black garlic paste makes enough for two people.   The recipe is very adaptable and doubles easily.  It’s rich and meaty, full of umami, and enhances everything it touches.  Tart it up with some extra butter if you want it even richer.  It also does wonderful things for ordinary supermarket cremini  mushrooms, and even better things for more flavorful mushrooms like shitakes.  Needless to say, make beef glacé if you don’t have it, and don’t even think about using a boullion cube. Or pound out the garlic cloves without adding the other ingredients and put them in vinaigrette.

Above, several regular-sized  cloves of black garlic were pounded and roughly mixed into half a cup of red wine vinaigrette and spooned over cold sliced steak, sliced avocado, and salad.  This might sound like too much but the flavor of black garlic is mellow and surprisingly low-key and you need a lot when it’s the main flavoring.

I was rather startled to find that all kinds of miraculous health benefits are attributed to black garlic, to the extent that it is sold in capsules for people who want to take it more conveniently. That anything as meaty and delicious as black garlic should be ground up and put in capsules is weird to me, sort of like taking steak in capsules, but suit yourself.

Incidentally if you grow a lot of garlic and have trouble storing it through the winter, it might be worth rigging up a chamber so that you can make black garlic in quantity. I would imagine that it could be sold quite profitably at farmers markets, since I almost never see it in those venues. However, I am nowhere near handy enough to tell you how to make a 140 degree chamber without burning down your house. Know your limitations.

‘The ”other goodies” refers  to the fact that the same process can be used to blacken some other foods, with varying results. Please use the Noma people as your guide if you want to try this, since I am experimenting with it but my products are not ready yet. Their descriptions of apples blackened in the fermentation chamber, then dehydrated until chewy, then coated in very dark chocolate, sound luscious. I am blackening some quinces, and I’ll report back if the result is worthwhile.

Post 300: Magnolia

This is a poignant post for me to write, because one of my very first posts written on this property was about my new Sanaan doe goat Magnolia. Beloved Maggie is over nine years old now, and no longer  holding body weight well when she’s in milk, and I’ve concluded that for her own good, this is her last lactation. So I’m filling the freezer with goat cheese, and Magnolia will retire and live out the rest of her life in leisure. Goats are smart and interactive and, like dogs, incredibly painful to lose. I hope that Maggie will be with us for a few years yet. She is a big part of my daily life, and I can’t think of a better subject for my 300th post.
If you are interested in having a dairy animal, bear in mind that they need excellent nutrition and eat a lot of expensive food and occasionally have veterinary needs, so don’t even think in terms of producing economical food. Think in terms of having a lovely pet, with benefits. Do remember that periodic male offspring are almost inevitable and you have to have a plan for what to do with them, so if you are vegetarian yourself this may be a real issue for you. Female offspring can often be given to good homes, but can very seldom be sold at a profit.  Also, I trust it goes without saying that when in milk they have to be milked out every day, not just when you feel like making cheese, and have to be milked when you travel, which is not a job that the average pet sitter will take on. Be aware that excellent fences are required to keep goats out of your own shrubbery and trees or your neighbor’s, and in my area an 8 foot fence they can be secured behind at night is needed for protection from coyotes. All of this costs money.  If any of this discourages you, there is an abundance of excellent cheese including the superb Mount Vikos halloumi available at any upscale food store or co-op.

One of the reasons that I wanted a dairy animal in my suburban yard is that I like to make cheese, and currently it’s pretty hard to make cheese from most commercial milk. This is because milk is being pasteurized at increasingly high temperatures to extend its shelf life, and the milks in your local dairy case that don’t say “UHT” were probably still pasteurized at near-UHT temperatures. This affects the proteins, and such milk will not form a proper curd when rennetted. Therefore, unless you have access to fresh-from-the-animal milk, success is by no means certain with any cheese recipe except ricotta. Since it’s illegal or very difficult in most areas to sell raw milk, a dairy animal is your ticket to cheesemaking. If you don’t have a dairy animal or access to milk that wasn’t processed at high temperatures, I am very sorry to say that I do not recommend cheesemaking because it is going to be too disappointing. Personally, I find it absolutely weird to think that most commercial milk is so denatured that you can’t make cheese out of it. But these are the facts.

If you have access to  clean milk that was not pasteurized at high heat, go immediately to Ricki Carroll’s wonderful cheesemaking site and go to town. She has all the supplies and cultures as well as reams of recipes and advice.
My own choice has been to stick to fresh cheeses and halloumi, because they are quick and easy to make, can be frozen for later use, and do not require any special attentions as they age because they don’t age. I’m especially fond of halloumi because it can be grilled to such a wonderful crusty brown, and I do love a good Maillard reaction.
Rather than give my own haphazard procedure for making halloumi, which might not be perfect but fits into my kitchen routine and produces a good product, I am going to have you start off on the right foot by linking to Ricki’s recipe.  I will only add that I don’t use any herbs in finishing the cheese, because it is more versatile if it isn’t already carrying an herb flavor.  Any herbs that you want can easily be added at the cooking or serving stage, as the green onions pan-grilled with the halloumi in the top picture.  Also, a salted but unseasoned halloumi is an excellent stand-in for paneer if you feel suddenly moved to go Indian rather than Mediterranean.  And a wild greens saag paneer with your own greens fed cheese is as delicious a dinner as I know of,  and likely to contribute to your health and longevity as well as your immediate gratification.

A quarter cup of ricotta  is a byproduct of making halloumi,  and makes a nice Cook’s Treat to reward yourself for your enterprise.

Here,  fresh goat cheese serves as the bulk of a dinner, a strongly seasoned ground meat with sweet spices in the Arabic style is part of the flavoring, and an elaborate herb pesto is the other part.

Continue reading

Goat Paneer

Goats are wonderful hardy friendly animals to have around,  and the amount of milk that they give is very considerable relative to the input required, but many people do not like the taste of most goat cheeses. If you are one of these people, or even if you like goat cheese, you may still want to know about some alternatives that avoid the goaty taste. Fresh ricotta and fresh paneer,  when made with fresh goat milk, are not distinguishable from cows’ milk products.  You need to use the milk within a day of milking, or at most two days, and it goes without saying that it has to be refrigerated all that time.

I have written elsewhere about making ricotta and you can review that page because the directions are the very same up to the pressing. Making paneer is every bit as easy but requires just a bit of forethought to have some simple equipment on hand. It has to be strained and then pressed. You can buy a cheese press for this, if you want it for some other purpose, but if you just want to  make paneer, all you need is  real cheesecloth (not the kind sold for dusting and polishing) for the straining, a  baking sheet,  a saucer, and a couple of bricks or other suitable weight. I use a springform pan and a nylon mesh bag made for straining fruit for cider.  A gallon is about the minimum amount of milk that is worth fooling with, and will produce about 8 ounces of finished paneer.

Heat the milk to almost boiling, watching it carefully because it wants to boil over. Add the vinegar, stir in, watch for the formation of curd, and add a little more vinegar if needed until you have white curdled curds in greenish whey.   Put a strainer in the sink or over a bowl if you wish to catch the whey and use it for some other purpose. Line with cheesecloth, pour the curdled milky mixture in, and let it drain for at least 30 minutes.  Within an hour, wrap the largely drained curds up in the cheesecloth with the idea of forming a block that will be about an inch thick. The other dimensions will depend on how much milk you were working with. For a gallon of milk, I plan a block of paneer about  3″ x 6″.  Put it on a baking sheet so that the remaining liquid can drain away, put the saucer upside down on top, and put the weight on the saucer. Or, if you are using my method, put the ring of the springform pan on the sheet, the cloth wrapped curds inside, and use the base of the springform pan on top  to hold the weight and “follow” the curd block as it shrinks in pressing.  Either way, leave your set-up for about eight hours.  You then have paneer, which can be used in many Indian dishes. It browns beautifully, and if the milk came from a grass fed animal, it is superbly  healthy.  It is the backbone of sa’ag paneer, one of my favorite dishes.  It also freezes well, so it’s a good way to preserve your precious grass fed milk.
img_5277