Archive for the ‘Ketogenic diet’ Category

Urban Livestock I: Hens

image

Many people love the idea of urban farm animals and wonder what’s practical on a city lot. So I’ll spend a few posts ( not necessarily consecutively) talking about laying hens, meat chickens, and goats. There are other urban/ suburban possibilities, including bees, rabbits, small pig breeds, and even mini-cows. I may explore these in the future, but for now I’ll stick to what I know.

image

Laying hens are easy and delightful but need to be thought out. If you start with chicks, it will be 5-7 months until your first egg. Started pullets are available in many areas but of course are more expensive. Check Craigslist if you want to find pullets. I suggest two hens per egg-eating household member. That should provide enough eggs for eating, baking, and giving away occasionally. Many people who get hens fail to realize that they don’t necessarily lay every day except during the spring glut and don’t lay at all when they are broody or molting, or in midwinter unless you supply supplemental light.

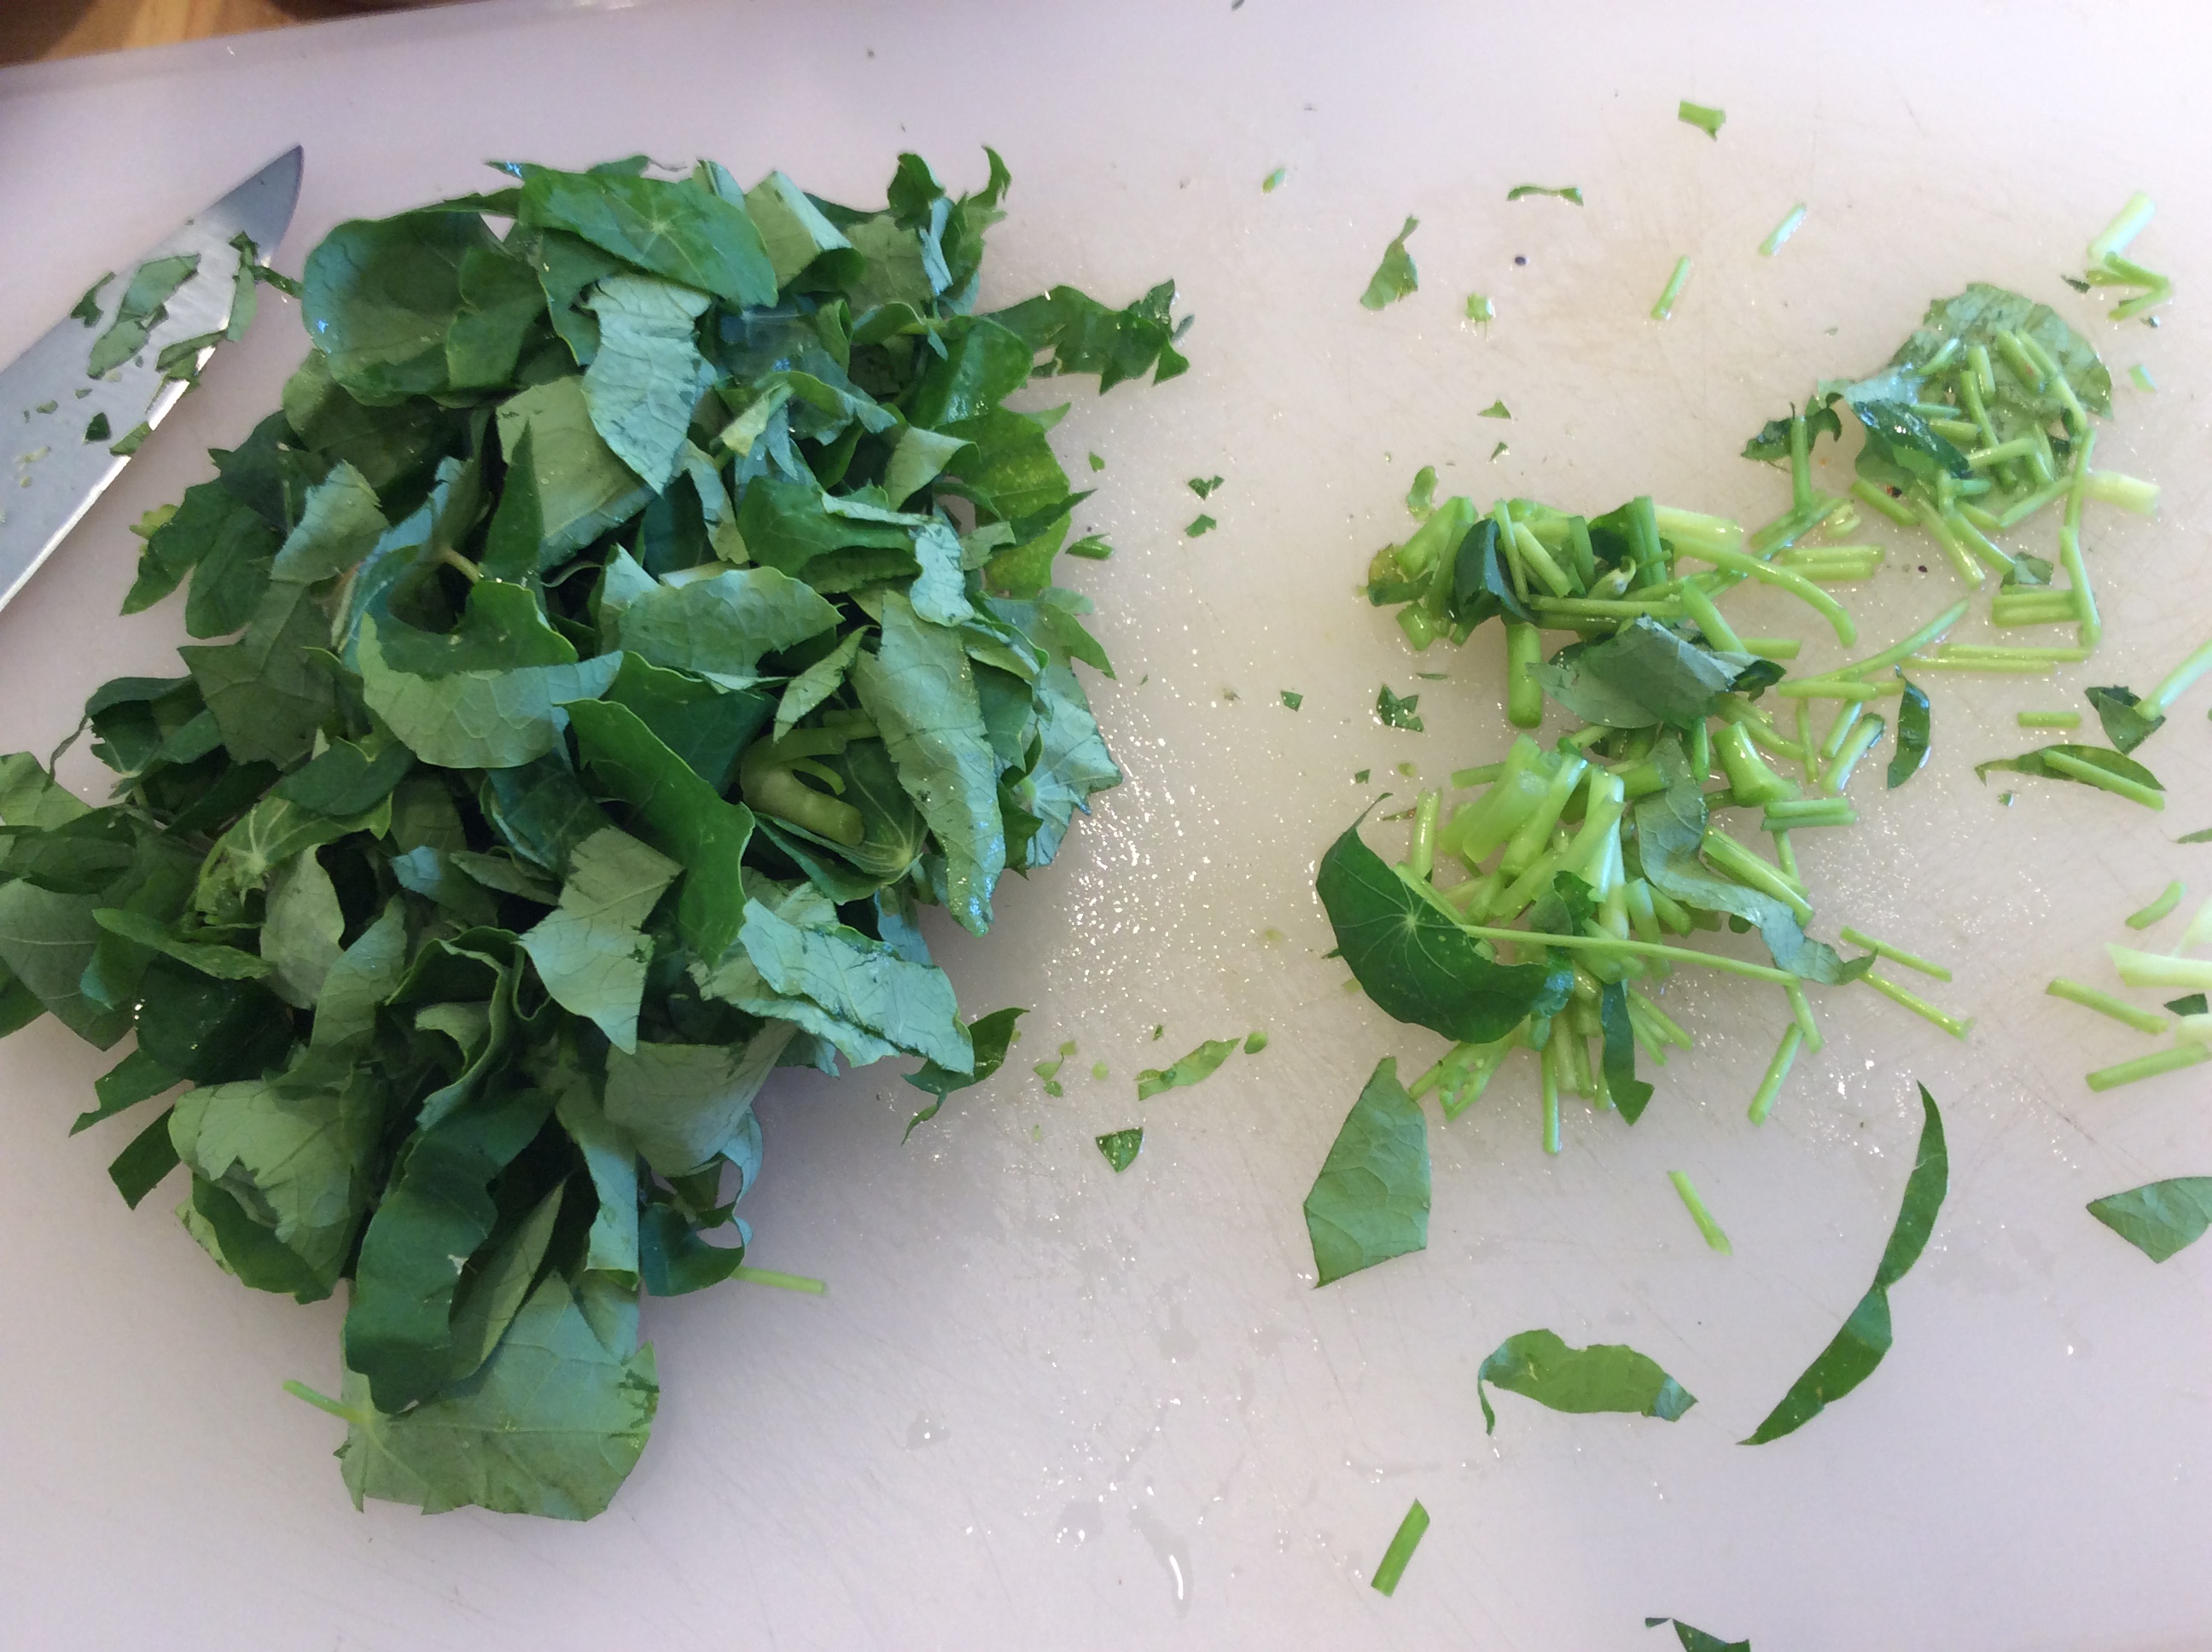
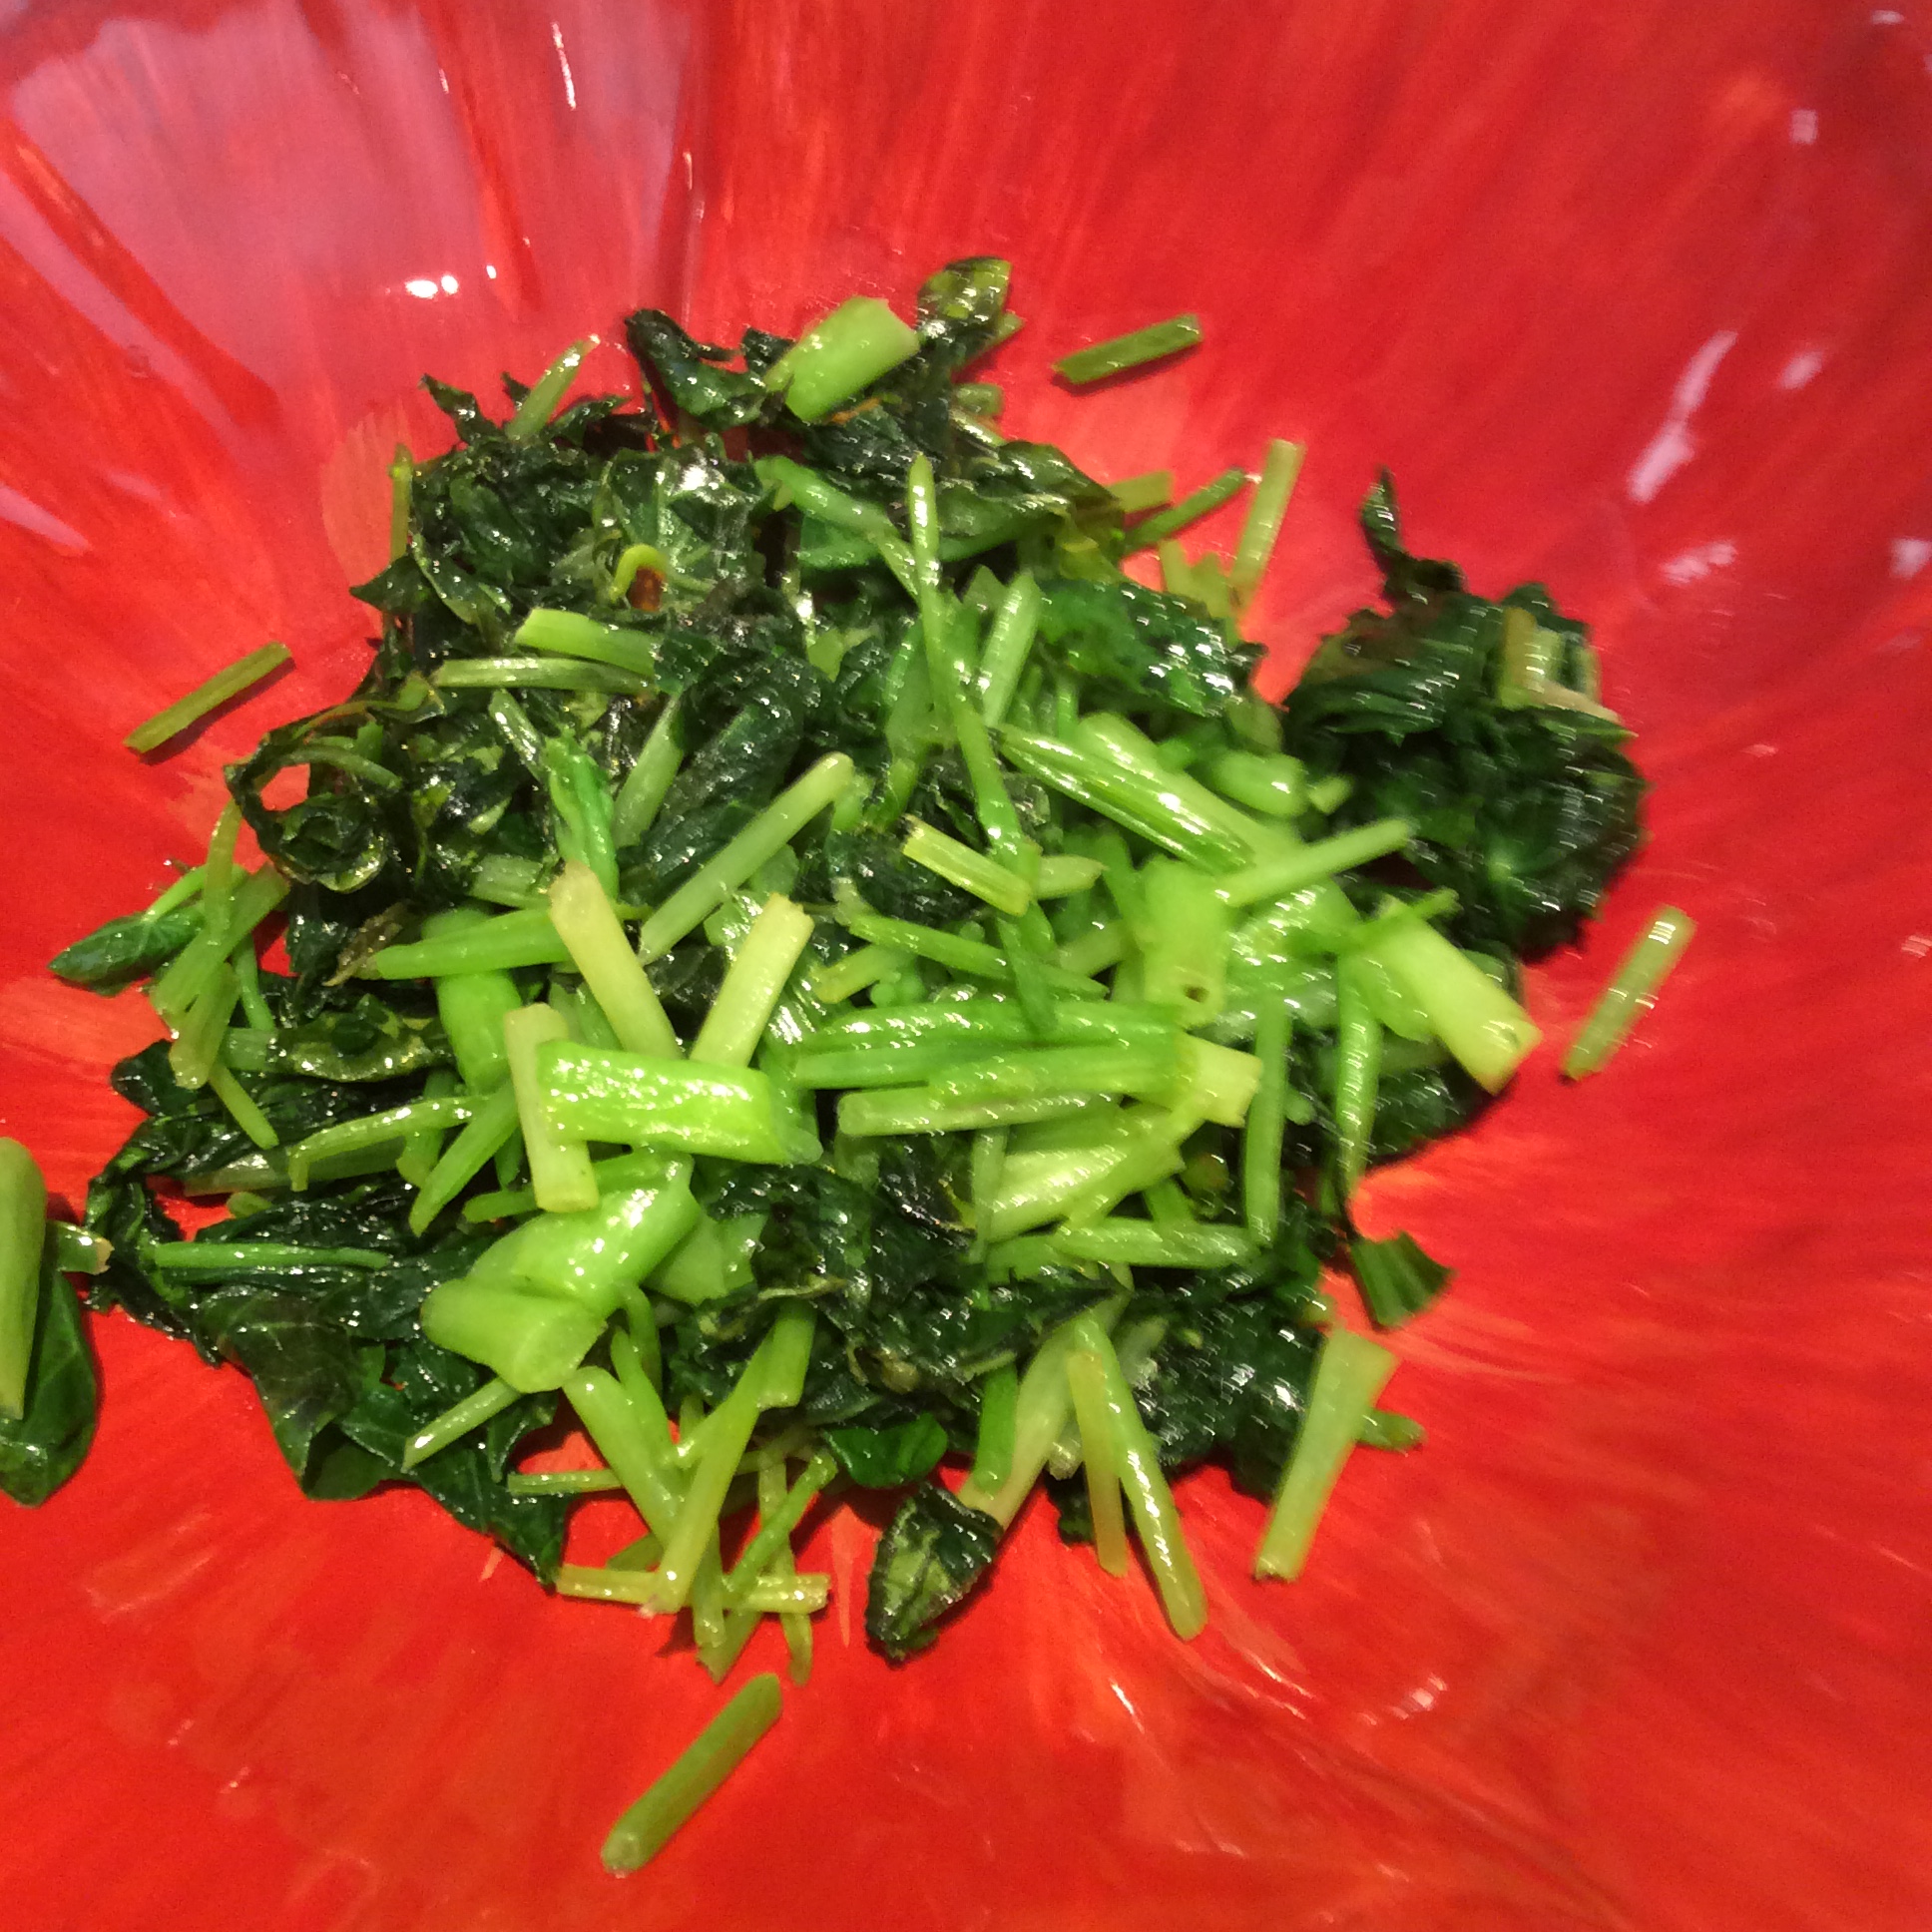
Housing doesn’t need to be elaborate but does need to be safe. Raccoons are a concern in most urban areas. In my area we also have urban coyotes who can get over 6 foot fences, and they wiped me out of laying hens before I had the chicken run roofed over with sturdy welded wire. A safe coop at night is not enough, since I regularly see coyotes during the daytime. So no free-ranging for my ladies. I cut grass and leaves to bring to them instead.

image

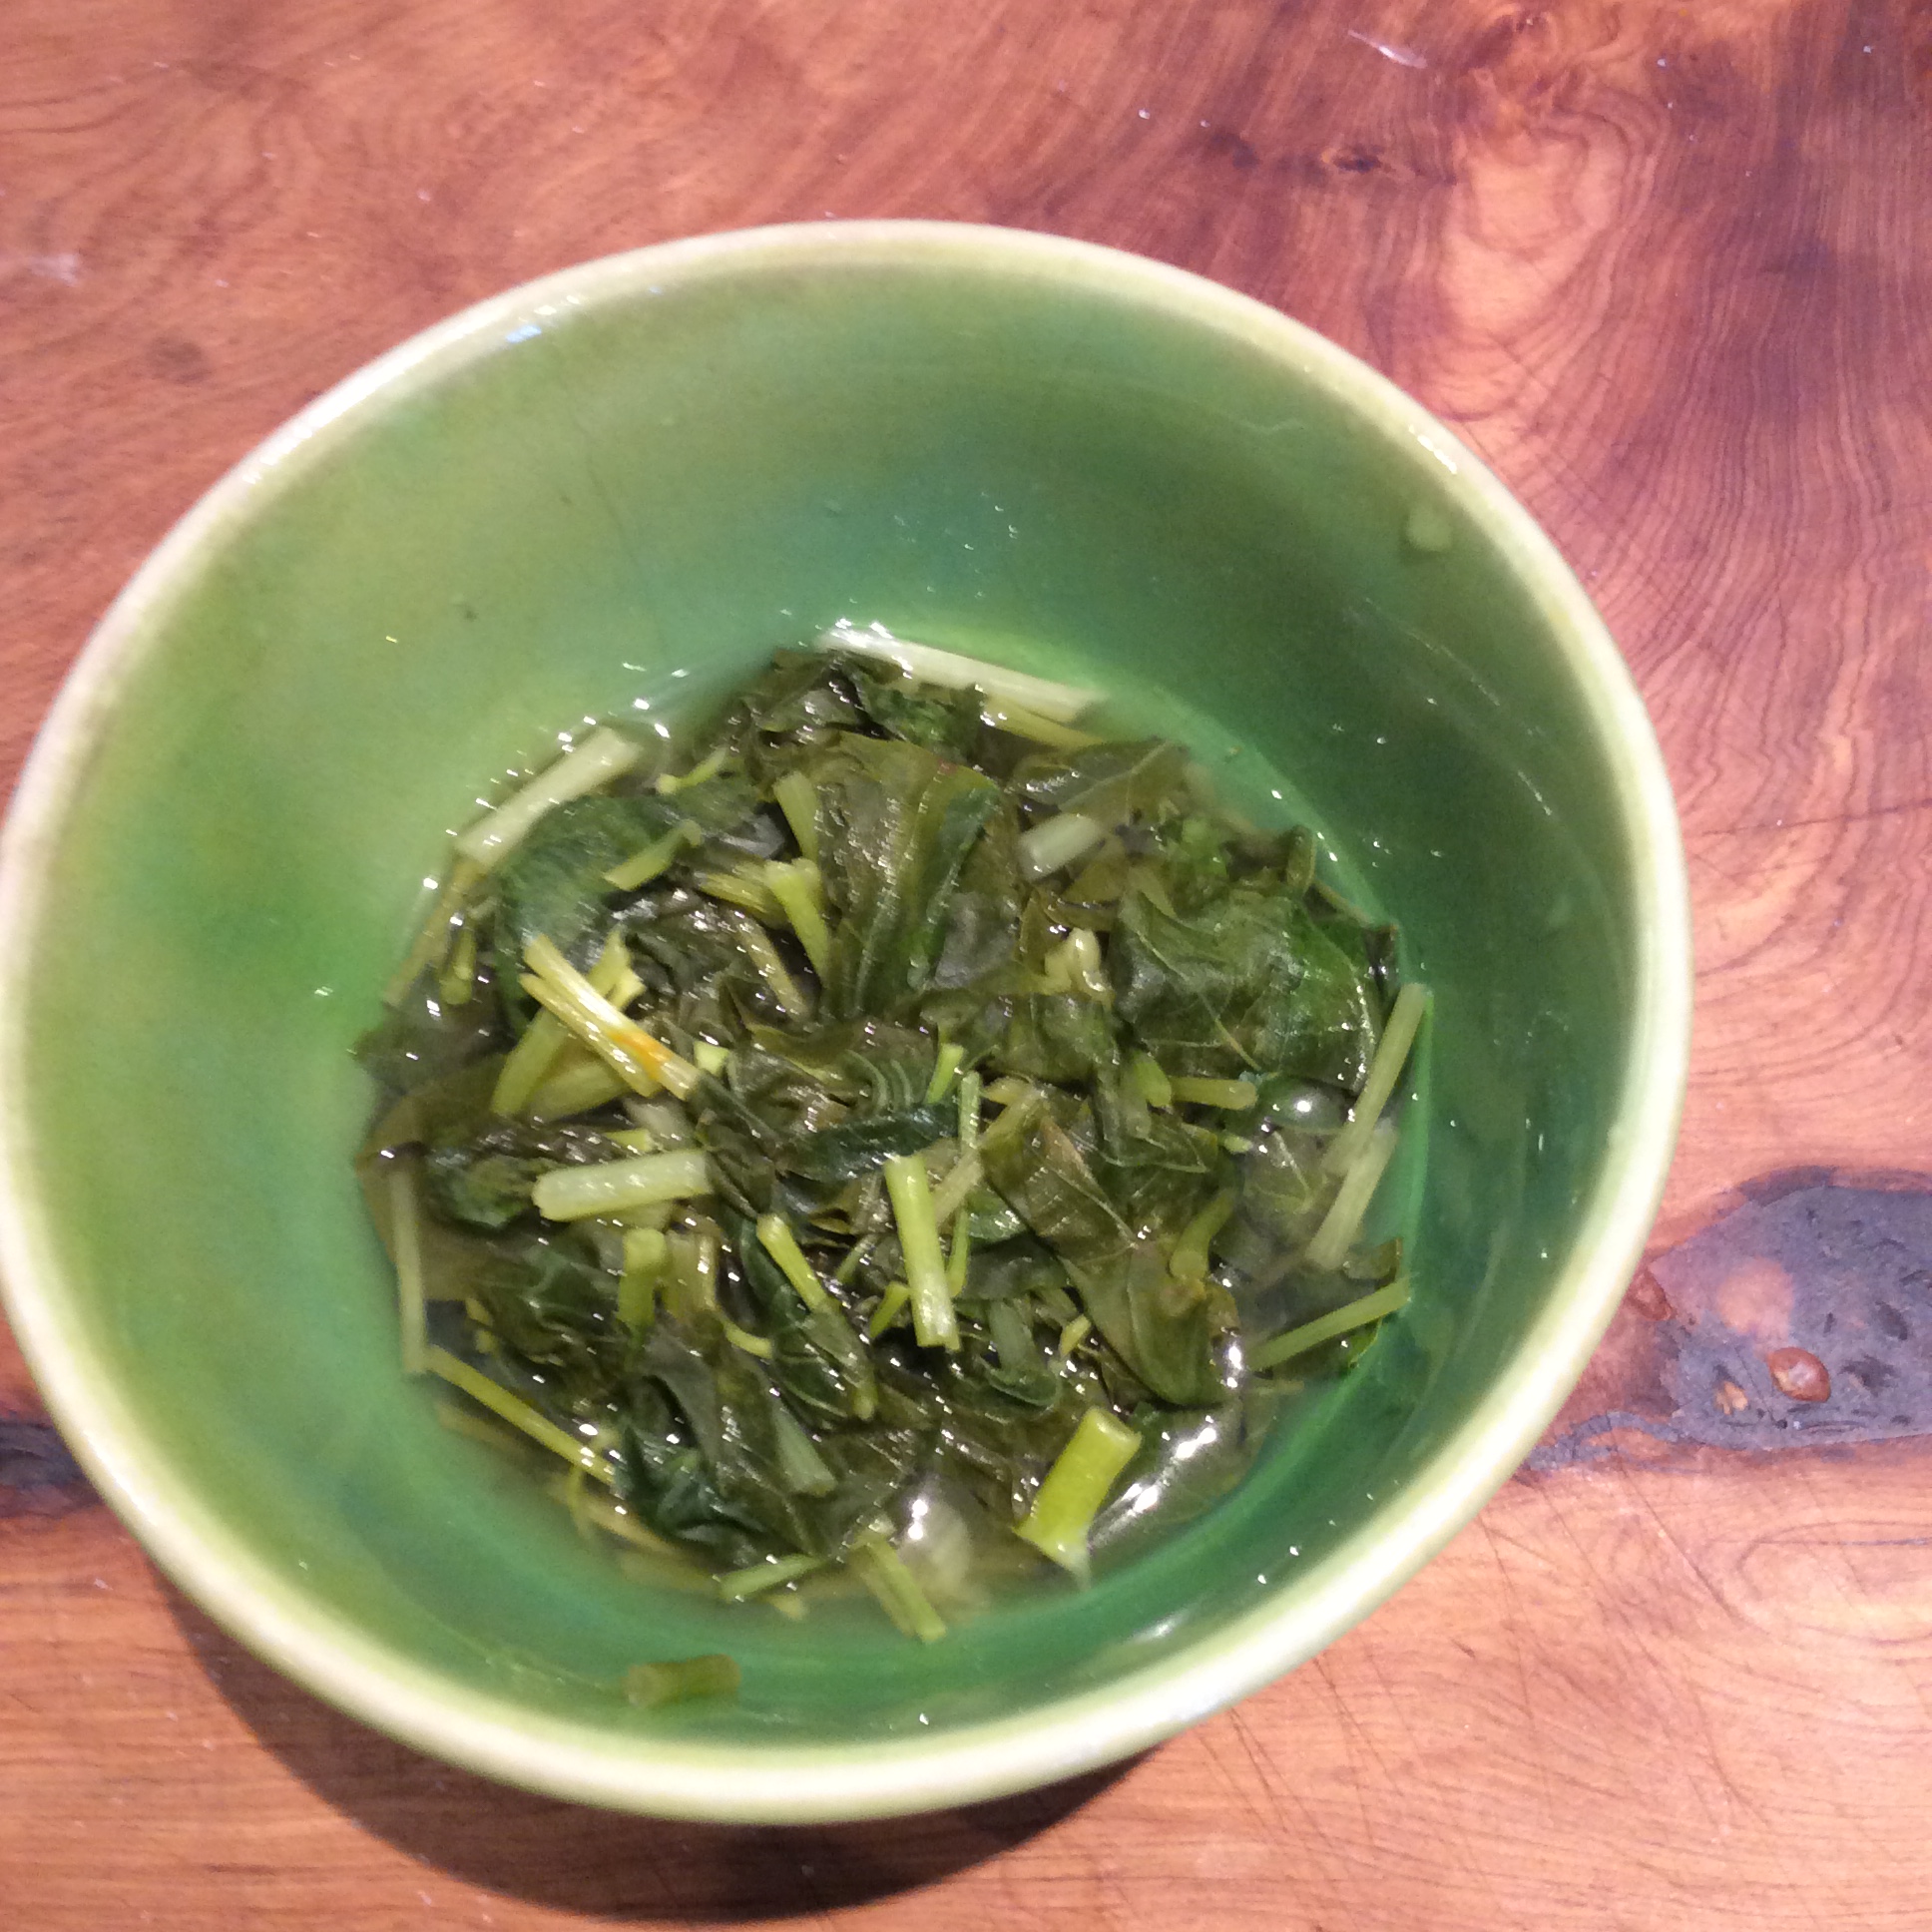
Feed the hens to produce the best eggs possible. I like a laying pellet with flaxseed that produces high omega-3s in the egg, and I also provide daily heaps of greens for three seasons of the year, usually including fresh alfalfa. Extra calcium is a must, and in addition to oyster shell I save the shells of all eggs used in the kitchen. They can be briefly dried in the microwave and kept in a paper bag to be ground when they accumulate and mixed into leftovers of various kinds to be fed back to the ladies. If you have some spare time in the winter you can sprout seeds and grains for the hens, but I seldom bother. I did invest in a big bag of organic food-grade kelp meal a few years ago, and I dry some kale every year to make “kale meal,” both good winter supplements for hens.

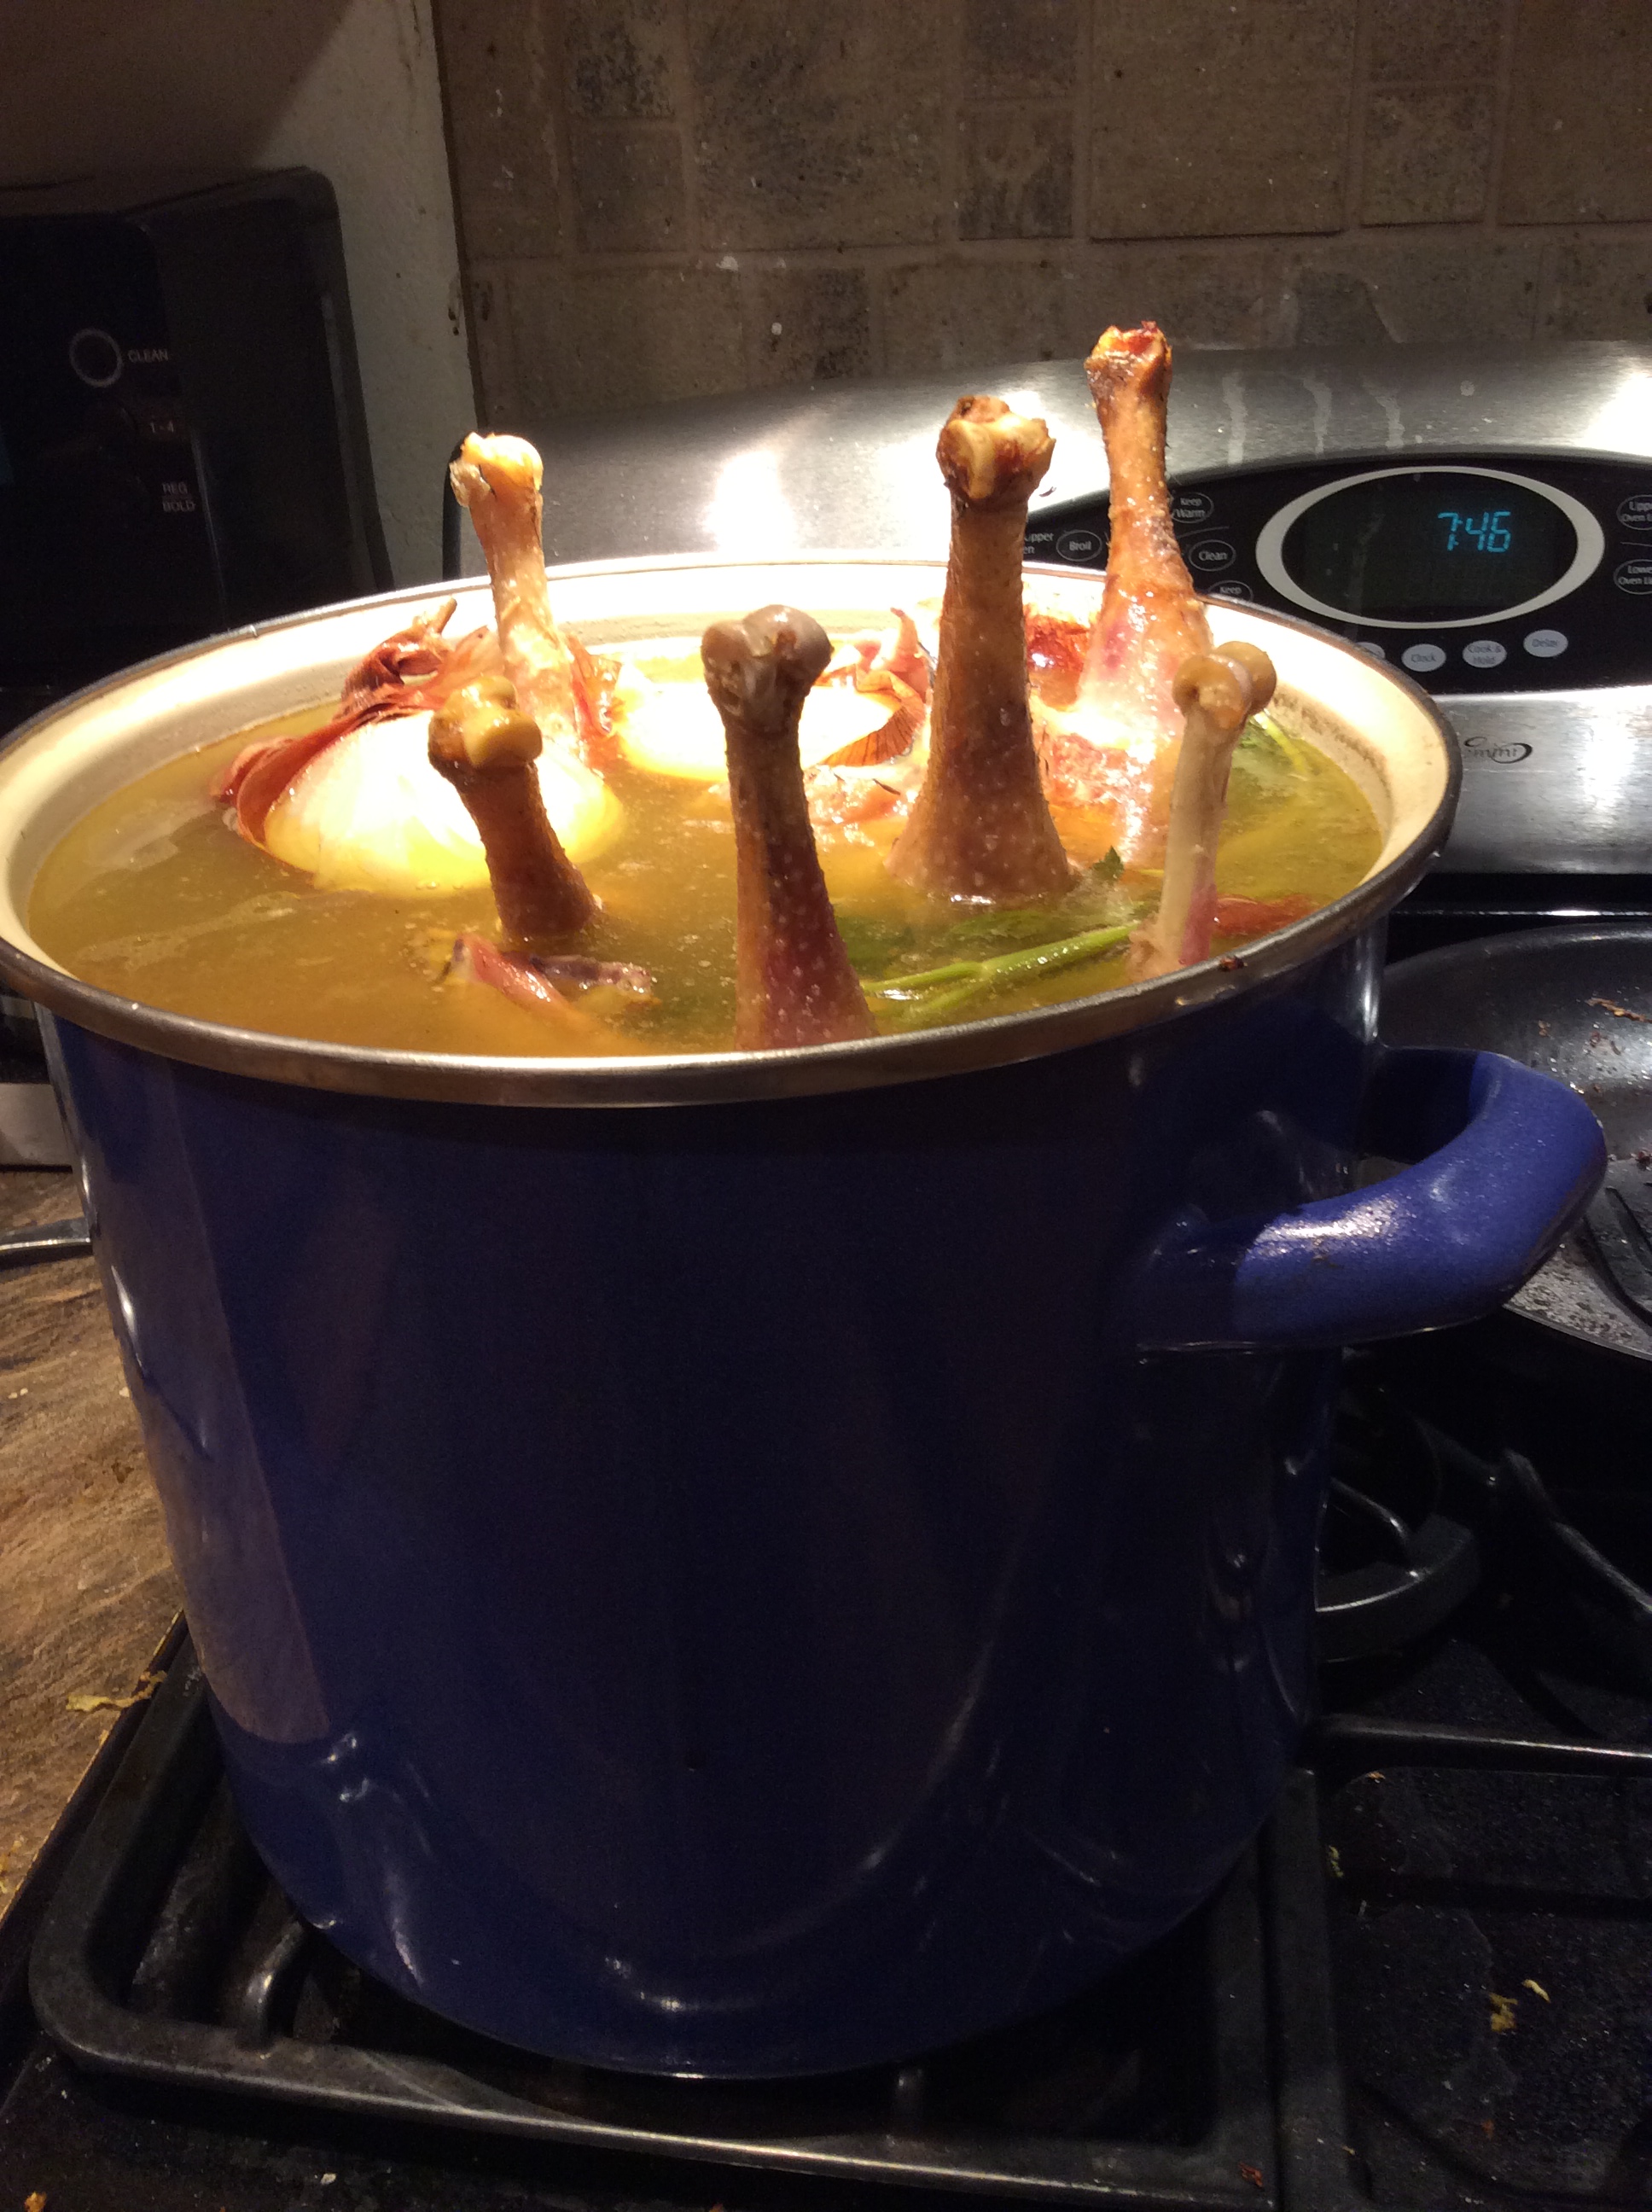
Hens lay well for one or two years, moderately for another two, and very little after that. This means that after the first two or three years you have to have a plan to bring in some new ones each year and move out the oldest ones. Old hens are not good for most cooking methods but make the best broth or stew imaginable, full of flavor and collagen. To manage your flock well, you need to be able to tell fairly reliably how old your hens are. I start a few new hens of a different breed and color each year, so for instance the Rhode Island Reds in my flock are all four years old, the gold Pioneer hens are three years old, etc.  This way I know that at the end of the upcoming season the Reds need to go in the broth pot and some new color of hens needs to be started. You will need to learn to butcher or be prepared to sell the old hens very cheaply to someone else who wants real chicken soup

image

DSCN0797

Consider whether you want a rooster. They are beautiful, protective of the hens, and also very loud indeed. In some areas they are actually illegal. In my area it’s legal to have one, but legality doesn’t mean much if your neighbors are unhappy. I keep enough hens to supply my immediate neighbors with eggs, and that helps a lot. A few neighbors now have hens of their own, so be aware that you may start a mini-epidemic. Roosters can be aggressive, but most of mine have been fairly easy to handle. If they do get aggressive with you, a broom is a good humane instrument for shooing them away with no damage done.

If you do have a rooster your eggs will be fertile, and if a hen goes broody, she can be allowed to hatch out the eggs. A separate small coop should be provided for the hen to sit the eggs and rear her brood. Have a plan for what to do with them, and bear in mind that the young roosters should be butchered or otherwise disposed of the minute they start to crow. But it is a real delight to watch a mother hen care for her little family.

image

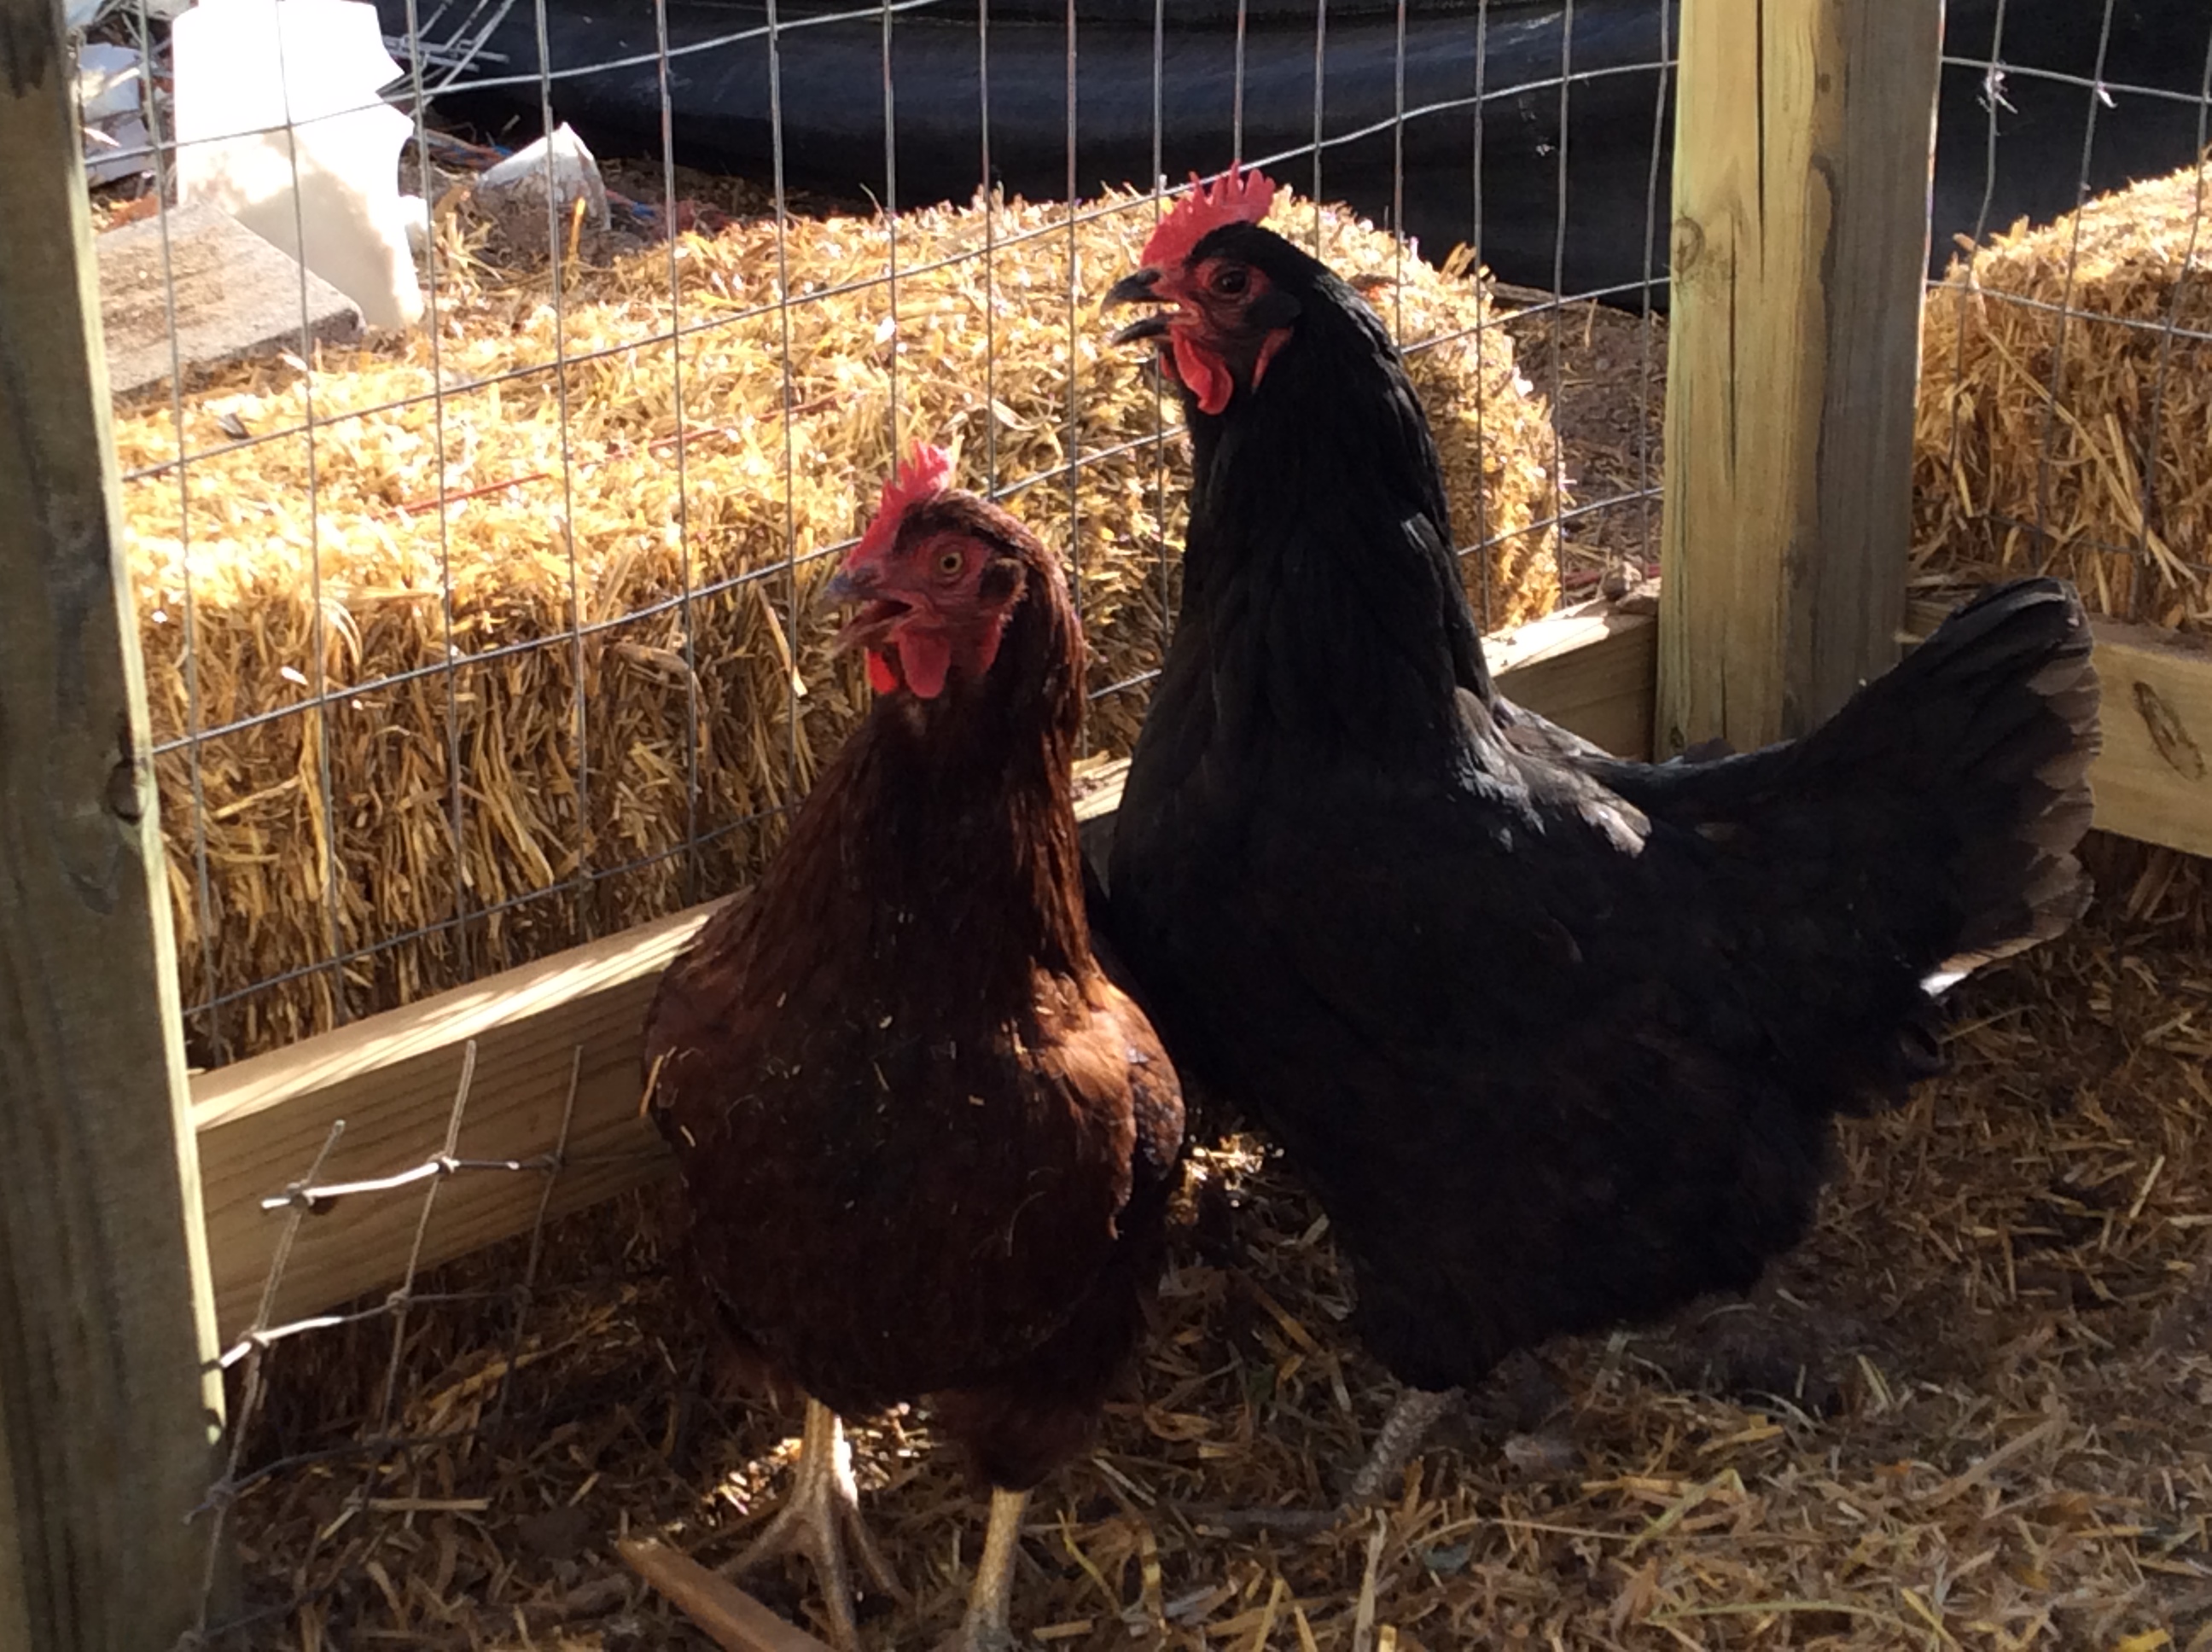
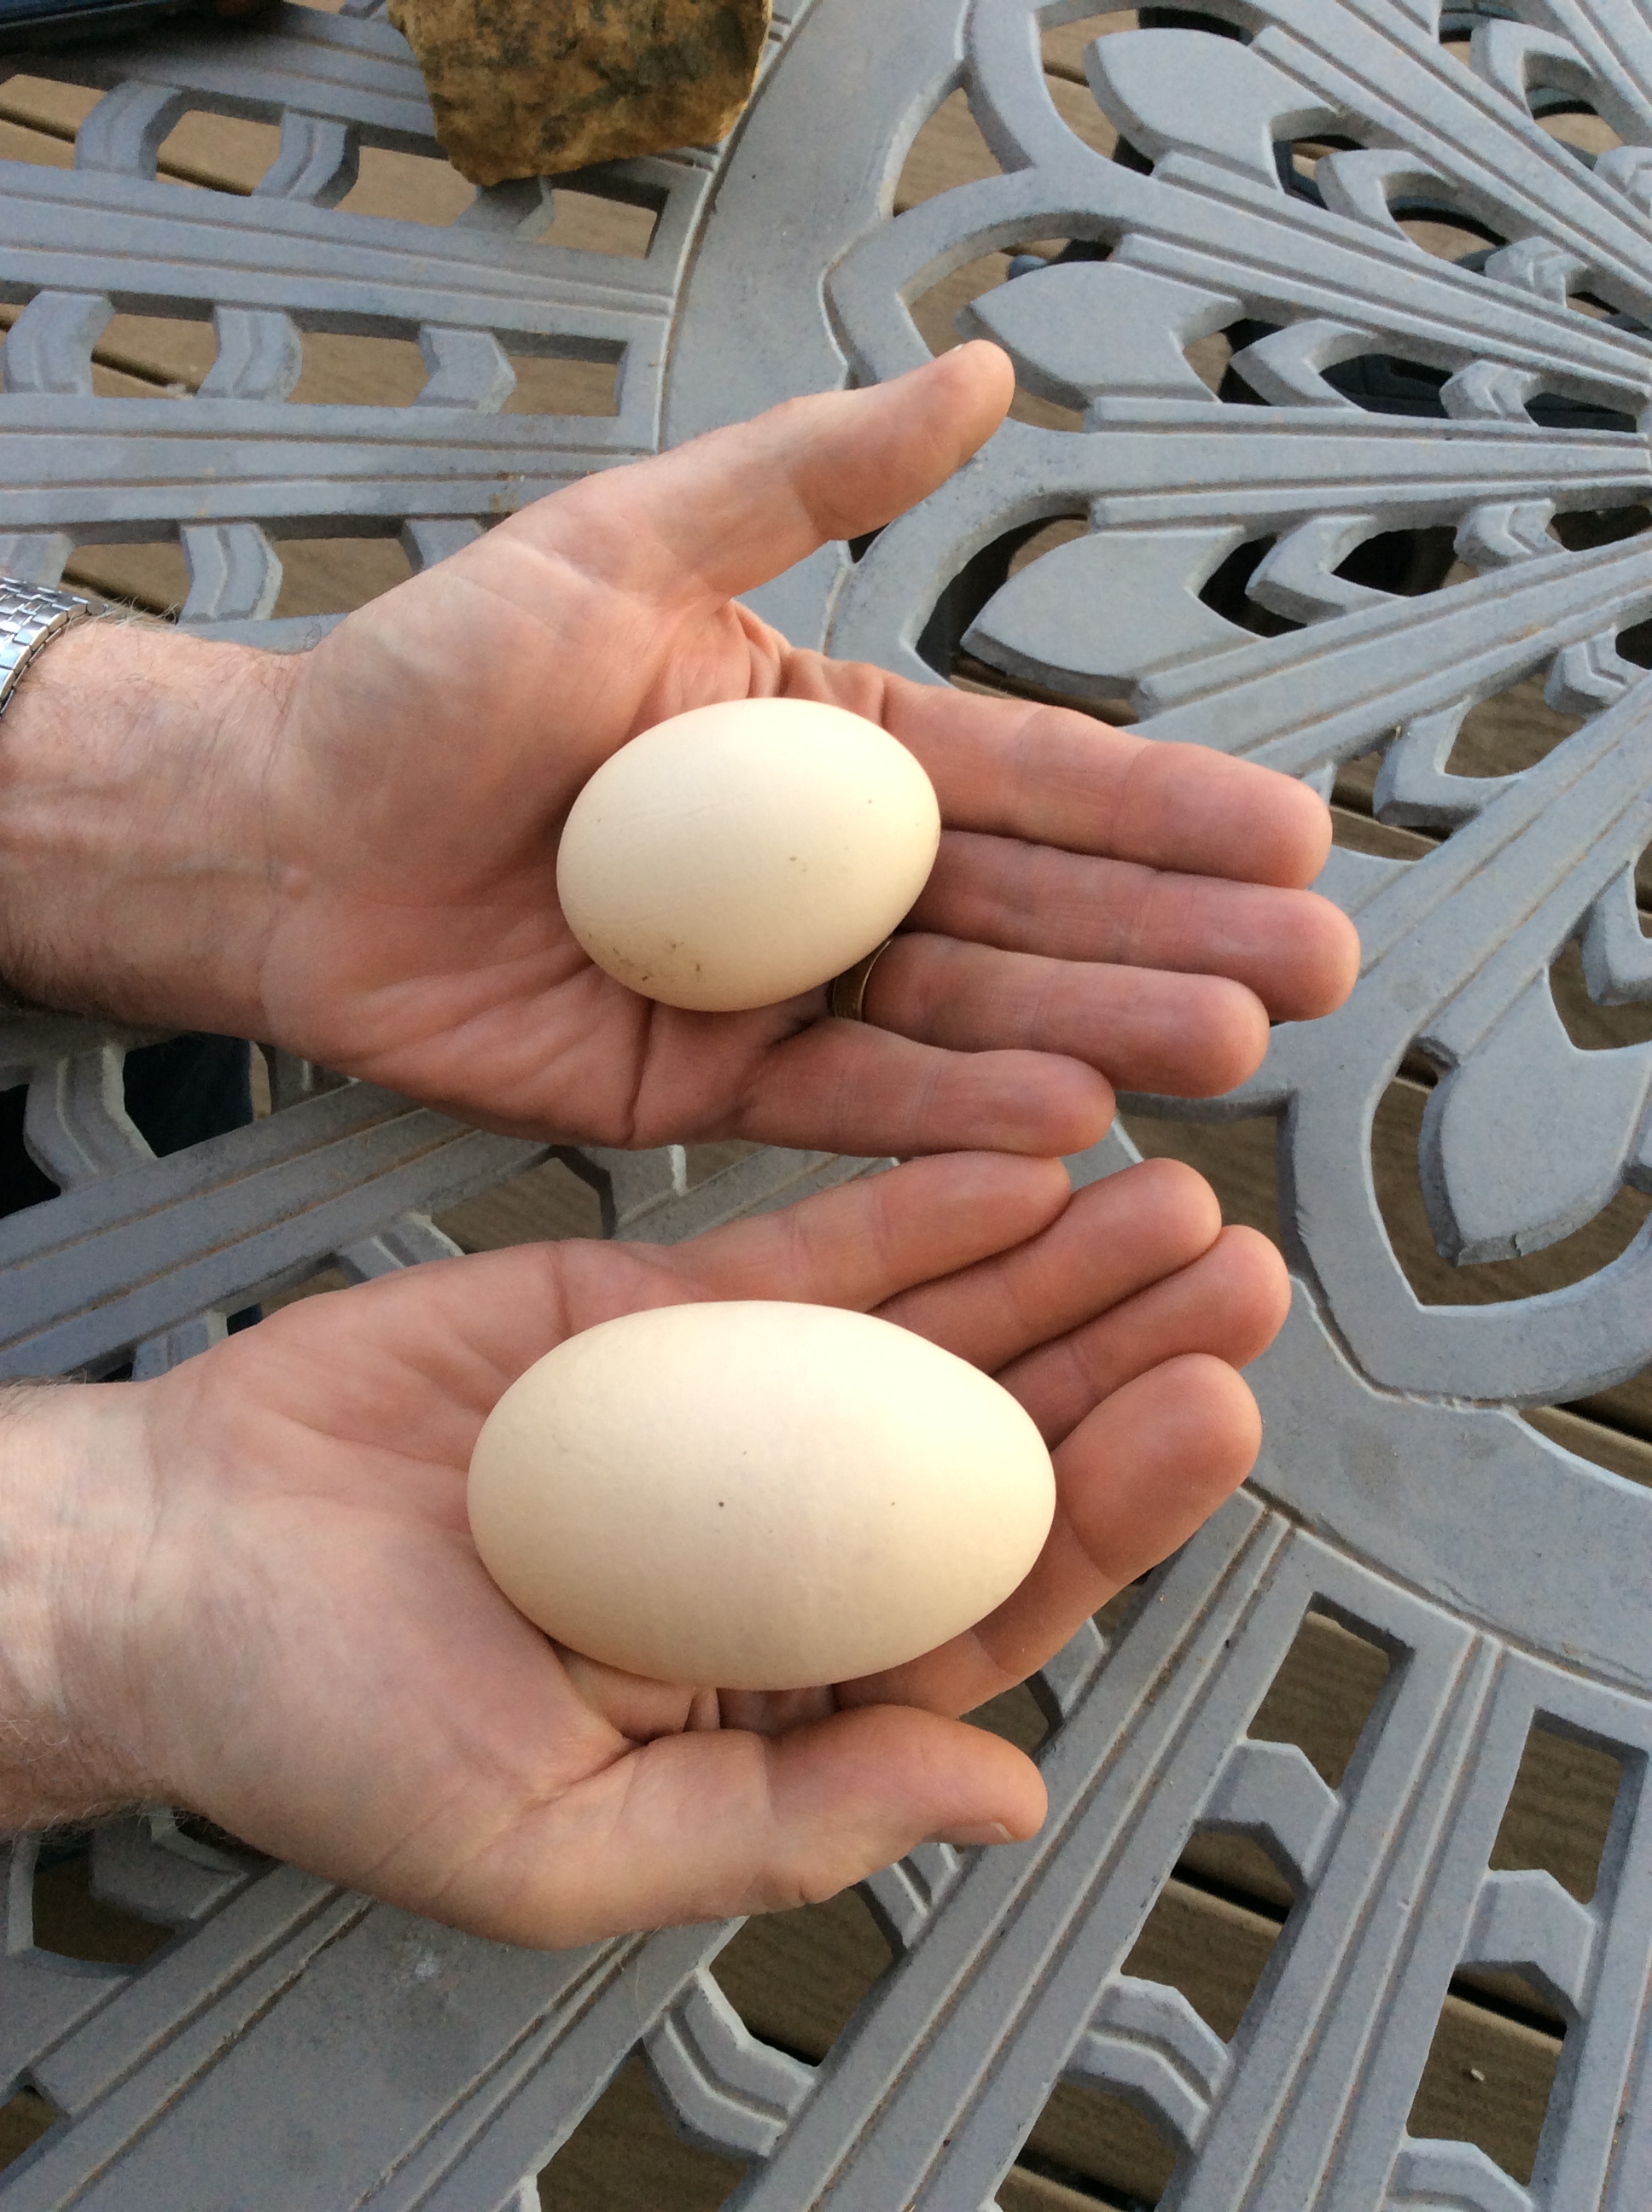
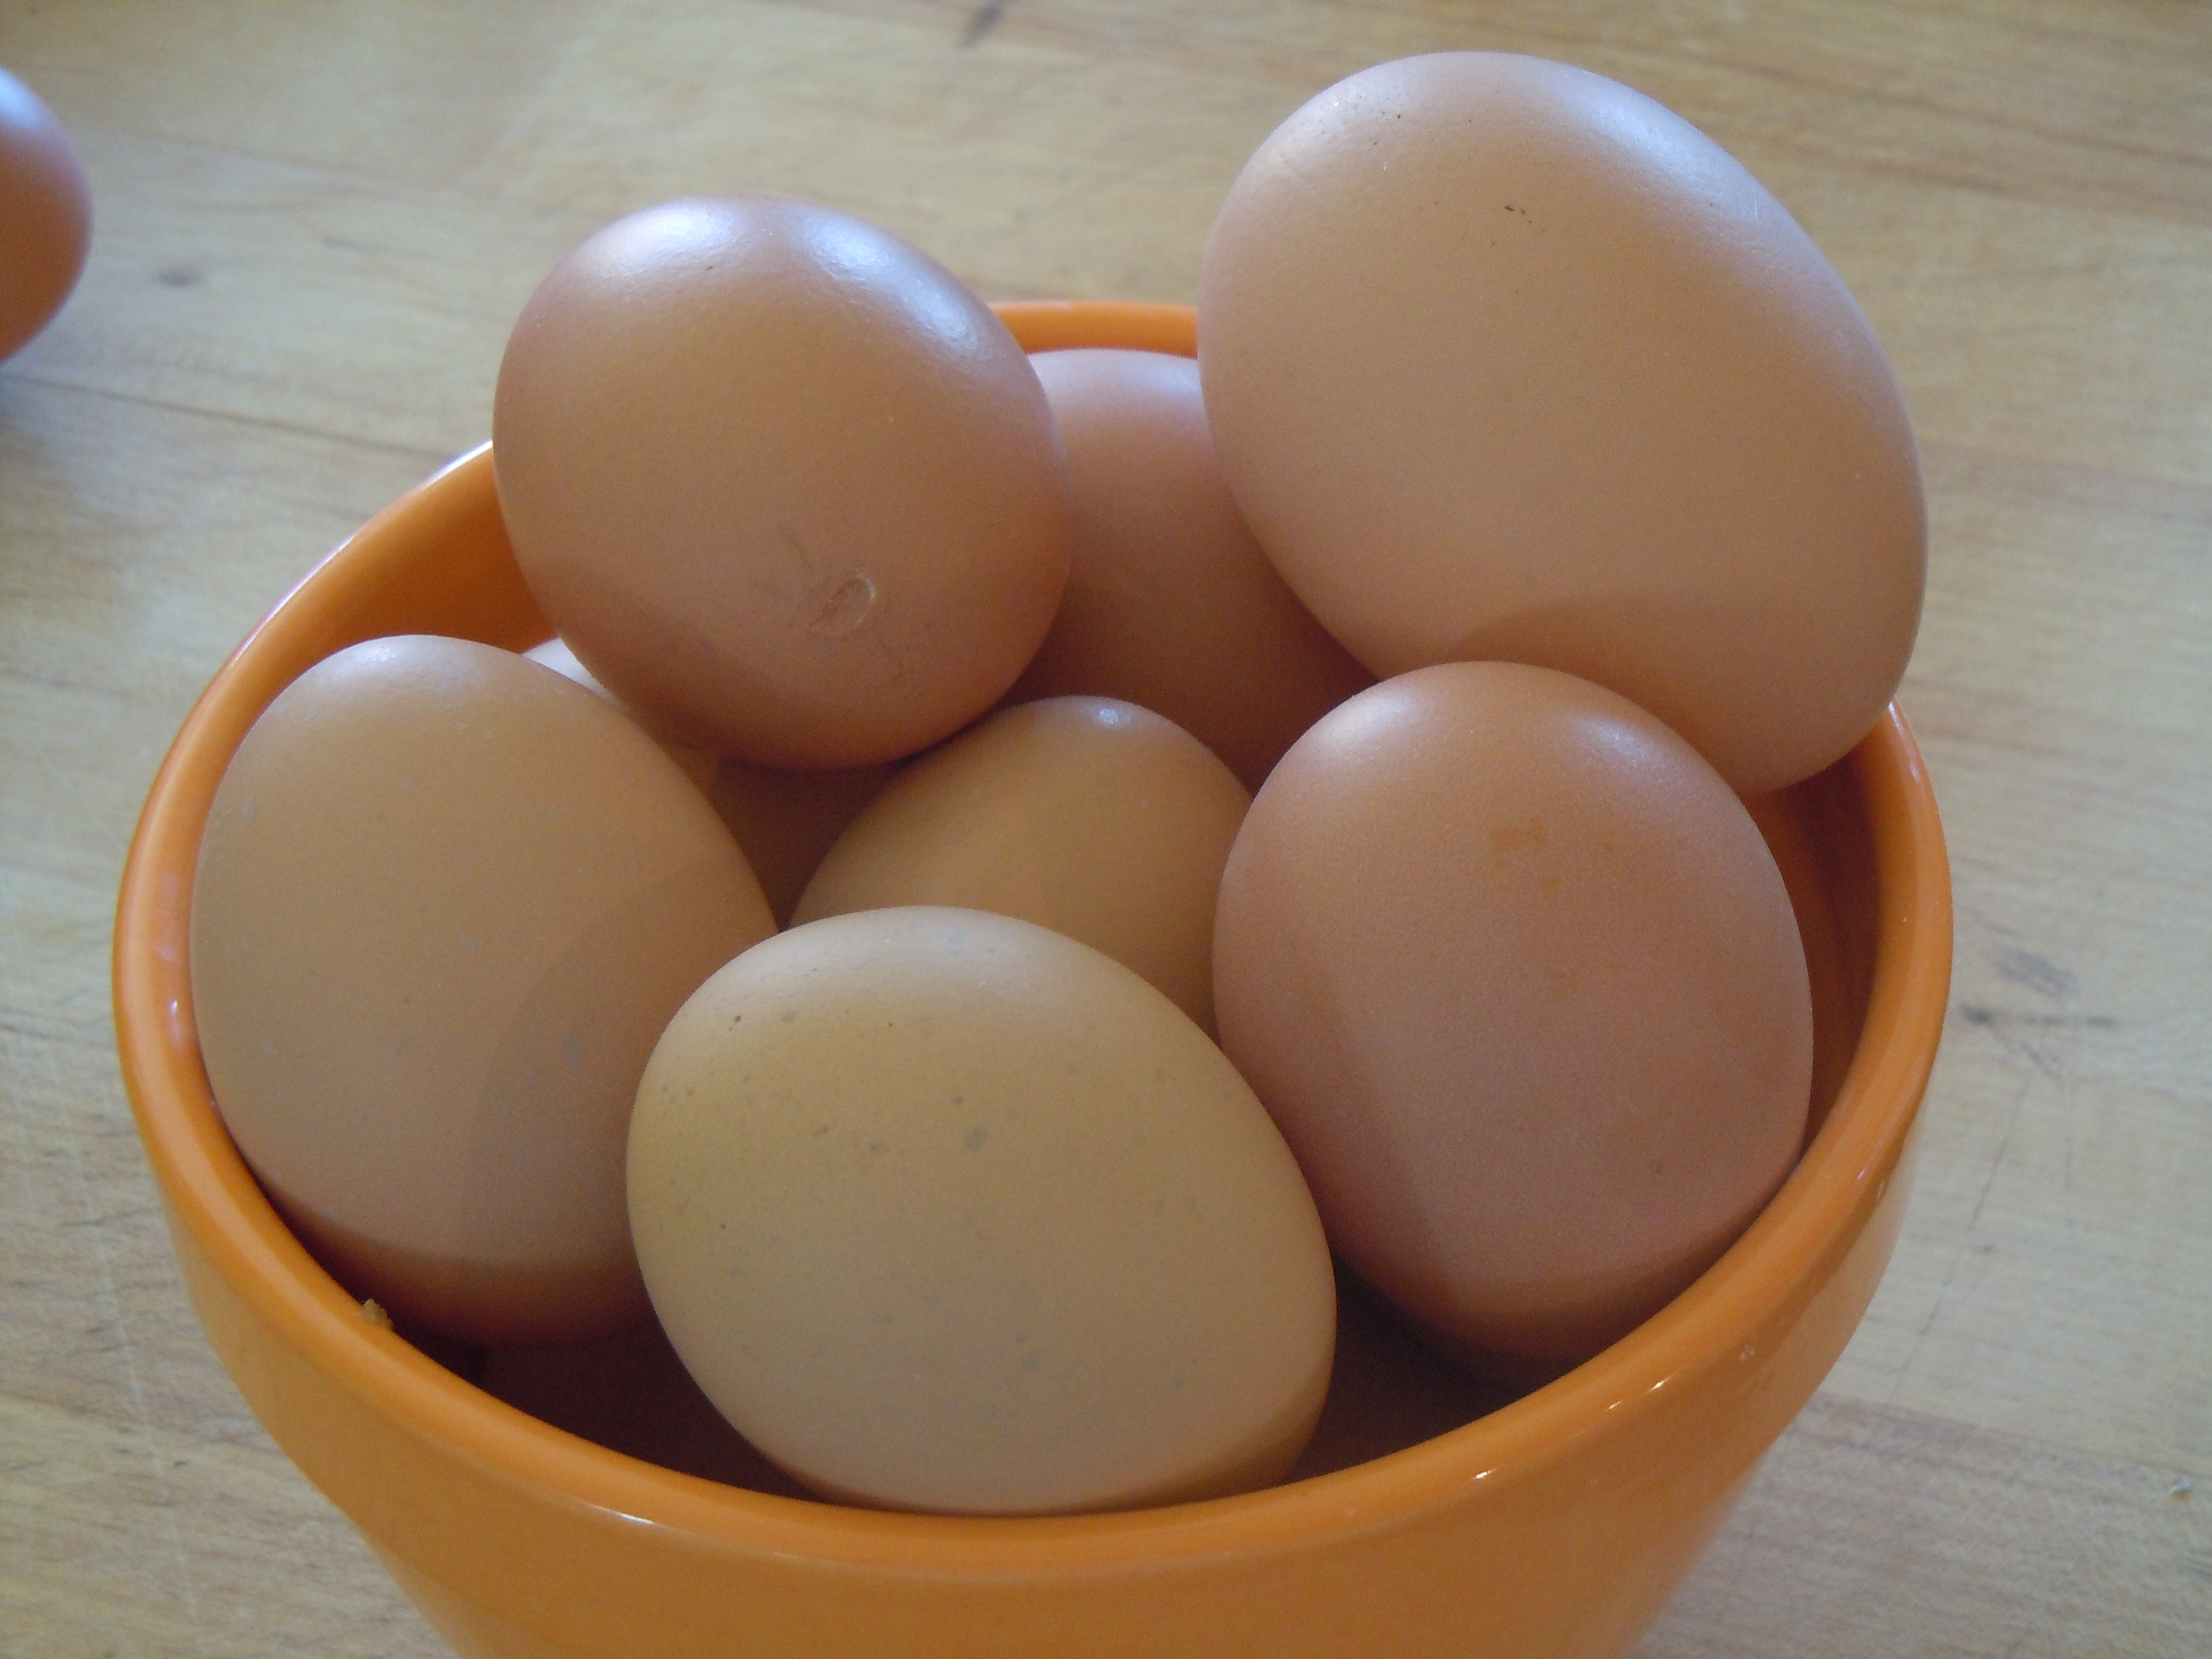
Sometimes I get questions about the “best” breed of hen. I have had Rhode Island Reds, Australorps, leghorns, Pioneers, buff Orphingtons, and several of the layer hybrids like black sexlinks and red sexlinks, and they have all layed well.  For purely aesthetic reasons I prefer brown eggs and usually choose layers that produce them. Heritage breeds like Welsomers and Barnvelders go broody too easily to be great laying hens, but they excel at hatching eggs and caring for chicks, and I keep two elderly heritage hens just for the purpose of raising several chicks each year. I usually have an Americauna or two around to add soft sea-green and blue eggs to the egg basket. If I were more organized than I am, I would keep a rotation of Australorps, Rhode Island Reds, black sexlinks, and red sexlinks, since these are the best layers that I have found among the brown-egg breeds. My roosters are either Pioneers or Red Rangers, both large meat birds whose chicks, even when crossed with the laying hens, will be large and meaty. Personally I look at the Murray McMurray hatchery catalog each year to see which breeds are designated “best” for laying, and I never bother with chickens bred for appearance rather than production or with flighty little bantams.  But if a flock of strangely alien-looking Frizzles pleases you and you don’t like eggs that much anyway, well, this is your flock and should gladden your heart in addition to its other benefits.

My 200th post: Celery, Nose to Tail

image
My WordPress dashboard brought to my attention that I have been yapping endlessly about home food production for 199 posts. Naturally, I decided to make my 200th post about a green vegetable, the very thing that I am forever droning on about.
I never tried growing celery because I never ate that much of it. I crunched an occasional stalk, and as a homegrown Louisiana cook I cooked it in the mirepoix that begins so many Cajun dishes, but a bunch a year pretty much met my needs. Then last spring I noticed that a supplier had celery plants at the same time that I noticed I had a bed about to be empty. So I ordered a dozen plants as a lark.
As it turns out, celery is highly versatile in the kitchen as well as easy to grow. It needs your best soil and some elbow room, and here in the desert it has to be watered regularly. Given those conditions it will grow into a wonderful mound of greens.
For general snacking, stalks can be harvested as soon as they’re big enough. Break or cut near the base, but don’t damage the plant. The stalks are a little less tender than grocery store celery, and also a lot less watery and have a full delicious flavor of their own. I snacked away about four of my twelve plants and had eight big plants left by fall. After several frosts when the rest of the garden was over, the celery was green and robust and I finally got around to harvesting it. I never blanched the plants. Blanching produces lighter, yellower, and more tender stalks, but it is also a fair amount of trouble and I am as lazy a gardener as there is.
I cleaned the stalks thoroughly and cut them in 1/2″ cross sections and sautéed them in batches in very good olive oil. I thoroughly enjoyed eating them as a green vegetable, with salt and bits of fried guanciale on top. I froze a lot in vacuum-sealed bags to eat this way and to use in mirepoix and soup all winter.
image
I was left with a counter full of the upper halves of the plants, all thin stalks and dark green leaves. I sorted out the pale self-blanched leaves in the middle, ate some dipped in olive oil as a cook’s treat, and refrigerated the rest for use in salads.
image
I was left with heaps of dark leaves like the ones toward the top of the picture above. I am not one to waste leafy greens, so I cut them in the same half inch cross sections, leaves and all, and sautéed them in olive oil until cooked. I put a bit of the cooked tops in a skillet with more olive oil and added a chopped clove of garlic, some salt, several chopped black oil-cured olives, and a squeeze of lemon to make a Horta of pure celery leaves. I ate it with crumbled feta and greatly enjoyed it, but have to say that this is a bitter green and probably only real greens-lovers will enjoy it. But when I made a horta with celery tops as about a quarter of the total greens and used milder greens to make up the bulk, I was surprised how much the bitter leaves added to the savory nature of the dish.
image
I sealed and froze the rest of the cooked tops and am using them with my frozen lambsquarters and amaranth to make horta that meets with general approval. I think that a bit of the pure celery-top horta would be good as a sort of herb salad next to roast duck to cut the richness, but I haven’t tried it yet.
I want to say once again, when cooking leafy greens, don’t be afraid to cook them. I often find the stronger greens tough and revolting when lightly cooked but delicious with 10 or 15 more minutes on the stove. As long as you are sautéing there is minimal nutritional loss. The thing I no longer ever do is blanch them and toss out the blanching water. If a sauté method isn’t appropriate, I blanch in a very small amount of water with frequent stirring, sort of half-steaming in effect, and drink the bit of water after it’s been drained off and cooled.

Just as a point of interest, a phytochemical found in celery called luteolin is being studied for neuroprotective effects. If true, one more reason to eat your celery, and your green veggies generally. You can find an abstract here.

The Greens of Fall: Nasturtiums II

image

After several light frosts and a couple of hard frosts, the nasturtiums in my front yard are still holding their leaves in good condition, and still blooming a bit.  They won’t last much longer though, so this is the time to take advantage of them.  They are always good in salads or used to make hand rolls as suggested in my last post, because they combine a snappy watercress peppery flavor with a tender texture.  Cooked, they lose a lot of their sharpness but remain delicious.

image

I grow the trailing nasturtiums that wind so nicely among other things in the bed, and at this time of year I grab about the last foot of stem. I snap them off wherever the stem snaps cleanly, which is usually while they are still smaller than a pencil. I take everything above that into the kitchen  for cleaning. I wash them and lay them out on the cutting board. The flowers are devoured on the spot as a cook’s treat, or can be saved for the top of a salad.  What remains is cut crosswise into half-inch segments. It’s important to keep them out about this length, or the stems can seem fibrous.

image

Now  stir the sections around a bit with your fingers, then lift off the leaves which are mostly on top and set them to one side, leaving most of the stem segments on the other. There will be a few of each item in the pile of the other, and it doesn’t matter.  This step is so you can give the stems a bit more cooking than the leaves.

image

Now, cook them in any way that you would use other greens, cooking the stem sections for a couple of minutes longer than the leaves. I have two favorite ways. One is to sauté them fast in a tablespoon or so of hot flavorful olive oil, putting the stems in, sautéing for two minutes, then add in the leaves and sauté in for another minute.  Serve with salt and freshly ground pepper. Simple and good.

image

My other favorite use for them is a quick sort of sweet and sour pickle, which I like with grilled meat or dishes in the Japanese fashion.   For a heaping a handful of chopped nasturtium, eat half a cup of water in a small saucepan with 2 tablespoons of rice vinegar and 1 tablespoon of sugar or to taste, or you can use artificial sweetener if it is one that does well with cooking.  And a scant teaspoon of salt and bring to a boil. When it is boiling, put in the stems, boil for about two minutes, and the leaves, and take off the heat immediately and let it sit in the “pickling liquid” until room temperature.  serve immediately or keep in the refrigerator for a day or two.

image

For my taste the flavors in this quick “pickle” are too strong to use it as a side dish, but you could always use less vinegar and sweetening and salt, and use it as a side dish if you prefer that. When I was growing up in the south, collards were sometimes cooked this way, and I seem to remember that they were good.

Some people think highly of the nasturtium as a medicinal herb. If you wish to research this, please keep in mind that the nasturtium flower we are dealing with here is Tropaeolum majus, while  Nasturtium officinale is actually watercress.  This is why we use botanical names; in the long run, it avoids a lot of confusion.   In my view, the fact that they are green and lovely in cold weather and taste good is reason enough to eat them.


The greens of fall: Nasturtium

image
With the first frost behind us, there are parts of the garden that are just getting into full swing. This is the second great greens season. During the summer I enjoy the beauty of nasturtiums and put the flowers in salads frequently, as well as using the leaves here and there. After a frost, flower production slows way down but leaf production increases, and this is the time to use these wonderful tender leaves with the flavor of watercress. I use them fairly simply. The largest ones always become hand rolls, and my favorite things to put in them are cream cheese with capers and some of their own blossoms, slivered sushi salmon with pickled ginger and other accompaniments, and smoked salmon. I use two leaves stacked to make up each role so that you get a good watercressy flavor in each bite.
image
The smaller leaves go into quickly sautéed mixtures of greens and herbs that flavor omelettes. Green garlic is available again this time of year after the summer hiatus, and I like to chop up a small stalk of it leaves and all, chop up a packed pint of the smaller nasturtium leaves and a celery leaf or two chopped fine, and sauté them together quickly in butter and put them in an omelette of eggs from my own hens. Delicious. If you care to gild the lily by adding slivered smoked salmon and bits of cream cheese to the filling, it only gets better. If you can eat outside in the clear October sunlight, that’s best of all.
image
image