Posts Tagged ‘Home vegetable gardening’

Living in Interesting Times: Shortages

When I talk with friends and neighbors about the current pandemic, I am sometimes surprised to encounter a firm fixed belief that there are no food shortages and won’t be any food shortages. Ask them if they’ve tried to buy flour or rice lately and you won’t receive a sensible reply. My own view is that in such situations there are potentially two kinds of shortages: short-term ones caused by panic-buying and hoarding, and longer-term ones caused by interruption of supply chains. Our current difficulty (at least in my area) in getting rice, flour, eggs, and toilet paper fall in the first category. Some people’s’ hoarding caused others to go without, and I’ll just add that there is a special place in hell reserved for those who hoard and price-gouge infant food, diapers, and other baby supplies. But there is lots of other stuff available and most of us will be just fine except for a little grousing.

The other kind of shortage, from interruption of production and transportation chains, is longer-term, hard to predict accurately, and potentially more worrisome. Without predicting disaster, I can only say that American agriculture depends heavily on immigrant labor, and you can review the Farm Bureau’s summary of this. I will quote only one startling fact from their statistics: “If agriculture were to lose access to all undocumented workers, agricultural output would fall by $30 to $60 billion.” Since to help contain the pandemic we are closing borders and tightening enforcement, I don’t see how the agricultural labor supply can be unaffected. This could translate to fruit unharvested and veggies decaying in the fields or not getting planted in the first place.

This is a long-winded way of saying that all food should be treated like the treasure it is. Don’t hoard it, and don’t waste it either. Look at what you have and let your imagination run wild about how you might use it. Relax your usual food restrictions unless they relate to religion or health. Taste things you might not ordinarily think about. Get a couple of good cookbooks about vegetables so that you’re ready to get the most out of available produce. Two that I highly recommend are Six Seasons and Vegetables Unleashed. Both are available in e-format and will help you make the most of any food available. Think creatively about what to make. Can’t get rice? Make lettuce wraps. We are not going to starve, not by a long shot, and we can better utilize our supply chain by being more flexible in our thinking.
The problem that I really worry about is not national and international supply chains but local ones. Huge ag corporations won’t be allowed to go under, but your area small farmers and stock raisers just might, or may be disheartened enough by plowing good vegetables back into the dirt that they don’t continue. So find out where they are and how you can buy their produce. In my area the growers’ markets will open in May but  will be limited to food only, and since it’s in the open air, this is probably safer than going to a grocery store. Use all recommended precautions, but support those growers.

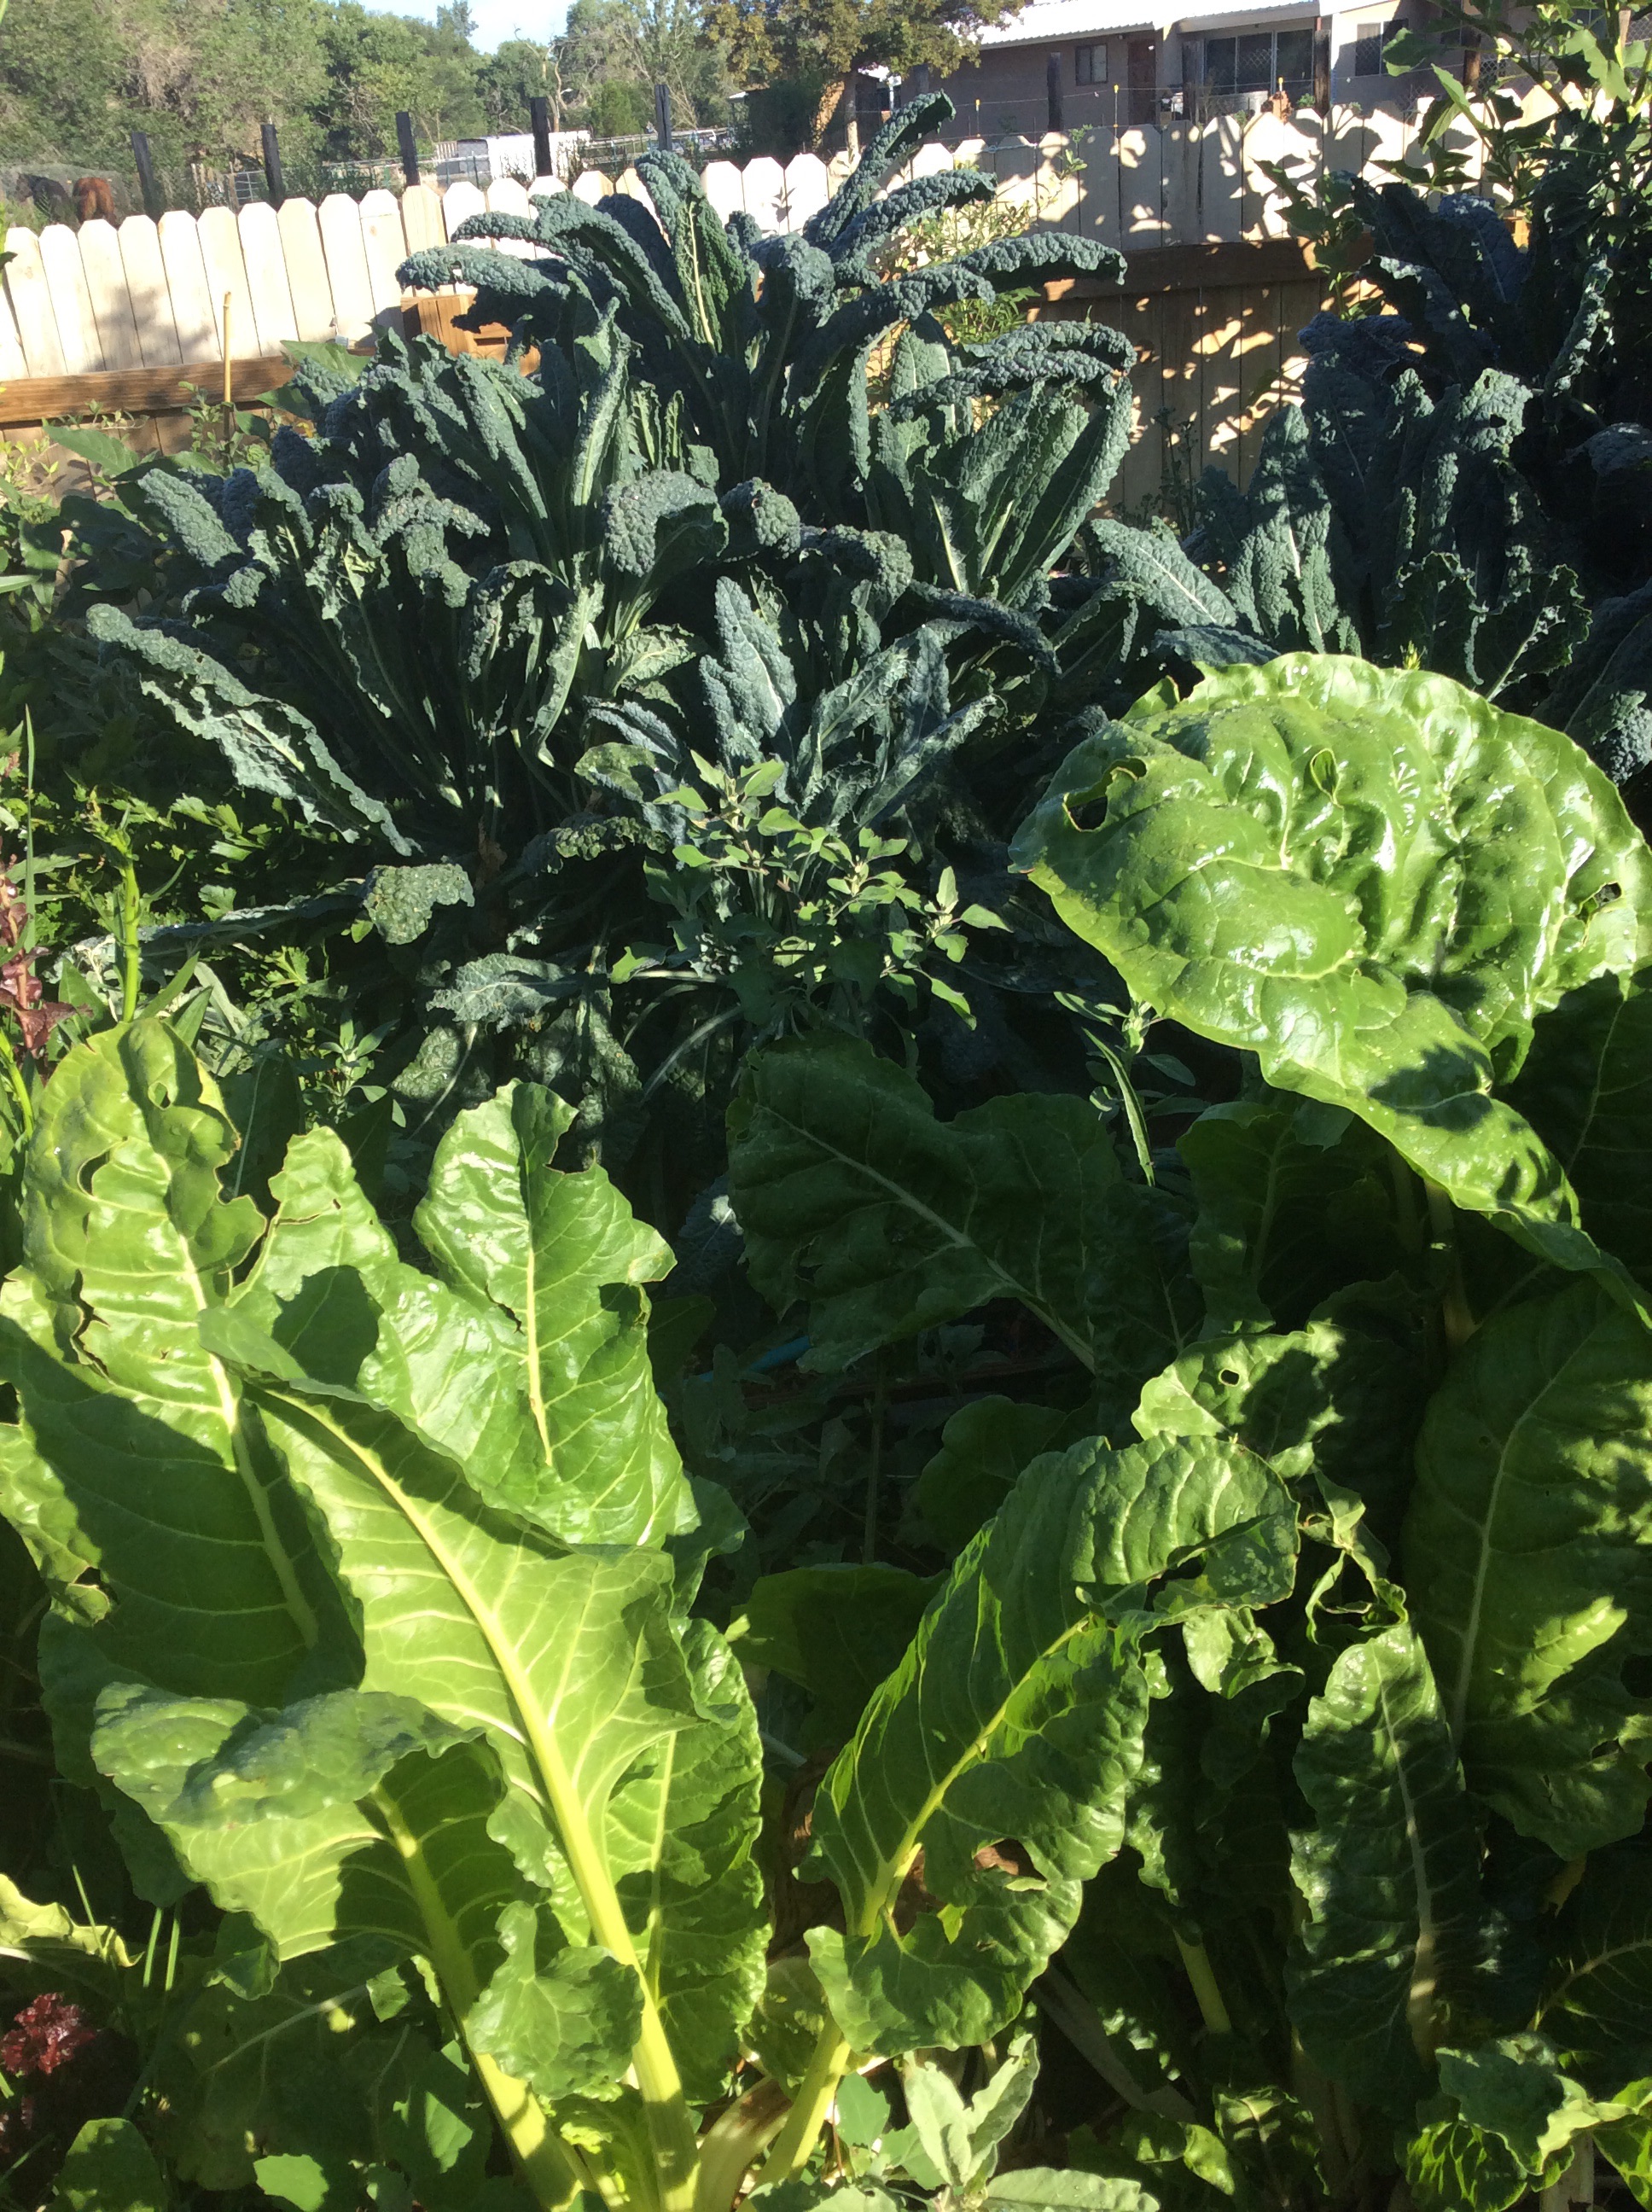
Plant something of your own. This morning I was thinking about what I would grow if I only had one small garden bed to work with. Given a tiny little space four feet on a side, I would double-dig it, enrich the hell out of the soil, and plant Fordhook Swiss chard and tuck some thyme plants in at the edges. Chard produces heavily all summer regardless of heat if kept watered, and few things will do more for your health than eating more leafy greens. The taste is mild and acceptable to nearly everyone. The old reliable Fordhook is more productive and resilient than the newer fancier colors, and the stems offer a second vegetable with a different texture, great in stir-fries. It can be harvested all summer and then left in place to produce some early greens the following year. Chickens adore any leaves that you don’t get around to eating, and if you know any goats, they love the tough ends of the stalks, or just compost them. One packet of seed produces all the greens a small family can eat. I don’t know of a more nutritious and efficient vegetable. As for how to use it, click on the “greens” category in the sidebar on the right side of this page  for a dozen or more ideas, and that’s just the beginning.


Low Carb Colcannon

image

A few decades ago when I owned a sheep farm, I grew a lot of potatoes and made a lot of colcannon in the winter. This old Irish dish combines smashed boiled potatoes with milk and cream, and incorporates other vegetables according to your fancy. Onion and cabbage are traditional favorites, herbs and greens are common, and others are possible.

These days I want low-carb vegetable dishes, but I still want my easy accommodating colcannon and I have a ton of green garlic and green onions around, so I started there. I write a lot about green garlic and green onions because they are so easy to grow and have available for earliest spring, so chock-full of allacin and various antioxidants, and so very tasty. If you grow no other vegetable, put some small organic onions and at least a few dozen garlic cloves in among your ornamentals in fall (as long as you don’t use pesticides,) and next spring you will have these sweet and delicious vegetables to work with.

image

I started with six big green onions, a dozen stalks of green garlic, a head of cauliflower, half a head of cabbage, and butter and cream.

First, cut the florets off the cauliflower and put them in the steamer for half an hour. They need that much steaming time to be soft and smashable. I use my old couscousierre to steam veggies because I like to look at it, and incidental pleasures are half the fun of cooking.

image

Wash the green alliums and trim off any yellowing or dry-looking leaf tips. On a large cutting board, slice the washed and trimmed green onions and green garlic into quarter inch cross-section slices.

imageHeat a large skillet over medium heat, put in about 3 tablespoons of good butter, and sauté the greens over medium heat, adding some salt and stirring frequently, until thoroughly cooked, soft, and sweet. Meanwhile, slice the cabbage into very fine slices, discarding any thick ribby pieces. When the green alliums are cooked, scrape them into a bowl, return the skillet to the heat, add another good-sized knob of butter, and put in the cabbage shreds. Cook them over medium heat with some salt, stirring frequently, until very thoroughly cooked and sweet. This takes a while, and you need to keep an eye on the time and open your steamer when the cauliflower has cooked for 30 minutes.

image

When the cabbage is cooked, put in the steamed florets and start smashing them with the back of a big wooden spoon. When thoroughly smashed, add half a cup of heavy cream and the cooked green garlic and taste the mixture for salt, correcting to taste. Cook over low heat for another half hour, stirring occasionally, to let the flavors amalgamate. Stir in a generous amount of freshly ground pepper and serve.

image

This is the fun part. Serving possibilities are endless. I pan fried some lardons of mild bacon to top it off and put a small steak on the side. It’s so filling that I didn’t eat more than a bite or two of the steak, so now I have leftover steak to plan another meal around.

Unlike potato colcannon, which can get gummy if reheated, the cauliflower version is even better when left over. You can top it with sautéed greens, or a fried or poached egg, or both. A bit of mild cheese could be grated in or gratineed on top, or this could accompany a roasted chicken. It is a wonderful basis for meals in mixed omnivorous-vegetarian crowds, because the vegetarians will find it satisfying on its own or with an egg and the omnivores can have meat on top or alongside and will probably not eat much meat because it isn’t needed.

I do think it’s wise to respect the essentially sweet and delicate nature of this dish, and keep seasoning simple. If you take your time with the sautéing, and use butter, the cabbage and green alliums develop wonderful depth of flavor. Heavy cream is essential in my opinion, and it has a lovely sweet flavor of its own. I also think a key step is to add some salt during the sautéing process so that it cooks into the vegetables well. Just not too much. This all takes some time, about an hour from bringing the green alliums in from the garden to finished colcannon, so there is no point in making smaller quantities. It will get eaten.


My 200th post: Celery, Nose to Tail

image
My WordPress dashboard brought to my attention that I have been yapping endlessly about home food production for 199 posts. Naturally, I decided to make my 200th post about a green vegetable, the very thing that I am forever droning on about.
I never tried growing celery because I never ate that much of it. I crunched an occasional stalk, and as a homegrown Louisiana cook I cooked it in the mirepoix that begins so many Cajun dishes, but a bunch a year pretty much met my needs. Then last spring I noticed that a supplier had celery plants at the same time that I noticed I had a bed about to be empty. So I ordered a dozen plants as a lark.
As it turns out, celery is highly versatile in the kitchen as well as easy to grow. It needs your best soil and some elbow room, and here in the desert it has to be watered regularly. Given those conditions it will grow into a wonderful mound of greens.
For general snacking, stalks can be harvested as soon as they’re big enough. Break or cut near the base, but don’t damage the plant. The stalks are a little less tender than grocery store celery, and also a lot less watery and have a full delicious flavor of their own. I snacked away about four of my twelve plants and had eight big plants left by fall. After several frosts when the rest of the garden was over, the celery was green and robust and I finally got around to harvesting it. I never blanched the plants. Blanching produces lighter, yellower, and more tender stalks, but it is also a fair amount of trouble and I am as lazy a gardener as there is.
I cleaned the stalks thoroughly and cut them in 1/2″ cross sections and sautéed them in batches in very good olive oil. I thoroughly enjoyed eating them as a green vegetable, with salt and bits of fried guanciale on top. I froze a lot in vacuum-sealed bags to eat this way and to use in mirepoix and soup all winter.
image
I was left with a counter full of the upper halves of the plants, all thin stalks and dark green leaves. I sorted out the pale self-blanched leaves in the middle, ate some dipped in olive oil as a cook’s treat, and refrigerated the rest for use in salads.
image
I was left with heaps of dark leaves like the ones toward the top of the picture above. I am not one to waste leafy greens, so I cut them in the same half inch cross sections, leaves and all, and sautéed them in olive oil until cooked. I put a bit of the cooked tops in a skillet with more olive oil and added a chopped clove of garlic, some salt, several chopped black oil-cured olives, and a squeeze of lemon to make a Horta of pure celery leaves. I ate it with crumbled feta and greatly enjoyed it, but have to say that this is a bitter green and probably only real greens-lovers will enjoy it. But when I made a horta with celery tops as about a quarter of the total greens and used milder greens to make up the bulk, I was surprised how much the bitter leaves added to the savory nature of the dish.
image
I sealed and froze the rest of the cooked tops and am using them with my frozen lambsquarters and amaranth to make horta that meets with general approval. I think that a bit of the pure celery-top horta would be good as a sort of herb salad next to roast duck to cut the richness, but I haven’t tried it yet.
I want to say once again, when cooking leafy greens, don’t be afraid to cook them. I often find the stronger greens tough and revolting when lightly cooked but delicious with 10 or 15 more minutes on the stove. As long as you are sautéing there is minimal nutritional loss. The thing I no longer ever do is blanch them and toss out the blanching water. If a sauté method isn’t appropriate, I blanch in a very small amount of water with frequent stirring, sort of half-steaming in effect, and drink the bit of water after it’s been drained off and cooled.

Just as a point of interest, a phytochemical found in celery called luteolin is being studied for neuroprotective effects. If true, one more reason to eat your celery, and your green veggies generally. You can find an abstract here.

Improvisational Cooking: Greens on the Table

imageimage
I am always yapping on about eating more leafy greens, and periodically I like to write about how I put leafy greens on my own table. Here is a low-carb recipe that even greens-phobes tend to like, and leftovers make wonderful lunches and snacks. It is improvisational in nature and you can substitute at will: this is a skeleton recipe and you can flesh it out any way you like.

The basic ingredients are greens, alliums, flavoring leaves, oil, cream, eggs, nuts, seasonings, and cheese. The greens, alliums, and flavoring leaves can be varied endlessly, except that the bulk of the greens should be relatively mild.

First, catch your greens. I carry a white plastic food-grade 3 gallon bucket out into the garden and pick it full, with the greens loosely thrown in and not packed down. Today I picked mostly lambs-quarters leaves, with some late spinach and early chard. If I was working from the farmer’s market or grocery store, I would choose a very large bunch of chard and Tuscan kale, and would tear out the large central midribs. Wash the greens twice. Grab them by handfuls and, on a BIG cutting board, chop them coarsely.

Second, decide on your alliums. Today I picked two big green onions and a couple of very big stalks of green garlic. If you don’t have a garden, a large onion and three cloves of garlic would work. You could use two cloves of garlic and two bundles of onion scapes from the farmer’s market.  Shallots are good in the winter. Don’t use garlic scapes in this recipe, because the texture doesn’t work.  Chop your alliums finely.

Third, consider your flavoring leaves. Think in terms of adding herbal, sharp, aromatic, and sour flavors. Today I picked several large young wine grape leaves for the sharp-sour note, a few leaves of lovage and a handful of parsley for green-herbal tones, and a few sprigs each of thyme and fennel for aromatic notes. Possibilities are endless. If working from the grocery store shelves, I would often choose a small bunch of parsley and some tarragon and thyme. Chop your flavoring leaves finely.

For the oil, I use top-notch extra virgin olive oil.

For the cream, I chose a can of coconut milk because I had one on hand, but heavy cream would do just as well, and if you insist on almond or cashew milk you can use that. You need a cup or a little more of your cream of choice.

For eggs, I use three whole eggs and nine egg yolks. Do be sure to get the best pastured eggs that you can get.

For nuts, I always use about half a cup of pine nuts. If you choose some other nut, chop them coarsely.

For seasonings, I used about a teaspoon each of red pepper and Urfa pepper flakes. I seldom vary this, just because I love this combination with greens. You may prefer freshly grated black pepper.

For the cheese, I nearly always use 6 ounces of finely grated Parmesan and eight ounces of the wonderful Mt. Vikos feta, crumbled.

Having made your choices and prepared your ingredients, preheat the oven to 375 and generously grease a pan about 10 by 14 with olive oil. Sprinkle the bottom of the pan with some of the Parmesan. Beat the eggs and egg yolks together and salt them a bit.

Heat some olive oil, about a quarter cup, in your largest skillet and sauté the alliums until they are softening. Add the coarsely chopped greens and salt rather generously, and cook turning frequently and carefully as the greens shrink. Cook them 15 minutes or longer, until they taste good when you eat a bite, and then add the flavoring leaves and sauté about two more minutes. Now add the cream. Boil a minute and take them off the heat and let cool 10-15 minutes.

When the greens are just cool enough to handle, stir in the crumbled feta and then the beaten eggs and yolks. Spoon the mixture into the greased cheesed pan, smooth out a bit with a wooden spoon, and sprinkle with the red pepper and Urfa pepper flakes. Then sprinkle on the pine nuts, or whatever nuts you chose.  Top with the rest of the Parmesan (I like to drizzle on a bit more olive oil, too) and bake at 375 until the mixture is firm and a knife tip comes out clean, about 18-20 minutes for me. then, if you like, run under the broiler until the top crisps a bit. Be careful not to burn the nuts. Let it cool a little and serve in generous squares, jam-packed with nutrition. Smaller squares could be used as a finger food.
image