Archive for the ‘herbs’ Category

My 200th post: Celery, Nose to Tail

image
My WordPress dashboard brought to my attention that I have been yapping endlessly about home food production for 199 posts. Naturally, I decided to make my 200th post about a green vegetable, the very thing that I am forever droning on about.
I never tried growing celery because I never ate that much of it. I crunched an occasional stalk, and as a homegrown Louisiana cook I cooked it in the mirepoix that begins so many Cajun dishes, but a bunch a year pretty much met my needs. Then last spring I noticed that a supplier had celery plants at the same time that I noticed I had a bed about to be empty. So I ordered a dozen plants as a lark.
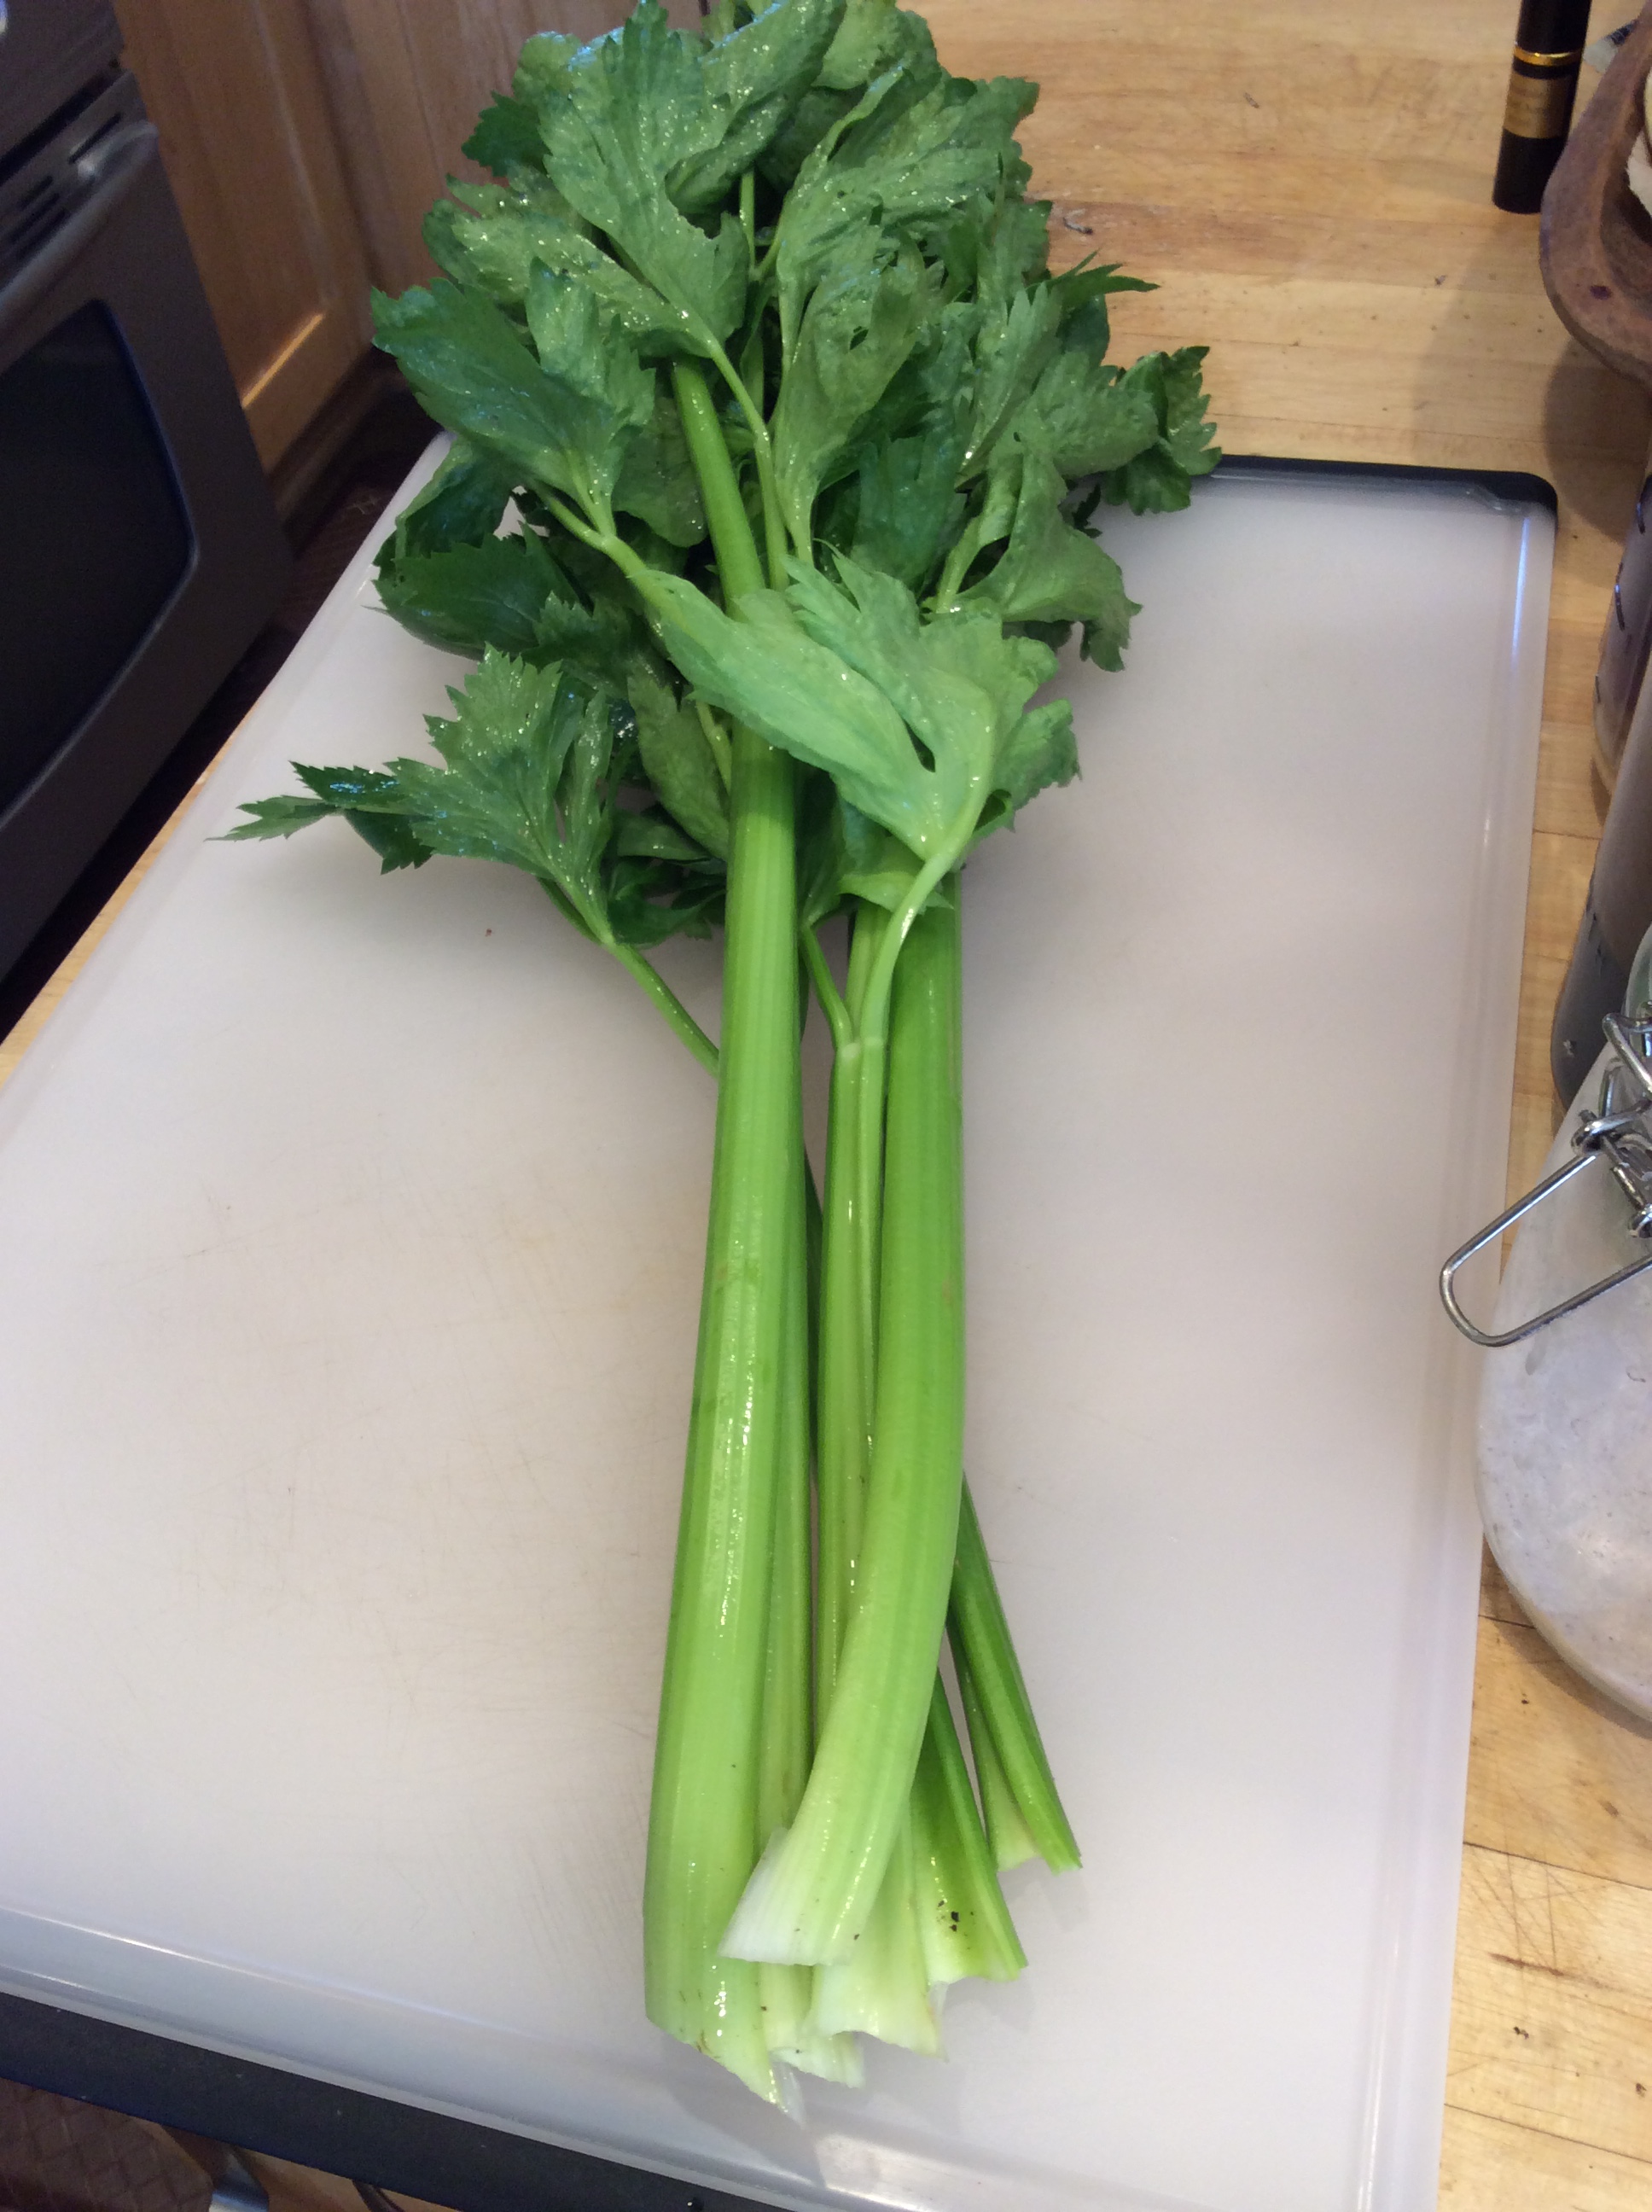
As it turns out, celery is highly versatile in the kitchen as well as easy to grow. It needs your best soil and some elbow room, and here in the desert it has to be watered regularly. Given those conditions it will grow into a wonderful mound of greens.
For general snacking, stalks can be harvested as soon as they’re big enough. Break or cut near the base, but don’t damage the plant. The stalks are a little less tender than grocery store celery, and also a lot less watery and have a full delicious flavor of their own. I snacked away about four of my twelve plants and had eight big plants left by fall. After several frosts when the rest of the garden was over, the celery was green and robust and I finally got around to harvesting it. I never blanched the plants. Blanching produces lighter, yellower, and more tender stalks, but it is also a fair amount of trouble and I am as lazy a gardener as there is.
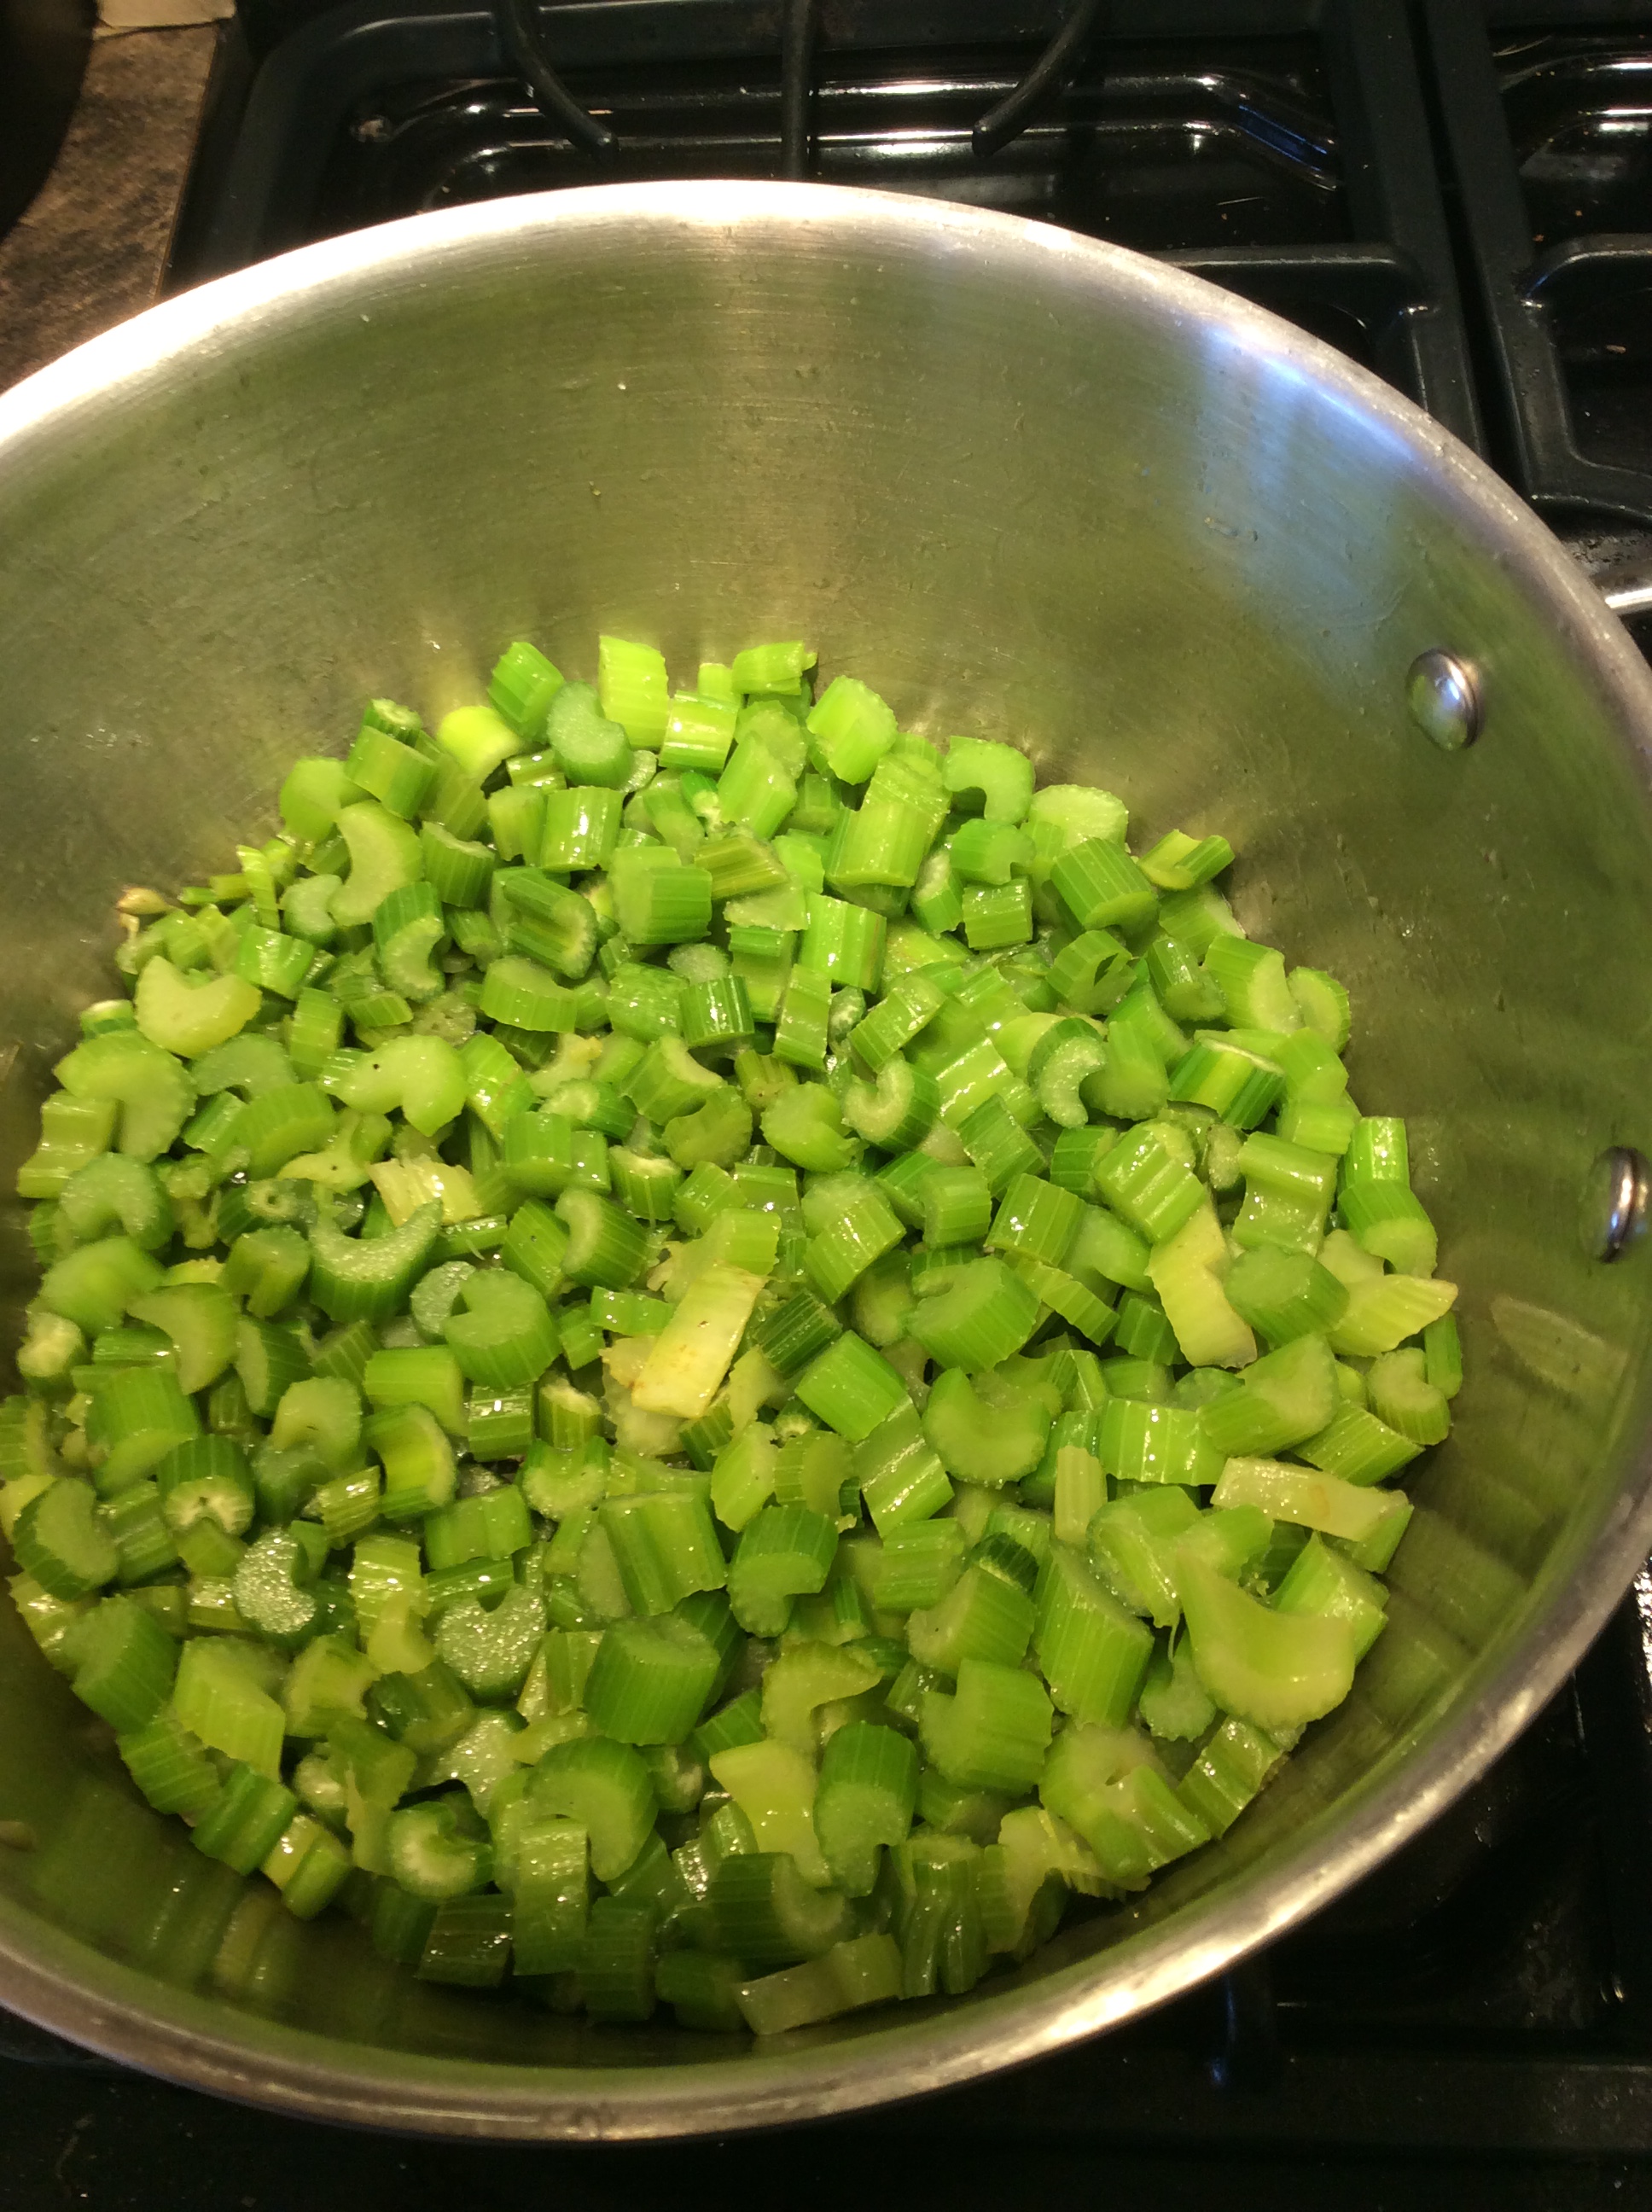
I cleaned the stalks thoroughly and cut them in 1/2″ cross sections and sautéed them in batches in very good olive oil. I thoroughly enjoyed eating them as a green vegetable, with salt and bits of fried guanciale on top. I froze a lot in vacuum-sealed bags to eat this way and to use in mirepoix and soup all winter.
image
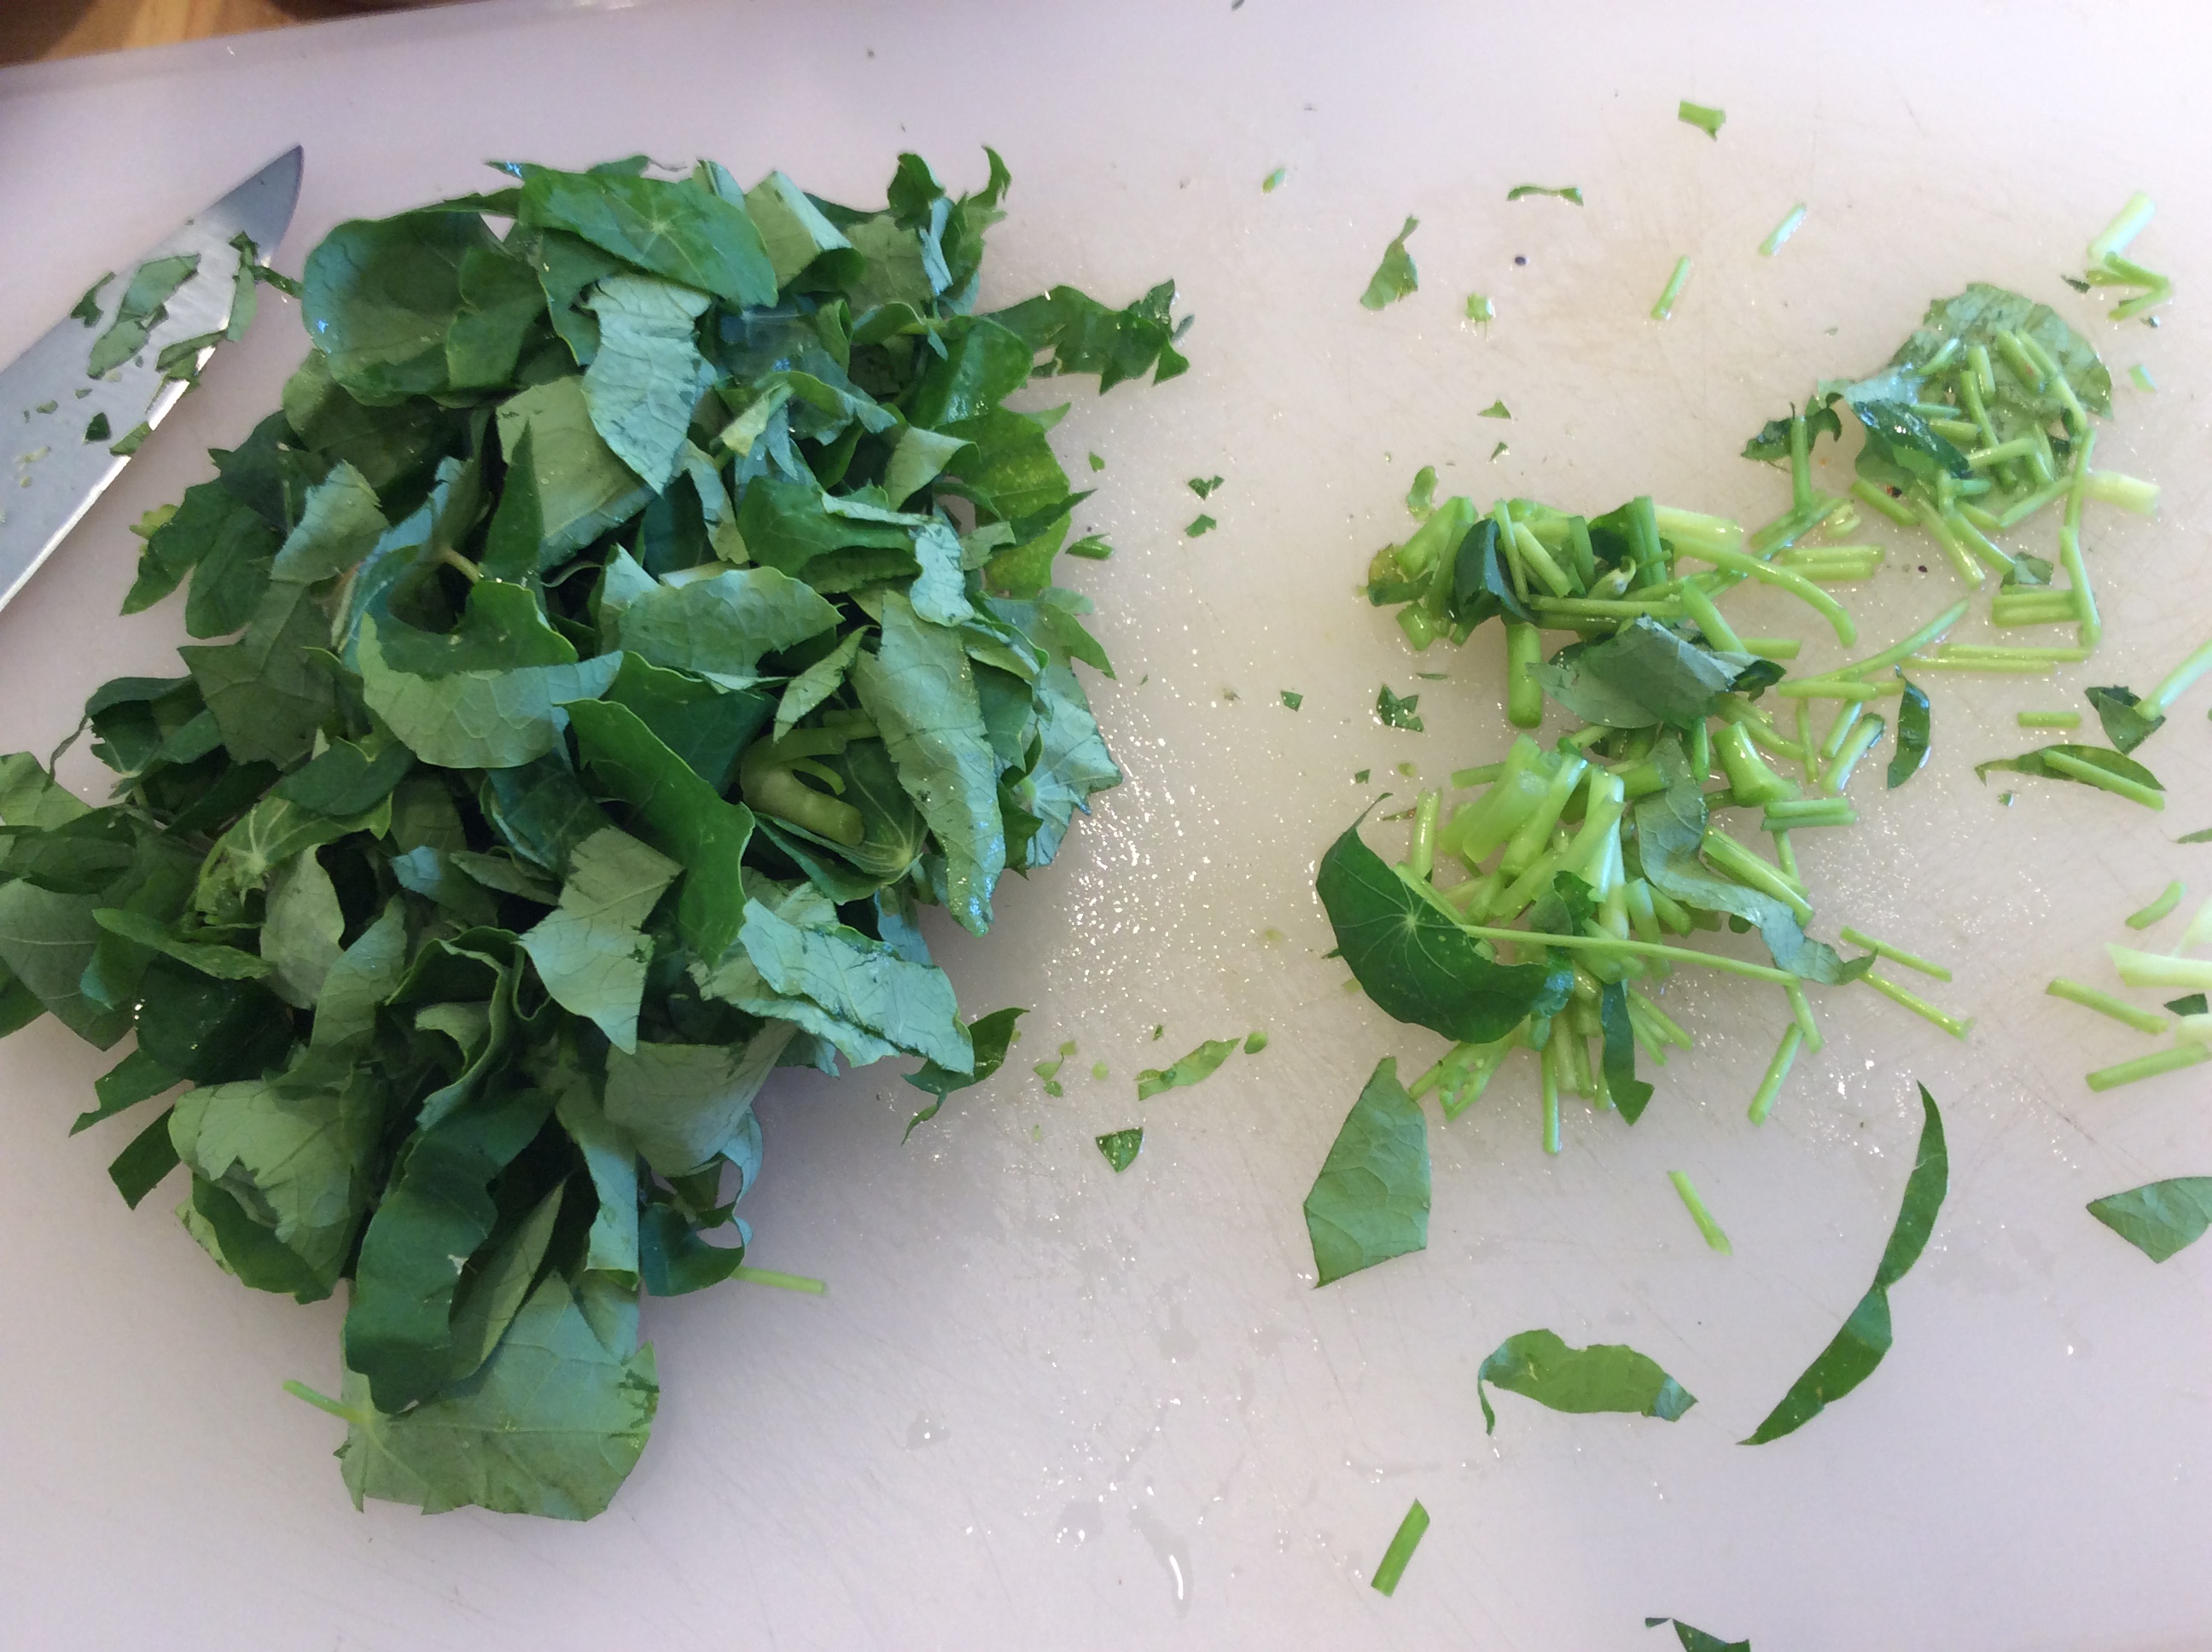
I was left with a counter full of the upper halves of the plants, all thin stalks and dark green leaves. I sorted out the pale self-blanched leaves in the middle, ate some dipped in olive oil as a cook’s treat, and refrigerated the rest for use in salads.
image
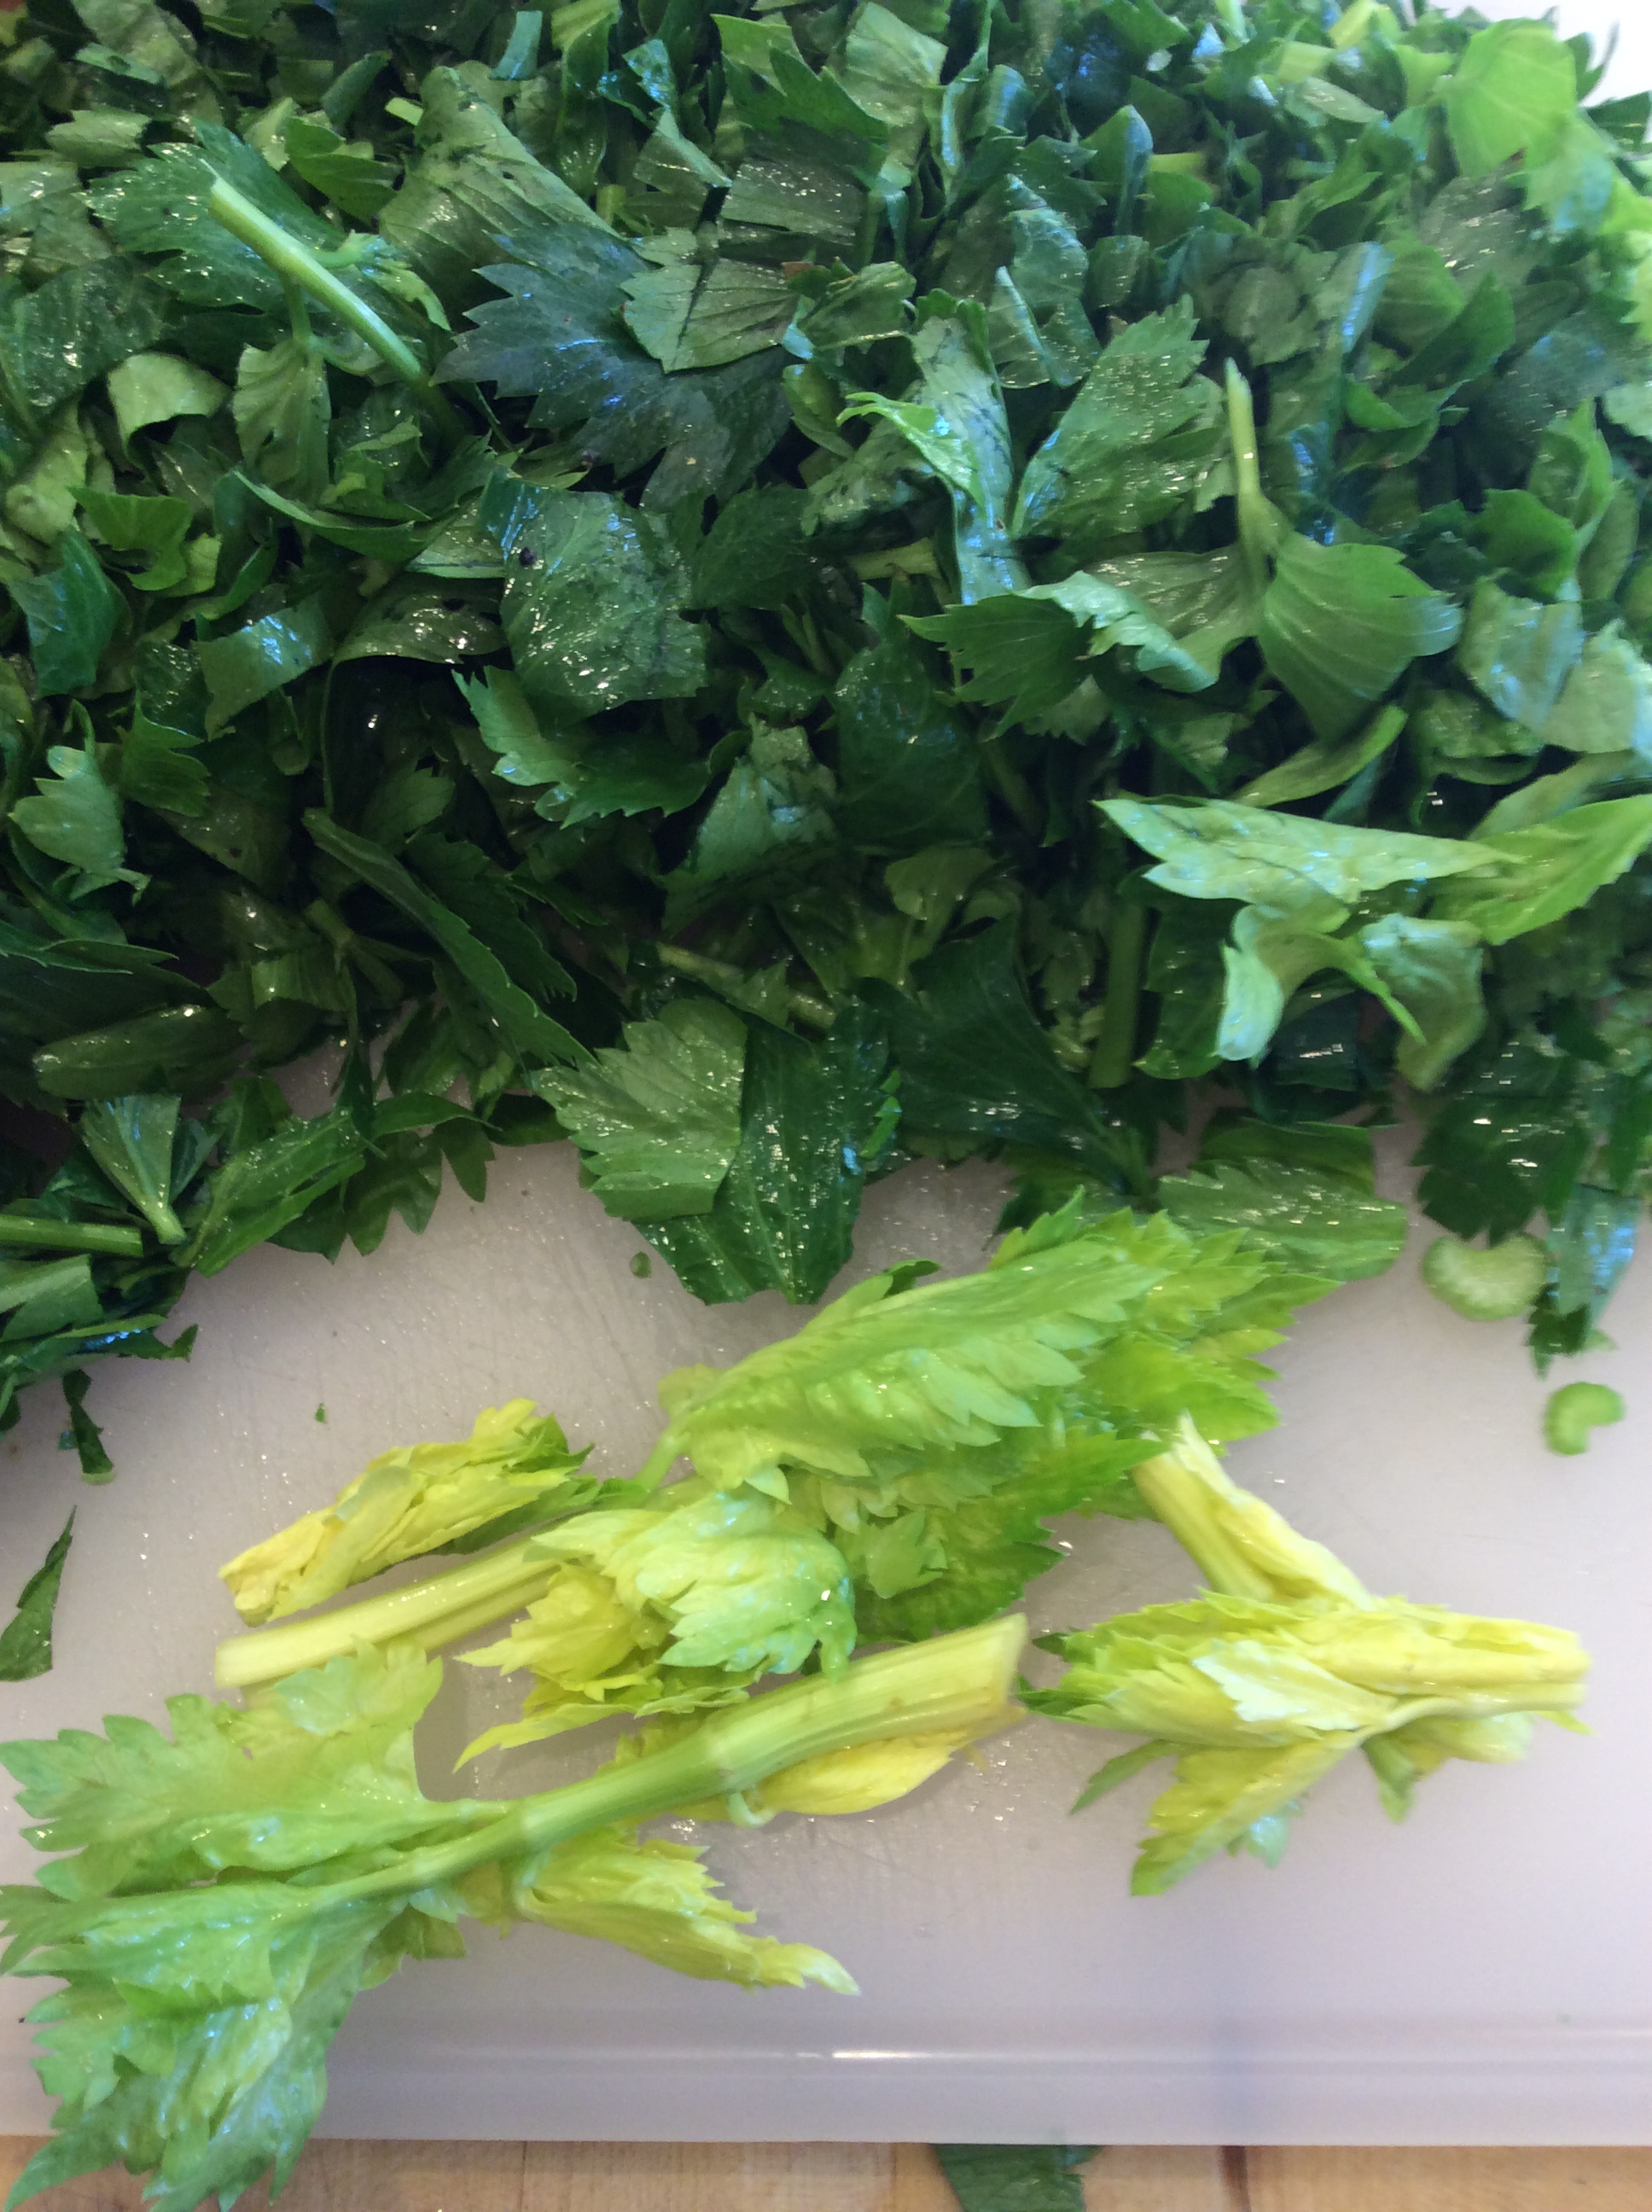
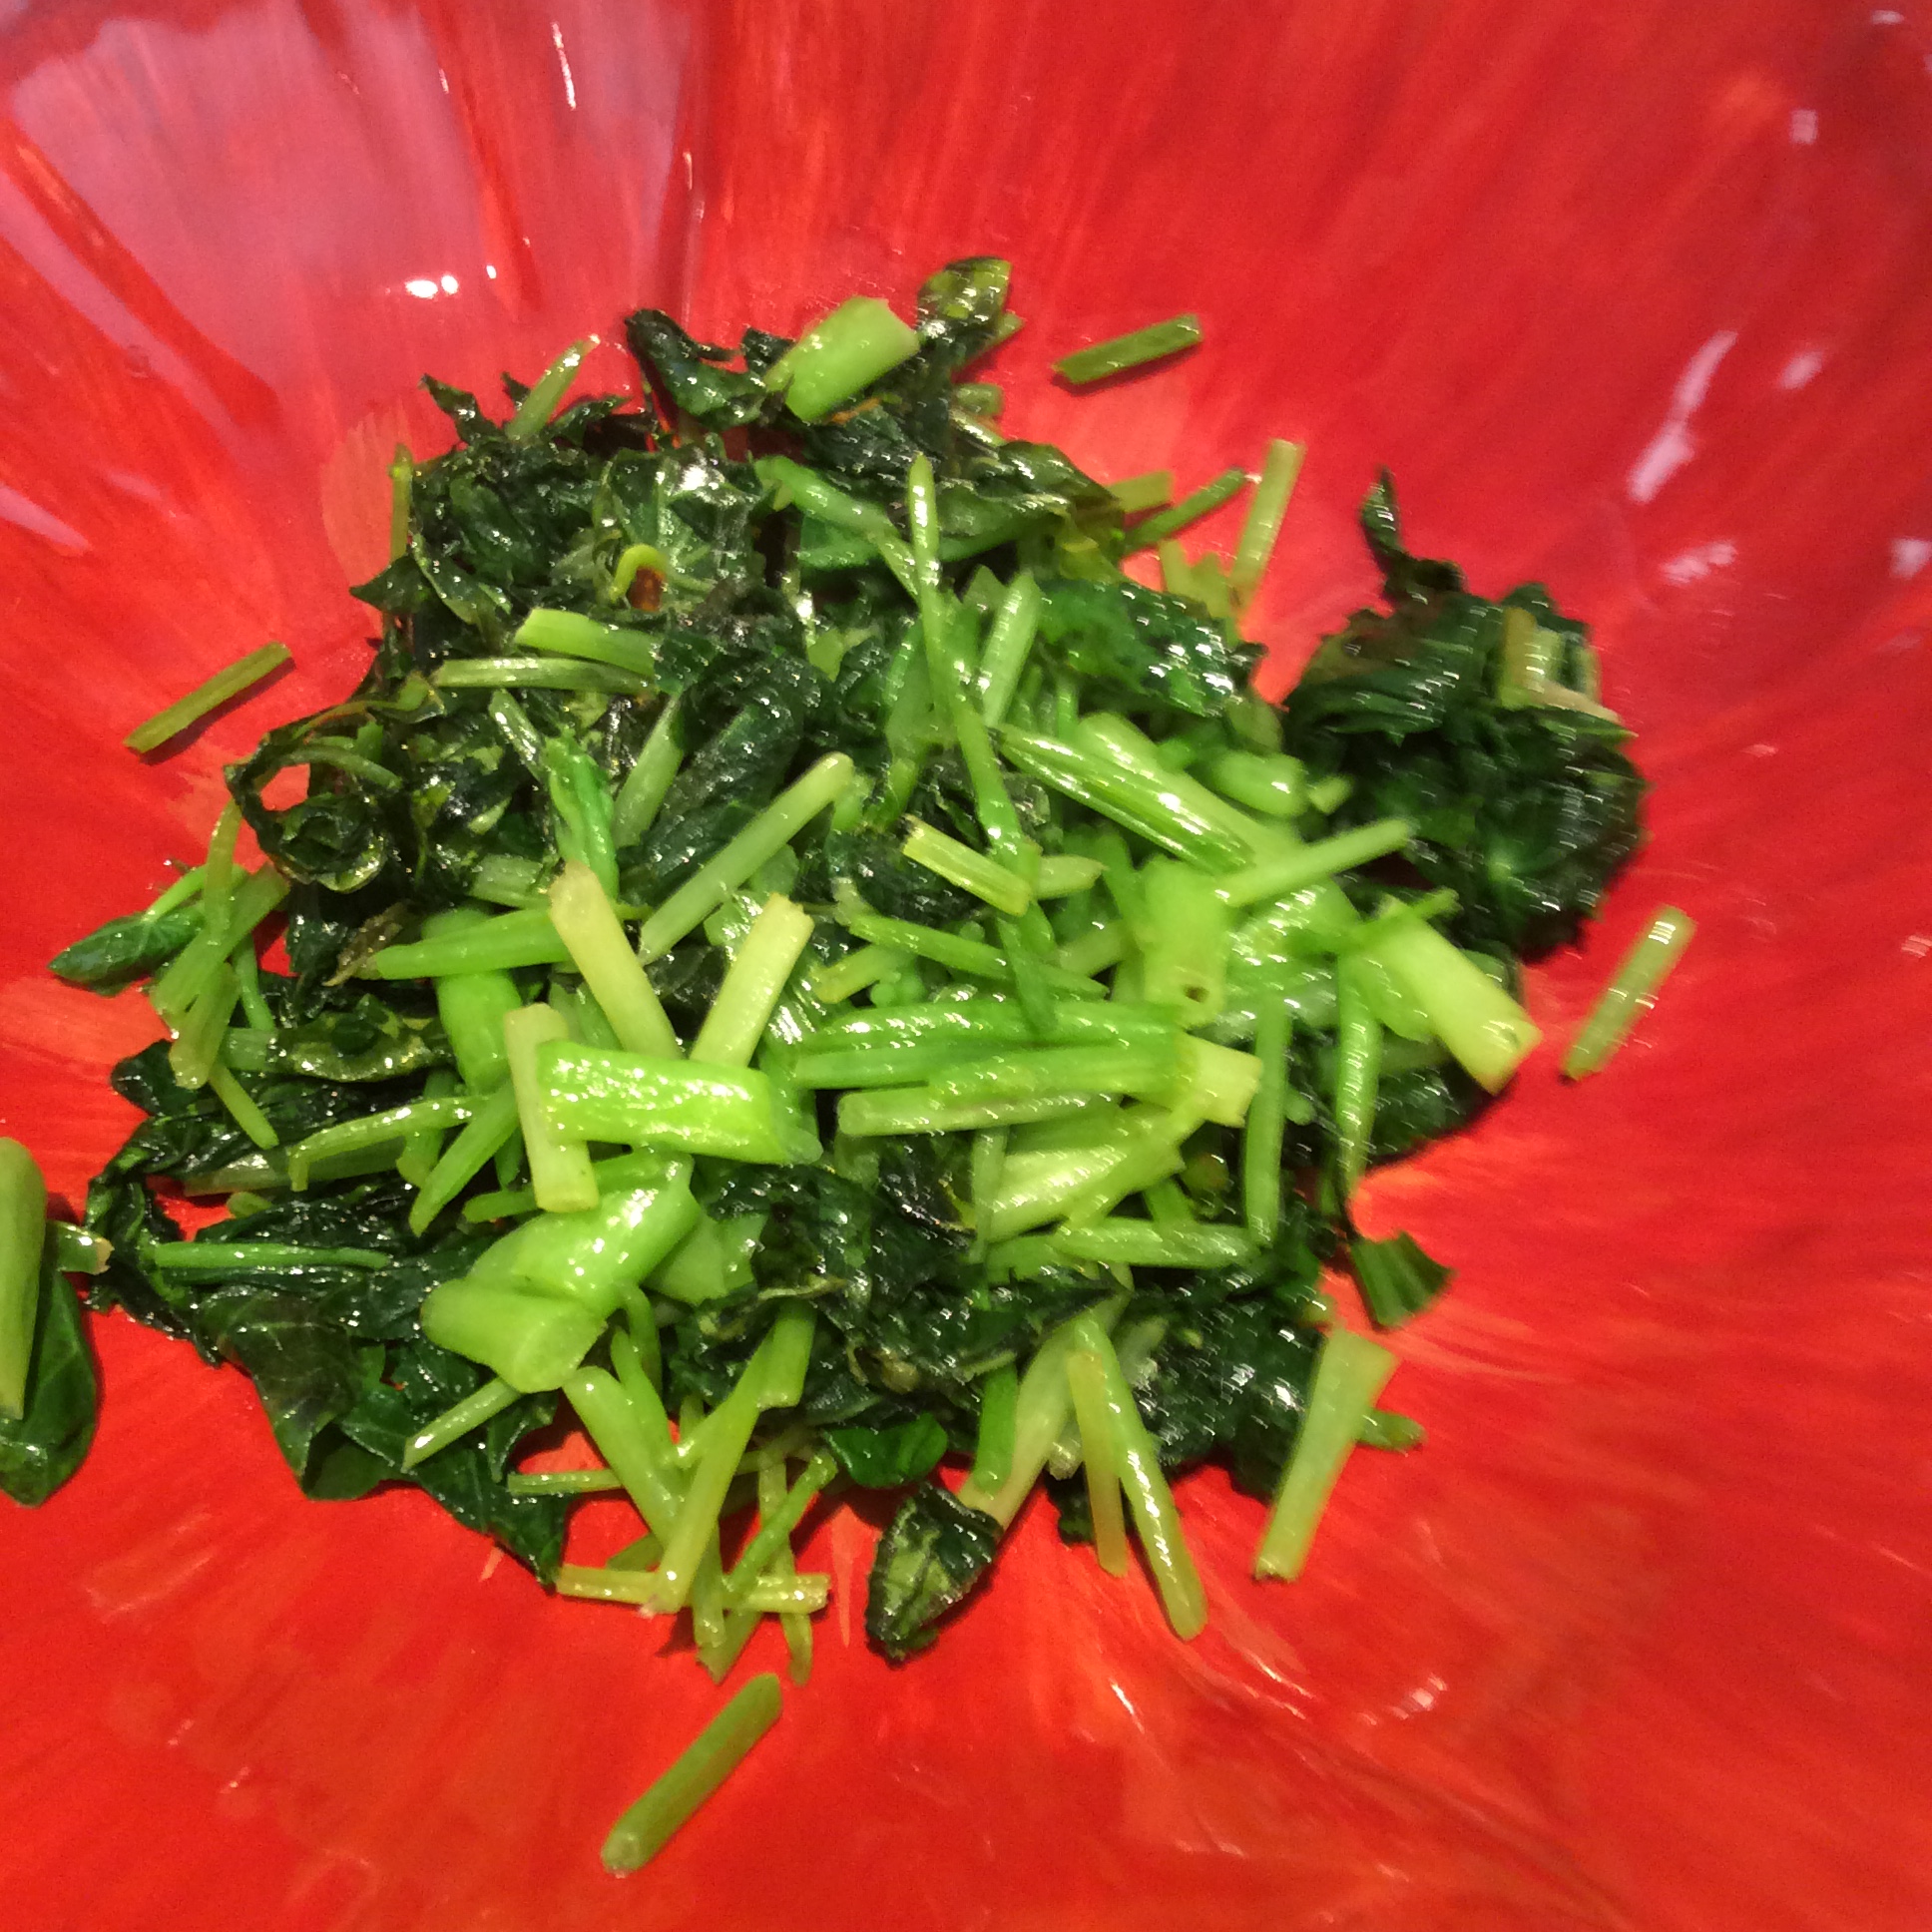
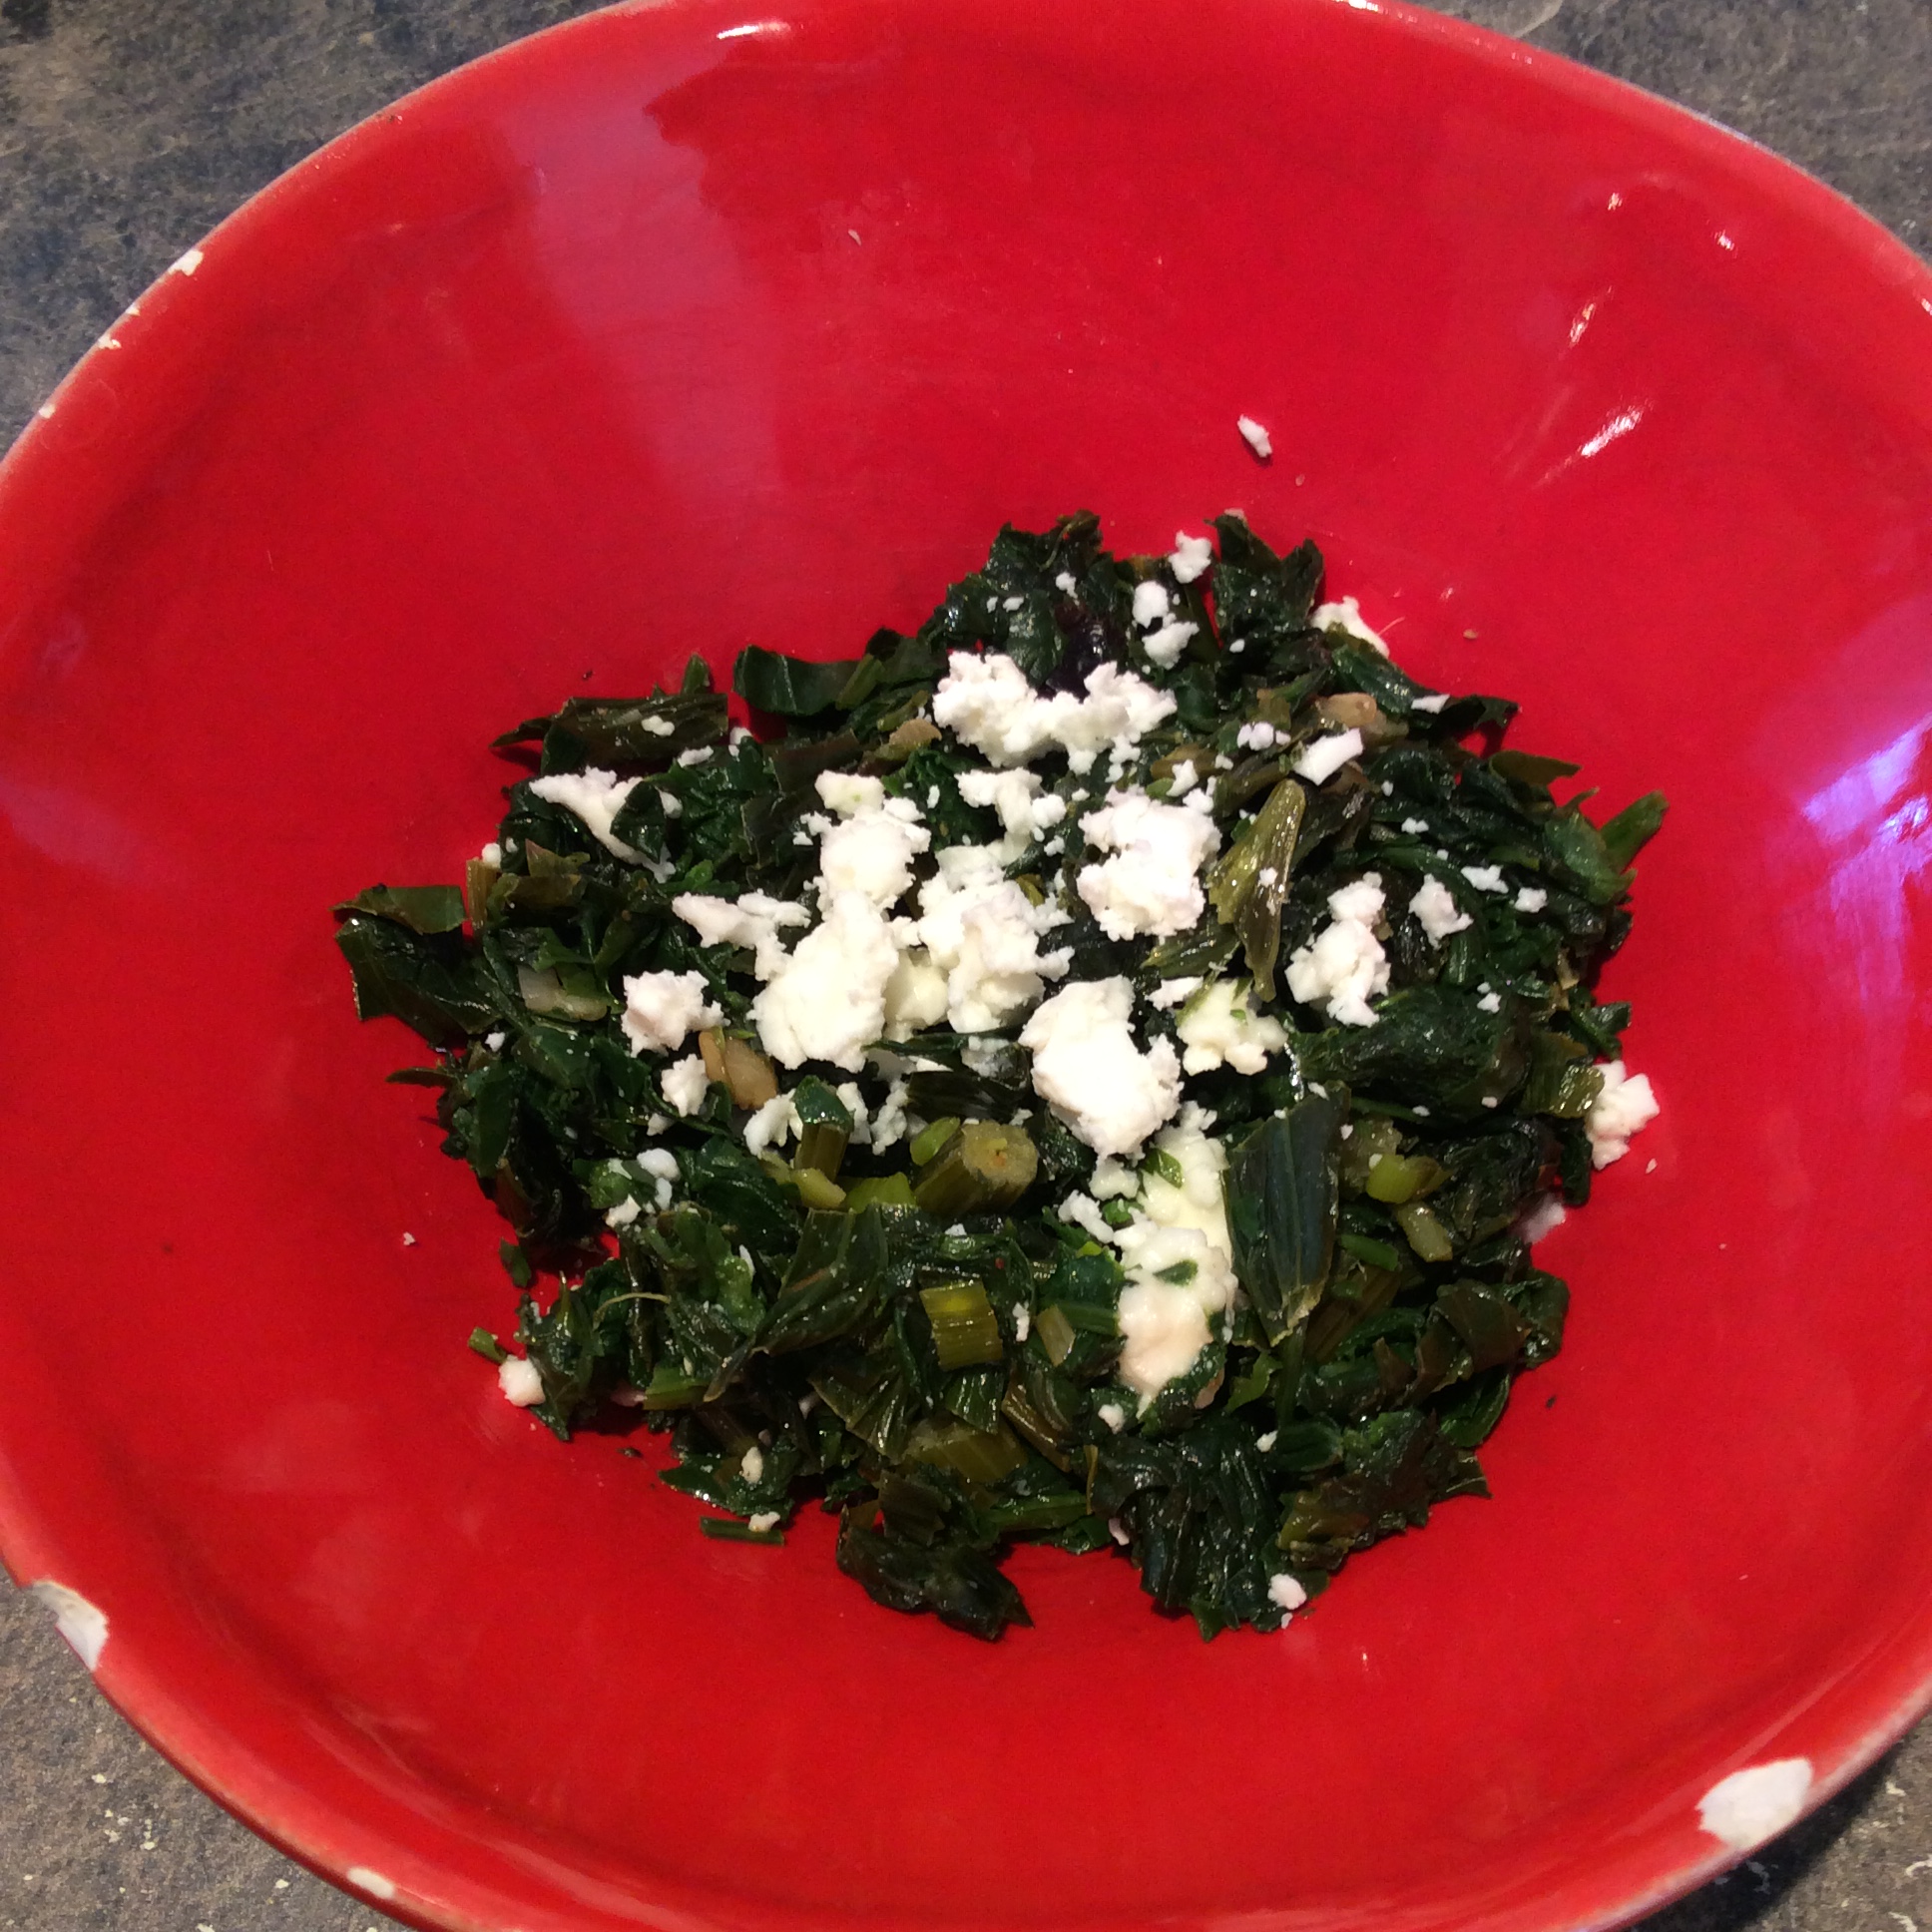
I was left with heaps of dark leaves like the ones toward the top of the picture above. I am not one to waste leafy greens, so I cut them in the same half inch cross sections, leaves and all, and sautéed them in olive oil until cooked. I put a bit of the cooked tops in a skillet with more olive oil and added a chopped clove of garlic, some salt, several chopped black oil-cured olives, and a squeeze of lemon to make a Horta of pure celery leaves. I ate it with crumbled feta and greatly enjoyed it, but have to say that this is a bitter green and probably only real greens-lovers will enjoy it. But when I made a horta with celery tops as about a quarter of the total greens and used milder greens to make up the bulk, I was surprised how much the bitter leaves added to the savory nature of the dish.
image
I sealed and froze the rest of the cooked tops and am using them with my frozen lambsquarters and amaranth to make horta that meets with general approval. I think that a bit of the pure celery-top horta would be good as a sort of herb salad next to roast duck to cut the richness, but I haven’t tried it yet.
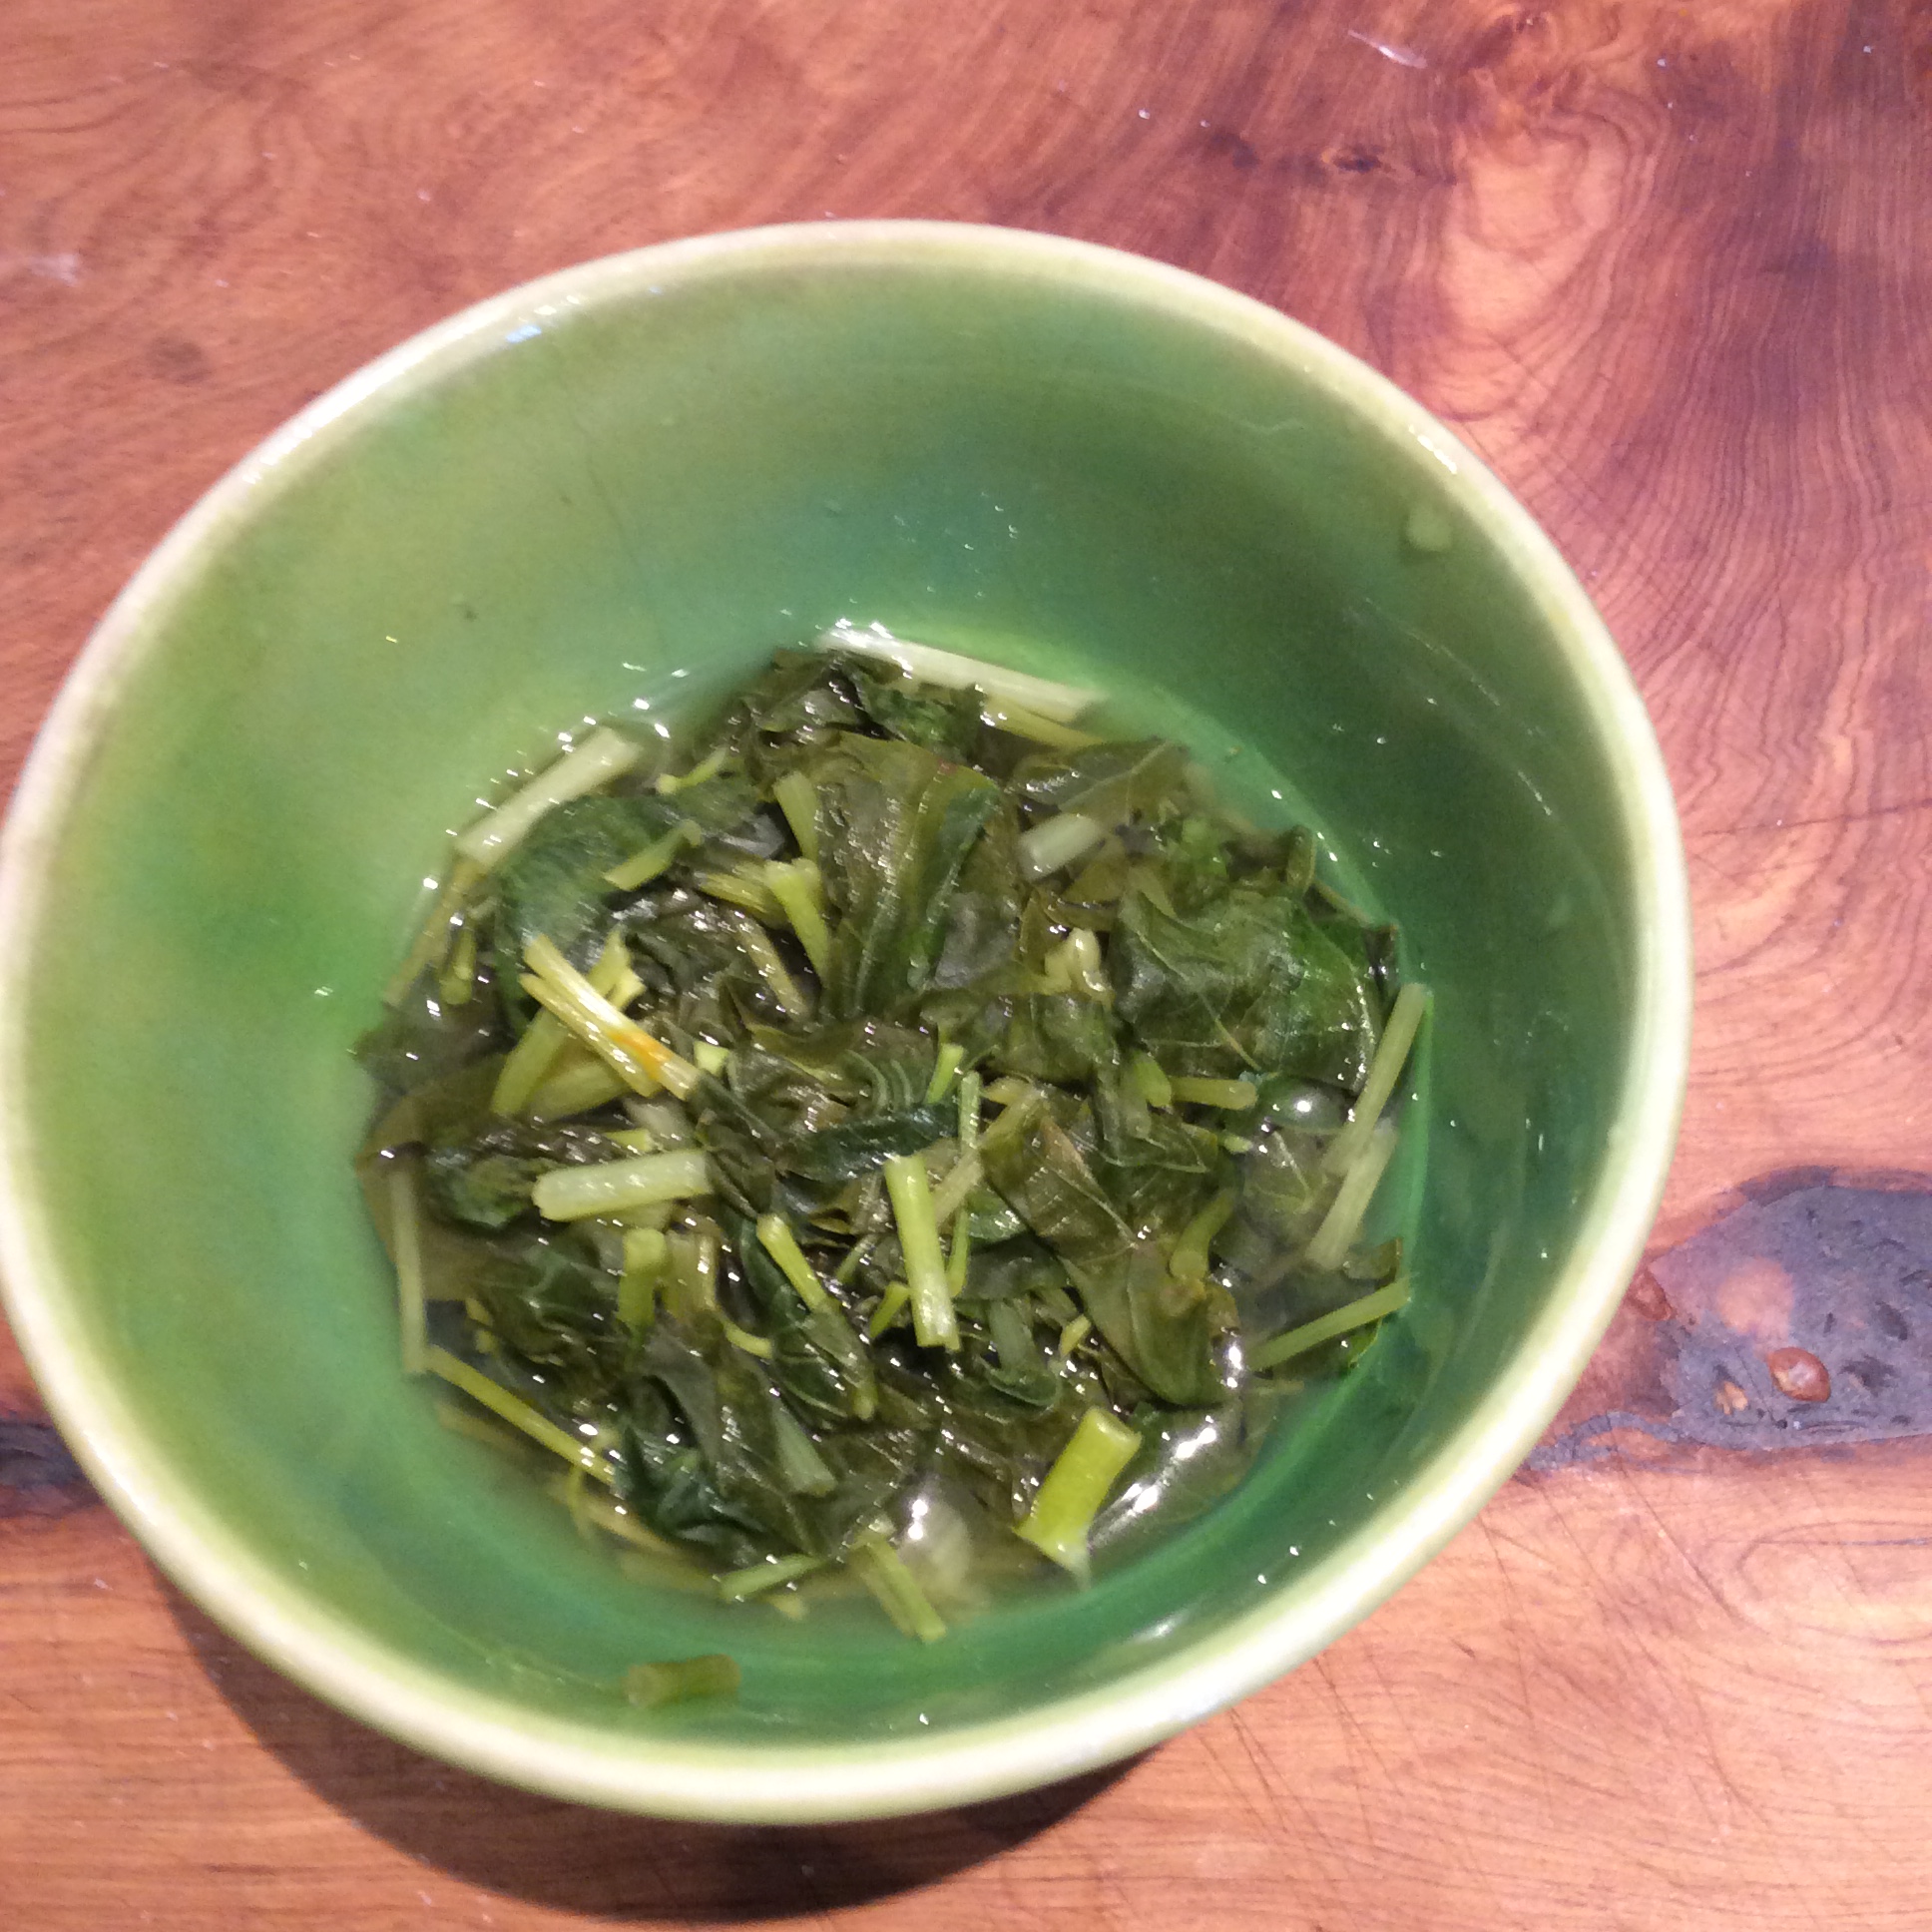
I want to say once again, when cooking leafy greens, don’t be afraid to cook them. I often find the stronger greens tough and revolting when lightly cooked but delicious with 10 or 15 more minutes on the stove. As long as you are sautéing there is minimal nutritional loss. The thing I no longer ever do is blanch them and toss out the blanching water. If a sauté method isn’t appropriate, I blanch in a very small amount of water with frequent stirring, sort of half-steaming in effect, and drink the bit of water after it’s been drained off and cooled.

Just as a point of interest, a phytochemical found in celery called luteolin is being studied for neuroprotective effects. If true, one more reason to eat your celery, and your green veggies generally. You can find an abstract here.

The Greens of Fall: Nasturtiums II

image

After several light frosts and a couple of hard frosts, the nasturtiums in my front yard are still holding their leaves in good condition, and still blooming a bit.  They won’t last much longer though, so this is the time to take advantage of them.  They are always good in salads or used to make hand rolls as suggested in my last post, because they combine a snappy watercress peppery flavor with a tender texture.  Cooked, they lose a lot of their sharpness but remain delicious.

image

I grow the trailing nasturtiums that wind so nicely among other things in the bed, and at this time of year I grab about the last foot of stem. I snap them off wherever the stem snaps cleanly, which is usually while they are still smaller than a pencil. I take everything above that into the kitchen  for cleaning. I wash them and lay them out on the cutting board. The flowers are devoured on the spot as a cook’s treat, or can be saved for the top of a salad.  What remains is cut crosswise into half-inch segments. It’s important to keep them out about this length, or the stems can seem fibrous.

image

Now  stir the sections around a bit with your fingers, then lift off the leaves which are mostly on top and set them to one side, leaving most of the stem segments on the other. There will be a few of each item in the pile of the other, and it doesn’t matter.  This step is so you can give the stems a bit more cooking than the leaves.

image

Now, cook them in any way that you would use other greens, cooking the stem sections for a couple of minutes longer than the leaves. I have two favorite ways. One is to sauté them fast in a tablespoon or so of hot flavorful olive oil, putting the stems in, sautéing for two minutes, then add in the leaves and sauté in for another minute.  Serve with salt and freshly ground pepper. Simple and good.

image

My other favorite use for them is a quick sort of sweet and sour pickle, which I like with grilled meat or dishes in the Japanese fashion.   For a heaping a handful of chopped nasturtium, eat half a cup of water in a small saucepan with 2 tablespoons of rice vinegar and 1 tablespoon of sugar or to taste, or you can use artificial sweetener if it is one that does well with cooking.  And a scant teaspoon of salt and bring to a boil. When it is boiling, put in the stems, boil for about two minutes, and the leaves, and take off the heat immediately and let it sit in the “pickling liquid” until room temperature.  serve immediately or keep in the refrigerator for a day or two.

image

For my taste the flavors in this quick “pickle” are too strong to use it as a side dish, but you could always use less vinegar and sweetening and salt, and use it as a side dish if you prefer that. When I was growing up in the south, collards were sometimes cooked this way, and I seem to remember that they were good.

Some people think highly of the nasturtium as a medicinal herb. If you wish to research this, please keep in mind that the nasturtium flower we are dealing with here is Tropaeolum majus, while  Nasturtium officinale is actually watercress.  This is why we use botanical names; in the long run, it avoids a lot of confusion.   In my view, the fact that they are green and lovely in cold weather and taste good is reason enough to eat them.


The greens of fall: Nasturtium

image
With the first frost behind us, there are parts of the garden that are just getting into full swing. This is the second great greens season. During the summer I enjoy the beauty of nasturtiums and put the flowers in salads frequently, as well as using the leaves here and there. After a frost, flower production slows way down but leaf production increases, and this is the time to use these wonderful tender leaves with the flavor of watercress. I use them fairly simply. The largest ones always become hand rolls, and my favorite things to put in them are cream cheese with capers and some of their own blossoms, slivered sushi salmon with pickled ginger and other accompaniments, and smoked salmon. I use two leaves stacked to make up each role so that you get a good watercressy flavor in each bite.
image
The smaller leaves go into quickly sautéed mixtures of greens and herbs that flavor omelettes. Green garlic is available again this time of year after the summer hiatus, and I like to chop up a small stalk of it leaves and all, chop up a packed pint of the smaller nasturtium leaves and a celery leaf or two chopped fine, and sauté them together quickly in butter and put them in an omelette of eggs from my own hens. Delicious. If you care to gild the lily by adding slivered smoked salmon and bits of cream cheese to the filling, it only gets better. If you can eat outside in the clear October sunlight, that’s best of all.
image
image

The Eggplant Chronicles III: an Eggplant Appetizer

image
One evening recently I found myself with four expected for dinner and two Japanese eggplants. I decided to use the eggplants as an hors d’oeuvre and sliced them diagonally (to increase the size of the slices) about 1/3 inch thick, sprinkled the slices heavily with salt, and set them aside to disgorge while I rummaged in the pantry and refrigerator. I came across my tub of salt-cured capers and set a large handful of them aside to soak. I found some leftover marinara sauce, about a cup’s worth, and put it in a little saucepan and reduced it to half a cup to thicken the sauce and intensify the flavors. I added a small handful of chopped fresh Greek oregano, and since the flavor was going to lean more Greek I threw in a few chopped fennel fronds too, a tablespoonful or so. I pulled a slice of feta out of the tub in my refrigerator and crumbled it. The oven was turned to 425 to preheat.
By this time the eggplant slices looked quite watery and were ready to be dried with a clean dish towel. They need to be pressed hard to get as much water out as possible. Then they were fried in olive oil in a nonstick skillet until nicely browned on both sides. I do this over fairly high heat, which requires constant unwavering attention so that they don’t burn but gets the job done quickly.
Once the eggplant slices are fried, they can be laid out on parchment paper on a baking sheet and the squeezed-dry capers fried quickly in olive oil in the same pan, not to crispness and not browned but just enough to turn them a shade darker and bring out their flavor. Then mix them into the tomato sauce and spread the mixture on the eggplant slices. Top with crumbled feta. Pop in the hot oven for 15-20 minutes, until the slices are bubbling-hot and the feta looks a little soft, and serve.
These can be made hours ahead, even a day ahead, and then the final baking done just before eating. They are suitable for low carbohydrate diets. They are suitable for vegetarians as long as the tomato sauce didn’t contain any meat. If cooking for vegans, you could leave off the cheese, fry the capers to the point of a bit of browning and crispness, and use them combined with toasted pine nuts for the top garnish.
image
Thanks to my grafted Japanese eggplant I always have a couple of lovely fruit hanging around the kitchen waiting for inspiration to strike. If you don’t have a big vegetable garden, eggplant is attractive enough (in my eyes anyway) to be grown along a walkway in place of flowers.
image