Archive for the ‘greens’ Category

Turkish Rocket in garden and kitchen

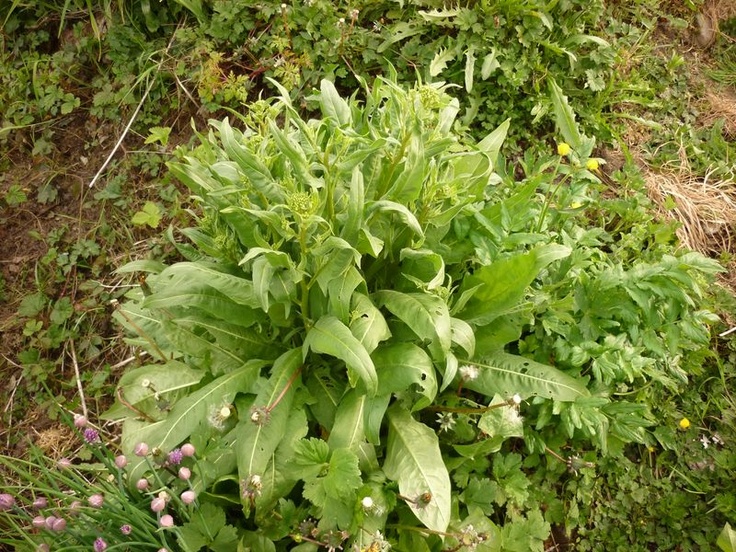
Last year I finally got around to planting  the perennial vegetable Turkish rocket, Bunius orientalis, and this year I was able to experiment with it in the kitchen. I had read that it was invasive and so I limited myself to five plants that I could watch carefully, meaning that my experiments were on a very small scale. So far, here’s what I found:

As so many have discovered before me,  the leaves are so strongly mustardy that they create quite an unpleasant burn in the back of the throat, and they are not a culinary object as far as I am concerned. Even my goat wouldn’t  eat them.

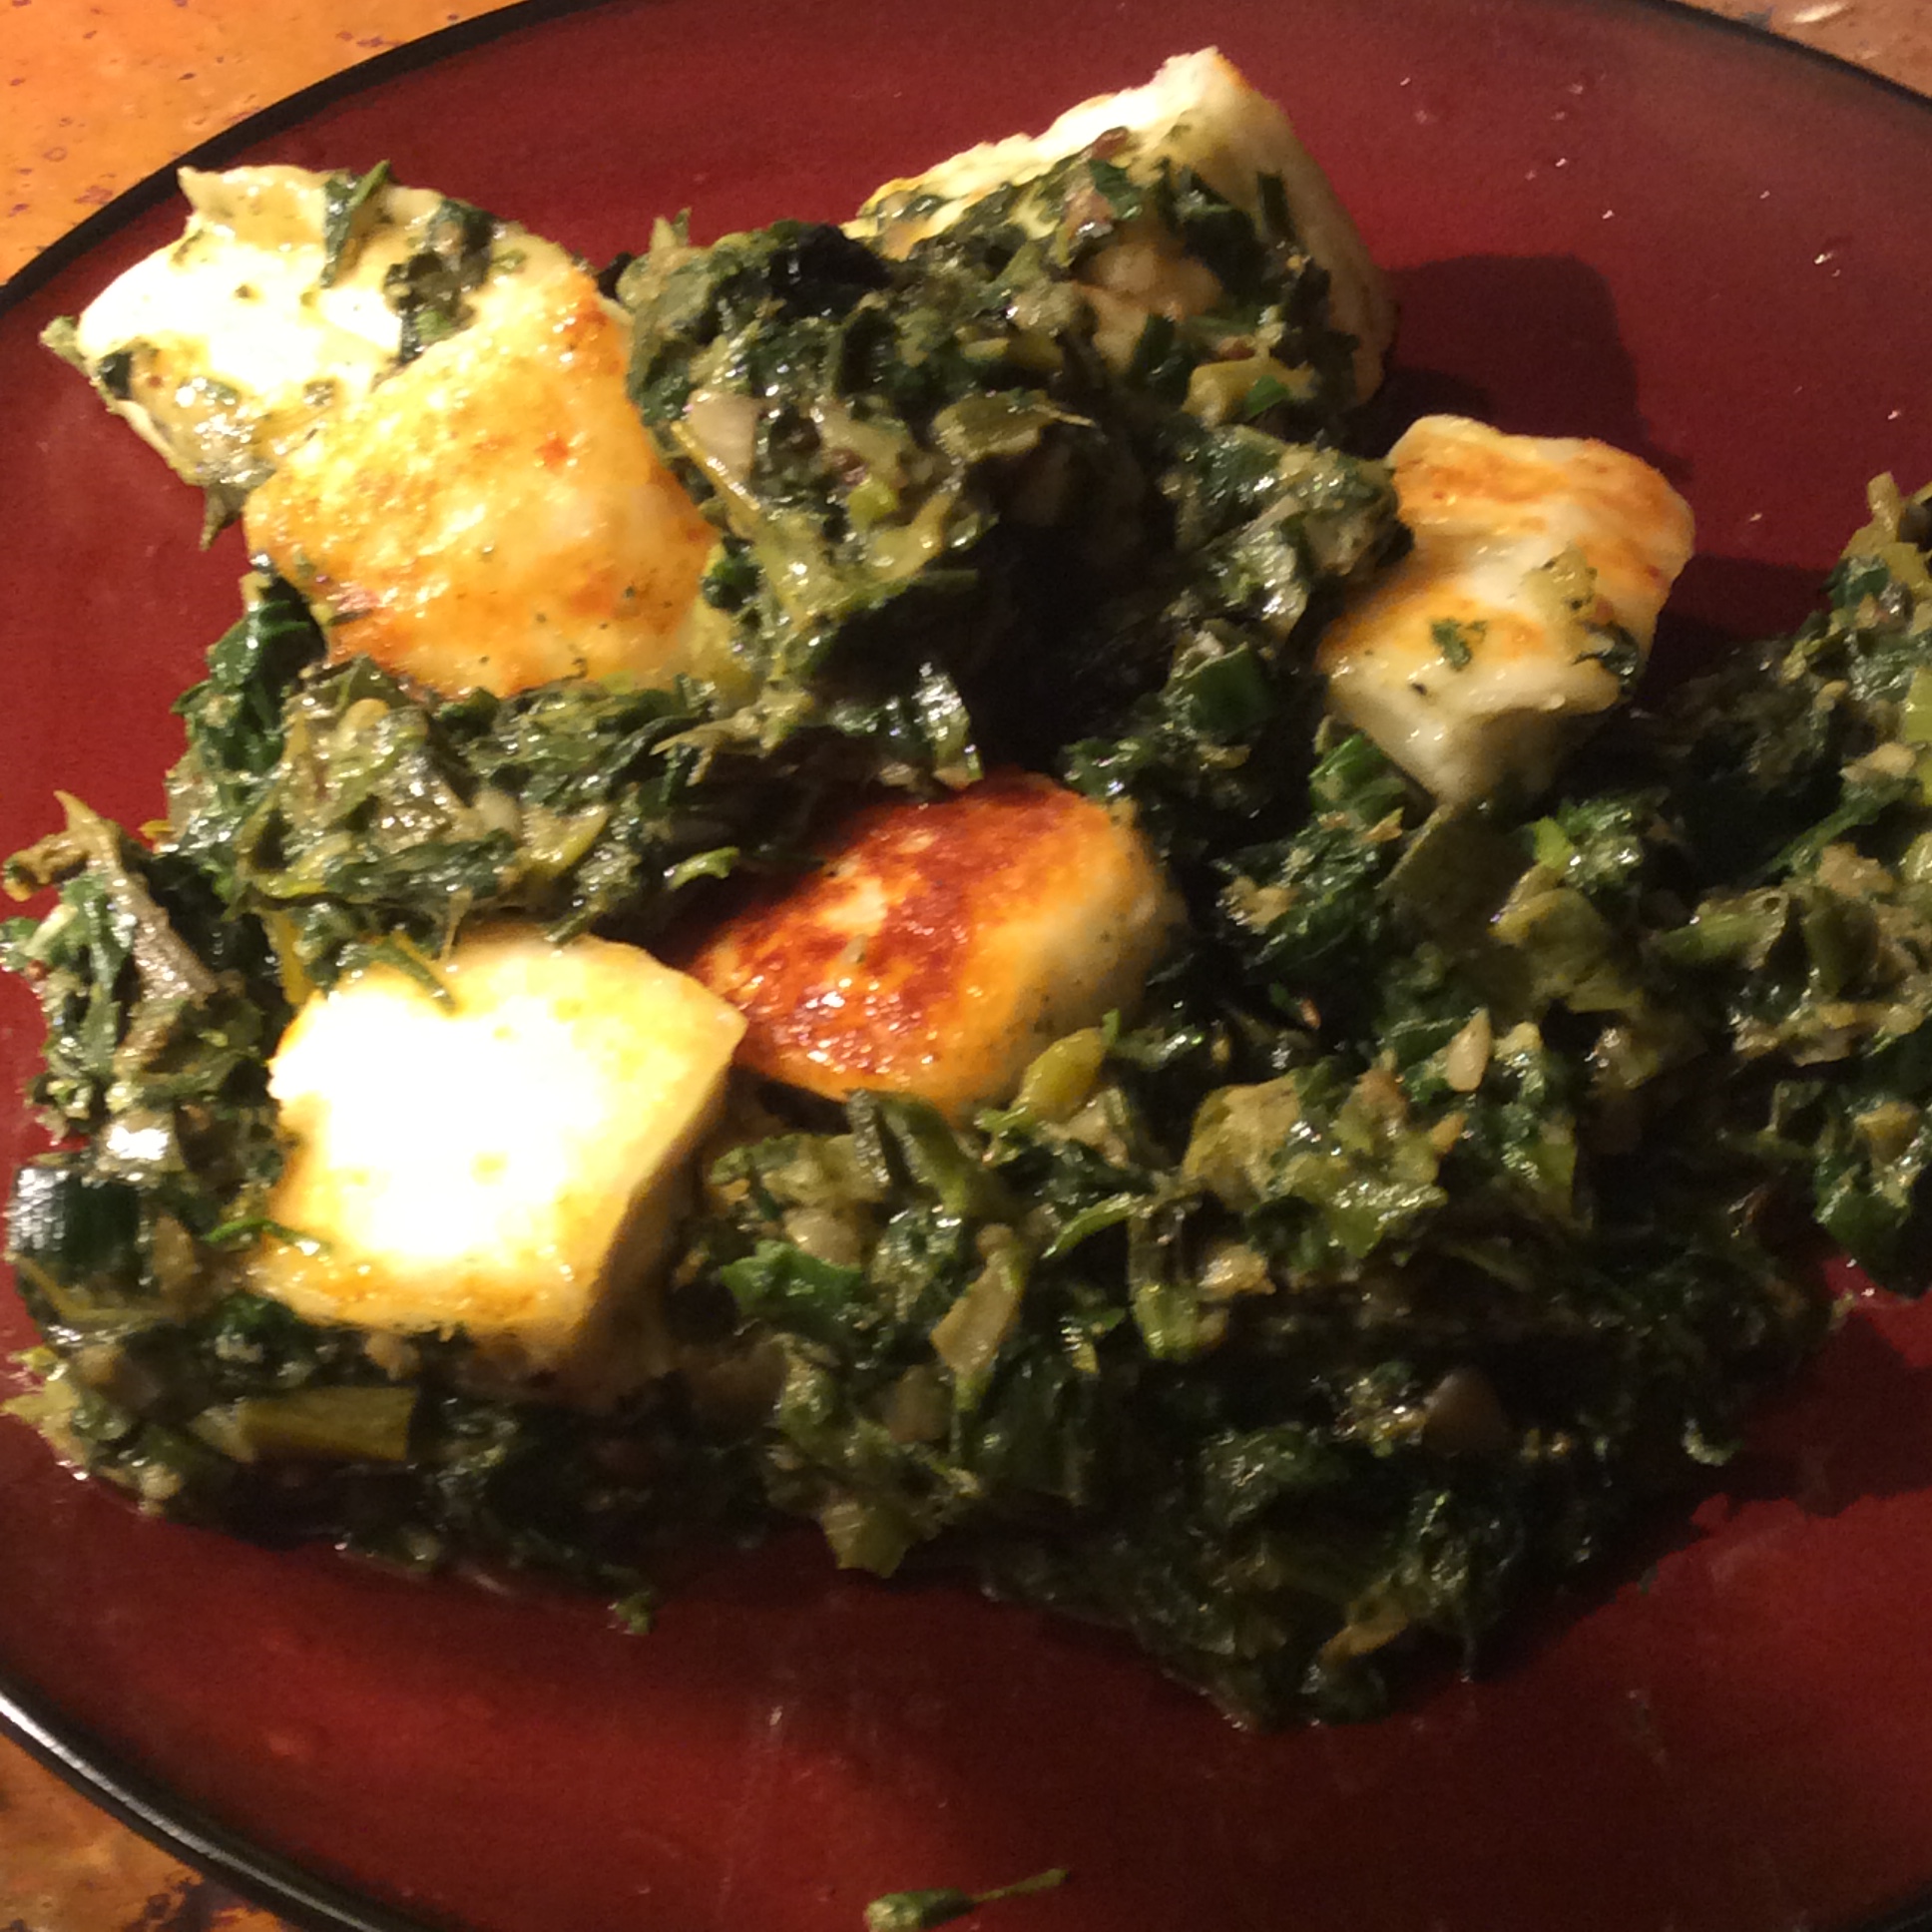
The bud clusters are used like broccoli rabe.  They can be very delicious, but timing is everything. The proper stage is shown in the photo above, when each stalk has one small bud cluster and the buds themselves are green, not yet showing the edges of bright yellow petals.  At this point, they can be blanched in boiling water for a minute or two, drained well, and then sautéed in olive oil with garlic and chili flakes and have the slight nutty-mustardy quality of good rabe,  with no burn as you swallow. You would need several well-established plants to get enough for a few servings, as far as I can tell, but they would certainly deserve their space.

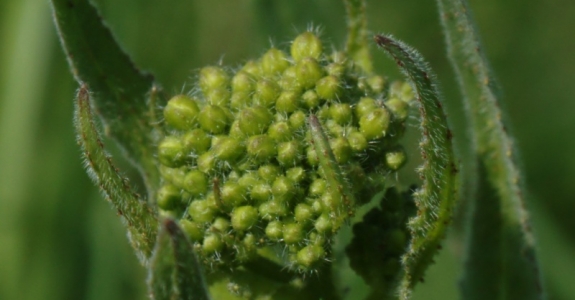
Here’s a close-up of a stalk in the perfect stage for eating. Snap off the top few inches of stem with the buds and it will cook up beautifully.

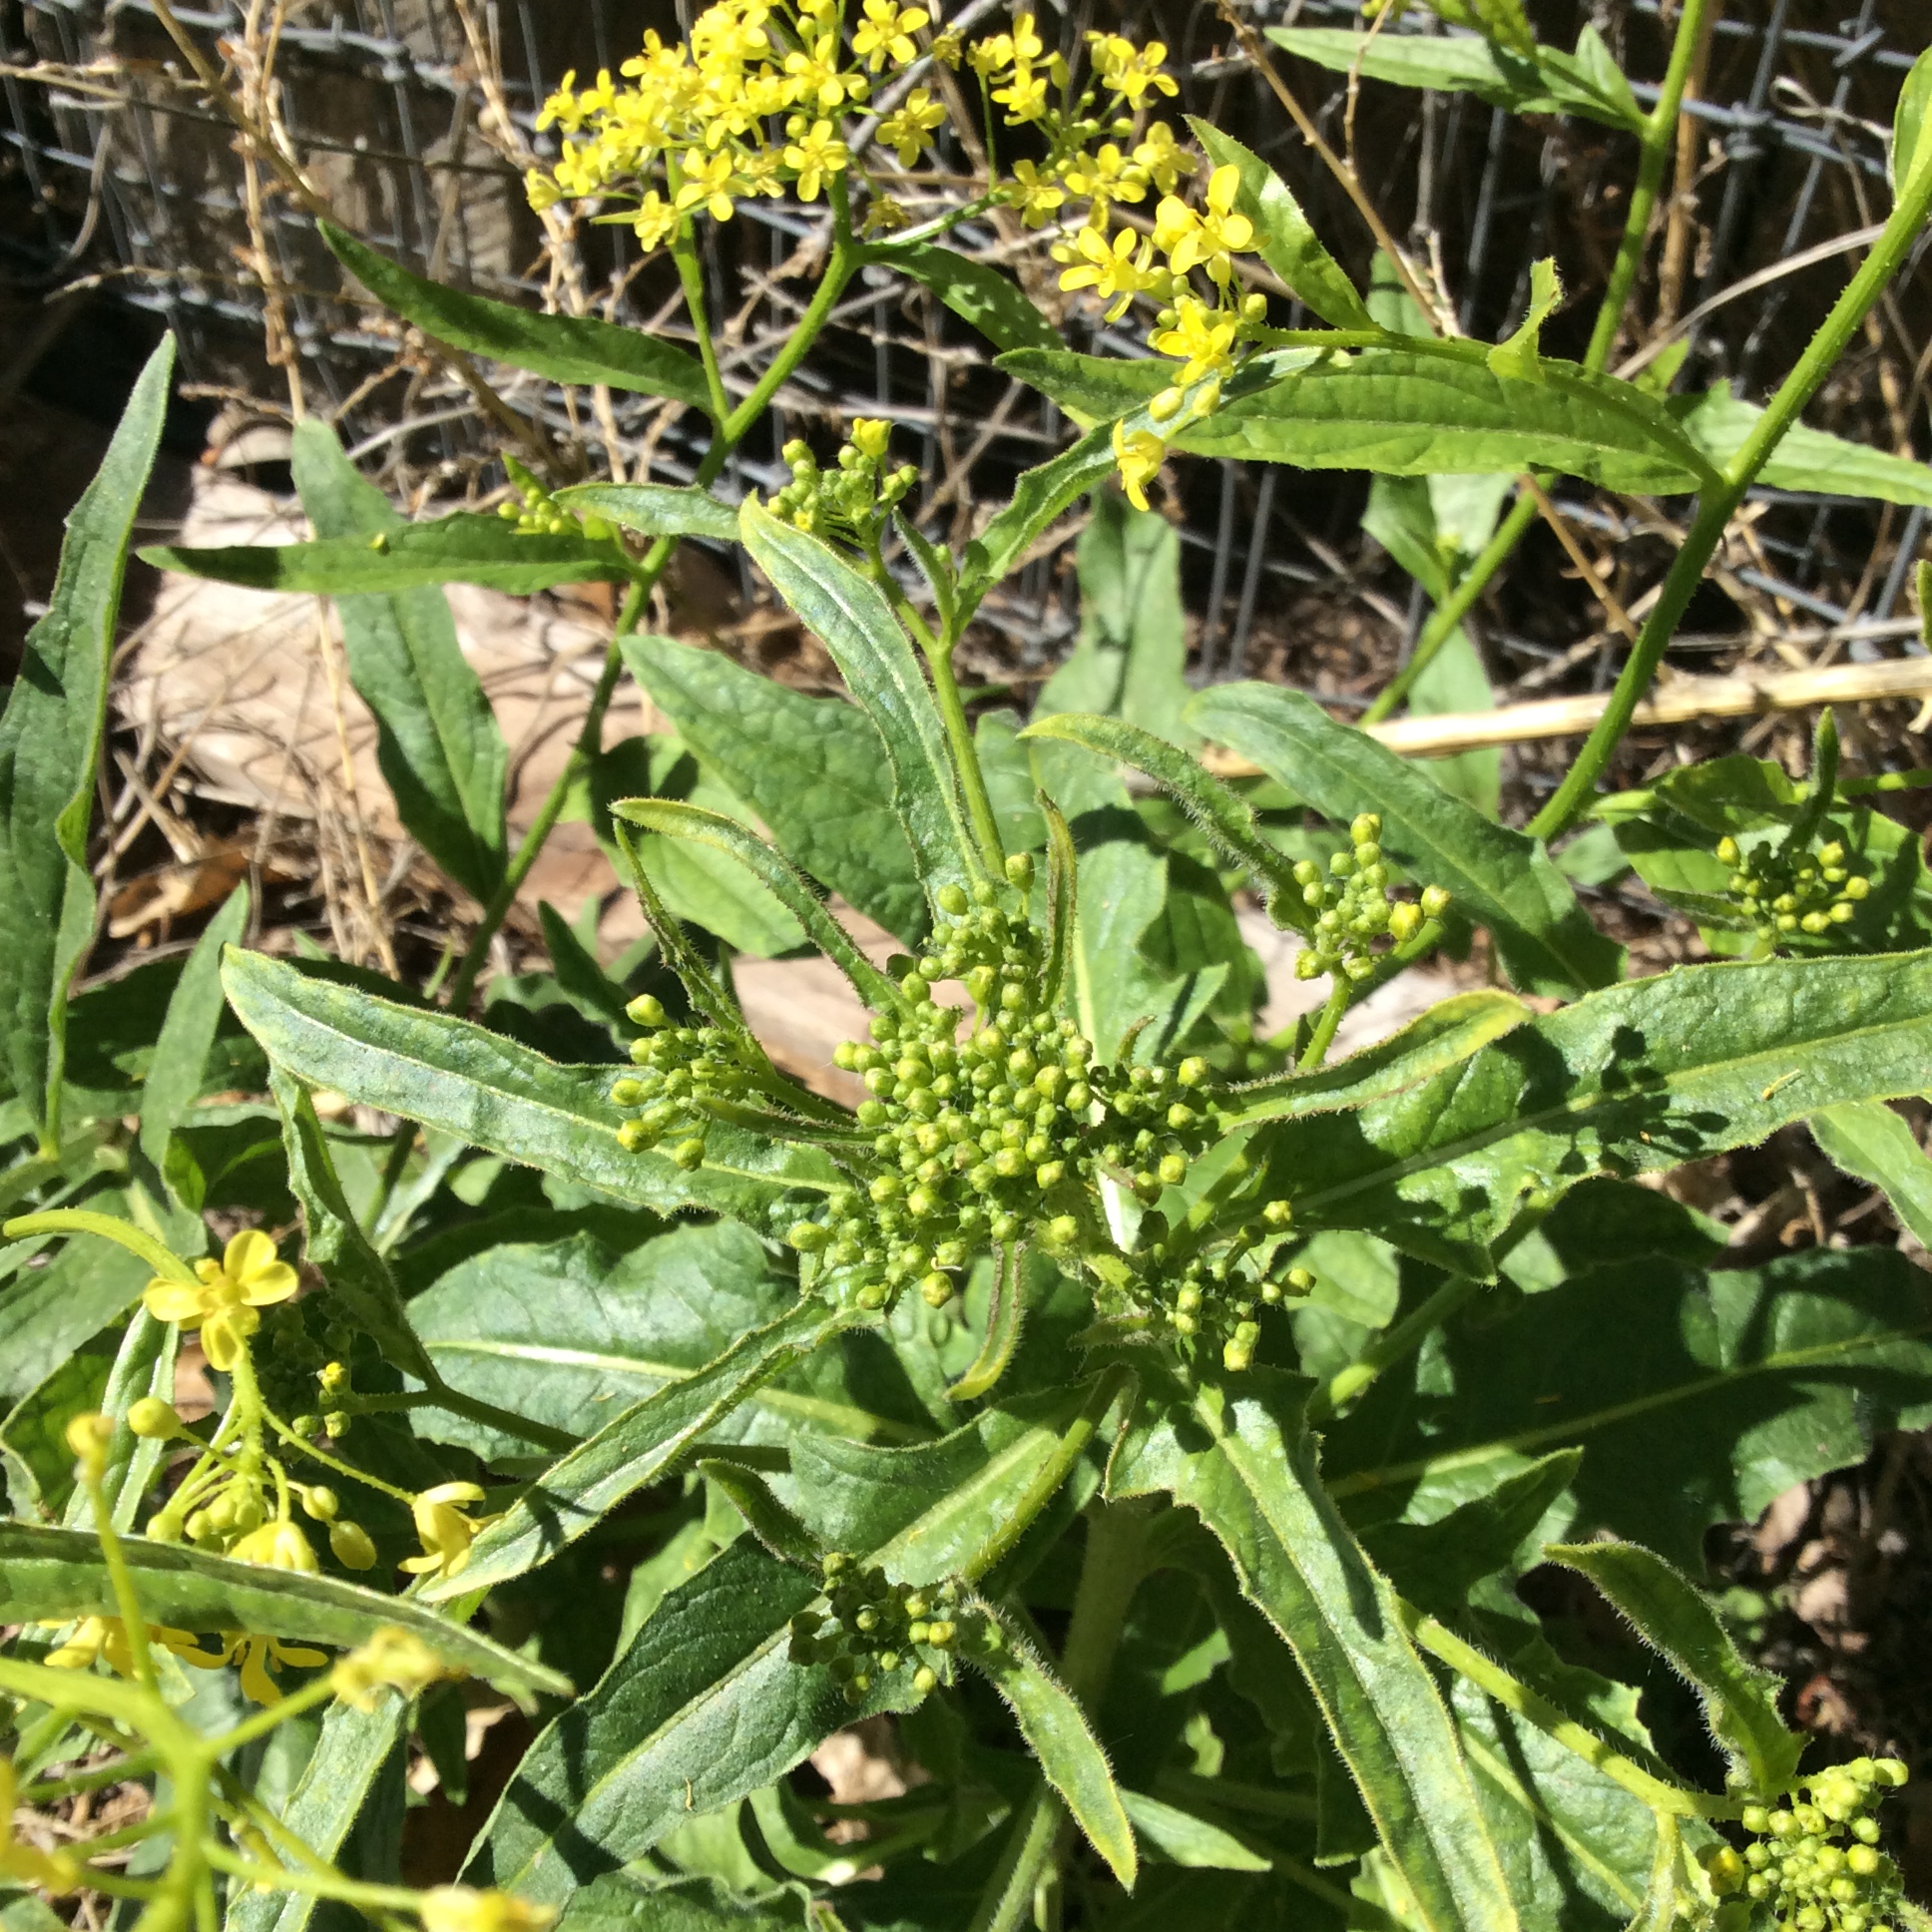
This picture shows the next stage in the stalk’s development.  The stem has elongated and the small original cluster has spread into sub clusters. I had hoped that this would be a good stage for harvesting, since you would get more material than at earlier stages, however it was not to be. At this stage, even when  cooked, there is a very unpleasant mustardy burn that continues to build in the back of the throat for a few minutes after swallowing. Not a pleasant experience. Once the subclusters have started to show and some yellow shows on the outermost buds, don’t bother.  It is possible that they could be  cooked longer, cooled, and ground with olive oil, salt, and maybe a little lemon into a sharp mustard-like condiment, but I have not experimented with that and throw it out as a purely theoretical idea, possibly similar to a green horseradish sauce.  Because of the throat burn factor, if you choose to experiment with that idea, try it out privately before you foist it on hapless guests.

Then there is the flowering stage at which it is a bright cheerful yellow and is a fair bee plant, not highly preferred but certainly visited.

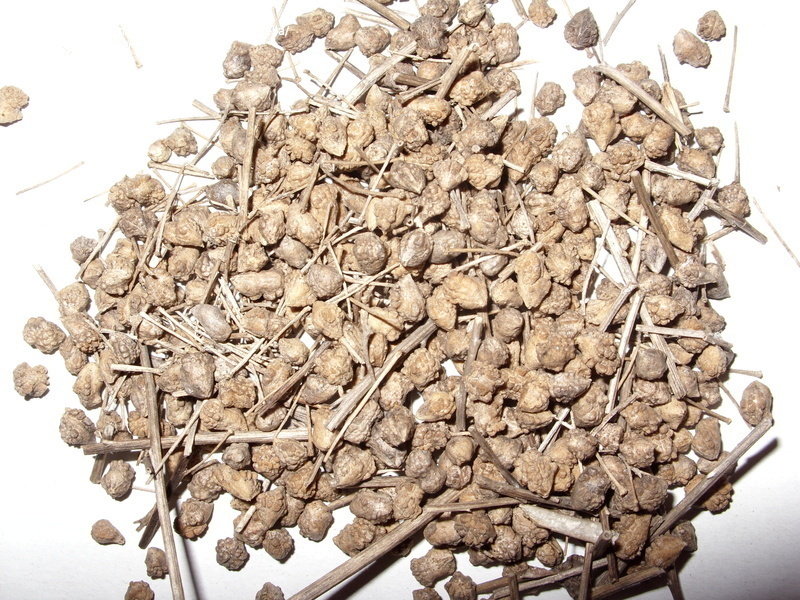
This is the stage that I am waiting for, so that I can plant a whole row of it and have a lot more to cook in the future.

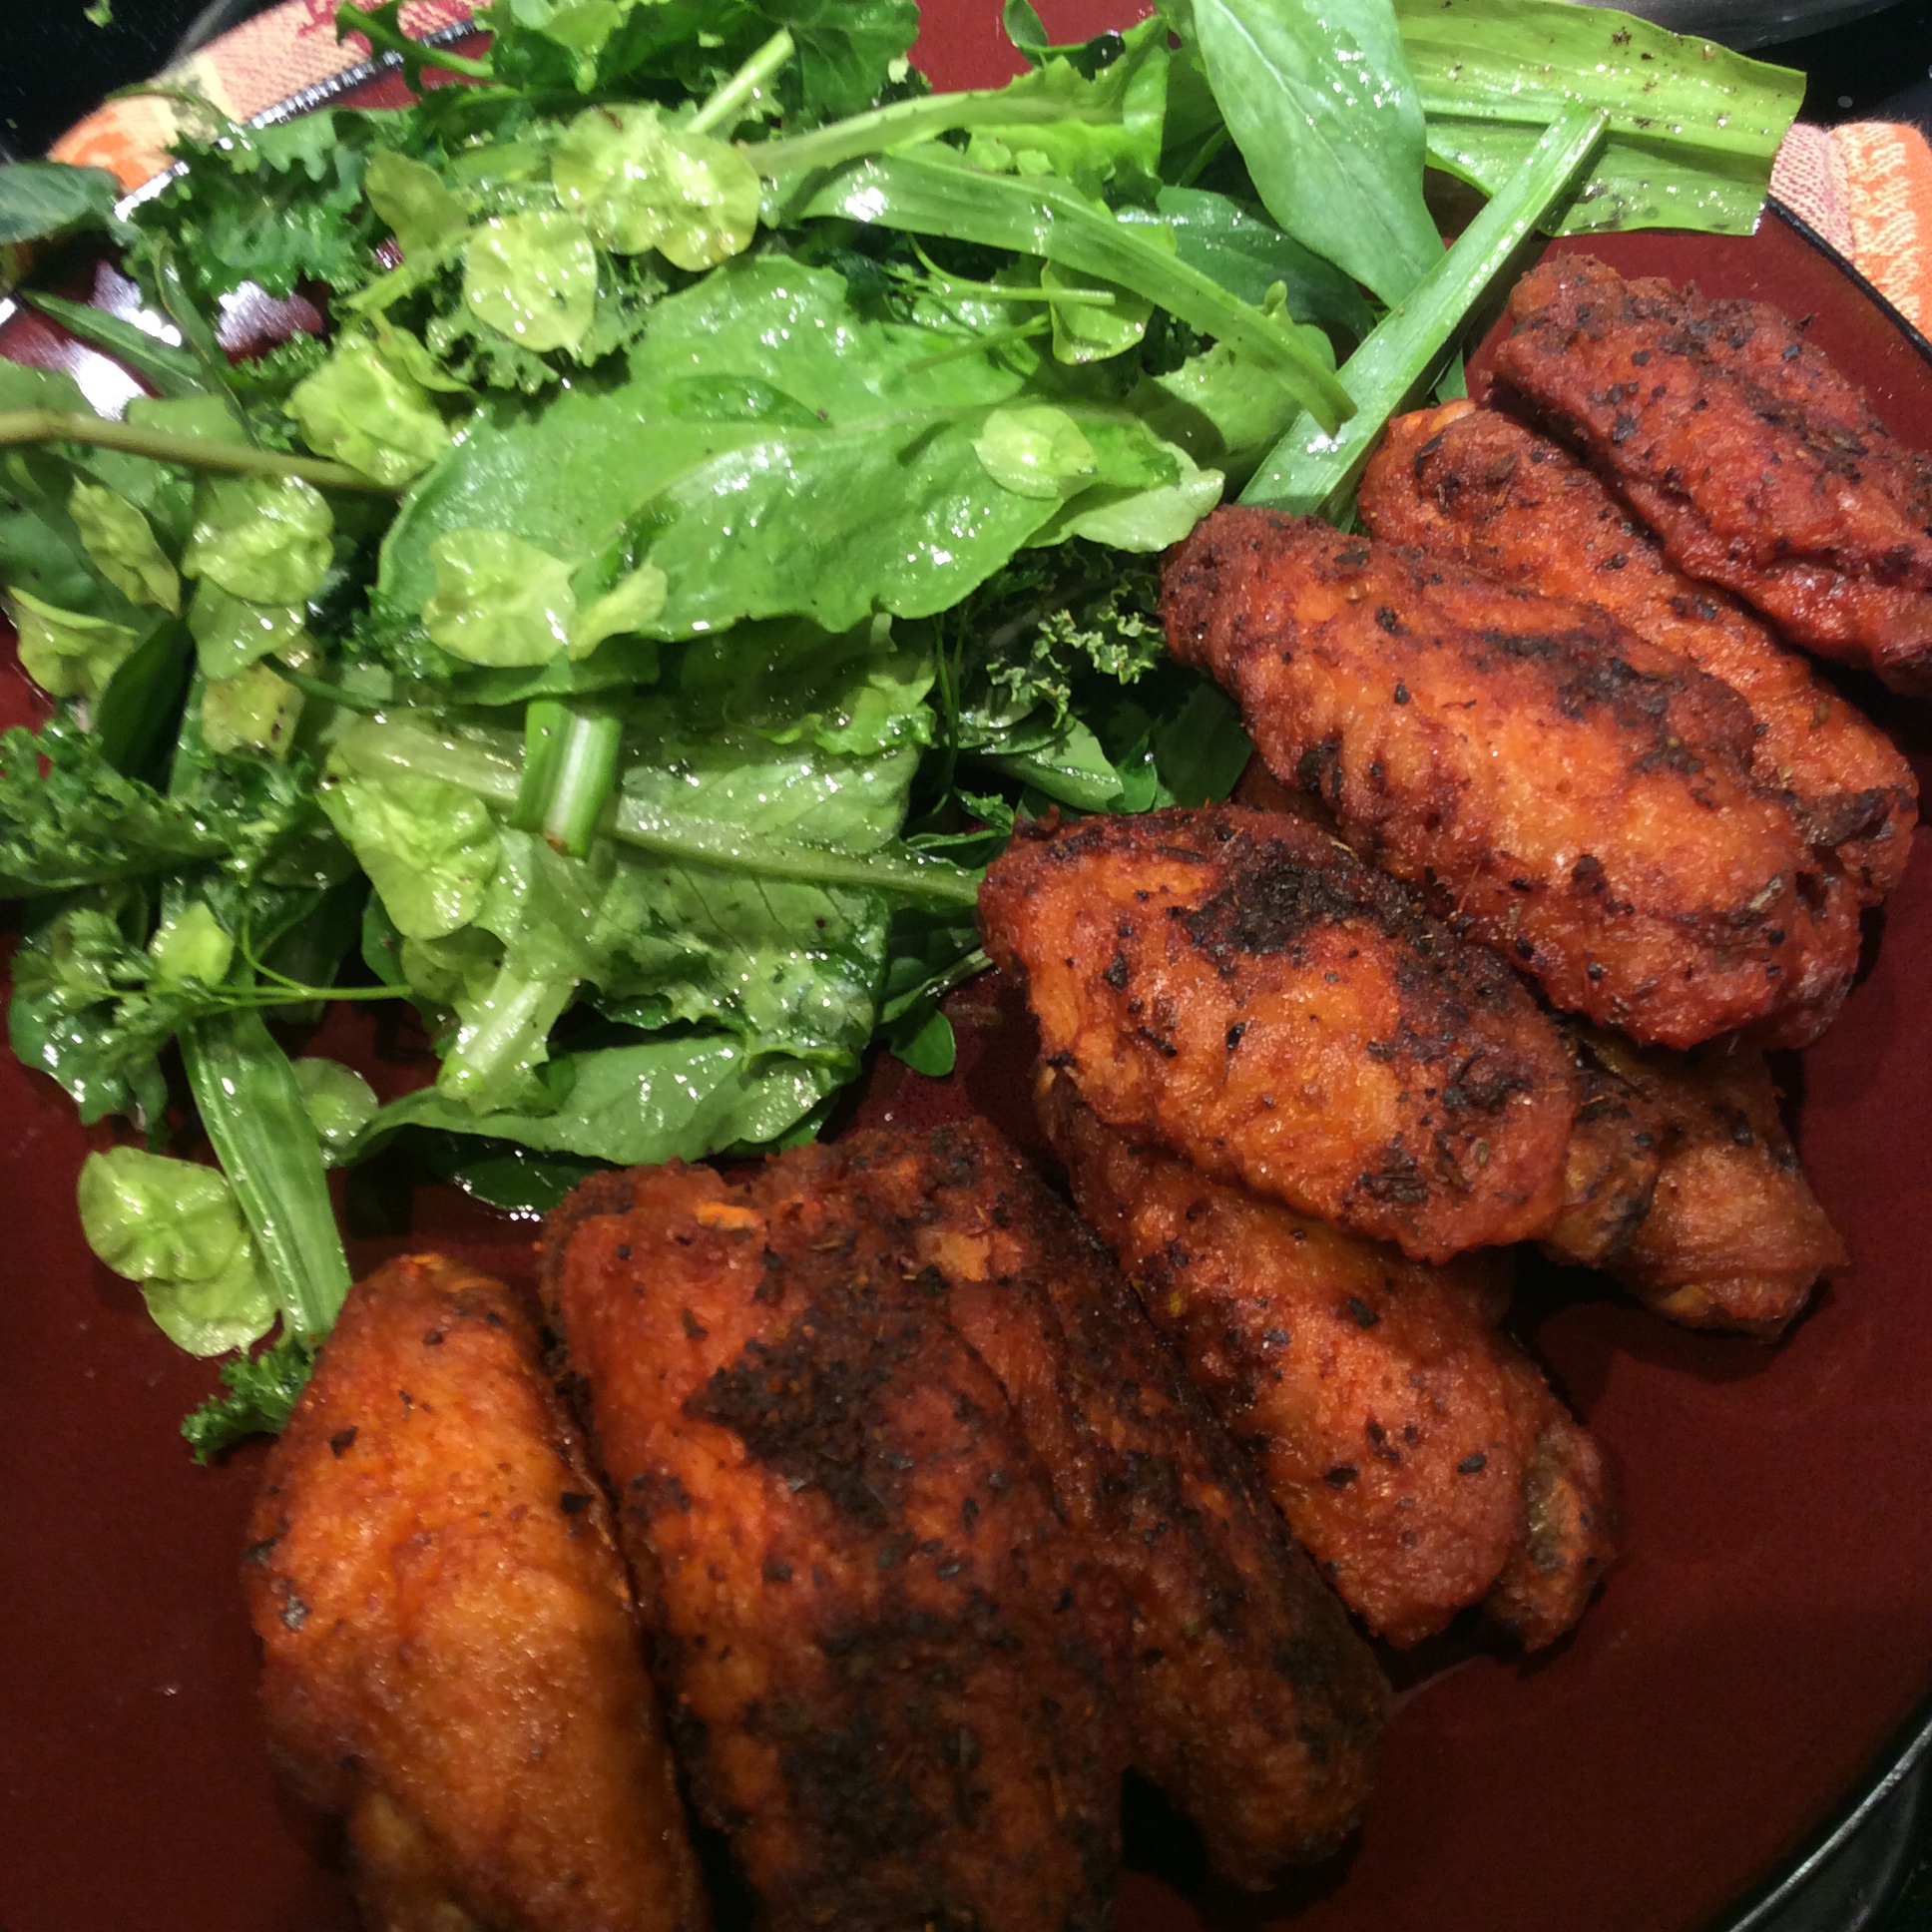
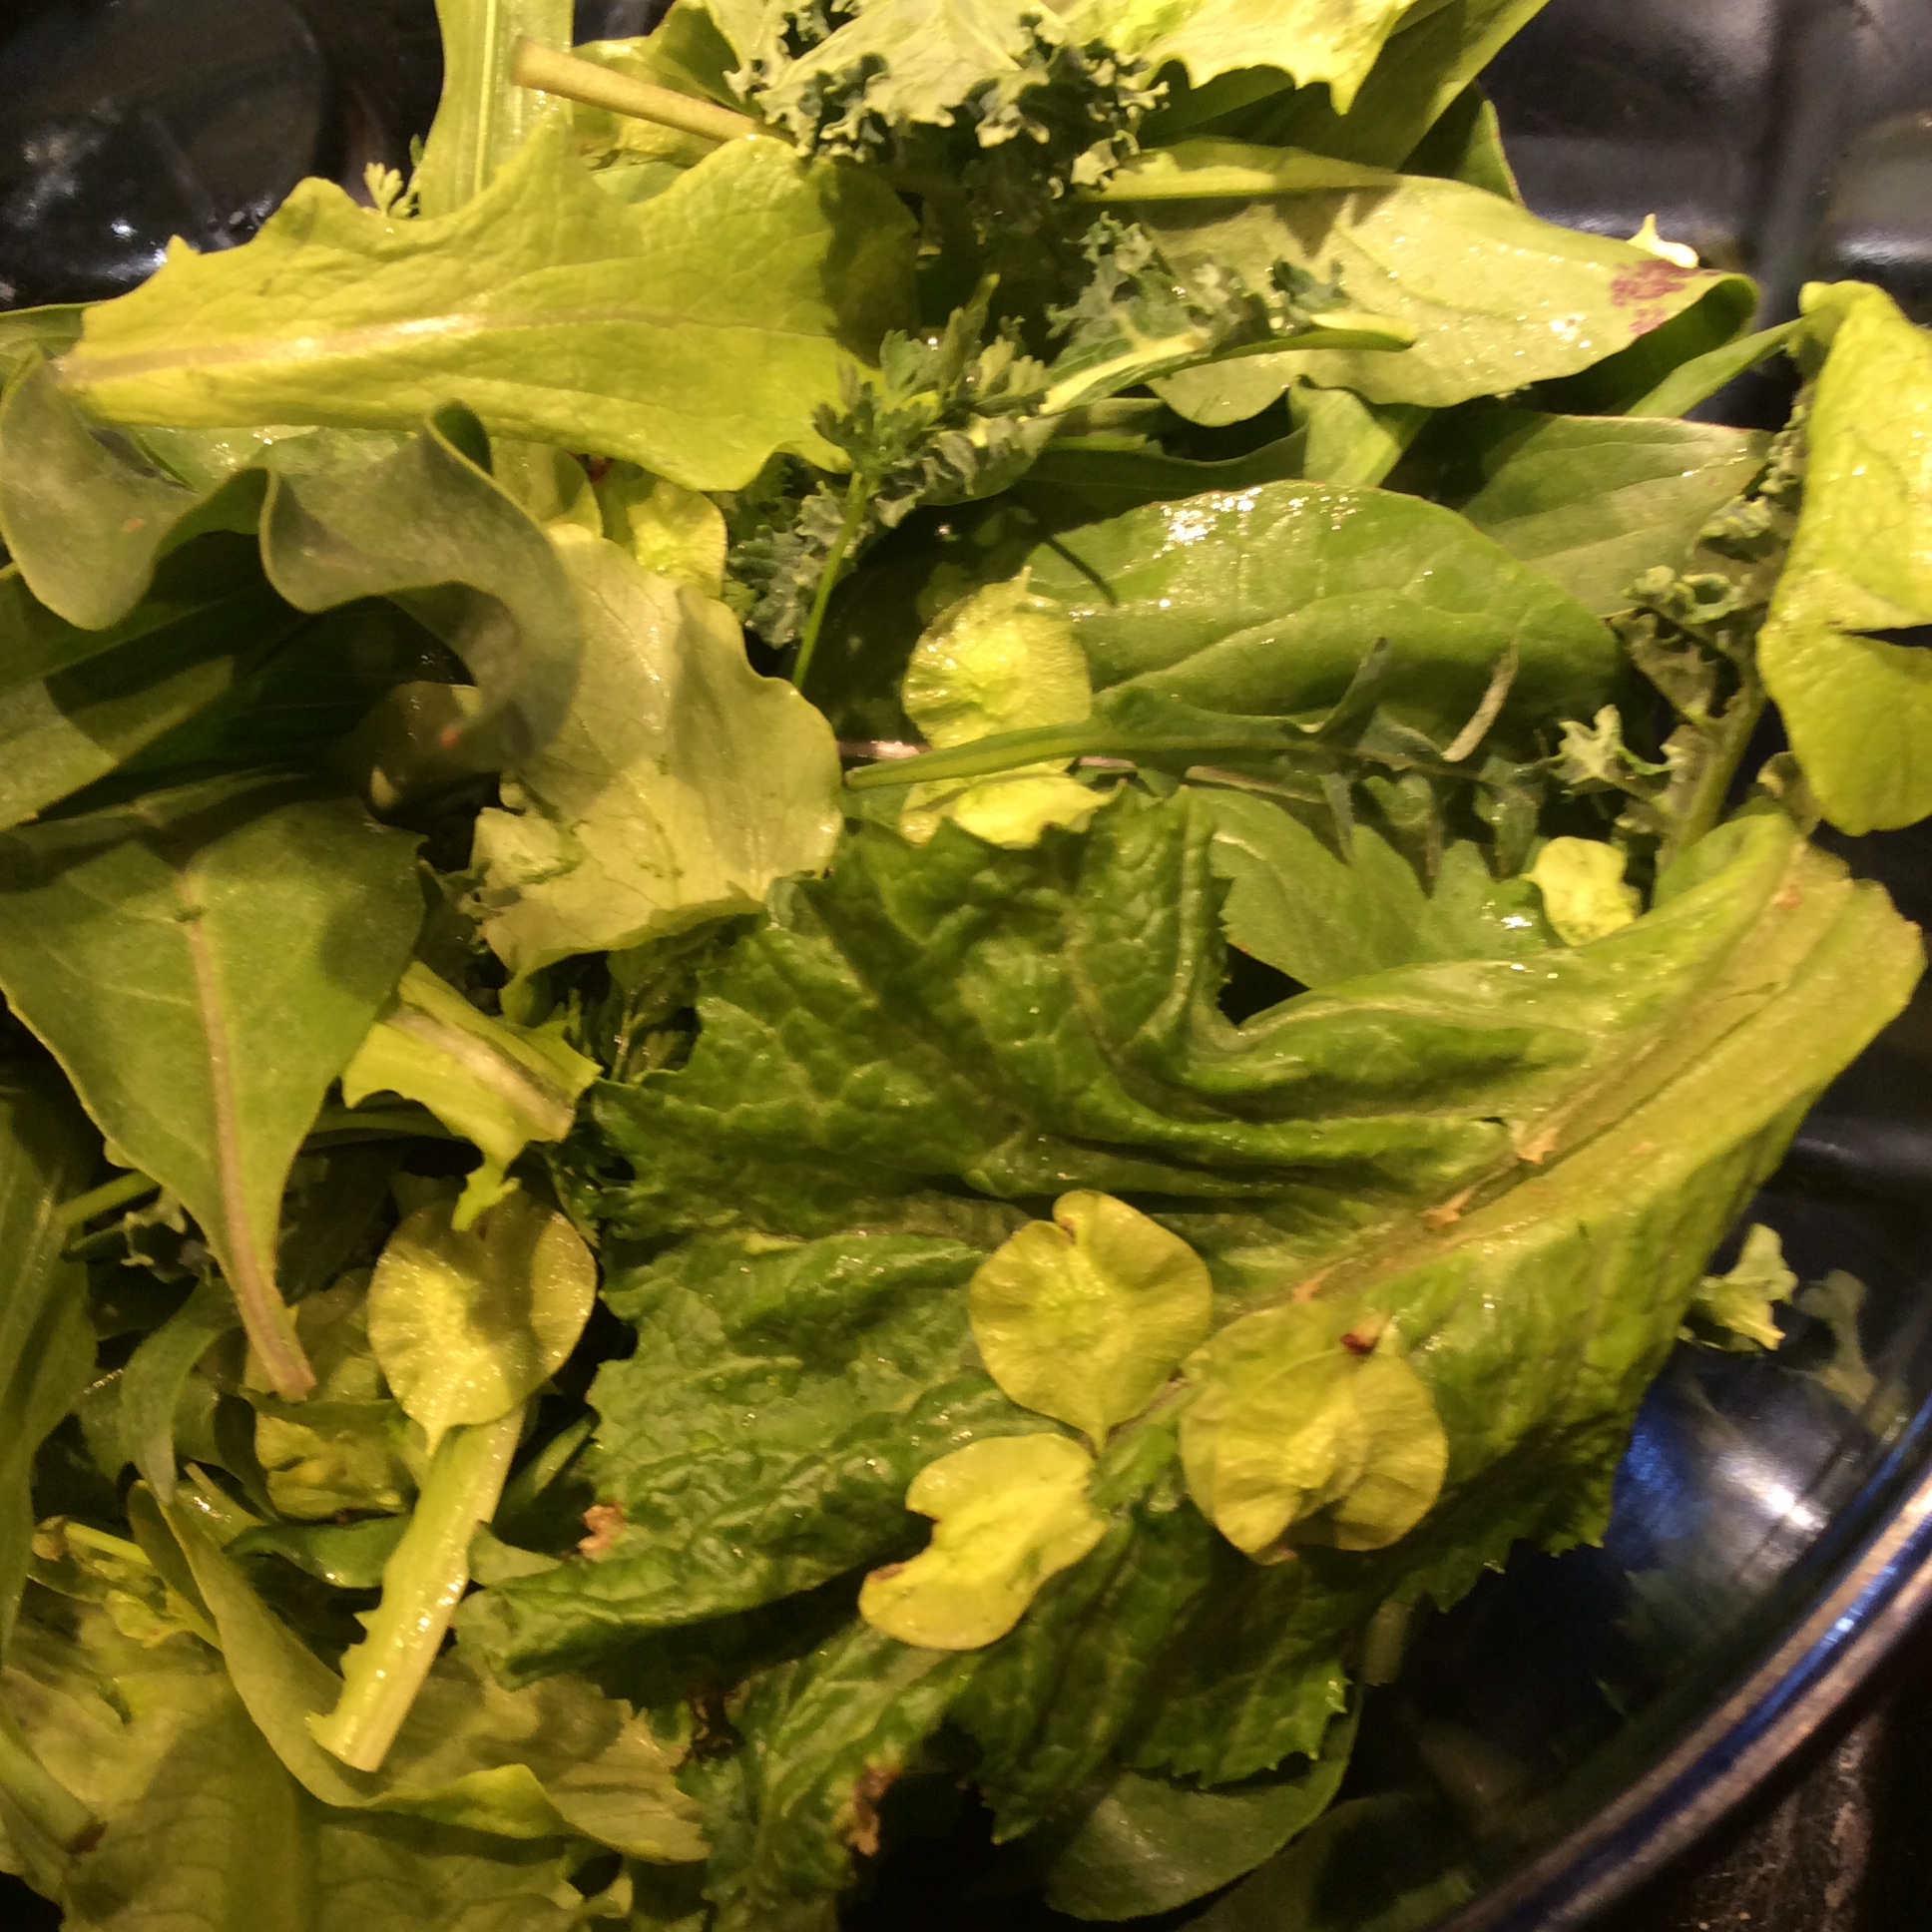
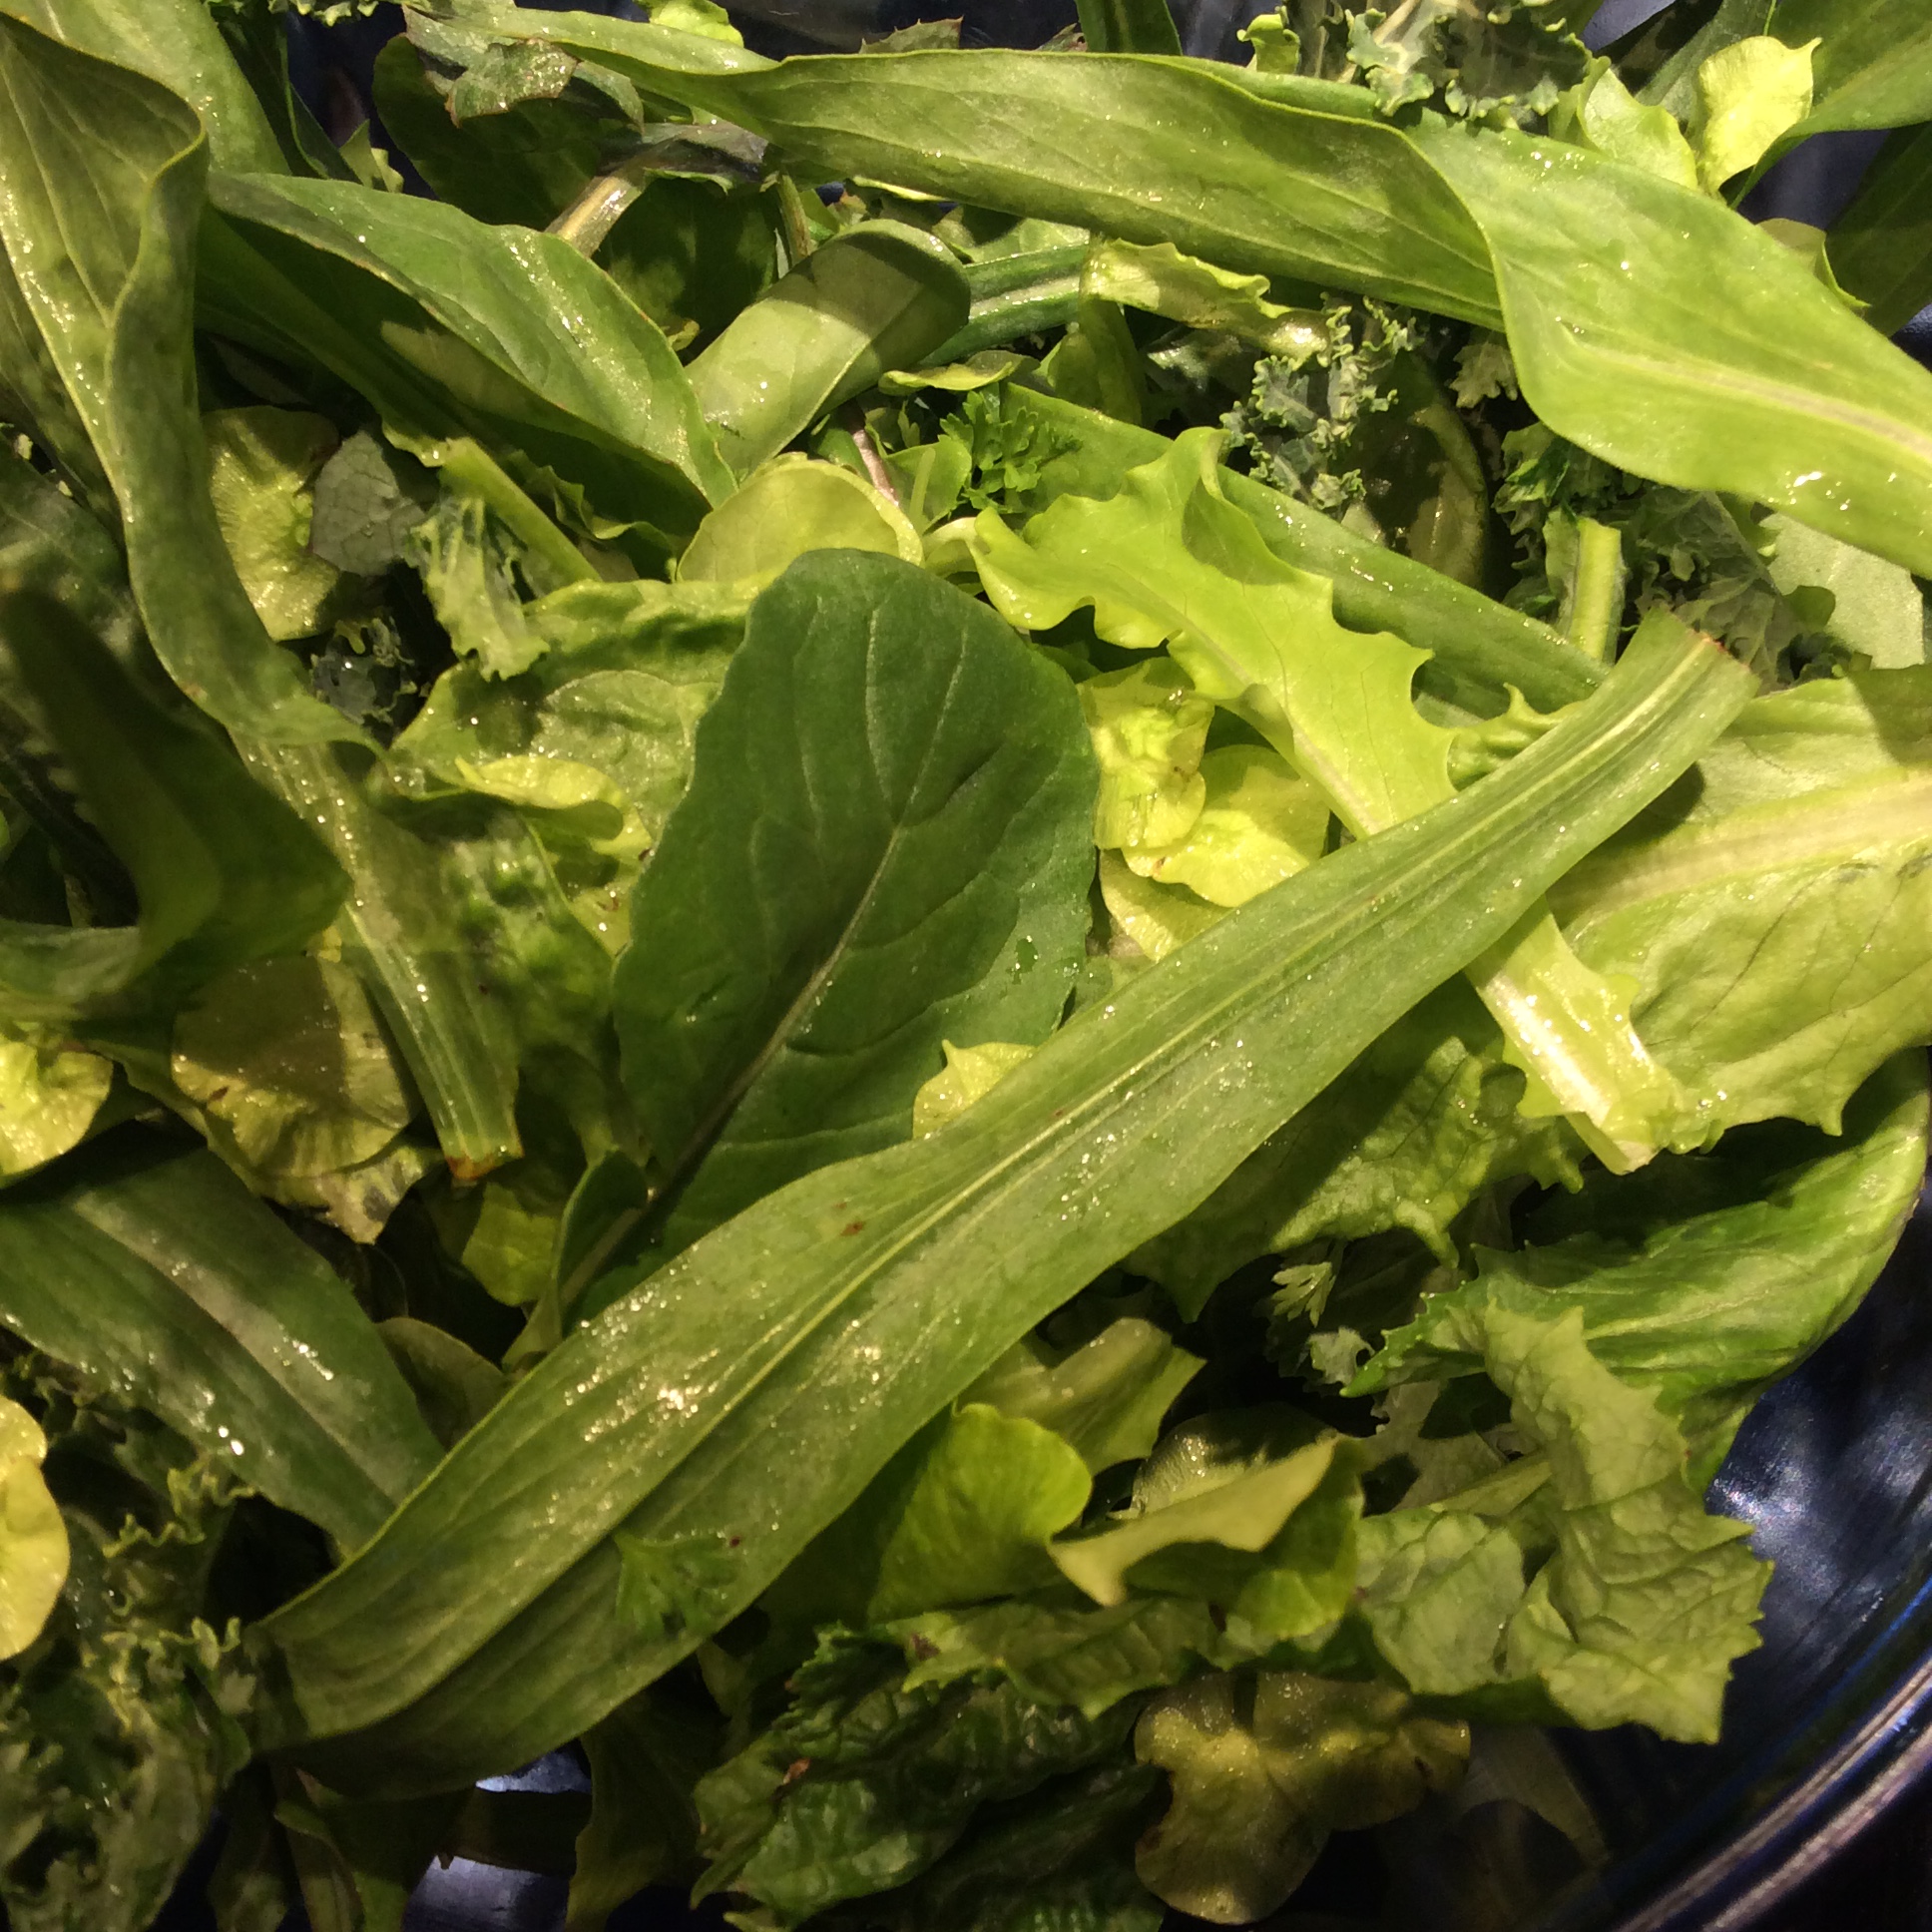
For me this perennial vegetable fills a good niche  after the winter broccoli is gone, but before the spring broccoli begins producing. This time of year there are a lot of edible leaves in my garden but not too much else, so some textural variation is very welcome.

Regarding the claims of invasiveness, I am sure that this is true in many areas, but in my desert climate it requires a fair amount of water to grow well, so I doubt that it could grow outside the confines of my fence.

“Processed” Food

IMG_5298

Like everyone else who works, I have a lot to do when I get home and some nights I need help to get a healthy dinner on the table. I eat a ketogenic (low carbohydrate) diet and don’t have pasta and rice and bulgur to fall back on. For those nights I keep some “fast food” in the freezer, like riced organic cauliflower. If I’m thinking ahead, I leave a bag out to thaw in the morning. More often I didn’t think ahead and need to thaw it quickly in the microwave. Either way, if you just cook it as is, you are going to have a rather damp mess on your hands, in my opinion anyway. So take the thoroughly thawed cauliflower, bundle it in a dish towel, and squeeze the water out of it. You’ll get a surprising amount out. Now you can throw it in a skillet with some salt, sliced green onions, chopped herbs, olive oil, and sliced almonds, and cook over medium heat for about 20 minutes with regular stirring. Don’t add water back. Cauliflower loves to go soggy if it gets a chance. It’s done when the cauliflower grains are done to your preference. I like mine a bit on the firm side, holding their shape briefly to the tooth without any hint of raw crunch.  Check whether it needs more salt before you serve. Meanwhile, grill some salmon as shown here, or warm up leftover chicken thighs, or slice up some warmed leftover meat. Land it on your cauliflower pilaf and flavor it with finishing butter (Montpellier butter with green garlic is shown here) which also lives in the freezer in convenient individually wrapped portions, or just drizzle with your best olive oil.
Some would say that I should grow, grate, and freeze the cauliflower myself if I’m going to use it, and when such people get hold of me, I always suggest that they invite me over for a meal 100% produced from their yard so that I can write about it😉. So far, those invitations haven’t arrived. I am not a believer in making the perfect the enemy of the good, and we are not full-time yard farmers and have to make our modern lives work. Besides, grating cauliflower is one of the few kitchen jobs that I hate and one that I outsource whenever possible. I grow things that are unobtainable at markets or distinctly better when home-grown, and cauliflower is neither. So let somebody else do the work for you.
Regarding the finishing butter above, I am used to horrified shrieks of “It’s GREEN!” Indeed it is, and so are a lot of other good things. Expose yourself (and your family and friends) to green food until you get used to it, and your health will benefit. After all, nobody has ever looked at wild-caught Alaskan salmon at my table and said “Ugh, it’s PINK!” Good food is good food. Close your eyes if you really must, but getting over biases about green is better.

Here’s another version tricked out with capers, green garlic, thyme, pine nuts, and castelvetrano olives.

Permaculture Salad, and Notes on the Siberian Elm

Spring on the urban homestead is so beautiful and bountiful that I can hardly believe it, and I spend more time than I care to admit just wandering around dazed with the wonder and joy of it all.  But there is a practical aspect to my trance, because while giving thanks to the cosmos for the life that surrounds me, I am noting what can go in the salad bowl that evening.

The salad shown above is a pretty typical urban homestead salad. It contains a handful of lettuce, some early arugula, and a lot of biennials and perennials that wintered over and got an early start.   Tiny leaves of curly kale that began to leaf out as soon as the weather got warm are good salad material, still sweet from night frosts, although I don’t like older kale in salads.  There is a little chervil because I threw the seeds around in warm spots last fall.

So here’s the species list for tonight:

Lettuce

arugula

chervil

scorzonera

salsify

wild lettuce

sow thistle

dandelion

Siberian elm samaras

Bladder campion

tarragon

mustard (one Southern Giant plant overwintered somehow)

Green perennial onions

A few further notes on the ingredients: in the past I had tried cooking scorzonera greens and thought they were fairly uninteresting, but for some reason I never tried them as salad material until this year. They are very mild in flavor and have a nice slightly substantial and tender texture, and I am using them a lot now.  They make a good base for some more flavorful greens like dandelion and mustard and arugula.  I have written in the past about how much I love the elongating flower stalks when pan grilled in olive oil, so this is a very good dual purpose vegetable. I plan to plant more of it.

In the past I have mostly used Siberian elm samaras as a “hand salad” eaten spontaneously on walks when  they presented themselves.  They are too mild to be of much interest cooked, although I do use them in greens mixtures sometimes, but I have found that I like them in salads in rather substantial amounts, probably a cup of washed samaras in a salad for two.  There is something about the texture that I enjoy, provided you pick them at the right stage, when they are about the size of a dime and the edges are still fresh green and have not yet grown at all papery.  They need a little bit of cleaning, but most of the debris can be floated off once you have broken up the clumps with your fingers, and 15 minutes of preparation is not too much for a vegetable that cost you no effort or money whatsoever in the growing.

Have a  look at what’s available to you in field and forest and in your own yard.  Learn how to make a really good vinaigrette. Use common sense, and don’t eat plants unless you are completely sure that they are edible.

Perennial Saag Paneer


Yesterday I wrote about making Paneer with my grass-fed goat milk. Today I’ll talk about making saag paneer, one of my favorite dishes, and for a permaculture twist I’ll make it with perennials as much as possible. If you don’t have a weed patch, you can use a bunch of spinach. You will also need fresh ginger, cumin seeds, garam masala, heavy cream, and butter.
Assuming that you have the paneer, the next step is to catch your greens and alliums. I used equal parts each of nettles and bladder campion, and 4 stalks each of green garlic and perennial Welsh onions. The nettles and bladder campion were blanched for about 90 seconds so that the nettles could be handled easily, then drained, pressed, and chopped. The alliums were cleaned, trimmed, and sliced in 1/4″ cross section.

When ready to cook, heat a nonstick skillet, cut the paneer in 1″ cubes and salt it, and fry in mild oil of your choice (I like Macadamia nut oil) until browned. Set aside.


Chop a piece of fresh ginger about an inch square finely, and have ready a teaspoon of whole cumin seed and a heaping teaspoon of garam masala.
Heat a saucepan, put in a couple of tablespoons of mild oil, and fry the cumin seeds briefly until they darken a couple of shades. Immediately add the chopped ginger, stirfry furiously until it is cooked but not browned, and add the chopped alliums and lower the heat to medium-low. Add a half teaspoon of salt and sauté the alliums until they are softened, lowering the heat if necessary to keep them from burning. Add the garam masala, cook another minute or two, and add the cream. Add the blanched chopped greens and cook over low heat until they are thoroughly cooked, probably about another 10 minutes. Put the paneer cubes on top, pushing them into the greens mixture a bit, and cook over low heat until they are heated through. Serve with rice or, if you are a low carb eater, gloriously naked on the plate. Drizzle some melted butter or ghee over the top.

I was taught to make this dish a few decades ago by an Indian woman in Manhattan, and I am pretty flexible about the greens used as long as they’re mild. No bitter green has a place in this dish. The green garlic and onions are great in season, but chopped garlic and onion are traditional.  I’m very rigid about the seasoning, though. Sometimes I add a chopped hot pepper but that’s my only variation. The whole cumin seeds fried quickly in hot oil are not negotiable, and burning or scorching any of the seasonings or alliums  means you need to start over, so work carefully.