Posts Tagged ‘dairy goat’

Perennial Saag Paneer


Yesterday I wrote about making Paneer with my grass-fed goat milk. Today I’ll talk about making saag paneer, one of my favorite dishes, and for a permaculture twist I’ll make it with perennials as much as possible. If you don’t have a weed patch, you can use a bunch of spinach. You will also need fresh ginger, cumin seeds, garam masala, heavy cream, and butter.
Assuming that you have the paneer, the next step is to catch your greens and alliums. I used equal parts each of nettles and bladder campion, and 4 stalks each of green garlic and perennial Welsh onions. The nettles and bladder campion were blanched for about 90 seconds so that the nettles could be handled easily, then drained, pressed, and chopped. The alliums were cleaned, trimmed, and sliced in 1/4″ cross section.

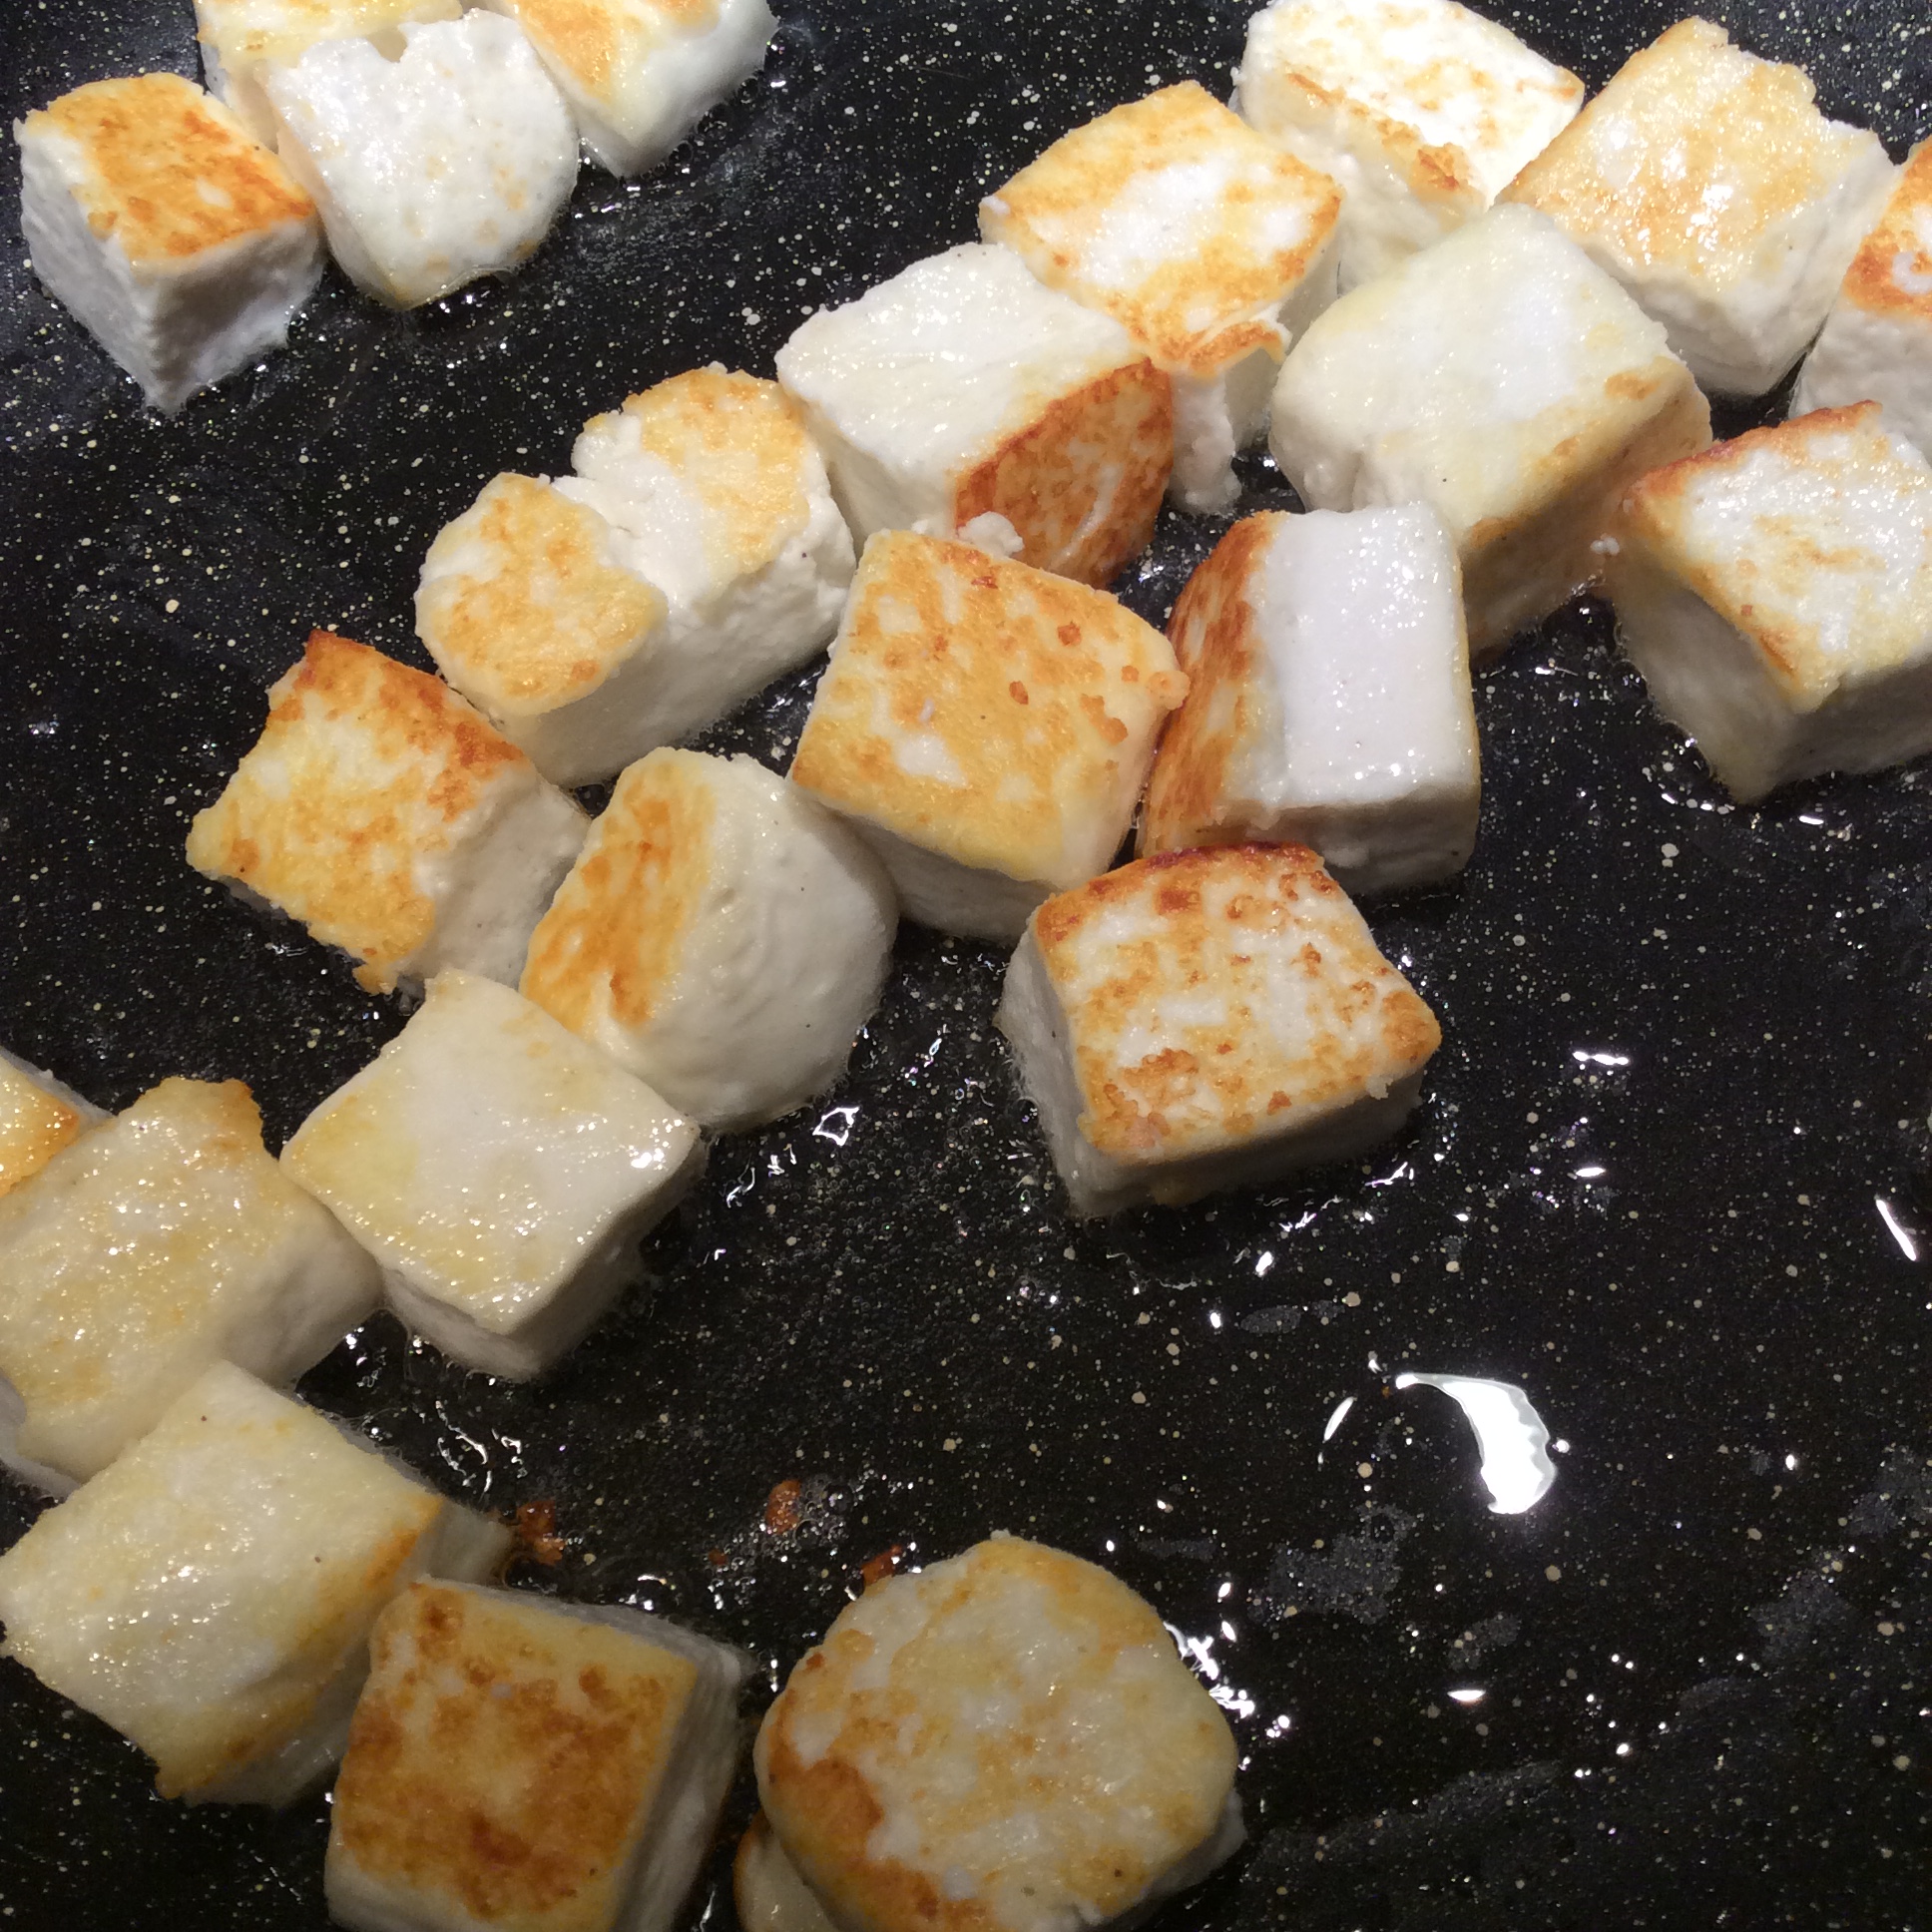
When ready to cook, heat a nonstick skillet, cut the paneer in 1″ cubes and salt it, and fry in mild oil of your choice (I like Macadamia nut oil) until browned. Set aside.


Chop a piece of fresh ginger about an inch square finely, and have ready a teaspoon of whole cumin seed and a heaping teaspoon of garam masala.
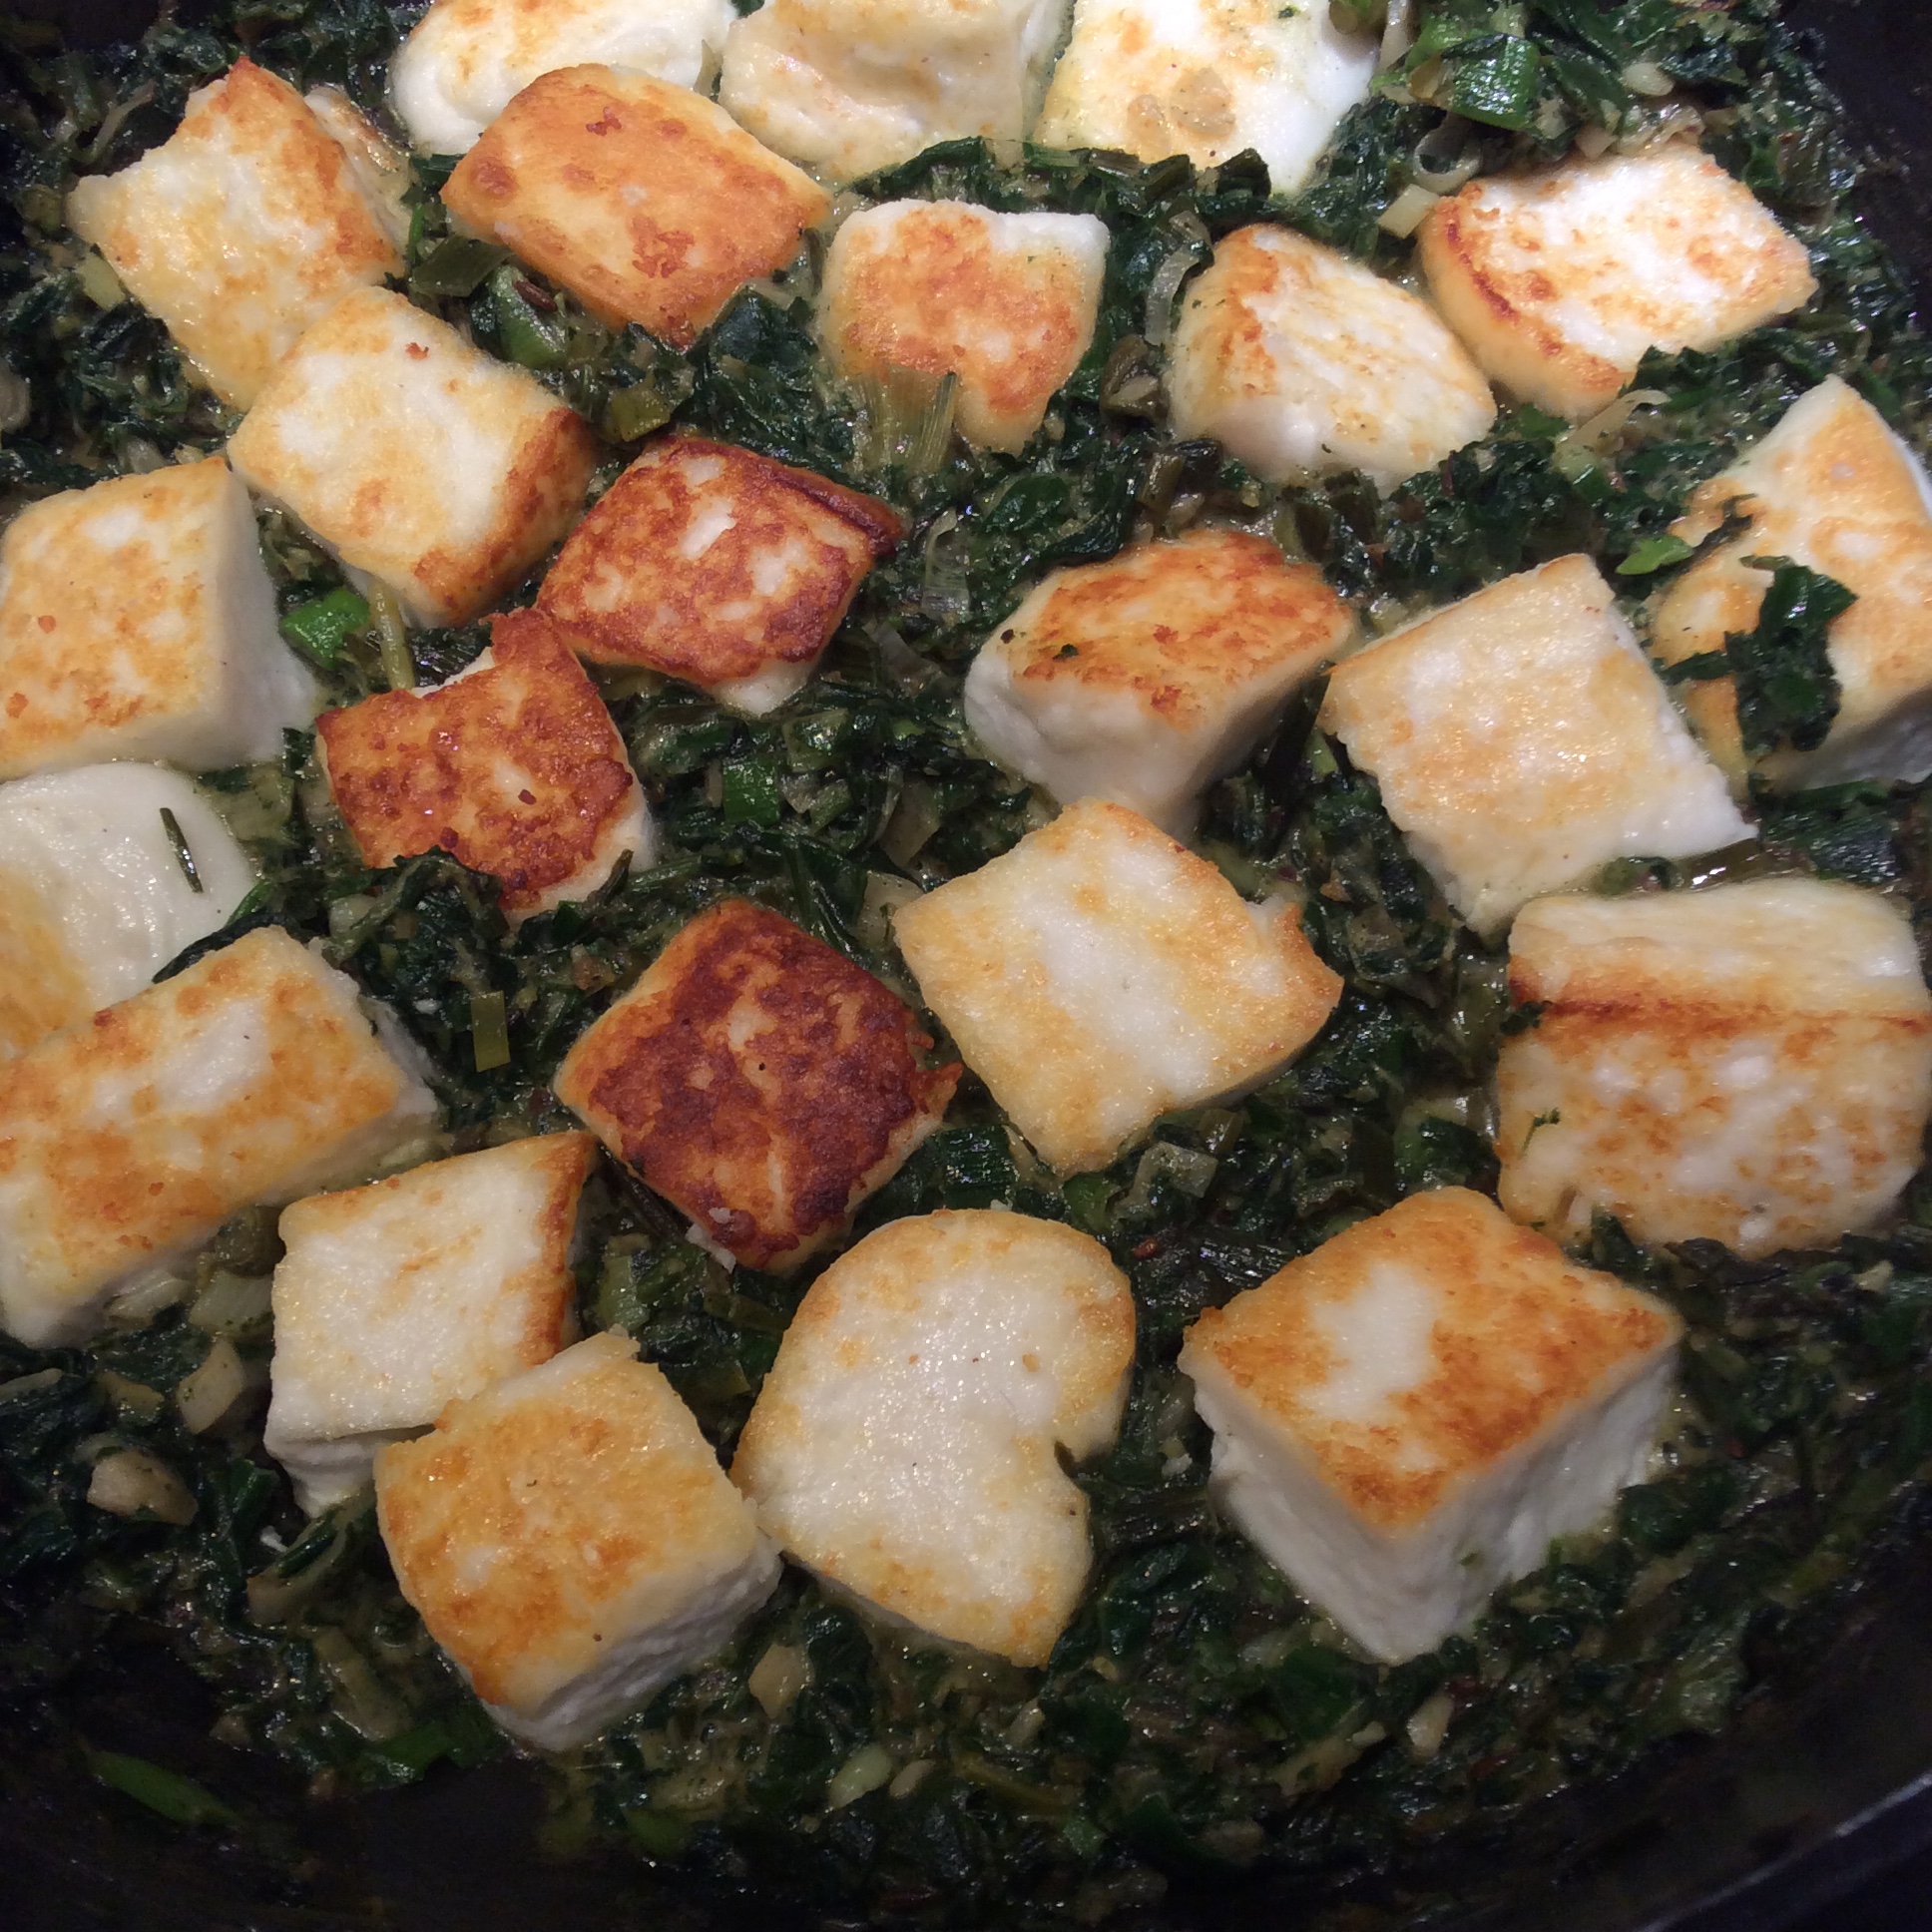
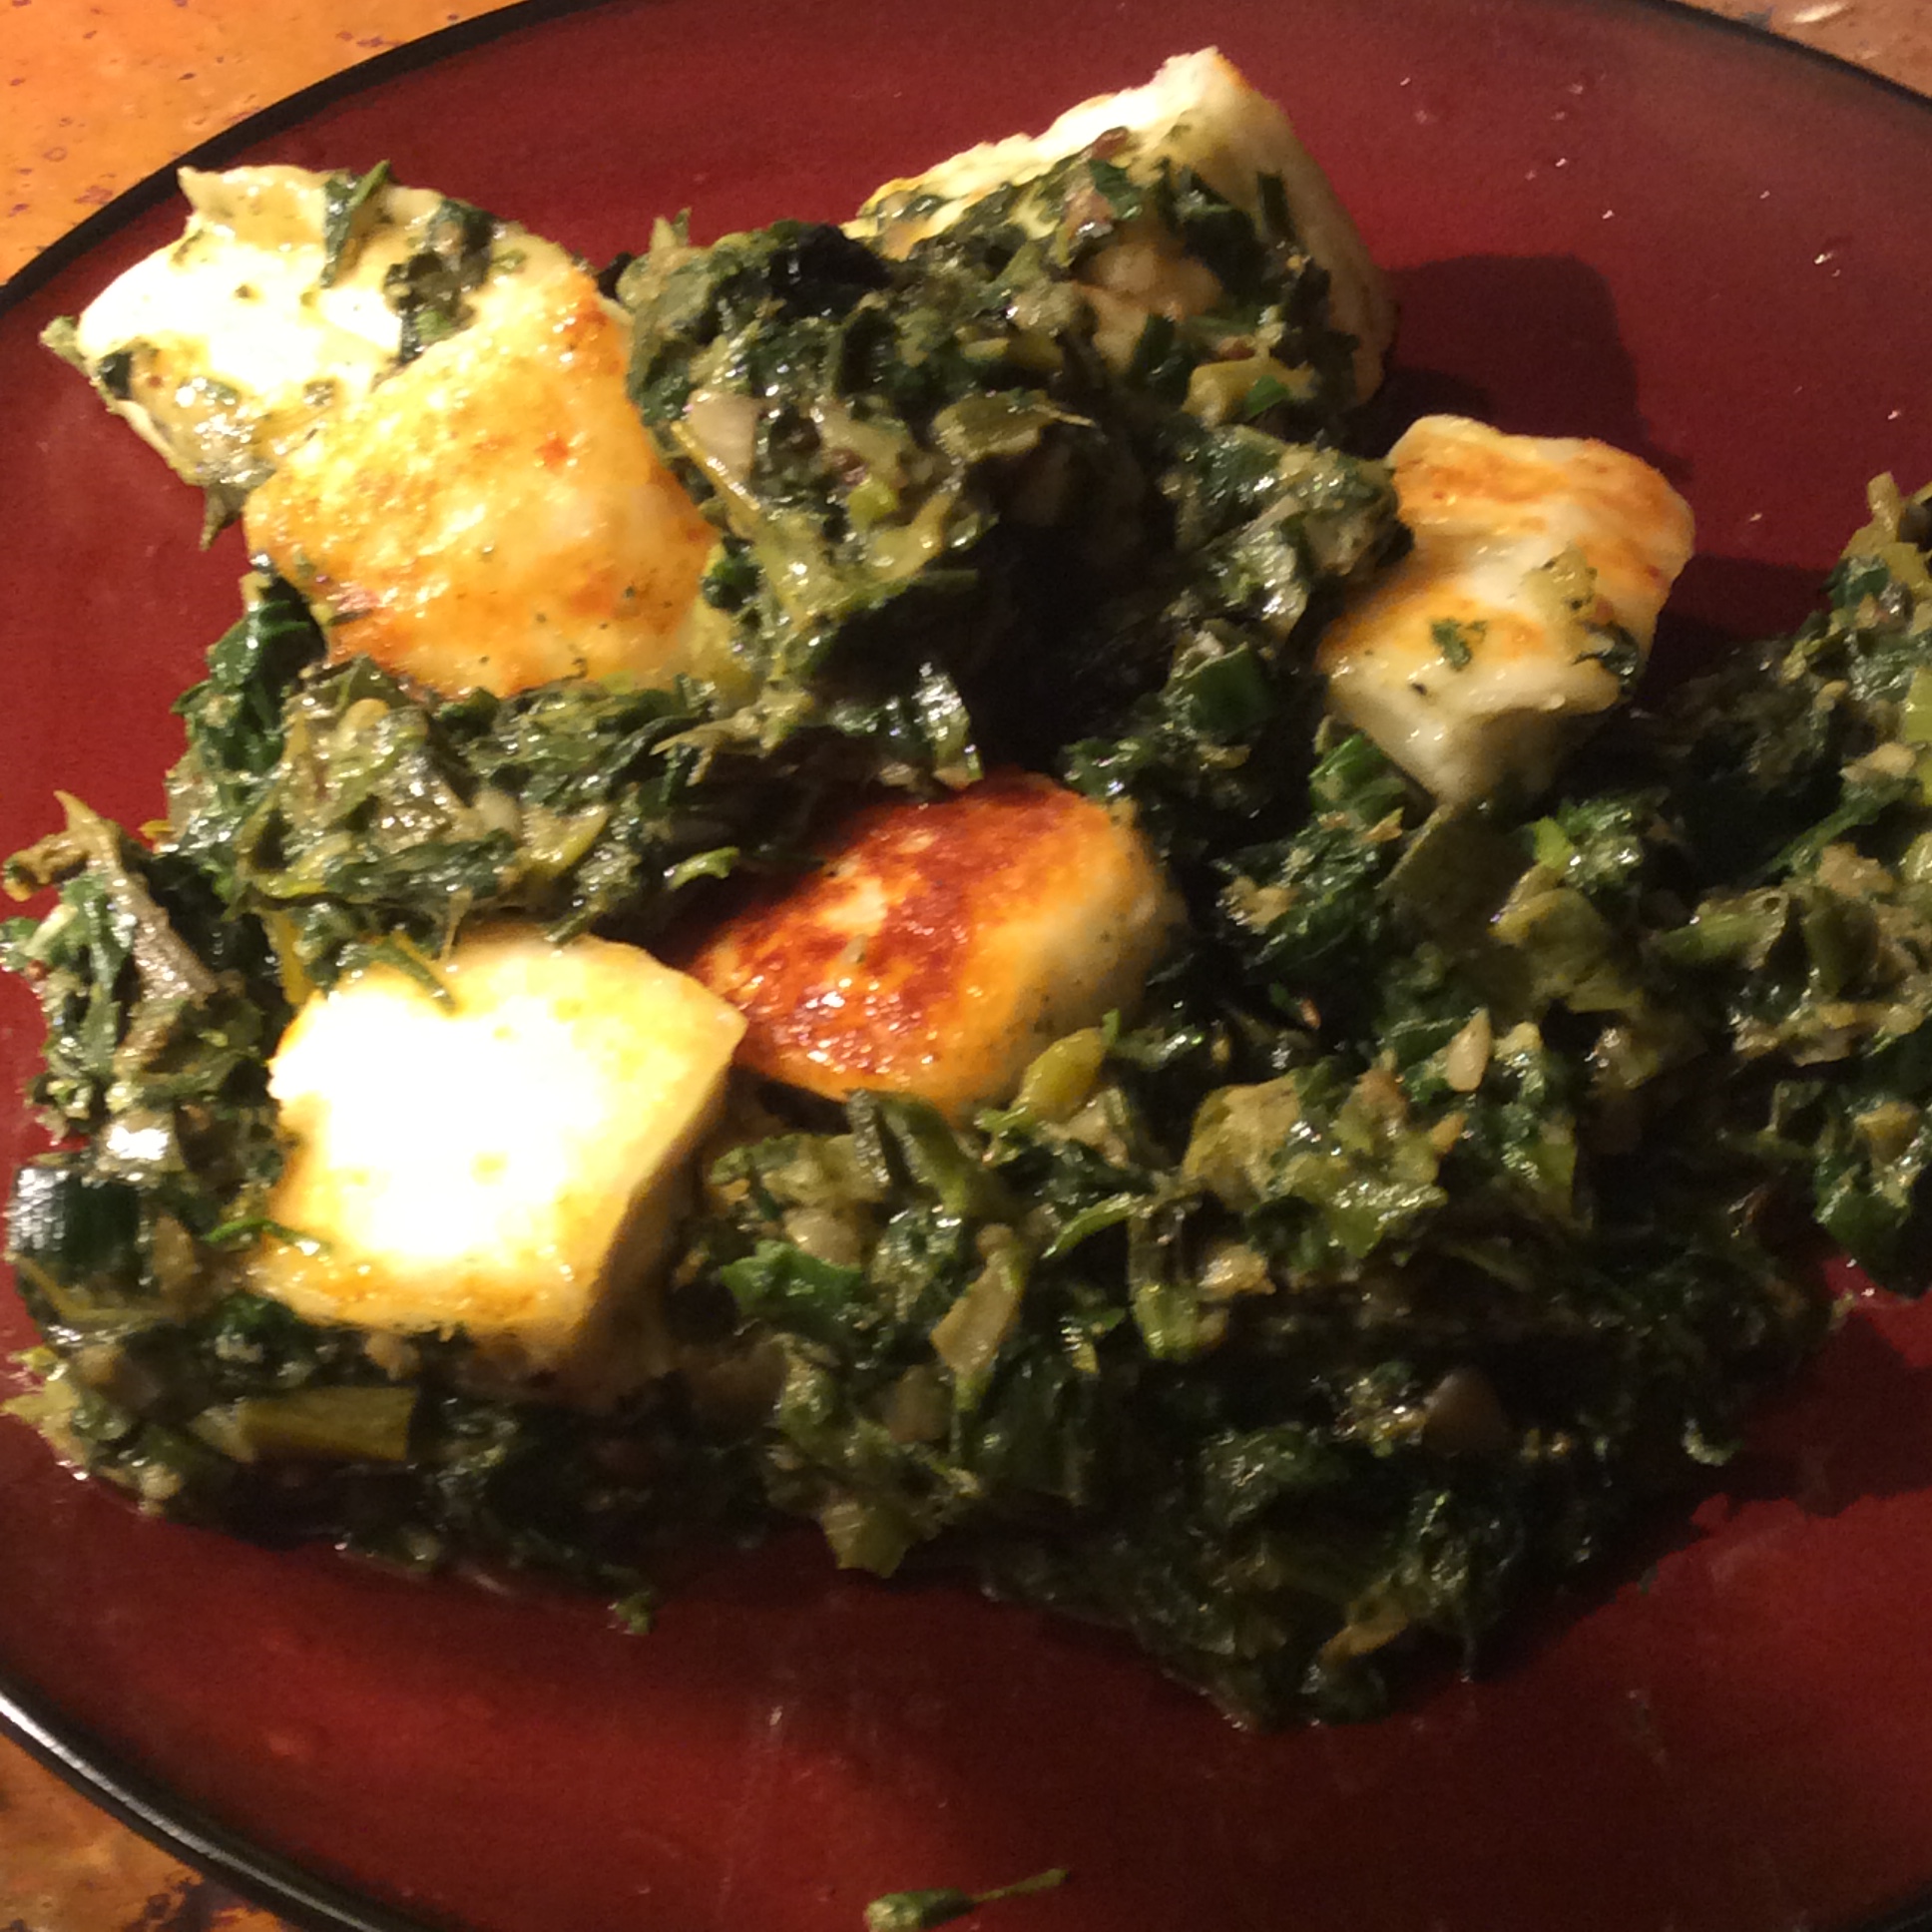
Heat a saucepan, put in a couple of tablespoons of mild oil, and fry the cumin seeds briefly until they darken a couple of shades. Immediately add the chopped ginger, stirfry furiously until it is cooked but not browned, and add the chopped alliums and lower the heat to medium-low. Add a half teaspoon of salt and sauté the alliums until they are softened, lowering the heat if necessary to keep them from burning. Add the garam masala, cook another minute or two, and add the cream. Add the blanched chopped greens and cook over low heat until they are thoroughly cooked, probably about another 10 minutes. Put the paneer cubes on top, pushing them into the greens mixture a bit, and cook over low heat until they are heated through. Serve with rice or, if you are a low carb eater, gloriously naked on the plate. Drizzle some melted butter or ghee over the top.

I was taught to make this dish a few decades ago by an Indian woman in Manhattan, and I am pretty flexible about the greens used as long as they’re mild. No bitter green has a place in this dish. The green garlic and onions are great in season, but chopped garlic and onion are traditional.  I’m very rigid about the seasoning, though. Sometimes I add a chopped hot pepper but that’s my only variation. The whole cumin seeds fried quickly in hot oil are not negotiable, and burning or scorching any of the seasonings or alliums  means you need to start over, so work carefully.

Goat Paneer

Goats are wonderful hardy friendly animals to have around,  and the amount of milk that they give is very considerable relative to the input required, but many people do not like the taste of most goat cheeses. If you are one of these people, or even if you like goat cheese, you may still want to know about some alternatives that avoid the goaty taste. Fresh ricotta and fresh paneer,  when made with fresh goat milk, are not distinguishable from cows’ milk products.  You need to use the milk within a day of milking, or at most two days, and it goes without saying that it has to be refrigerated all that time.

I have written elsewhere about making ricotta and you can review that page because the directions are the very same up to the pressing. Making paneer is every bit as easy but requires just a bit of forethought to have some simple equipment on hand. It has to be strained and then pressed. You can buy a cheese press for this, if you want it for some other purpose, but if you just want to  make paneer, all you need is  real cheesecloth (not the kind sold for dusting and polishing) for the straining, a  baking sheet,  a saucer, and a couple of bricks or other suitable weight. I use a springform pan and a nylon mesh bag made for straining fruit for cider.  A gallon is about the minimum amount of milk that is worth fooling with, and will produce about 8 ounces of finished paneer.

Heat the milk to almost boiling, watching it carefully because it wants to boil over. Add the vinegar, stir in, watch for the formation of curd, and add a little more vinegar if needed until you have white curdled curds in greenish whey.   Put a strainer in the sink or over a bowl if you wish to catch the whey and use it for some other purpose. Line with cheesecloth, pour the curdled milky mixture in, and let it drain for at least 30 minutes.  Within an hour, wrap the largely drained curds up in the cheesecloth with the idea of forming a block that will be about an inch thick. The other dimensions will depend on how much milk you were working with. For a gallon of milk, I plan a block of paneer about  3″ x 6″.  Put it on a baking sheet so that the remaining liquid can drain away, put the saucer upside down on top, and put the weight on the saucer. Or, if you are using my method, put the ring of the springform pan on the sheet, the cloth wrapped curds inside, and use the base of the springform pan on top  to hold the weight and “follow” the curd block as it shrinks in pressing.  Either way, leave your set-up for about eight hours.  You then have paneer, which can be used in many Indian dishes. It browns beautifully, and if the milk came from a grass fed animal, it is superbly  healthy.  It is the backbone of sa’ag paneer, one of my favorite dishes.  It also freezes well, so it’s a good way to preserve your precious grass fed milk.
img_5277

Ricotta, the Easiest Cheese

image

One day when I have loads of leisure and energy, I plan  to get really serious about cheesemaking.   However, if you have a dairy animal or any other source of good milk, there are times when you have milk on hand but no spare time to do anything fancy with it. On those occasions, make ricotta  right away while your milk is fresh. All you need is milk, a large stainless steel pot, a stirring spoon, a strainer, fine cheesecloth, and lemon juice or vinegar. Any child old enough to use the stove at all can make ricotta with a little supervision. Determine approximately how much milk you have and put it in the pot over medium-high heat.  Milk scorches easily, and it should be stirred frequently so that it doesn’t burn on the bottom of the pot.  As soon as the milk foams and is coming to a boil, remove it from the heat and add 2 tablespoons of lemon juice or vinegar per quart of milk.  I don’t recommend cider vinegar or other strong flavored vinegars, and although I prefer lemon juice, I sometimes use rice vinegar, which does not give any off flavor to the cheese.  Stir the acid in and let the pot sit for 5 to 10 minutes. Meanwhile, line the strainer with a few layers of cheesecloth and set it over a bowl it can drain  into, or in the sink, and when the milk in the pot has definitely separated,  pour gently into the cheesecloth lined strainer. Let drain a few hours. Squeeze it a bit in the cheesecloth to get excess whey out,  salt if desired, chill, and eat.  The only reason for the milk not separating is that it wasn’t heated hot enough. If this should happen, heat again, stirring continually, until it separates. But that should not happen if you brought it to a boil in the first place.

The whey is useful and still contains a lot of nutrients.  It would be a shame to waste it. I feed it to my chickens, and they enjoy it.

When I mention cheesecloth I am talking about the real thing, specifically marketed for cheesemaking, and you can get it at New England Cheesemaking Supply along with a variety of other entrancing supplies and gadgets.

Besides just eating the ricotta itself with herbs stirred in, or sweetened and topped with fruit, it makes a good basis for a lot of other delicious meals.  I especially like it as a fill-in for stuffed vegetables. To make the zucchini above, get some good sized zucchini about 10 inches long. Cut them in half and hollow them out into boats.  Sprinkle very liberally with salt and put them in a bowl to drain for at least half an hour. This step is important. Meanwhile, preheat the oven to 450.  When ready to cook the zucchini, dry them off thoroughly with a kitchen towel. Rub with a little olive oil on the inside, put on a parchment lined baking sheet, and put them in the oven until they are fairly tender, which is about 25 minutes for me.

Meanwhile make the filling. Blanch about 2 quarts loosely packed of mixed greens; I used amaranth and lambsquarters. Drain and press the greens dry. Chop them thoroughly.  Chop one onion and two cloves of garlic and sauté them in a quarter cup of olive oil until they are thoroughly cooked but not colored very much. Stir in the chopped greens, and cook all together at least 10 minutes.  Turn the greens mixture into a bowl and mix in a heaping cup of goat ricotta (or any well-drained ricotta) and a cup of grated Parmesan cheese  or crumbled feta. Toss in a handful of chopped herbs. I used about 2 tablespoons of sweet marjoram, a scant tablespoon of winter savory, and a heaping teaspoon of fresh thyme.  Now start tasting the mixture and add salt until you feel the seasoning is perfect.  I like to add a good squeeze of fresh lemon juice at this point as well. Add more herbs if they seem indicated. Once you have the seasoning the way you want it, mix in two raw egg yolks. Pile the mixture  into the cooked zucchini canoes, top with pinenuts and more grated Parmesan, and bake at 400 until they are thoroughly done and the top is just starting to brown.  I like to serve them cooled off a bit, drizzled with a bit of extremely good olive oil.

image


It’s a doe!


My goat Magnolia delivered a doe kid this morning. Seeing her try to stand as soon as she was born, try to walk within 15 minutes of being born, and a little later, with dry fur and a full belly, start checking out her new world is pretty awesome. So welcome to the world, Cocoa, and may it be a good place for you.