Goats are wonderful hardy friendly animals to have around, and the amount of milk that they give is very considerable relative to the input required, but many people do not like the taste of most goat cheeses. If you are one of these people, or even if you like goat cheese, you may still want to know about some alternatives that avoid the goaty taste. Fresh ricotta and fresh paneer, when made with fresh goat milk, are not distinguishable from cows’ milk products. You need to use the milk within a day of milking, or at most two days, and it goes without saying that it has to be refrigerated all that time.
I have written elsewhere about making ricotta and you can review that page because the directions are the very same up to the pressing. Making paneer is every bit as easy but requires just a bit of forethought to have some simple equipment on hand. It has to be strained and then pressed. You can buy a cheese press for this, if you want it for some other purpose, but if you just want to make paneer, all you need is real cheesecloth (not the kind sold for dusting and polishing) for the straining, a baking sheet, a saucer, and a couple of bricks or other suitable weight. I use a springform pan and a nylon mesh bag made for straining fruit for cider. A gallon is about the minimum amount of milk that is worth fooling with, and will produce about 8 ounces of finished paneer.
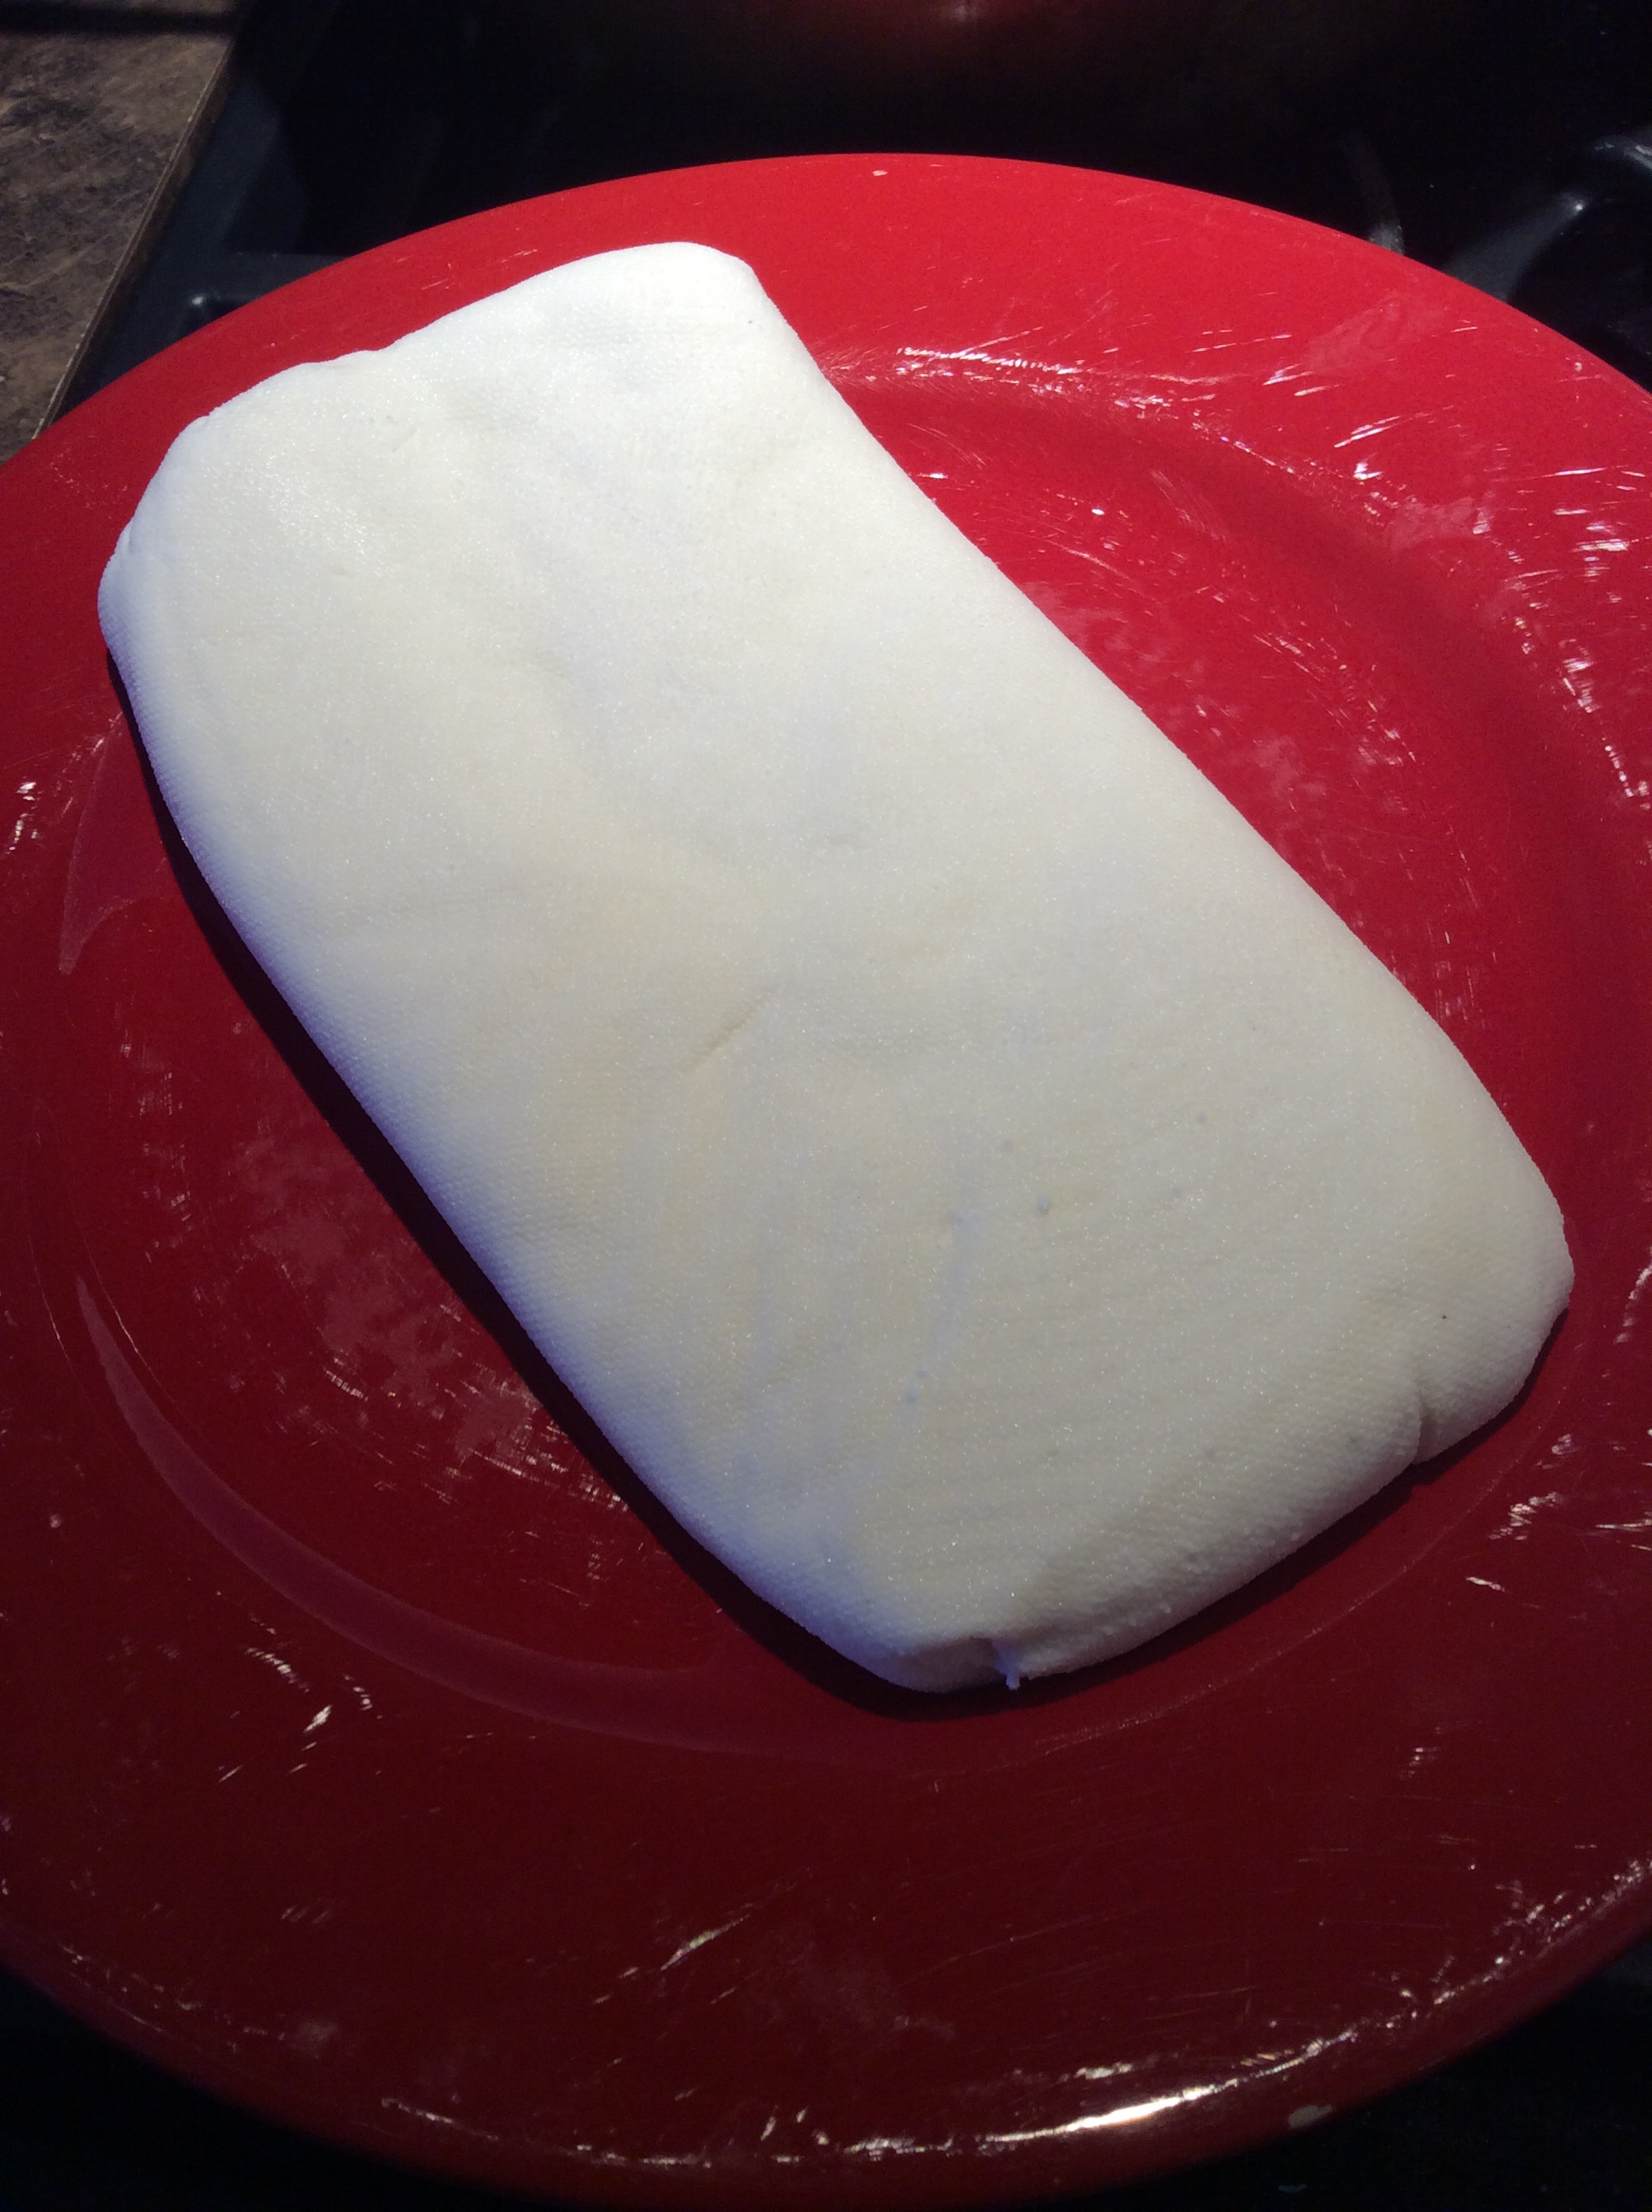
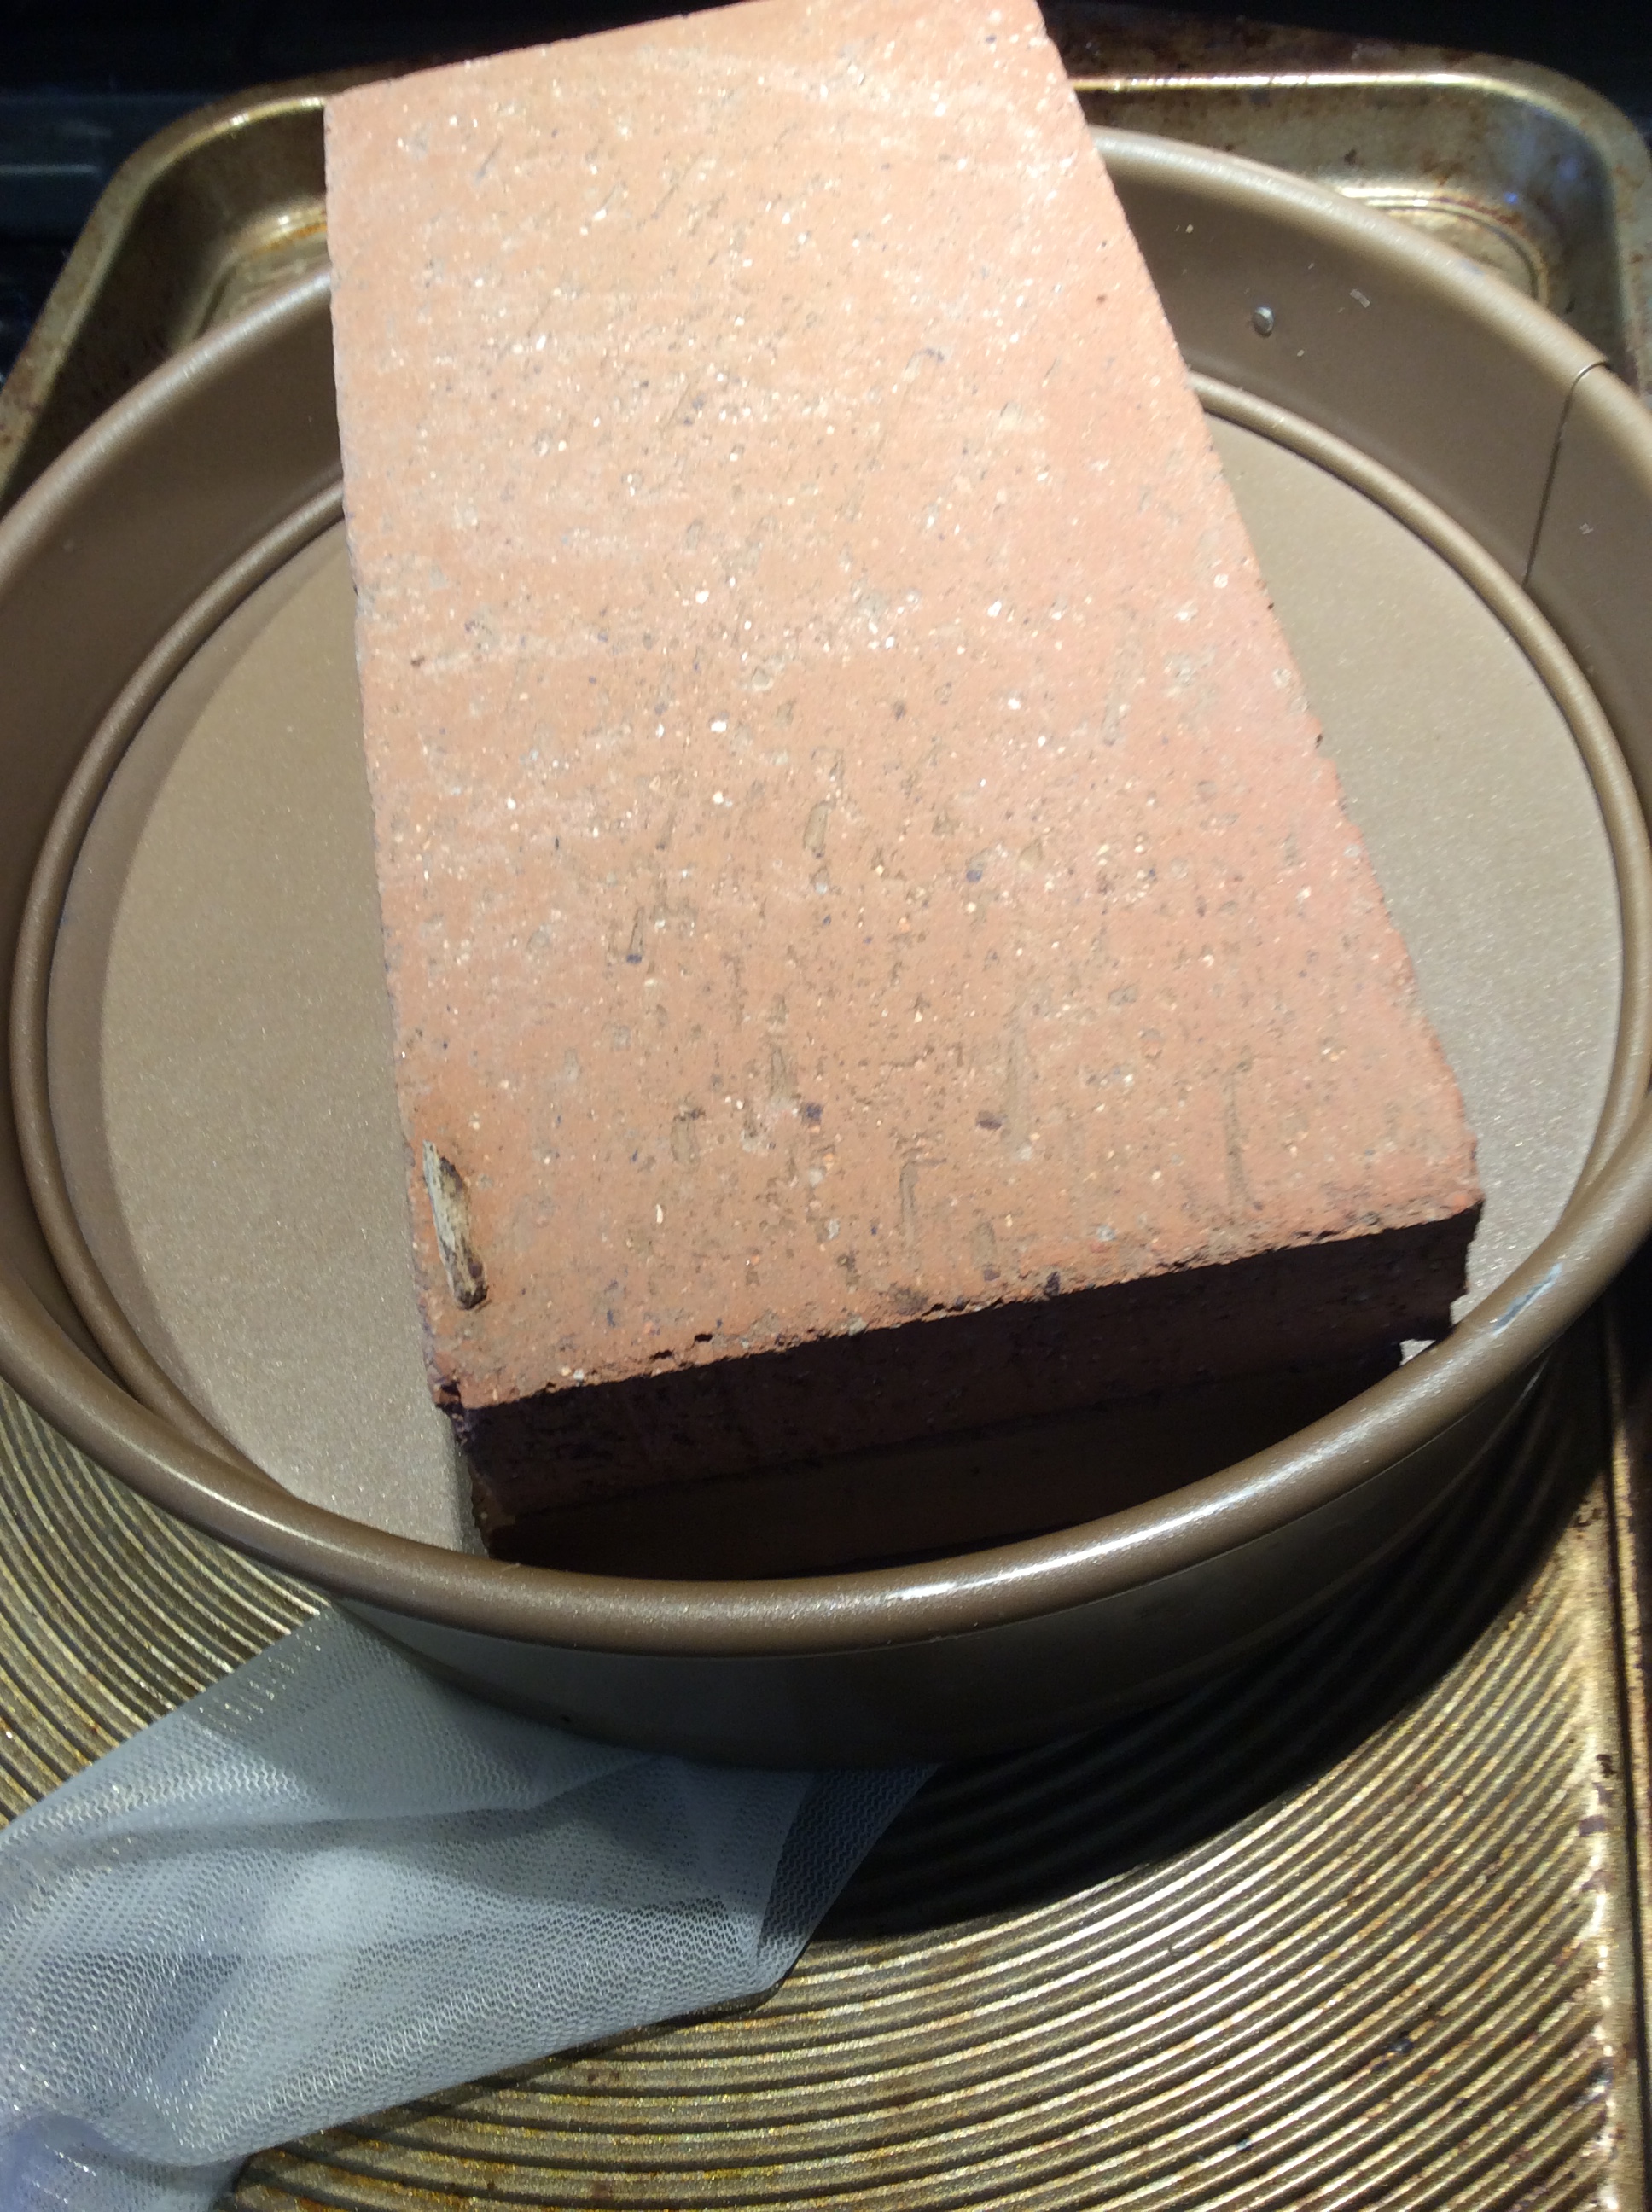
Heat the milk to almost boiling, watching it carefully because it wants to boil over. Add the vinegar, stir in, watch for the formation of curd, and add a little more vinegar if needed until you have white curdled curds in greenish whey. Put a strainer in the sink or over a bowl if you wish to catch the whey and use it for some other purpose. Line with cheesecloth, pour the curdled milky mixture in, and let it drain for at least 30 minutes. Within an hour, wrap the largely drained curds up in the cheesecloth with the idea of forming a block that will be about an inch thick. The other dimensions will depend on how much milk you were working with. For a gallon of milk, I plan a block of paneer about 3″ x 6″. Put it on a baking sheet so that the remaining liquid can drain away, put the saucer upside down on top, and put the weight on the saucer. Or, if you are using my method, put the ring of the springform pan on the sheet, the cloth wrapped curds inside, and use the base of the springform pan on top to hold the weight and “follow” the curd block as it shrinks in pressing. Either way, leave your set-up for about eight hours. You then have paneer, which can be used in many Indian dishes. It browns beautifully, and if the milk came from a grass fed animal, it is superbly healthy. It is the backbone of sa’ag paneer, one of my favorite dishes. It also freezes well, so it’s a good way to preserve your precious grass fed milk.


Posted by Perennial Saag Paneer | My urban homestead on March 7, 2017 at 4:21 pm
[…] I wrote about making Paneer with my grass-fed goat milk. Today I’ll talk about making saag paneer, one of my favorite […]