Posts Tagged ‘chervil’

Permaculture Salad, and Notes on the Siberian Elm

Spring on the urban homestead is so beautiful and bountiful that I can hardly believe it, and I spend more time than I care to admit just wandering around dazed with the wonder and joy of it all.  But there is a practical aspect to my trance, because while giving thanks to the cosmos for the life that surrounds me, I am noting what can go in the salad bowl that evening.

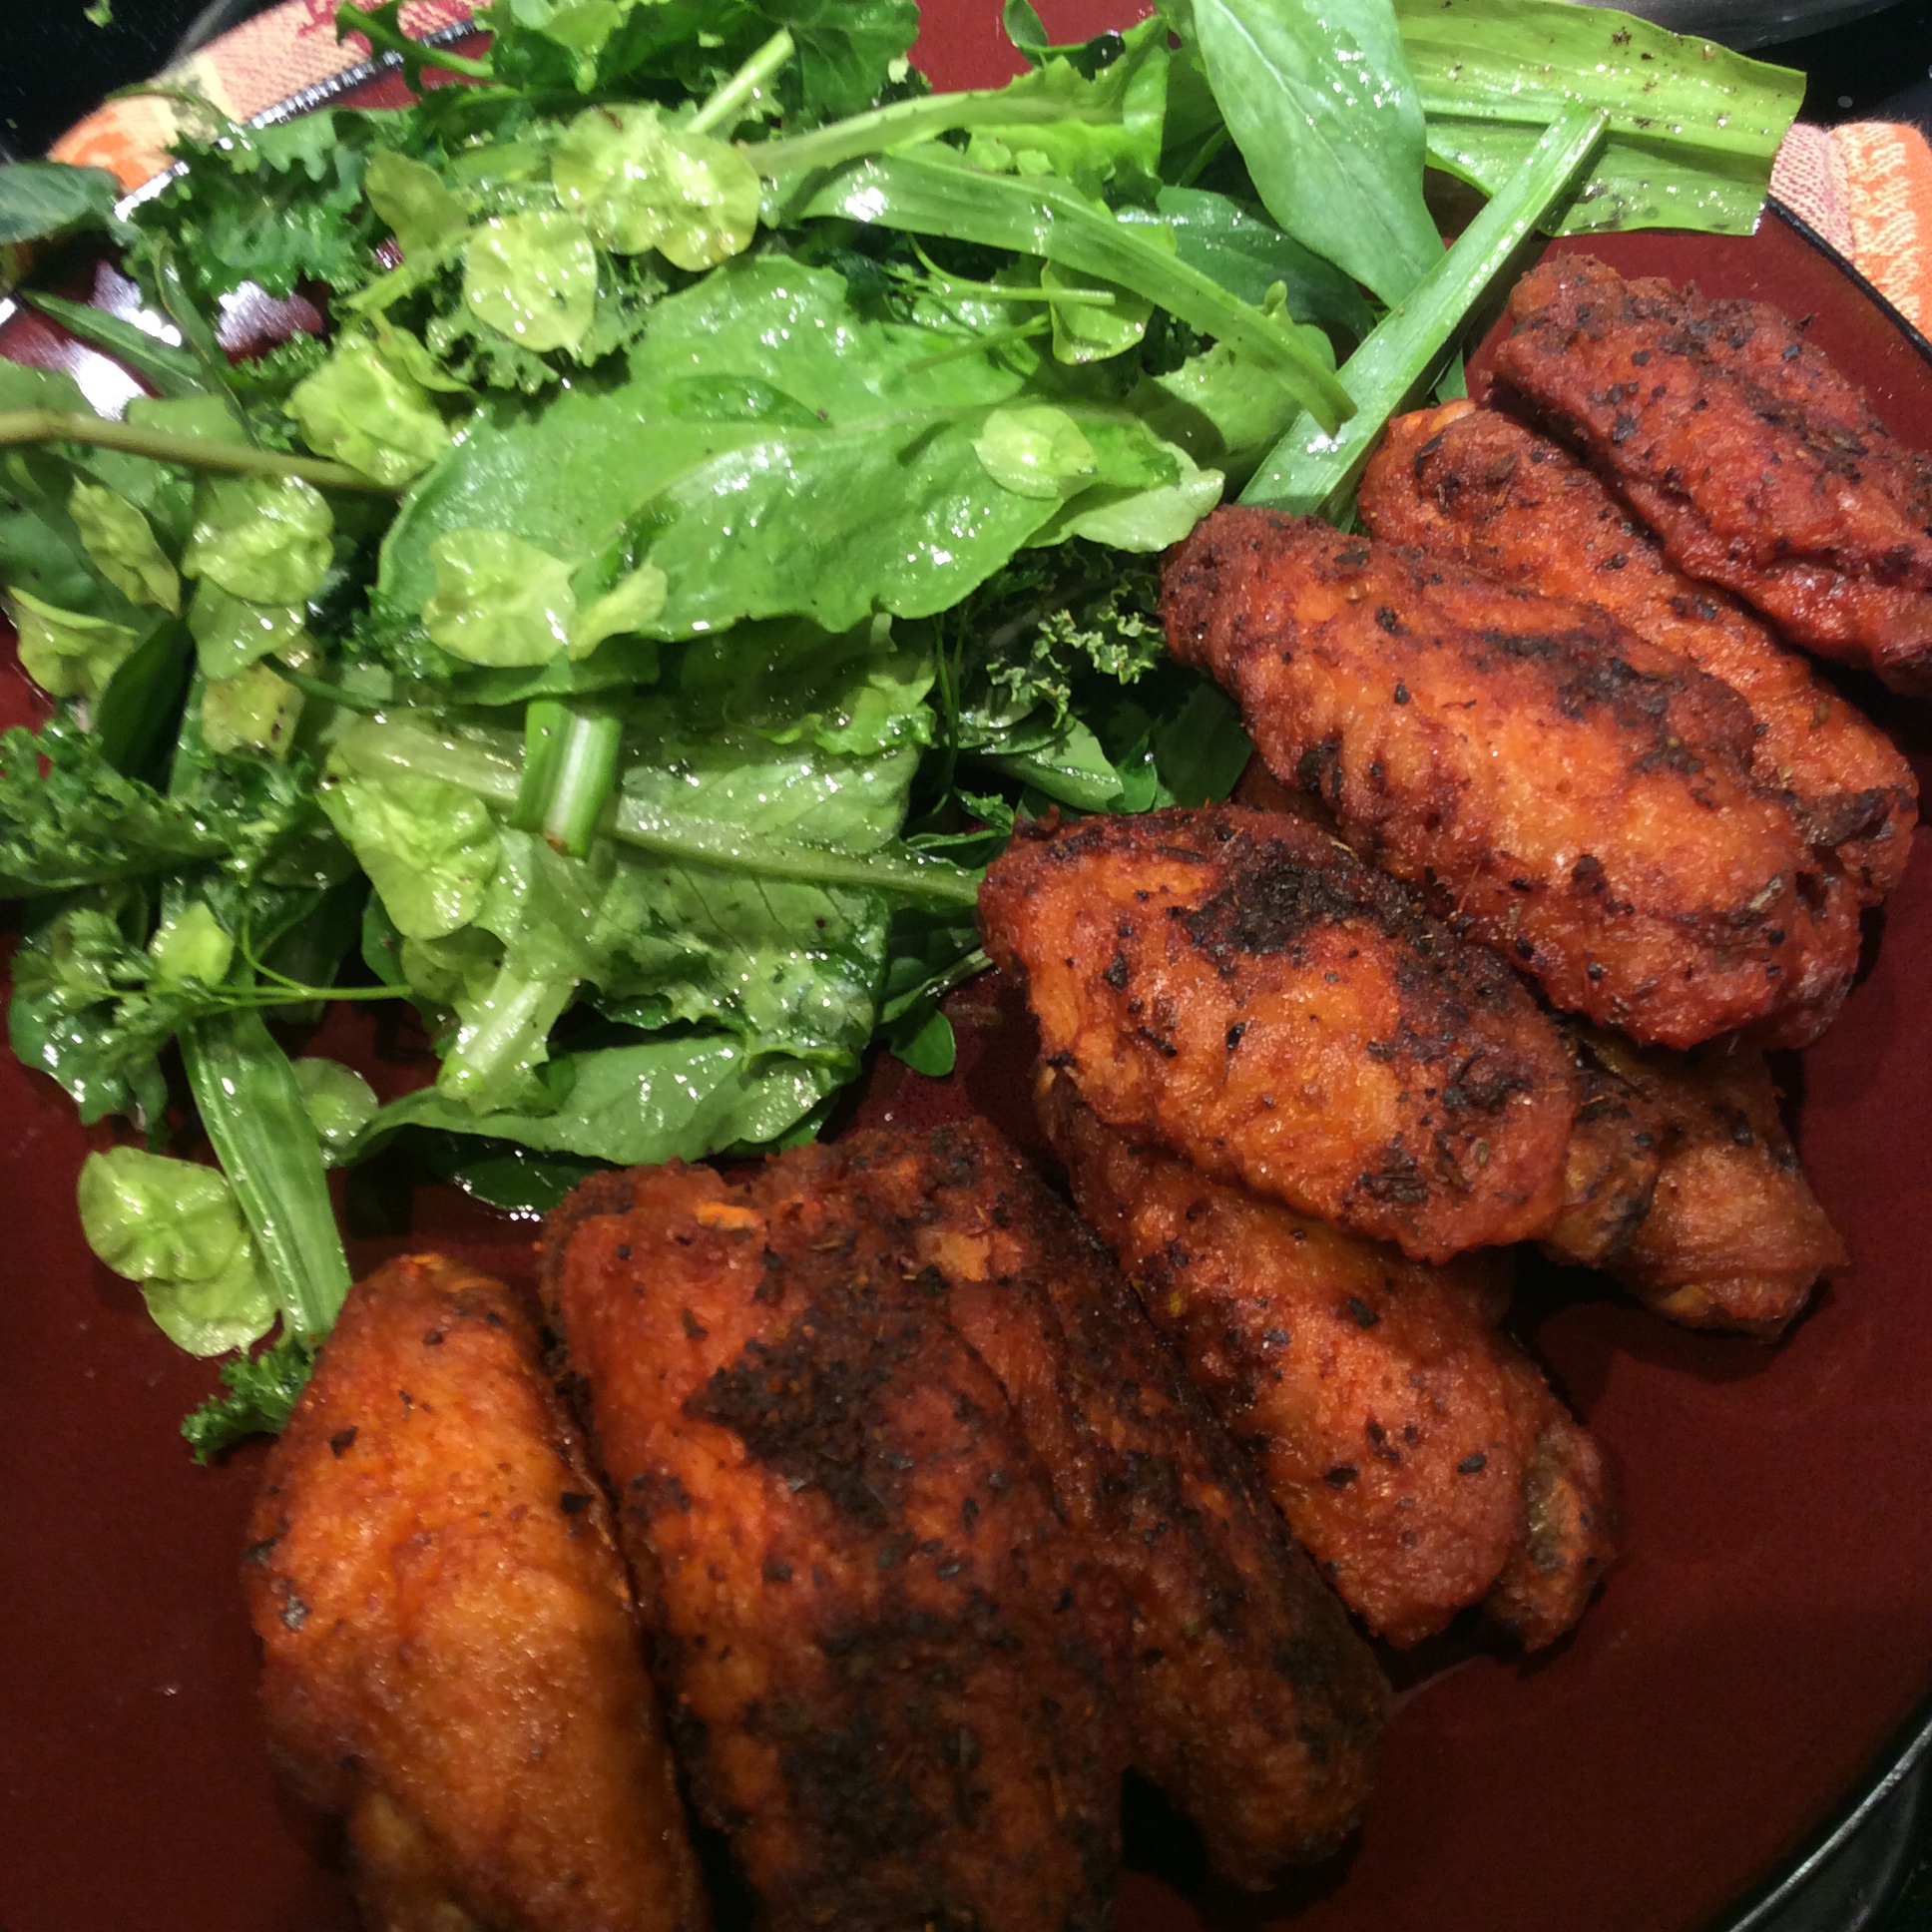
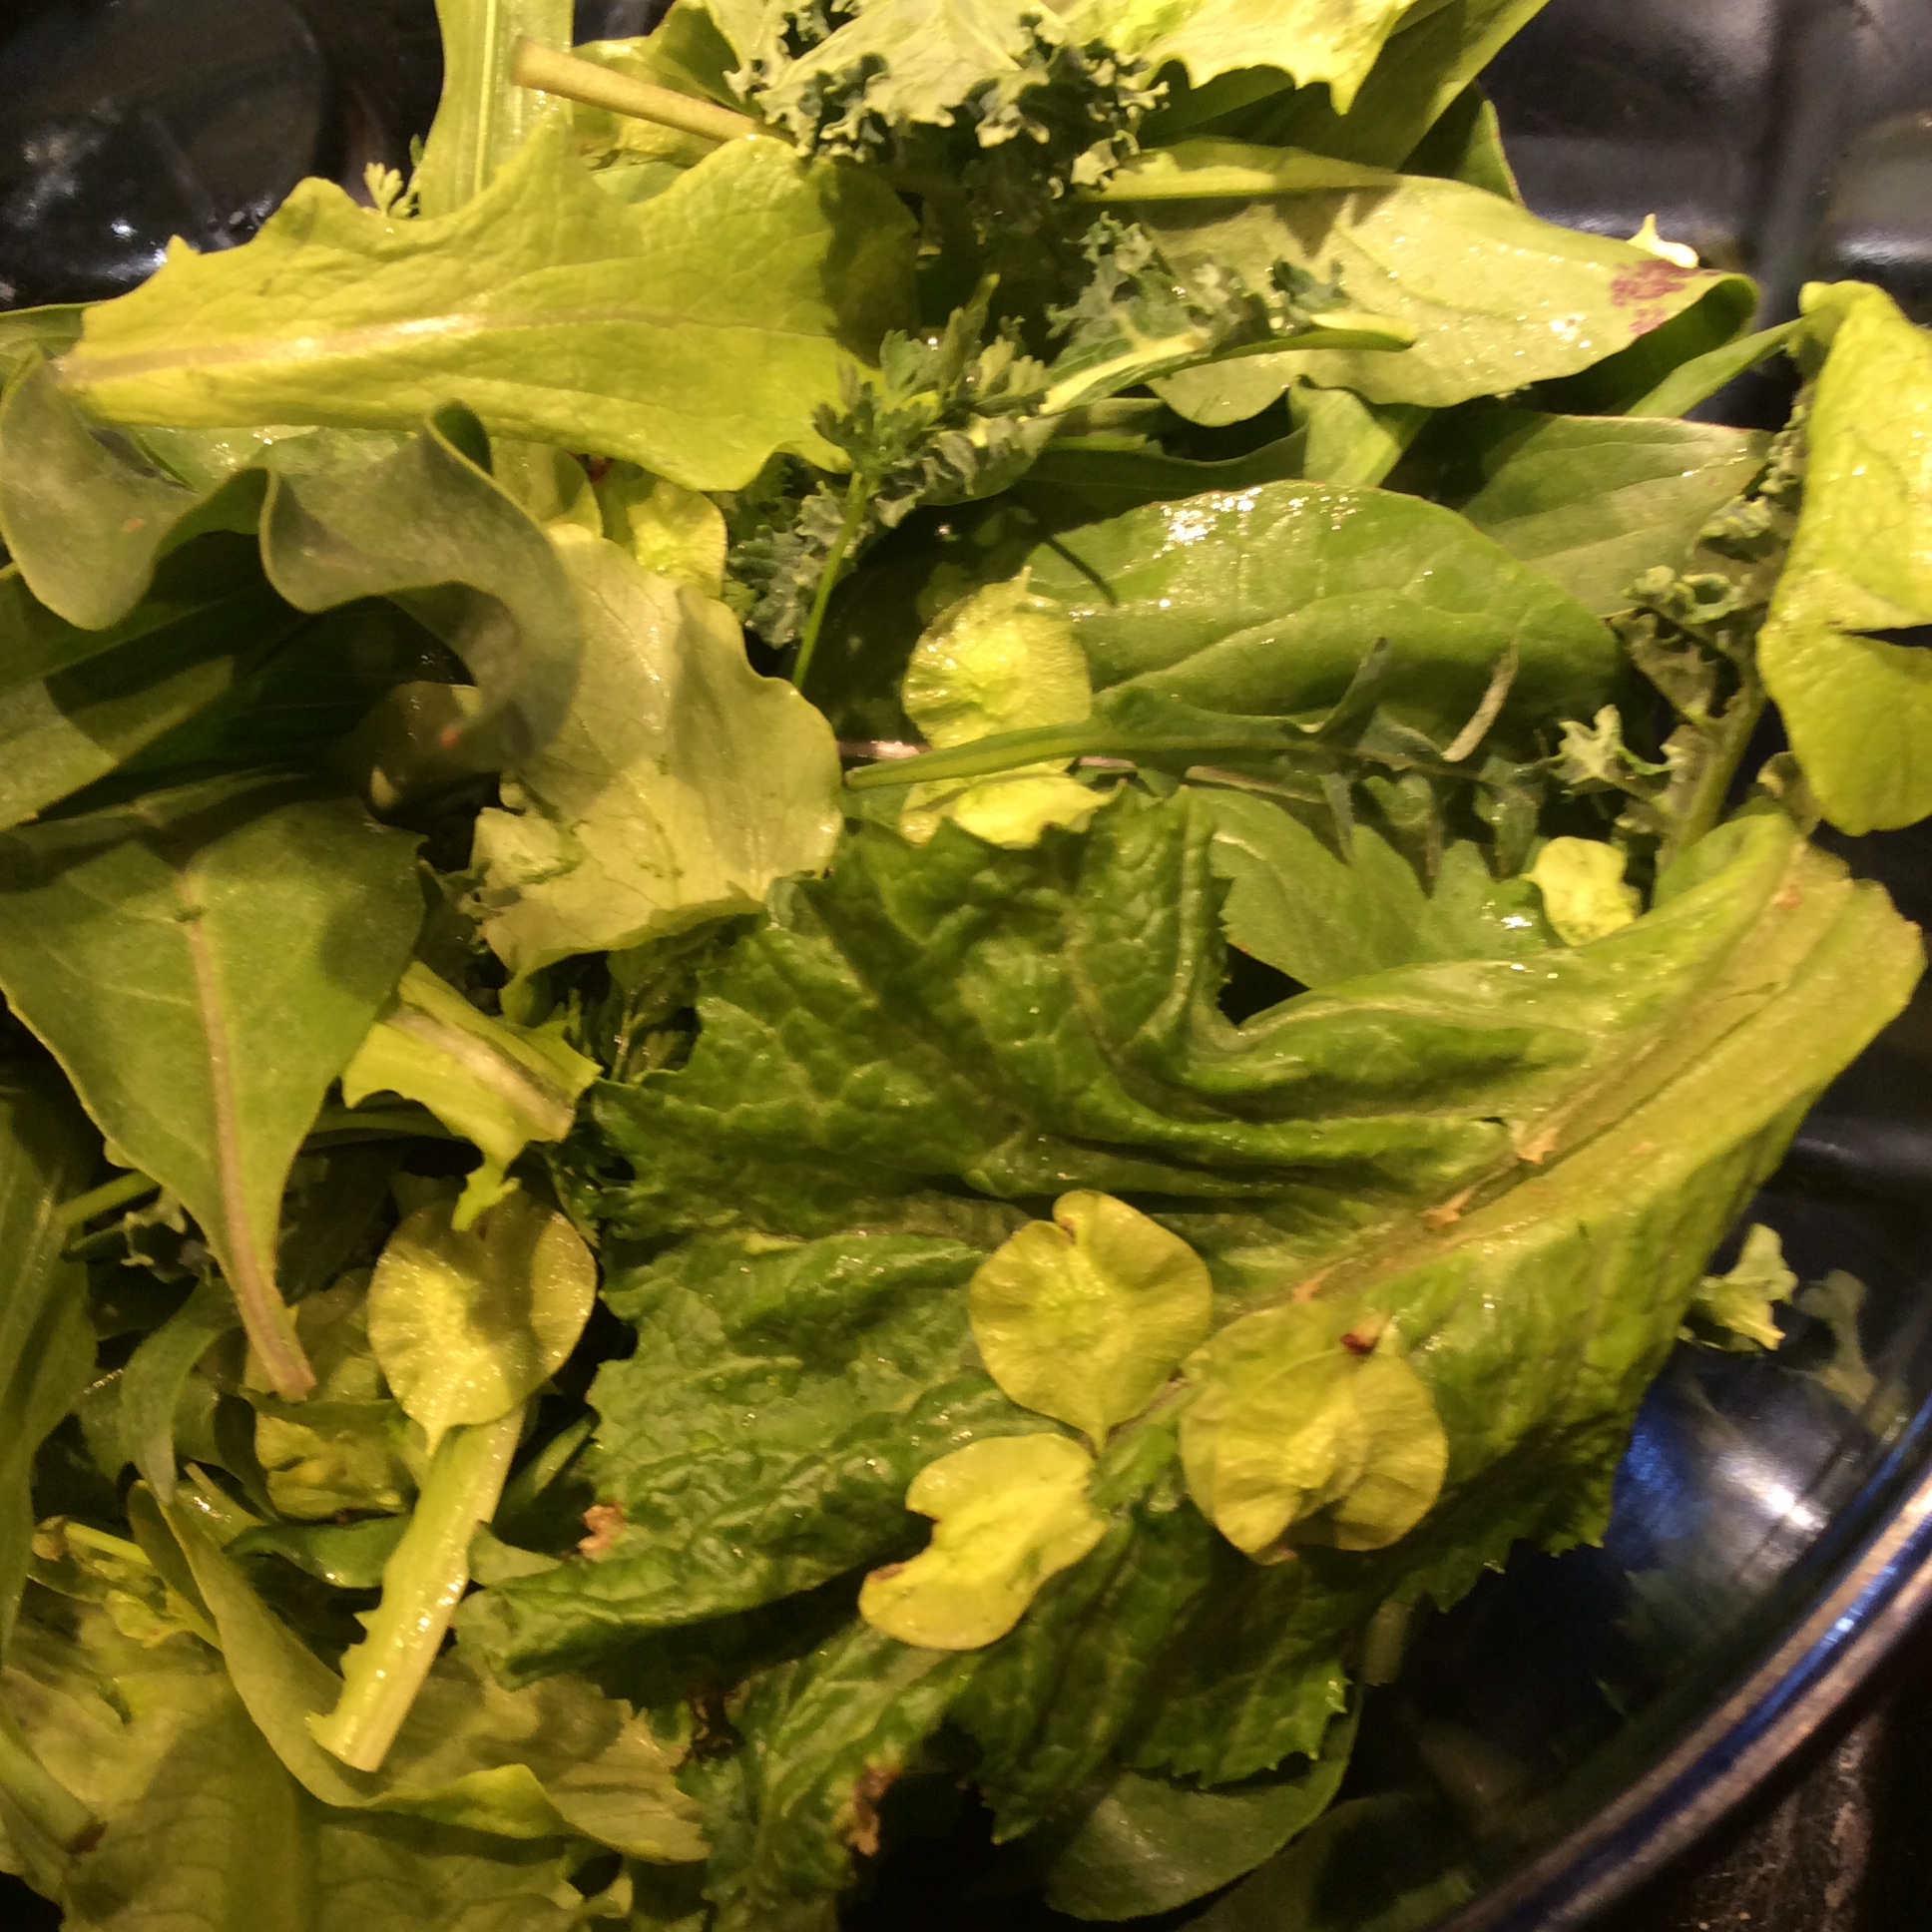
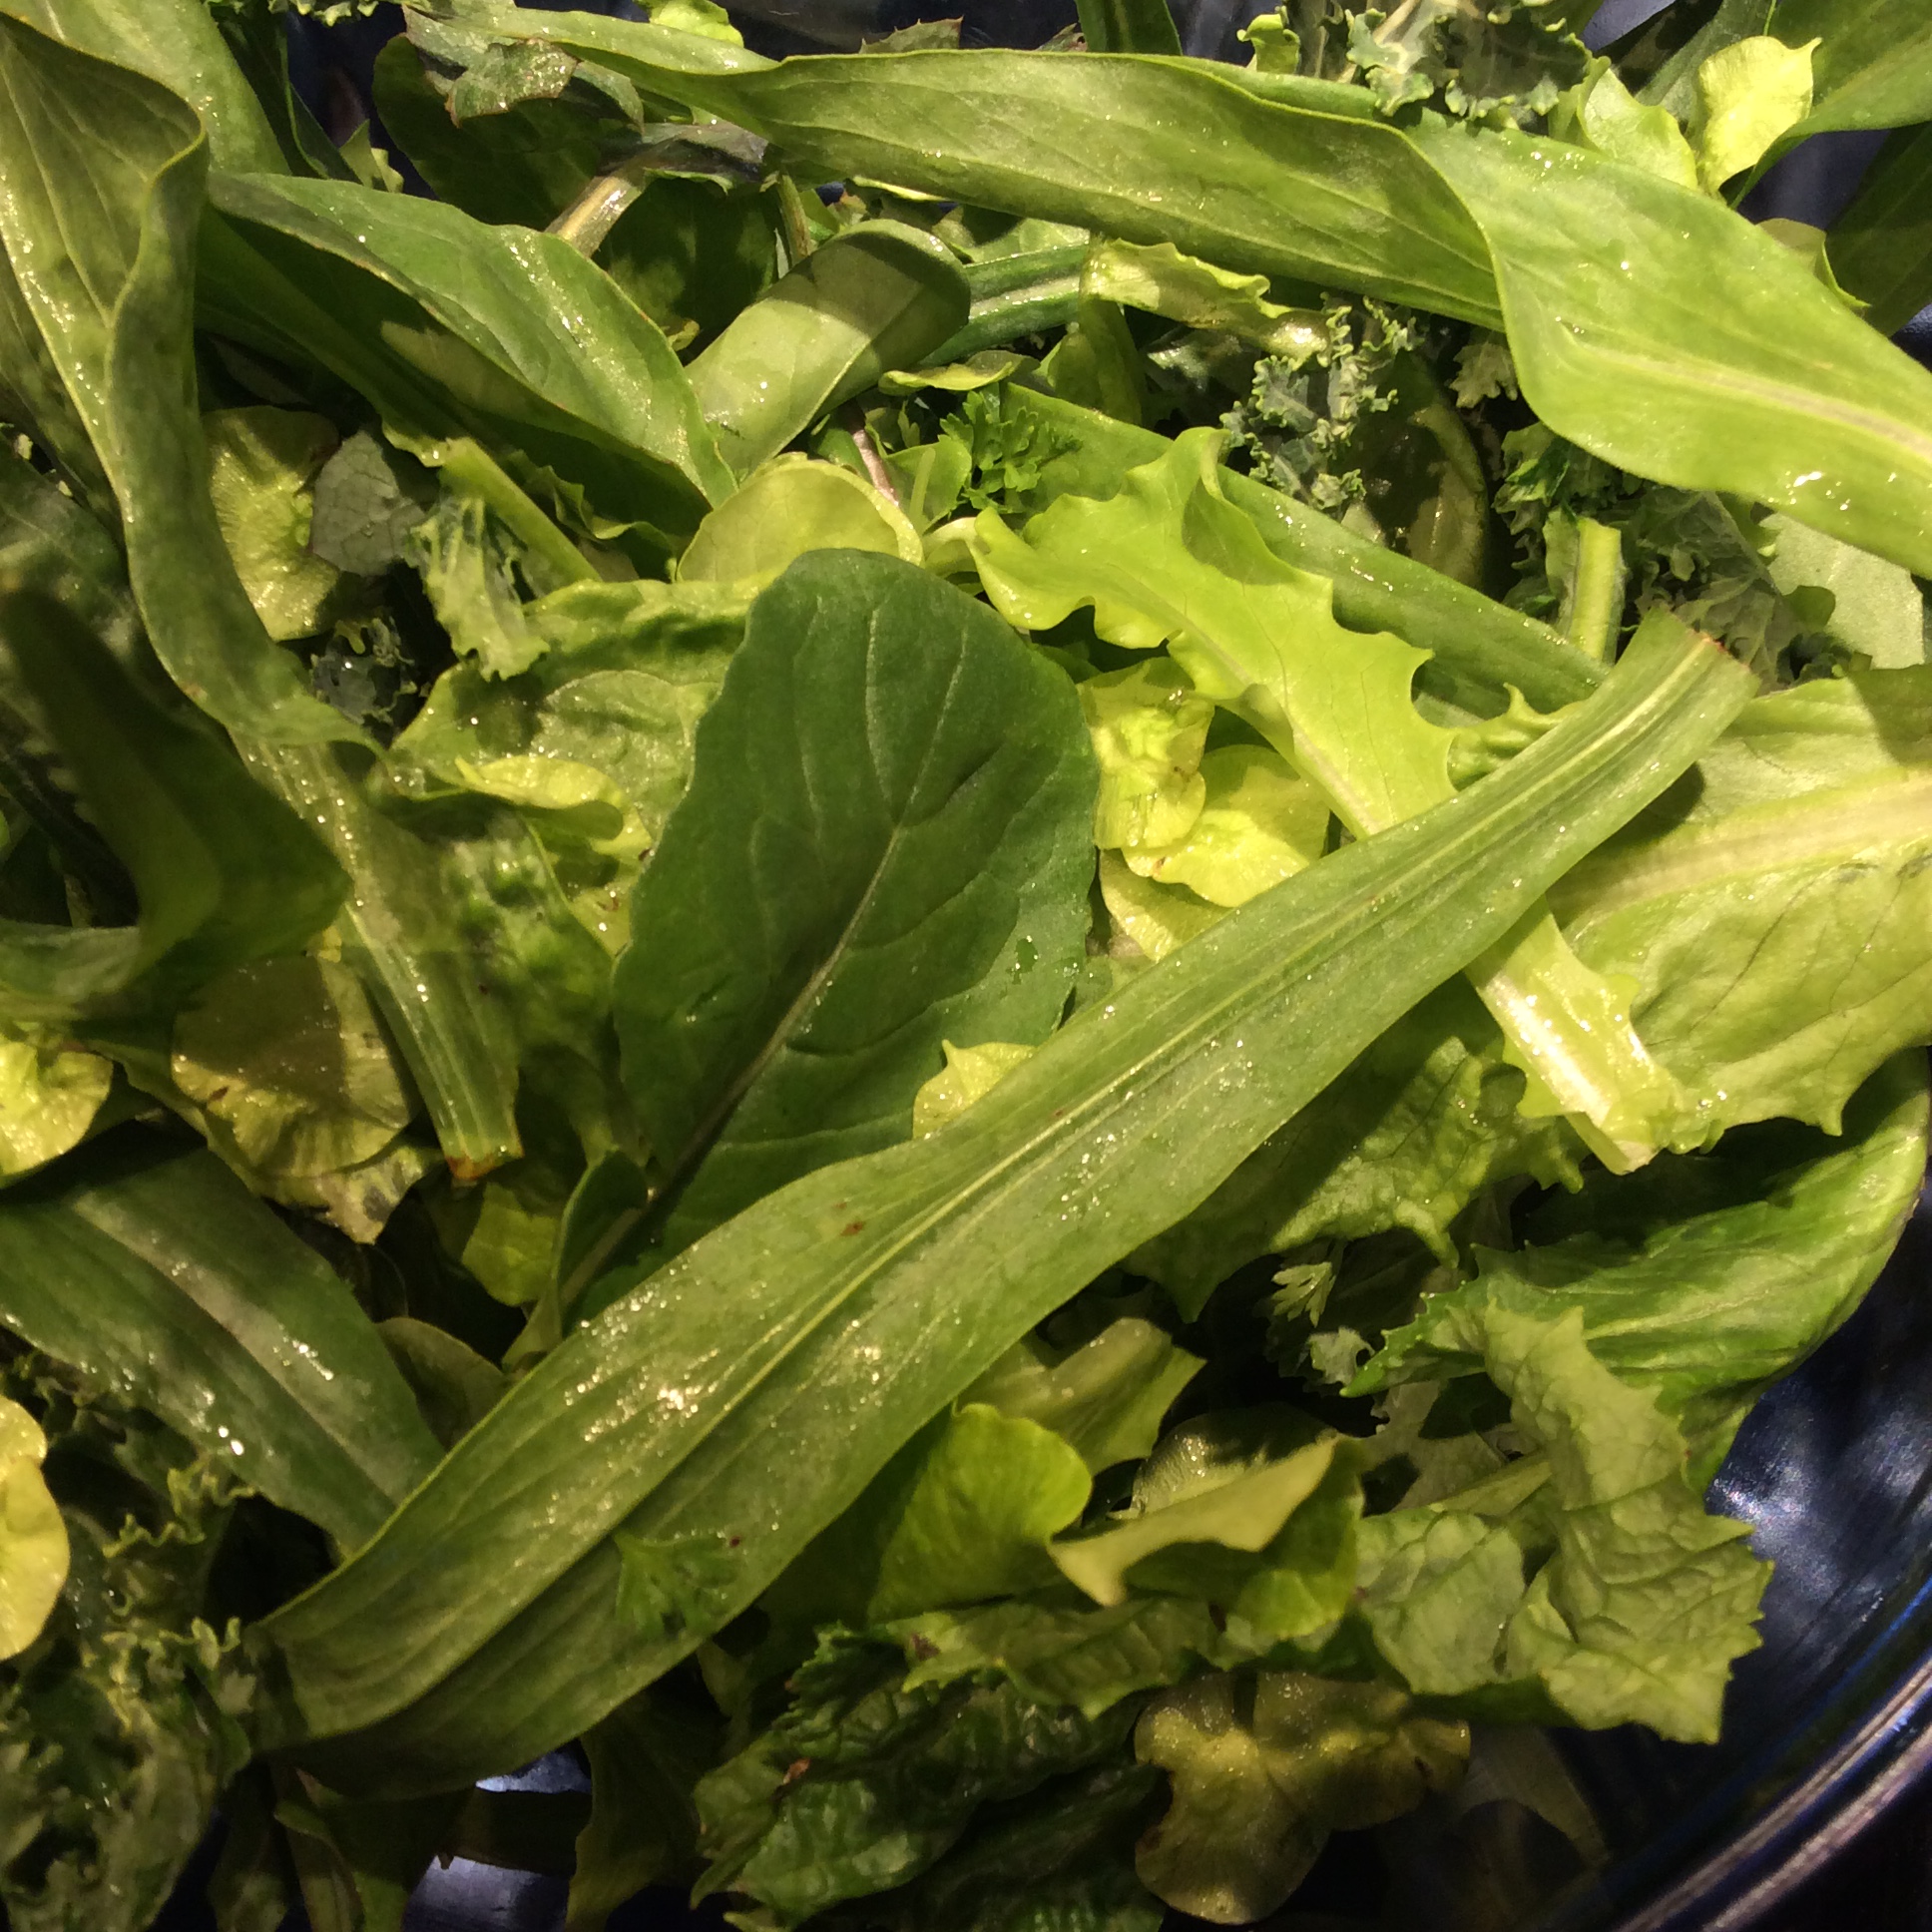
The salad shown above is a pretty typical urban homestead salad. It contains a handful of lettuce, some early arugula, and a lot of biennials and perennials that wintered over and got an early start.   Tiny leaves of curly kale that began to leaf out as soon as the weather got warm are good salad material, still sweet from night frosts, although I don’t like older kale in salads.  There is a little chervil because I threw the seeds around in warm spots last fall.

So here’s the species list for tonight:

Lettuce

arugula

chervil

scorzonera

salsify

wild lettuce

sow thistle

dandelion

Siberian elm samaras

Bladder campion

tarragon

mustard (one Southern Giant plant overwintered somehow)

Green perennial onions

A few further notes on the ingredients: in the past I had tried cooking scorzonera greens and thought they were fairly uninteresting, but for some reason I never tried them as salad material until this year. They are very mild in flavor and have a nice slightly substantial and tender texture, and I am using them a lot now.  They make a good base for some more flavorful greens like dandelion and mustard and arugula.  I have written in the past about how much I love the elongating flower stalks when pan grilled in olive oil, so this is a very good dual purpose vegetable. I plan to plant more of it.

In the past I have mostly used Siberian elm samaras as a “hand salad” eaten spontaneously on walks when  they presented themselves.  They are too mild to be of much interest cooked, although I do use them in greens mixtures sometimes, but I have found that I like them in salads in rather substantial amounts, probably a cup of washed samaras in a salad for two.  There is something about the texture that I enjoy, provided you pick them at the right stage, when they are about the size of a dime and the edges are still fresh green and have not yet grown at all papery.  They need a little bit of cleaning, but most of the debris can be floated off once you have broken up the clumps with your fingers, and 15 minutes of preparation is not too much for a vegetable that cost you no effort or money whatsoever in the growing.

Have a  look at what’s available to you in field and forest and in your own yard.  Learn how to make a really good vinaigrette. Use common sense, and don’t eat plants unless you are completely sure that they are edible.

The Greens of Spring: Green Herb Pasta

march-2009-001
One of the great pleasures of gardening is commemorating each new emergence in spring, and in  food gardening, one tends to commemorate them by eating them. Here, the herbs that are springing up everywhere make a pasta dish that is wonderfully tasty and varies every time you make it. If this doesn’t inspire you to plant your own herbs, probably nothing will.
My instructions will be relatively brief, so if you aren’t familiar with pasta-making, consult a good Italian cookbook such as The Splendid Table by Lynn Rosseto Kaspar. This is one of the few times when I use a food processor to start pasta dough.
This amount serves at least six as a first course, four as a main course, or two real pasta-pigs with lots of leftovers to take to work for lunches.

First, gather your herbs. Aim for a generous bunch. About half should be parsley. For the other half, see what’s springing up outside and decide what you plan to serve with the pasta. I like a good big handful each of chives and cutting celery leaves, the leaves of one small twig of rosemary (more if you plan to serve the noodles with lamb,) a few leaves of arugula, and about a tablespoon of thyme leaves. Later in the season, basil or marjoram might figure prominently. In the winter, green onions (green part only) and chervil might predominate, with some winter savory for oomph. You get the general feel of the thing.
Chop all the herbs coarsely. Put three cups of flour in the food processor, add the herbs, and process until they’re well distributed and finely chopped. Have five very good eggs handy. Add them one at a time, processing for at least 30 seconds after each one. Probably you will only need four of the eggs. When the “crumbs” in the processor bowl just start to come together into a dough, stop and finish by hand. Sorry about the work, but it’s much better that way. Turn out onto a lightly floured cutting board and knead until the dough comes together, adding a little water if necessary, or more flour if that’s what’s needed to make a nonsticky dough. Now knead for ten minutes, until smooth and elastic. Dust the dough ball with a little flour, cover with plastic wrap, and let sit half an hour.
When the dough has rested, roll it into sheets and cut into noodles by your favorite method. If you roll pasta by hand, you will go to Heaven. But if you use your handy machine, either powered or hand-cranked, you will eat fresh pasta a lot more often, and that’s a kind of heaven too. Take your pick.
Either way, when the noodles are ready, you can pack them in plastic bags and store in the refrigerator for two days, or in the freezer for a month. When ready to proceed, bring a large pot of well-salted water to a boil, and dump in the noodles. As soon as the water returns to a boil, start testing them for doneness. The cooking should take about a minute, but may take longer if you let the dough dry out a lot after rolling.  Be very careful not to overcook. You do want then al dente
Drain the noodles and toss with a good-sized knob of butter or a half cup of heavy cream or both (note to self: stop revealing your spirit of wretched excess) and about a cup of the best Parmesan you can find, grated. Grind a little black pepper over the top, garnish with a little more grated Parmesan, and serve.
If you’d like to add some herbed shrimp to the plate, click here

winter salads

december08-012
As part of our Christmas dinner, we had salads made entirely from our own yard produce. I had not used any season-extending devices at all, and we’d had cold weather and a few light snows, so these are the greens that thrive on cold and neglect. The “trim” is a ring of pansies, which I wrote about in an earlier post. The greens included arugula (see the post before this one,) pansy leaves (cool, tender, and delicious,) chervil, a few nasturtium leaves still surviving in a sheltered corner, my new favorite lettuce, and sunflower sprouts.
The lettuce that I’ve enjoyed most this year is a gorgeous deep red romaine called “Marshall.” I think I got my seeds from Territorial. the color is a dramatic foil for almost anything else, and it doesn’r get bitter in our sudden hot springs. It’s beautiful in the garden, too. You can see it poking up through a light mulch in the photo below.
The other photo shows my sunflower sprouts, and I wish I had known earlier how delicious they are. The first taste is pleasant and mild, but a delicious nuttiness rapidly reveals itself. These are the only sprouts that I’ve enjoyed eating out of hand, but they’re even better in a good mixed salad.
december08-006december08-009
Sunflower sprouts seem to be best when soil-grown, and they need a little light. I have a grow-light for my spring seedlings, and it usually goes unused in the winter, so I used it to grow the sprouts, but a sunny window would be fine.
Start with a large flat container. I used a terra cotta saucer intended to hold a large potted plant, just because I had one sitting around. Put in an inch of good organic soil. Scatter raw organic sunflower seeds (in shell) very thickly on top, touching each other. Pat them into the surface, cover with another 1/4 inch or so of soil, water well but don’t make the soil soggy, and wait a few days. The books say to presoak the seeds, but I didn’t and they did fine. When they start to emerge, begin giving them light, and harvest when they are green and are trying to shed their shells. I snap them off at soil level with my thumbnail, flick off the clinging shell, rinse well and dry, and start snacking. They go well with spicy mesclun mixes but can also give depth to a simple lettuce salad. Grow lots, so that you can use them lavishly.