Posts Tagged ‘Swiss chard’

Living in Interesting Times: Improvisational Stir-fries


The current world travails started me thinking about thrift. The most financially difficult period of my life was when I lived in Manhattan on a beginning designer’s salary and paid over 3/4 of my salary in rent. It probably goes without saying that I had no health insurance or paid sick leave and lived in constant fear of illness, and couldn’t afford any of the usual entertainments. It was one of the most useful periods of my life too, because it’s when I learned to make reading and cooking fill my entertainment function. I spent wonderful hours digging through the NY Public Library’s collection of cookbooks (free entertainment,) walking miles to Manhattan’s Chinatown (exercise +health maintenance+entertainment/sightseeing,) shopping in the wondrous markets there (thrift+entertainment,) then walking back and cooking dinner (nutrition+health maintenance+delicious entertainment.) I bought a huge carbon steel wok and cleaver for less than $10 each and with one thrift-shop pot to cook rice, one rice bowl, and one set of porcelain-tipped chopsticks, I was ready to cook anything.

I wouldn’t want to live like that now, and I’m appropriately grateful to have health insurance and sick leave. But I still love to channel the spirit of a thrifty Chinese spiritual grandmother and cook up a tasty stir-fry now and then. Rice is in very short supply in my area right now, but I have enough to cook up a pot of rice, add condiments to vegetables from my garden, and have a delicious meal for under $5 for two people. I wanted to use up some of the rich gold yolks that my chickens produce abundantly, and it occurred to me that frying them quickly into a sort of yolk pancake would yield a texture that could work well in a quick, explosive stir-fry.
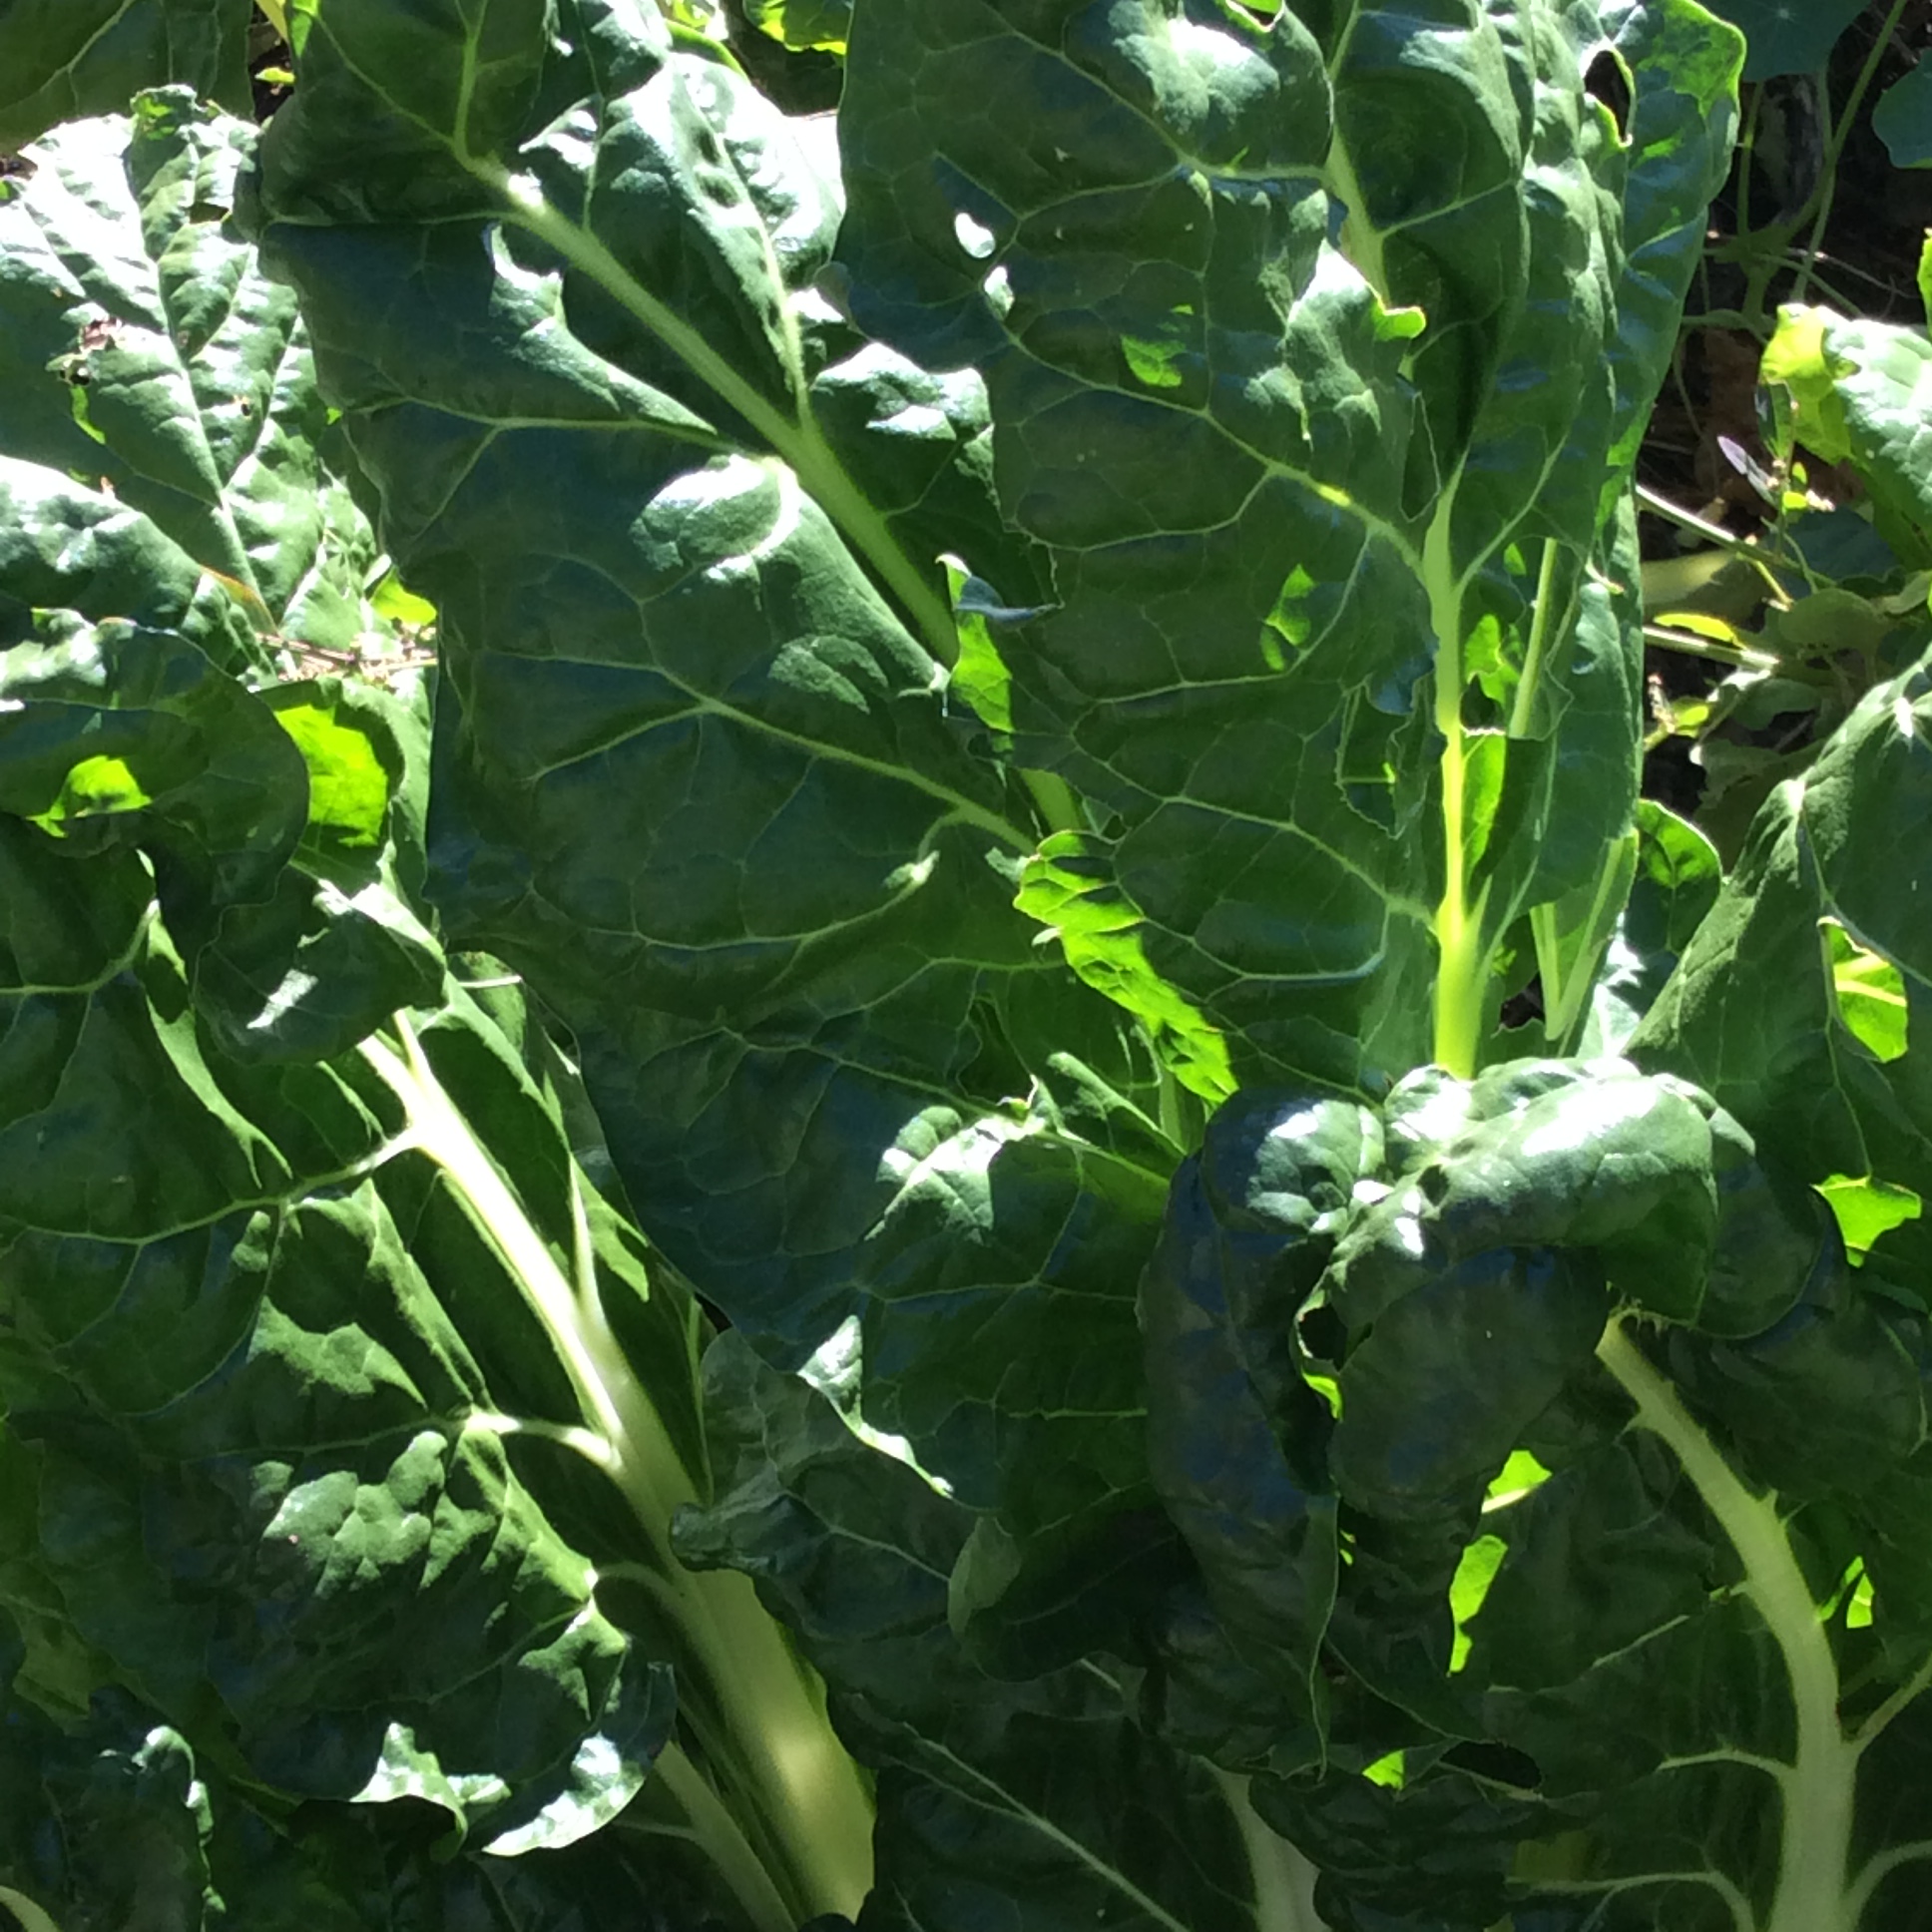
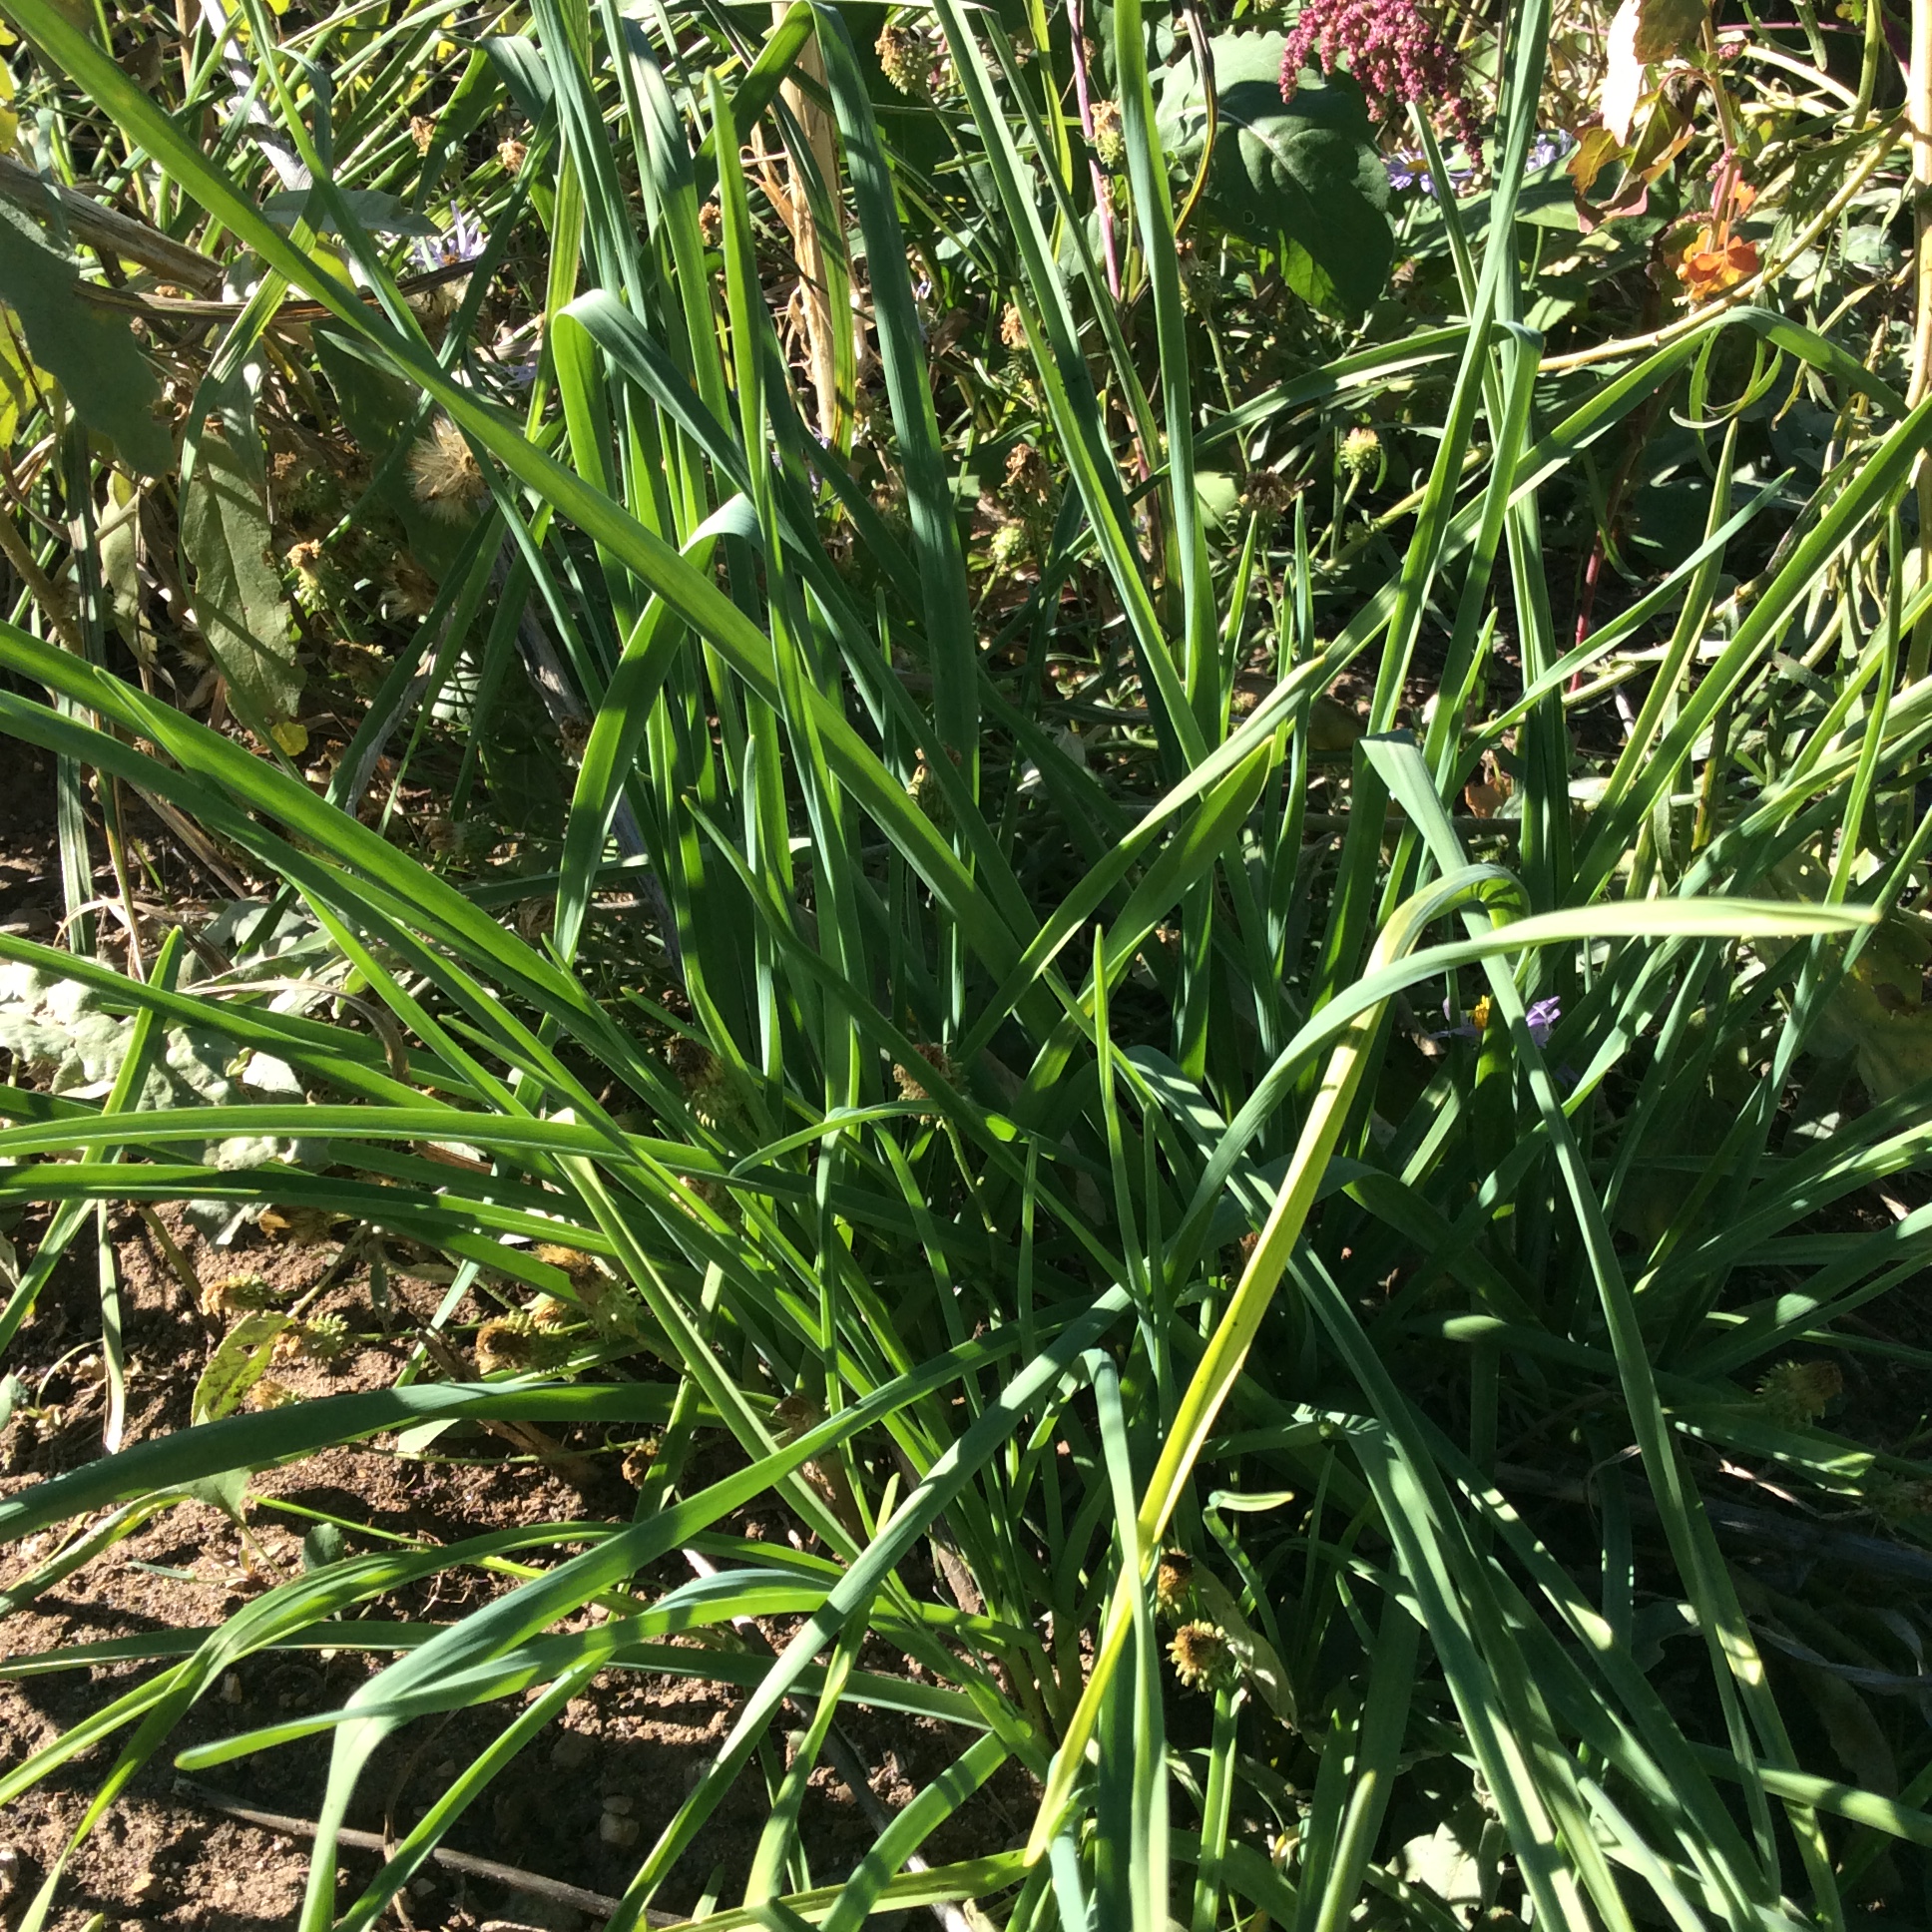
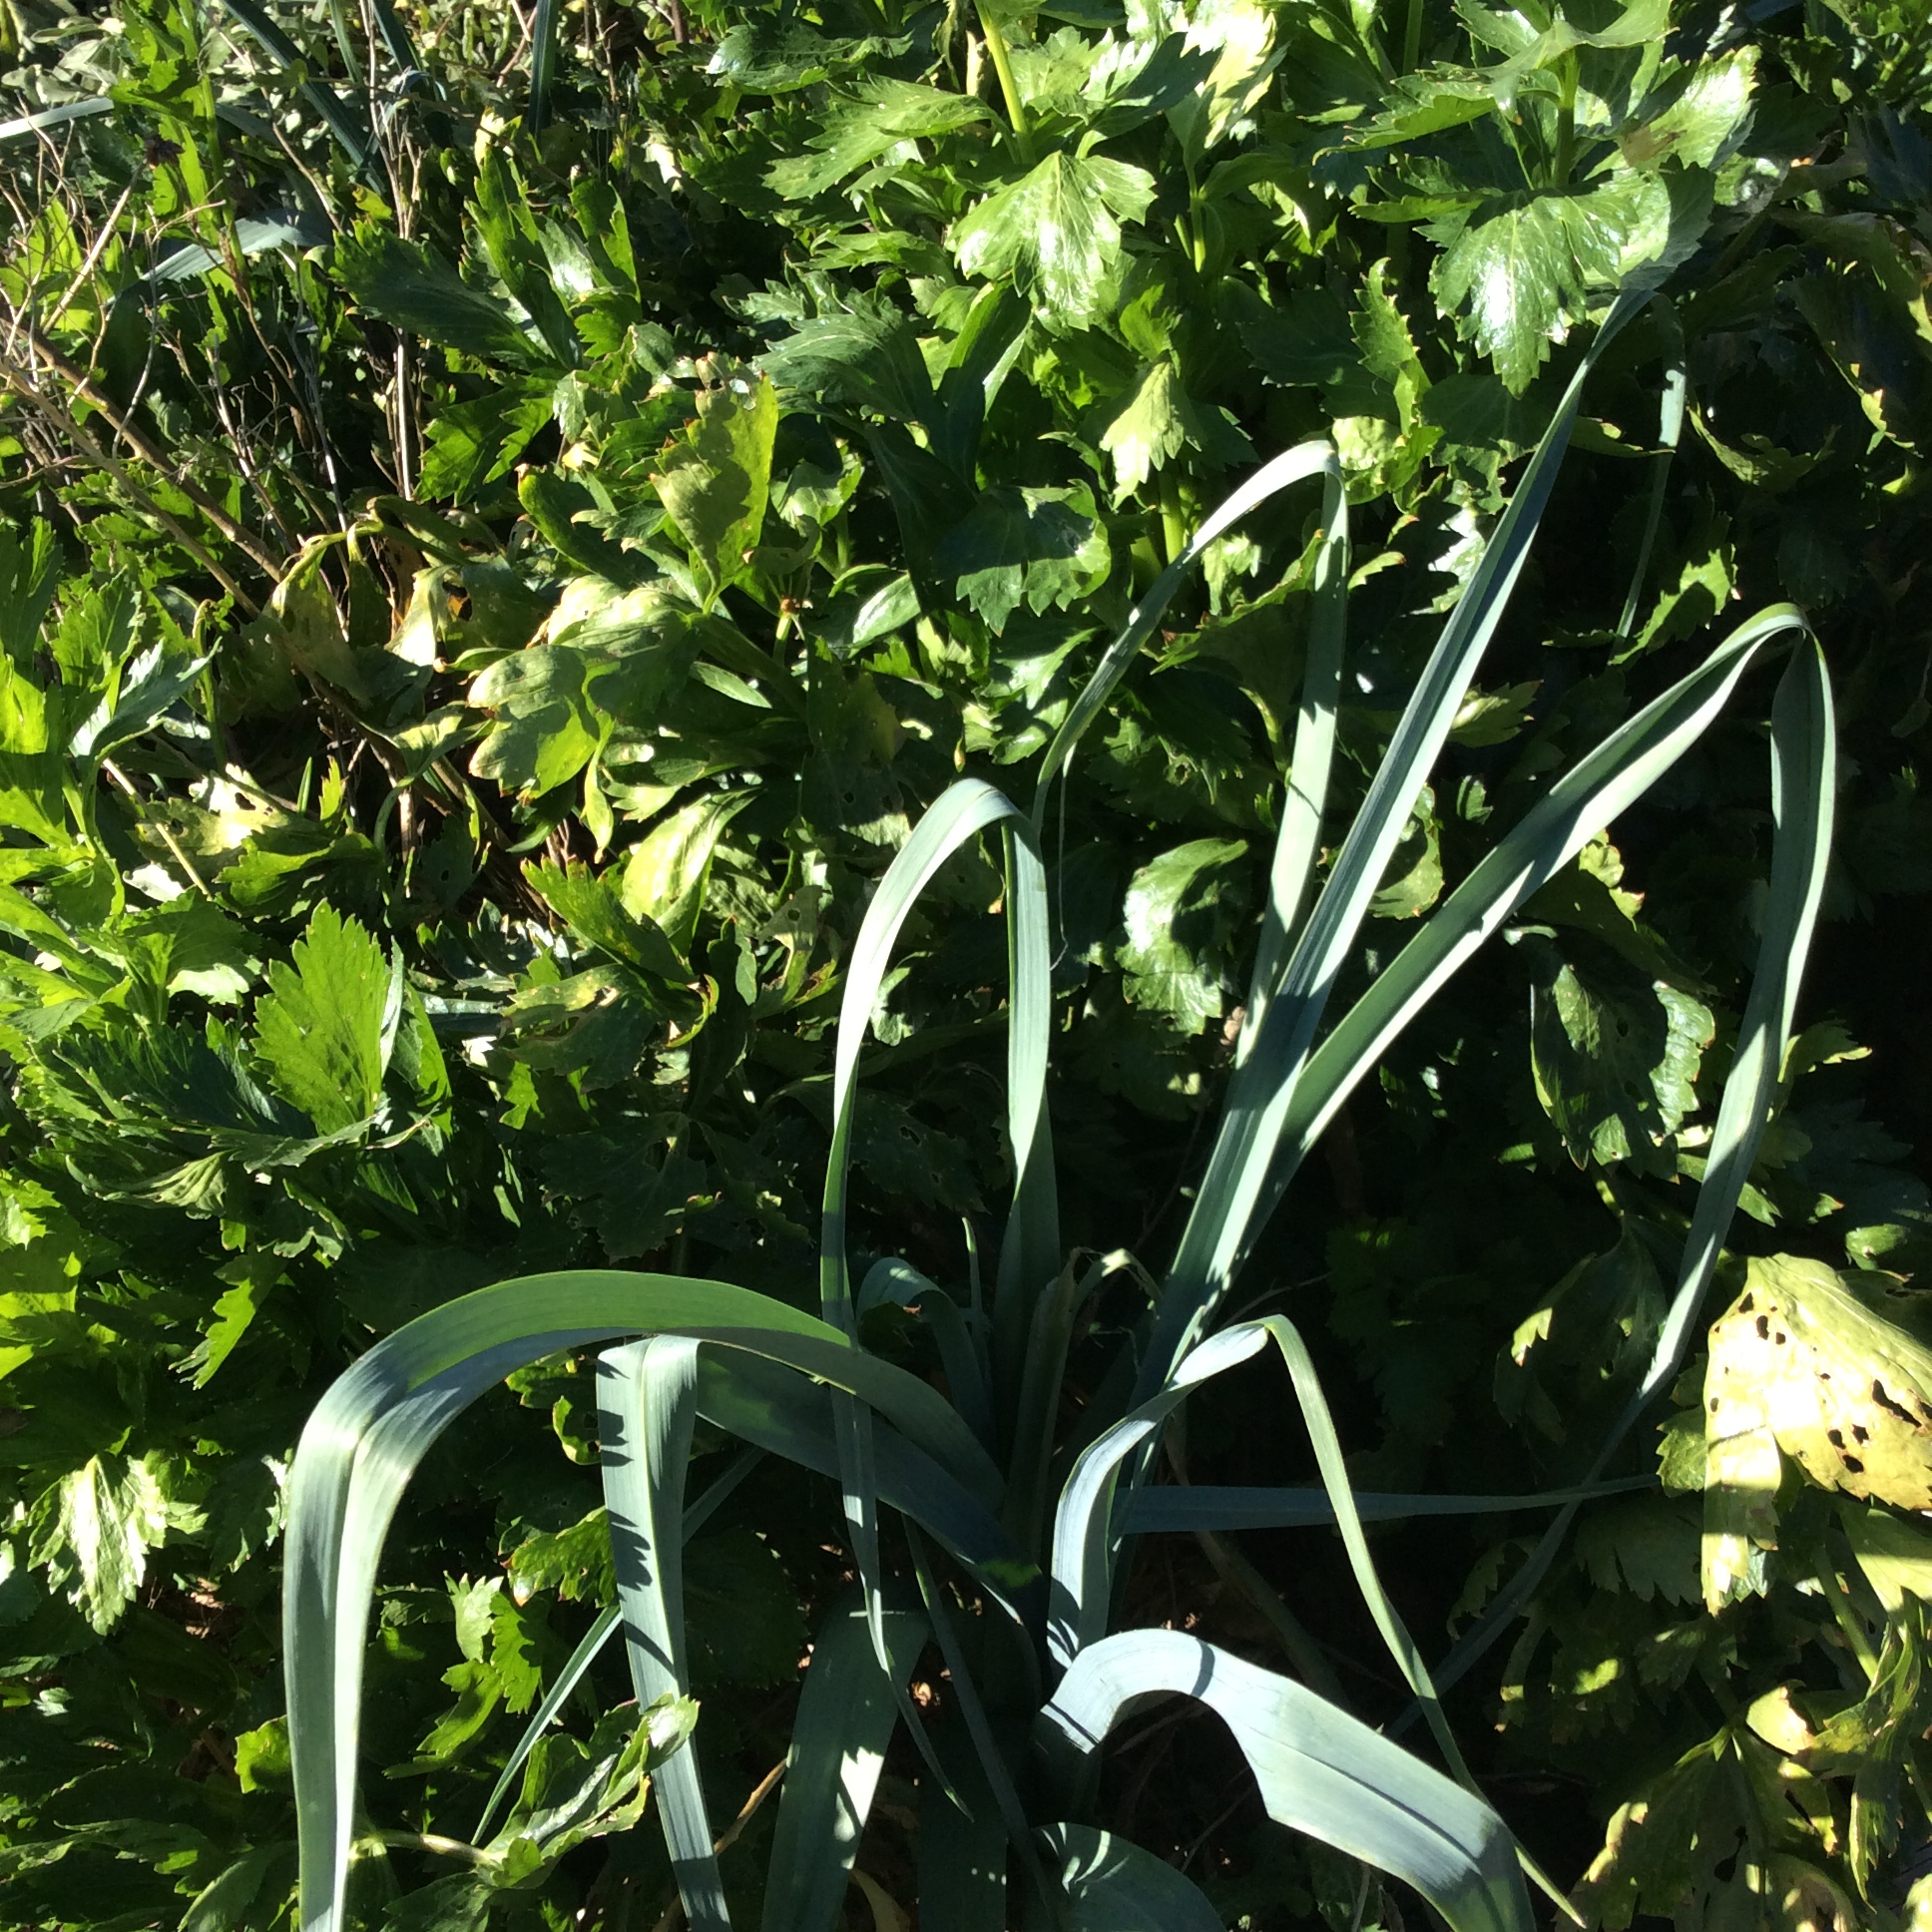
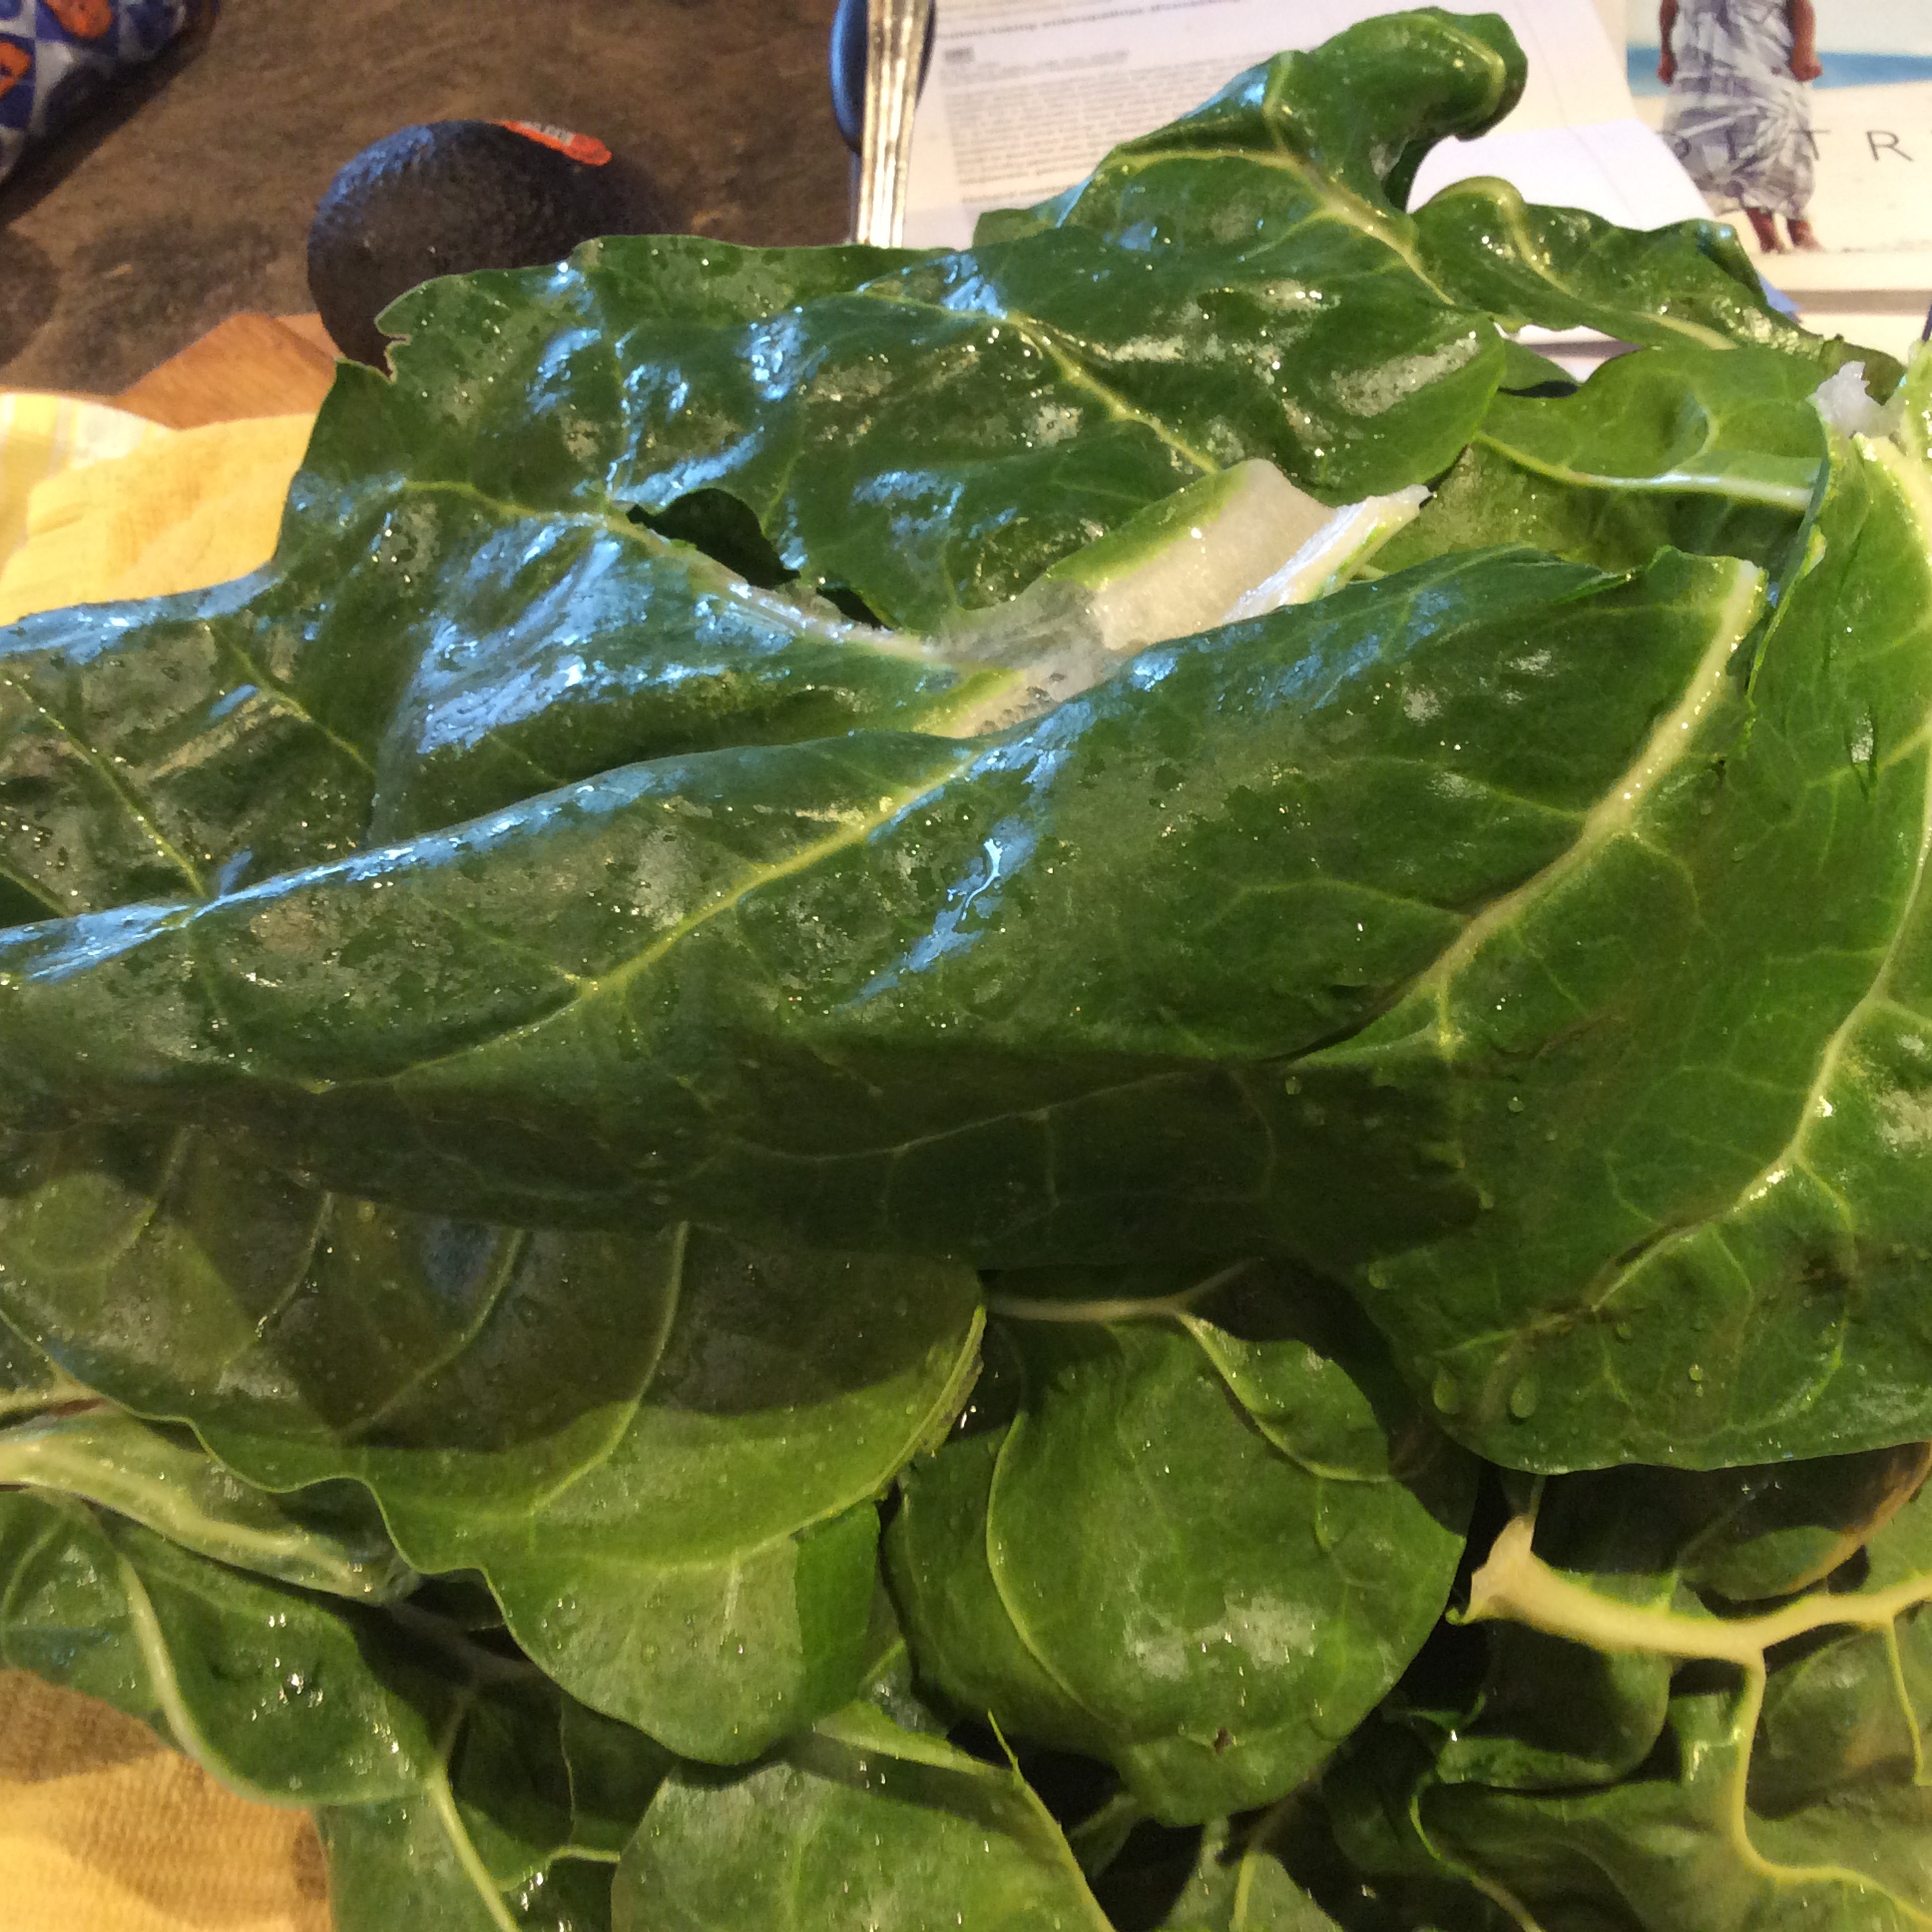
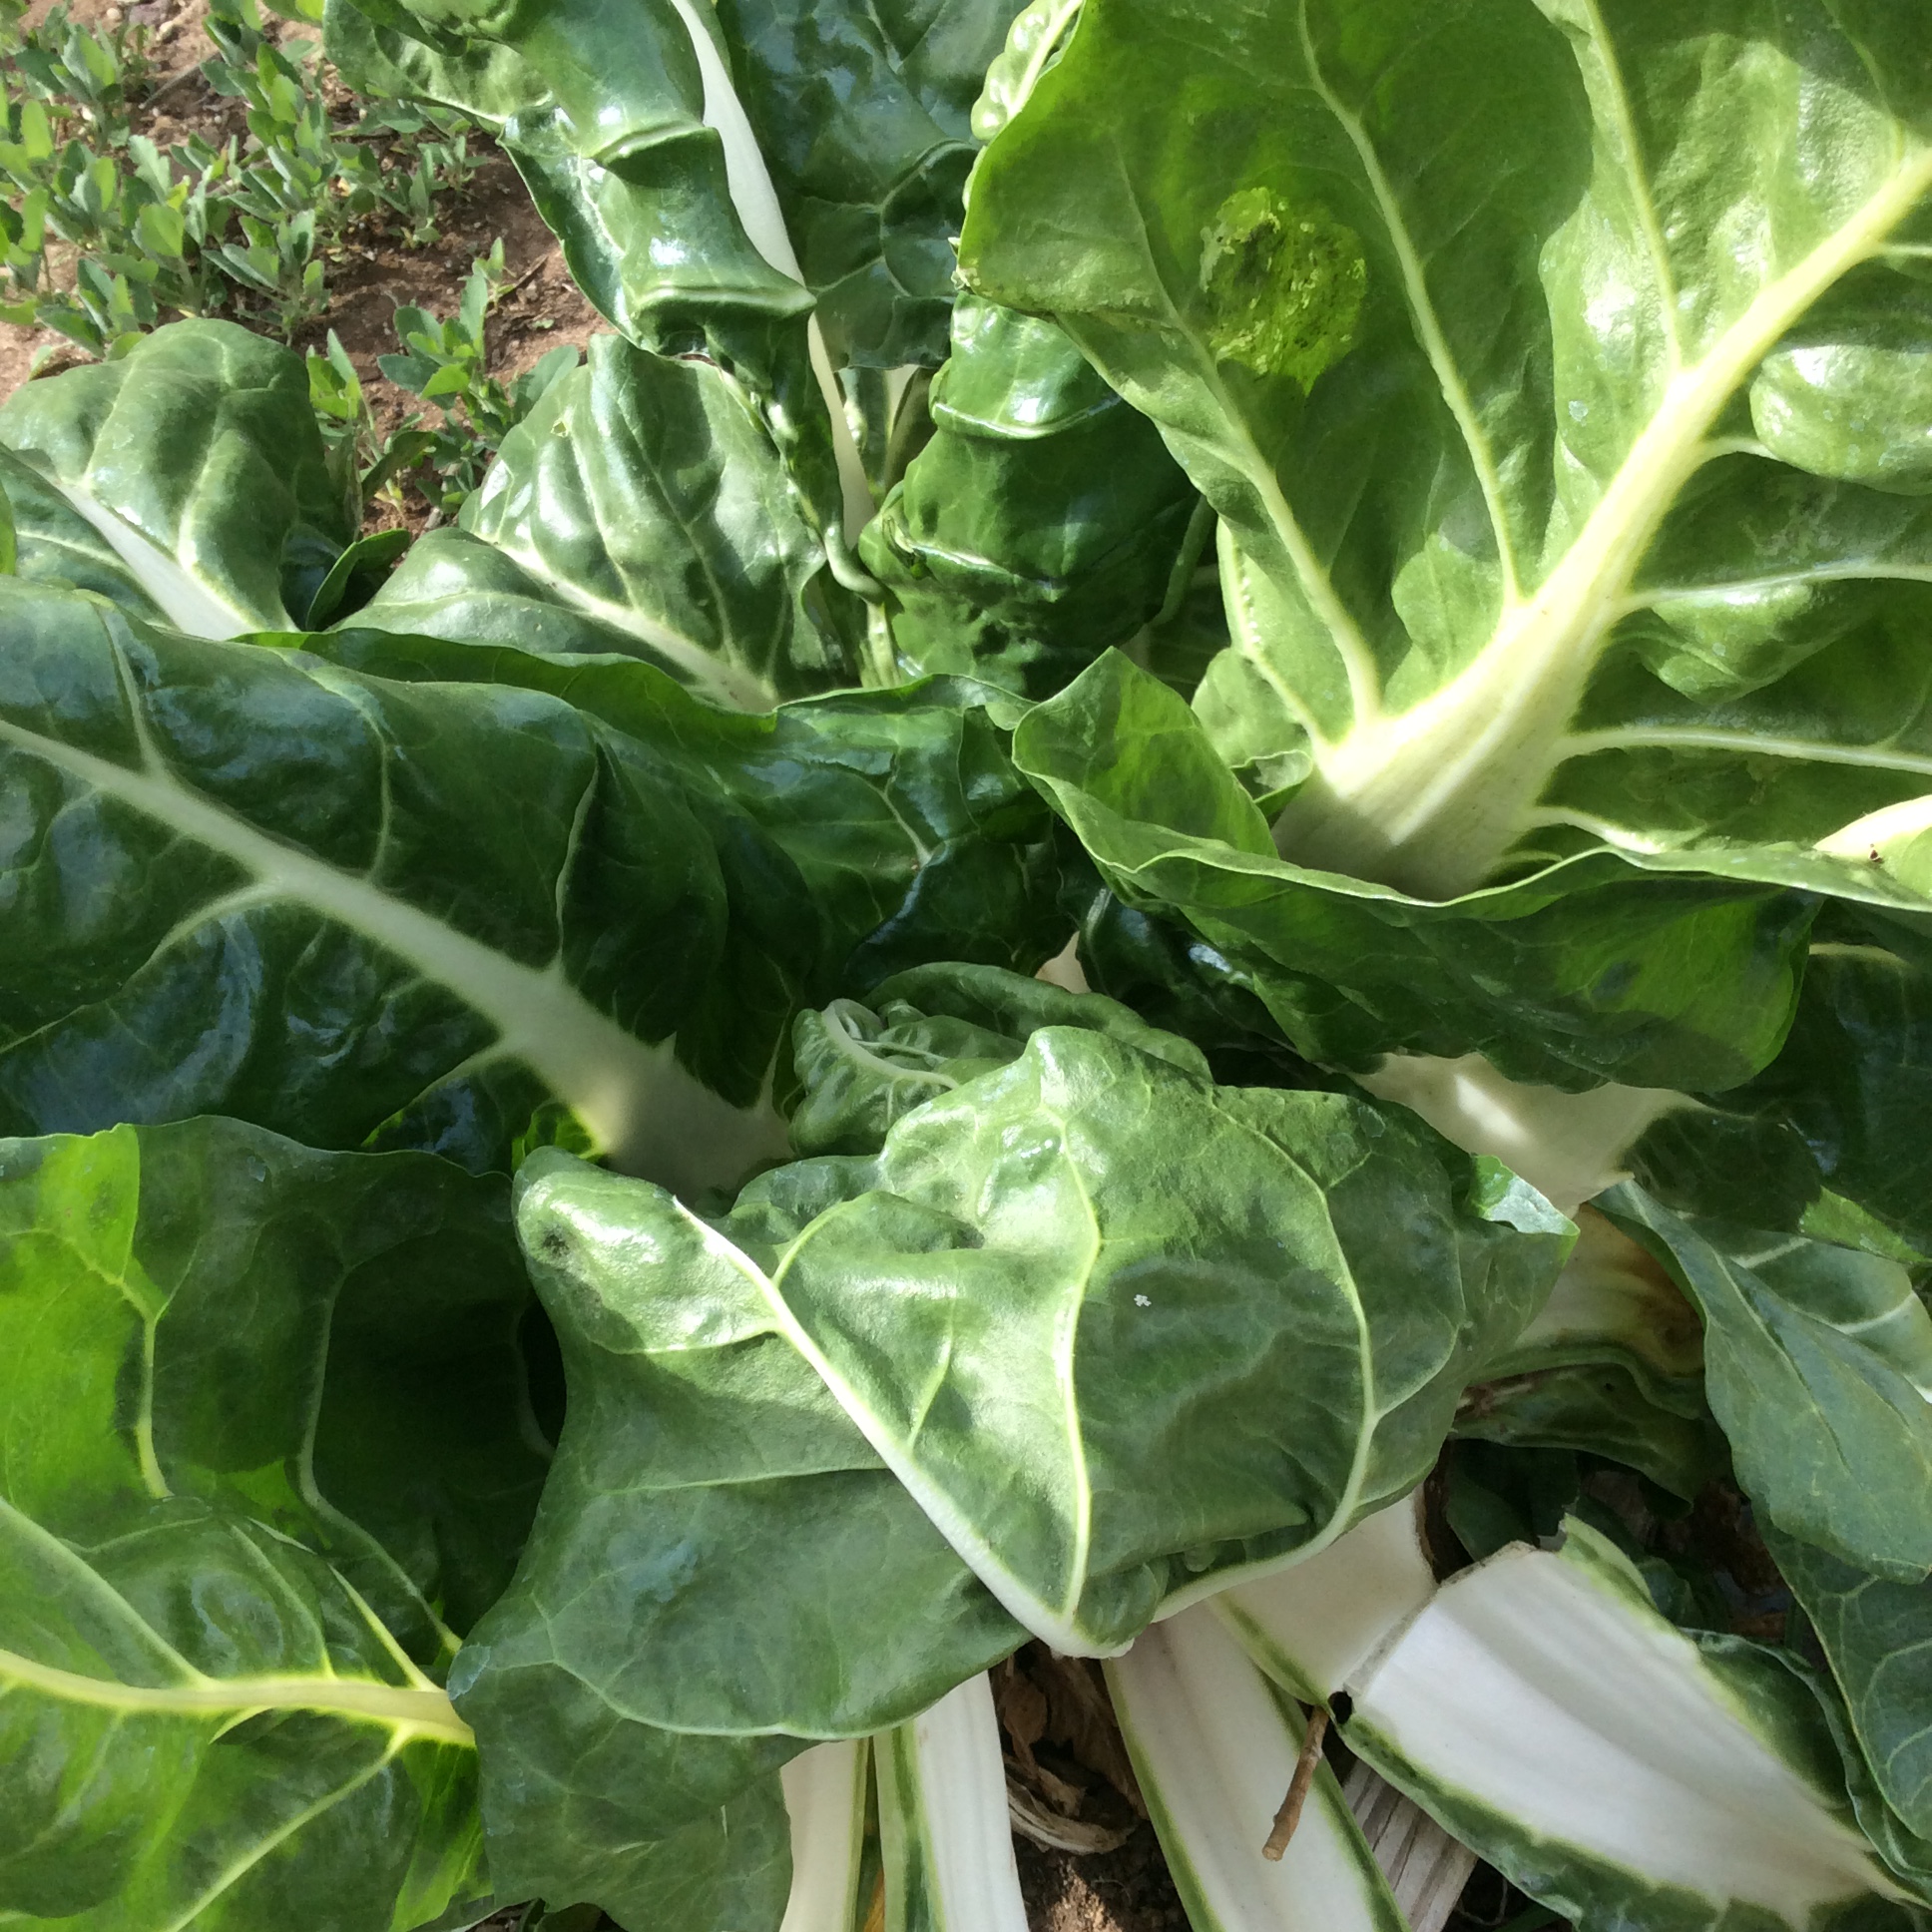
Last year’s Fordhook Swiss chard is throwing up beautiful meaty leaves right now, so I started with four big chard leaves and four fat perennial green onions.

I tend to divide improvisational Chinese dishes into cooked rice (the base,) vegetables (the bulk,) protein (meat, eggs, etc.,) texture foods (often mushrooms in my kitchen,) and seasonings.  As with any improvisation, don’t throw stuff in at random. Think carefully to create a harmony. And everything has to be prepped and ready before you start. I assemble everything in little piles and pinch dishes on an 18×24” cutting board. I pulled the chard leaves away from the stems, cut the leaves in crosswise strips, and chopped the stems in 1/4” cross sections. The white part of the green onions were cut in 1/4” sections, and a few of the leaves cut into diagonal slivers.  I cooked five beaten egg yolks into a pancake in a hot skillet with avocado oil, let it cool, and cut it into long 1/4” wide slivers. A handful of sliced dried tree ears were hydrated in hot water. Tree ears are a texture food, and if they aren’t available, just omit them.  A couple of tablespoons of fermented black beans were soaked in cold water to reduce their salt load a little, then squeezed dry. A piece of ginger 1”x2” was cut into cross sections, a bulb end of green garlic likewise, then the two chopped together into pieces the size of coarse crumbs. A half cup of water had a tablespoon of rice vinegar, two teaspoons of sugar, a heaping teaspoon of cornstarch, and about 2 teaspoons of oyster sauce stirred in, and avocado oil, soy sauce, and Asian roasted sesame oil were standing by. I used some chile oil too, but you can leave it out if you don’t care for heat.

The rice is cooked and served up into heated bowls, and your prepped ingredients stand ready next to the wok or skillet. From here it goes so fast that you can’t believe it. Heat the cooking vessel fiery hot over highest heat, pour in some avocado oil, wait 30 seconds, put in the chopped ginger and garlic and fermented beans, and stir with a cooking paddle for a few seconds, just until the ginger scent reaches your nose. Throw in the drained tree ears, the chard stems, and the white part of the scallions, stirring vigorously for a few seconds after each addition. Add a few shakes of soy sauce and stir all this around for about 30 more seconds, then stir in the chard leaves and slivered egg-yolk pancakes. When the chard leaves look done, about a minute later if you were bold and kept the heat at maximum, add the water mixture (stirring hastily to get the cornstarch in suspension before adding to the wok,) and stir while it boils fiercely and thickens, another minute or less. Stir in the scallion leaves and serve over hot rice. Sprinkle with soy sauce and finish with a drizzle of sesame oil. Add some chile oil if you want to. The clarity relies on keeping the heat explosive. If you lose your nerve or pause at any point, your sauce will get sludgy and the purity of the taste  be lost.

If you want a serious education in Chinese cooking, I recommend any book by Fuschia Dunlop, and her Hunanese Revolutionary Chinese Cookbook may be my favorite. I dislike Chairman Mao (and all other dictators) pretty intensely but his home province has created some of this world’s truly delicious food. The old classic that I first learned from, Mrs. Chiang’s Szechwan Cookbook, is still around and turns up on EBay and used book sites. It has excellent discussions of ingredients and achieving the true taste, and the recipes are as good as ever.

Explosive frying, stir-frying at very high heat, is a good technique to have in your back pocket for almost any vegetable. They have to be sliced and trimmed to appropriate sizes so that they will cook through. Therefore, the technique doesn’t save kitchen time, it just shifts time to prep, with the cooking happening in 5-10 exciting minutes at the end. It does add a special flavor of its own, the famous “breath of the wok.”

Late in the Garden Year

img_4881

Here in central New Mexico our garden year is slowly drawing to a close and the first frosts have blasted the tenderest plants but the days are still warm and lovely.  I have been out in the woods gathering wildlings but they are shutting down for the year. So it’s a good time to start summing up the season.  I hope to write in more detail about all these things over the winter, but life being the uncertain business that it is, might as well get started now.

First, beauty. In October, the tender tropical pineapple sage covers itself with red flower spikes and is one of the loveliest sights the garden can offer at this season, so every spring I buy a plant and stick it in somewhere. It makes a good last hurrah for the bees. I make tea from it occasionally during the summer and I’m experimenting right now with tincturing the leaves to make a cordial. More on that later.

img_4888

This is chard’s second-best season.  In late spring and summer there are other  greens that I prefer, so I plant my chard in June and in October it is covered with lush green leaves and ready to harvest, when most other greens have given up.   Then I leave the plants in place over the winter and in the spring they send out a burst of leaves that are thick, meaty, tender, and utterly delicious. Remember to harvest the spring leaves before the central stalk starts to form, because as soon as the plant begins to shoot to seed, the leaves become dirty-tasting.  Pick all the fall leaves that you want, since this does not seem to affect the ability of the plant to live through the winter. Blanch some for winter greens if you don’t already have enough in the freezer.

img_4850

All my garden fruits except the quinces are finished for the year, but rose hips are easily found. I am  busy making extracts and cordials from them as a source of vitamin C, flavonoids, and pleasure over the winter.

img_4882

The perennialized section of elephant garlic is making clusters of thin tender leaves that are delicious  snipped up for garlicky chives.  I don’t care for the bulbs, and think that the greens are the best part of this leek relative,  so I cut all that the plants will produce as I need them.  The thin chive like greens shown here come from the tiny bulbils that are found around the outside of the bulbs. I plant them in handfuls to get a thick growth of greens as shown here.

img_4880

Those last green tomatoes make a wonderful sweet tangy chutney.

img_4891

I have a clump of perennialized chicory,  and it languishes in hot weather but produces a vigorous crop of deep greens in the fall.  The lower half of the leaf is mostly stalk, so I tend to cut off the upper halves for cooking. Chicory is a bitter green, much like dandelion.  It responds wonderfully to sautéing  with bacon or pancetta, garlic, and some red chili if you like it. It is also very good for adding savor to mixed greens that include blander species such as chard.

img_4892

Kale is at its best this time of year, and becomes more tender and sweet after a few frosts. The Tuscan kale will winterkill sooner than the others, so eat it first.  In climates with snow cover, curly kale will last throughout the winter, but in our very dry and windy winters with very little snow it seldom survives in any sort of edible condition.  Covering it with a frost blanket might well preserve it, but is more trouble than I really care to go to.  There are plenty of other things to eat.

img_4890

Celery and leeks need to be kept well supplied with water, and will still be fresh and good in the first week or two of November.  I usually buy leek plants in the spring, and none of the hardiest varieties are available as plants. There are very hardy varieties that will hold perfectly in the ground over winter, but to have them you have to remember to plant the seeds in midwinter, and I always forget.  Maybe this year I’ll remember.

img_4885

img_4884

Now we come to the perennial weed patch.  Nobody who lives or gardens in the east will ever believe how much trouble I have taken to get burdock, milkweed, nettles, pokeweed, plantain, and scorzonera to grow in my area.  Burdock provides a good root in the fall from first year plants, makes large coarse leaves that my goat adores, and produces a flower stalk that is supposed to be the best part of the plant for edible purposes. I only got it to germinate this year, so I have not tried the stalks yet, but will be digging my first roots soon. Some people say the leaves and leaf stems are edible, but they are so stringy in texture and coarse in flavor that I’ve never been that desperate for something to eat.

The plantain is the Rugels variety which is rumored to be less stringy and have a better flavor than common plantain. I haven’t tasted it yet but will report back.

Milkweed can be eaten in many ways in many seasons.  As far as I know, our desert native milkweeds are largely inedible, but I have finally gotten the common milkweed to germinate and grow strongly. So next spring I hope to have edible shoots, buds, and pods. Read master forager Samuel Thayer’s books for excellent sections on the uses of milkweeds.

Pokeweed can be a giant nuisance but the spring greens have a great savor.  Or at least that’s what I remember, although I haven’t tasted them for 25 years and couldn’t swear to it.  If you decide to try them, remember that  only the young shoots about 6 inches high are edible and boiling in two changes of water is not optional. It is necessary to remove toxins. I hope to harvest my first shoots next spring.

Nettles and dock are two superb spring greens that seldom occur wild in my area, but grow very nicely in my weed patch.  They provide some of the earliest and most nutritious greens of the spring, and in late fall they produce some new greens that are well worth having at that season.  Every year I swear that I will remember to cut down the nettle patch in late summer so that the new greens can grow up unobstructed, and every year I forget and have to harvest the new greens with elbow length grilling gloves. But they are worth it.  Try to keep the nettles separate from the other plants, or you will have a tough time harvesting everything around them. The sting is pretty fierce.

I give my weed patch a periodic shallow mulch with mixed alfalfa and goat manure. They might grow well enough with no attention to fertility, but if you want your produce to be as nutritious as possible, the soil needs feeding.

If you wonder why it is worth having a weed patch, remember that these are some of nature’s wonder plants, among the most nutritious greens in the world. In addition, they taste really good.   Also, with perennials, once established the only work you have every year is harvesting and cooking them.  Once adapted to an area, they are unlikely ever to desert you. Permaculture also avoids soil disturbance. These plants are not classically attractive and need an inconspicuous spot, but they have a superbly healthy rough-and-ready vigor that is bracing even if it isn’t beautiful.


Chard’s Great Moment

image image

In my garden, this is the time to plant Swiss chard. It grows slowly in summer heat and gets a new lease on life in the fall, which is when I start eating it.  It goes dormant for the winter, and then in spring it emerges again and gradually progresses to making enormous leaves over a foot long.  These early spring leaves are very thick and meaty, and have a taste that has the umami elements of meat, but is mild and clean.  These early spring leaves are the ones that I eat, in huge quantities.  They are great cooked, and this is the only time of year that I love chard as a salad green. As soon as the plant starts to bolt to seed, the leaves of the elongating stalk acquire a rather dreadful dirty taste.  Interestingly, the large thick leaves at the base retain their mild delicious flavor for a while, so once the central stalk starts to form, you still have a week or two to collect leaves.  Then the chard season is over, and in my yard the rest is cut and goes to the goat.  When the last chard plant has been cut, I know it is time to plant more for the following fall and spring. ‘

So plan ahead, plant now, and love your chard in its best season.

Still more greens, and notes on solar cooking


Since I got a solar oven, I no longer find it difficult to cook chickpeas, and so I’m looking for new ways to use them. I especially like combinations of greens and beans, partly because these primal and earthy dishes are found all over the world wherever people need healthy cheap food, and partly because they taste good. I’m cooking my way through a huge patch of lambs-quarters and amaranth (common pigweed) in my back yard, and getting healthy food from weedy places always satisfies my sense of economy. If you’re not a weed-eater, just use Swiss chard. I like a little smoked meat with greens, but if you don’t eat meat, just leave off the final garnish of bacon. This makes two large main-course servings with leftovers.

One pound young leaves and tender tips of lambs-quarters and amaranth, OR one large bunch of swiss chard, stems removed, chopped coarsely.
One pint cooked chickpeas, with just enough of the cooking liquid to cover them (see Solar Beans, below.)
3-4 tablespoons good flavorful olive oil
1 large onion, finely sliced
2 large cloves garlic, chopped finely
1 tablespoon of fresh thyme leaves
2 teaspoons Spanish Pimenton de la Vera, or smoked paprika
1/2 teaspoon red chile flakes
salt and pepper to taste
a little of your best olive oil for drizzling
1 thick slice bacon, fried crisp and crumbled (optional)
Wash the greens very well, make sure to remove any remaining large stems, and blanch them in boiling water for 1 minute. Drain, press out extra water, and turn out on a cutting board and chop coarsely in both directions. Meanwhile, heat a heavy pot (I like an unglazed clay 3 quart pot) over medium heat, warm the olive oil, and saute the onions in the oil until translucent and cooked through but not browned more than a little. Add the chopped garlic and saute until garlic is cooked. Add the smoked paprika, thyme leaves, and chile flakes, saute a minute but no more, and promptly add the chickpeas and their liquid. When this mixture comes to a boil, add the blanched and chopped greens, salt to taste, turn the heat to low, and let it all mellow together for 10-15 minutes. Check the seasoning, add pepper to taste, and serve with a good drizzle of very good olive oil on each serving and the crumbled bacon on top if you’re using it. With a hunk of good baguette and a glass of full-bodied straightforward red wine, it couldn’t be better or healthier. Without its bacon topping it’s vegan and can be served to people of that persuasion, with the bacon fillip for the carnivores at the table. People who are vegetarian but not vegan will enjoy a pat of butter melted on top to give a little richness. Hedonists will like both a little butter and a little bacon.

Solar cooking is a natural here in New Mexico, where we have more sunlight than we know what to do with.
So, how do you cook solar beans? Fist you catch your solar oven. There are lots of easy plans on the internet for making them, but I chose to buy mine from the Solar Oven Society. Their solar ovens are capacious, lightweight, and every one you buy helps the society provide solar ovens to the third world, which avoids some deforestation and greenhouse gases from cooking fires. Their ovens are cleverly designed with two potential bases to provide a summer sun-catching angle and a winter sun-catching angle. Optional reflectors are available to achieve higher temperatures. You may want the optional reflectors for other purposes, but for cooking beans you won’t need them. Two graniteware pots are included with the oven, and you can put a pint of dry chickpeas in each one, cover with cold water by at least 2″, and set the oven up facing south in the morning with the two full pots inside. Then employ my special cooking technique: walk away, laughing a carefree laugh, and go to work or just get on with your life. On a reasonably sunny day, the oven without reflectors attached will reach a peak temperature of about 250 degrees and will stay in that range for much of the day. When you get home eight or nine hours later, you will find two steaming pots of perfectly cooked chickpeas, and you can salt them to taste, let them cool, and use immediately or freeze in pint containers with enough of their pot-liquor to cover. I love the oddly meaty-tasting cooking liquid and often use it as the broth for the finished dish, as I do above.
The directions that come with the oven imply that you need to turn it a few times to keep it facing the sun, but at least in summer I just point mine due south and forget about it. Other types of beans are also naturals for this solar slow-cooking, but they take less time, so I do them on weekends when I can check the oven in 4 hours or so to see how they’re coming along. For readers at lower altitudes than our 5500 feet, cooking times would tend to be much shorter. If the day clouds over, you may need to finish inside, or just put the pots in the refrigerator overnight and try again the next day. Don’t forget and leave the beans in the cool solar oven overnight, since some very nasty bacteria including botulinum could grow in room-temperature aqueous solutions. Cool them and pop them in the fridge or freezer when they’re cooked. Eat in the knowledge that you’re taking in all sorts of nutritive and cholesterol-lowering compounds that cost you no energy and very little trouble to cook. Beats canned, doesn’t it?