Archive for the ‘wild food’ Category

Late in the Garden Year

img_4881

Here in central New Mexico our garden year is slowly drawing to a close and the first frosts have blasted the tenderest plants but the days are still warm and lovely.  I have been out in the woods gathering wildlings but they are shutting down for the year. So it’s a good time to start summing up the season.  I hope to write in more detail about all these things over the winter, but life being the uncertain business that it is, might as well get started now.

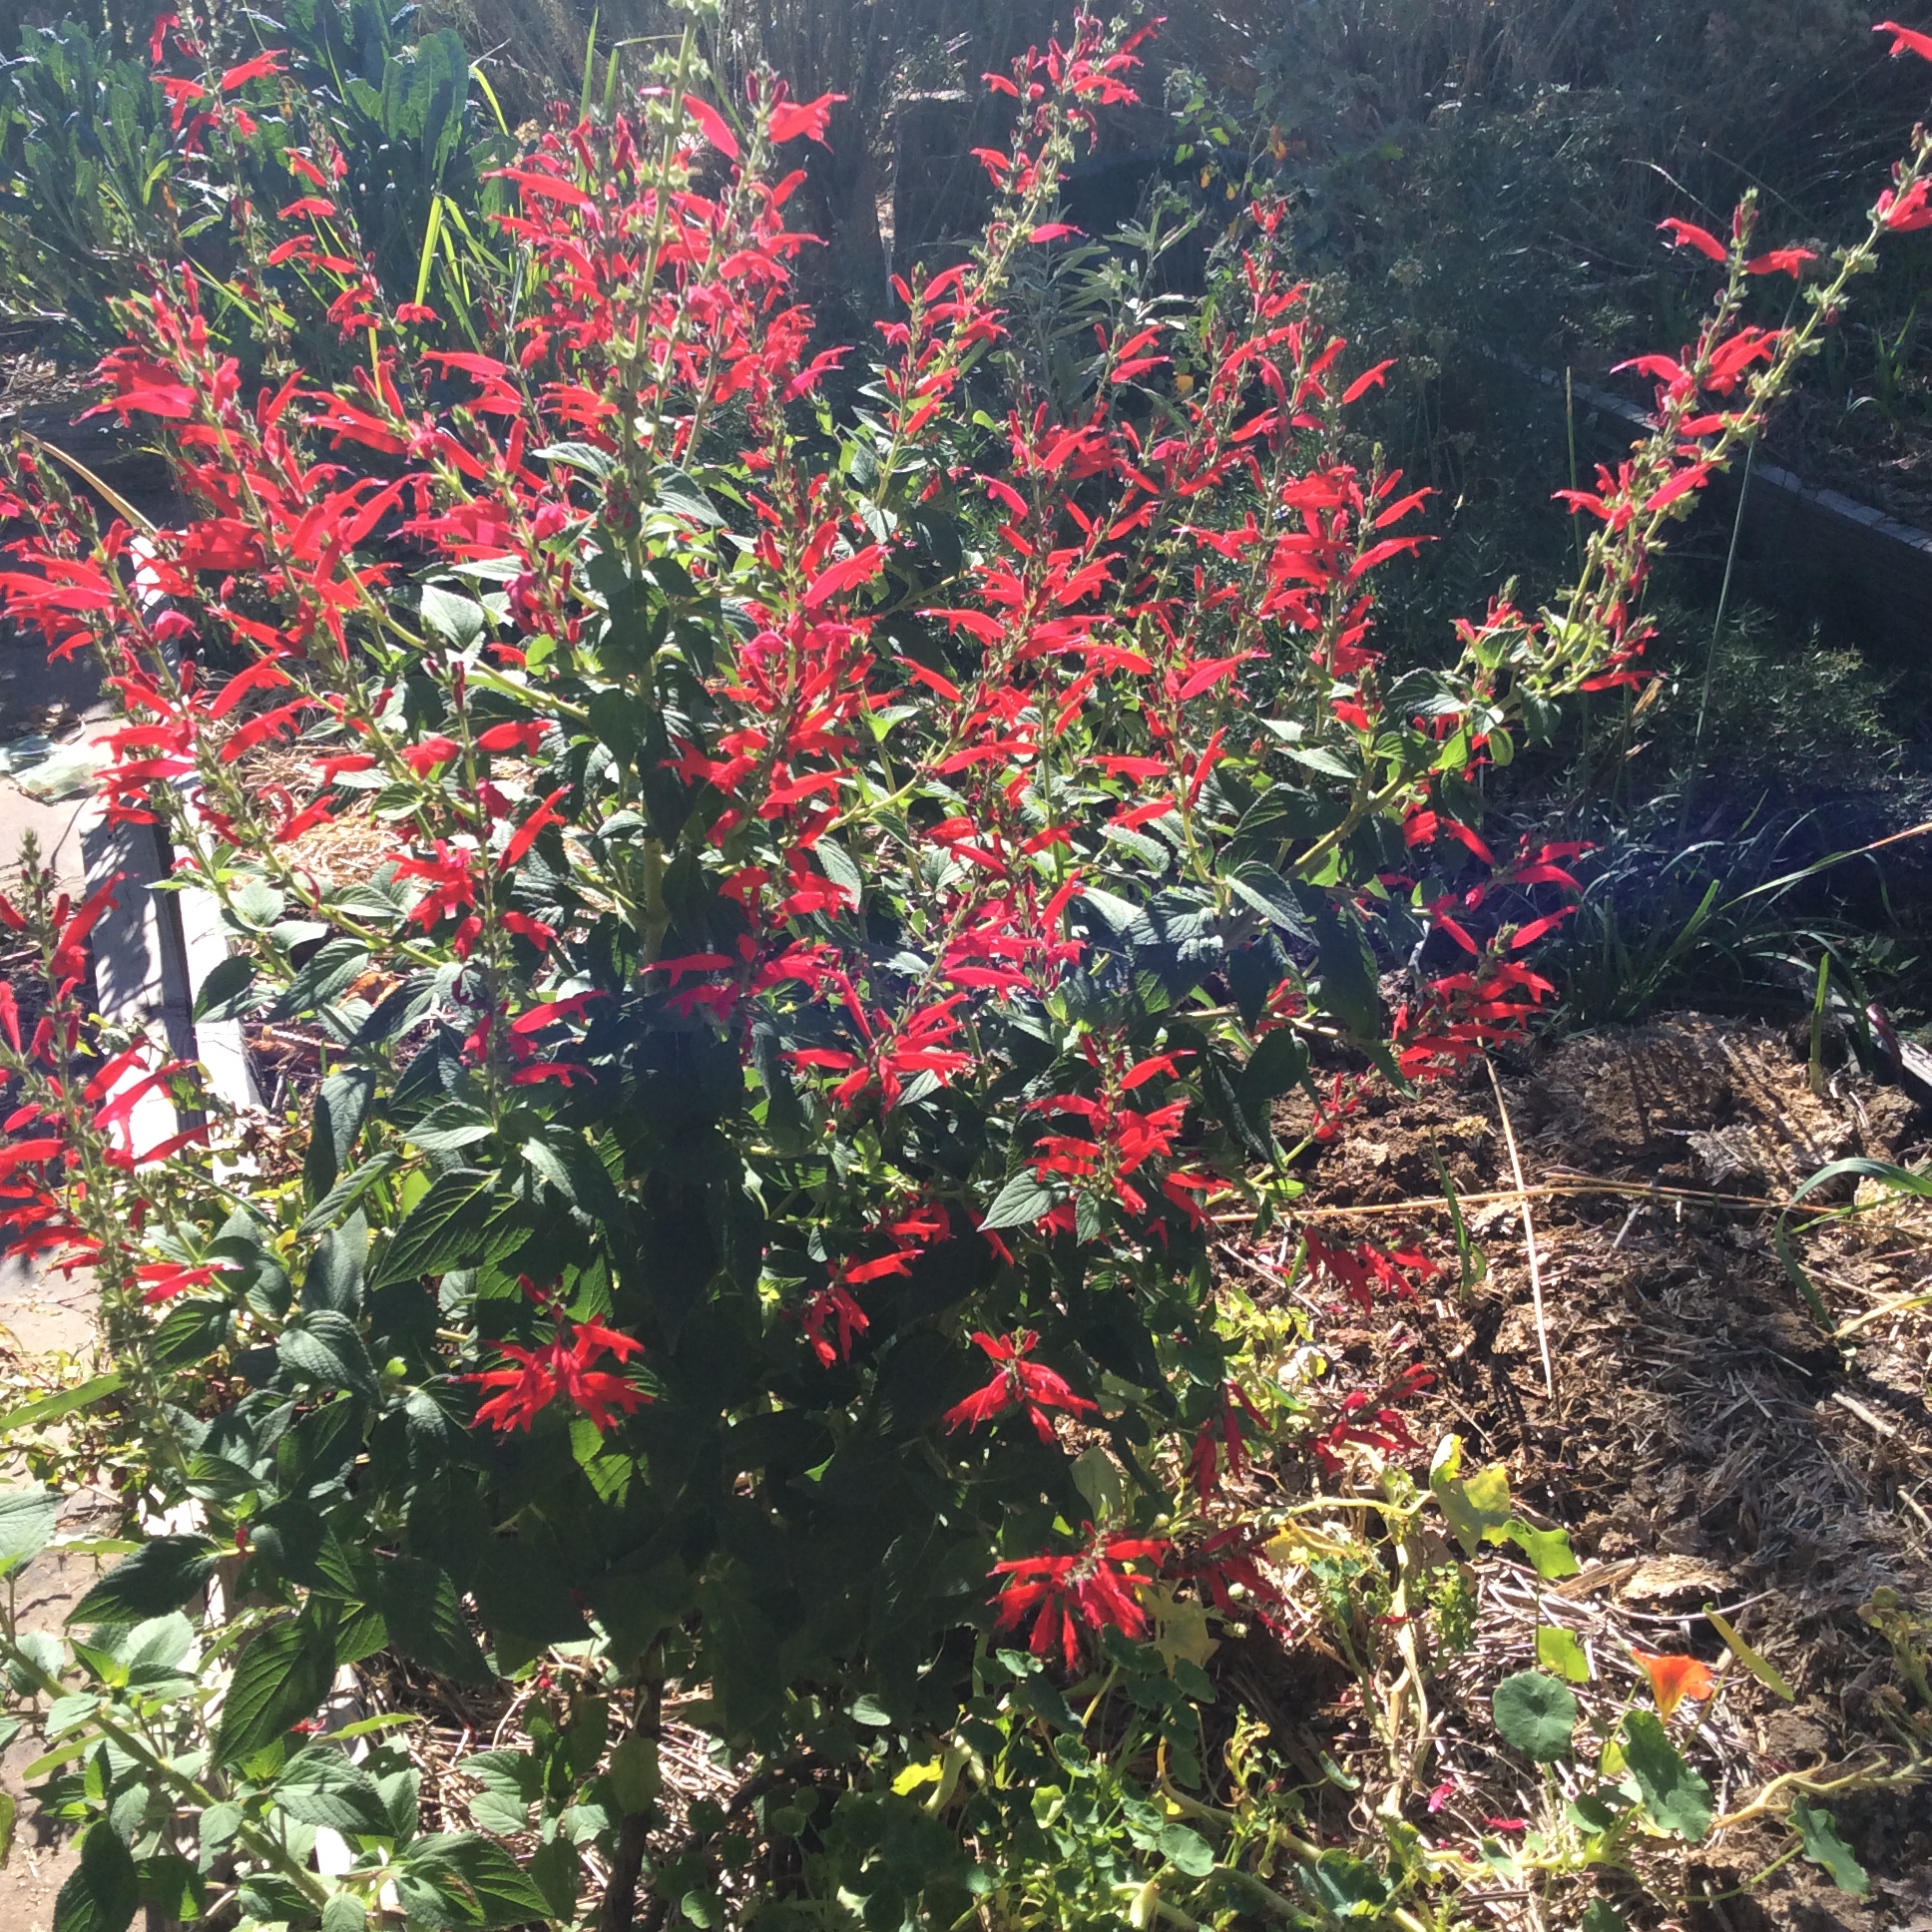
First, beauty. In October, the tender tropical pineapple sage covers itself with red flower spikes and is one of the loveliest sights the garden can offer at this season, so every spring I buy a plant and stick it in somewhere. It makes a good last hurrah for the bees. I make tea from it occasionally during the summer and I’m experimenting right now with tincturing the leaves to make a cordial. More on that later.

img_4888

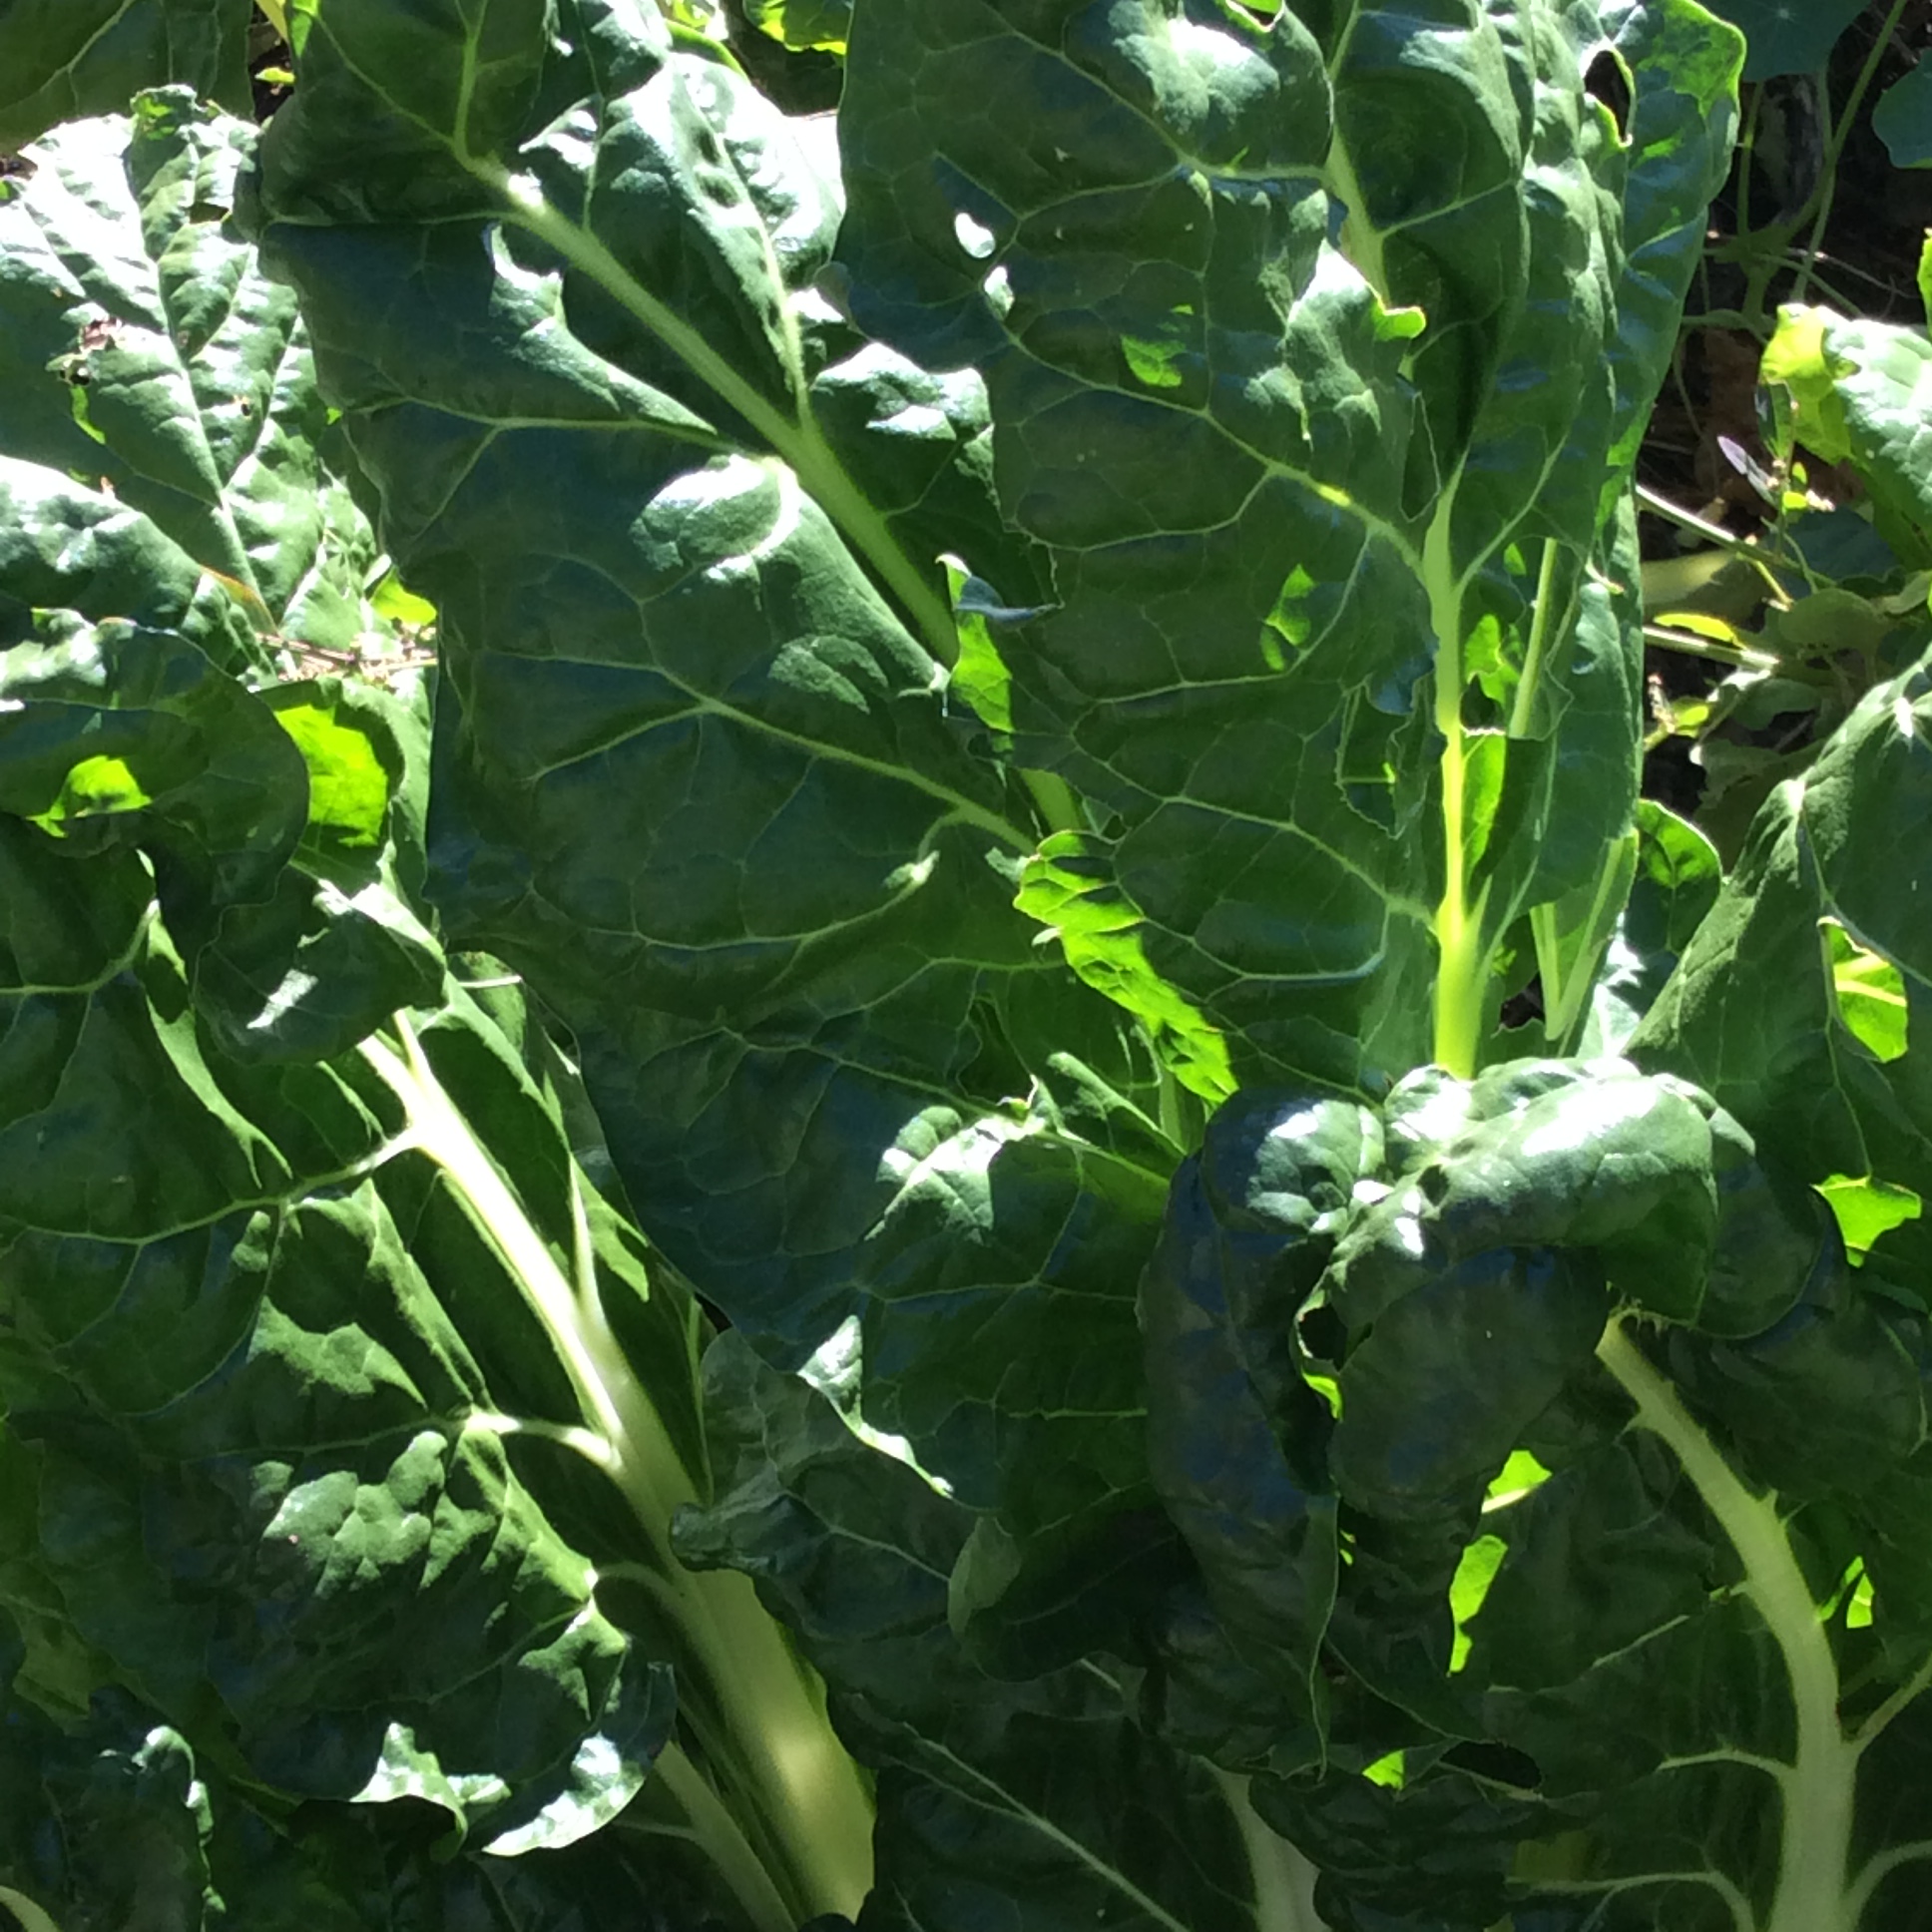
This is chard’s second-best season.  In late spring and summer there are other  greens that I prefer, so I plant my chard in June and in October it is covered with lush green leaves and ready to harvest, when most other greens have given up.   Then I leave the plants in place over the winter and in the spring they send out a burst of leaves that are thick, meaty, tender, and utterly delicious. Remember to harvest the spring leaves before the central stalk starts to form, because as soon as the plant begins to shoot to seed, the leaves become dirty-tasting.  Pick all the fall leaves that you want, since this does not seem to affect the ability of the plant to live through the winter. Blanch some for winter greens if you don’t already have enough in the freezer.

img_4850

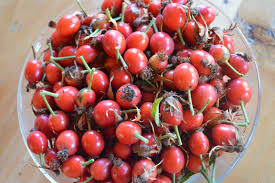
All my garden fruits except the quinces are finished for the year, but rose hips are easily found. I am  busy making extracts and cordials from them as a source of vitamin C, flavonoids, and pleasure over the winter.

img_4882

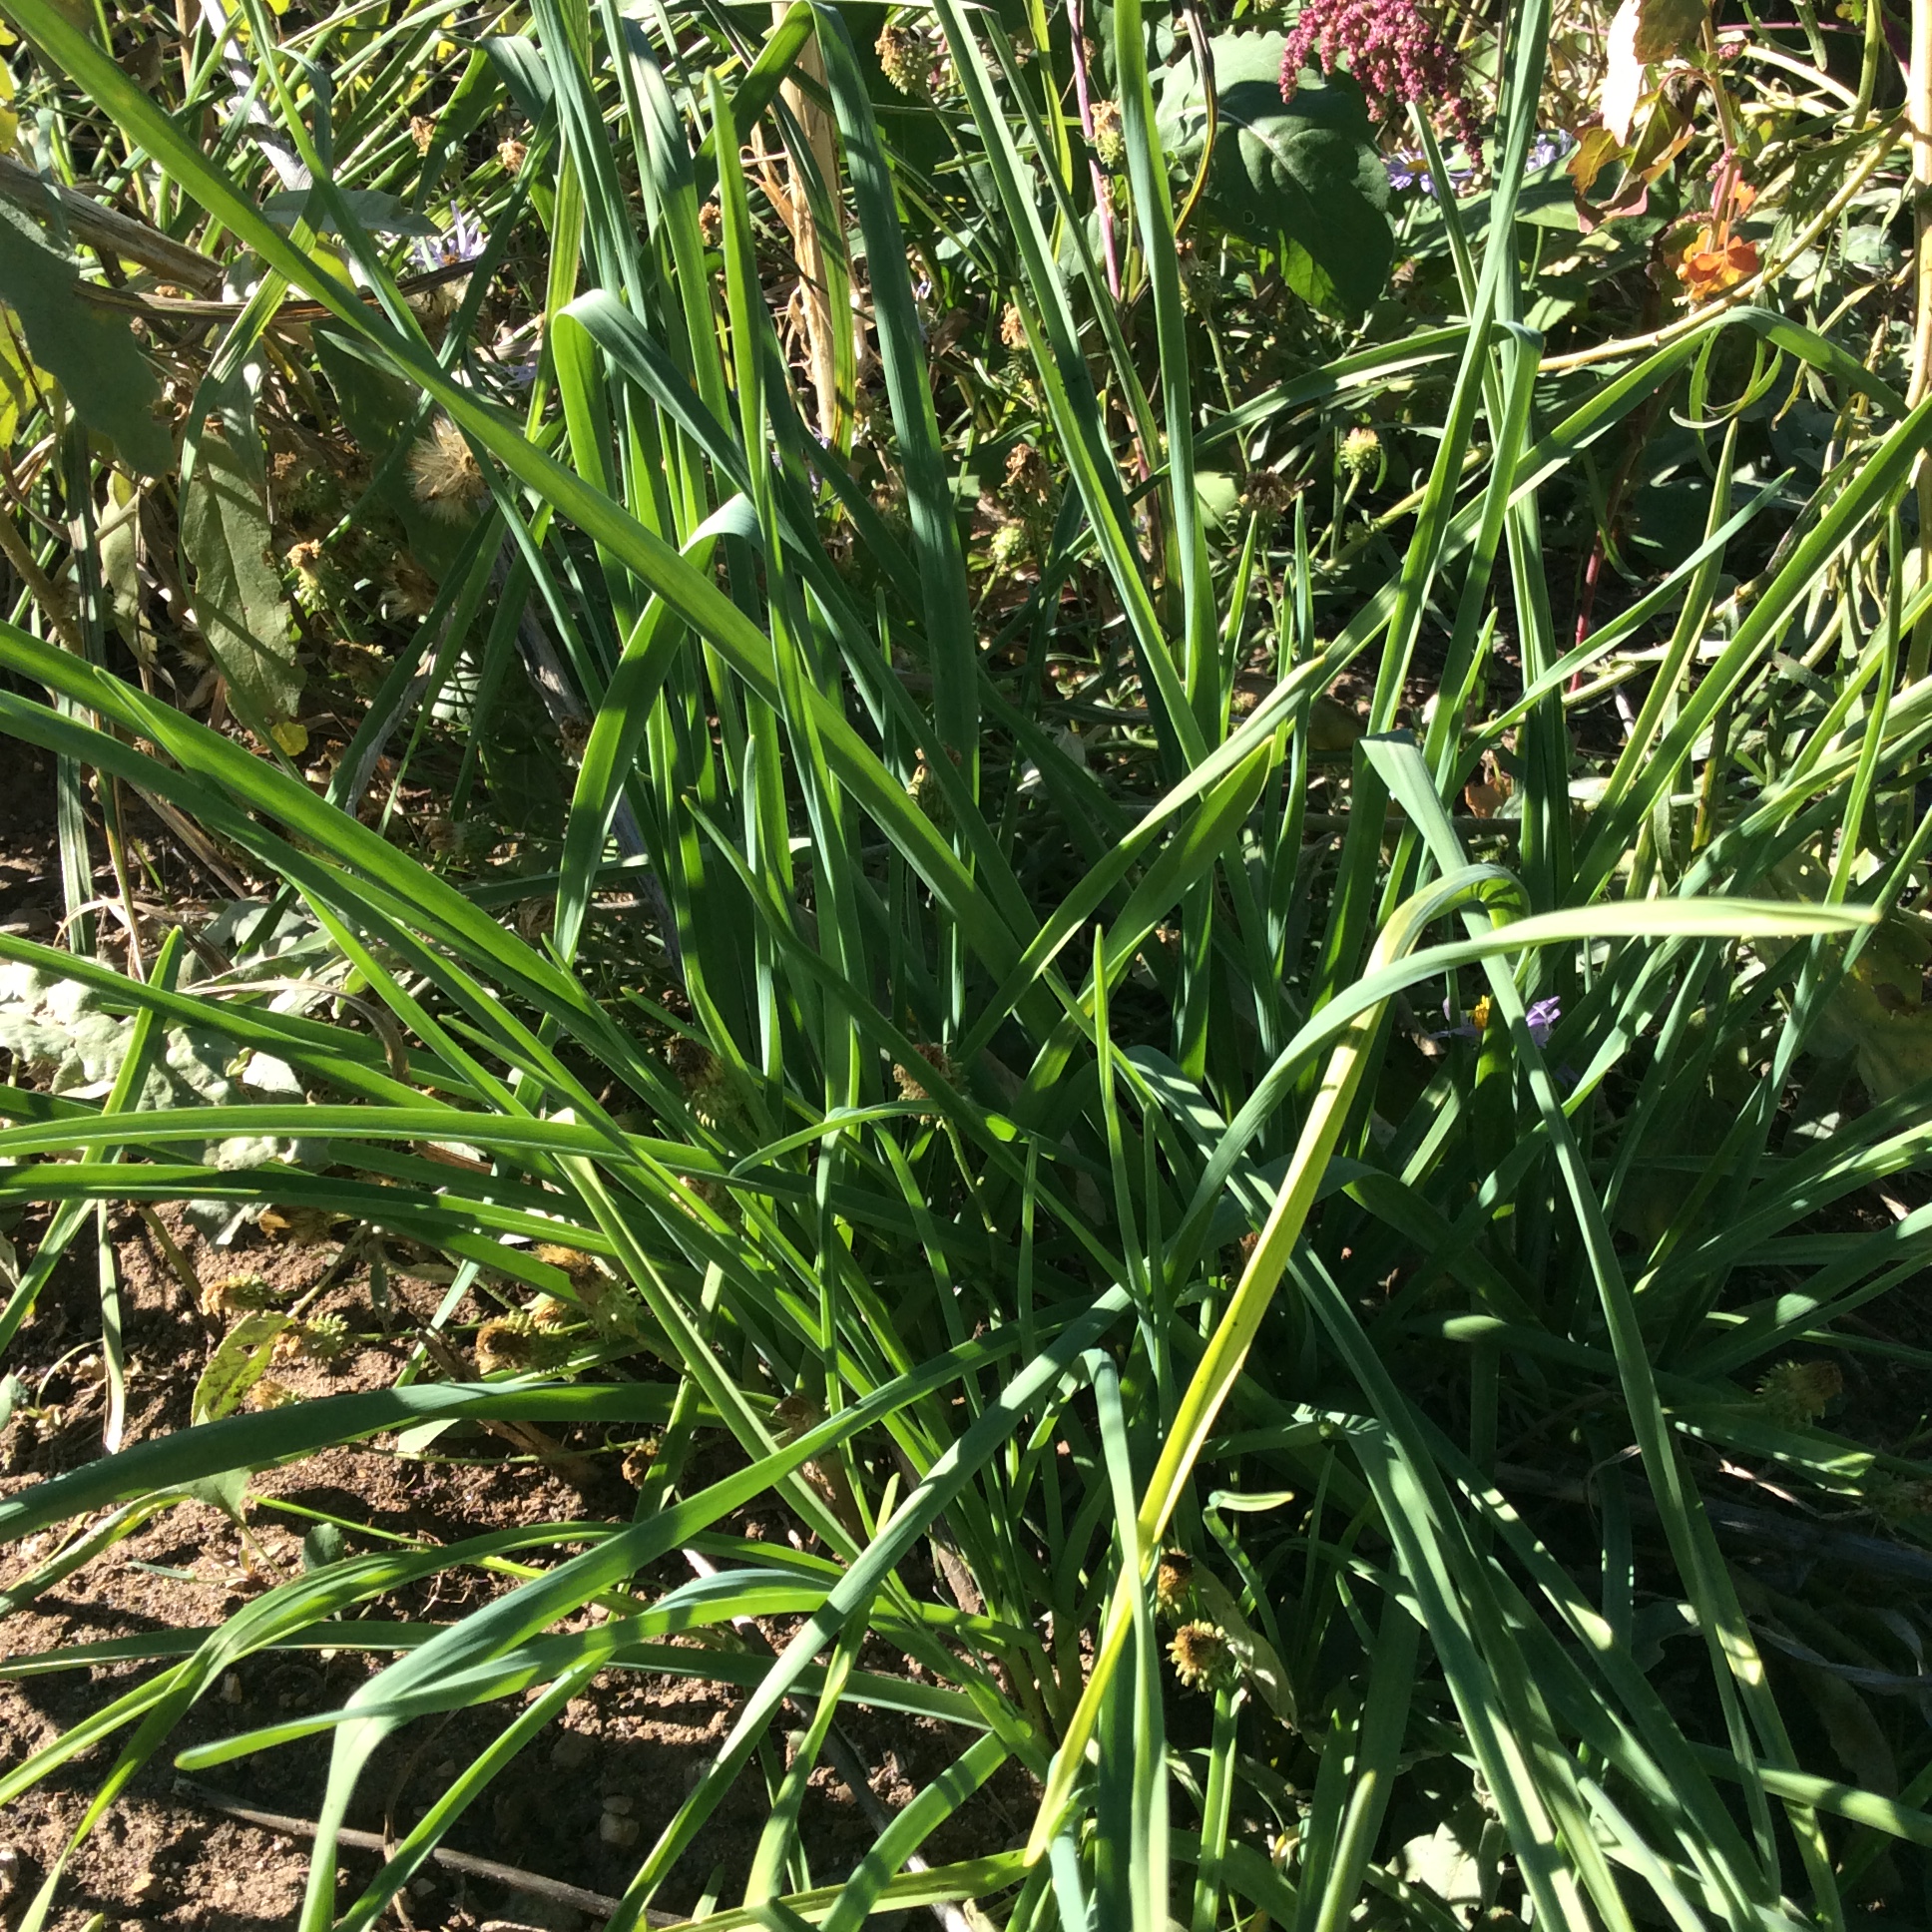
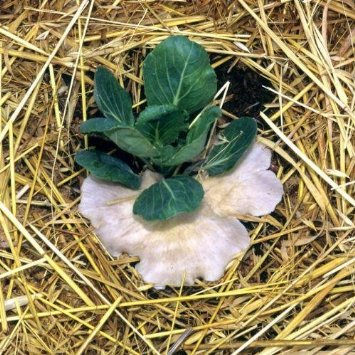
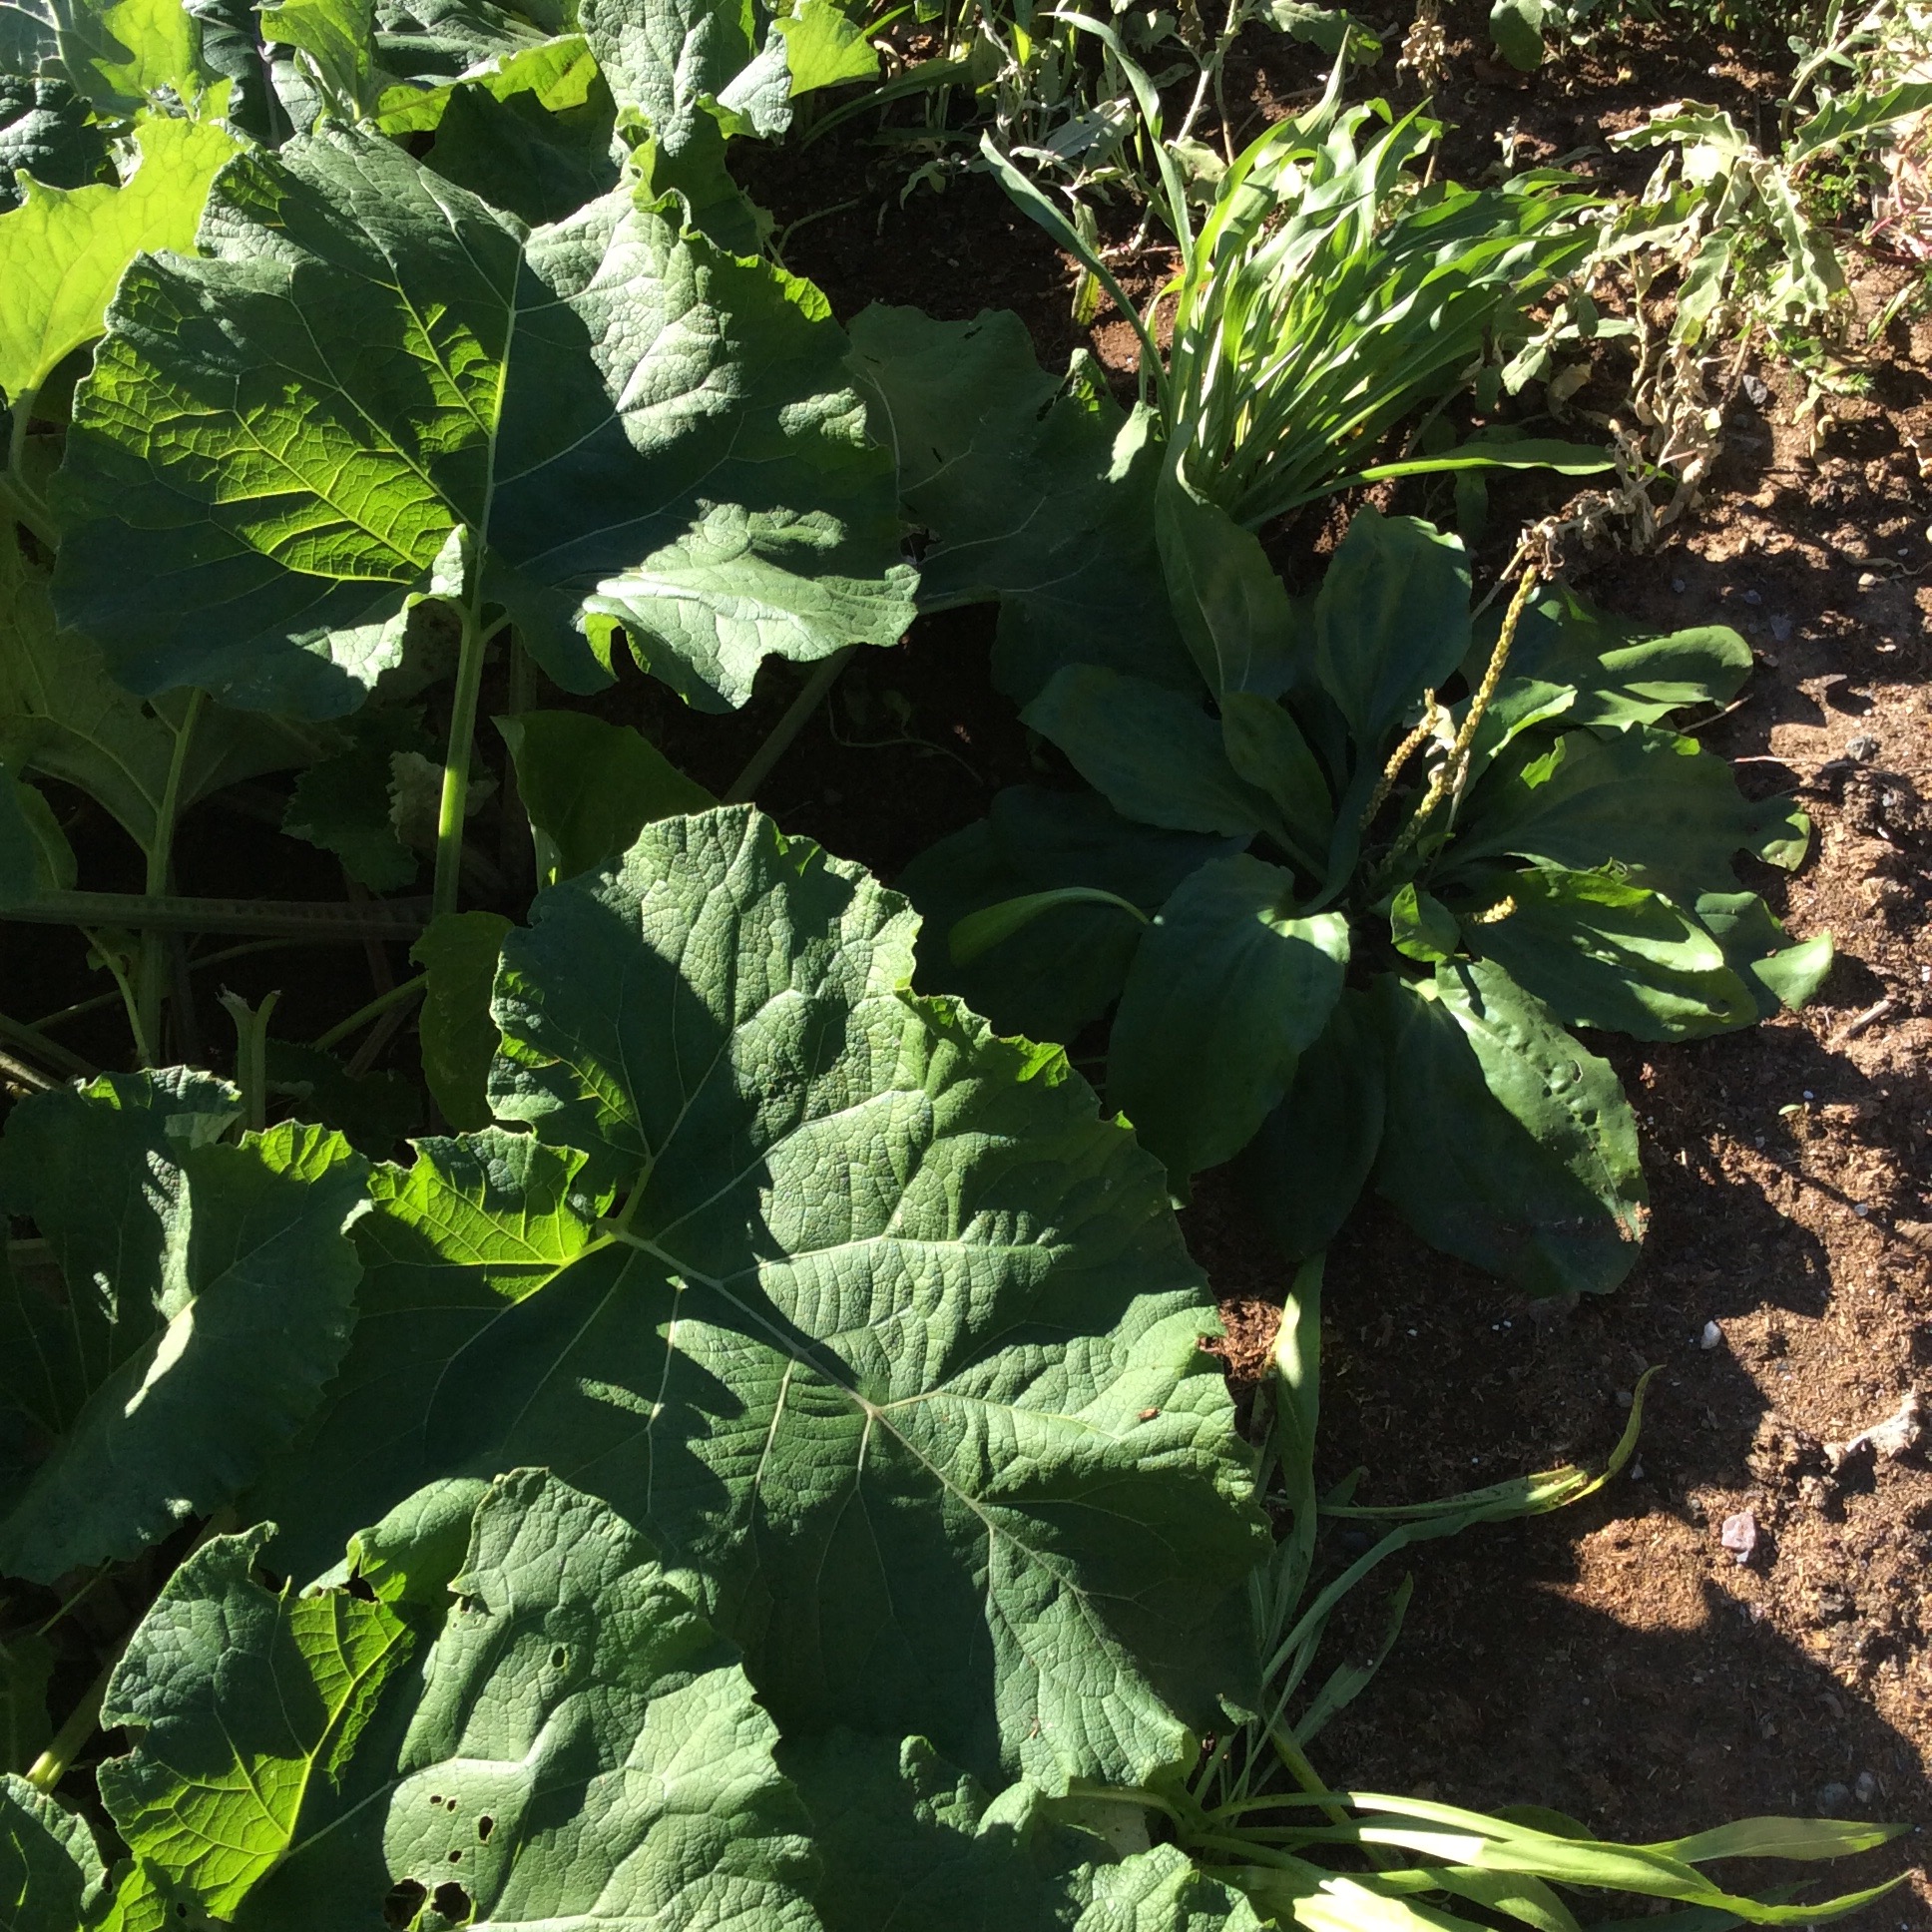
The perennialized section of elephant garlic is making clusters of thin tender leaves that are delicious  snipped up for garlicky chives.  I don’t care for the bulbs, and think that the greens are the best part of this leek relative,  so I cut all that the plants will produce as I need them.  The thin chive like greens shown here come from the tiny bulbils that are found around the outside of the bulbs. I plant them in handfuls to get a thick growth of greens as shown here.

img_4880

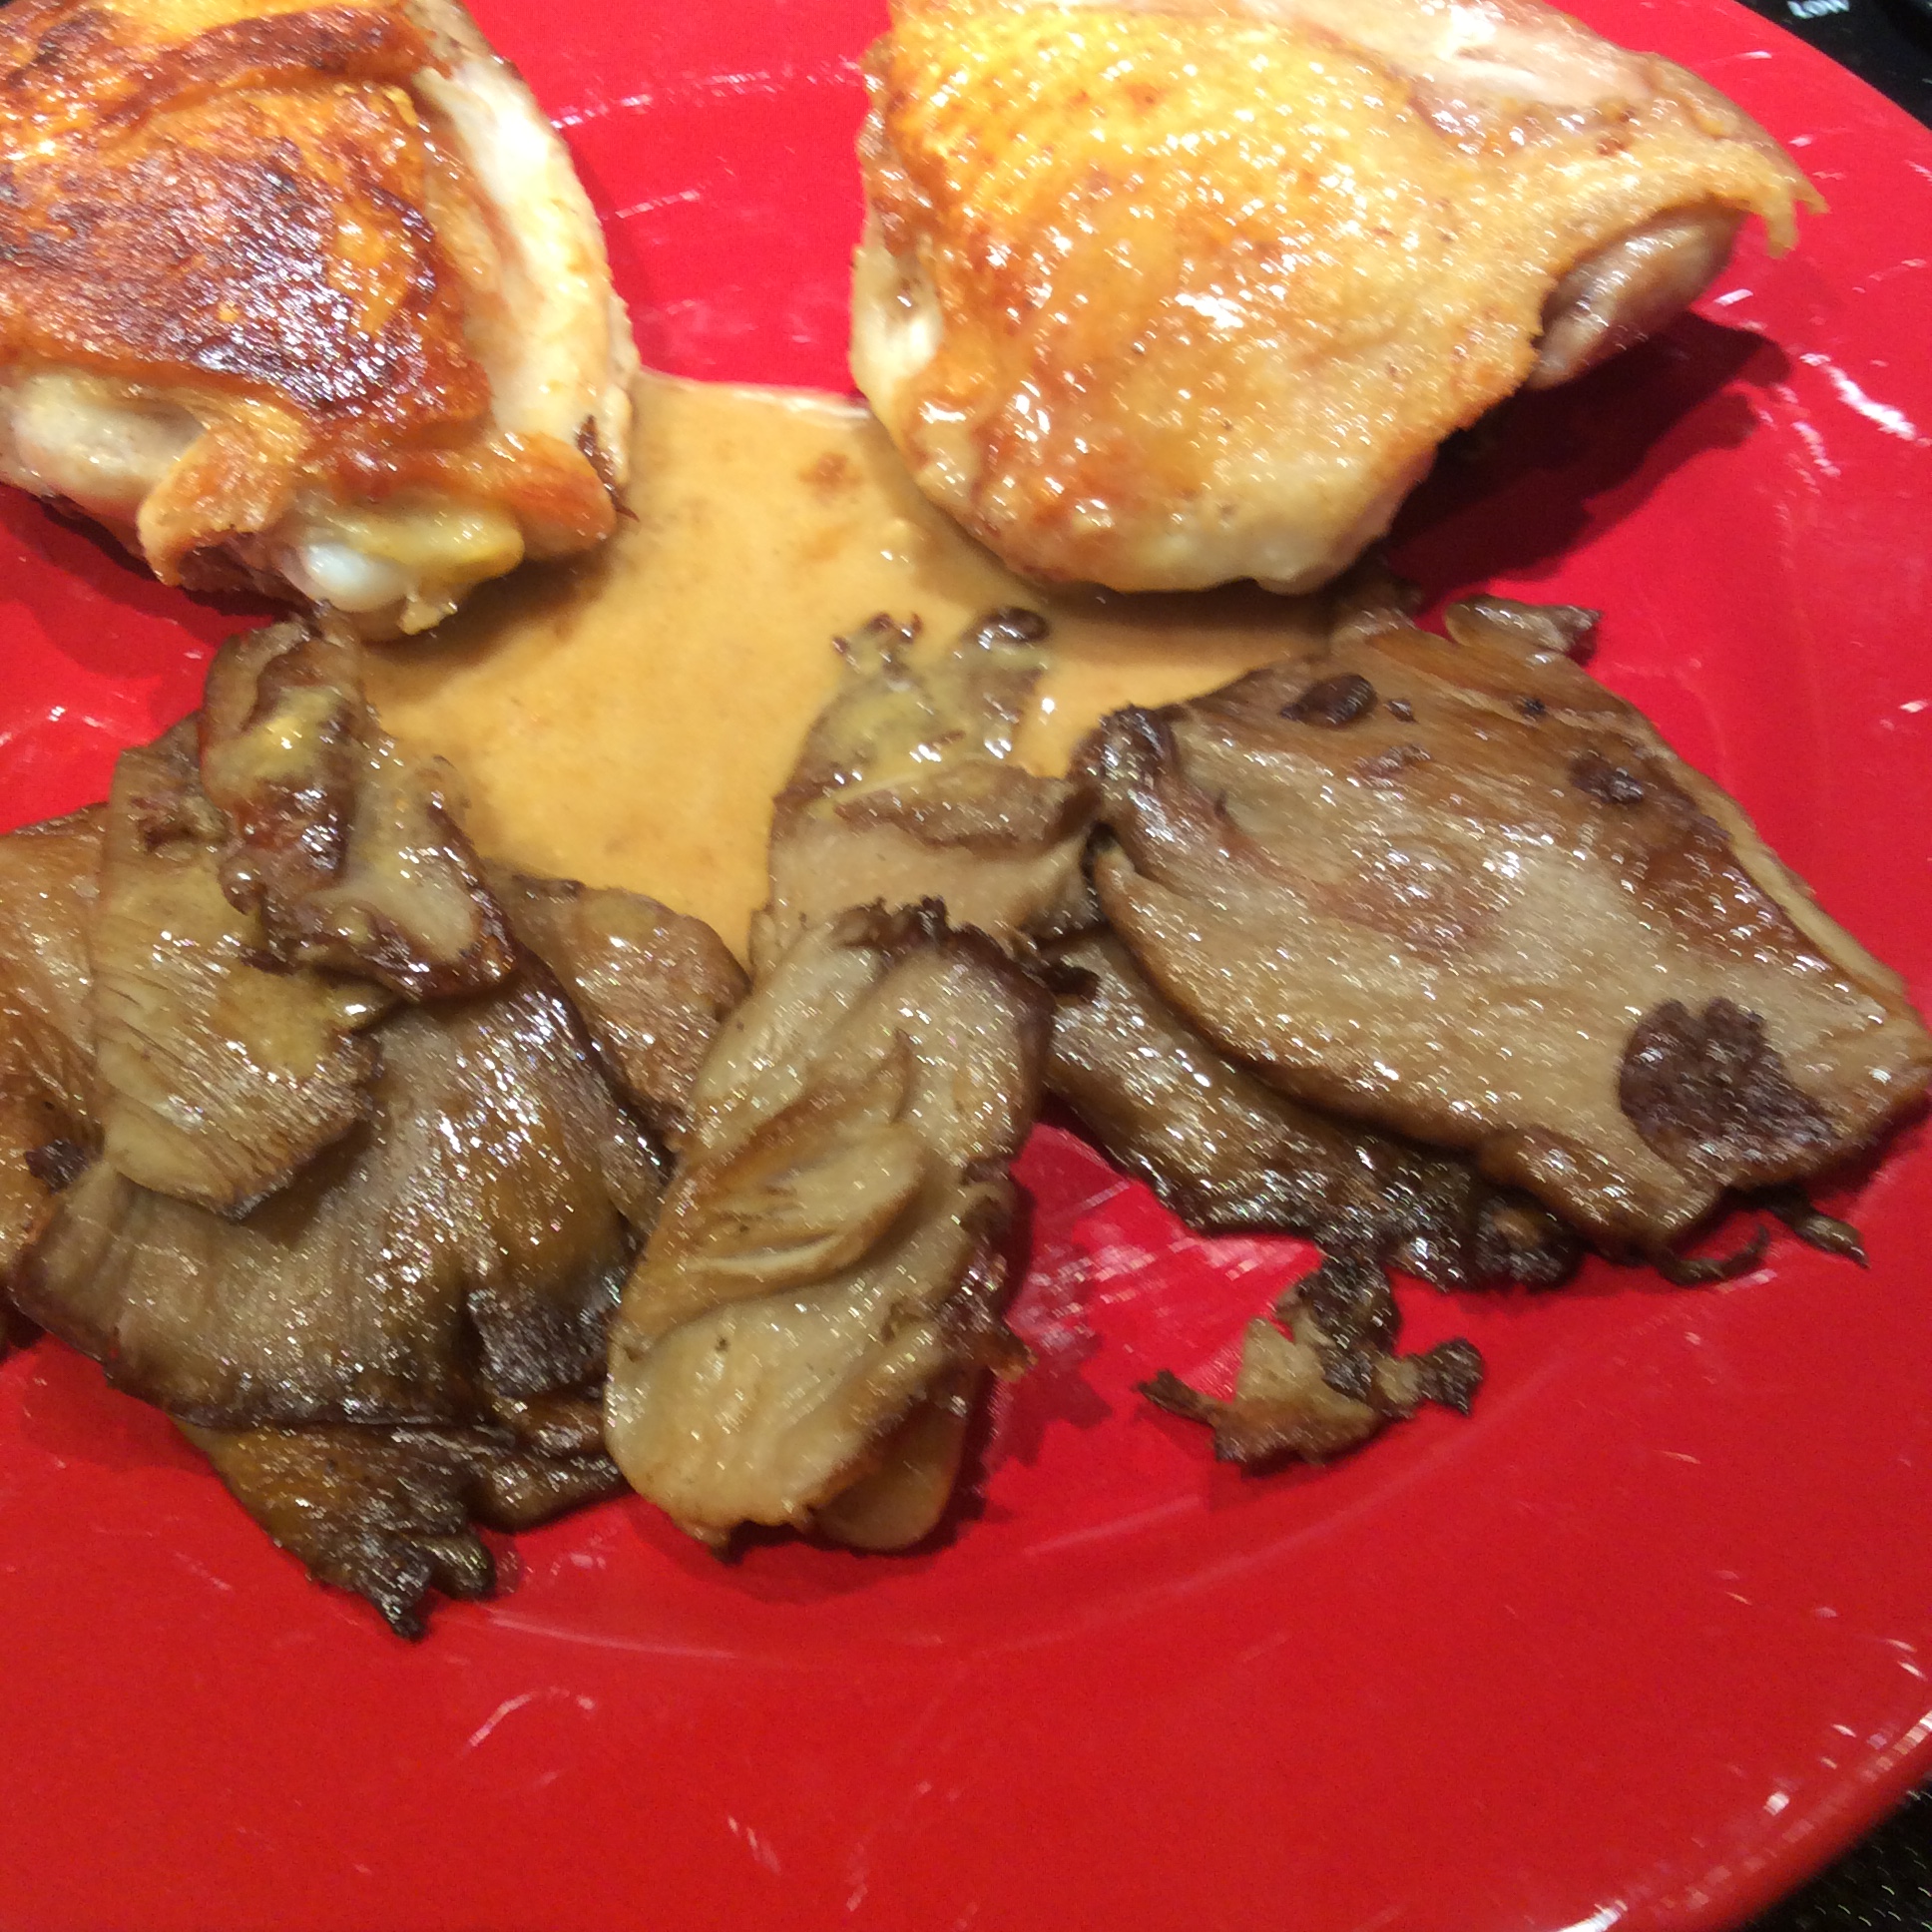
Those last green tomatoes make a wonderful sweet tangy chutney.

img_4891

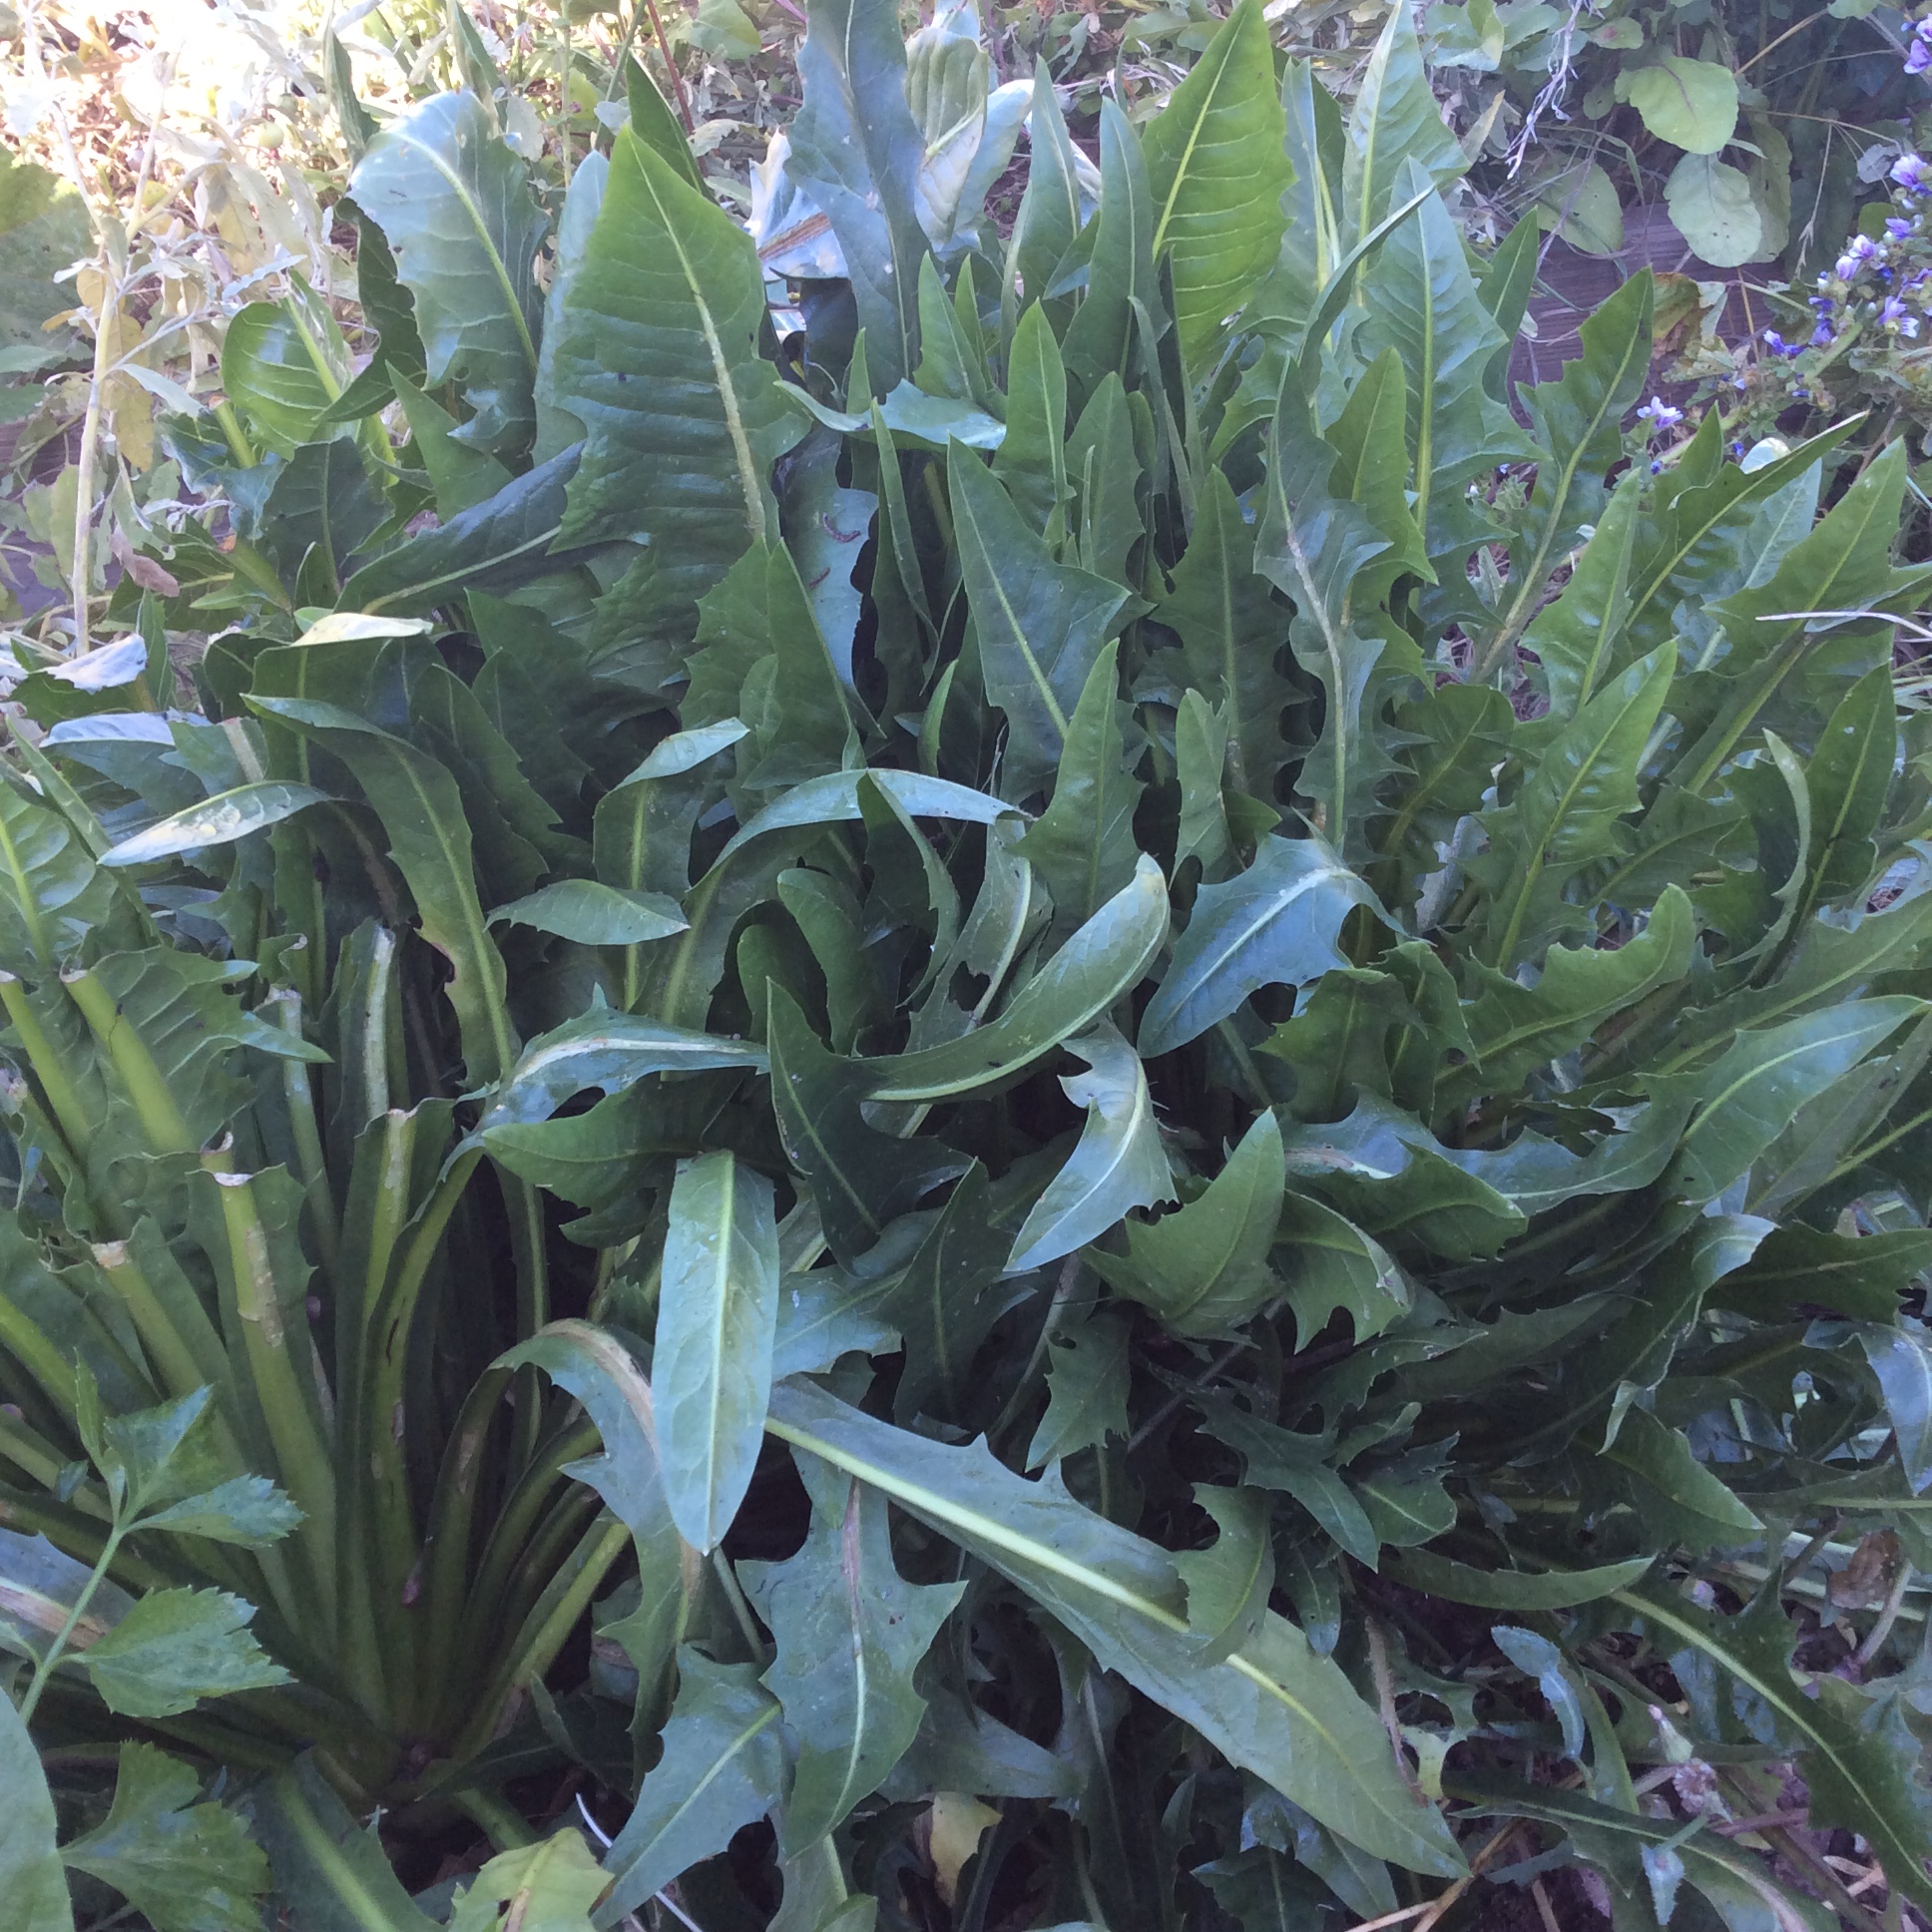
I have a clump of perennialized chicory,  and it languishes in hot weather but produces a vigorous crop of deep greens in the fall.  The lower half of the leaf is mostly stalk, so I tend to cut off the upper halves for cooking. Chicory is a bitter green, much like dandelion.  It responds wonderfully to sautéing  with bacon or pancetta, garlic, and some red chili if you like it. It is also very good for adding savor to mixed greens that include blander species such as chard.

img_4892

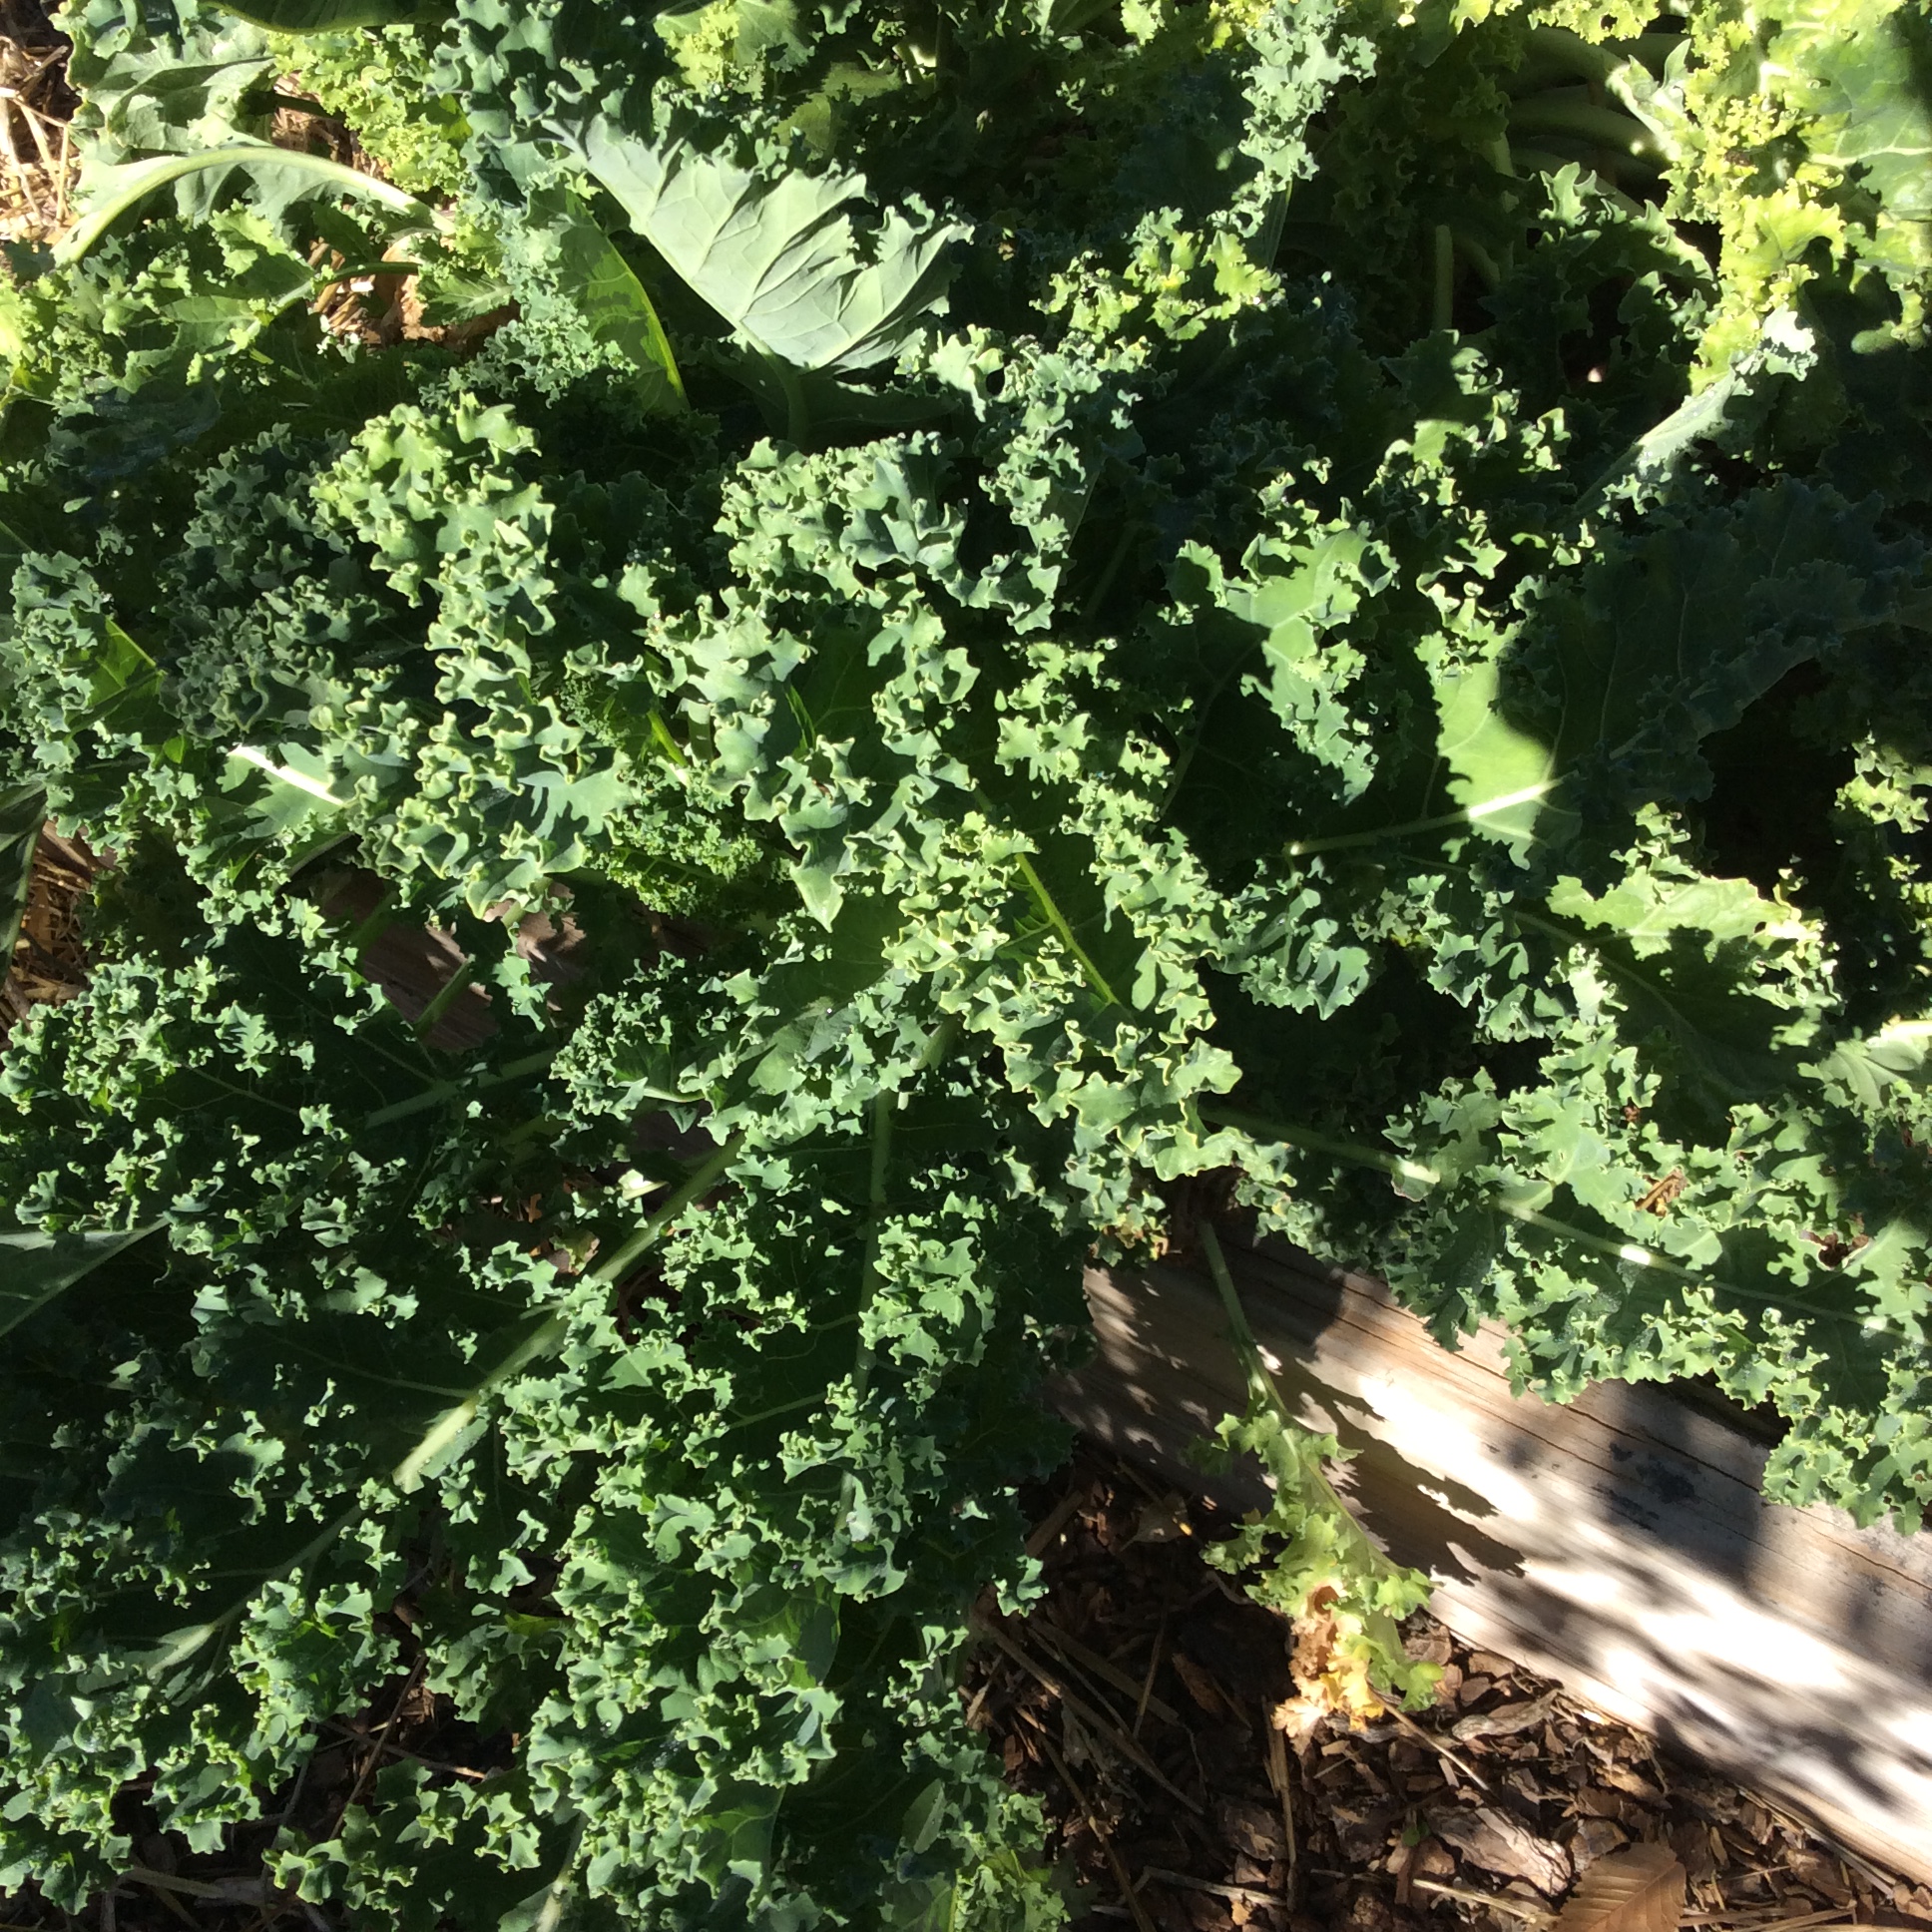
Kale is at its best this time of year, and becomes more tender and sweet after a few frosts. The Tuscan kale will winterkill sooner than the others, so eat it first.  In climates with snow cover, curly kale will last throughout the winter, but in our very dry and windy winters with very little snow it seldom survives in any sort of edible condition.  Covering it with a frost blanket might well preserve it, but is more trouble than I really care to go to.  There are plenty of other things to eat.

img_4890

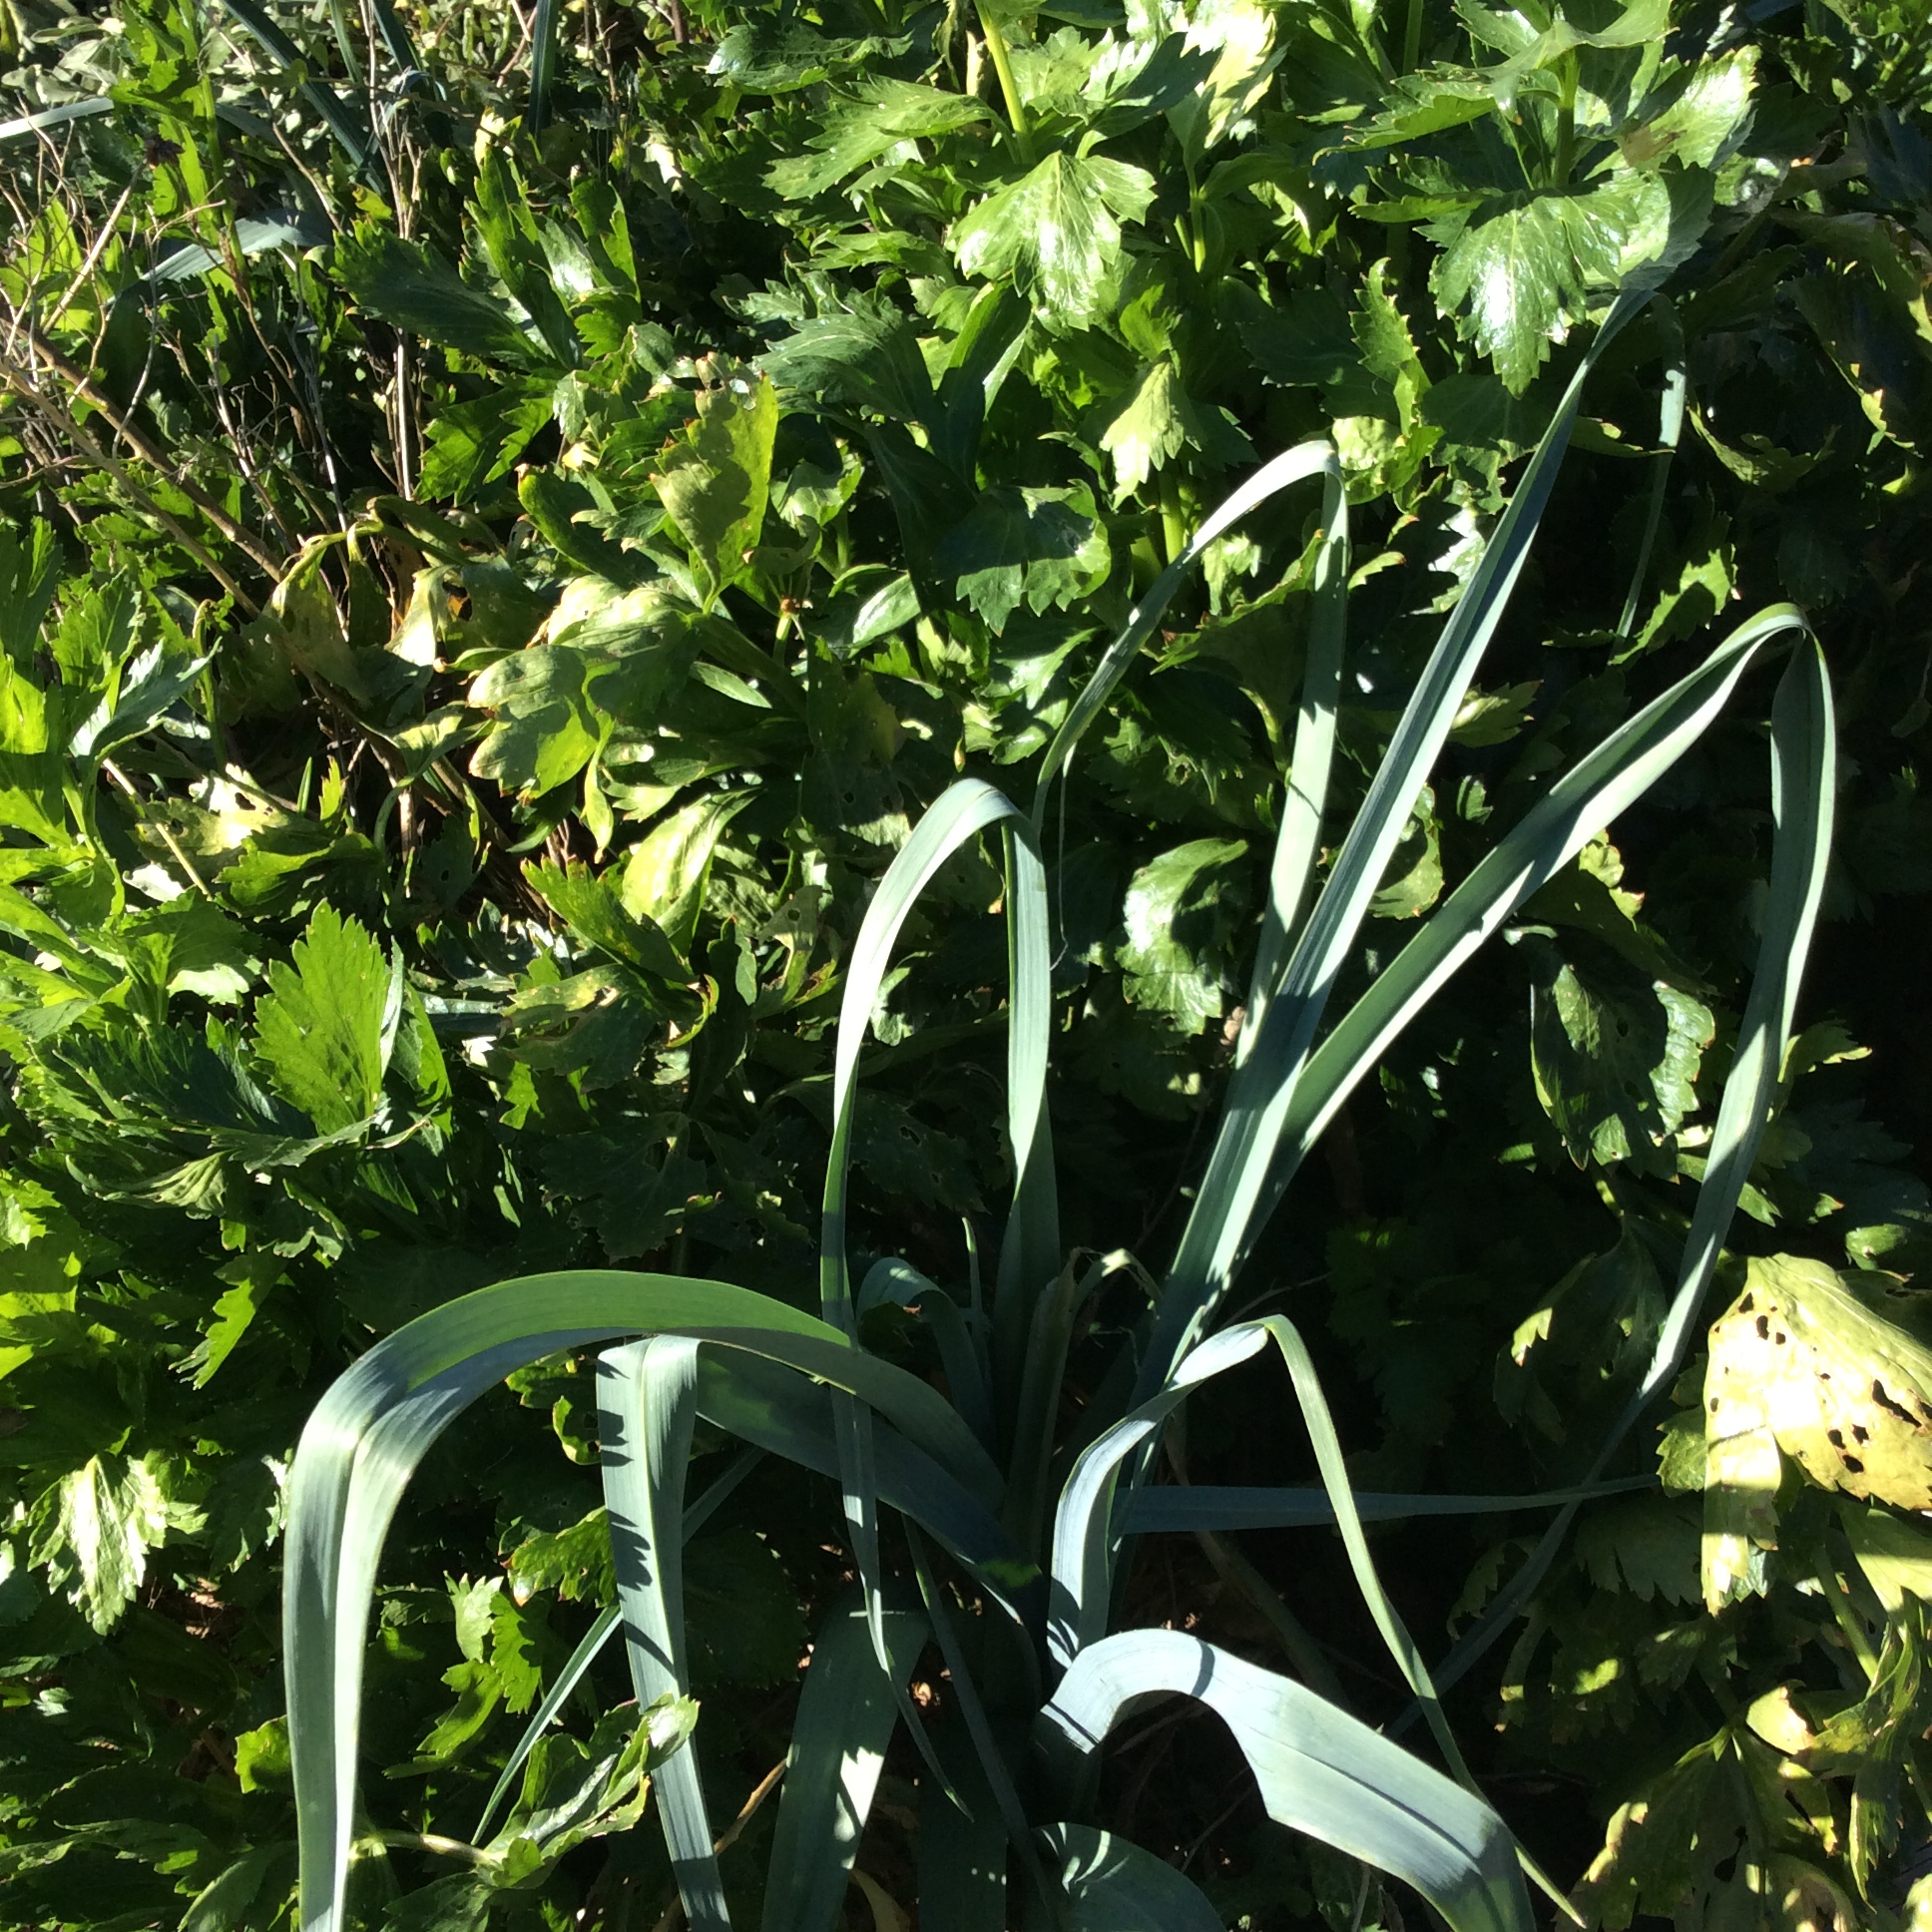
Celery and leeks need to be kept well supplied with water, and will still be fresh and good in the first week or two of November.  I usually buy leek plants in the spring, and none of the hardiest varieties are available as plants. There are very hardy varieties that will hold perfectly in the ground over winter, but to have them you have to remember to plant the seeds in midwinter, and I always forget.  Maybe this year I’ll remember.

img_4885

img_4884

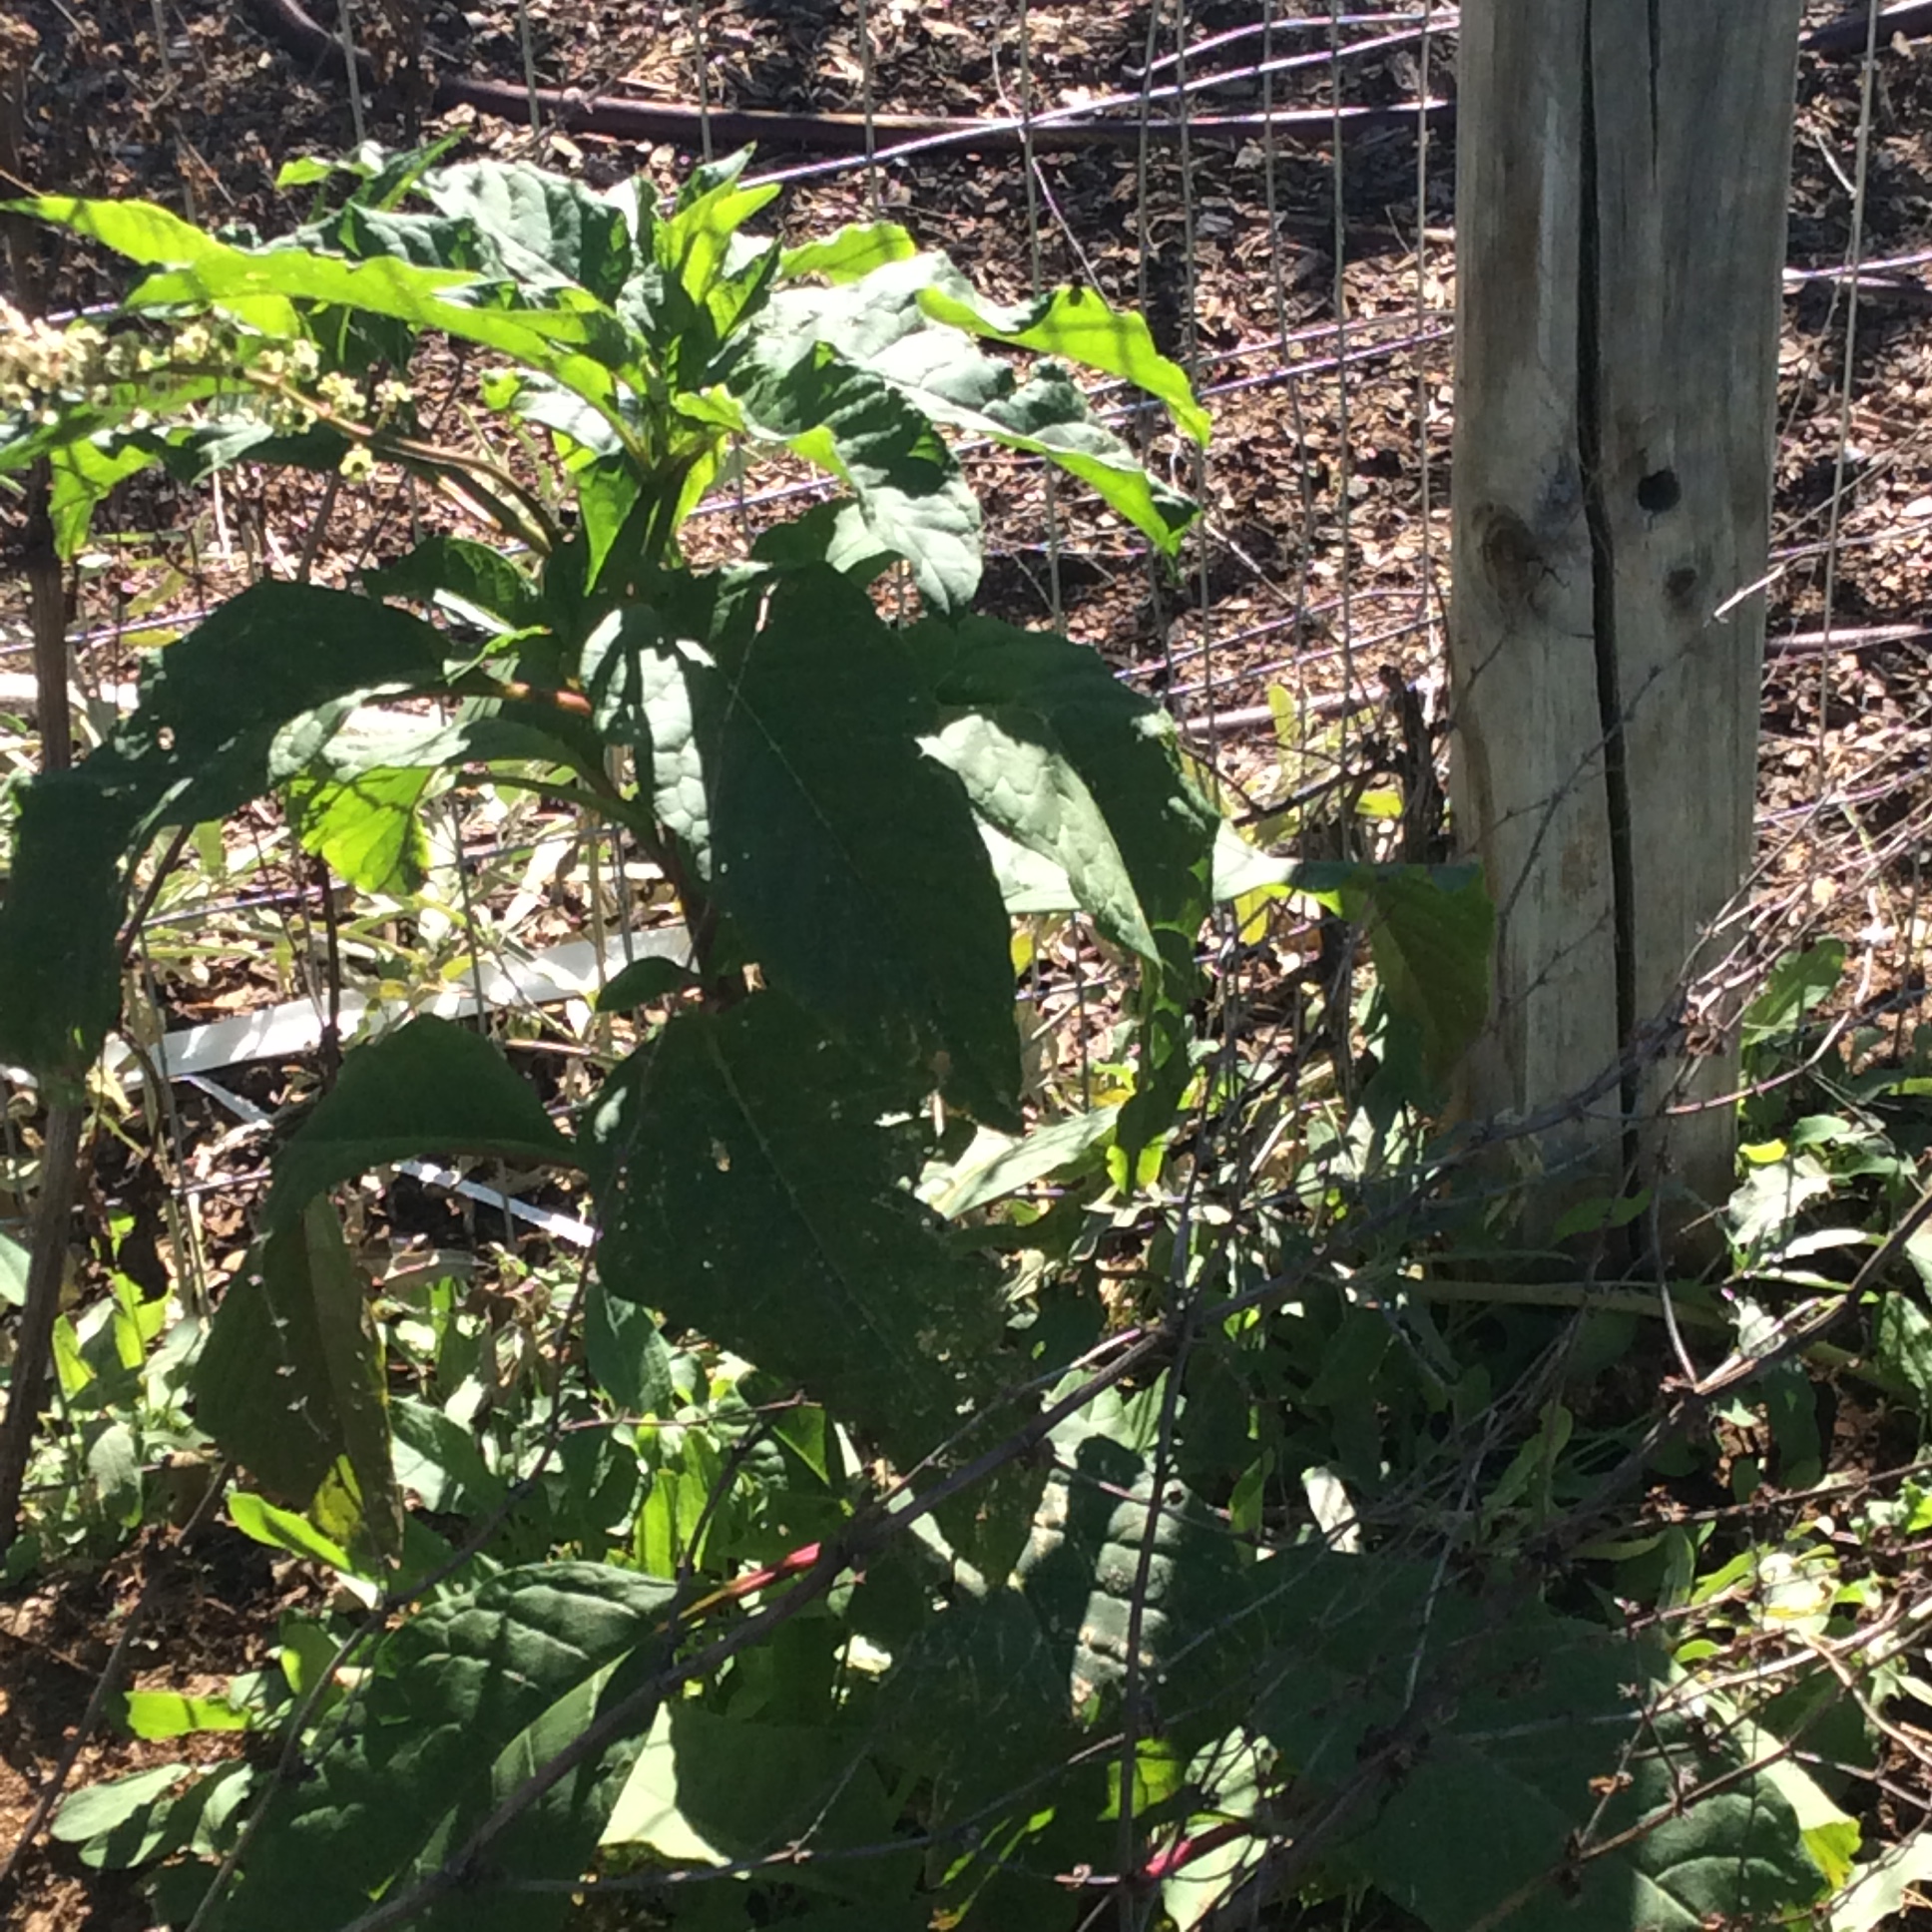
Now we come to the perennial weed patch.  Nobody who lives or gardens in the east will ever believe how much trouble I have taken to get burdock, milkweed, nettles, pokeweed, plantain, and scorzonera to grow in my area.  Burdock provides a good root in the fall from first year plants, makes large coarse leaves that my goat adores, and produces a flower stalk that is supposed to be the best part of the plant for edible purposes. I only got it to germinate this year, so I have not tried the stalks yet, but will be digging my first roots soon. Some people say the leaves and leaf stems are edible, but they are so stringy in texture and coarse in flavor that I’ve never been that desperate for something to eat.

The plantain is the Rugels variety which is rumored to be less stringy and have a better flavor than common plantain. I haven’t tasted it yet but will report back.

Milkweed can be eaten in many ways in many seasons.  As far as I know, our desert native milkweeds are largely inedible, but I have finally gotten the common milkweed to germinate and grow strongly. So next spring I hope to have edible shoots, buds, and pods. Read master forager Samuel Thayer’s books for excellent sections on the uses of milkweeds.

Pokeweed can be a giant nuisance but the spring greens have a great savor.  Or at least that’s what I remember, although I haven’t tasted them for 25 years and couldn’t swear to it.  If you decide to try them, remember that  only the young shoots about 6 inches high are edible and boiling in two changes of water is not optional. It is necessary to remove toxins. I hope to harvest my first shoots next spring.

Nettles and dock are two superb spring greens that seldom occur wild in my area, but grow very nicely in my weed patch.  They provide some of the earliest and most nutritious greens of the spring, and in late fall they produce some new greens that are well worth having at that season.  Every year I swear that I will remember to cut down the nettle patch in late summer so that the new greens can grow up unobstructed, and every year I forget and have to harvest the new greens with elbow length grilling gloves. But they are worth it.  Try to keep the nettles separate from the other plants, or you will have a tough time harvesting everything around them. The sting is pretty fierce.

I give my weed patch a periodic shallow mulch with mixed alfalfa and goat manure. They might grow well enough with no attention to fertility, but if you want your produce to be as nutritious as possible, the soil needs feeding.

If you wonder why it is worth having a weed patch, remember that these are some of nature’s wonder plants, among the most nutritious greens in the world. In addition, they taste really good.   Also, with perennials, once established the only work you have every year is harvesting and cooking them.  Once adapted to an area, they are unlikely ever to desert you. Permaculture also avoids soil disturbance. These plants are not classically attractive and need an inconspicuous spot, but they have a superbly healthy rough-and-ready vigor that is bracing even if it isn’t beautiful.


The Oyster of the Woods

image
There is nothing more interesting than mushrooms. Really. An independent kingdom of organisms, they have much in common with animals and their interactions with plants are complex and often beneficial. For a wonderful read about mushrooms and their biological role, check out Paul Stamets’s Mycelium Running, and you will be wonderstruck at the hypheal hijinks going on all around you.
They are extremely easy to grow for everyone but me.  I am convinced that mushrooms have a very important role to play in a functioning urban homestead, even here in the high desert.  So far, however, I have been unable to make that work out in practice.  I have tried spreading the spawn among existing plantings under heavy straw mulches, and putting the spawn in piles of hard wood chips, and so far have not had any significant success, due to lack of consistent moisture, lack of shade, dry air, and insufficient attention.  I have harvested a few mushrooms, but nothing to write home about.  That is why the below images below are borrowed, to show how easily it can be done in moister climates than mine.
image

image

image

image
.
Since I have finally accepted that it’s going to take more focus than just throwing some spawn around, my next attempt will be to insert plug spawn into damp hay bales in the dense shade of my black locust tree. I have also cut down a small Siberian elm recently and have a few pieces of suitable fresh log to try drilling plug spawn into. Next August I will harvest them, or not.
Meanwhile, many farmers’ markets have a mushroom farmer or two, and oysters can be found in our river bosque here and in many woods and forests if you are a knowledgable forager and know exactly what you are picking. Mushroom foraging is not for you unless you are prepared to study it seriously and know all your local toxics. No margin for error here.
However you get hold of them, good oyster mushrooms are just delicious. I love their earthy-almondy aroma and their meaty texture. I like them best simply pan-fried with a little macadamia oil and salt, but roasting them with a bit of butter and soy is awfully good, and so is grilling them rubbed with olive oil. The addition of a little chicken glacé early in the cooking stage so that it can cook into the caps suits their meaty flavor.
For preserving, I roast them with macadamia oil and salt just to the point that they are cooked through, cool them, bag, and freeze. When wanted, they can be thawed and pan-grilled until they get some lovely brown crunchy bits. I dehydrate the clean stems as long as they’re not buggy and grind them into oyster flour to thicken mushroom sauces and soups. I admit that I also open my little bag of oyster flour just to inhale deeply and recall the woods where I found them.
Yesterday I found that I had tossed more caps with macadamia oil and salt than would fit in my roasting pans, and stuck the surplus in the dehydrator. They emerged as delicious crunchy lightly browned Oyster Crackers. Yum. I will make more of those. A small pan-grilled cap on an Oyster Cracker would make a wonderful cook’s treat. In fact, a couple of them with nothing on top made a great cook’s treat…

Ricotta, the Easiest Cheese

image

One day when I have loads of leisure and energy, I plan  to get really serious about cheesemaking.   However, if you have a dairy animal or any other source of good milk, there are times when you have milk on hand but no spare time to do anything fancy with it. On those occasions, make ricotta  right away while your milk is fresh. All you need is milk, a large stainless steel pot, a stirring spoon, a strainer, fine cheesecloth, and lemon juice or vinegar. Any child old enough to use the stove at all can make ricotta with a little supervision. Determine approximately how much milk you have and put it in the pot over medium-high heat.  Milk scorches easily, and it should be stirred frequently so that it doesn’t burn on the bottom of the pot.  As soon as the milk foams and is coming to a boil, remove it from the heat and add 2 tablespoons of lemon juice or vinegar per quart of milk.  I don’t recommend cider vinegar or other strong flavored vinegars, and although I prefer lemon juice, I sometimes use rice vinegar, which does not give any off flavor to the cheese.  Stir the acid in and let the pot sit for 5 to 10 minutes. Meanwhile, line the strainer with a few layers of cheesecloth and set it over a bowl it can drain  into, or in the sink, and when the milk in the pot has definitely separated,  pour gently into the cheesecloth lined strainer. Let drain a few hours. Squeeze it a bit in the cheesecloth to get excess whey out,  salt if desired, chill, and eat.  The only reason for the milk not separating is that it wasn’t heated hot enough. If this should happen, heat again, stirring continually, until it separates. But that should not happen if you brought it to a boil in the first place.

The whey is useful and still contains a lot of nutrients.  It would be a shame to waste it. I feed it to my chickens, and they enjoy it.

When I mention cheesecloth I am talking about the real thing, specifically marketed for cheesemaking, and you can get it at New England Cheesemaking Supply along with a variety of other entrancing supplies and gadgets.

Besides just eating the ricotta itself with herbs stirred in, or sweetened and topped with fruit, it makes a good basis for a lot of other delicious meals.  I especially like it as a fill-in for stuffed vegetables. To make the zucchini above, get some good sized zucchini about 10 inches long. Cut them in half and hollow them out into boats.  Sprinkle very liberally with salt and put them in a bowl to drain for at least half an hour. This step is important. Meanwhile, preheat the oven to 450.  When ready to cook the zucchini, dry them off thoroughly with a kitchen towel. Rub with a little olive oil on the inside, put on a parchment lined baking sheet, and put them in the oven until they are fairly tender, which is about 25 minutes for me.

Meanwhile make the filling. Blanch about 2 quarts loosely packed of mixed greens; I used amaranth and lambsquarters. Drain and press the greens dry. Chop them thoroughly.  Chop one onion and two cloves of garlic and sauté them in a quarter cup of olive oil until they are thoroughly cooked but not colored very much. Stir in the chopped greens, and cook all together at least 10 minutes.  Turn the greens mixture into a bowl and mix in a heaping cup of goat ricotta (or any well-drained ricotta) and a cup of grated Parmesan cheese  or crumbled feta. Toss in a handful of chopped herbs. I used about 2 tablespoons of sweet marjoram, a scant tablespoon of winter savory, and a heaping teaspoon of fresh thyme.  Now start tasting the mixture and add salt until you feel the seasoning is perfect.  I like to add a good squeeze of fresh lemon juice at this point as well. Add more herbs if they seem indicated. Once you have the seasoning the way you want it, mix in two raw egg yolks. Pile the mixture  into the cooked zucchini canoes, top with pinenuts and more grated Parmesan, and bake at 400 until they are thoroughly done and the top is just starting to brown.  I like to serve them cooled off a bit, drizzled with a bit of extremely good olive oil.

image


A Grand Mess of Greens

image

I love the various vegetables that the seasons offer me, and for the most part prefer to eat what my environment is offering me fresh that day. I do freeze greens mixtures, though, so that I never run short and have them all winter. Recently I came across a forager’s description of his “56 species calzone” and it made me want to count up the number of species in the large batch of cooked seasoned greens for the freezer  that I’m working on today.

The main components: chard, dock, lambs-quarters, spinach, nettles

Seasonings and minor components: mulberry leaves, hops shoots, lettuce ( about to bolt,) dandelion,  scorzonera, salsify, sunflower, green onion, young leeks, elephant garlic, corn poppies, young grape leaves, marjoram, mint, fennel, mustard, cattail shoots, pea vines, broccoli leaves,  arugula, sow thistle, wild lettuce

Sauteed separately and added: chopped broccoli stems, grape leaves, green garlic

So, 30 species, a thoroughly respectable count for an average early summer morning,  and a potential treasure on winter days when I need to be flooded with the antioxidants of summer. In general I blanch the bulk greens in a fairly small amount of water which I later drink or make soup from, saute the chopped alliums and seasonings, then combine all and saute together for five-ten minutes or until the flavors have blended.
image
image

The true Cretan diet, the one that nourished some of the healthiest and longest-lived people in the world, was based on huge numbers of wild mountainside greens. It’s said that over 300 edible greens grow on Crete, and the average citizen can recognize over a hundred, making my 30 seem limited. But be assured that if you can learn to recognize ten of your local edible weeds and know when to harvest them and how to prepare them, your health and table will improve.  I’ve been tracking the preferences of a vegetable-despising friend, and he will eat greens, sometimes even second helpings, if they don’t look like greens on the plate. An example is the horta egg cake that I make often. He will even eat plain greens if they have a sweet component and a bit of texture, and an easy way to provide this is to douse them in the Quasi-Korean Sauce that I always have in the refrigerator and put a handful of roasted peanuts on top. If you eat bread, toasted sourdough bread crumbs provide delicious crunch on greens sautéed with garlic and chile flakes.
Be aware that greens have a remarkable capacity to absorb and mute flavors, and may need more seasoning than you think. Salt seems to disappear into them, and enough seasoning may be key to getting your loved ones to eat them and even like them. So keep tasting and adjusting until the flavor is right.
If you want to learn to identify some wild greens, gather them at the right stage, and cook them well, there is no better foraging author than John Kallas.