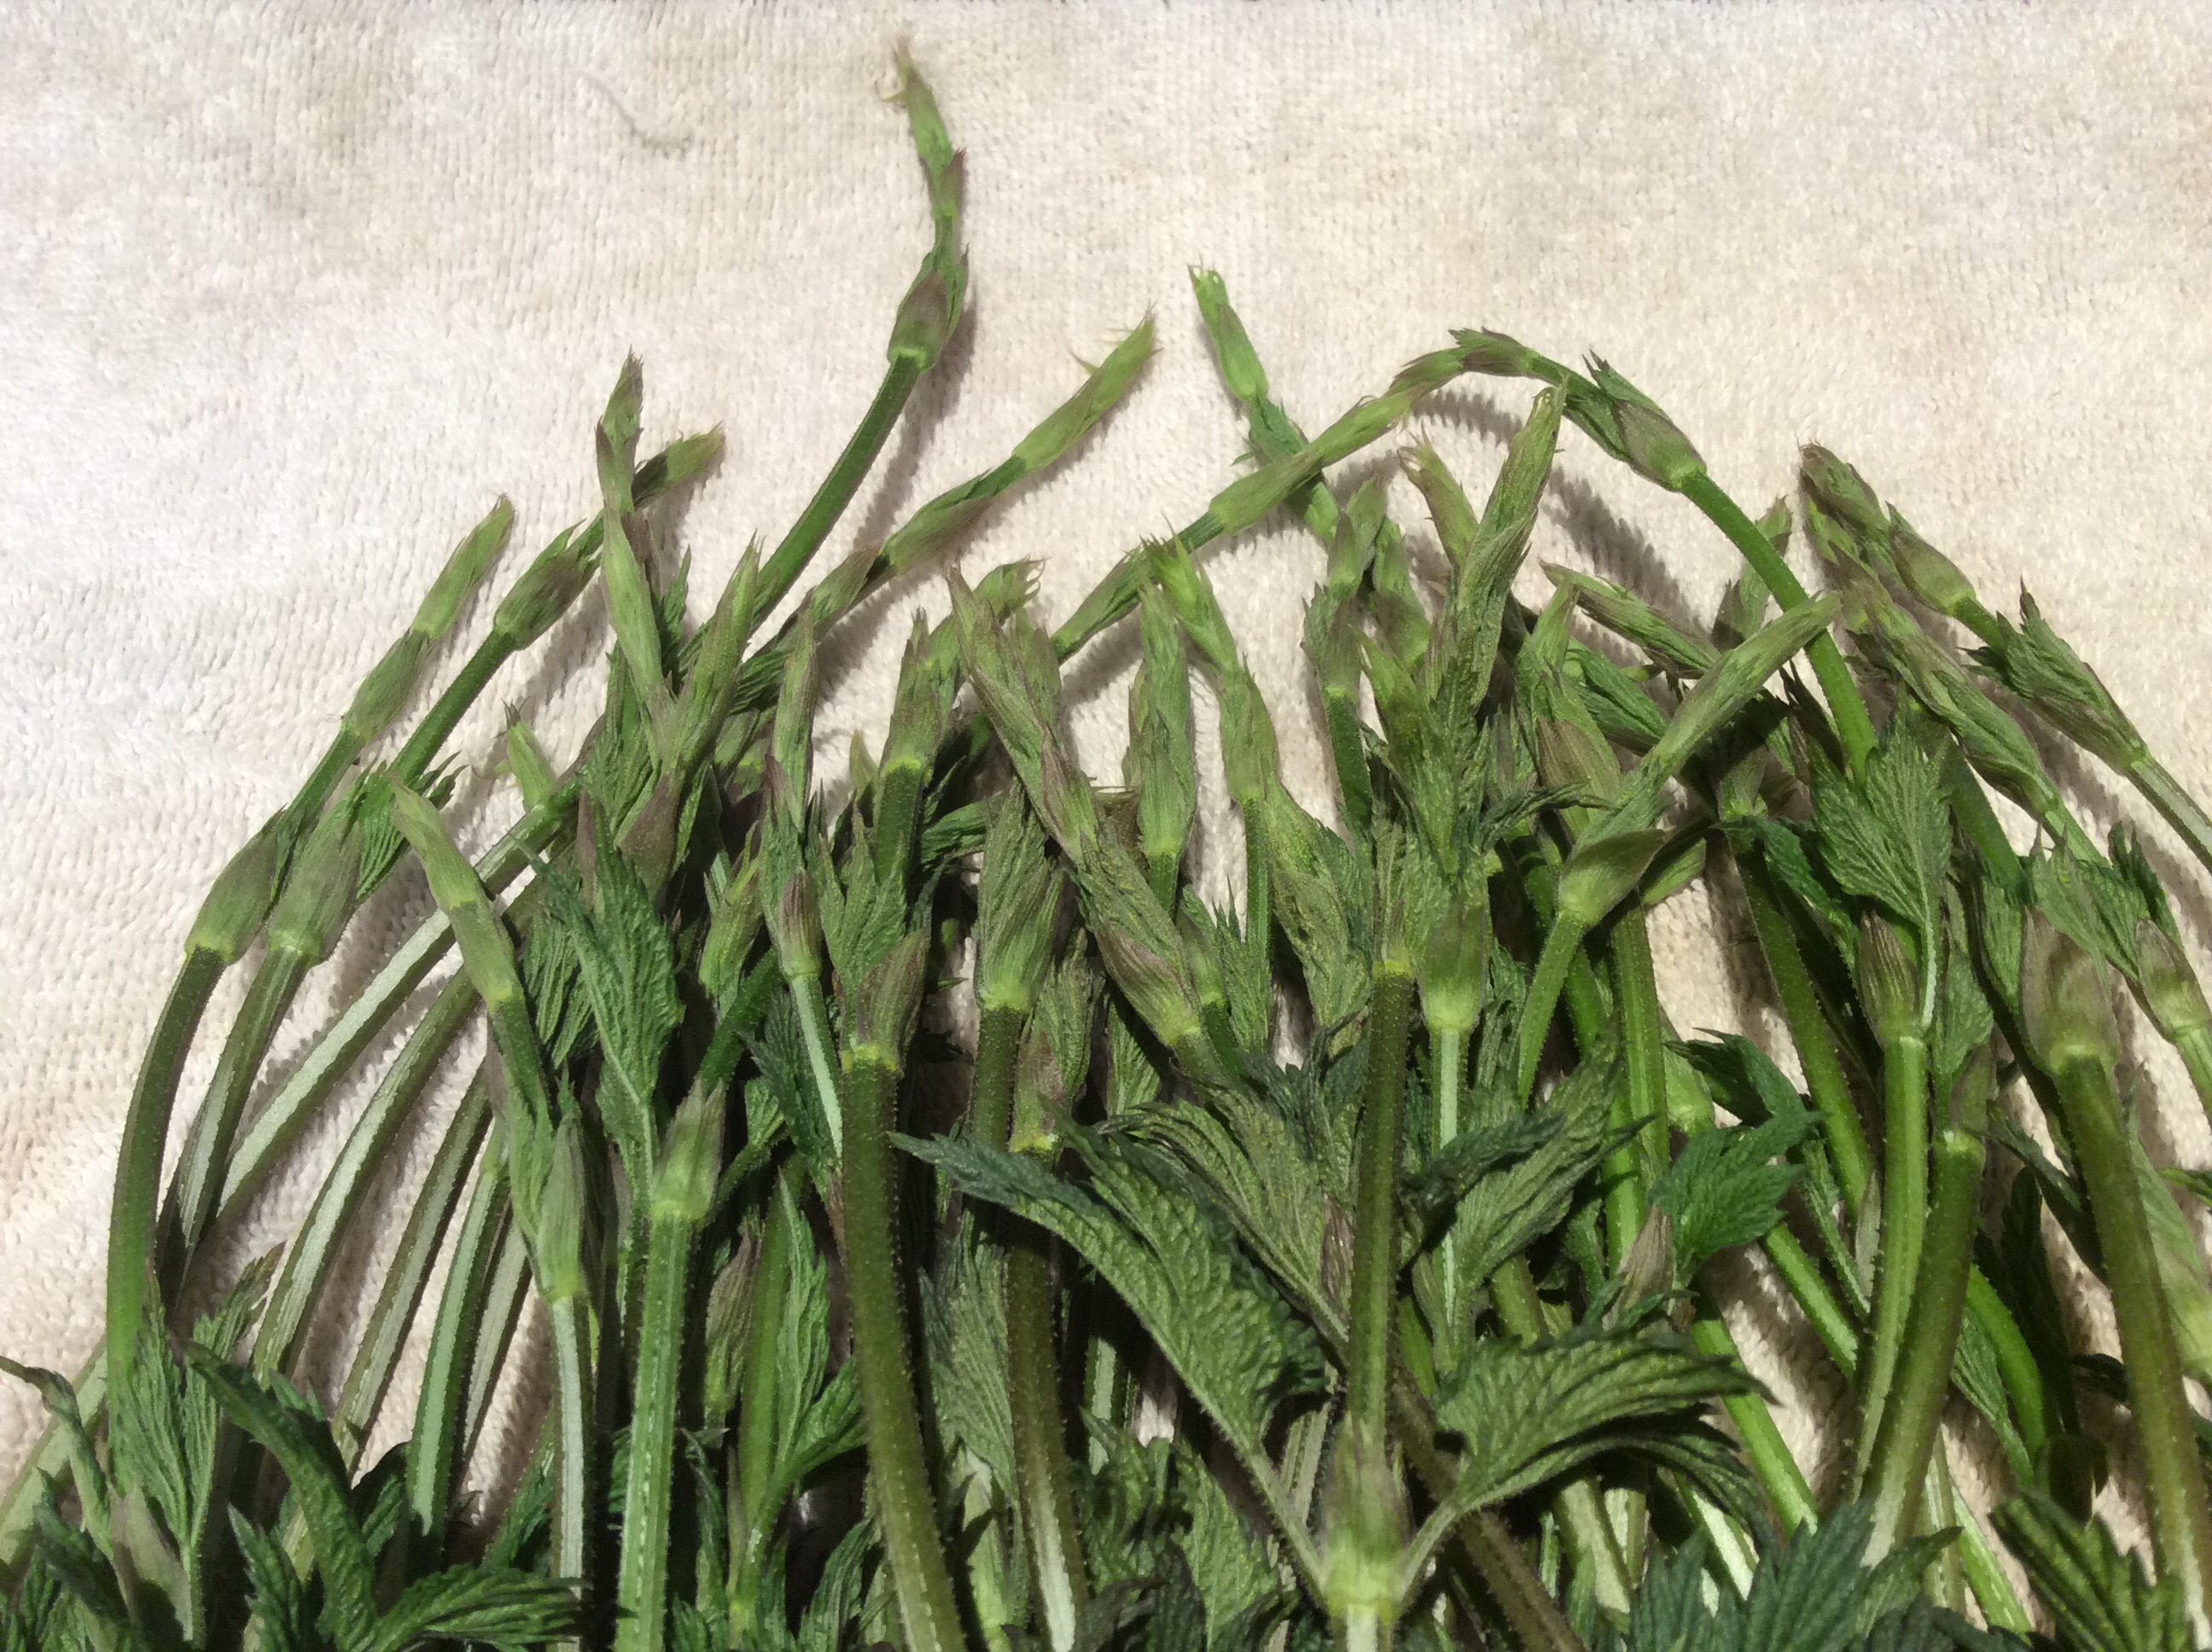
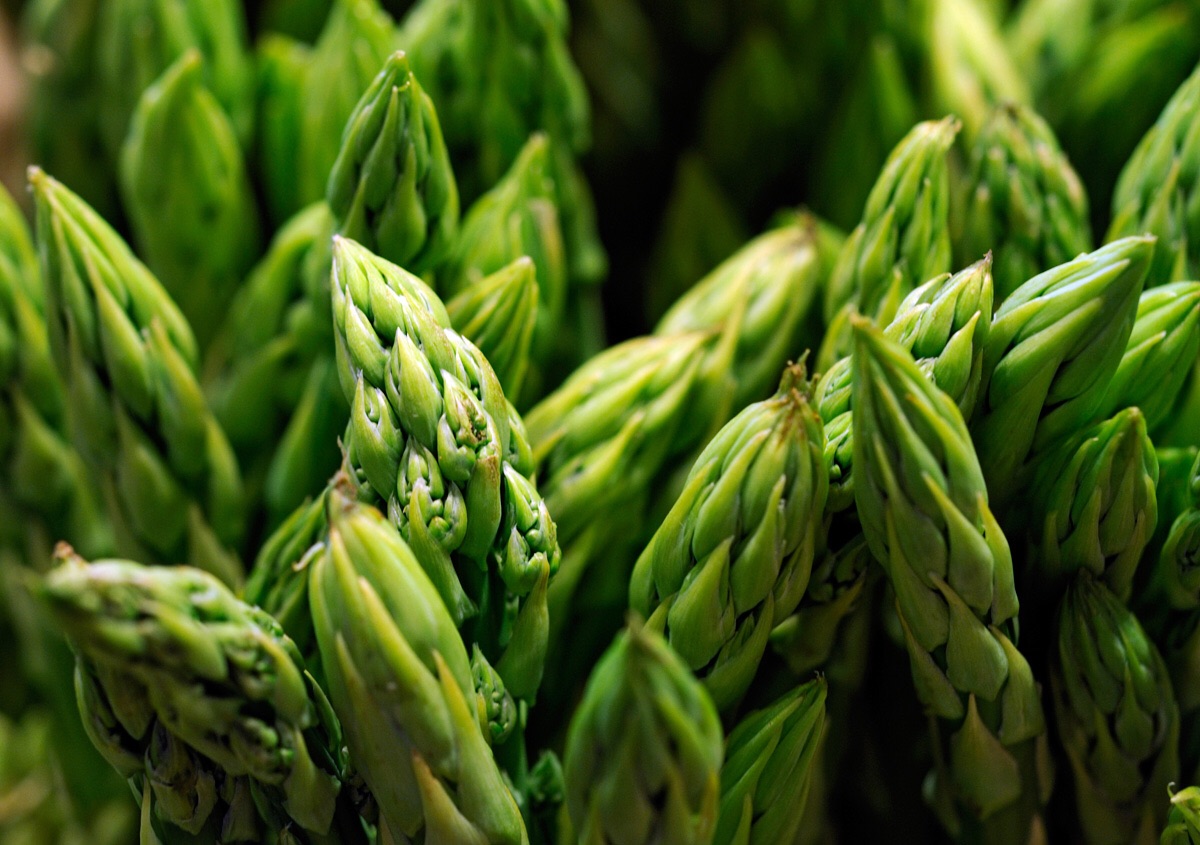
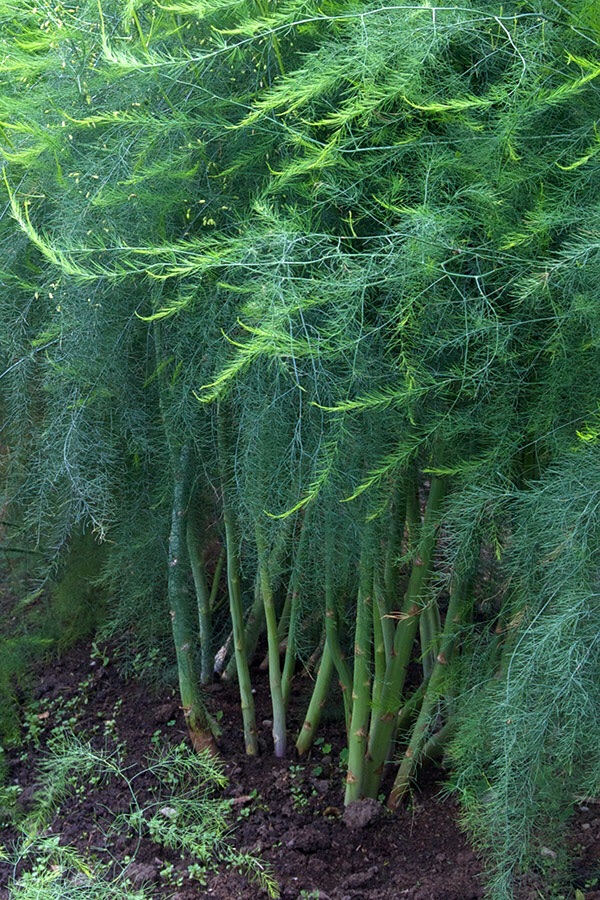
When I first started gardening at my current property, I was an enthusiastic brewer and it seemed natural to plant hops vines where they could climb on my fences. Now I have been low-carb for three years and no longer brew beer, but this winter I learned from a British cookbook that hops shoots could be cooked and eaten like asparagus. They don’t taste like asparagus, of course, but they have their own wild, slightly bitter taste that I thoroughly enjoy. I wouldn’t start picking at them until the vines are about three years old. Then start watching for the shoots to emerge from the ground in the spring and, when they are about a foot high, snap off the top six inches. Rinse, sauté in some good butter, and enjoy.
They are small and slender and it’s hard to get enough to serve at dinner unless you have an awful lot of hops, but a handful of them cooked crisp makes a lovely “cook’s treat” to eat in the kitchen while you’re doing other tasks.
By the way, if you are a brewer you will still be able to harvest hops for your brewing, because as long as you leave about six inches of each shoot intact, they will branch within a few weeks and continue growing.
Archive for the ‘urban homesteading’ Category
29 Mar
An Unexpected Vegetable: Hops Shoots
12 Mar
Filling the Hunger Gap

Our recent sunny warm days have brought the happy little Crysanthus crocuses up, and when they bloom I know that I’ve survived another winter and we are well on toward spring. But we are still in the time of year called the “hunger gap,” when in leaner times you would have eaten most of your preserved and stored food and fresh food would be a distant memory. In those days, just about the time that scurvy threatened, there would be a precious few fresh foods that would come through for you. I am no longer that interested in eating preserved foods, so the fresh greens of the hunger gap are increasingly important to me.
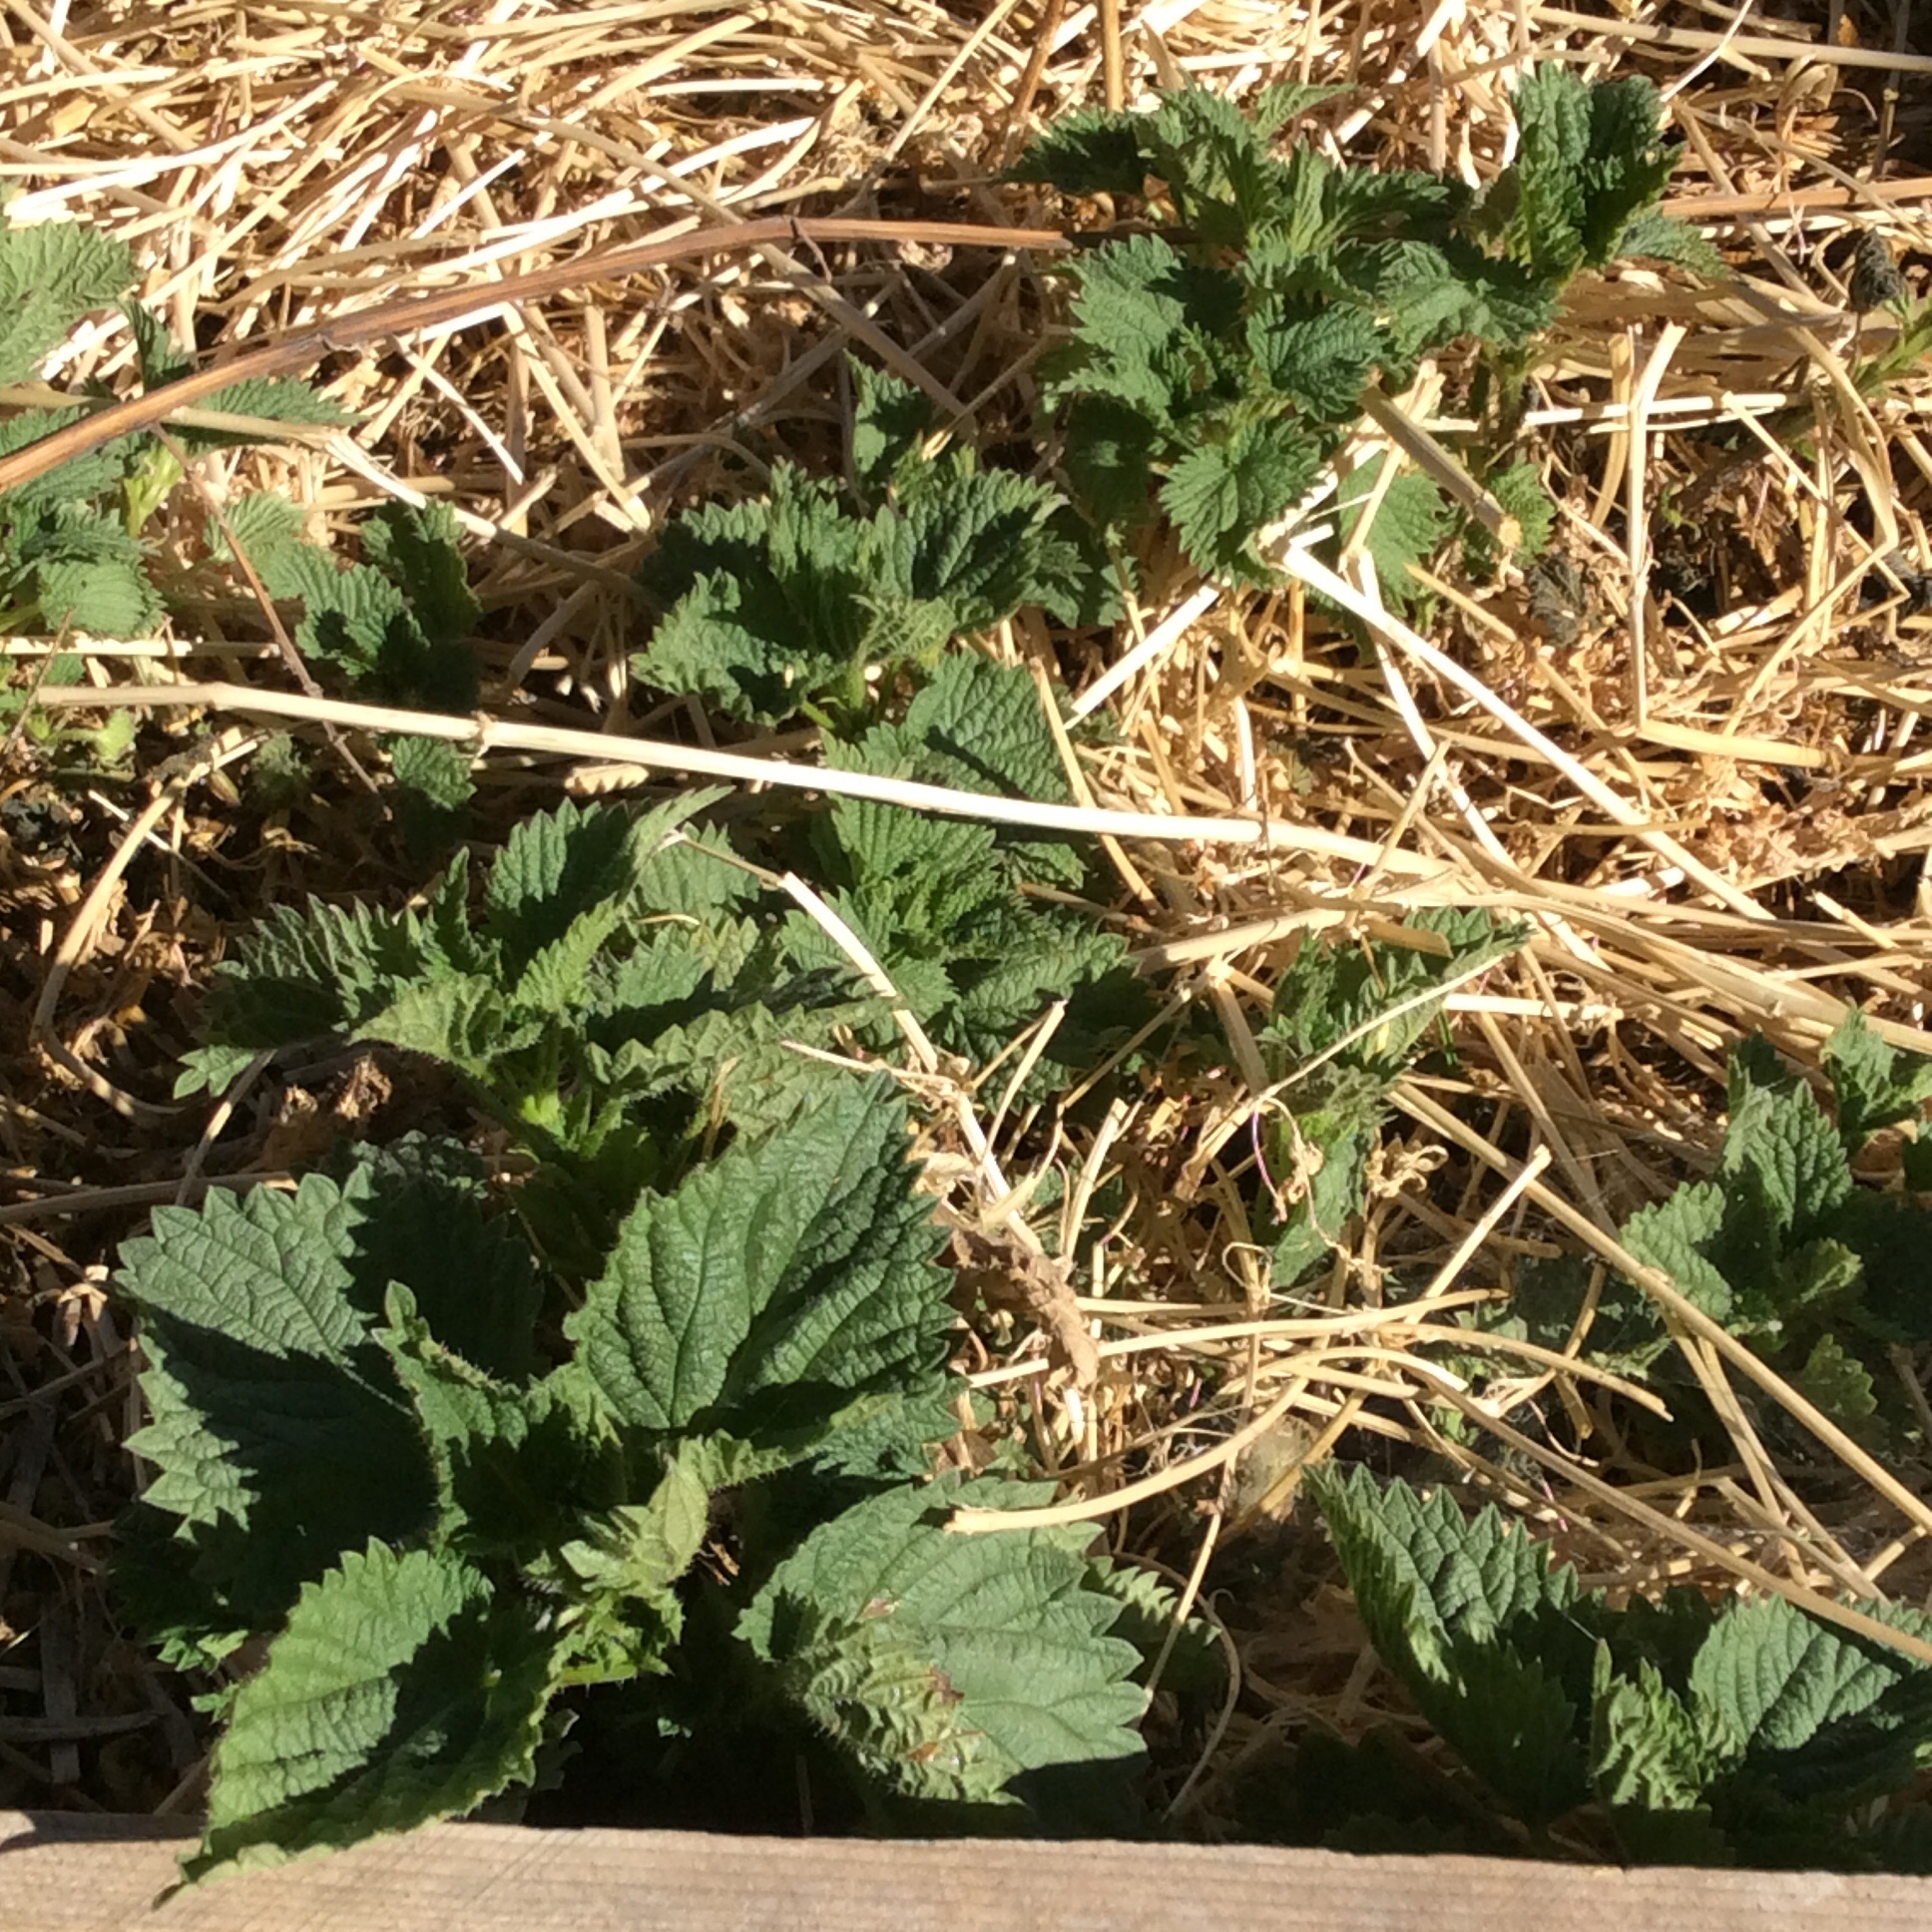
Stinging nettles are not just a fresh green in earliest spring, they are a nutritional powerhouse. Vitality and well-being seem to course through your body as you eat them. Also, they’re delicious. They don’t occur naturally in Albuquerque, and I had to buy plants in order to have them, but I have two nice patches now. They need some water and mulch in our desert area, but given those they spread rapidly, so be ready to control them by digging out excess roots when they spread too far. They sting fiercely at any age, so don’t plant them near paths and have good heavy leather gloves (they sting right through fabric) ready for harvesting. Pick any time after they reach about 5-6 inches high, harvesting the top 2 or 3 inches. You will have about a month to harvest before they get tough, gritty, and nasty. Keep your gloves on while you wash them and drop them into boiling water. Once blanched for 1-2 minutes, their spines are softened and their venom is broken down, and you can treat them like spinach or any other mild green. I love them in omelets or just blanched and chopped with some butter and cream. Be aware that the raw nettles can sting animals as well as people, and severe allergic reactions to the sting are possible, so please do site them responsibly.
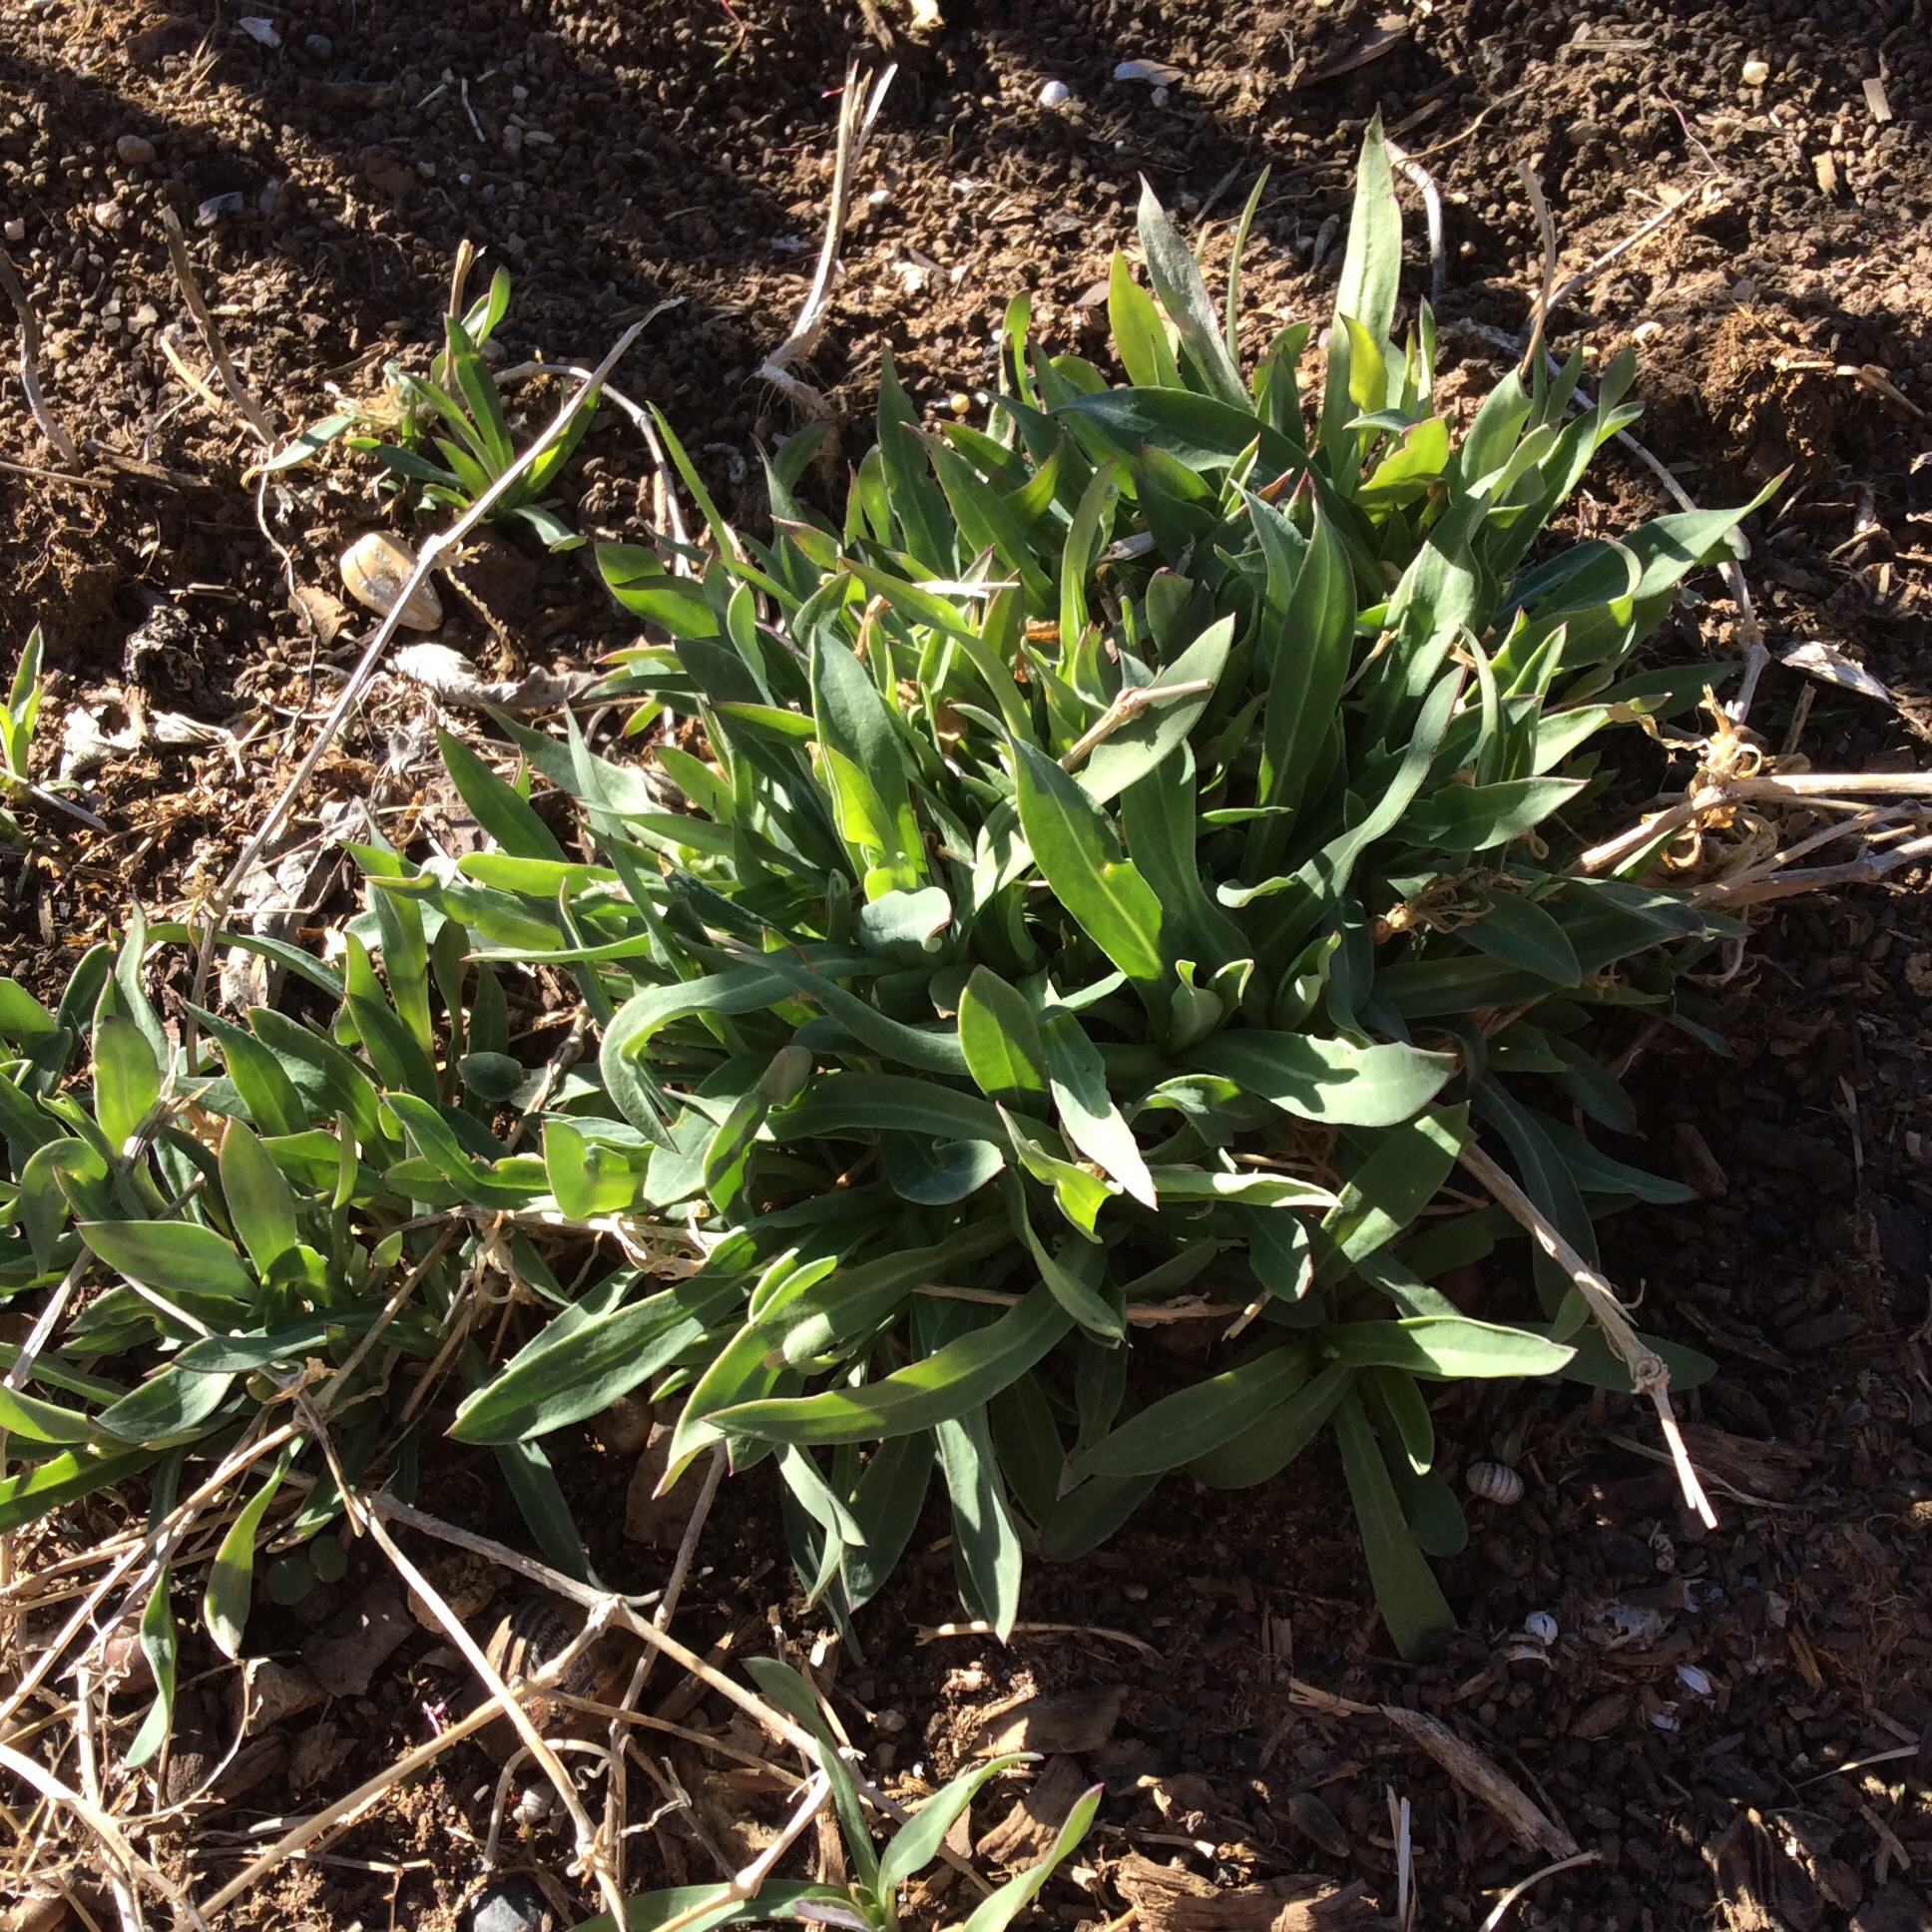
Bladder campion is another weed that doesn’t occur naturally in central New Mexico. I bought seeds from an herb supplier. Sprinkle them in a place that you can keep watered in late winter. In hot sunny areas they will appreciate a little shade. They will be scant and spindly the first year, and there won’t be anything to harvest. The second year you can pinch off the tips when they are 6-8 inches tall to add to salads, and by the third year you should get enough to cook. They are among the tenderest and mildest of wild greens, and I prefer them in salads, but a quick sauté in a little good butter is nice too.
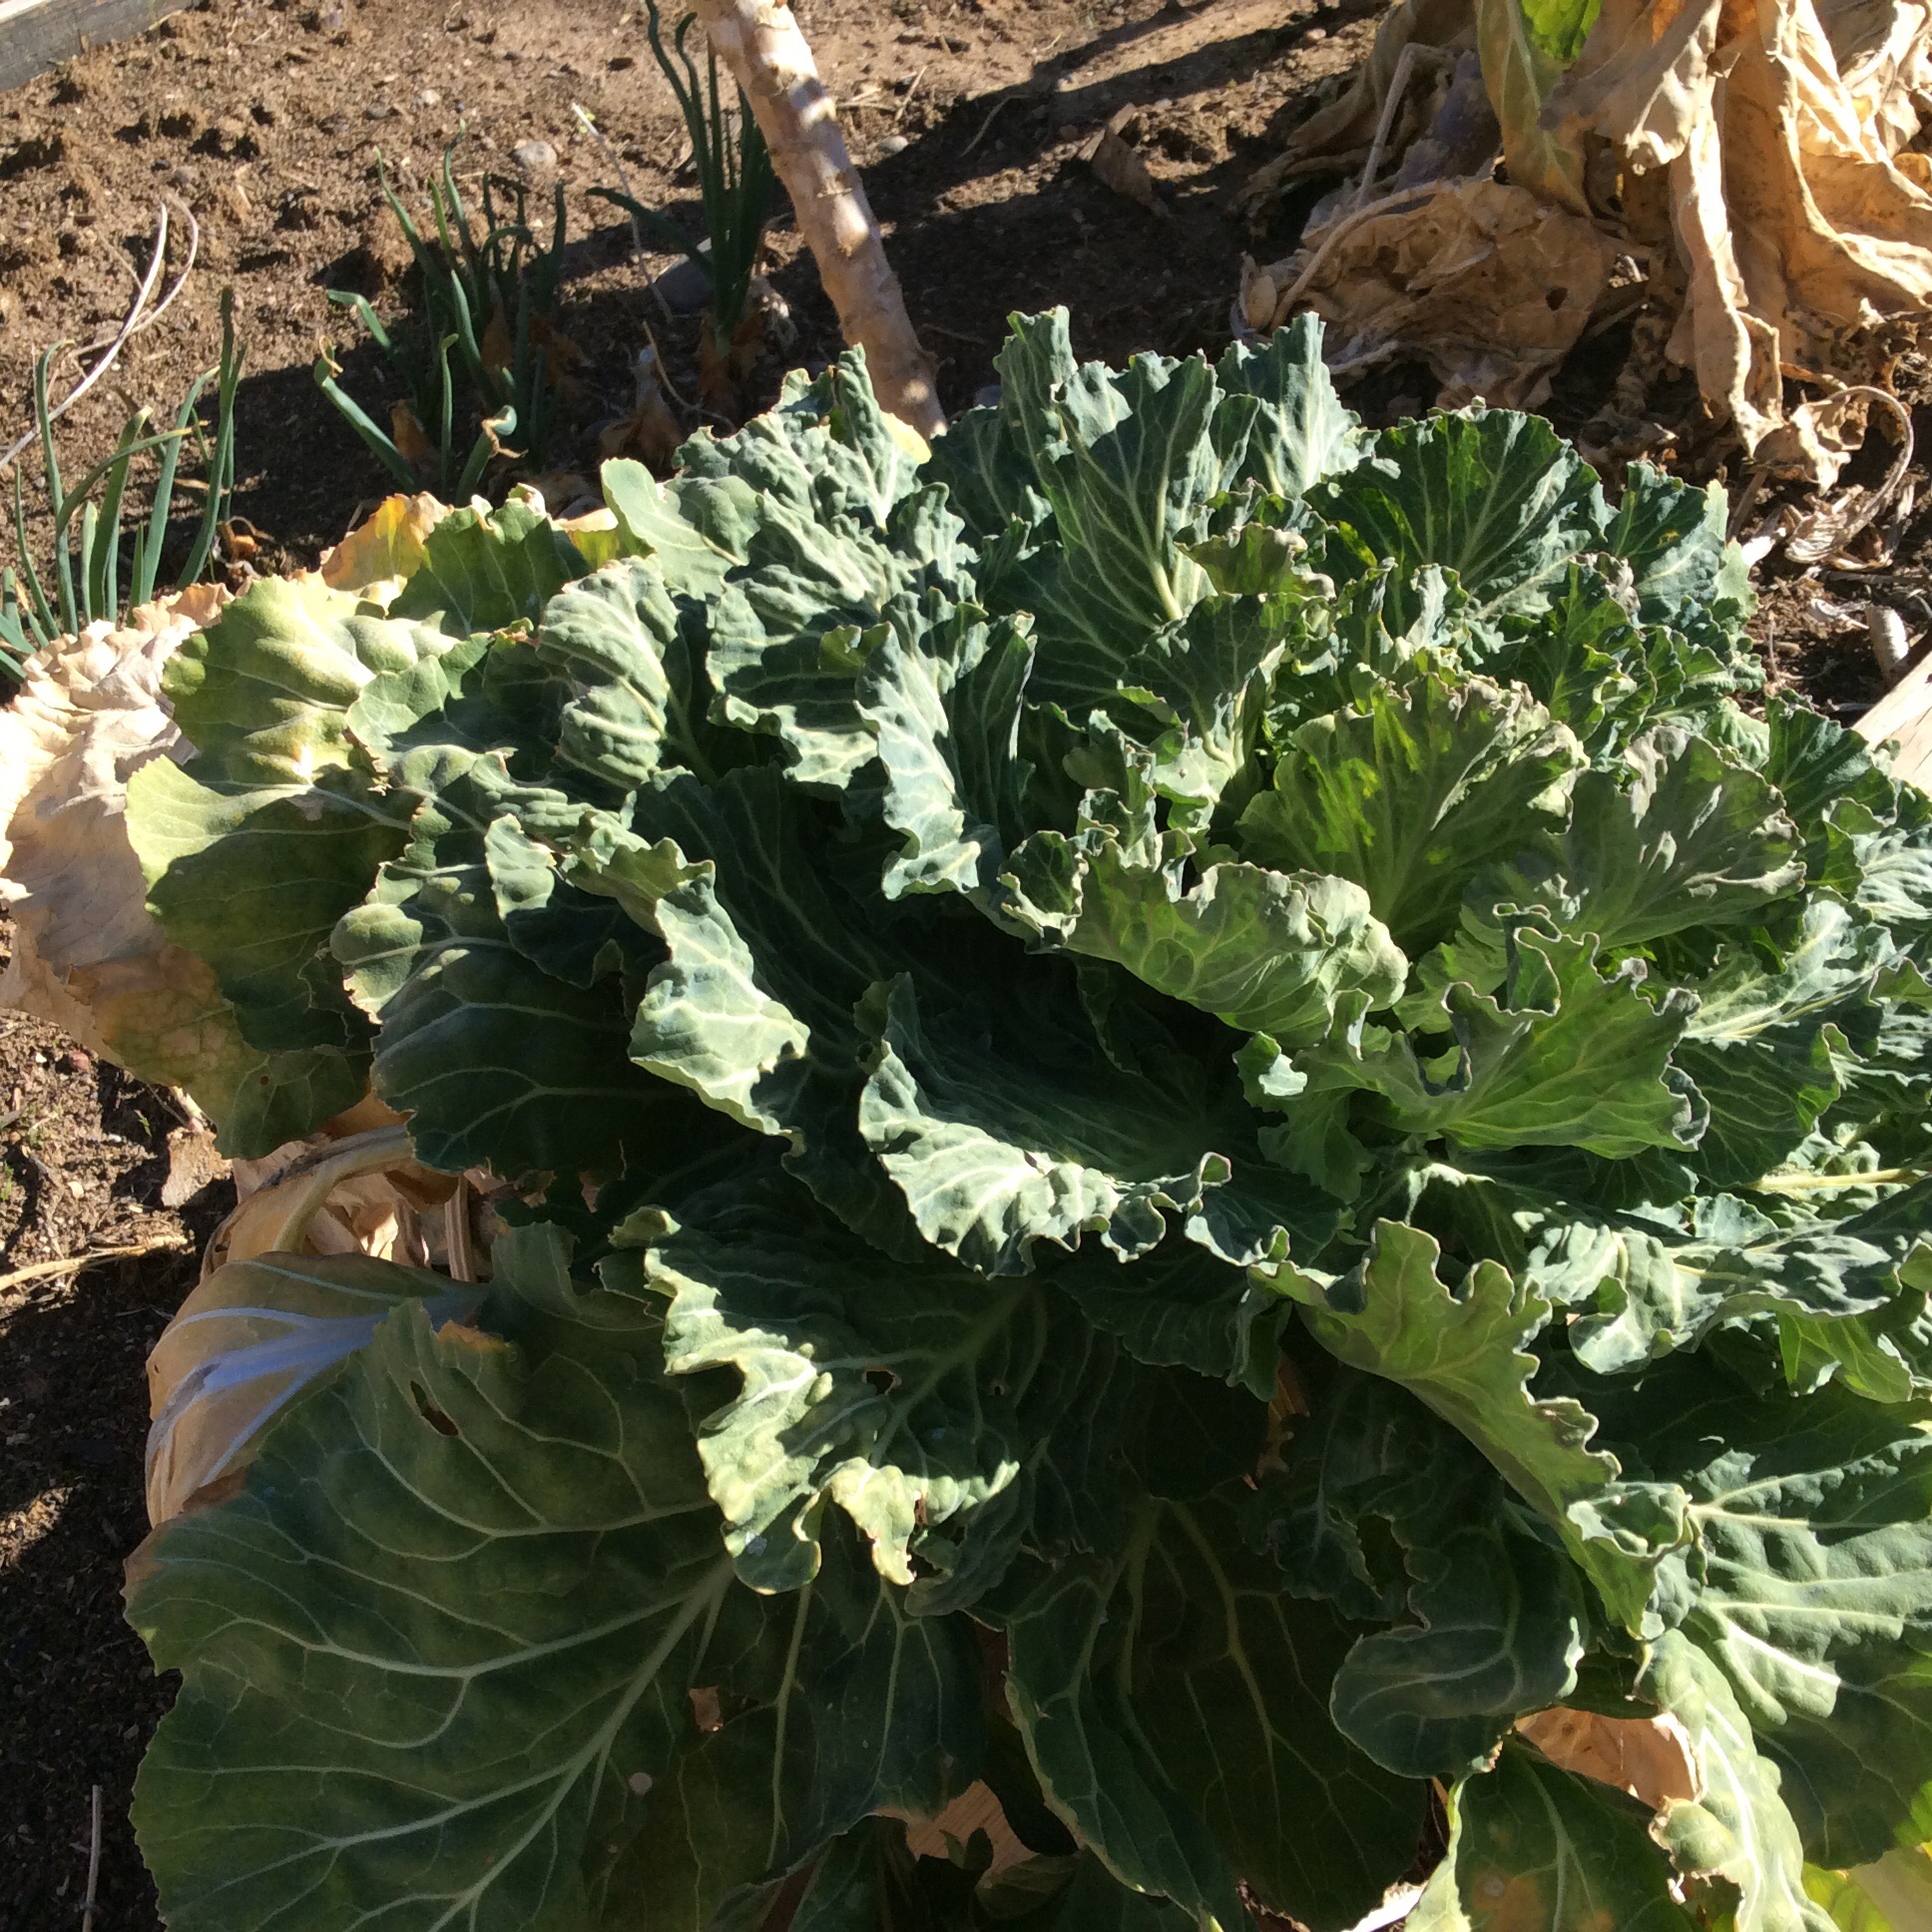
Tronchuda is not a weed, but a Portuguese kale with a cabbagey but mild flavor and enough vitamins, minerals, and antioxidants to make you crow. I bought my seeds from Nichols Garden Nursery a couple of years ago, and am selecting the ones that live through the winter for my Hunger Gap crop. You plant them in the spring, harvest the huge leaves for greens in summer and fall ( my chickens appreciate them too), and then leave the stem and the tuft of leaves at the top over the winter. They won’t survive if you don’t leave some leaves on. Those that survive will begin to leaf out again in February and provide you with thick, substantial leaves for stir-fries and cooking by early March. They are biennial and begin to shoot to flower by late March, and you can harvest the buds as a broccoli-like vegetable. Do bear in mind that if you want to save seed, you have to leave plenty of clusters to go to flower. Bees love the flowers and they are a nice early source of nectar. Collect the seed, dry them, and start the cycle over again.
11 Mar
Admitting What Didn’t Work
As a gardener/ farmer with a city lot, my rate-limiting step is space, and things that don’t work need to be given up and the space given to something else. This time of year, I’m often busy dealing with things that didn’t work and freeing up their real estate for other purposes.
Take my effort to create an asparagus bed with minimal work. The spot where I wanted to establish this long-lived perennial was awful, not to put too fine a point on it. The workers who built the house parked their trucks on it and used it as a dumping spot for leftover cement and other choice debris. The ground was packed hard as concrete, weeds wouldn’t grow there, and it promised hours of backbreaking work.
I decided to use less laborious methods to heal that area, and I planned to take two years to do it. In year 1, I built a long, low compost heap on my future asparagus bed. I used straw and chicken manure, layered it up about two feet high, and it heated well. I ended up with about four inches of pure finished compost over the entire bed, which I left to cool off completely over the winter.
Year 2, I stirred the surface of the compost and planted daikon and oats. The idea was that the oats would provide organic matter and the daikon would pierce and break up the hard pan beneath and make drainage channels through it for the plantings to follow. I supplied water, and the mixture grew well and looked healthy. Again, I left it over the winter to break down.
This year, year 3, I ordered my asparagus starts. On the first warm day in early February, I went out to the bed-to-be with my spading fork, to gloat over the results of my strategy.
What I found was a thin mat of organic matter, bound together by roots, over impenetrable hard stuff. The oats had made a thick mat of roots a few inches thick, and the daikon had turned at right angles when they encountered the hardened mess beneath and grown sideways
along the bottom of the compost.
So, finally, I did what I had to do and double-dug the bed, using a pick to break up the hard conglomerate and incorporating organic matter 18 inches deep. It took an entire back-breaking weekend. Now my bed is mellowing, ready for the asparagus roots to be planted in March.
Does this mean that labor-saving methods of gardening don’t work? No, it just means that everything depends on the situation. Study your situation, and be aware that some areas can’t be repaired without putting in a lot of sweat equity. Is it worth it? If you want fresh food and want to leave a piece of land better than you found it, the answer is an emphatic “yes.”
4 Dec
Goat milk in the morning, and a great goaty book

My goat does Magnolia and Cocoa are out being bred right now, and the back of my property is depressingly silent, with none of the constant cross-talk that occurs as they stand on the roof of their goathouse observing the antics of the rest of us. It makes me realize how much they’ve become part of our daily lives. In their absence, I’ll talk about some things that I do with goat milk.
Of course I make cheese, mostly soft cheese and halloumi. I plan to discuss cheesemaking in some later post, but for now let’s get on to the fresh milk. You will hear it said that goat milk tastes just like cows’ milk, to which I say “Not so fast.” On day 1, goat milk tastes much like cows’ milk but even when impeccably fresh it has a tangier flavor profile. However, it contains lipase that works on the lipids and changes the flavor. On day 2, it’s good but you will know that you’re drinking goat’s milk. On day 3 it’s quite strong and only good for making stronger cheeses, and on day 4, as far as I’m concerned, it’s chicken food (they love it, by the way.) So the goal is to use it up by the end of day 2.
I’m always looking for nutritious, tasty, and interesting things to eat for breakfast. They have to be very quick, because getting to work in the morning is not optional. And they have to hold me for hours so that I’m not tempted to snack.
One of my favorite breakfasts is a sort of warm pudding of goat’s milk and rice. The flavors are based on an Indian drink of warm milk sweetened and flavored with saffron that I read about in my early twenties. I recommend cooking this in an unglazed clay pot for the ineffable earthiness it confers, but do use a flame-tamer device or a simmer burner, because scorched milk adheres to clay like stucco. You can make several days’ worth at once and it will keep in a good cold refrigerator for up to a week.
Start with eight cups of fresh goat milk. Add half a cup of unwashed uncooked basmati rice or jasmine rice. Start the burner on low, and as your clay pot warms up, increase the heat gradually to medium. Add half a cup of agave nectar (important for its low glycemic index), a half teaspoon of salt, a teaspoon of saffron crumbled between your fingers, and a half teaspoon of cardamom crushed finely in a mortar and pestle (please don’t use the preground stuff.) For the first half hour you will need to stir frequently, scraping the bottom of the pot well all over with a wooden spoon so that the grains of rice don’t stick and scorch. Once the milk comes to a good simmer, turn the burner down as low as possible and add the flame-tamer under the pot. Add a large handful of raw shelled pistachios or slivered almonds. Let simmer, uncovered, for 4-5 hours. Stir occasionally. When a milk-skin forms on the top, stir it in. The rice will swell and the milk will cook down. You are aiming for something about the consistency of half-and-half, although naturally it will be lumpy with softened rice grains. It will thicken as it cools. Eventually you will have what looks like a cream-soup of a beautiful creamy-gold color. Turn off the burner and let it cool. Taste when cool, and add a little more sweetening if needed, but keep in mind that this is a breakfast, not a dessert. Store in a container in the refrigerator and ladle out into pretty little bowls, heat gently in the microwave (I use two minutes at the defrost setting for two bowls) and eat. I like to pour a tablespoon or so of extra fresh milk across the top for extra gleam and “juice.” It turns breakfast into a little ten-minute island of luxury, and the boost from my own chemical-free hormone-free alfalfa-fed goat milk is considerable.

Goats are compact, hardy, and economical, and the amount of milk they produce relative to body size is prodigious. It’s no surprise that they were among the earliest domesticated animals (although well after dogs) and that they still help people eke out a living in marginal circumstances all over the world. They are the ideal dairy/meat animal for small properties. And yet, rarely are the meat or milk seen in American cookbooks. This book changes all that, with scores of carefully composed recipes for the meat, milk, and cheese that goats produce. Buy it if you have goats or access to goat products. If you don’t, it’s still a great read, full of stories about the authors’ interactions with these highly interactive animals.
Also, checl out Mark and Bruce’s marvelous blog about making and eating real food, Real Food Has Curves.
