Archive for the ‘greens’ Category

Semi-permaculture

imageimage

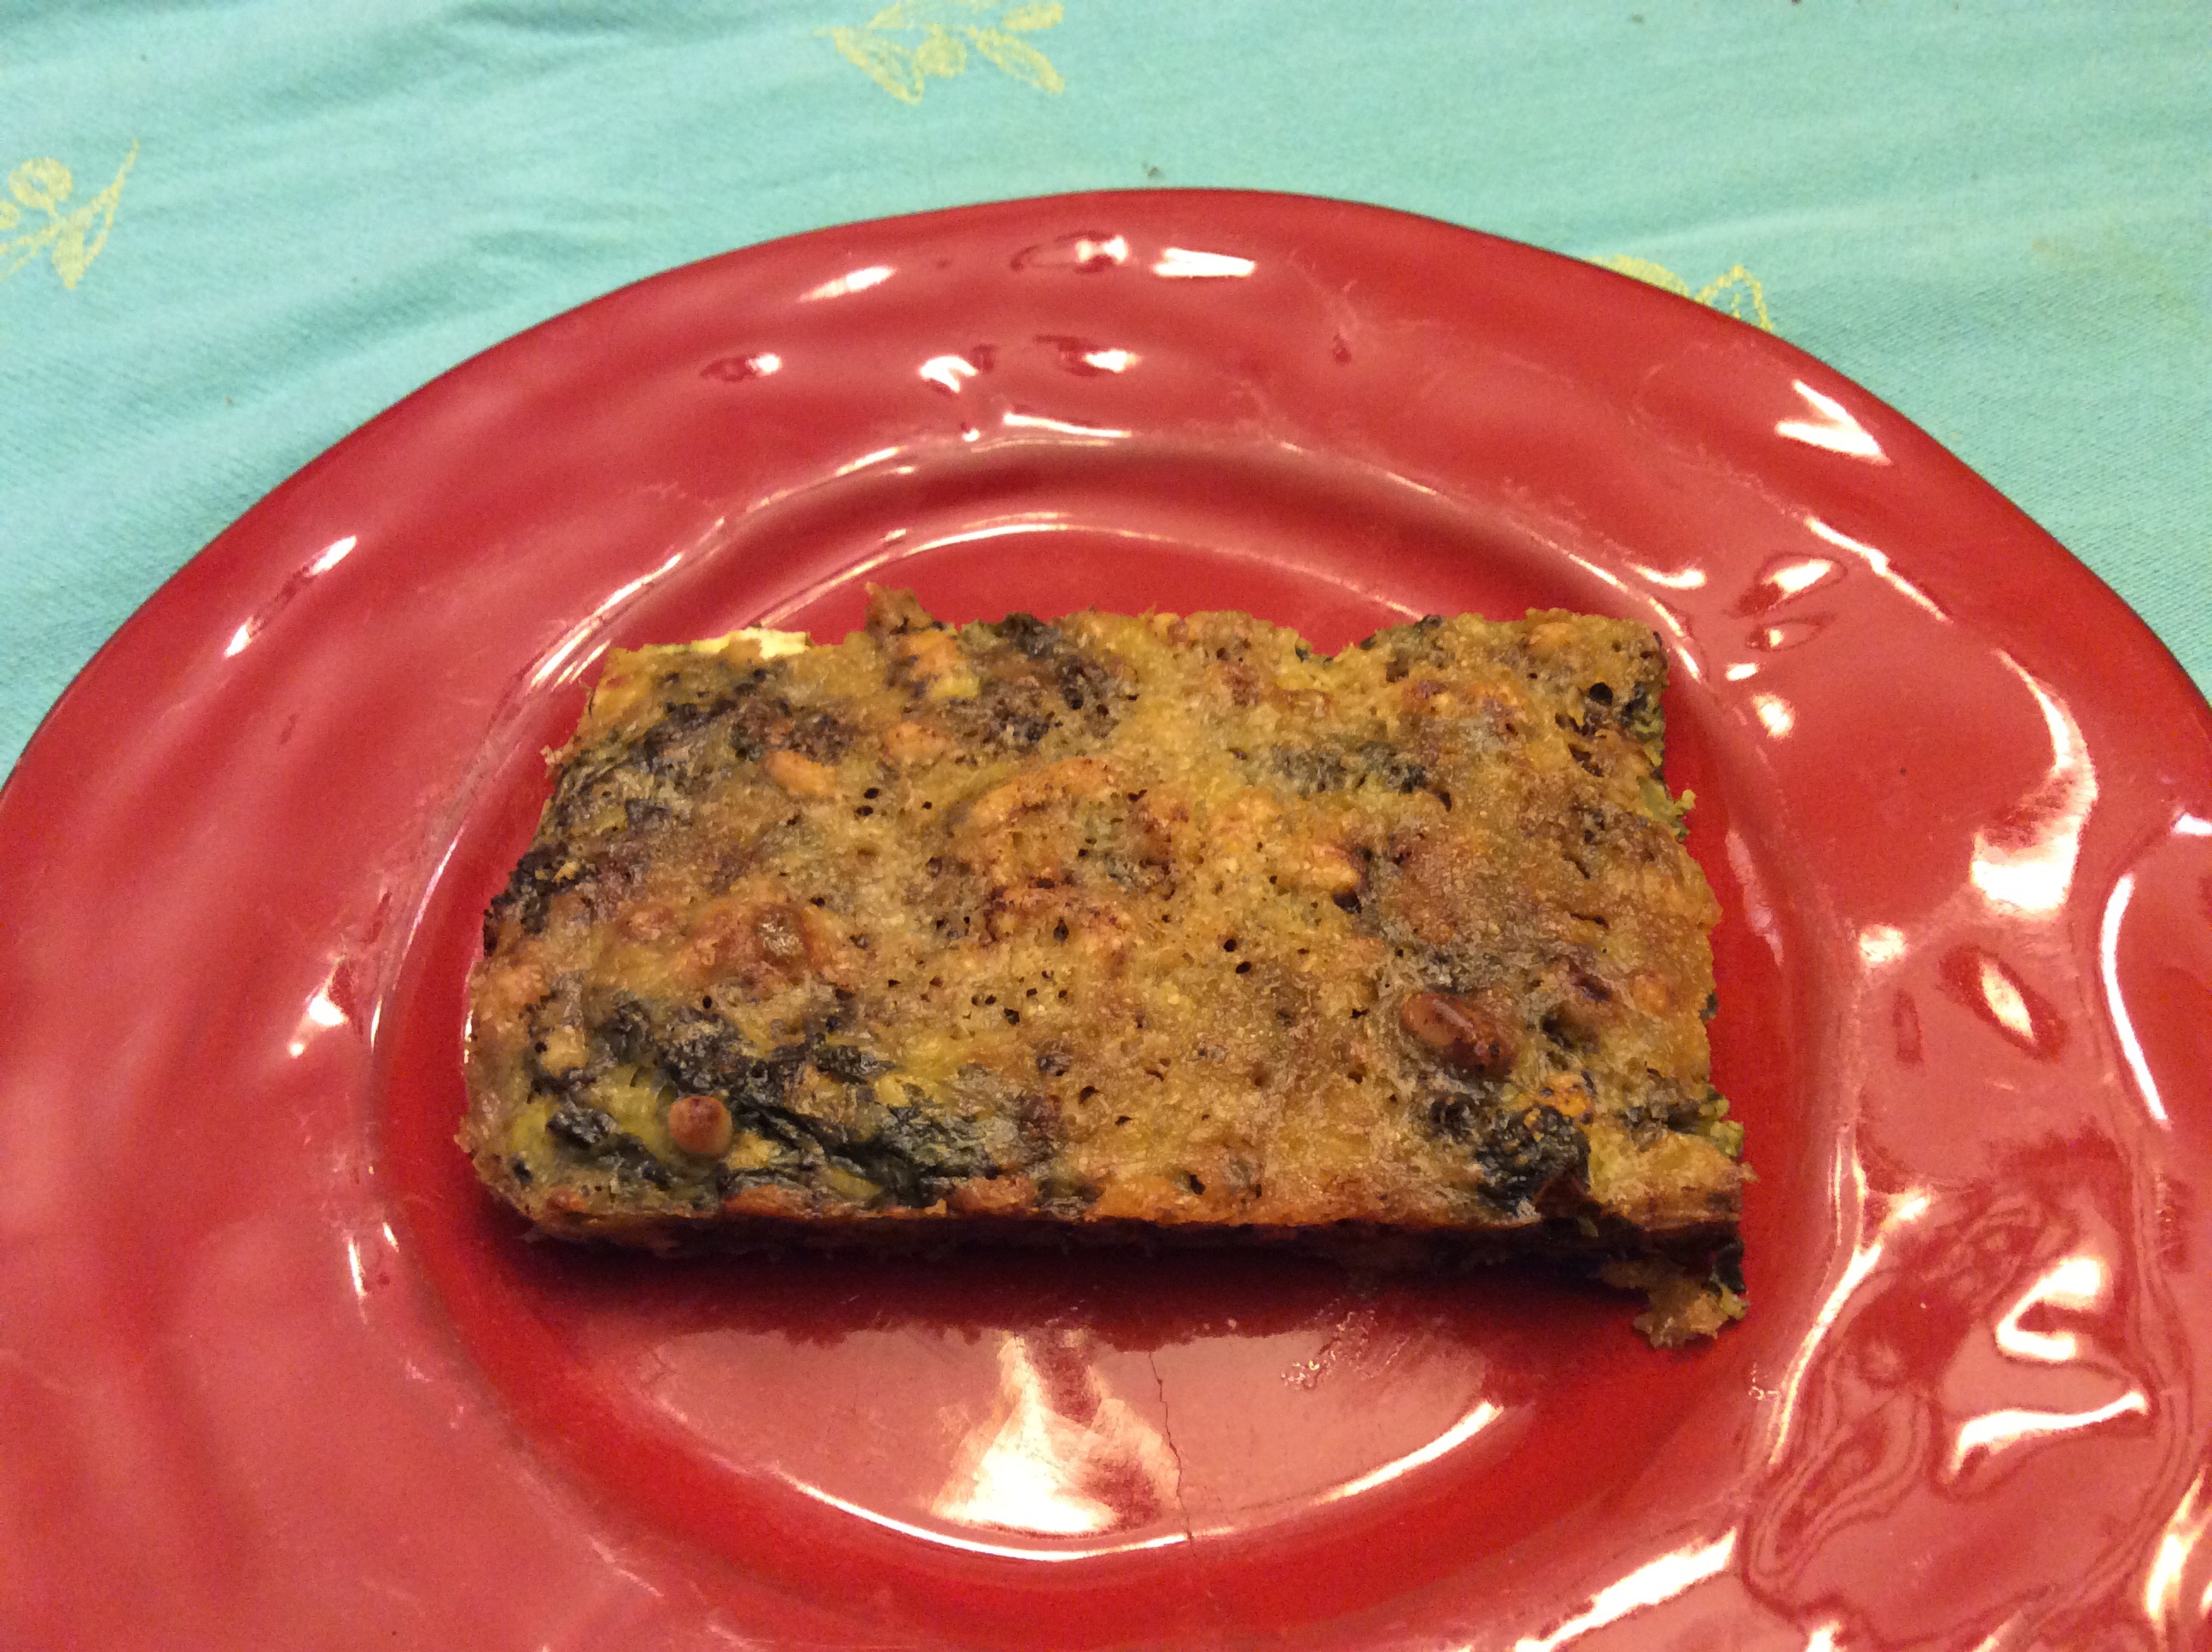
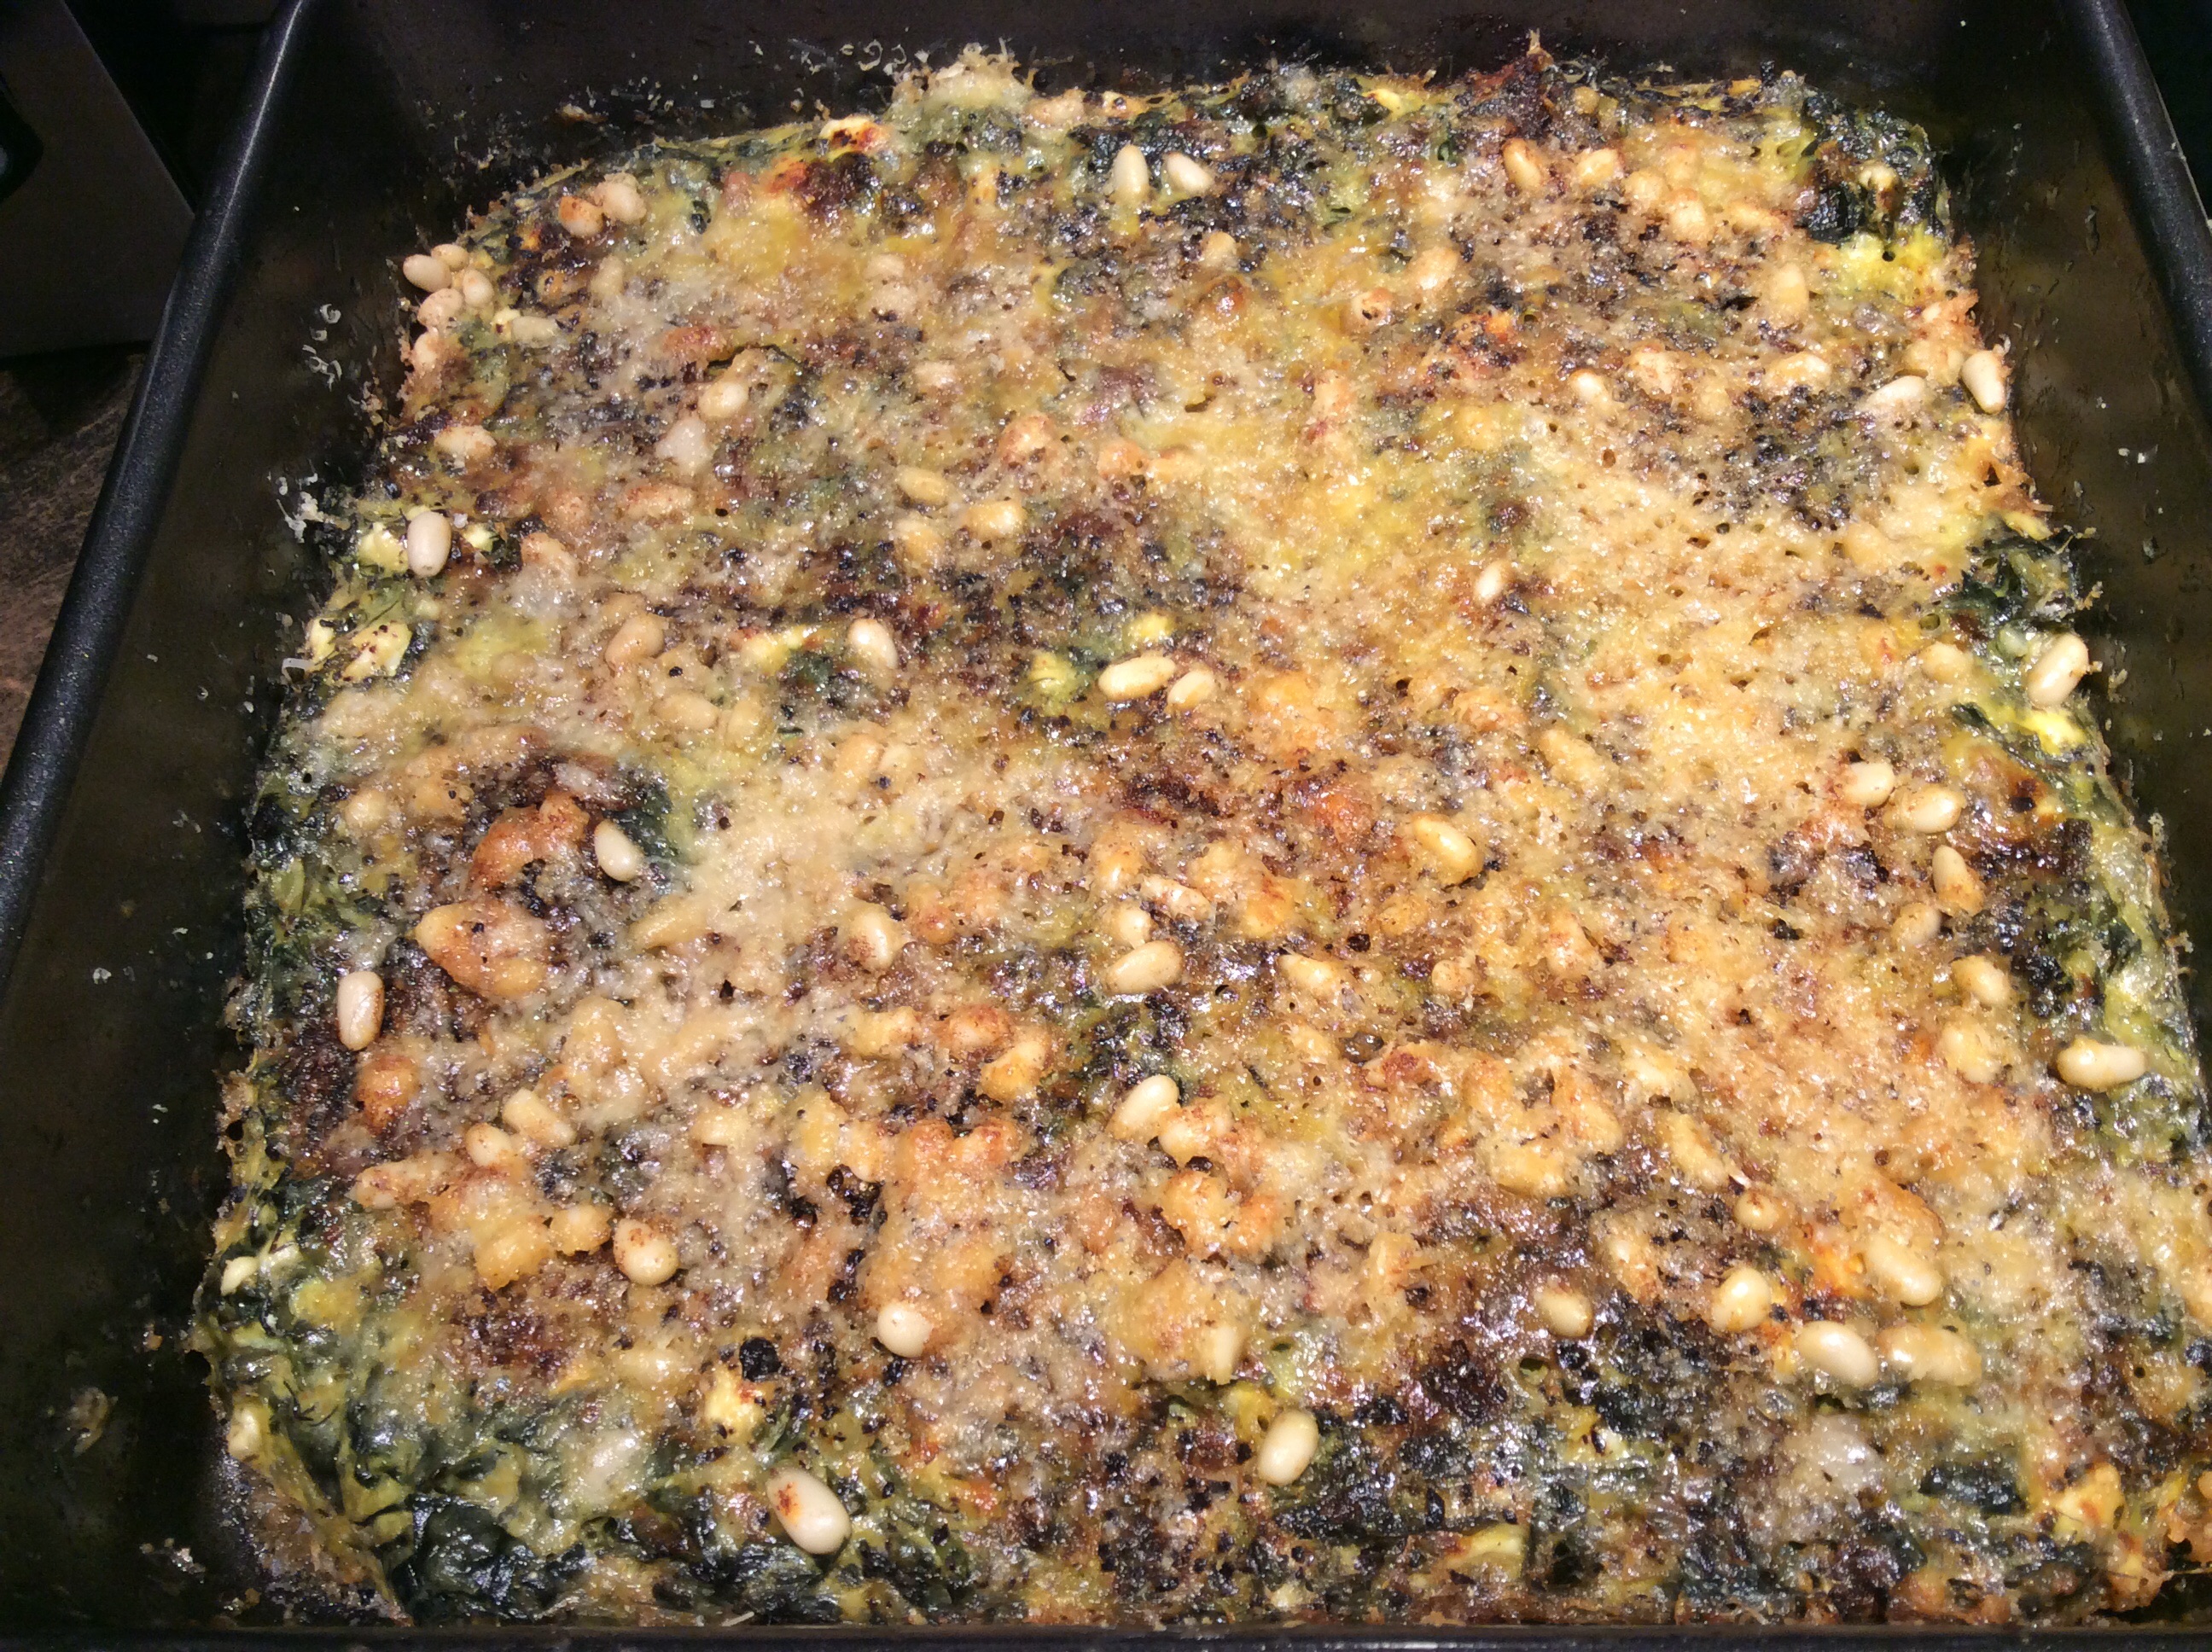
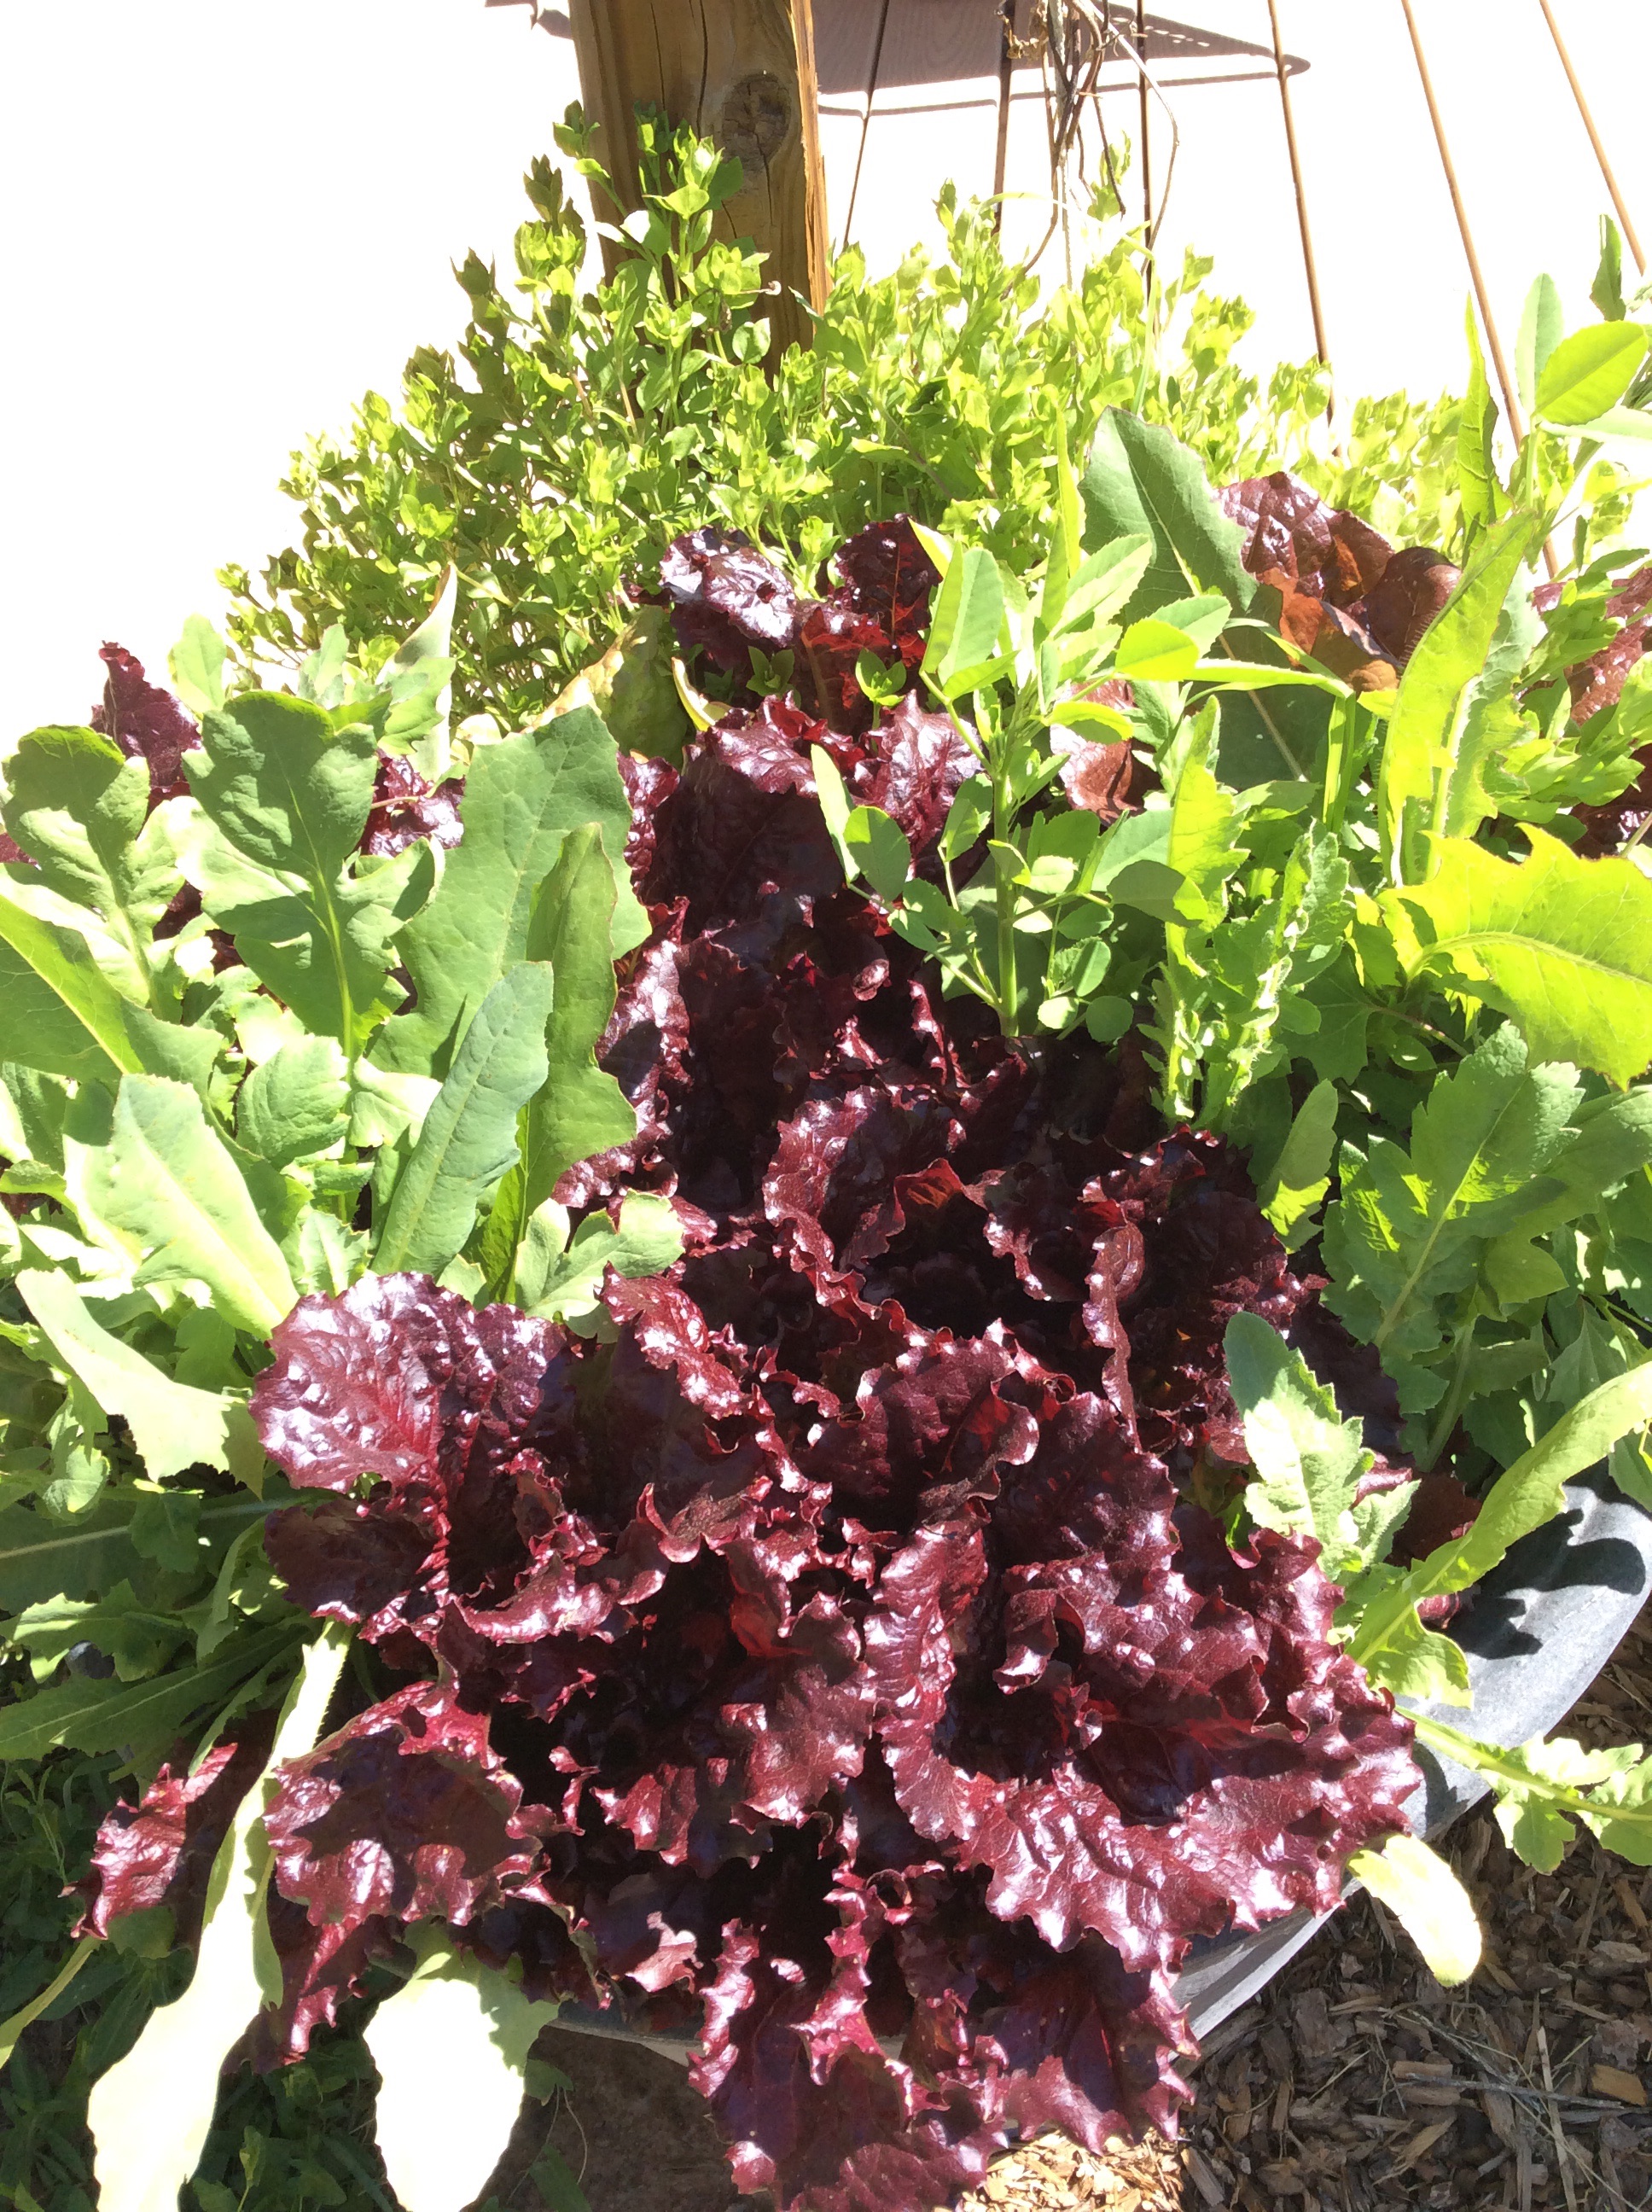
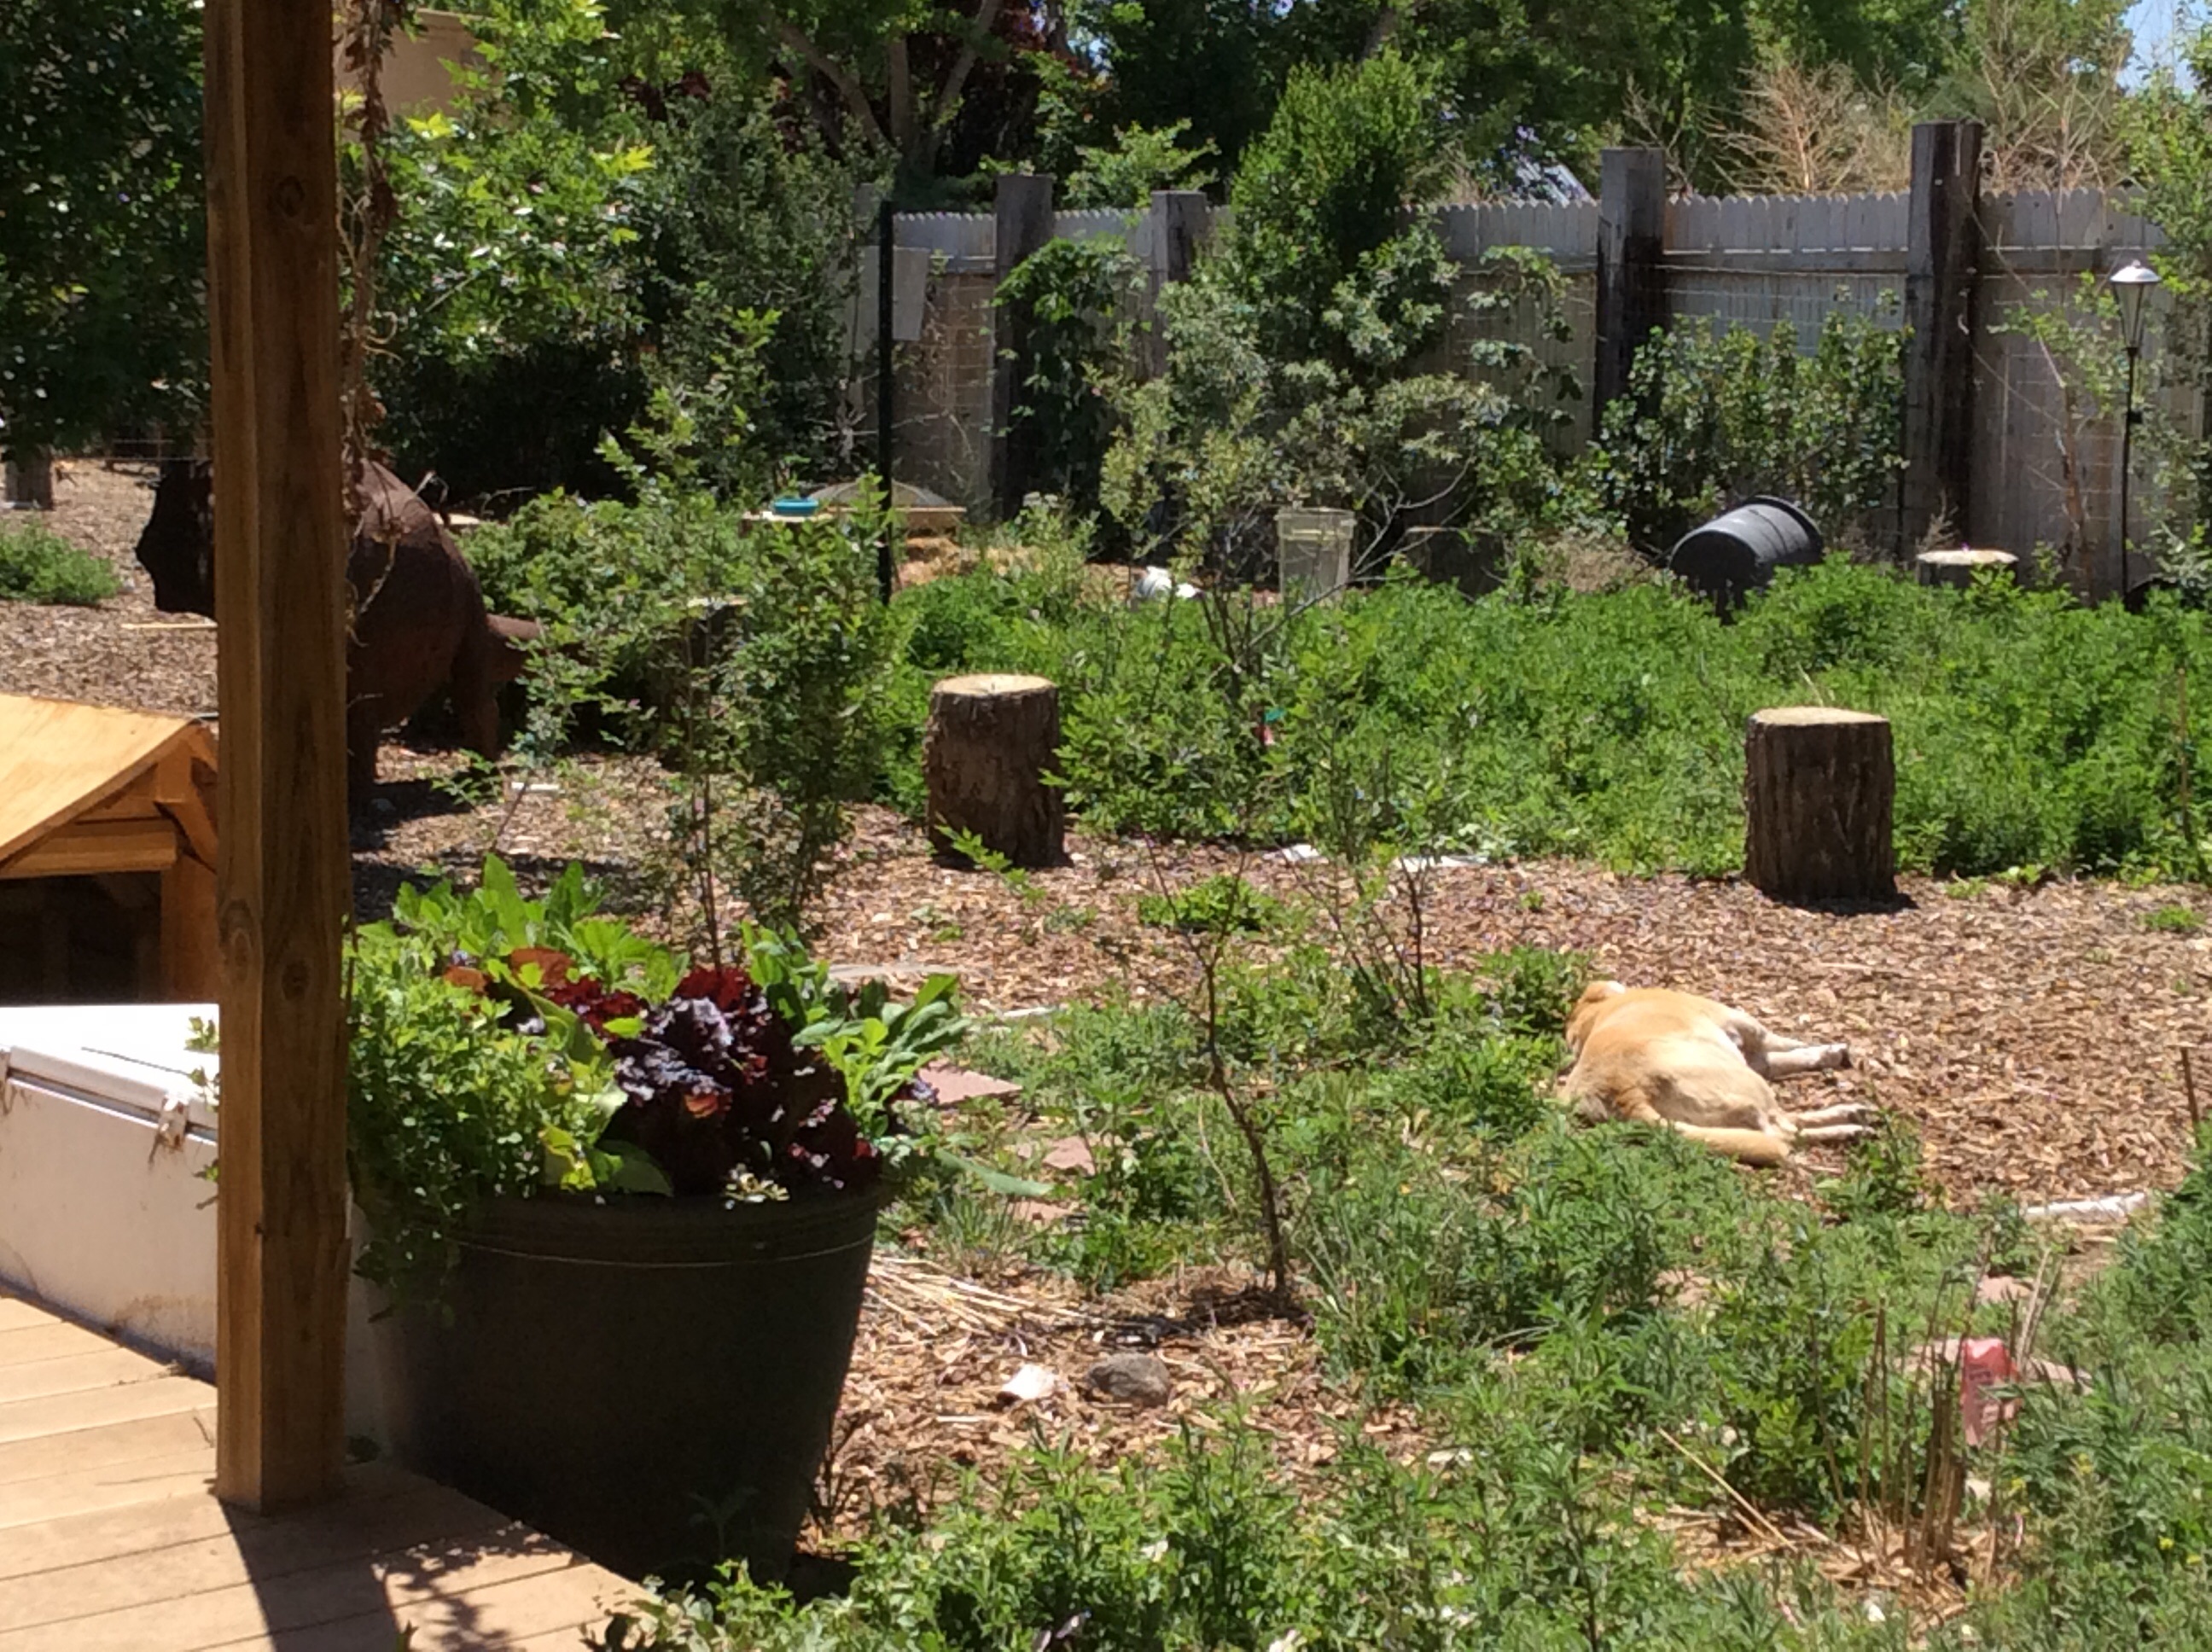
Every now and then I encounter some committed permaculturist who earnestly wishes to educate me about planning guilds (functional plant groups) in my garden. I just don’t think this way. It seems to me that, if you love to grow food, have a fairly high chaos tolerance, and live somewhere  long enough, you will naturally and accidentally discover what thrives in groups in your area, as well as what you really like to eat. Take the large pot above, which has been next to my back patio for four years. It is a microcosm, or micro-cosmos, of my interests over the time since it was placed. In it you can spot the gorgeous leaf lettuce Merlot that I’m growing this year, chickweed that I planted three years ago and which is self-seeding nicely,  moringa that I started experimenting with last year (which, incidentally, wintered over in a pot that isn’t watered in the winter and survived a very cold winter,) Shirley poppies from four years ago when this pot was placed, and wild lettuce which seeds itself all over at my house and which I tolerate because I like it in cooked greens. My planned combinations haven’t come out nearly so well. Everything in this pot is edible; yes, even Shirley poppy leaves are fine in cooked greens. But it all happened through planting things, not weeding too assiduously, and seeing what happened. If you have a poor memory and are prone to planting things in spots where you already planted something else and then forgot about it, some further felicitous combinations will occur.

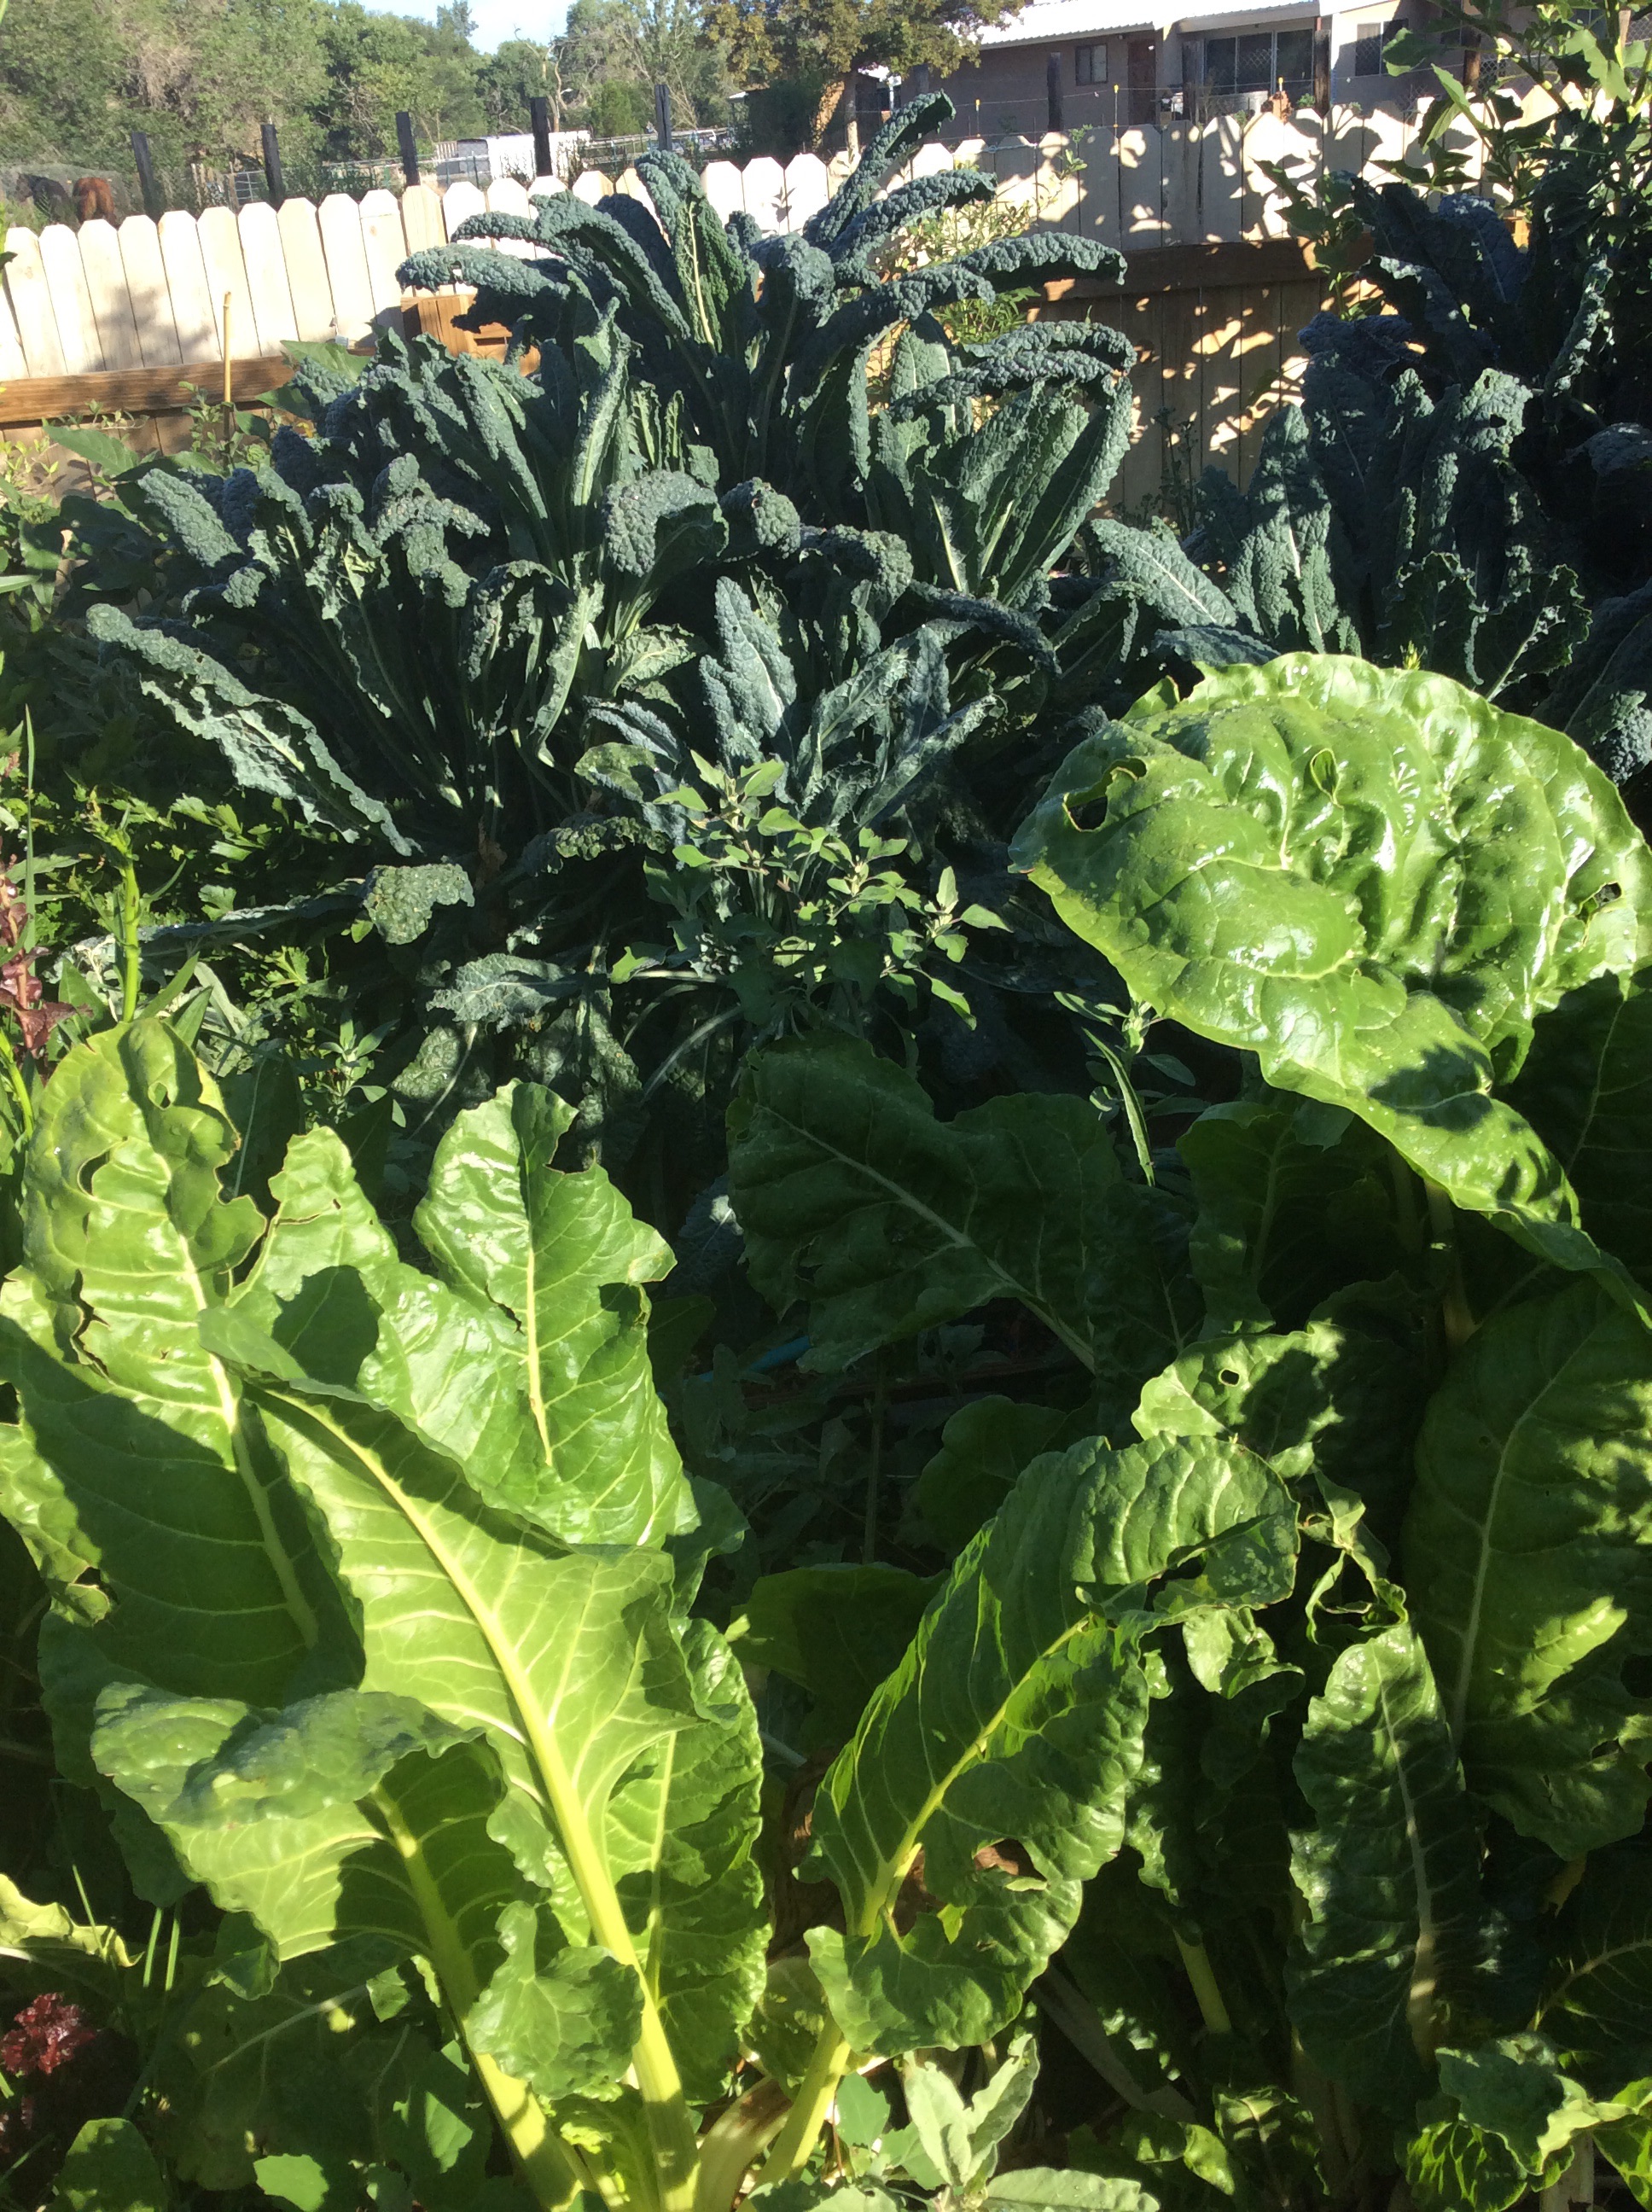
A linden planted for its edible leaves has a bird-sown wax current bush growing in its shade, bearing more heavily than its siblings in full sun. Bladder campion seeds itself into the shady north corner under the linden. Siberian elms, self-sown all over, can be coppiced for free goat feed. A bird-sown mulberry nearby can be coppiced for tender edible green shoots to use in cooked greens. Stinging nettles, struggling in the baking desert sun, root their way into the shade of the elm and mulberry coppices and begin to flourish. Stems of oyster mushrooms, dug into garden beds in the fall, produce a few nice oyster mushrooms in the shade of lettuce the following year. A single lambs-quarters is allowed to seed, and late-spring crops of mild and nutritious greens show up all around your intentional plantings for years.  A Russian olive that grows smack in the middle of a garden bed despite years of cutting it back and cursing it, can be pruned into a support for climbing snow peas. A really poor clump of garlic at the base of a tree, left by the last owner, turns out to be indestructible through baking summers and perfect for green garlic. Scorzonera and wolfberries make some good food out of baking unimproved spots where you can’t get anything else to grow. A local non-edible legume, the desert bird-of-paradise, springs up and offers light shade to the wolfberry, giving it a new lease on life and more tender leaves that you can toss into greens mixtures.  None of this is especially tidy, and the straight-row sort of gardener would never tolerate it. But for those of us who love a bit of natural mess and take our vegetables and our epiphanies where we can find them, it works.


Improvisational Cooking: Greens on the Table

imageimage
I am always yapping on about eating more leafy greens, and periodically I like to write about how I put leafy greens on my own table. Here is a low-carb recipe that even greens-phobes tend to like, and leftovers make wonderful lunches and snacks. It is improvisational in nature and you can substitute at will: this is a skeleton recipe and you can flesh it out any way you like.

The basic ingredients are greens, alliums, flavoring leaves, oil, cream, eggs, nuts, seasonings, and cheese. The greens, alliums, and flavoring leaves can be varied endlessly, except that the bulk of the greens should be relatively mild.

First, catch your greens. I carry a white plastic food-grade 3 gallon bucket out into the garden and pick it full, with the greens loosely thrown in and not packed down. Today I picked mostly lambs-quarters leaves, with some late spinach and early chard. If I was working from the farmer’s market or grocery store, I would choose a very large bunch of chard and Tuscan kale, and would tear out the large central midribs. Wash the greens twice. Grab them by handfuls and, on a BIG cutting board, chop them coarsely.

Second, decide on your alliums. Today I picked two big green onions and a couple of very big stalks of green garlic. If you don’t have a garden, a large onion and three cloves of garlic would work. You could use two cloves of garlic and two bundles of onion scapes from the farmer’s market.  Shallots are good in the winter. Don’t use garlic scapes in this recipe, because the texture doesn’t work.  Chop your alliums finely.

Third, consider your flavoring leaves. Think in terms of adding herbal, sharp, aromatic, and sour flavors. Today I picked several large young wine grape leaves for the sharp-sour note, a few leaves of lovage and a handful of parsley for green-herbal tones, and a few sprigs each of thyme and fennel for aromatic notes. Possibilities are endless. If working from the grocery store shelves, I would often choose a small bunch of parsley and some tarragon and thyme. Chop your flavoring leaves finely.

For the oil, I use top-notch extra virgin olive oil.

For the cream, I chose a can of coconut milk because I had one on hand, but heavy cream would do just as well, and if you insist on almond or cashew milk you can use that. You need a cup or a little more of your cream of choice.

For eggs, I use three whole eggs and nine egg yolks. Do be sure to get the best pastured eggs that you can get.

For nuts, I always use about half a cup of pine nuts. If you choose some other nut, chop them coarsely.

For seasonings, I used about a teaspoon each of red pepper and Urfa pepper flakes. I seldom vary this, just because I love this combination with greens. You may prefer freshly grated black pepper.

For the cheese, I nearly always use 6 ounces of finely grated Parmesan and eight ounces of the wonderful Mt. Vikos feta, crumbled.

Having made your choices and prepared your ingredients, preheat the oven to 375 and generously grease a pan about 10 by 14 with olive oil. Sprinkle the bottom of the pan with some of the Parmesan. Beat the eggs and egg yolks together and salt them a bit.

Heat some olive oil, about a quarter cup, in your largest skillet and sauté the alliums until they are softening. Add the coarsely chopped greens and salt rather generously, and cook turning frequently and carefully as the greens shrink. Cook them 15 minutes or longer, until they taste good when you eat a bite, and then add the flavoring leaves and sauté about two more minutes. Now add the cream. Boil a minute and take them off the heat and let cool 10-15 minutes.

When the greens are just cool enough to handle, stir in the crumbled feta and then the beaten eggs and yolks. Spoon the mixture into the greased cheesed pan, smooth out a bit with a wooden spoon, and sprinkle with the red pepper and Urfa pepper flakes. Then sprinkle on the pine nuts, or whatever nuts you chose.  Top with the rest of the Parmesan (I like to drizzle on a bit more olive oil, too) and bake at 375 until the mixture is firm and a knife tip comes out clean, about 18-20 minutes for me. then, if you like, run under the broiler until the top crisps a bit. Be careful not to burn the nuts. Let it cool a little and serve in generous squares, jam-packed with nutrition. Smaller squares could be used as a finger food.
image

Scorzonera Finds Its Purpose

image

Five years ago, when we first moved to our current property, I planted some scorzonera with the idea that it would be a good root vegetable for fall. When fall came, I dug up a root and prepared it, and found it stringy, hard to prepare, and not all that interesting to eat. I had two good-sized plants, and I never got around to digging up the second one. The next spring it sent up attractive green leaves, and although it was in a spot that I never remember to water, it flourished all summer on the 11″ of rain that we get in an average year. Impressed with its stamina, I left it in place. By the time it came up the third year I had read that the leaves were edible, so I tried them but found them undistinguished and didn’t bother with them again. The plant continued to earn its place by being bright green and trouble-free. This year, its fifth year,  the plant began to send up bloomstalks at a time when I had a free afternoon and a propensity to experiment, and I discovered scorzonera asparagus, the plant’s culinary reason for existing. Gather the top 4-5 inches of each scape while the buds are still tightly closed and held close to the stalk, wash well, and toss into a hot skillet with a generous glug of good olive oil and salt to taste. Turn the heat down to medium now. Turn them often so that they brown in spots but don’t blacken. Don’t walk away from the stove! They are done when the leaf tips are fried brown and crispy, and the stalks are just cooked through. Eat promptly, as the semi-wild treasure that they are. I made a little plate of them to be a “cook’s treat” in the kitchen while I was cooking something else, and unwisely offered my husband a taste, which resulted in him eating most of them. They’re good.

This tough-as-nails perennial grows in the desert with little care besides the initial planting and weeding when it’s small, and I plan to plant more. I do offer it some water to make it grow big and bountiful.  I may have called the leaves “undistinguished,” but if other spring greens ever fail me, I guess I’ll be glad to have them. It took me a while to learn to use it well, but this plant earns its place in the food garden.


image

Pleasures of the Garden: Solo Specials

image
If you have the habit of solitude, there is no better hobby than gardening, and cooking for one can be a real pleasure too. Today I noticed that the radishes which I plant in my carrot rows ( one radish seed every four inches or so, to break the soil up and offer some shade and shelter for the tiny infant carrots) were ready to pick. Only four were ready, and I’m on my own today, so I began planning my solitary lunch, based on very flavorful (somewhat bitter) greens. I had the four radishes and their tops. I also picked the tops of several infant carrots ( they needed thinning and didn’t yet have any roots to speak of,) two large leaves of spinach, a couple of leaves of arugula, and a few large sprigs of lambs-quarters from the weed patch, to offer a mild cushion for the stronger greens. I also grabbed tender tips of alfalfa and a stalk of green garlic. A still-warm egg from the henhouse completed my outdoor prep.
image
Indoors, I washed the radishes and greens, sliced the radishes in half lengthwise, chopped the stalk of green garlic finely, and then chopped all the other greens together more coarsely. In a small skillet, I heated a couple of tablespoons of good olive oil and started sautéing the green garlic. When it started to look a little cooked, the rest of the greens went in. Then I added some salt and cooked over medium-low heat for a little over 15 minutes, until the greens were softened and mellowed but still had plenty of character.

image

Meanwhile, I spread the sliced radishes with good grass-fed butter and sprinkled them lavishly with my best fleur de sel. When the greens were ready, I turned them out onto a little warm plate, added some more olive oil to the skillet and quickly fried the egg in it, and added the radish slices that I hadn’t already eaten to the plate.
image
Yum. There is absolutely nothing like a fried egg to mellow the flavor of strong bitter greens. And now, filled with bubbling good health, I can go on to an afternoon of further garden chores.
I eat a ketogenic (ultra-low-carb) diet for health and weight reasons, but if bread is still in your kitchen, a couple of slices off a good baguette would add heartiness to this perfect little impromptu meal.
Ah, the witchcraft we perform in our gardens and kitchens when nobody’s looking.