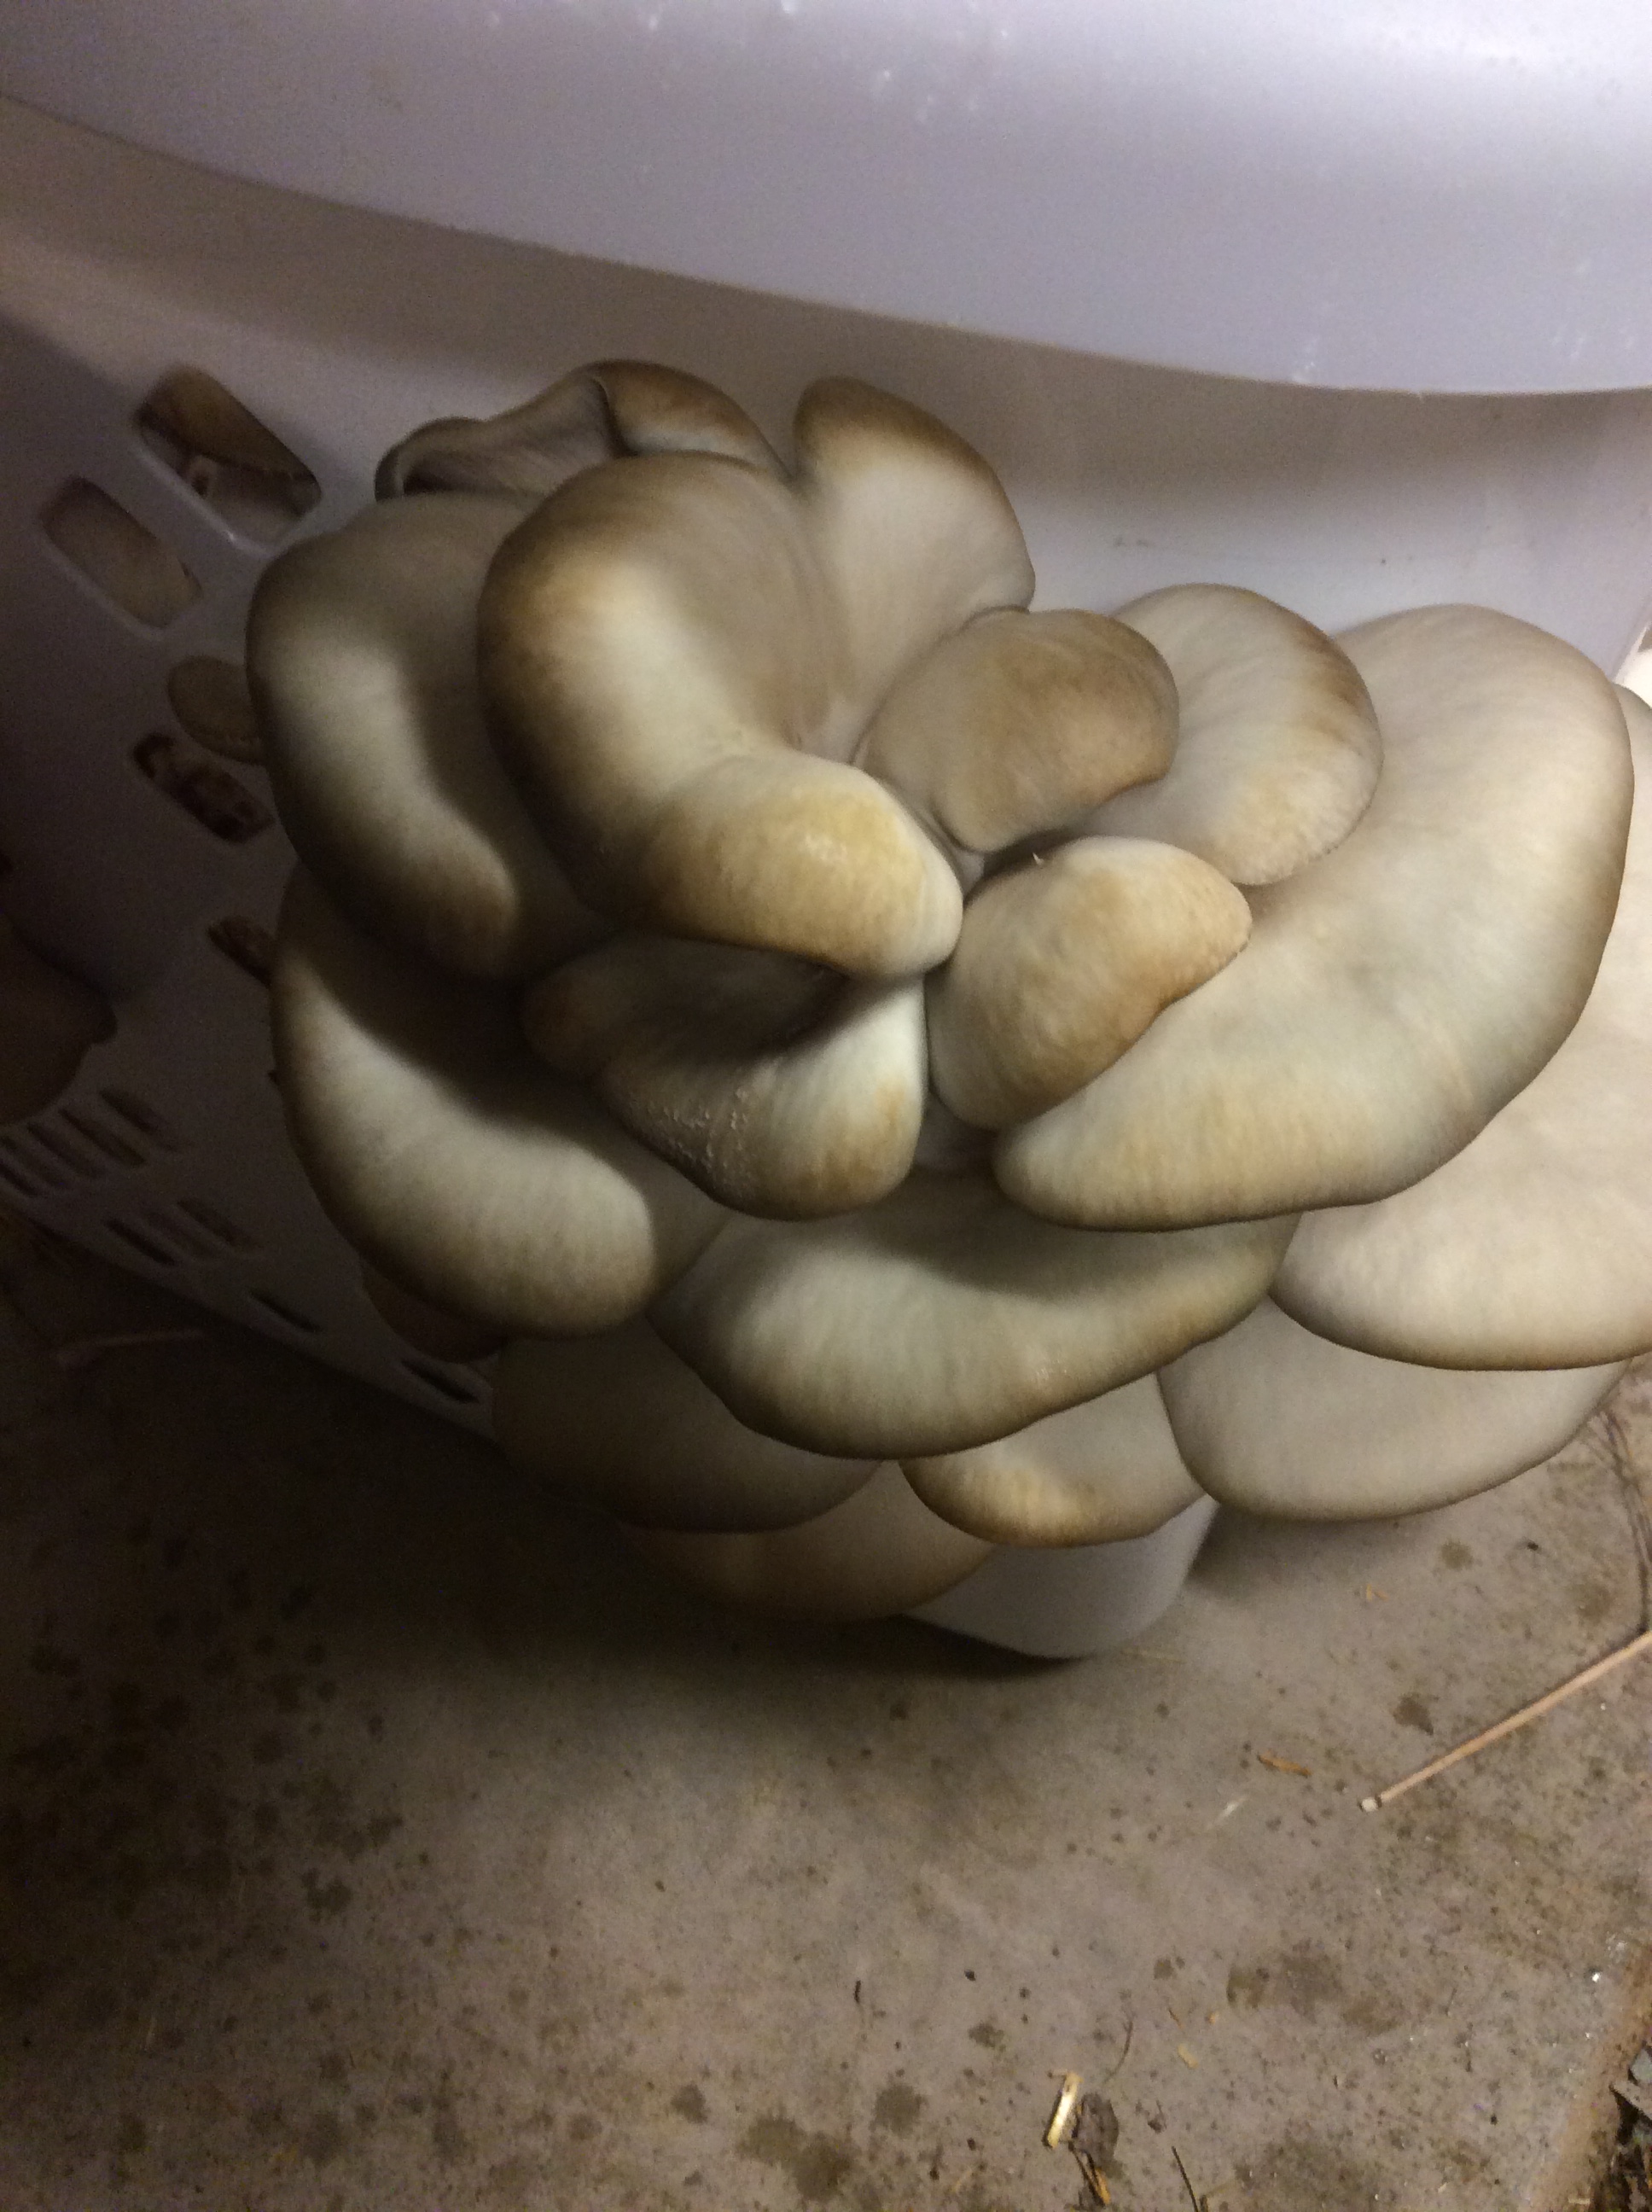
In a post this summer, I wrote about the delicious oyster mushroom and my own irritation that I was not able to grow them. My luck has recently changed, as shown above.
Ironically, this was by far my least scientific effort. There are many good books on mushroom growing if you want to learn how to do it properly. But here’s the very improper way I did it:
1. You will need a gallon of concentrated hydrogen peroxide for the sterilization step. I got mine at a pool supply store. It is 27% and I diluted it about 1 to 10 with water to make a nearly 3% solution. I used half the bottle to make about 5 gallons of solution for a total cost of $15.00.
2. Have ready a laundry basket that you won’t need for a while, a large clear plastic bag like a clear garbage-sized bag, a bucket to mix the H2O2 solution, a large bin (a clean plastic garbage bin is fine) for soaking the growing medium, and a source of spawn. You can order sawdust spawn from Fungi Perfecti or a host of other sources. This was an impulse effort for me, and I used a small home oyster growing kit on sale at a farmers’ market and just crushed up the little sawdust log inside to serve as “seed. ” Don’t do the crushing until you are ready to mix it into the moist substrate.
3. Collect junk mail, newspaper, and cut-up cardboard until you have your bin nearly full. Remove any plastic wrappers. I omitted anything with bright pictures etc. to avoid introducing unknown inks.
4. When ready to proceed, throw into the bin a few handfuls of something high in nitrogen for nourishment of the mycelium. I used waste alfalfa because I have a lot of it around, but you could just use organic soy meal or something similar. I can’t be more exact than “a few handfuls” because that’s how I measured it.
5. Pour in your 1 to 10 hydrogen peroxide solution and let it soak a few hours. If you just cover your substrate mix, it should all soak in. Add a little more if needed, but you want it thoroughly damp, not wet.
6. Line the laundry basket with the clear plastic bag. Crush up the hyphae or spawn source if needed. Pile the damp substrate into the basket, adding a layer of sawdust spawn every couple of inches. Pull the bag shut at the top, tie closed, and use a knife to make punctures in at least 10 of the open spaces on each side of the basket.
7. If you want to duplicate my procedure exactly, you now plop the whole rig in an unused and unswept corner of the garage, stride away muttering that you have wasted a few more hours trying to grow mushrooms, and forget about it for 5 weeks or until your spouse informs you that giant mushrooms are popping out and you should go take a look. Better results will no doubt be obtained if you do it right, which is to hang a sterilized plastic sheet as a humidity tent, not letting it touch your growing rig, and provide air circulation and a humidifier, or mist multiple times daily. Suit yourself. But I got close to 3 pounds of mushrooms at the first flush with no attention at all beyond assembling the growing basket in the first place.
So, I will try this haphazard method again, especially because it should break down my junk mail enough to make it possible to incorporate it into the garden. If you are a better and more detail-oriented grower than I am, please comment and let my readers know how you do it.
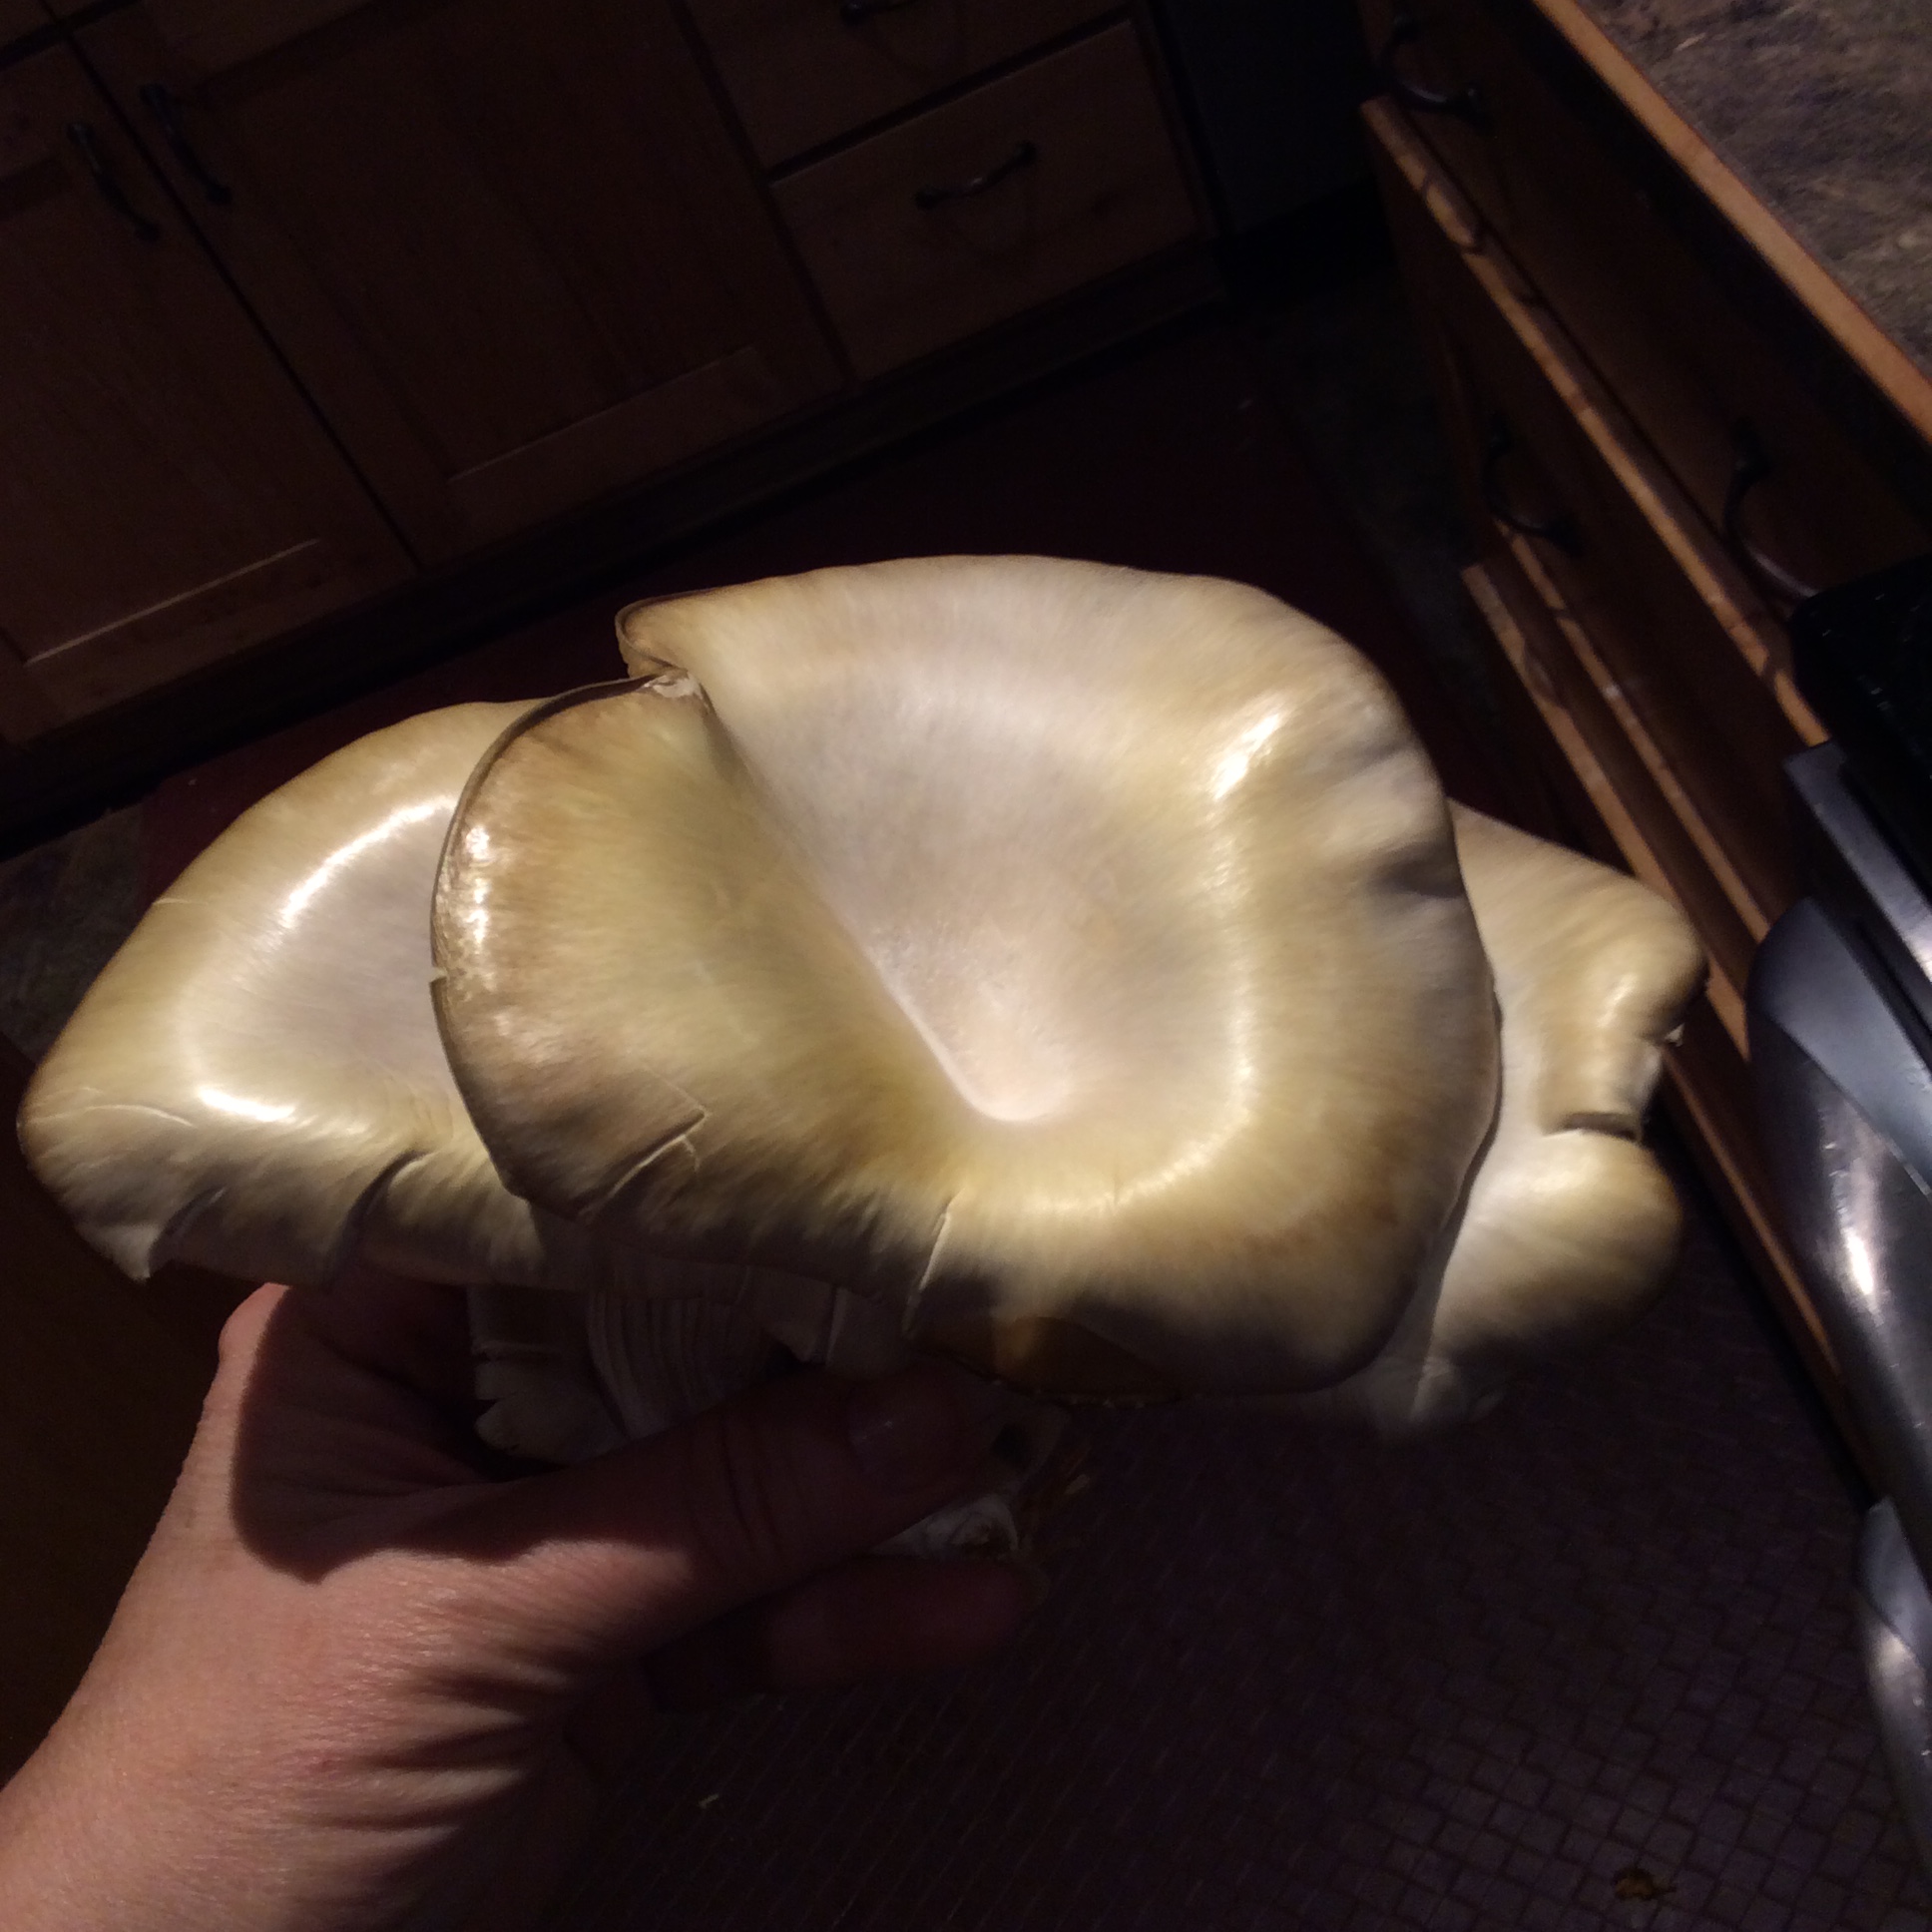
ADDENDUM: Had to add a picture of the proof of the pudding.