Posts Tagged ‘growing mushrooms at home’

The Perennial Paddock: Mycelial Madness

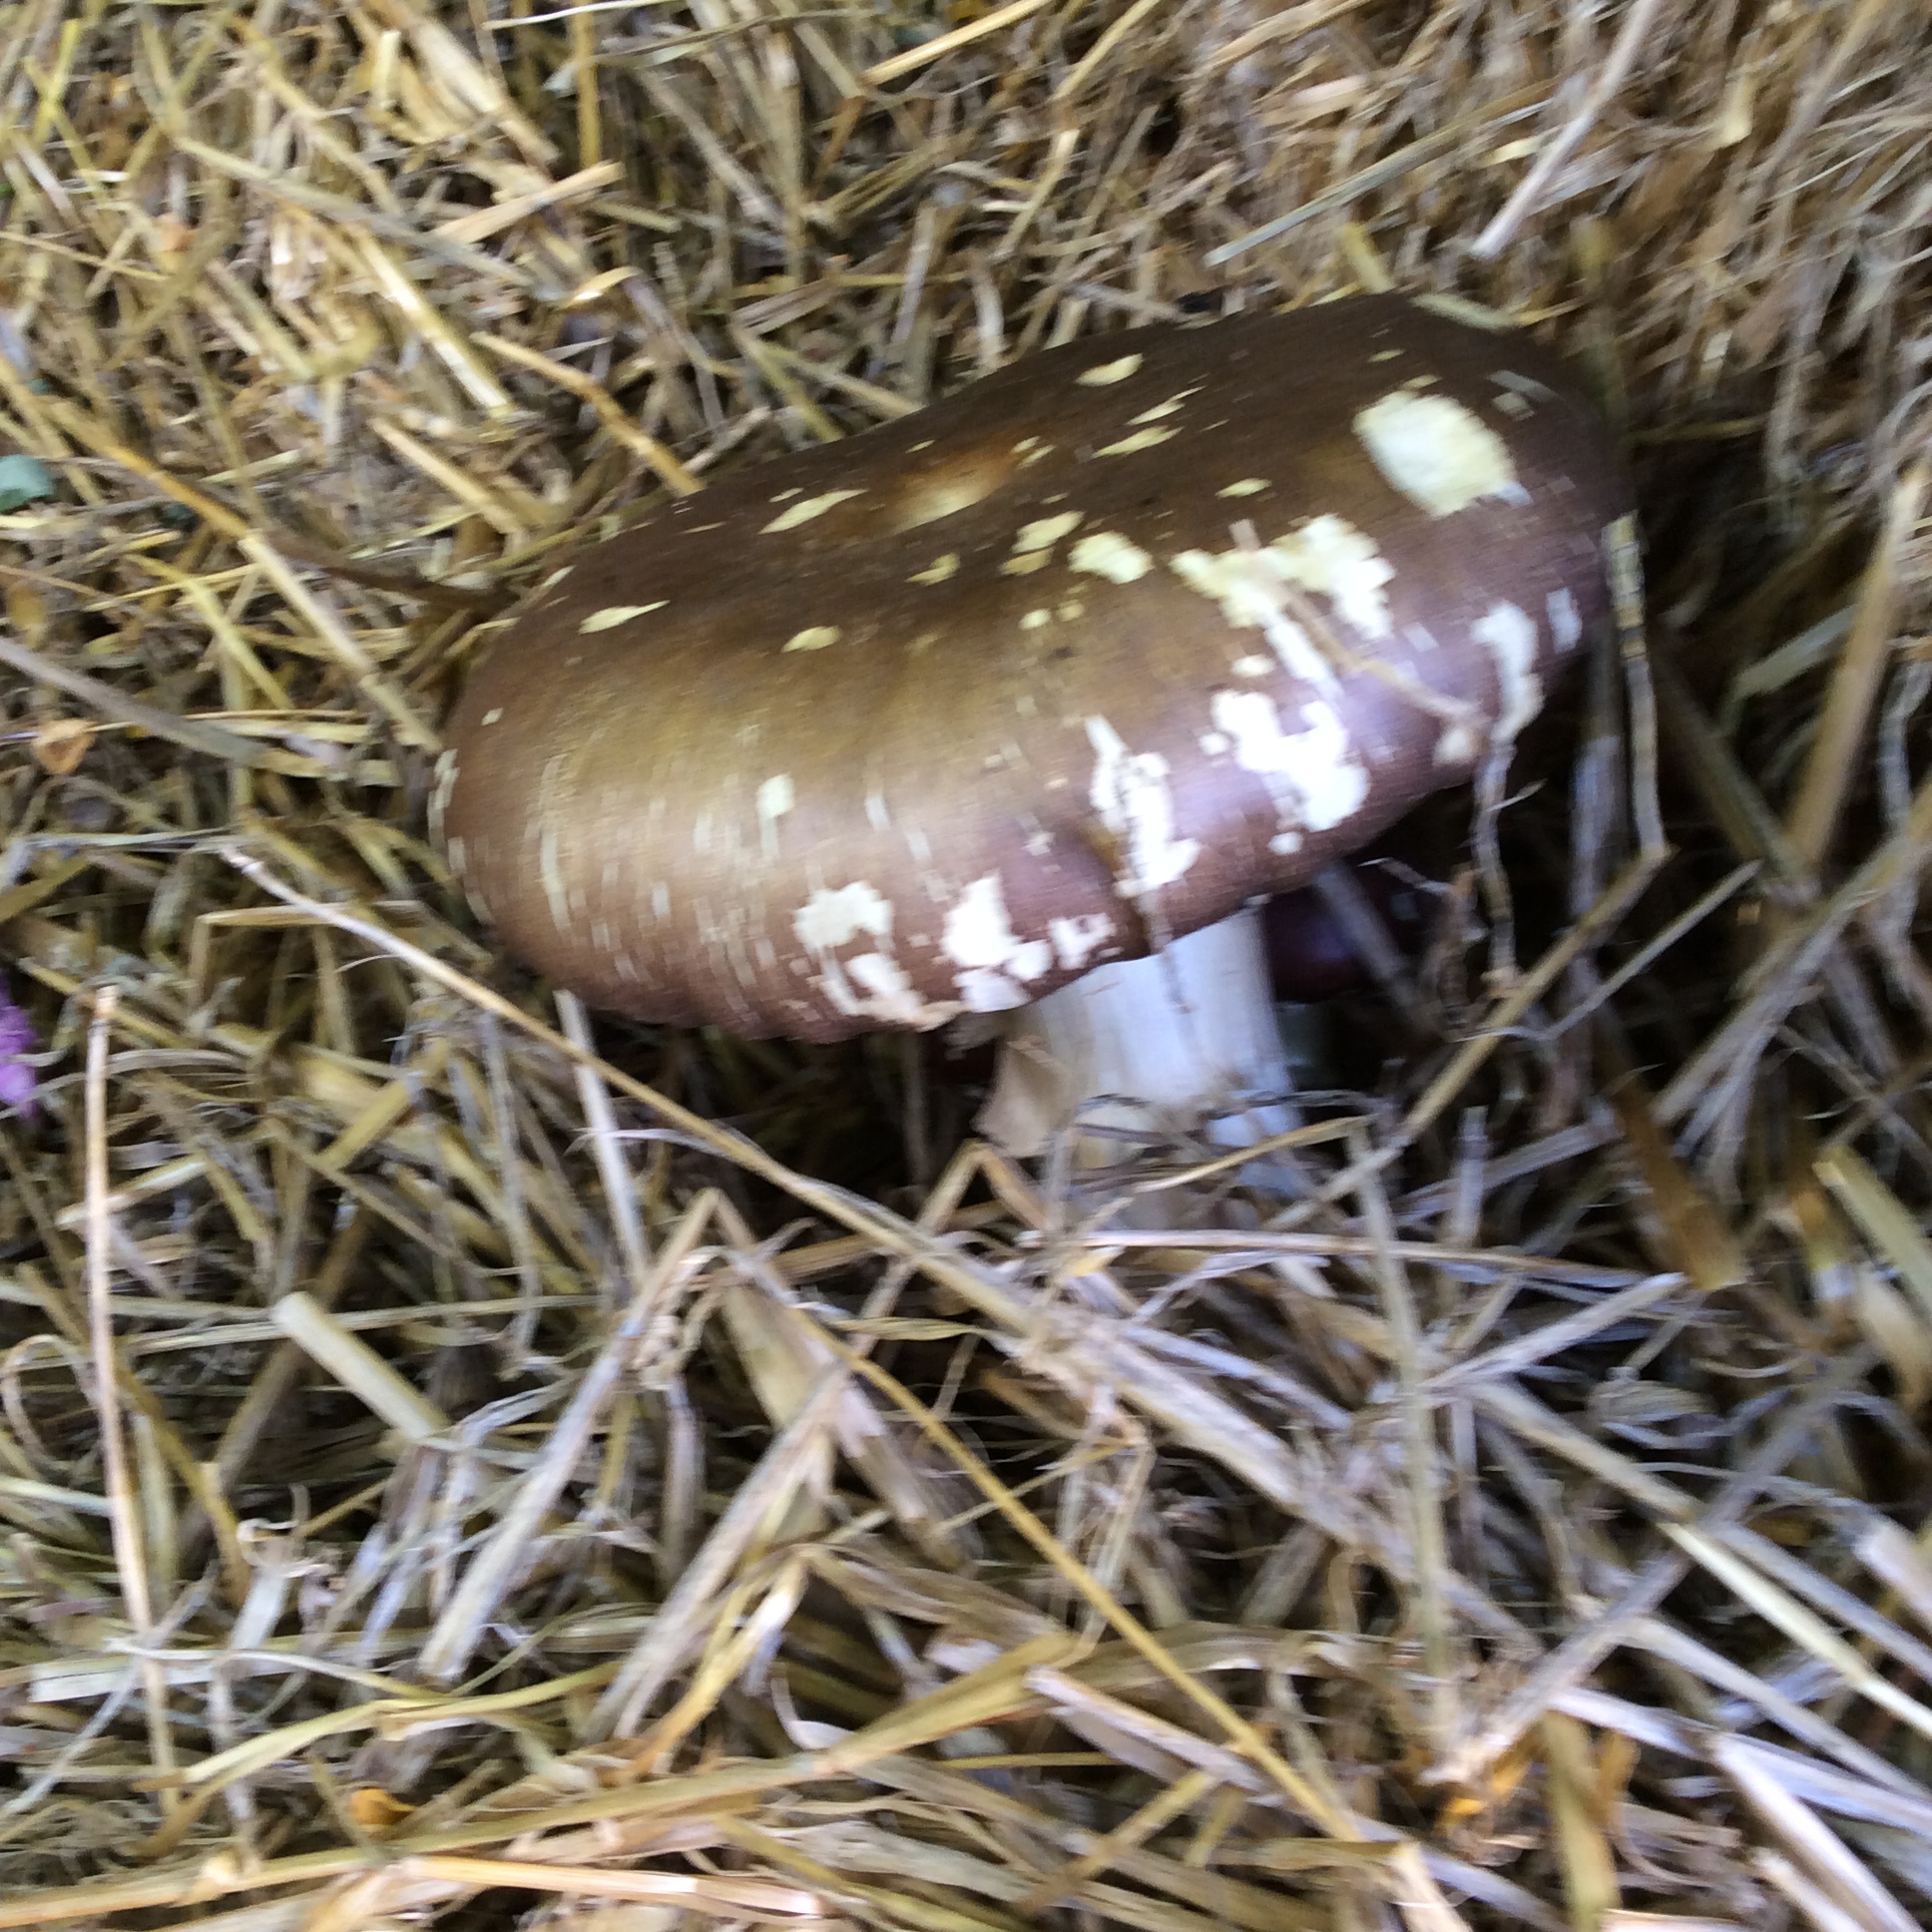
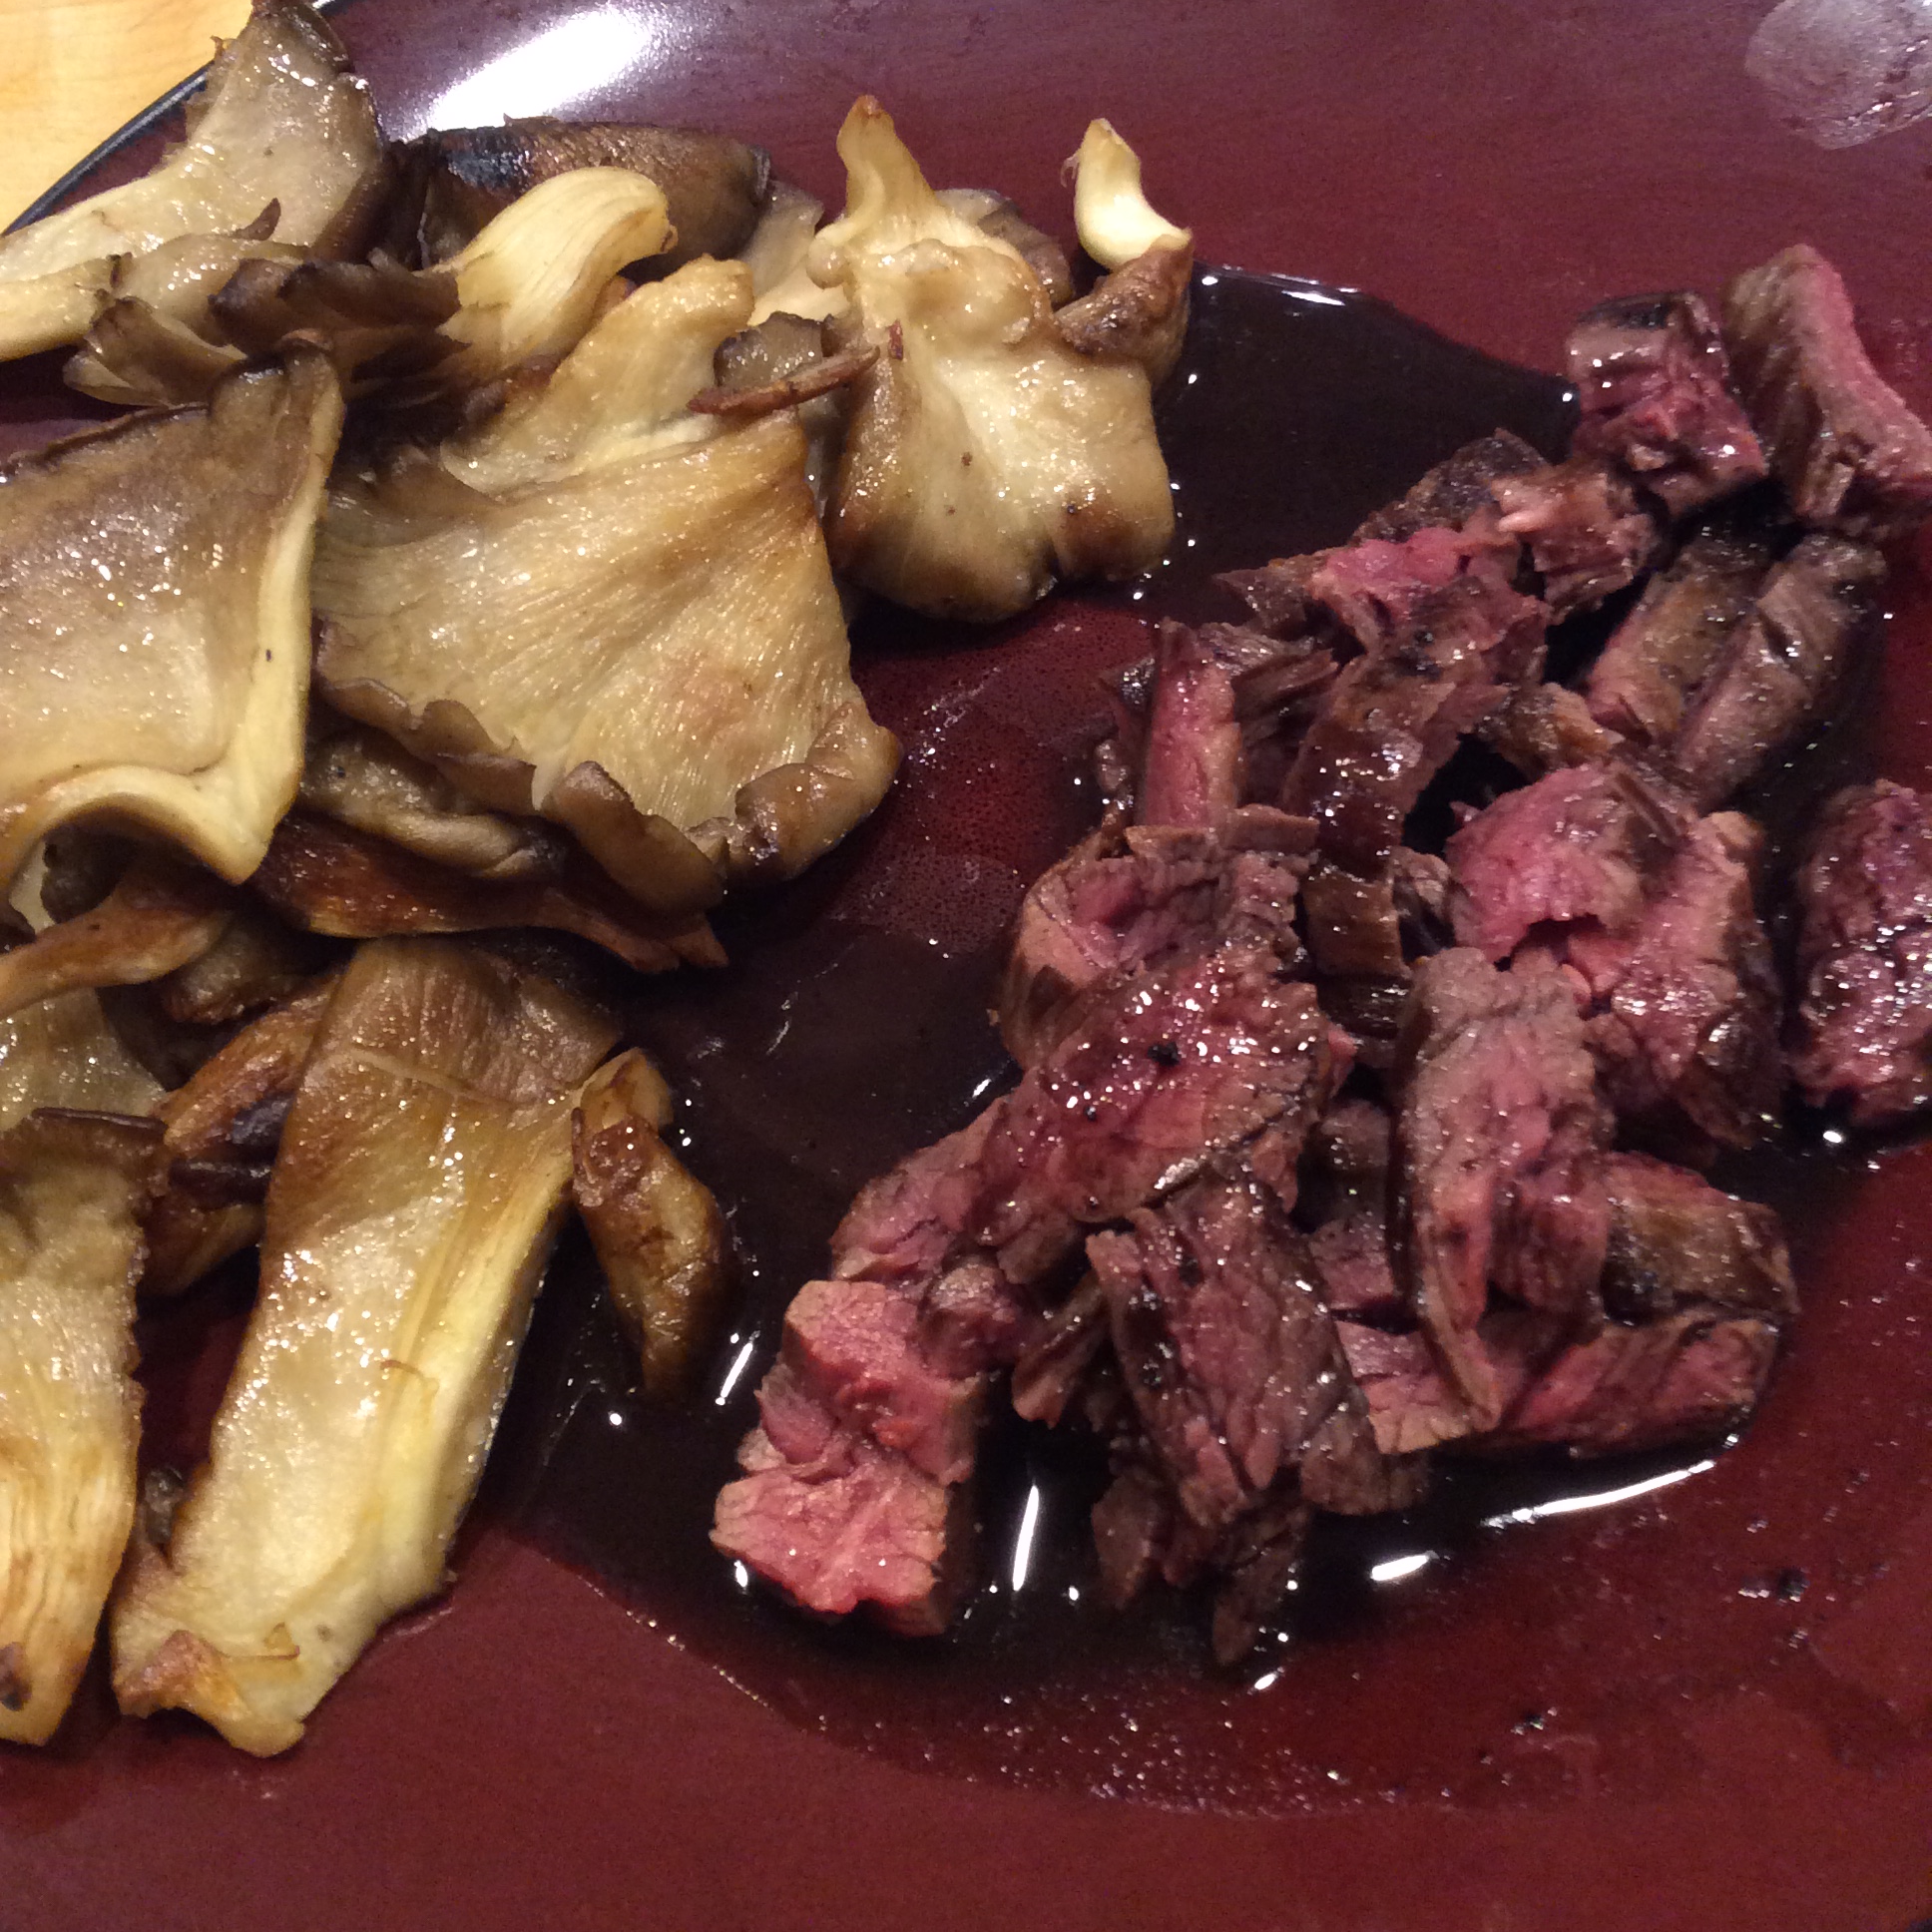
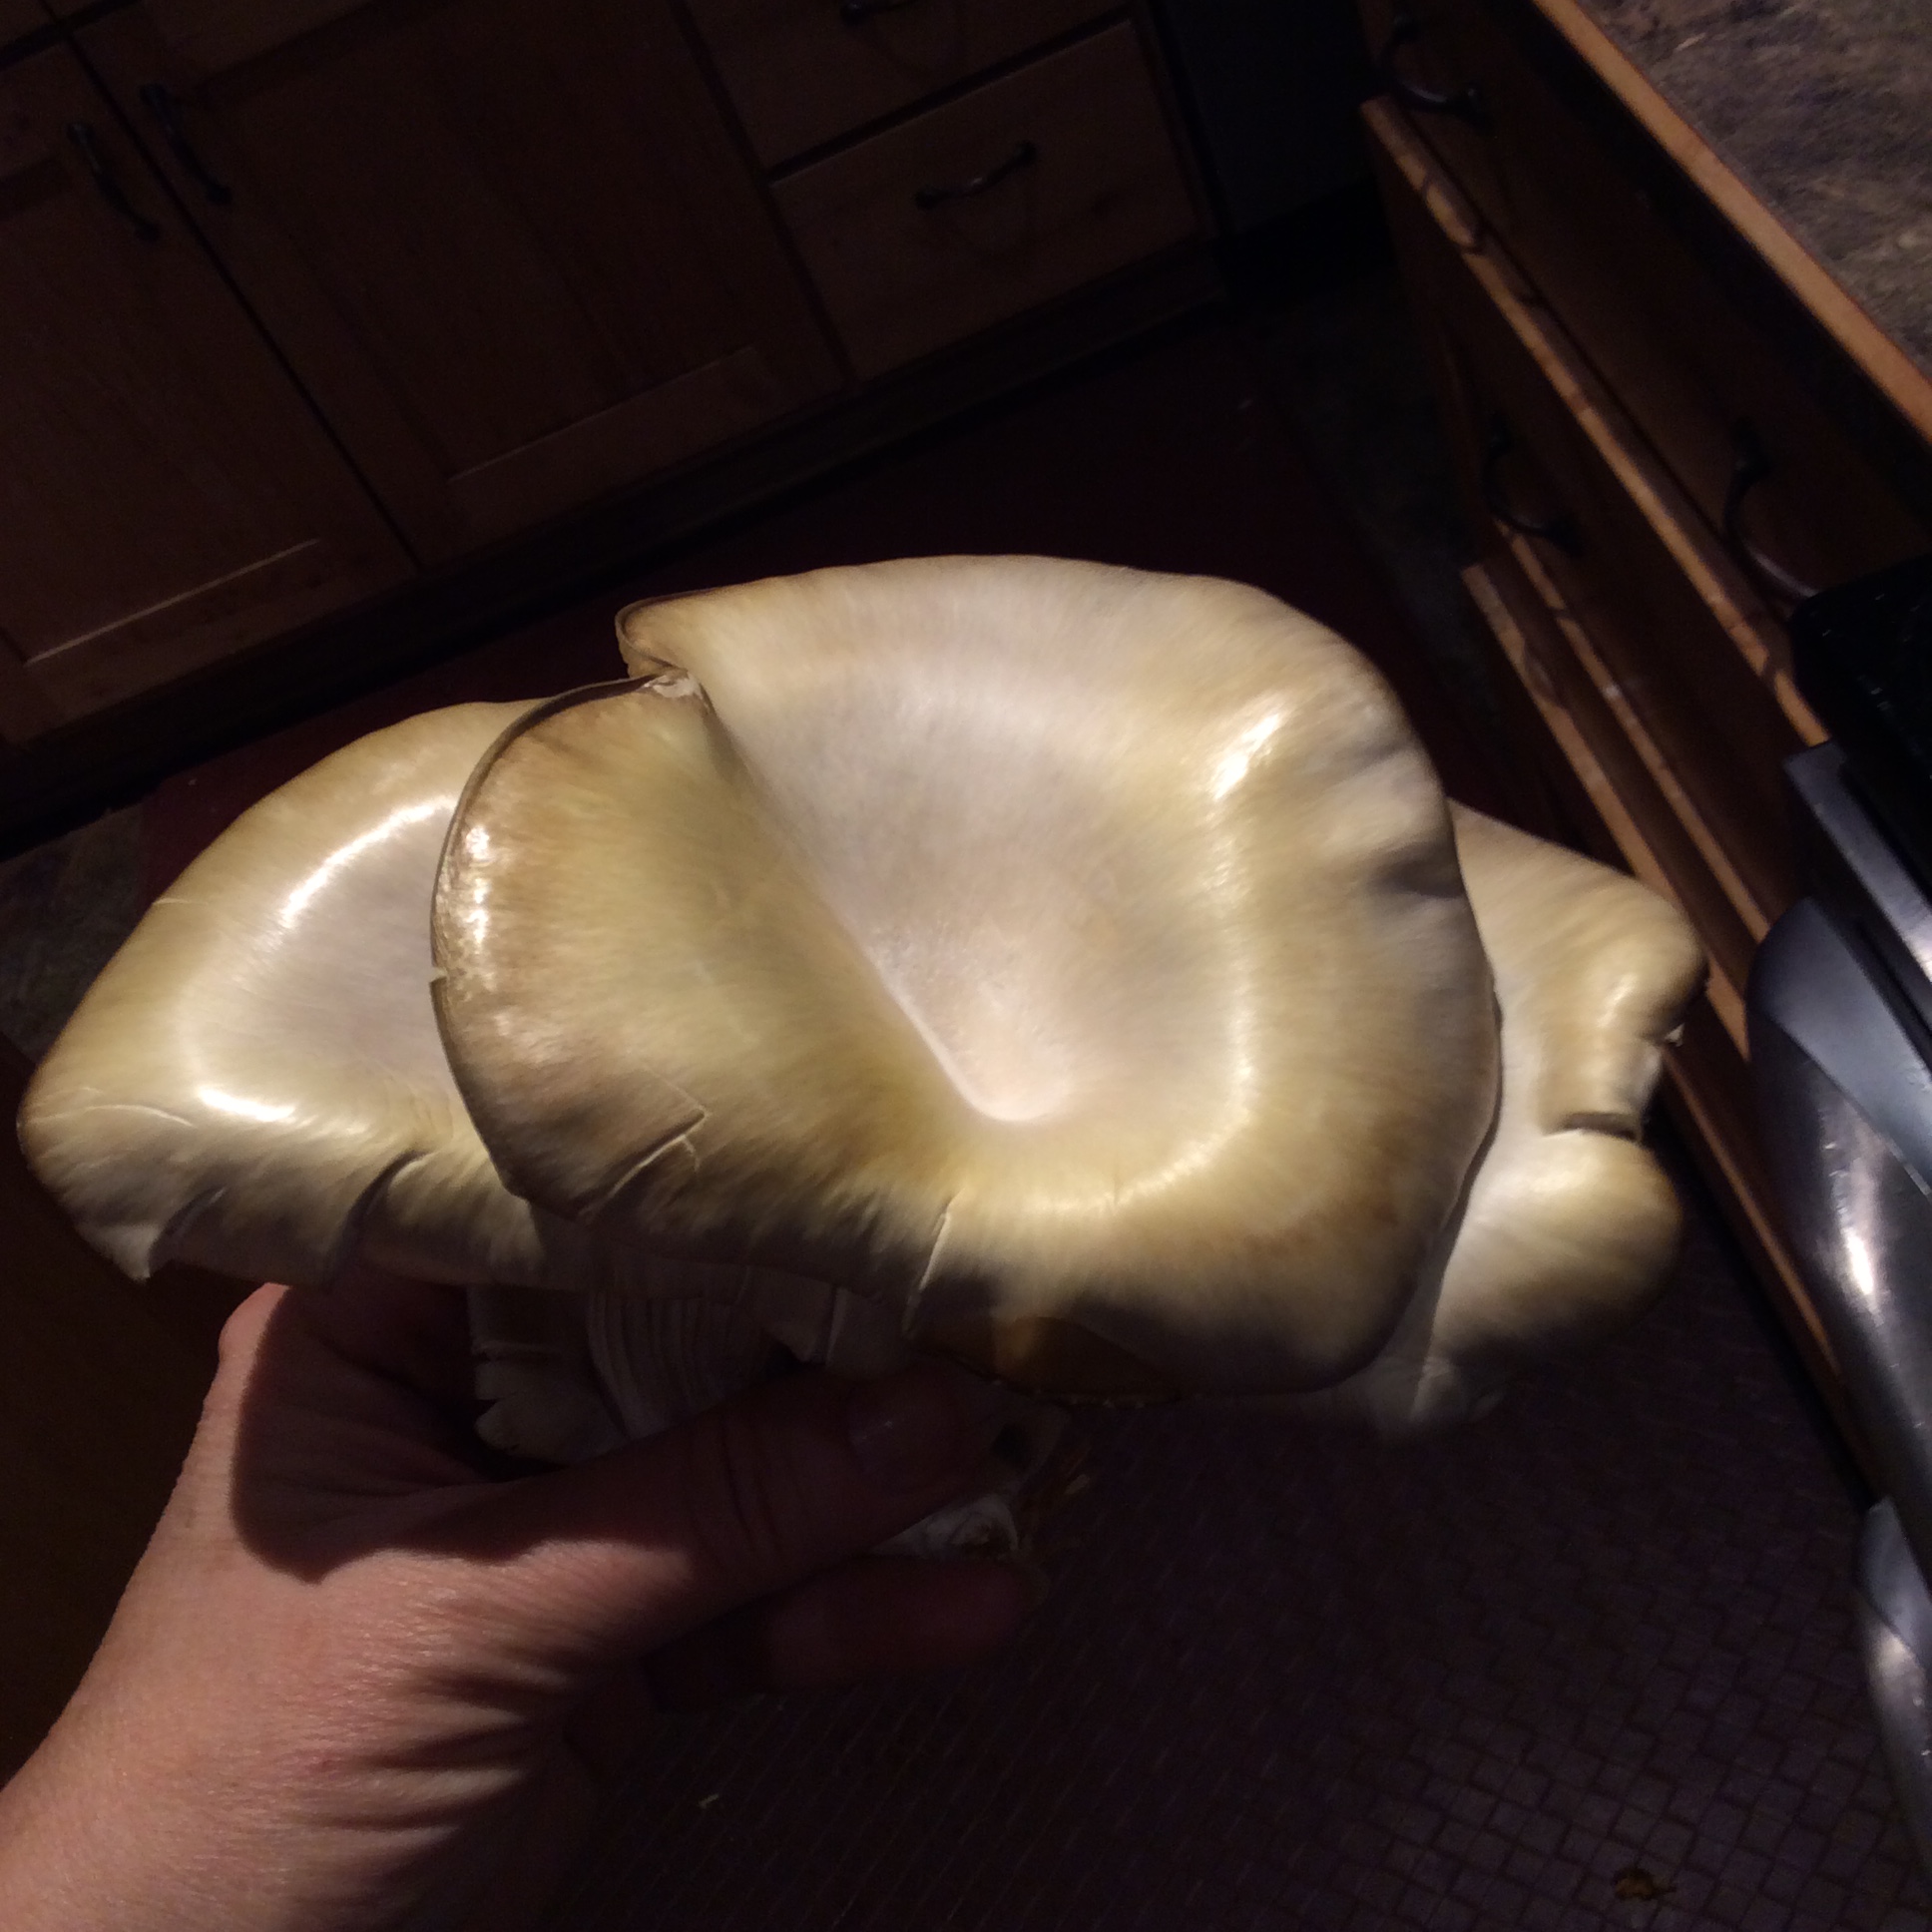
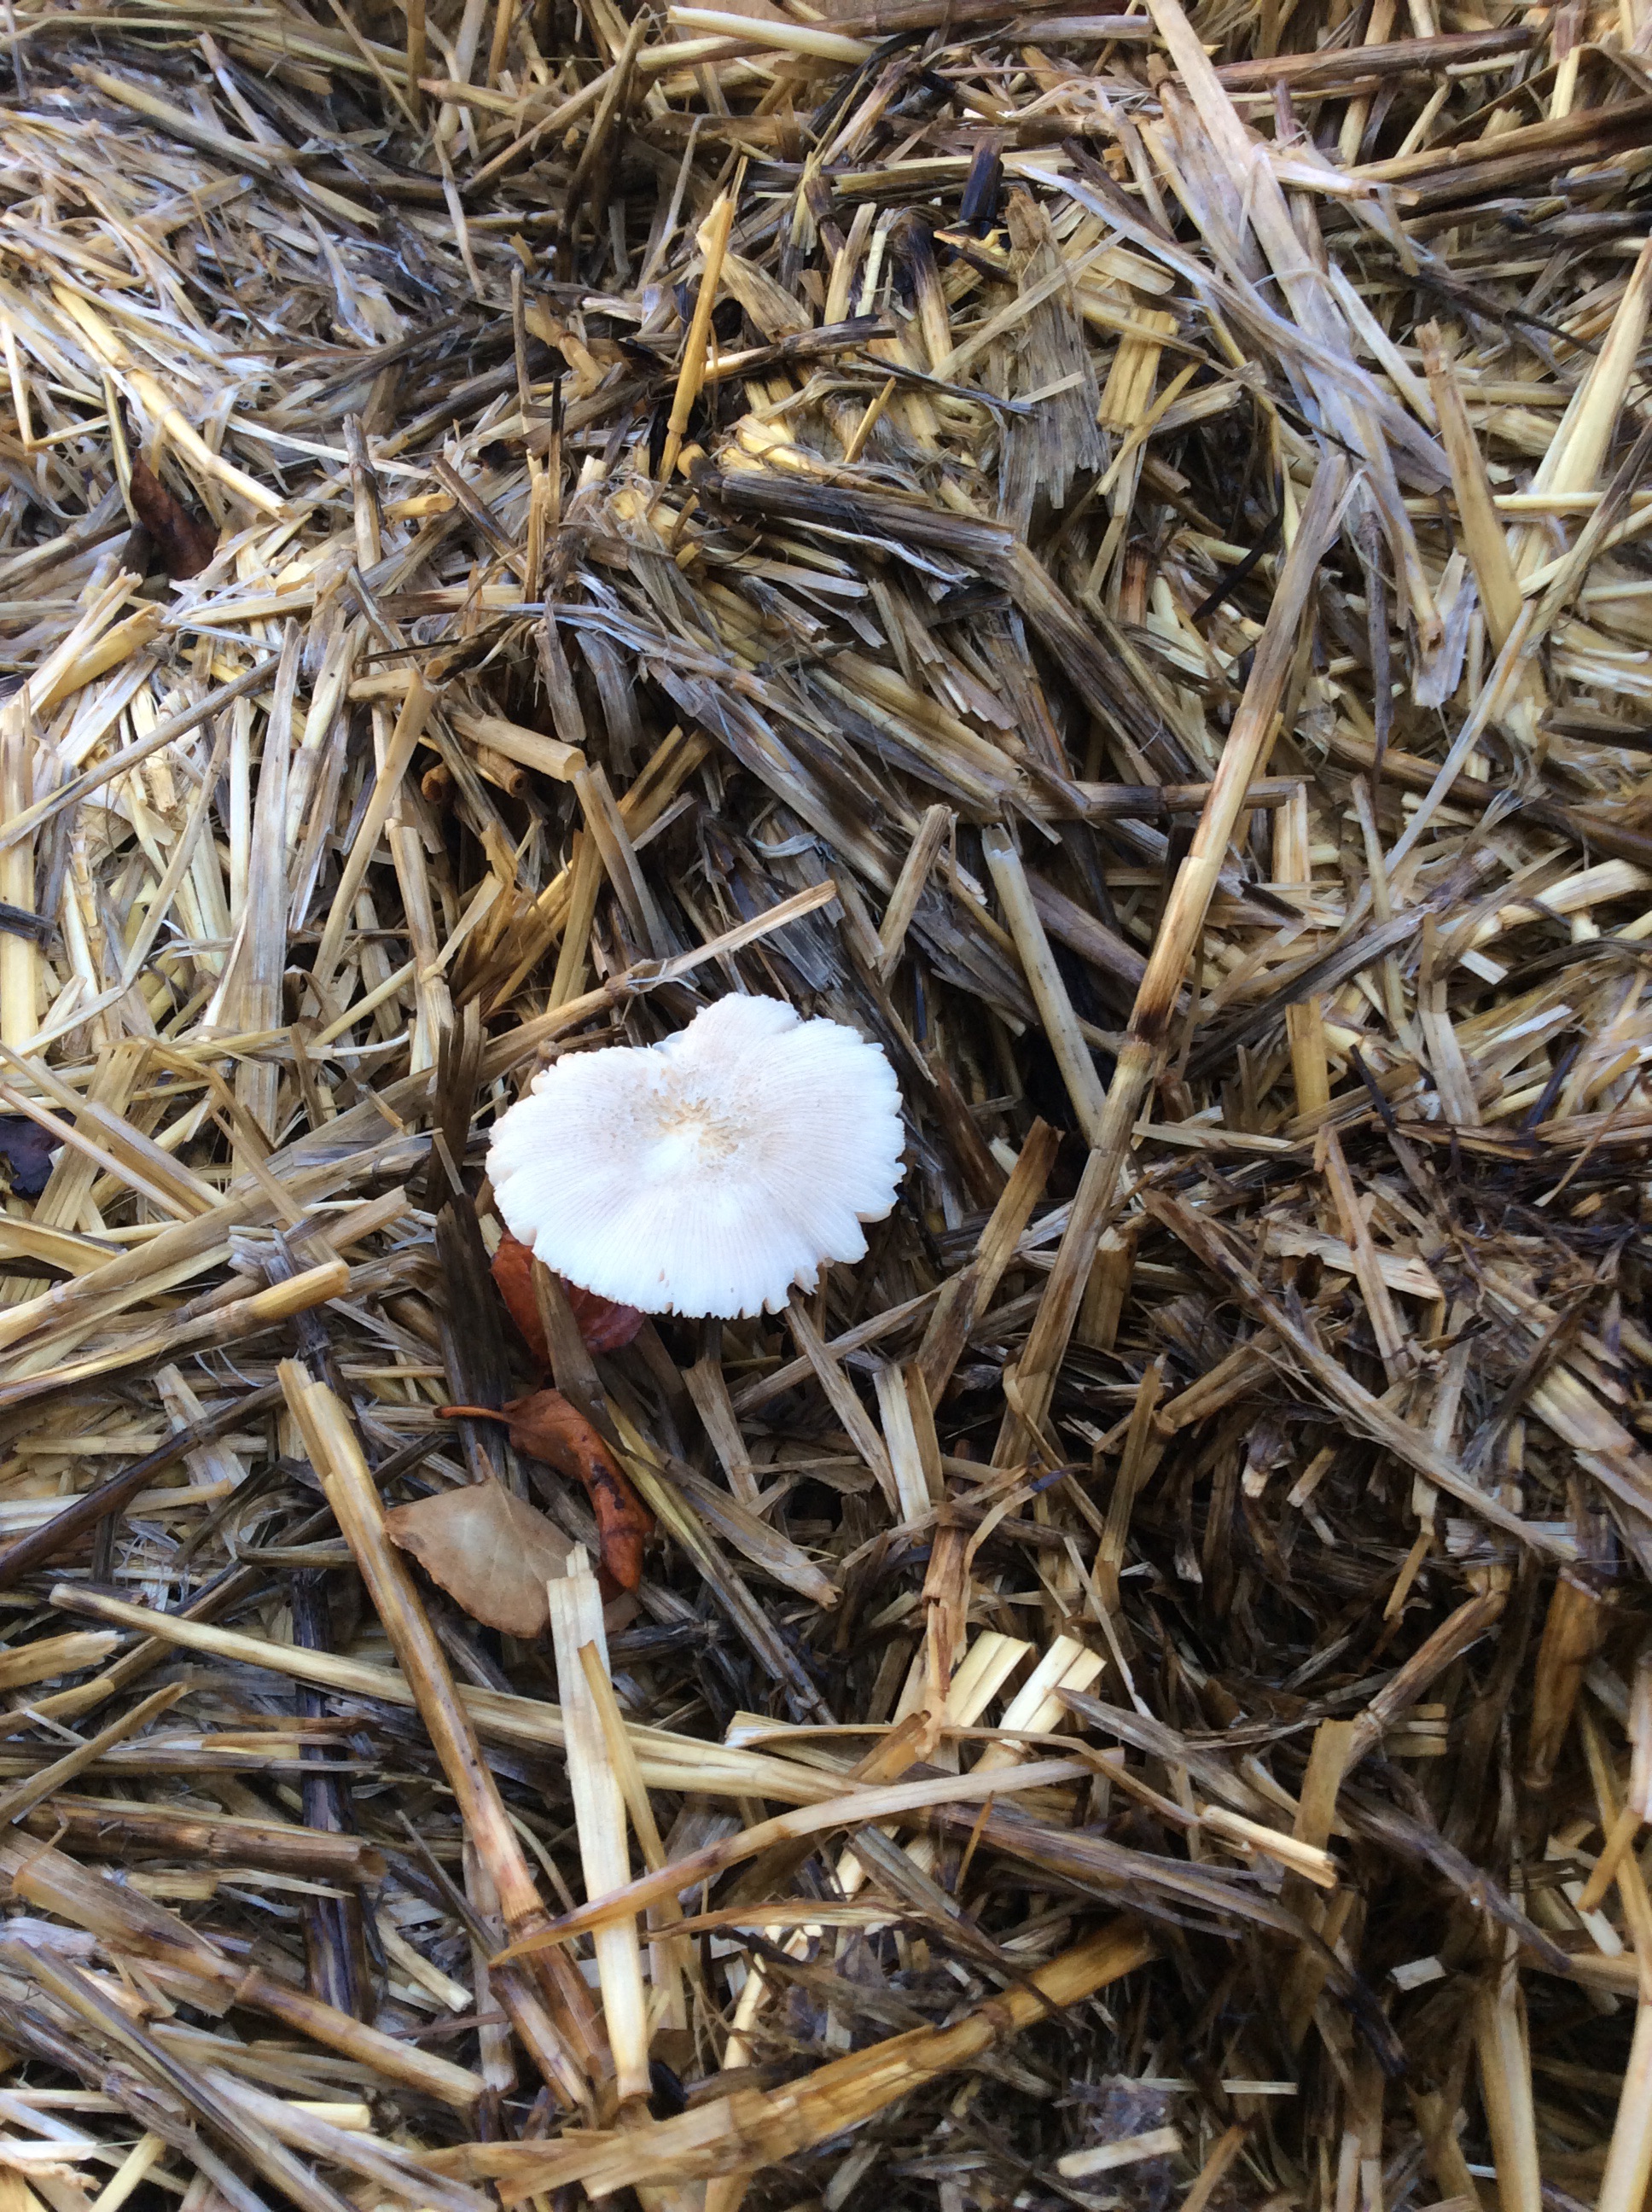
Nothing made me more joyously certain that I had created a real, albeit tiny, ecosystem in my suburban yard than when the first mushrooms grew among perennial plants rather than in a grow-bag or other artificial arrangement. Last year two kinds of mushrooms spread from spawn I had introduced and appeared far from the original “planting.” I was ecstatic; the mycelial Internet was forming! And this spring I was even more gratified to find a big cluster of Stropharia rugosa-annulata pushing up through the mulch months before I had expected to see any mushrooms. By perfectionist standards they were  overly mature when I discovered them, as evidenced by size, lightened cap color, and the cracks in the cap. But I am no perfectionist and knew that they were still perfectly good to eat.

So a few notes on introducing mushrooms, in no particular order:

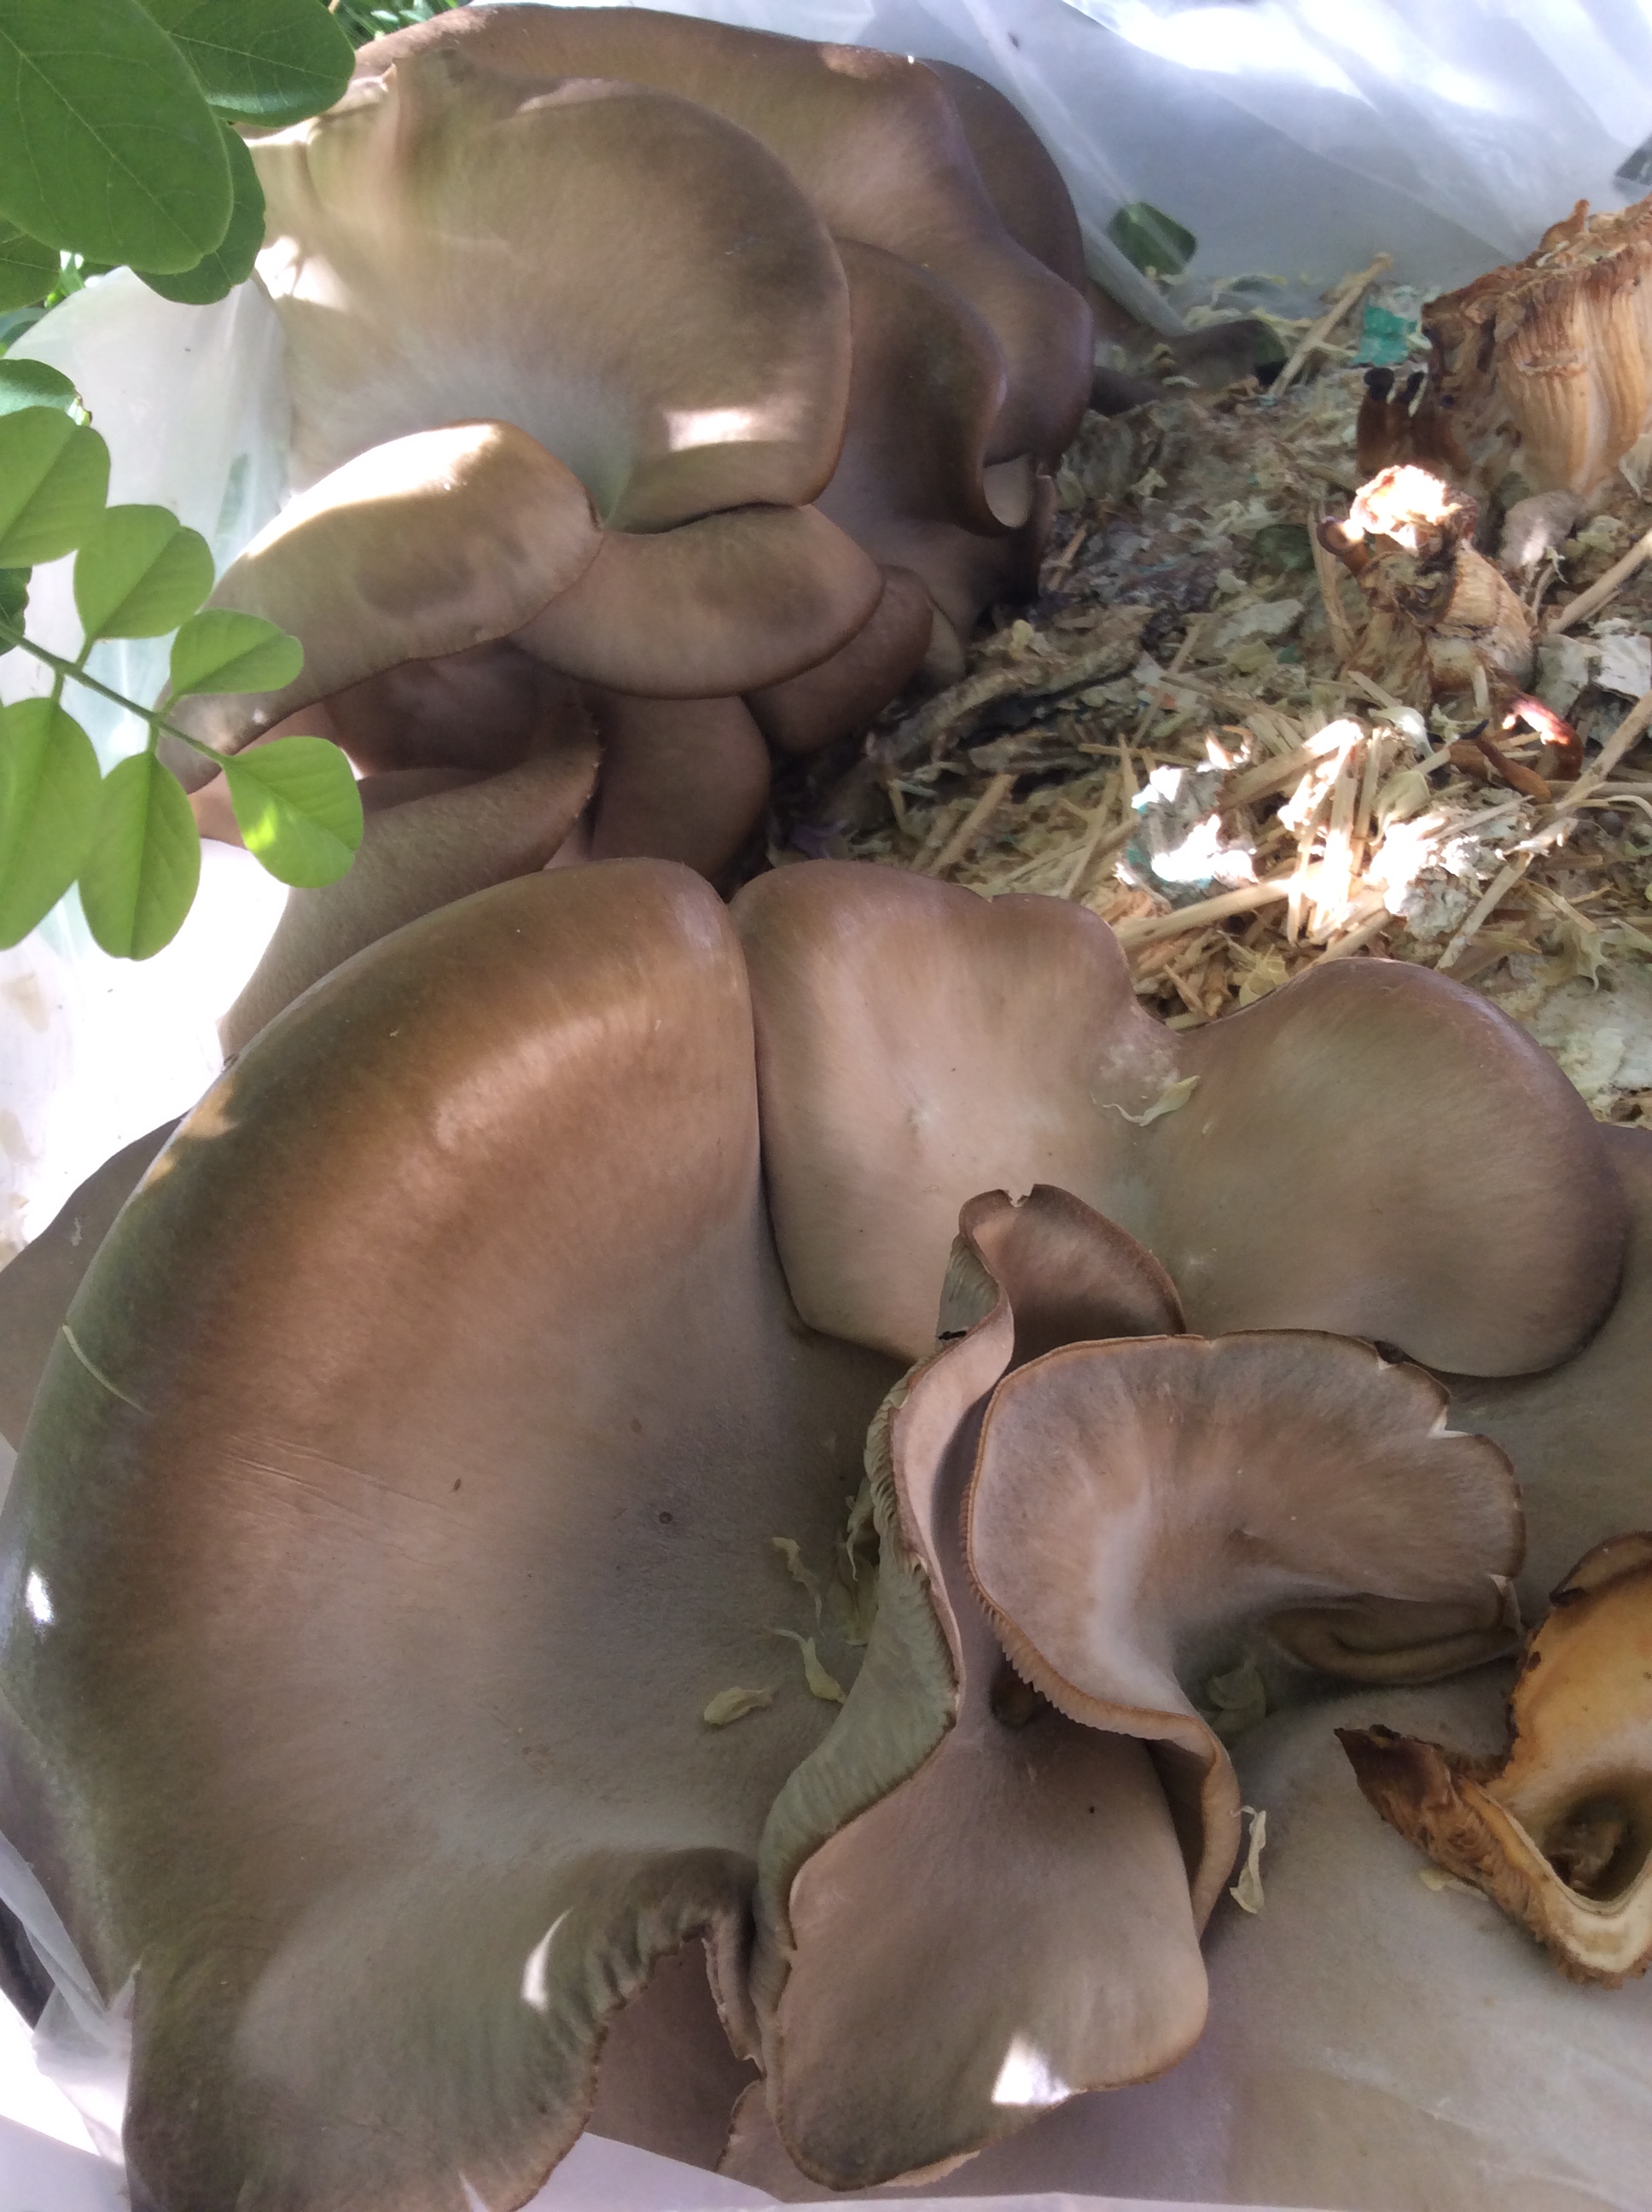
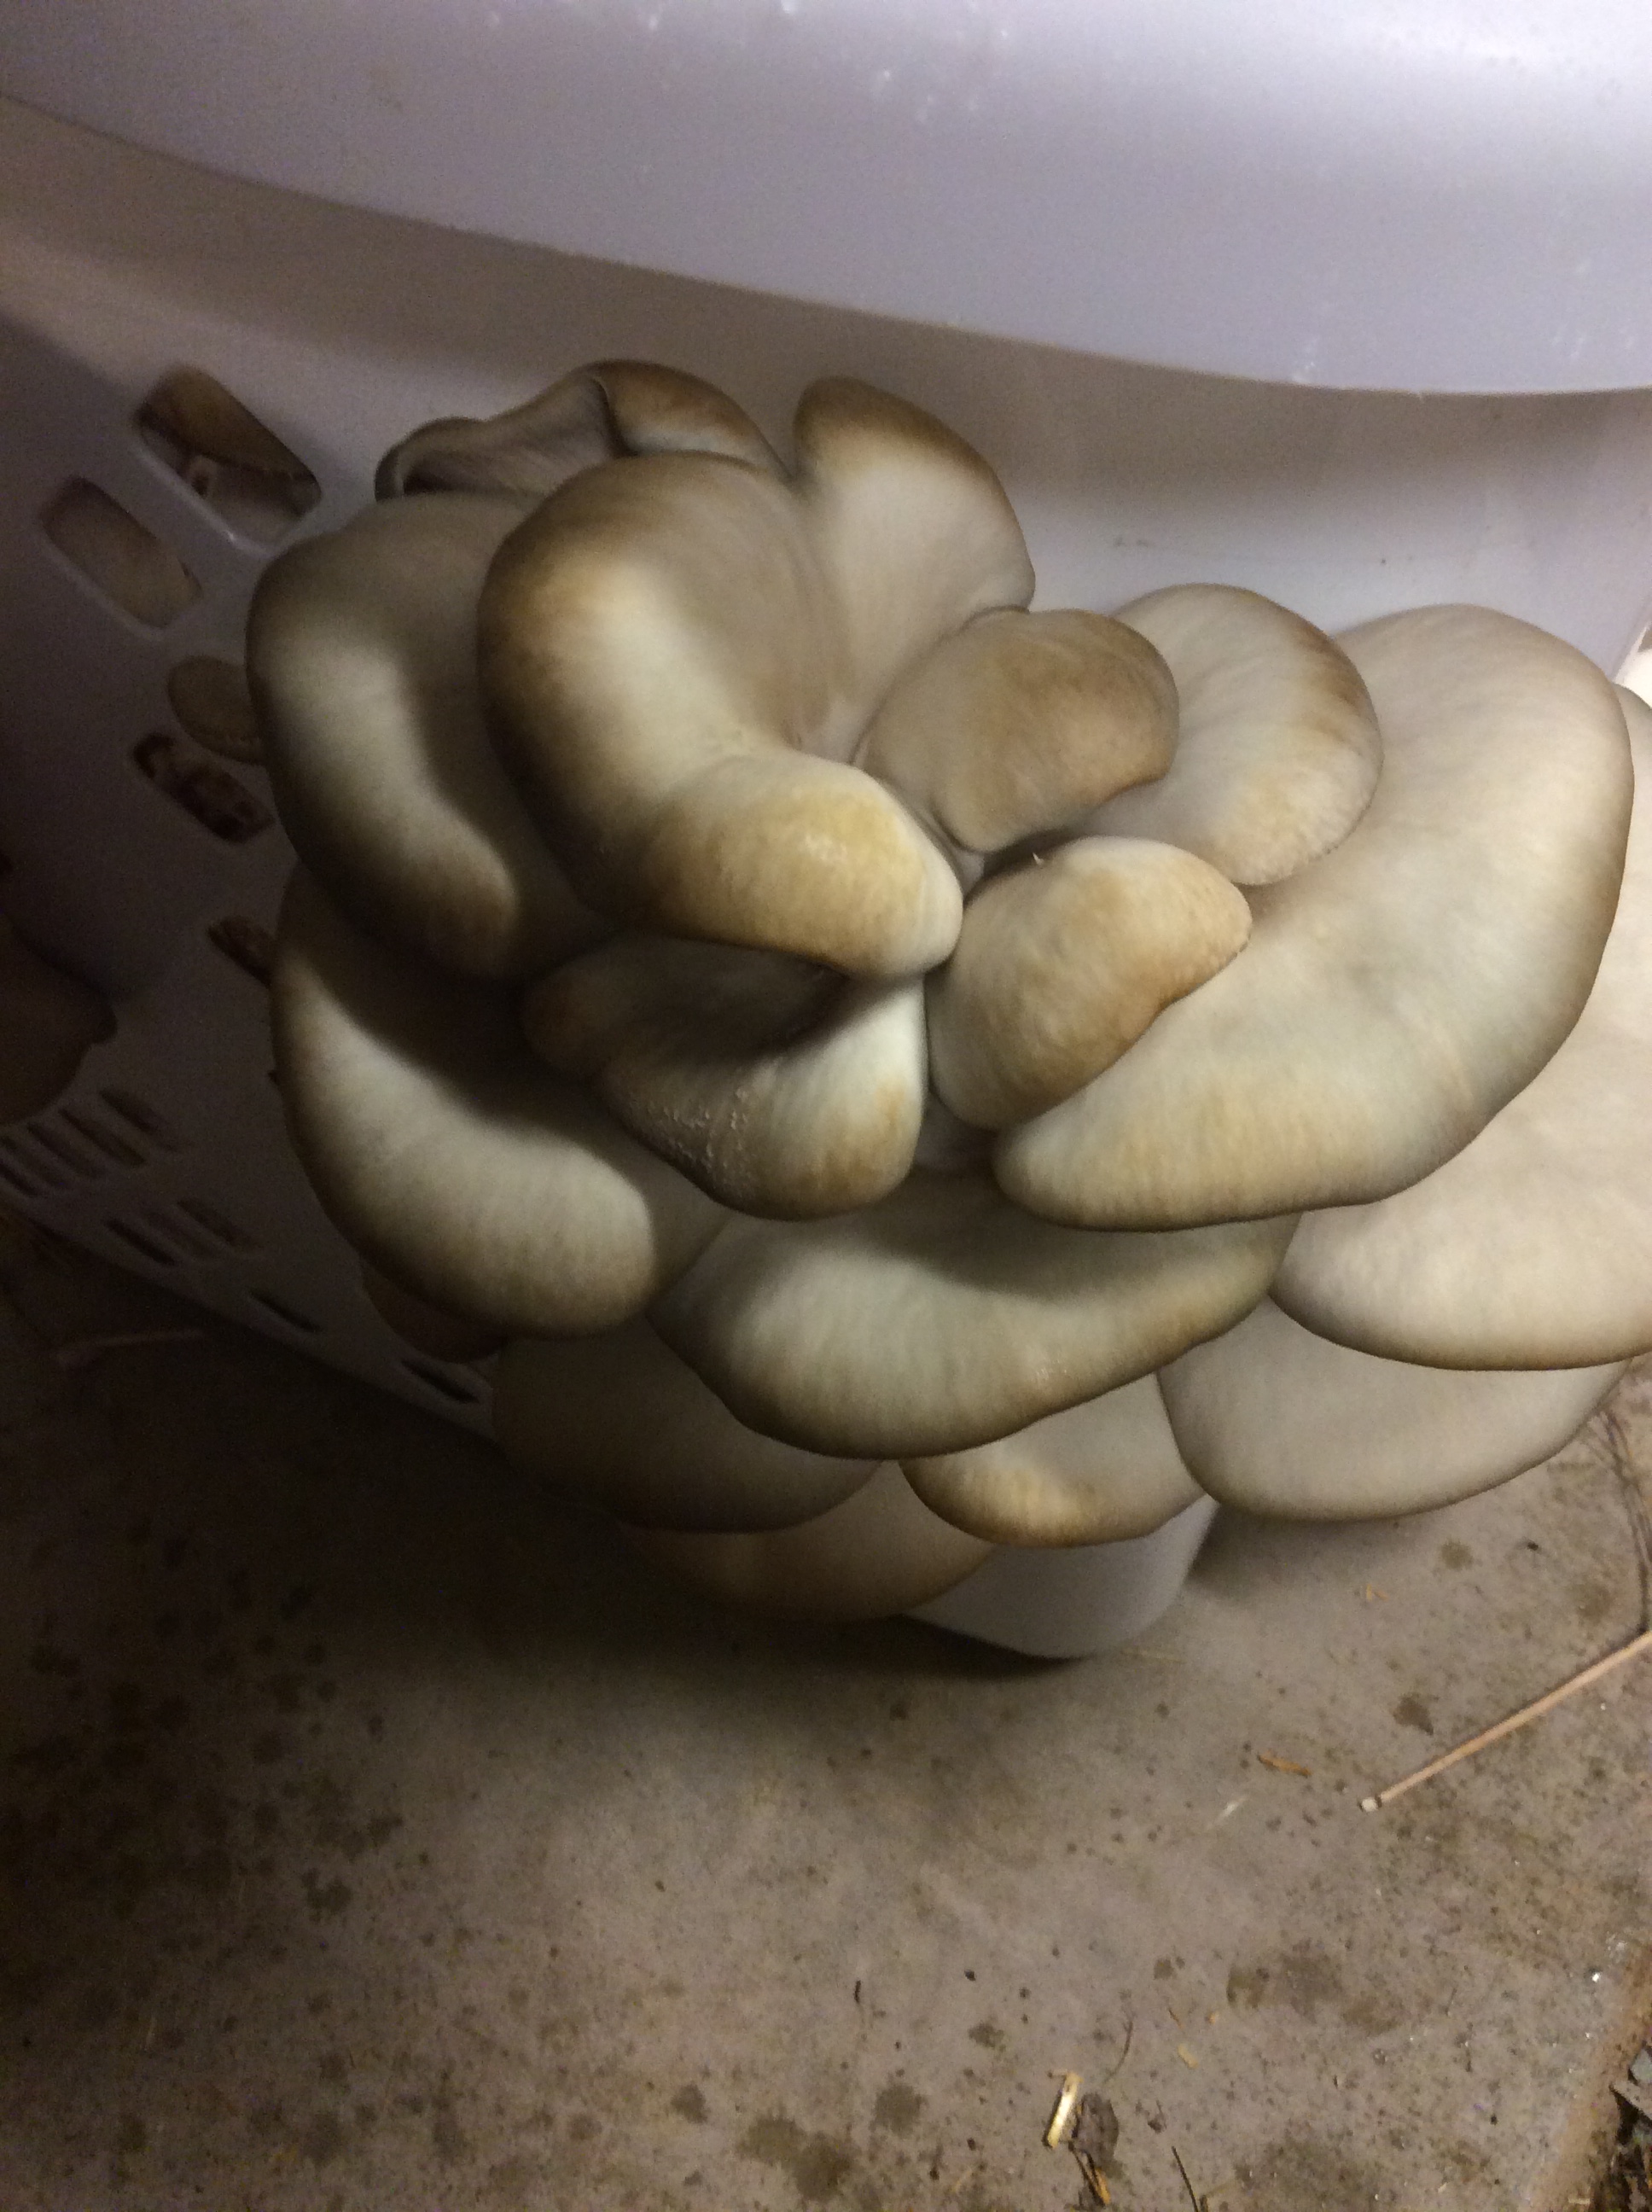
1. Stropharia rugosa-annulata is the easiest mushroom  to grow in your garden. Even here in the high desert, it thrives in a deep mulch of straw and oak sawdust. In my opinion the almond agaricus is the most delicious, but it is more finicky and less productive. I have grown oyster mushrooms in containers, but this year I’m experimenting with introducing them into more unlikely spots. I’ll report back.

2. Get good spawn. Mine came from Field and Forest Products, and it was ready to grow.

3. Know how to indentify the mushroom that you introduced. Know its field marks and identify it before you eat it. When you create a good outdoor environment for mushrooms, you are not in complete control of what grows, any more than you are immune to weeds in your garden beds.

4. Be aware of how many commercial mulch products are treated with fungicides to prevent fungus from moving in. If you want select funguses to move in and thrive, you need to avoid these products.

5. Cook and eat with a sense of reverence and awe for the complex and extraordinary interactions of nature. If you want to learn more about this, Mycelium Running, Mycelial Mayhem, and Radical Mycology are useful books.

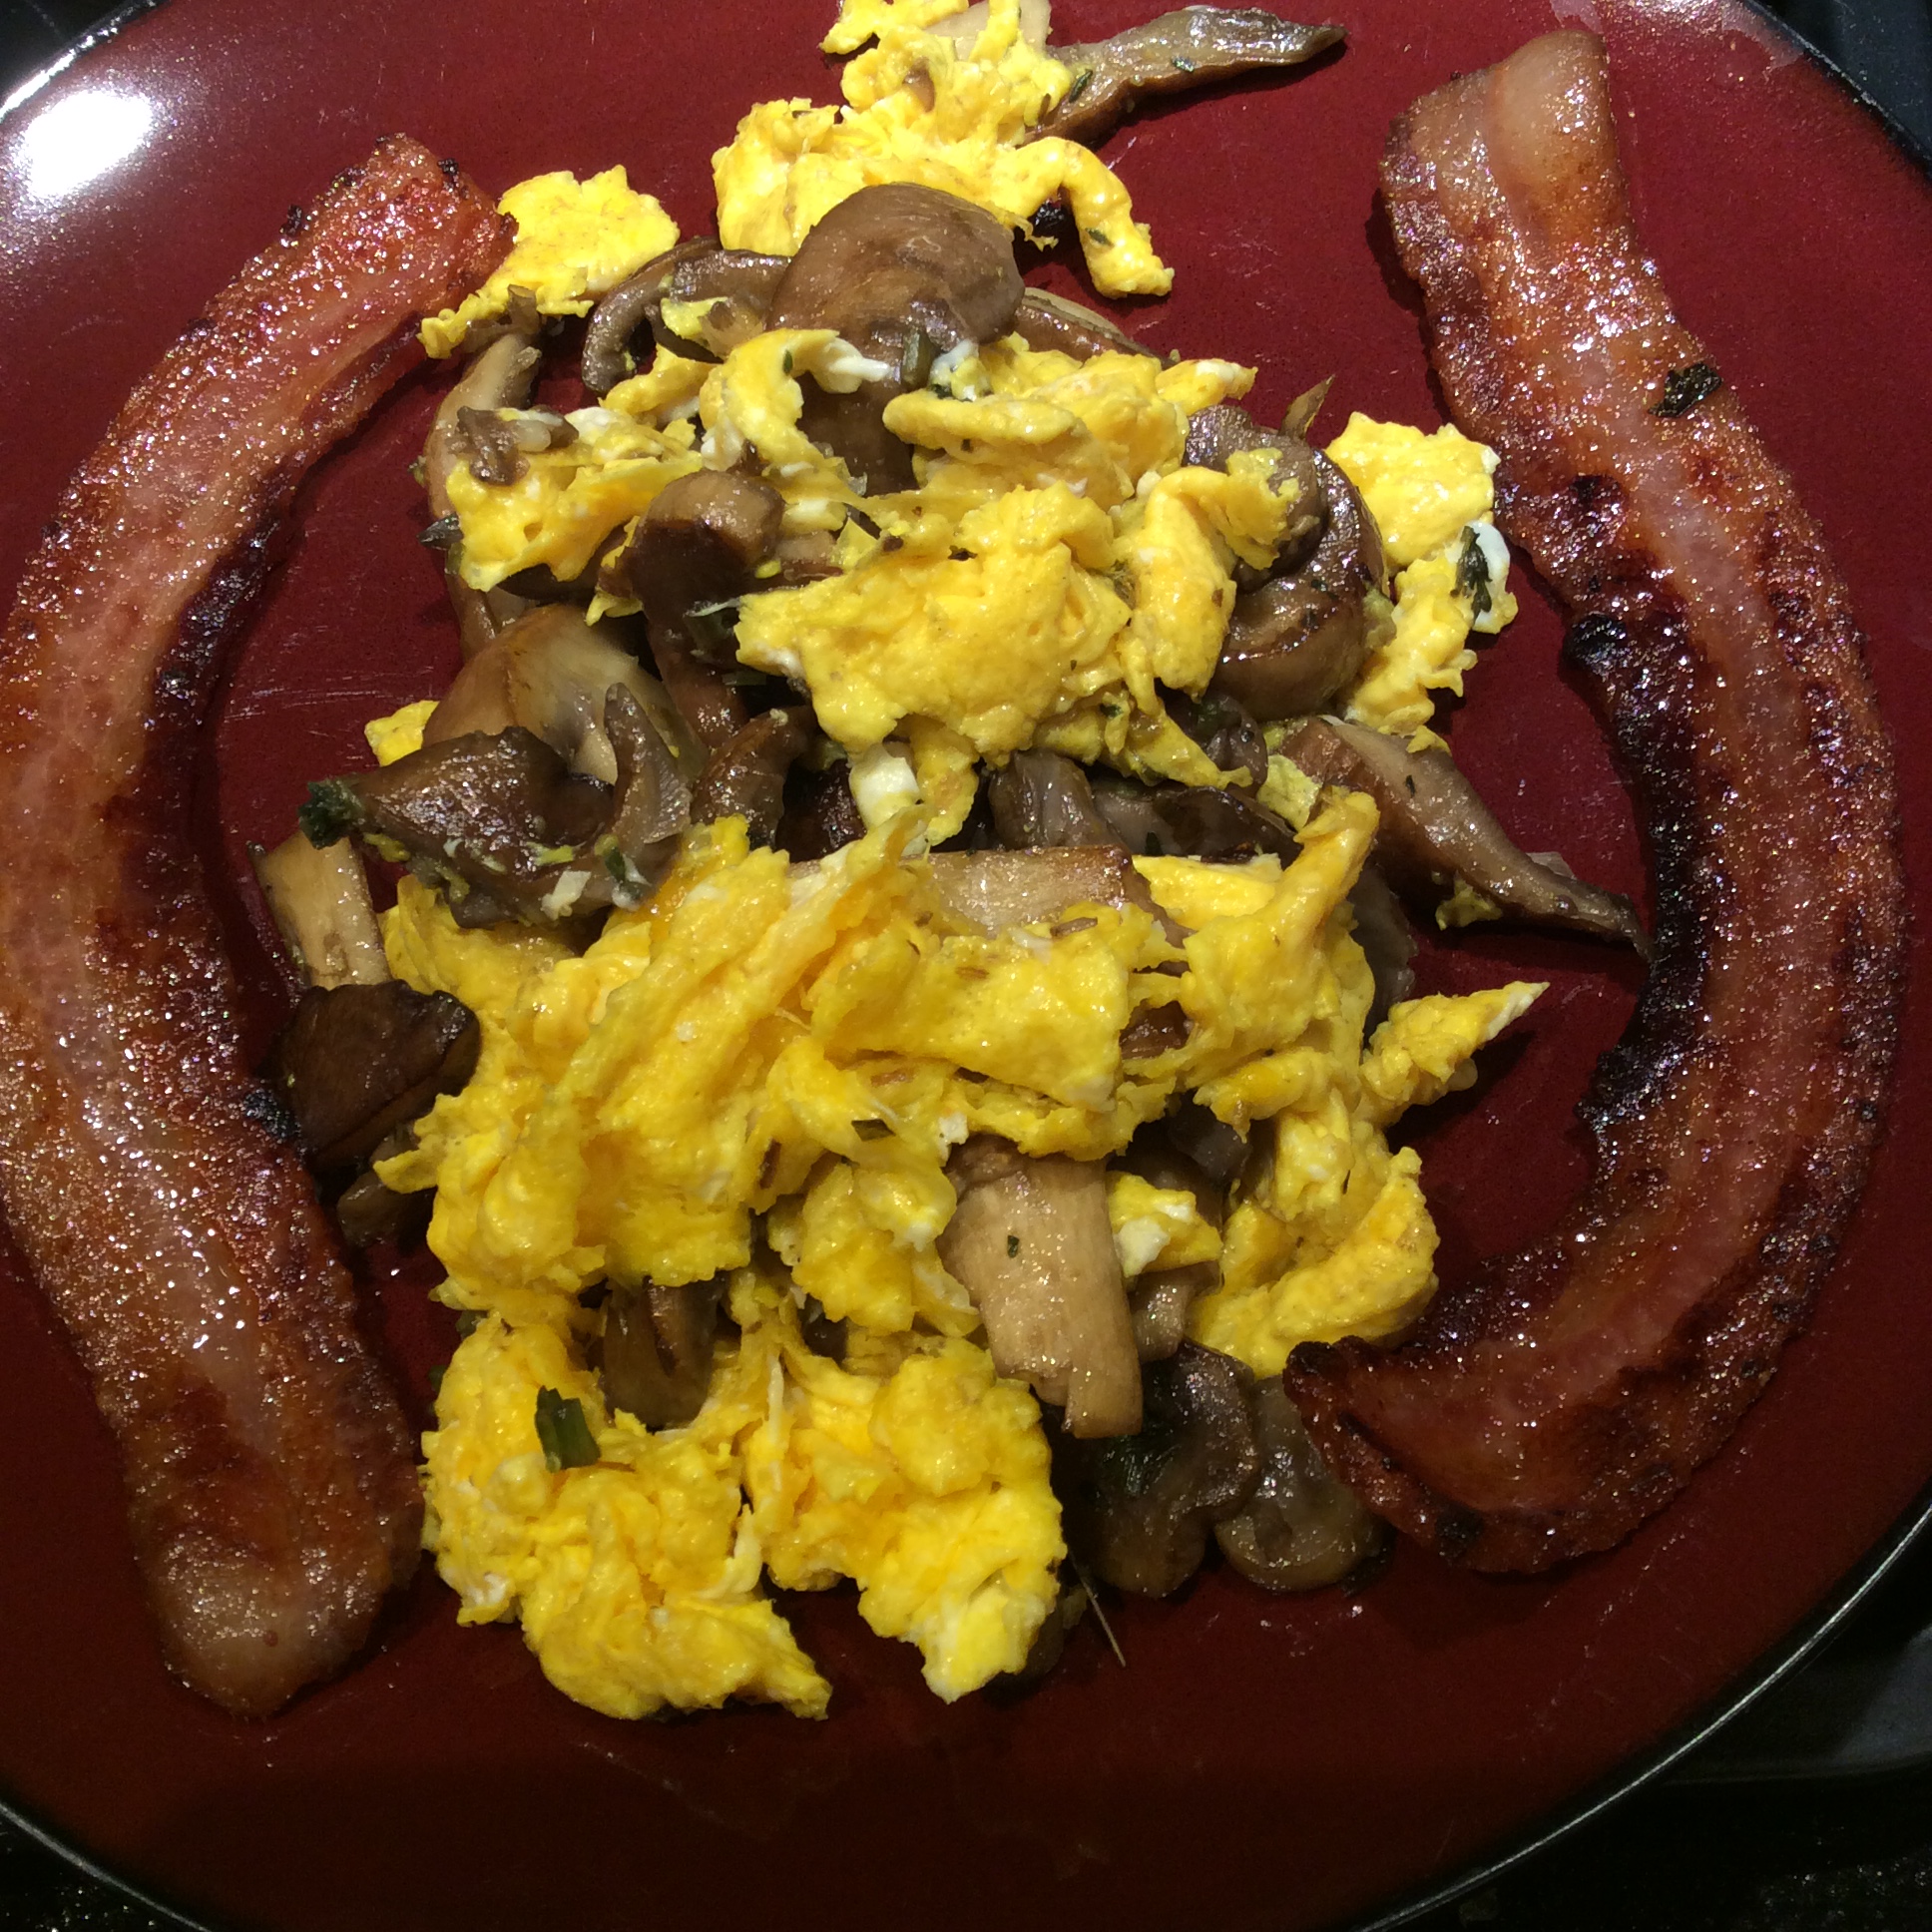
I sautéed my mushrooms in olive oil with generous additions of green garlic and fresh thyme, then removed them from the skillet, set aside in a warm spot, and scrambled some eggs in additional olive oil with a little salt. When the eggs were cooked, the mushrooms were folded back in. Simple as that. Scrambling is an underestimated technique. In this case I cooked the eggs fairly firm, for texture contrast with the softer mushrooms.  I framed the fragrant heap with a couple of slices of bacon. It made a quick delicious dinner, mostly from my own property, and was a culinary salute to the mycelial web that underlies, well, damn near everything.

The Fall Summation II: Mushrooms

I always felt that if I could grow mushrooms outdoors among my garden plants,  I would have a fully functioning little ecosystem even here in the desert.  This year, I finally achieved exactly that, and it’s one of the highlights of my gardening year. I should add that anybody who gardens is growing all kinds of soil fungi, but I wanted the edible kind. Three species came through for me. The first was the almond agaricus, shown above.  They are compost lovers, and I buried chunks of the spawn in a bed of compost that I was about to plant squash into. Unfortunately, the squash overran the bed and I only got a few mushrooms from around the edges, but they were very delicious.  This species really does have an intense flavor of almonds, and if you don’t love almonds you probably won’t want this mushroom, but if you do it is a special treat sautéed in butter and served alongside a nutty beefy piece of dry aged meat.

DCF 1.0

Stropharia rugosa-annulata, the wine-cap mushroom,  grows freely in mulched garden paths.  It will grow in pure straw mulch, and that is how I grew it at first, but there is no question that it tastes better if you incorporate some hardwood chips or sawdust in with the straw.  Even when grown in straw alone it tastes as good as a store-bought cremini or better, but once I incorporated some hardwood it became a treat. The picture  above shows how it should ideally look at harvest. The button stage, shown to the right, is tastiest but I can never resist letting one or two get huge. The picture below shows how it is more likely to look in my garden, because for some reason there are tiny little slugs that only seem to chew on this one mushroom species. But no problem, I just brush them off, and once it is washed and sautéed in butter you can’t tell that they were ever there.

Then there are oyster mushrooms, my favorite cultivated mushroom to eat and one of the easiest to grow.  I grow them in the shade in almost whatever receptacle comes to hand, usually laundry baskets lined with clear plastic bags.  For the growing medium I use a mixture of straw and hardwood sawdust, sterilized sufficiently with hydrogen peroxide solution, with a little alfalfa shake included to nourish the mushrooms.  I stick the whole rig under a dense shade tree in late spring, in an area where water from the sprinkler will hit it when I water, but I don’t make any other effort to keep it wet. I like to let oyster mushrooms get big, to the point that they are really meaty.  After cleaning them and cutting away the tough stem area I slice them in quarter inch strips and sauté  them in olive oil with salt until they have some nice brown spots, adding a little chopped garlic toward the end of the cooking.  They are more tender when small, but not nearly as umami and tasty. It’s the difference between veal and beef, and I have never been a fan of veal. Of course, if you want a milder flavor and softer texture, pick them smaller.

Today I finished “planting” several baskets and bags with the blue oyster mushroom, a subspecies of the common oyster mushroom that fruits at a lower temperature.  They are going in an unheated shed, and might fruit during the winter. Remains to be seen if this will work, but anything that prolongs the mushroom season is worth a try.

Oyster mushrooms are determined to grow. Recently I broke up a spent basket and put the mycelium in lumps under straw mulch, and today I found tiny infant oyster mushrooms poking out. I threw a frost blanket over the area and weighted it down with pavers, and maybe I’ll get a late outdoor crop.

Nothing fills me with quite as much satisfaction as seeing one of my mushroom projects cooked and on the table.  I am not sure why this is, except that their biology is so unique and fascinating and they are so essential, in one form or another, to life on earth.  They have some interesting medicinal qualities, but I don’t feel any great need for medicine and prefer to eat them because they are fascinating  and delicious.

I’m enjoying a book called Radical Mycology, which is a compendium of nearly everything that you can imagine about mushrooms, including a heap of medical advice which, in my opinion, should be taken with a very large grain of salt.  But it is addictive reading and will get you through many a long winter evening and give you ideas for new projects.

Oyster Mushrooms Redux

img_5078

In a post this summer, I wrote about the delicious oyster mushroom and my own irritation that I was not able to grow them. My luck has recently changed, as shown above.

Ironically, this was by far my least scientific effort. There are many good books on mushroom growing if you want to learn how to do it properly. But here’s the very improper way I did it:

1. You will need a gallon of concentrated hydrogen peroxide for the sterilization step. I got mine at a pool supply store. It is 27% and I diluted it about 1 to 10 with water to make a nearly 3% solution. I used half the bottle to make about 5 gallons of solution for a total cost of $15.00.

2. Have ready a laundry basket that you won’t need for a while, a large clear plastic bag like a clear garbage-sized bag, a bucket to mix the H2O2 solution, a large bin (a clean plastic garbage bin is fine) for soaking the growing medium, and a source of spawn. You can order sawdust spawn from Fungi Perfecti or a host of other sources. This was an impulse effort for me, and I used a small home oyster growing kit on sale at a farmers’ market and just crushed up the little sawdust log inside to serve as “seed. ” Don’t do the crushing until you are ready to mix it into the moist substrate.

3. Collect junk mail, newspaper, and cut-up cardboard until you have your bin nearly full. Remove any plastic wrappers. I omitted anything with bright pictures etc. to avoid introducing unknown inks.

4. When ready to proceed, throw into the bin a few handfuls of something high in nitrogen for nourishment of the mycelium. I used waste alfalfa because I have a lot of it around, but you could just use organic soy meal or something similar. I can’t be more exact than “a few handfuls” because that’s how I measured it.

5. Pour in your 1 to 10 hydrogen peroxide solution and let it soak a few hours. If you just cover your substrate mix, it should all soak in. Add a little more if needed, but you want it thoroughly damp, not wet.

6. Line the laundry basket with the clear plastic bag. Crush up the hyphae or spawn source if needed. Pile the damp substrate into the basket, adding a layer of sawdust spawn every couple of inches. Pull the bag shut at the top, tie closed, and use a knife to make punctures in at least 10 of the open spaces on each side of the basket.

7. If you want to duplicate my procedure exactly, you now plop the whole rig in an unused and unswept corner of the garage, stride away muttering that you have wasted a few more hours trying to grow mushrooms, and forget about it for 5 weeks or until your spouse informs you that giant mushrooms are popping out and you should go take a look.  Better results will no doubt be obtained if you do it right, which is to hang a sterilized plastic sheet as a humidity tent, not letting it touch your growing rig, and provide air circulation and a humidifier, or mist multiple times daily. Suit yourself. But I got close to 3 pounds of mushrooms at the first flush with no attention at all beyond assembling the growing basket in the first place.

So, I will try this haphazard method again, especially because it should break down my junk mail enough to make it possible to incorporate it into the garden. If you are a better and more detail-oriented grower than I am, please comment and let my readers know how you do it.

ADDENDUM: Had to add a picture of the proof of the pudding.

img_5095

img_5087


A Hopeful Sign

image
Early this spring I was mulling over the issue of a long narrow patch of ground that gets water from my garden sprinkler but doesn’t produce anything. I decided to try outdoor mushrooms. It was a fairly foolish idea because the area is fully exposed to our desert sun, but I do not lack for the damnfool quality. So in March I covered the strip 10″ deep with loose straw, wet it down, spread a bag each of oyster and King Winecap spawn, and paid it no further attention. The oyster spawn produced nothing, unsurprisingly. But this morning I found a tiny baby Stropheria putting a head up to have a look around.
I hope it goes without saying that you don’t eat any mushroom without carefully identifying it, even if you planted mushrooms in that very spot. Get at least 2-3 good mushroom field guides and don’t eat unless you are 100% confident of your ID. A mushroom-loving writer once remarked that ” There are old mushroom eaters and there are bold mushroom eaters, but there are no old bold mushroom eaters.” Take it to heart. Anyway, unless I get more mushrooms I will let this one go to spore rather than picking it.
Even if I never harvest any mushrooms the project is worth it, because the presence of a small fruiting body above ground indicates the presence of a large mycelium entity that you don’t see. I can’t encourage people enough to read Mycelium Running by Paul Stamets to understand the importance of this.
My spawn came from Fungi Perfecti. They have a fascinating array of kits if you want to stick your toe into mushroom growing, and they offer a wide variety of spawn and instructional books if you want to produce mushrooms on a bigger scale.