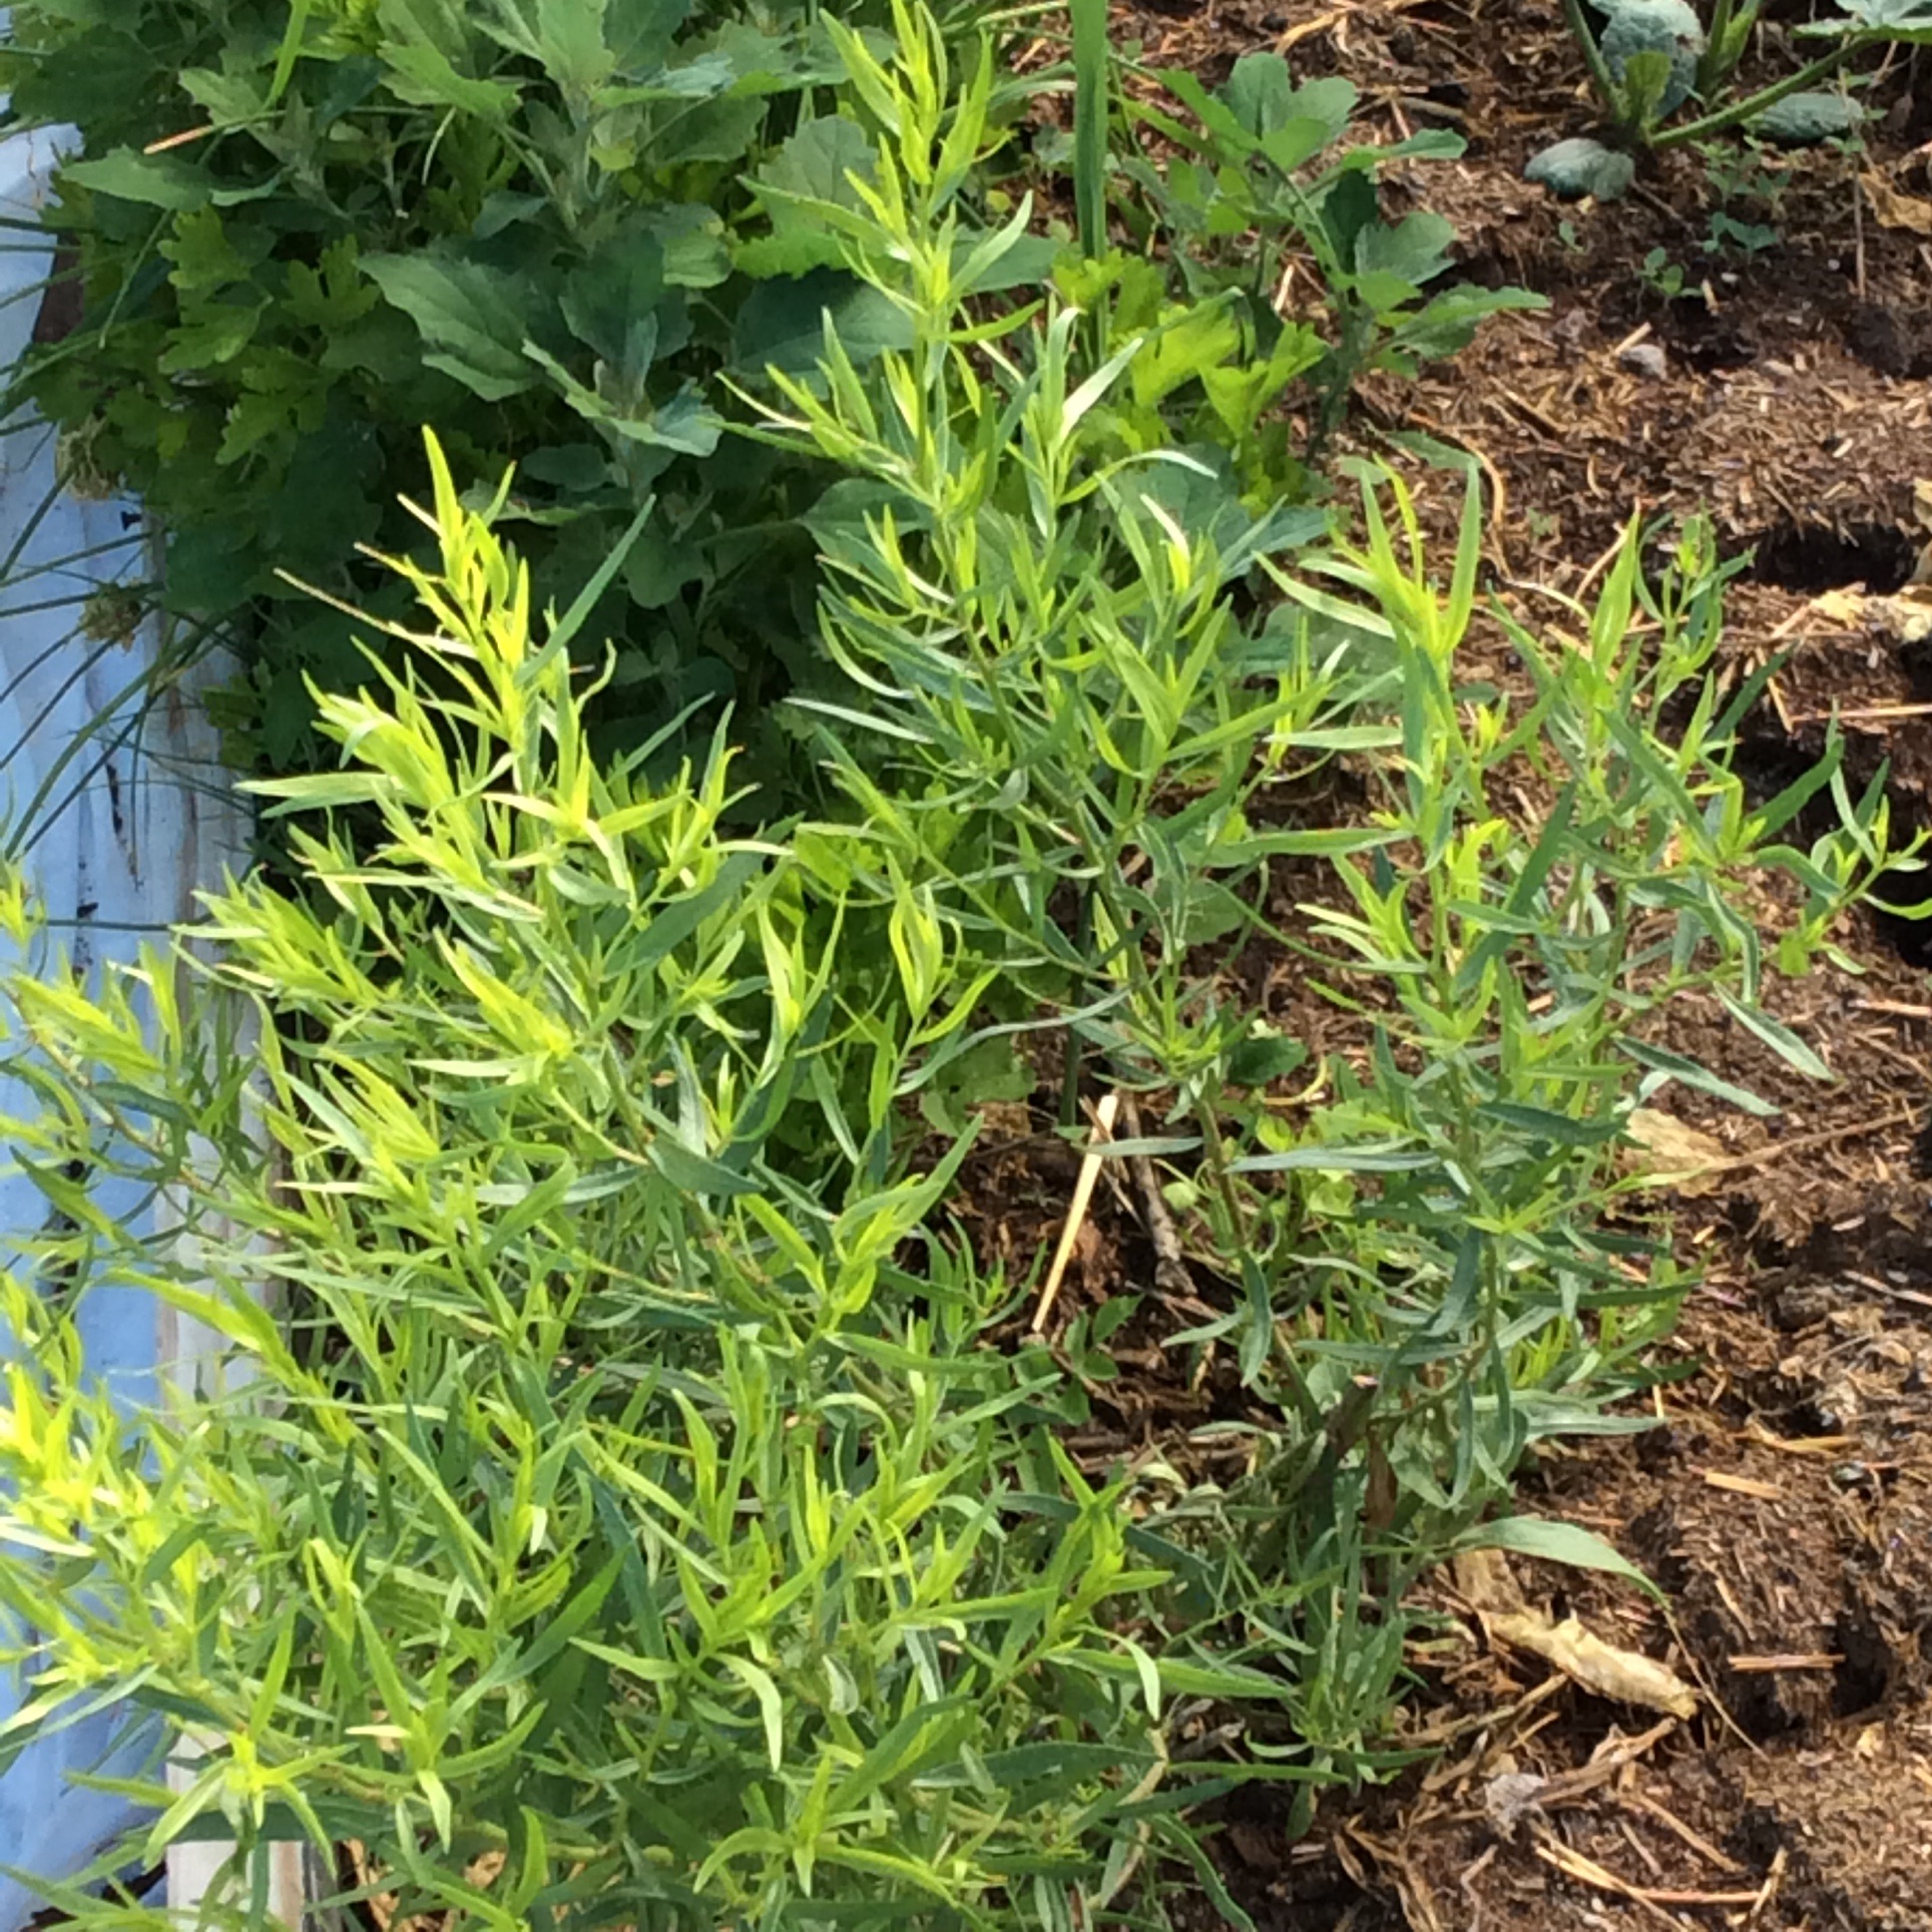
Tarragon is at its beautiful peak in my garden, and if you have a goodly bush of it yourself, don’t forget to fill a jar with sprigs and cover with wine vinegar so that your salads next winter will carry that delicious flavor. Your own red wine vinegar is preferable but any good grade of wine vinegar will do. If you don’t already have a favorite vinaigrette recipe, try my Opinionated Vinaigrette.
Posts Tagged ‘herbs’
20 Jun
Seasonal Reminder:Tarragon
6 Jun
Mulberry Heaven II: Mulberry Leaf Dolmas
As I mentioned in my last mulberry post, I’m fond of eating very young mulberry leaves in cooked greens mixtures, and recently I was inspired by a post on TC Permaculture to think about mulberry leaf dolmas. I had located a mulberry tree with big and fairly tasty leaves, perfect for dolmas:
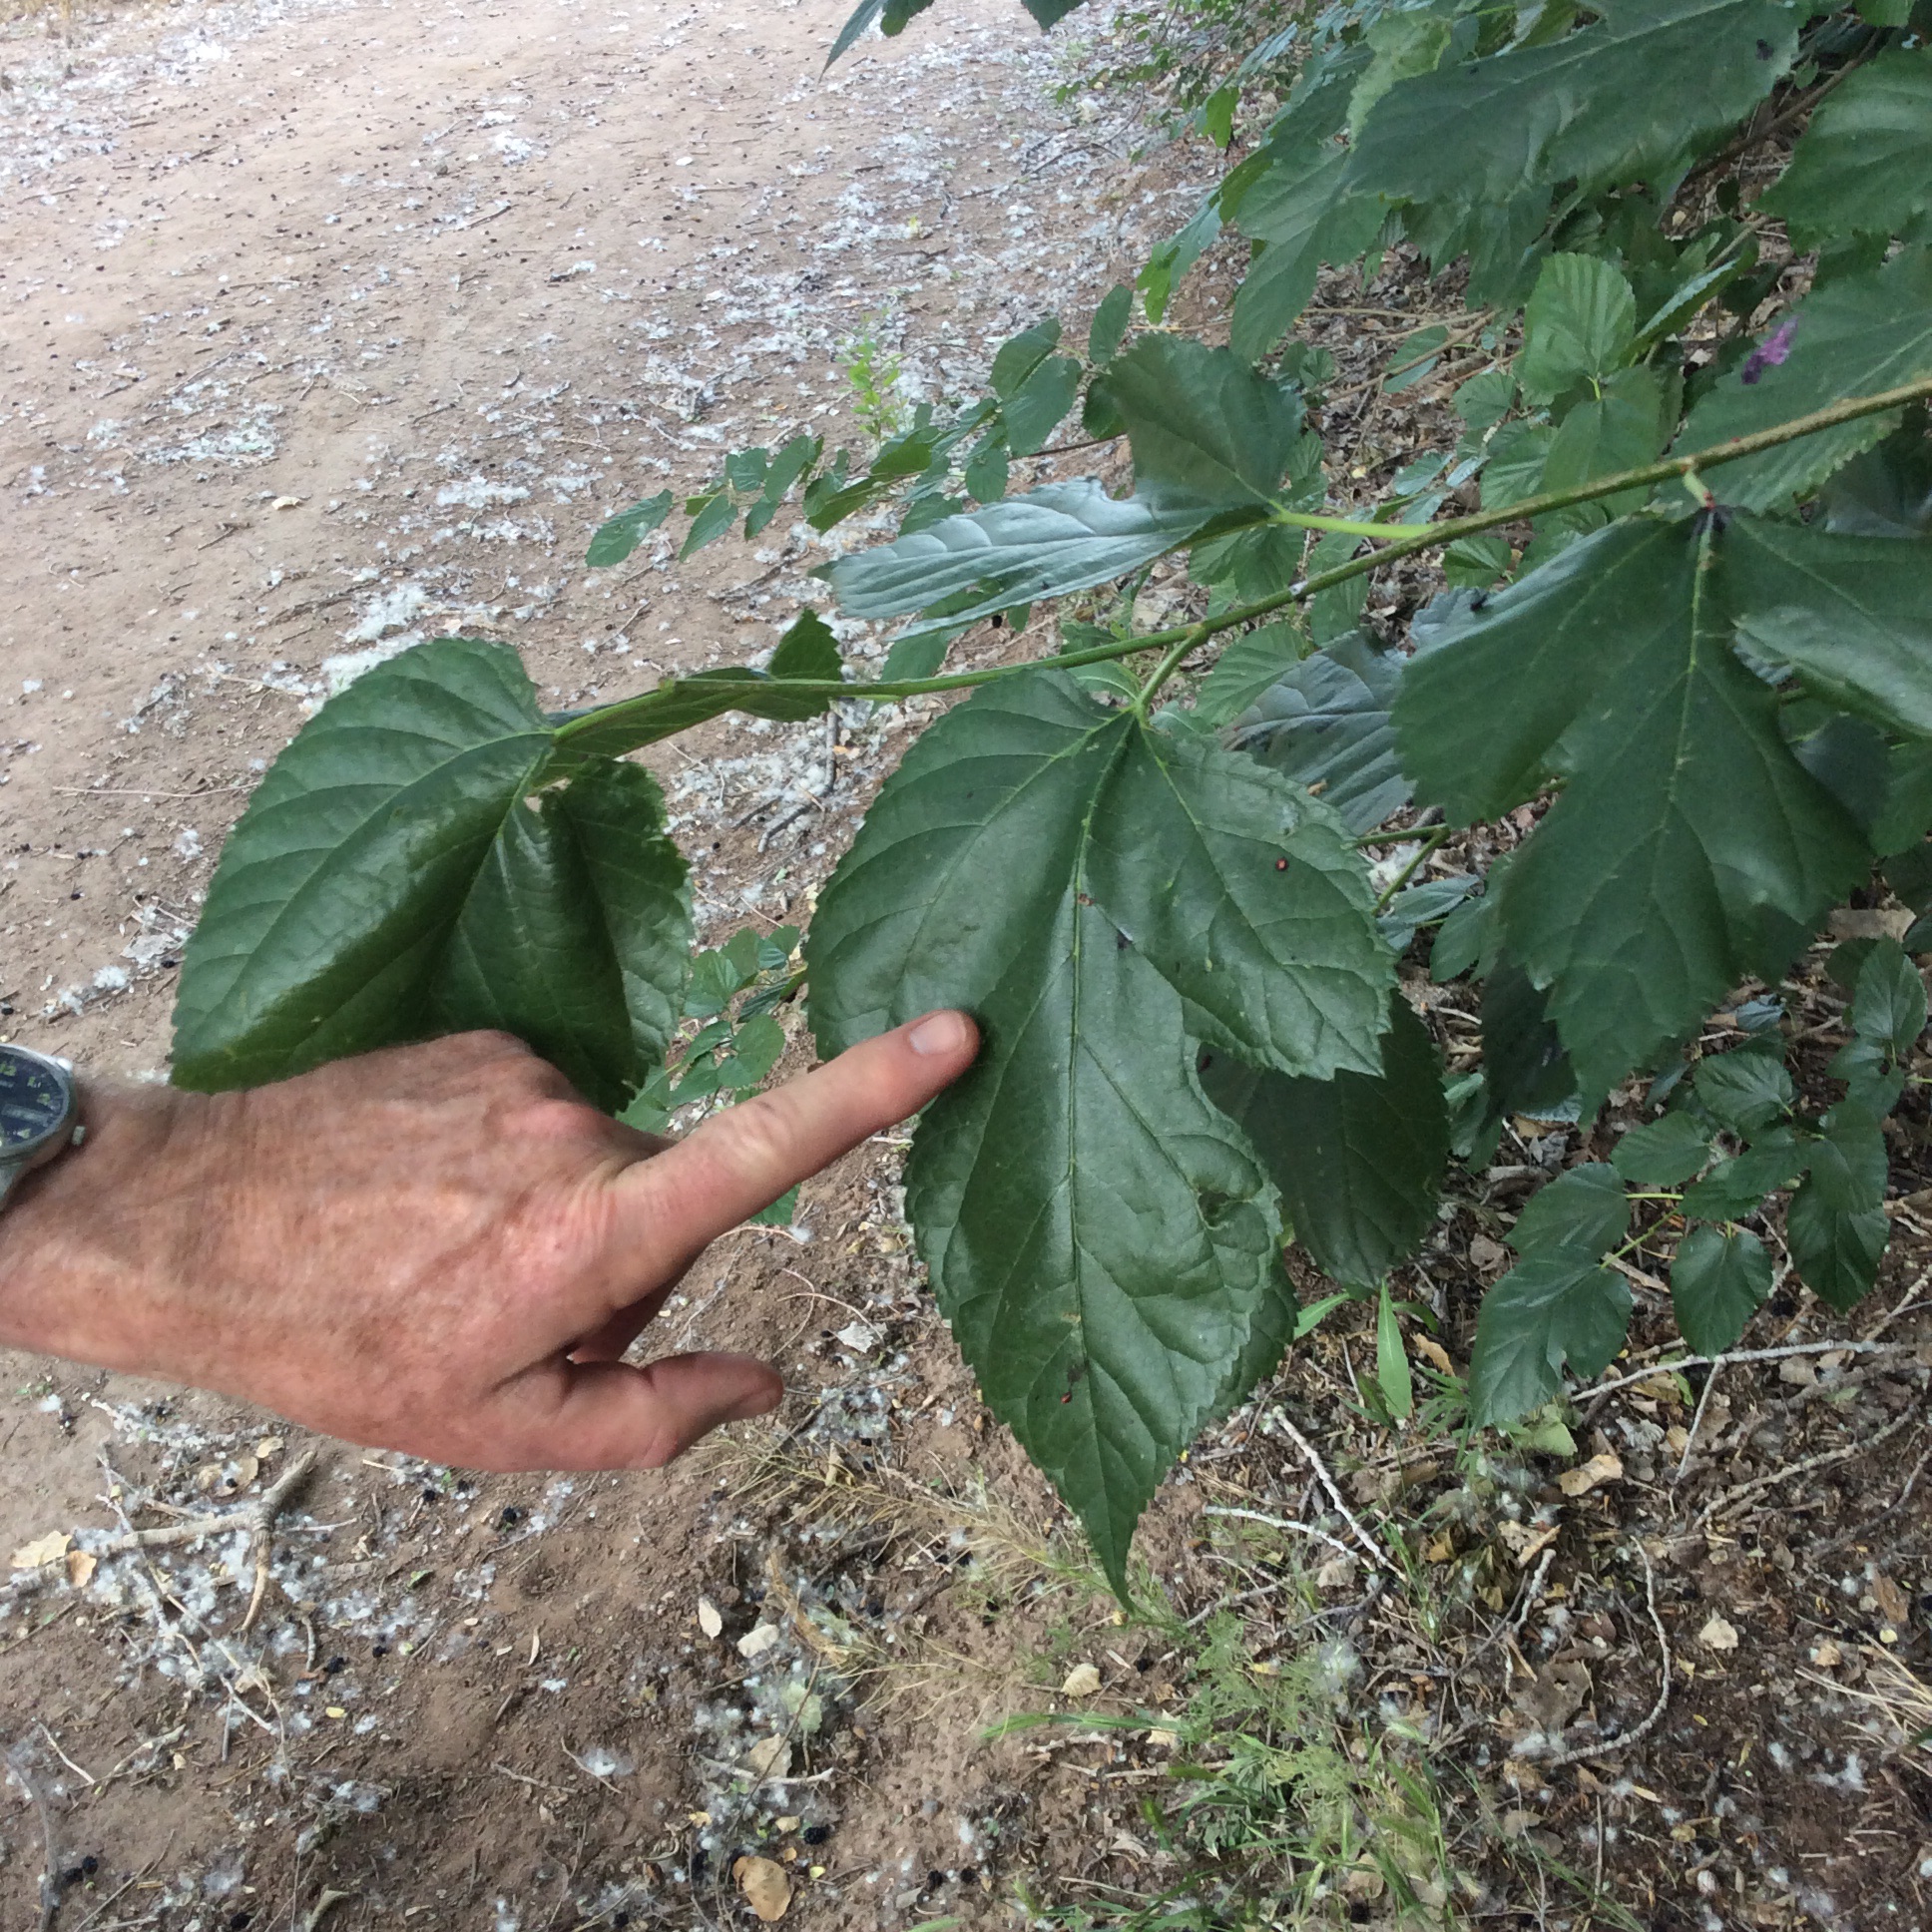
I asked my friend to stick his hand in the picture so that you can see that these leaves are big, over 7 inches long in many cases.
Be aware that if you are going to cook with mulberry leaves, they have to be young and you have to taste them first. Some are quite tasty, some are okay, and some are awful. Chew up a little bit. It will taste raw and green, but if there are acrid awful flavors, don’t go further. Use grape leaves instead in that case.
I foraged a couple of dozen big mulberry leaves, rinsed and blanched them for a minute in boiling water, and set out to make a meat filling. Mine was very improvisational, so I’ll describe it casually. For more specific and concrete recipes, you can google “dolmas” and find hundreds. I wanted to use what was fresh and good in my garden.
I started with a pound of ground beef from our local grassfed beef people. Don’t use beef that’s very lean; it will be dry when cooked. I chopped up three large green onions, greens and whites chopped separately, and four cloves of garlic. I put the white onion parts and the garlic to sauté over medium-low heat in a glug of good olive oil. While they cooked, I chopped a handful of parsley, a large sprig of cutting celery, a few large sprigs of thyme, a large handful of cilantro with stems, and a sprig of sweet marjoram, and mixed them with the chopped onion greens. To the beef I added a heaping teaspoon of salt and a heaping teaspoon of Maras pepper flakes. The Maras pepper was courtesy of a friend who kindly muled it back from Turkey for me, but you can use any mild red pepper flakes, or leave them out. Work the sautéed mixture and the chopped herbs into the beef very well with your hands. Now work in a cup of toasted pine nuts, chopped toasted almonds, or chopped toasted walnuts. Let the mixture rest in the refrigerator an hour or two if possible, or up to overnight, to let the flavors develop.
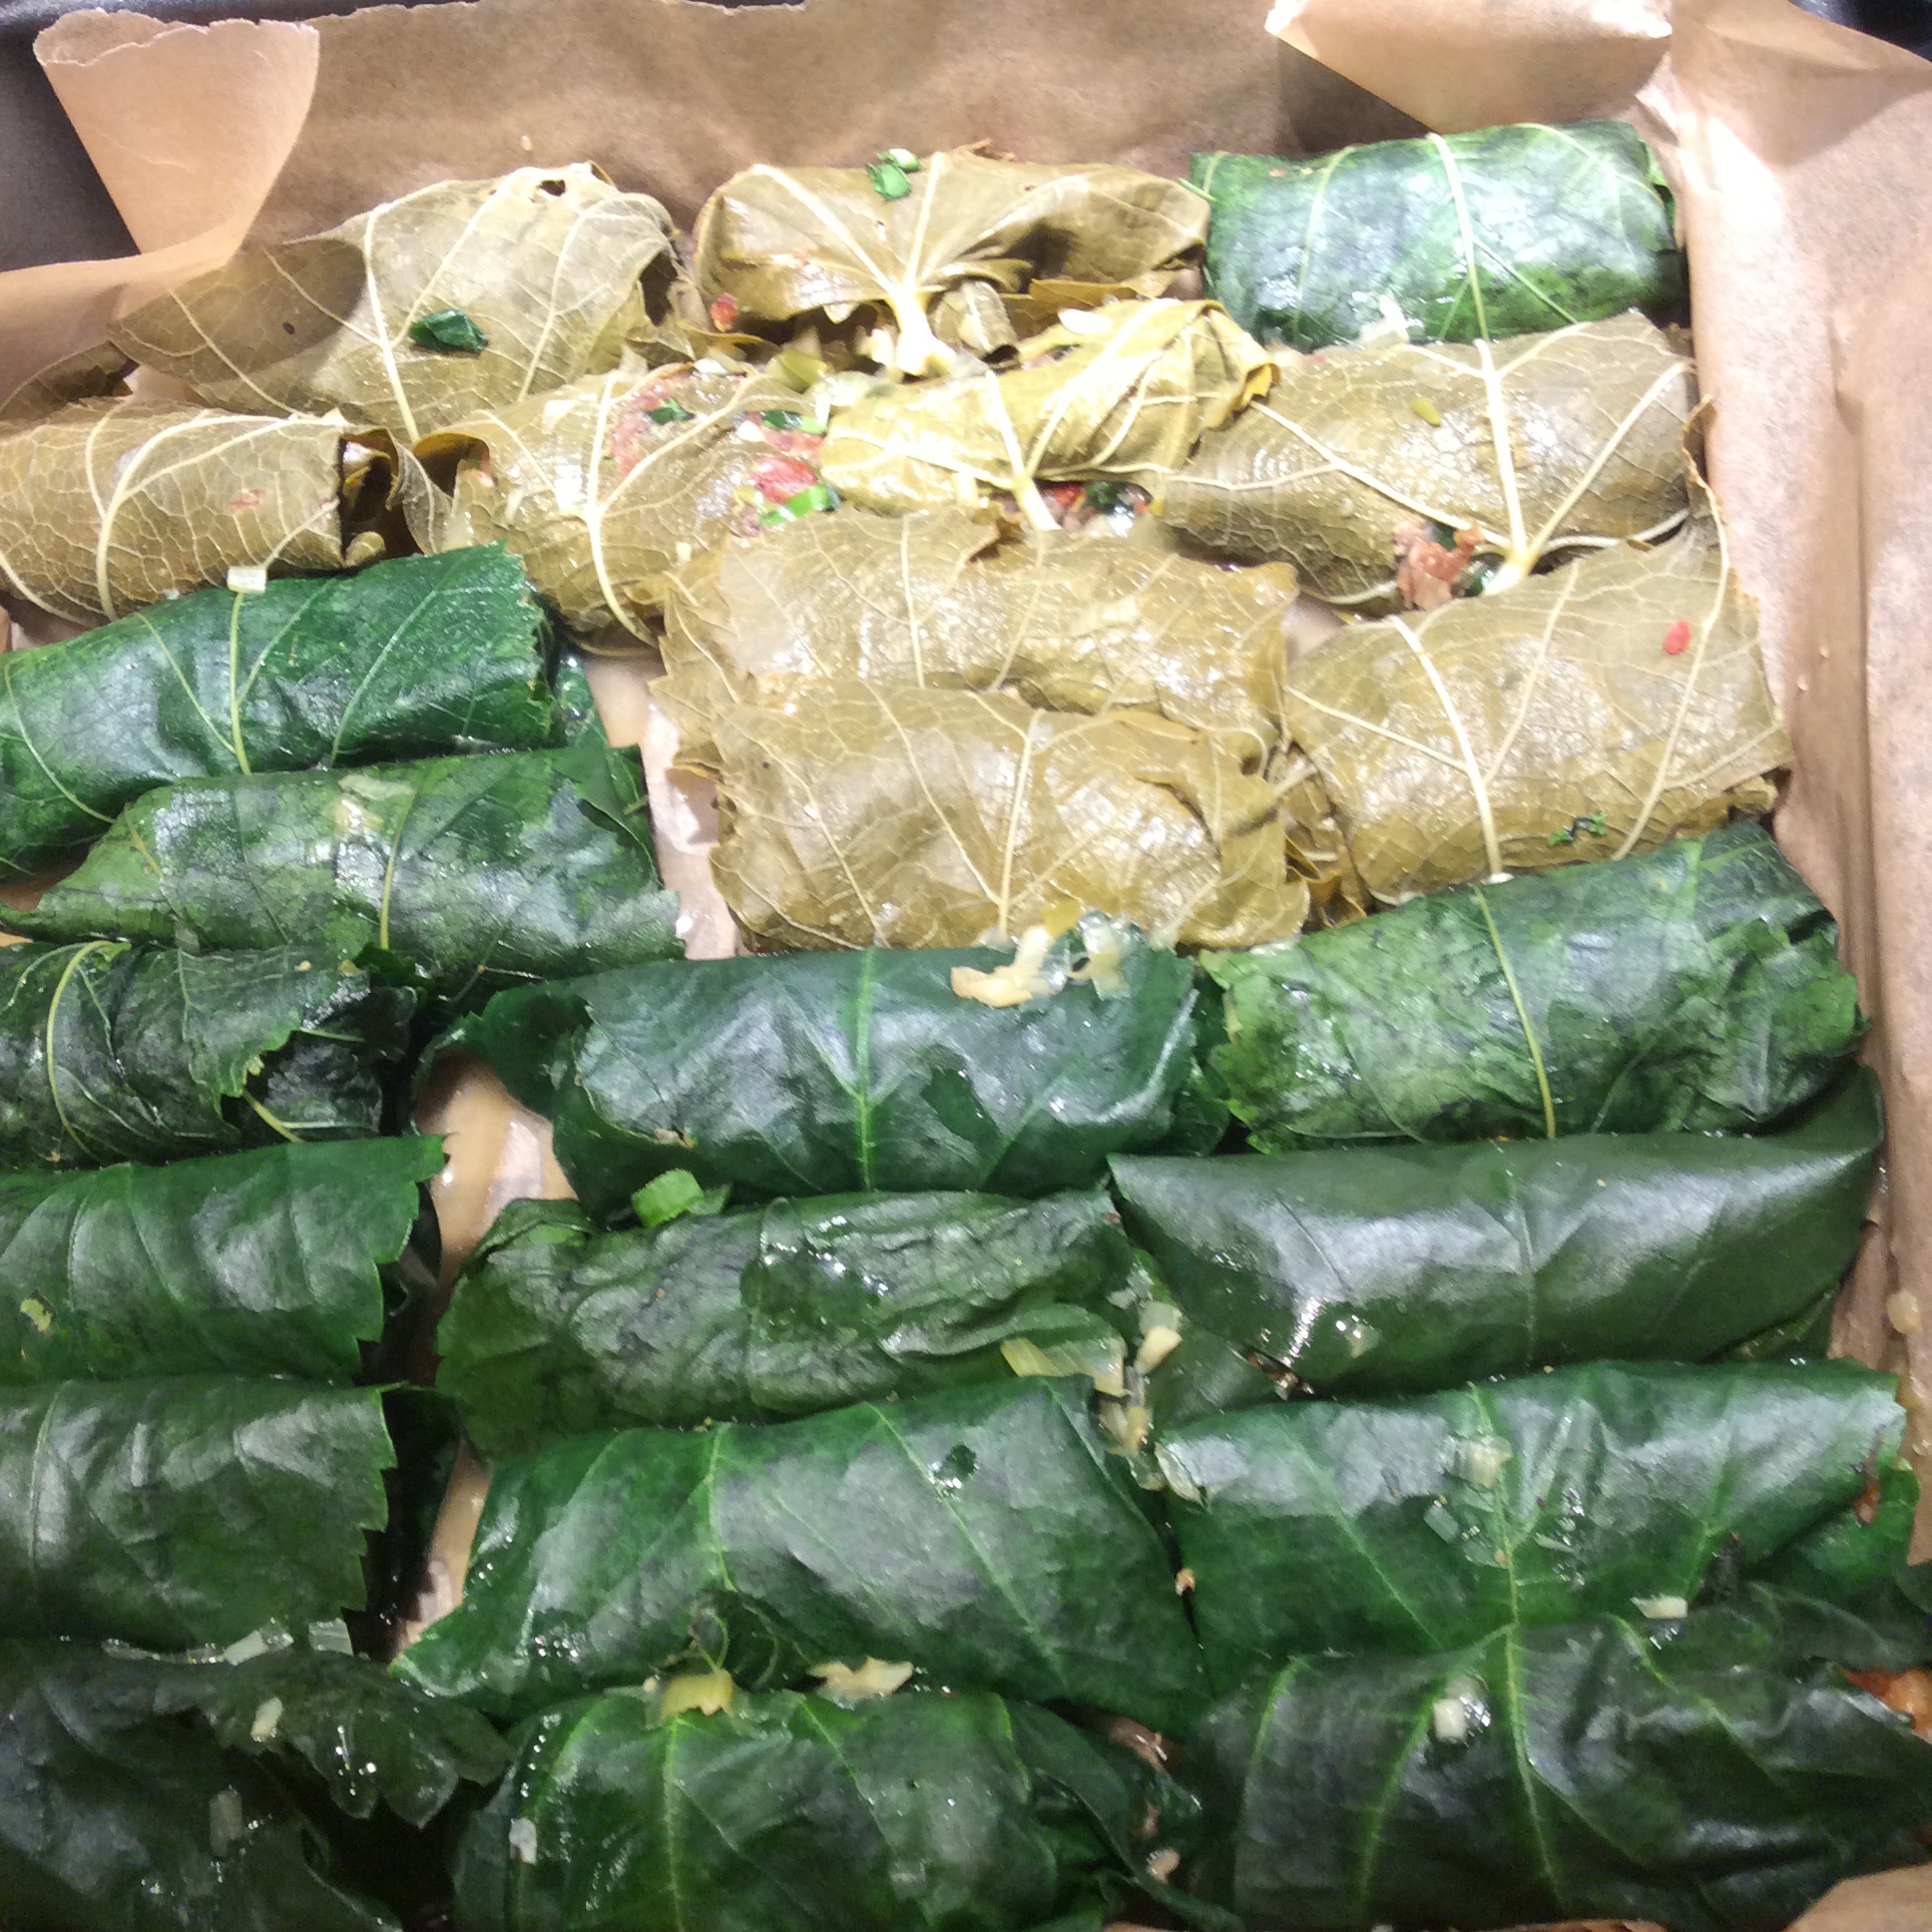
Fill the dolmas; again, there are a thousand visual tutorials online if you are unfamiliar with the process. Fit them tightly into a pan lined with parchment paper. In the photo below you can see some made with grape leaves among the vibrant dark green mulberry dolmas.
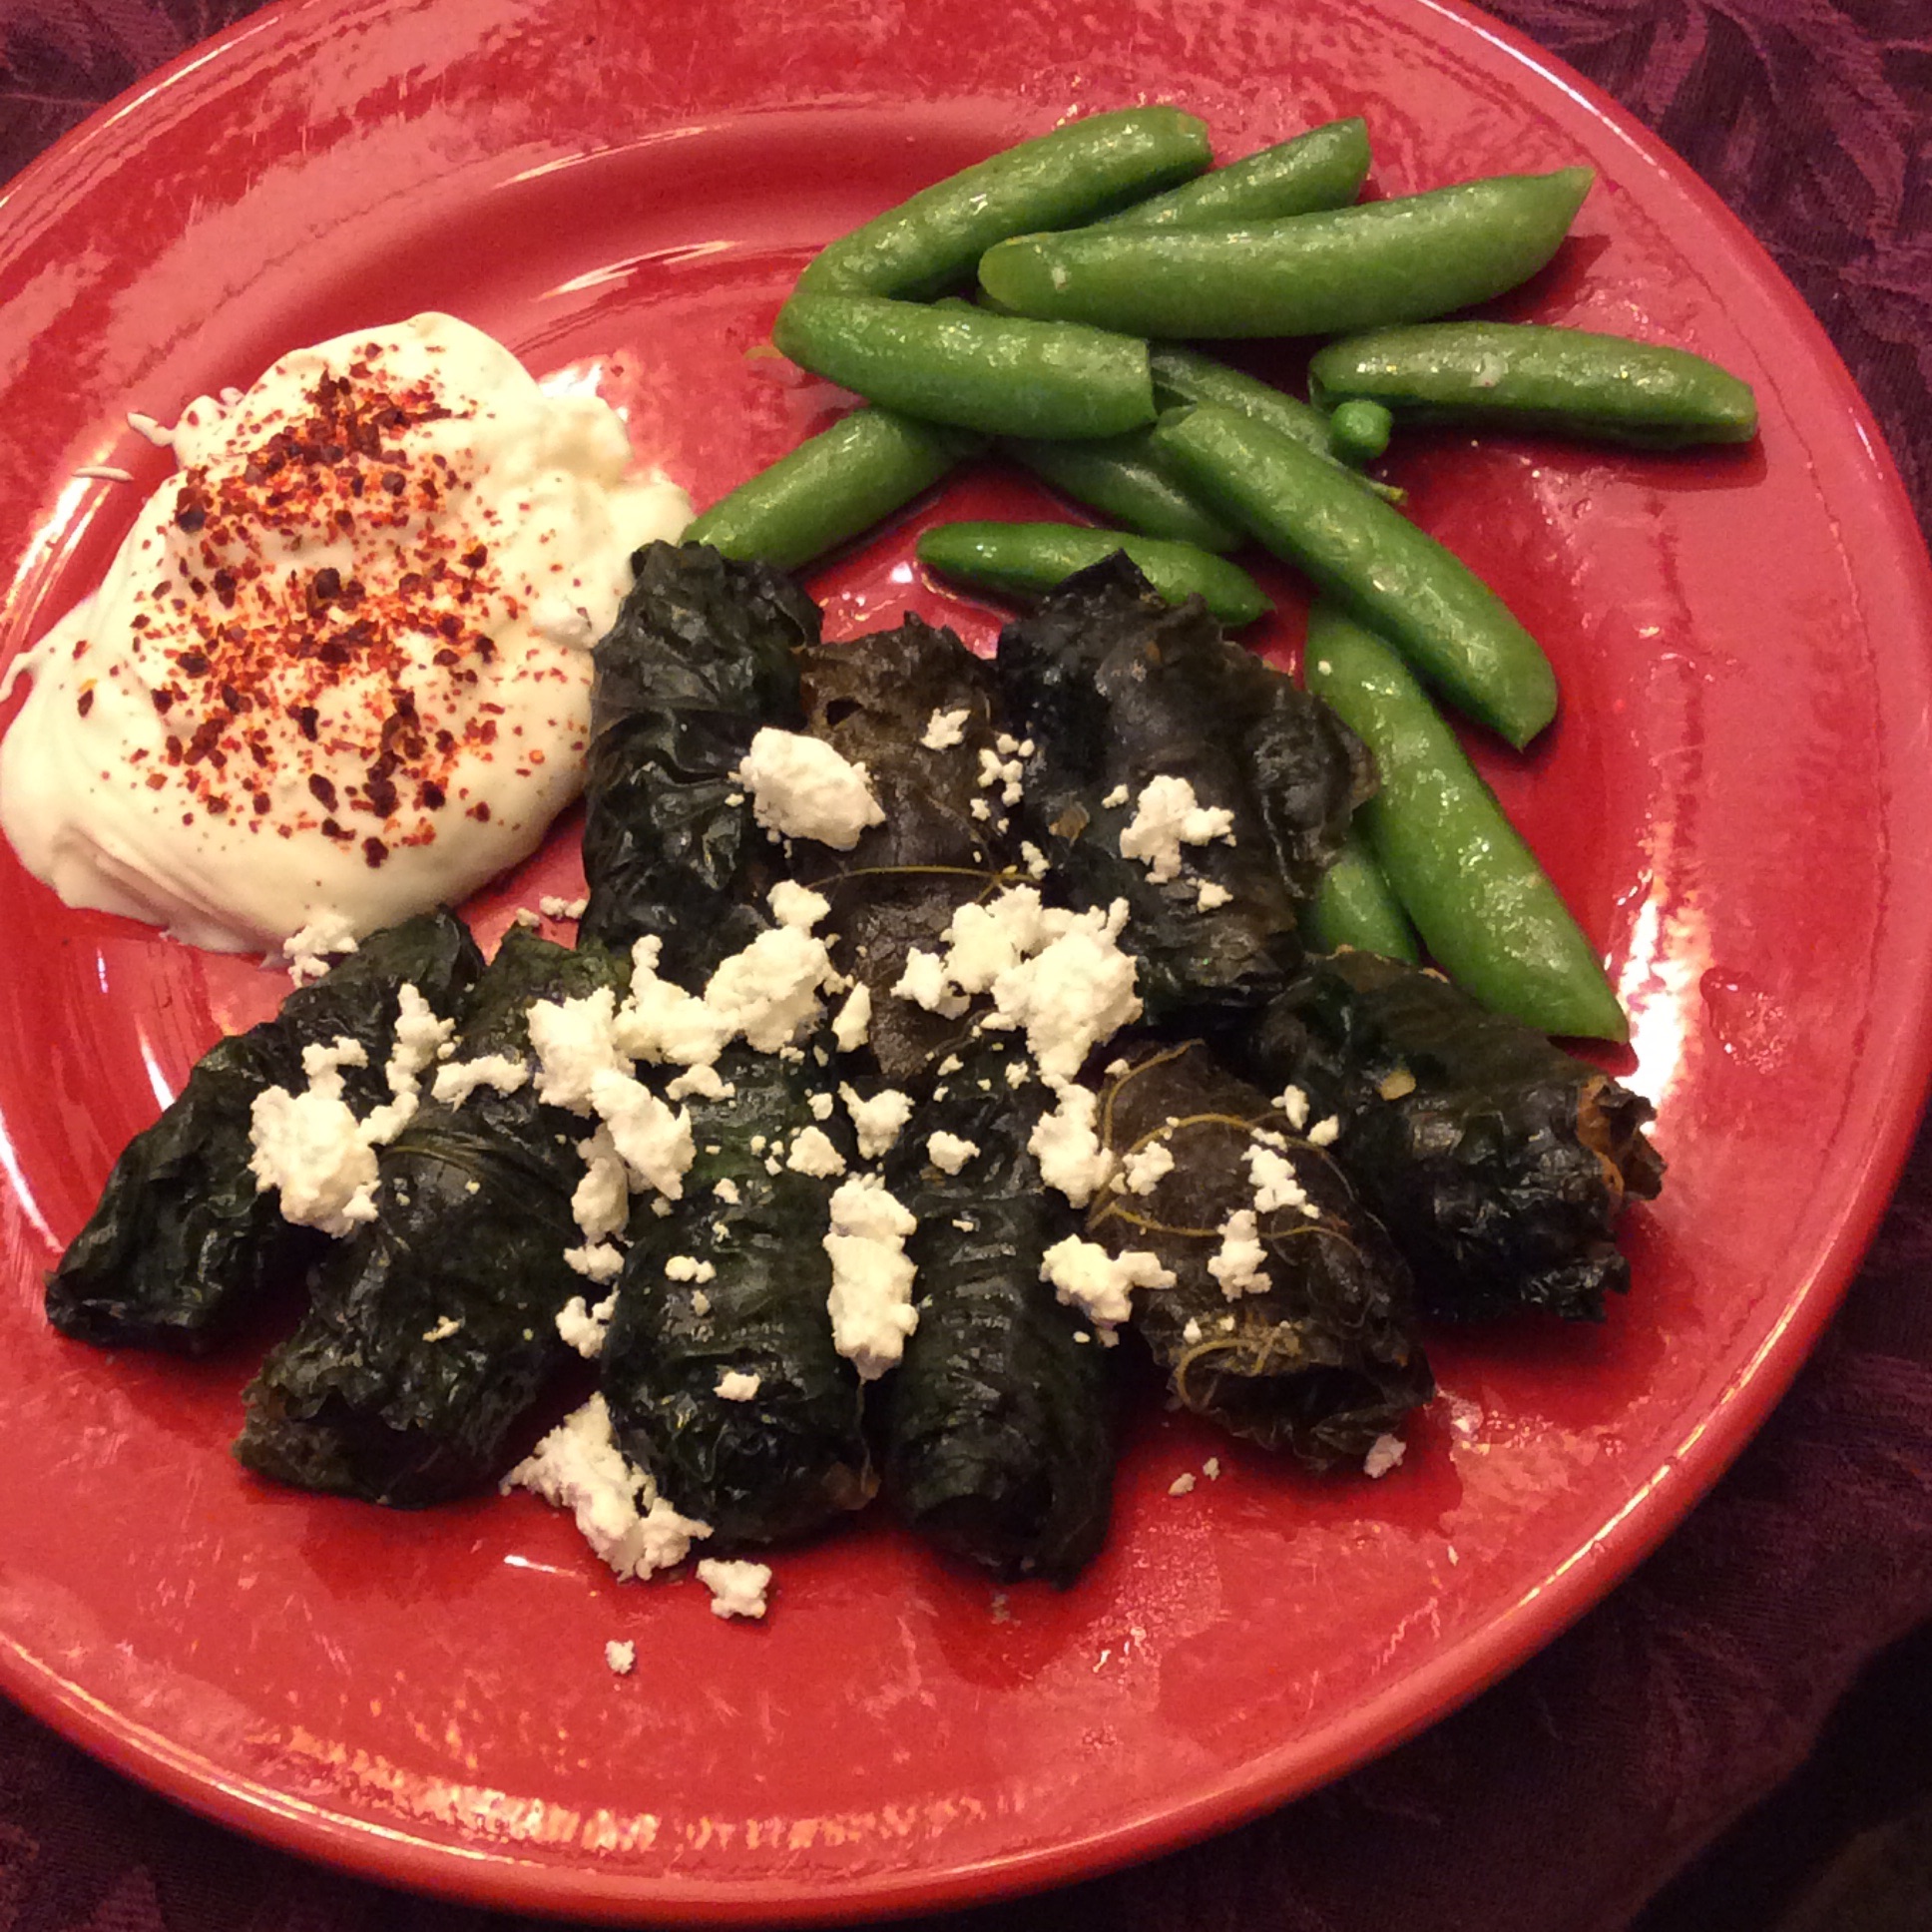
Put about a quarter cup of water in the pan, and cover loosely with foil. Bake at 350 for about 25 minutes. Boil down the pan juices in a little saucepan to make a sauce, if it tastes at all watery right out of the oven, which it probably won’t because of all the herbs. Serve them forth, with well-strained or full-fat Greek yogurt. I like to salt the yogurt to taste. Ornament the yogurt with a drift of pepper flakes or a scattering of paprika if you like. Scatter crumbled feta over the dolmas if that suits your taste.
I don’t add rice to the filling because I’m a ketogenic eater, but if you aren’t, feel free to add rice for a more traditional filling, or you could add bread crumbs for a less dense filling. If you want to take the trouble, you can make an avgolemono sauce or a tomato sauce to go over the dolmas. But do keep the field-and-garden improvisational nature of the thing.
2 Jun
Green Mayo
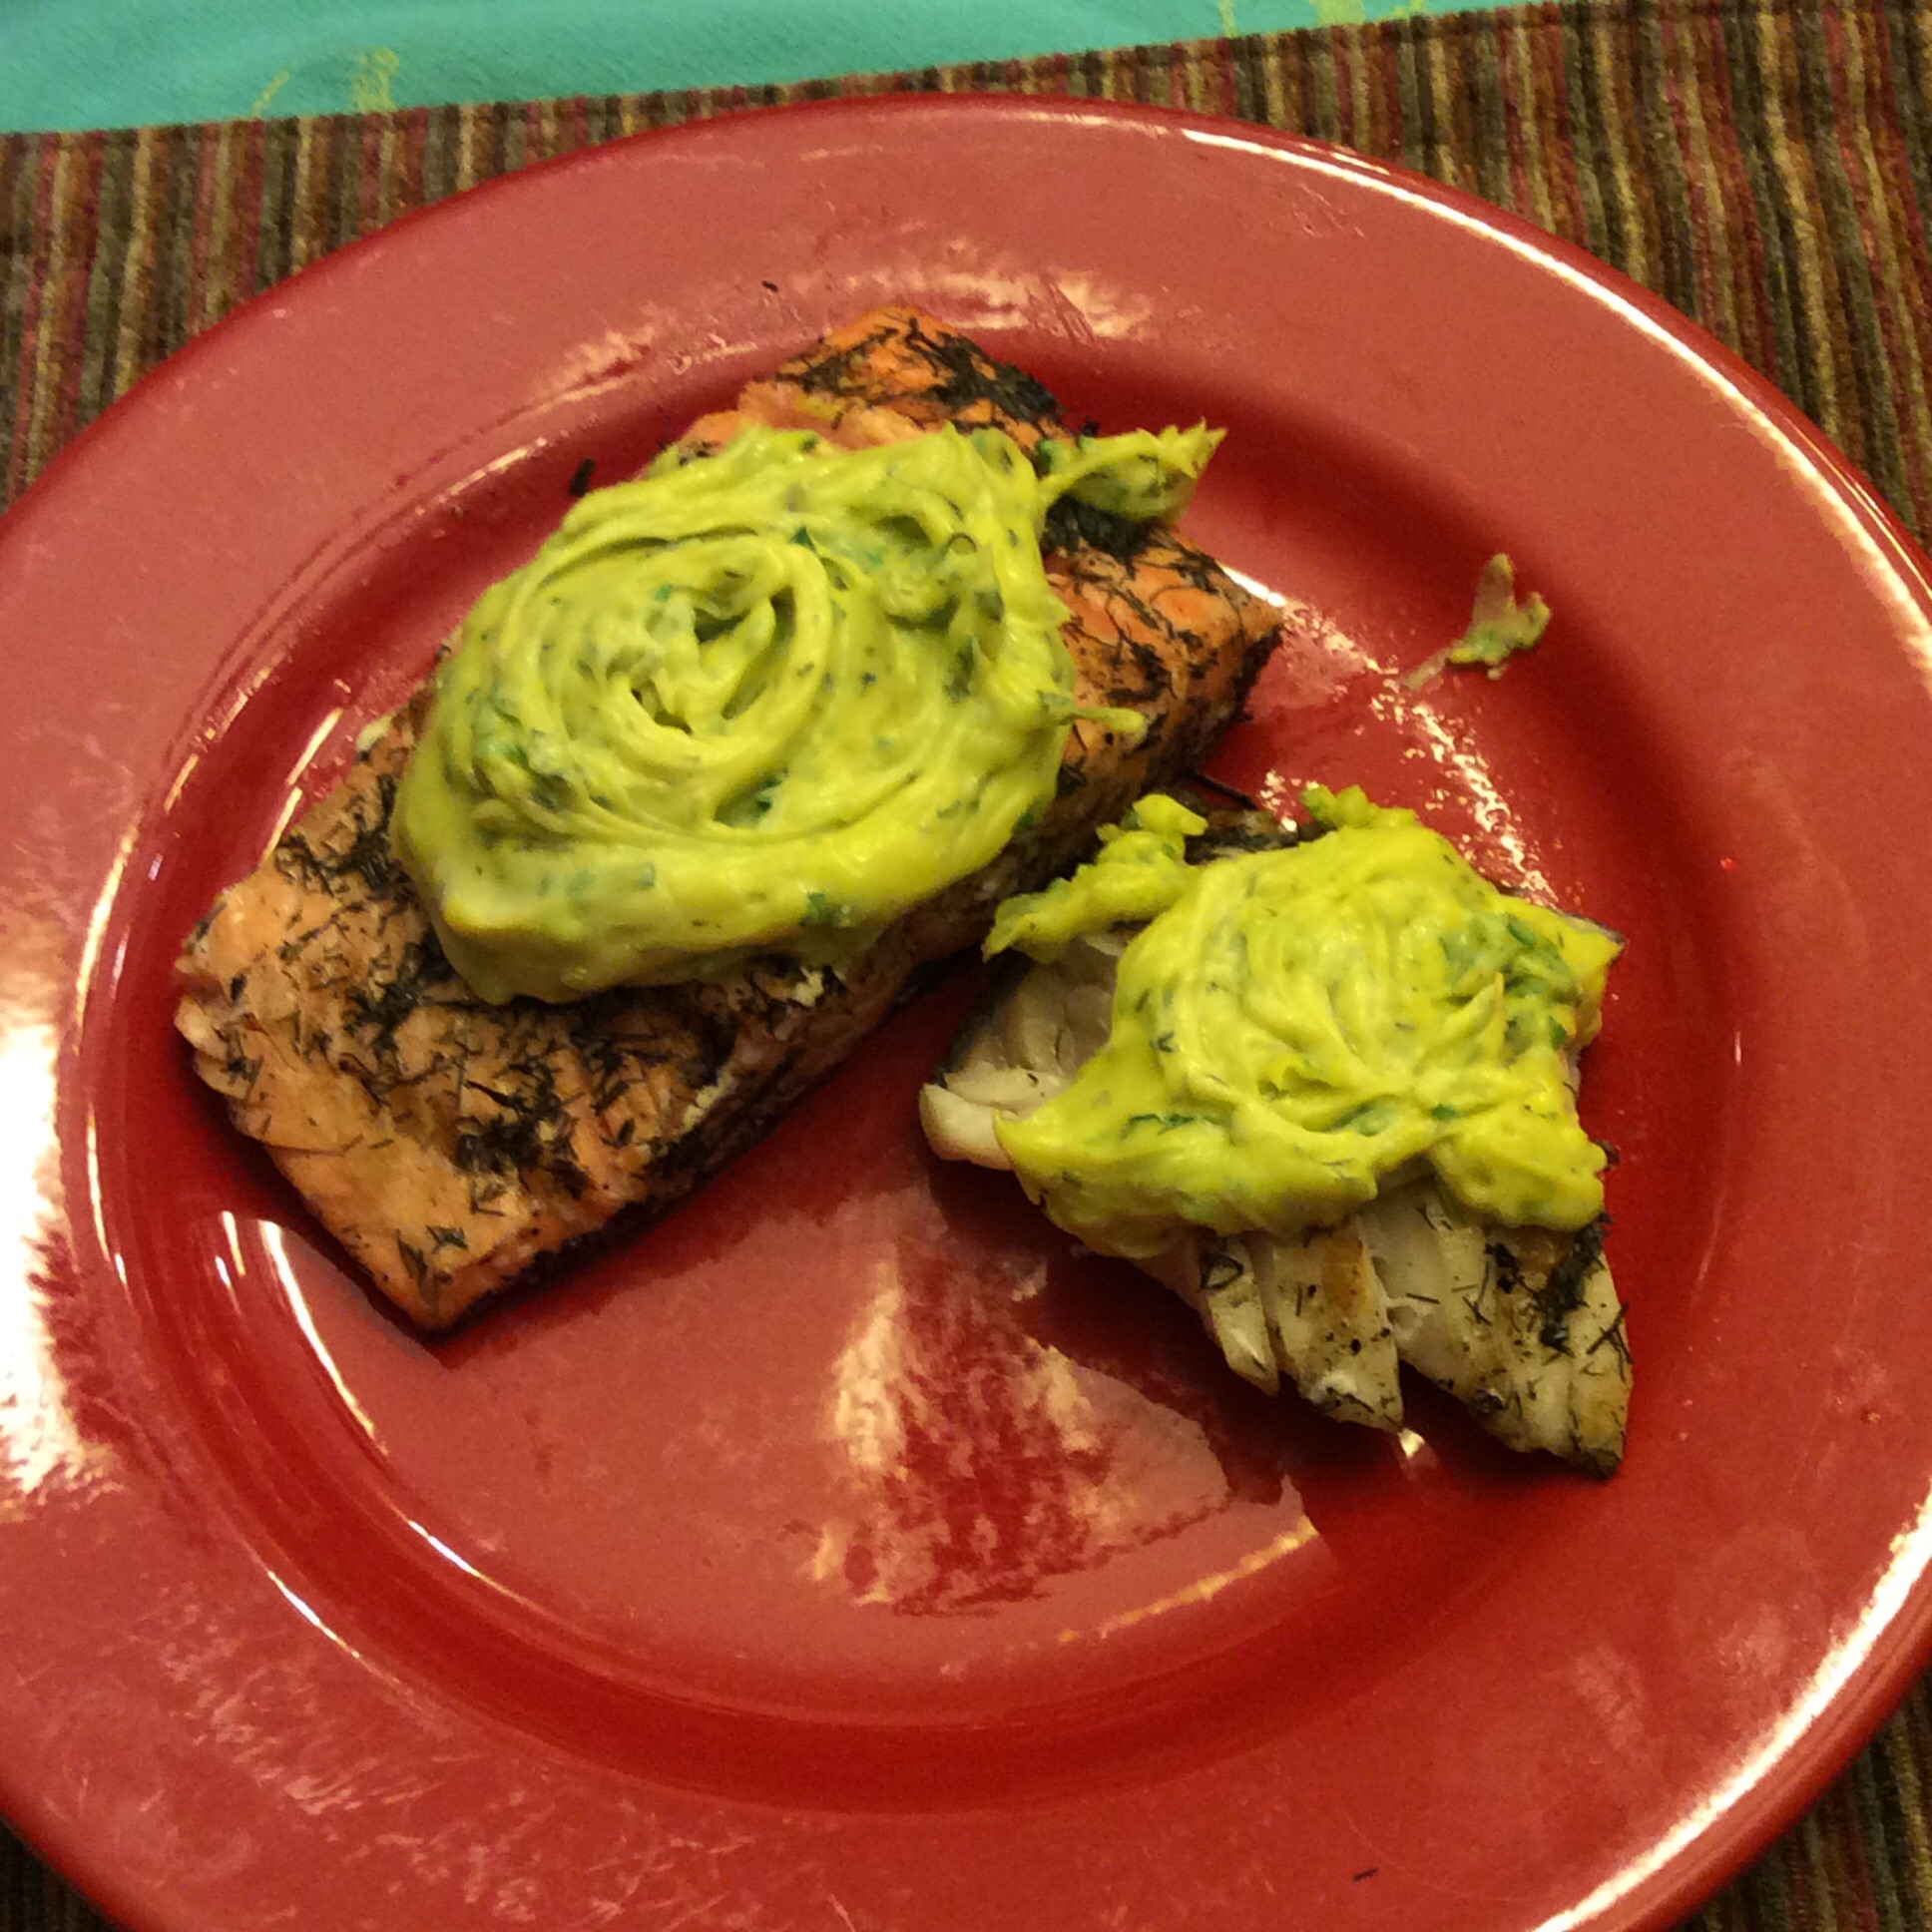
Many of us who eat ketogenic diets refer to homemade mayonnaise as “ketonnaise.” It is one of the luxuries of our very-low-carb style of eating that we can have this beautiful stuff. This time of year, the garden is full of wonderful ways to flavor it, and one of my favorite things to do with it is put a luxurious dollop on top of grilled sockeye salmon, as you see above.
You will have to make your own decision about eating raw eggs. I use my own backyard eggs, and if I am expecting to feed others, I either pasteurize the eggs in my sous-vide cooker or let my visitors make their own choices with full disclosure. Don’t ever feed raw eggs to the elderly, children, immunocompromised people, or the unsuspecting in general.
In my opinion this is best made with a Mini-prep. It gets so thick that stick blenders can’t handle it.
The basic mayo is very simple. Have 1.5 cups of oil ready. I use a light-flavored olive oil or equal parts each of full-flavored olive oil and MCT oil (a fraction of coconut oil that’s liquid at room temp.) Put four egg yolks and a teaspoon of salt in your Mini-Prep food processor. You need a small one so that the mixture reaches the blades. Start the food processor running, and very slowly drizzle in the oil. The Cuisinart Mini-prep has a little runway and hole in the lid for exactly this purpose. You will start to hear the thickening mayonnaise slap against the sides of the bowl. Last thing, put in two teaspoons of fresh lemon juice. When it’s done, turn out into a colorful bowl and put in the refrigerator for now.
Now the fun starts. What do you want it to taste like? For standard use I love a handful of chopped parsley, some tarragon, cutting celery, and a little thyme, a handful of chopped chives, a few large arugula leaves chopped, and the white part of a good-sized stalk of green garlic chopped finely. I usually add a smashed anchovy filet too. A meal that leans Mexican might want lots of cilantro and a little epazote and garlic. Somewhat Southeast Asian? Consider a little green curry paste and a goodly amount of chopped rau ram and a chile, chopped. Add your chosen herbs and fold in well. Taste to correct seasoning. The large amount of oil blunts flavors, and you may need more herbs and salt than you think.
You can put it on broiled meat, chicken, and fish, spoon some on top of grilled shrimp, dip veggie sticks in it, or if you aren’t ketogenic it is superb smeared on chunks of baguette.
Eat happily. This is an occasion for high-class piggery, not portion control. It will last a day in the fridge but, in my view, not more than that. I have read one cook online insist that it will keep safely for over a week when chilled, but I wouldn’t chance it.
Tarragon goes crazy in late spring so let’s make use of that tender growth.
30 May
Nose-to-tail Cilantro
Cilantro is a lovely and evanescent thing. It is a major seasoning herb in Thai and Indonesian cuisines, is widely used in China and Southeast Asia, and fills me with wellbeing whenever I eat it. It was a few years, though, before I learned how to make it pay for its garden space.
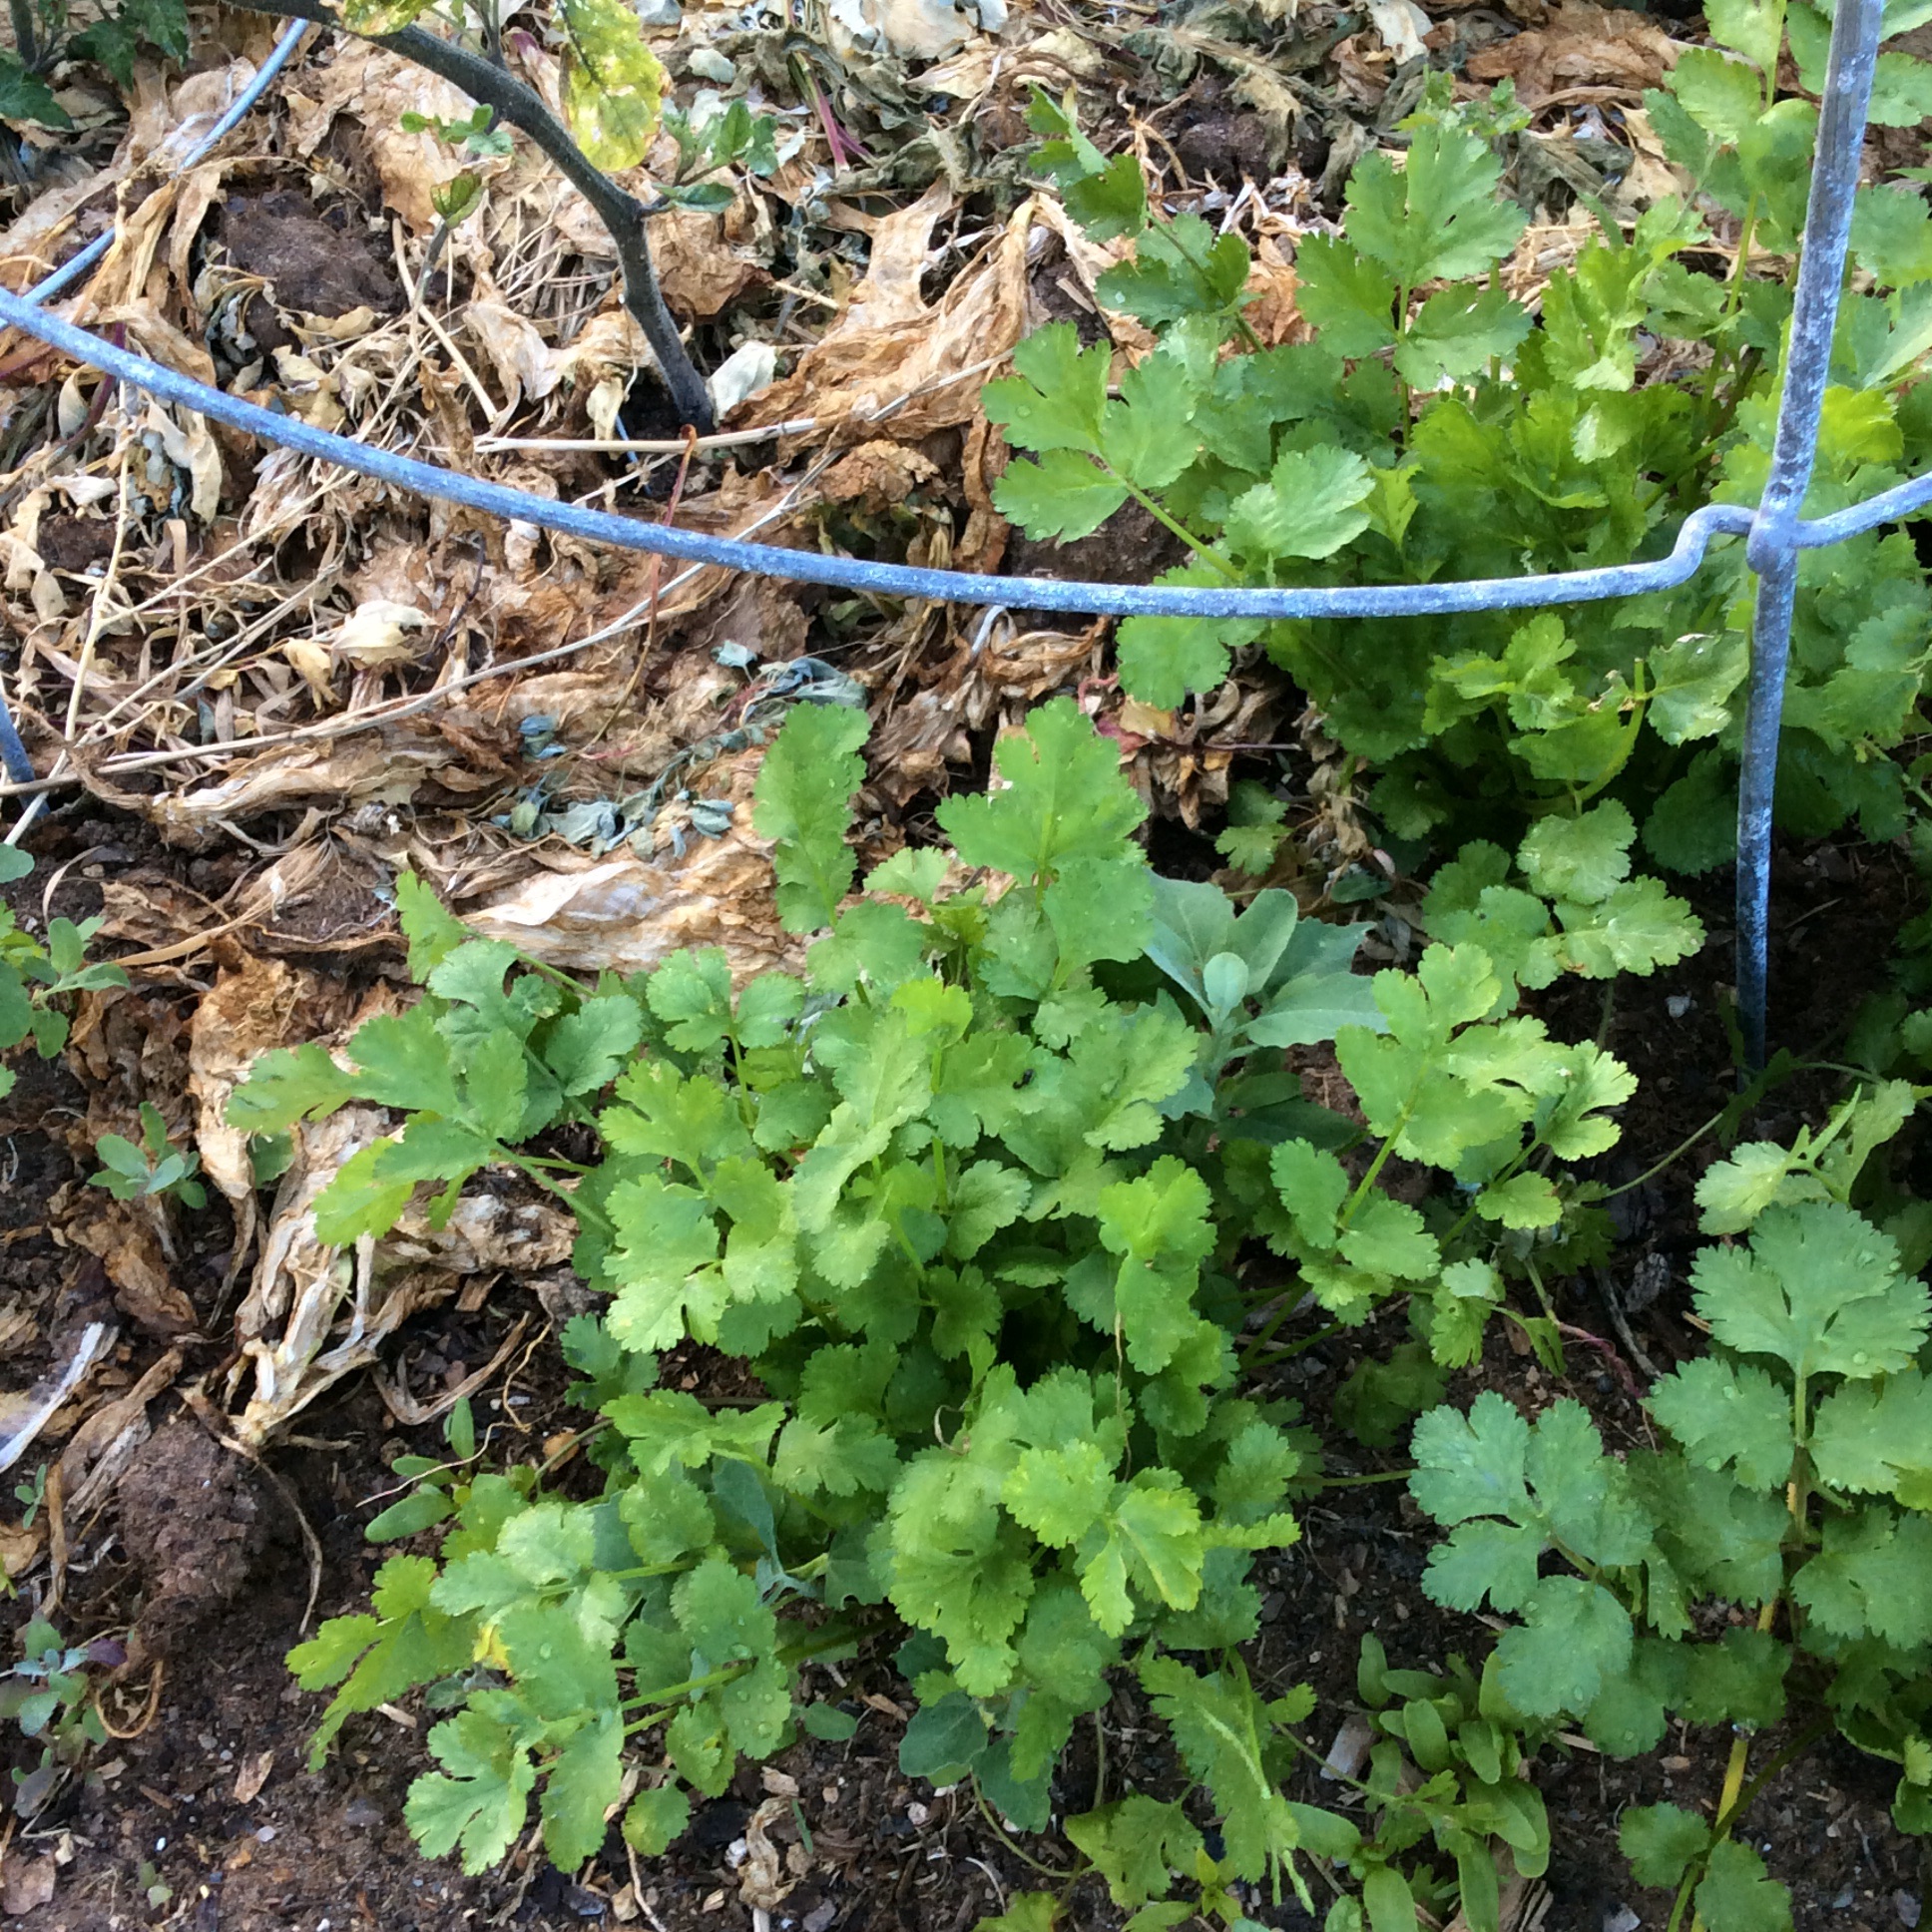
First, choose your variety carefully. You need a bolt-resistant type that can be bought in ounces, not packets. Don’t plant the seeds sold as spices. Currently my favorite is Calypso. Second, forget rows. Plant it in bunches that you can harvest all at once, and only have as many bunches maturing per week as you will actually use. I like the bunches to be spaced 8-10″ apart each way, and I plant 15-20 seeds in each bunch, all clustered into an area about 2″ in diameter. I plant 4 bunches a week, every week that I remember and have some bed space available, starting well before the last frost because cilantro likes cool weather and stopping as the days heat up. They will not occupy their real estate more than a couple of months, so I plant them in places where big heat-loving crops like tomatoes or zucchini will take over the space. In the picture above, you see the stem of the young tomato which will spread out when the days heat up. You may also note the early lettuce that occupied the tomato’s space over the winter, now serving as a light mulch.
When the plants are 7-8″ high, I harvest the bunch by cutting about two inches above the ground. They are quite clean because the crowded plants hold each other up, and just need a quick rinse before being used in your favorite way. Cut the bunch rather than pulling, because those stems will keep on working.
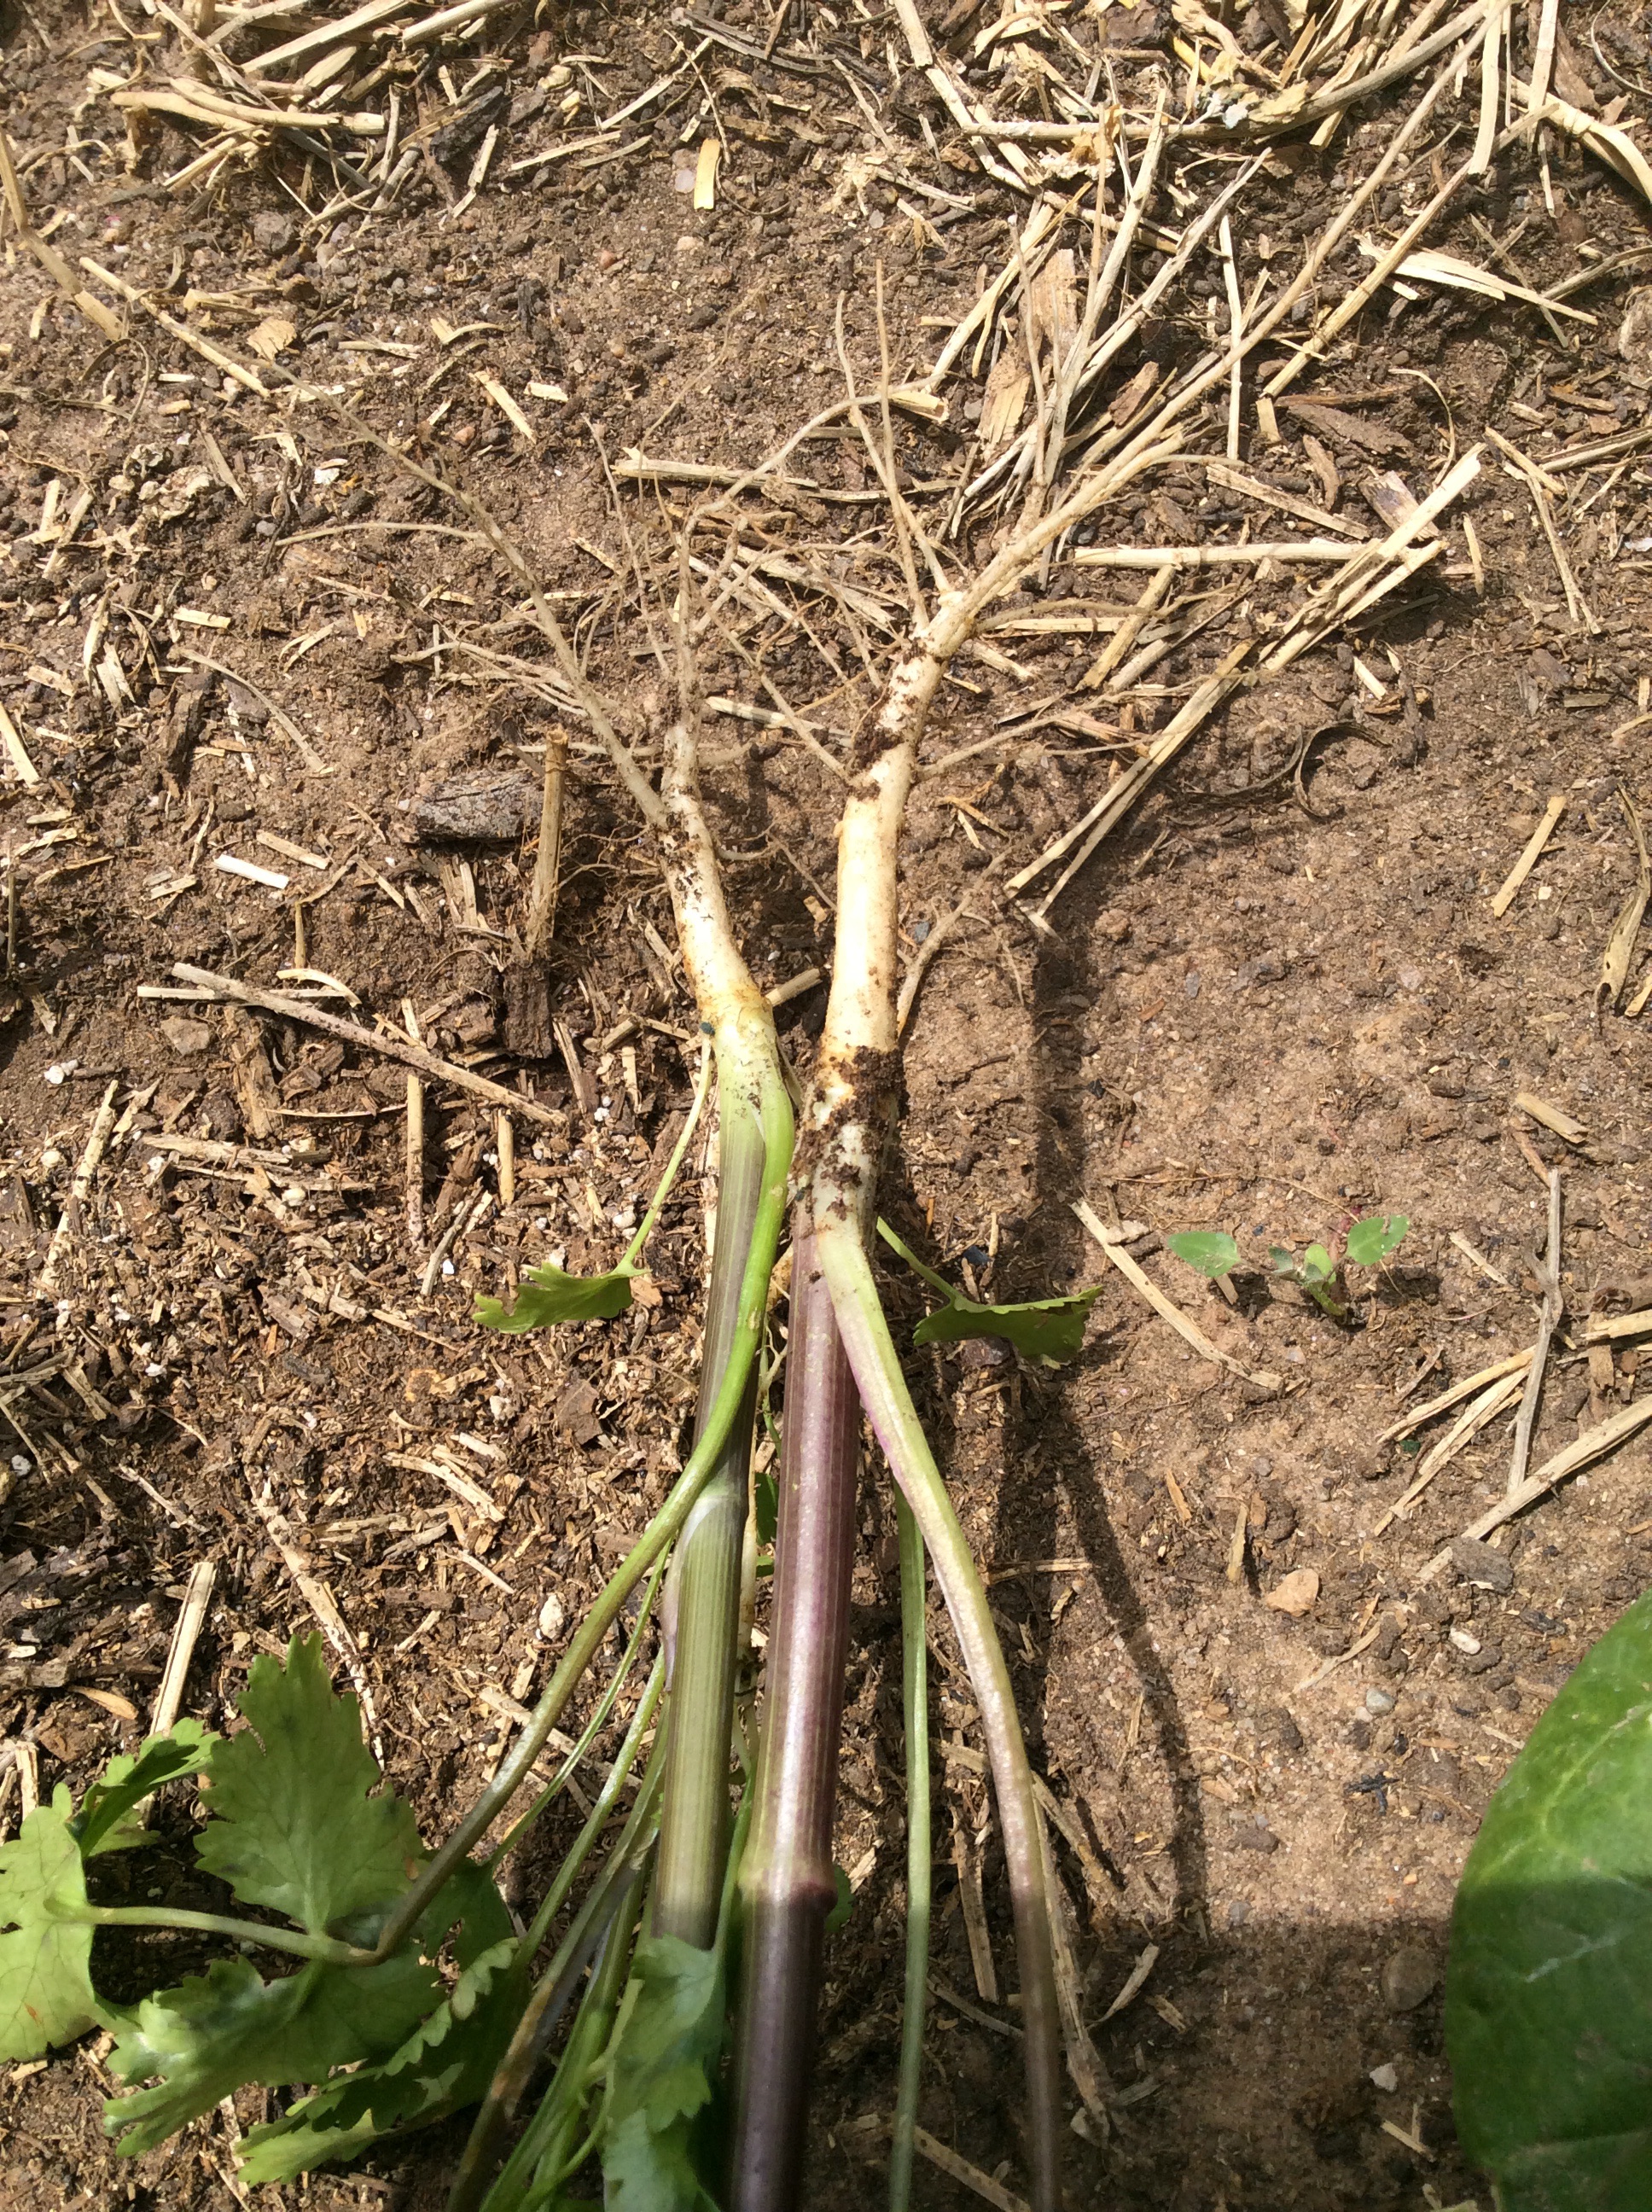
Leave the cut stems in place. When they show a good amount of new growth,you will notice that the leaves are finely cut and feathery rather than looking like grocery-store cilantro. This new growth doesn’t have the full cilantro flavor by any means, but I still like to throw chopped handfuls into salads and pounded green herb sauces. But what we are really after at this point is not the leaves. When some of your bunches are tall and starting to bolt, pull them for the roots and lower stems. Scrub the roots and thick lower stems well, cut off the finer roots and discard (into the compost, of course) and chop the roots and stems thinly crosswise. This is your supply of cilantro root, which is used extensively in classic Thai cooking, while the leaves aren’t used in authentic curry pastes etc. In fact, make sure that no leaves get into your root, because the flavor is different and not right for this use. Thai cooking aficionados refer to it as the “unobtainable, mythical coriander root,” but it is highly obtainable if you have a garden. Now you can pound your roots and stems in your faithful mortar and pestle to make curry and seasoning pastes, or freeze them in little plastic bags in quantities of about 4 tablespoons. I tend to use mine up during the summer, which is when southeast Asian cuisine tastes best to me.
But don’t pull every bunch. Let some bolt, because you want the green seeds.
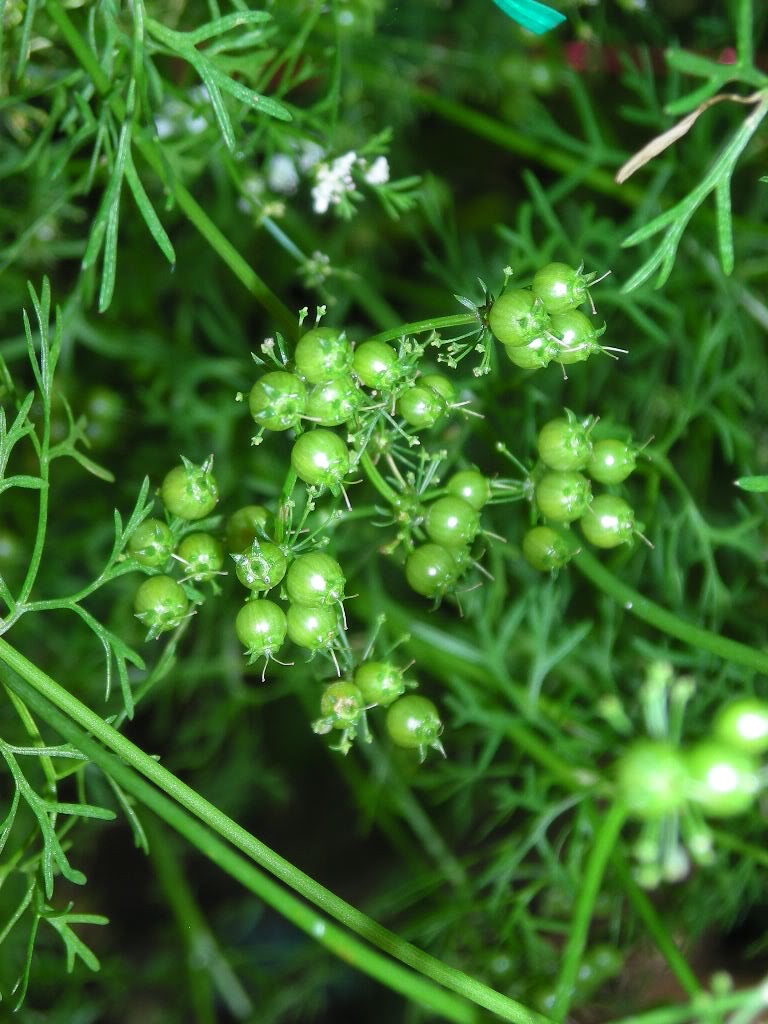
These have a flavor in between the leaves and the dried coriander seed and are delicious sprinkled over salads, used as a garnish on grilled meats, or tossed over bulgur or rice dishes.
Now you are finally done with your cilantro plants and can pull them and compost them, unless you want to let some set and dry seeds to use as coriander seed. I don’t dry and save seeds, personally. I can buy seeds easily, and prefer to use my own seeds green, when they are a fresh treat that can’t be bought.
For more on using the roots, check out David Thompson’s huge and highly addictive “Thai Food,” the best Thai cookbook in English in my opinion, although it does assume a scary amount of kitchen time😉
