Posts Tagged ‘cilantro’

A Hundred Kinds of Chimichurri

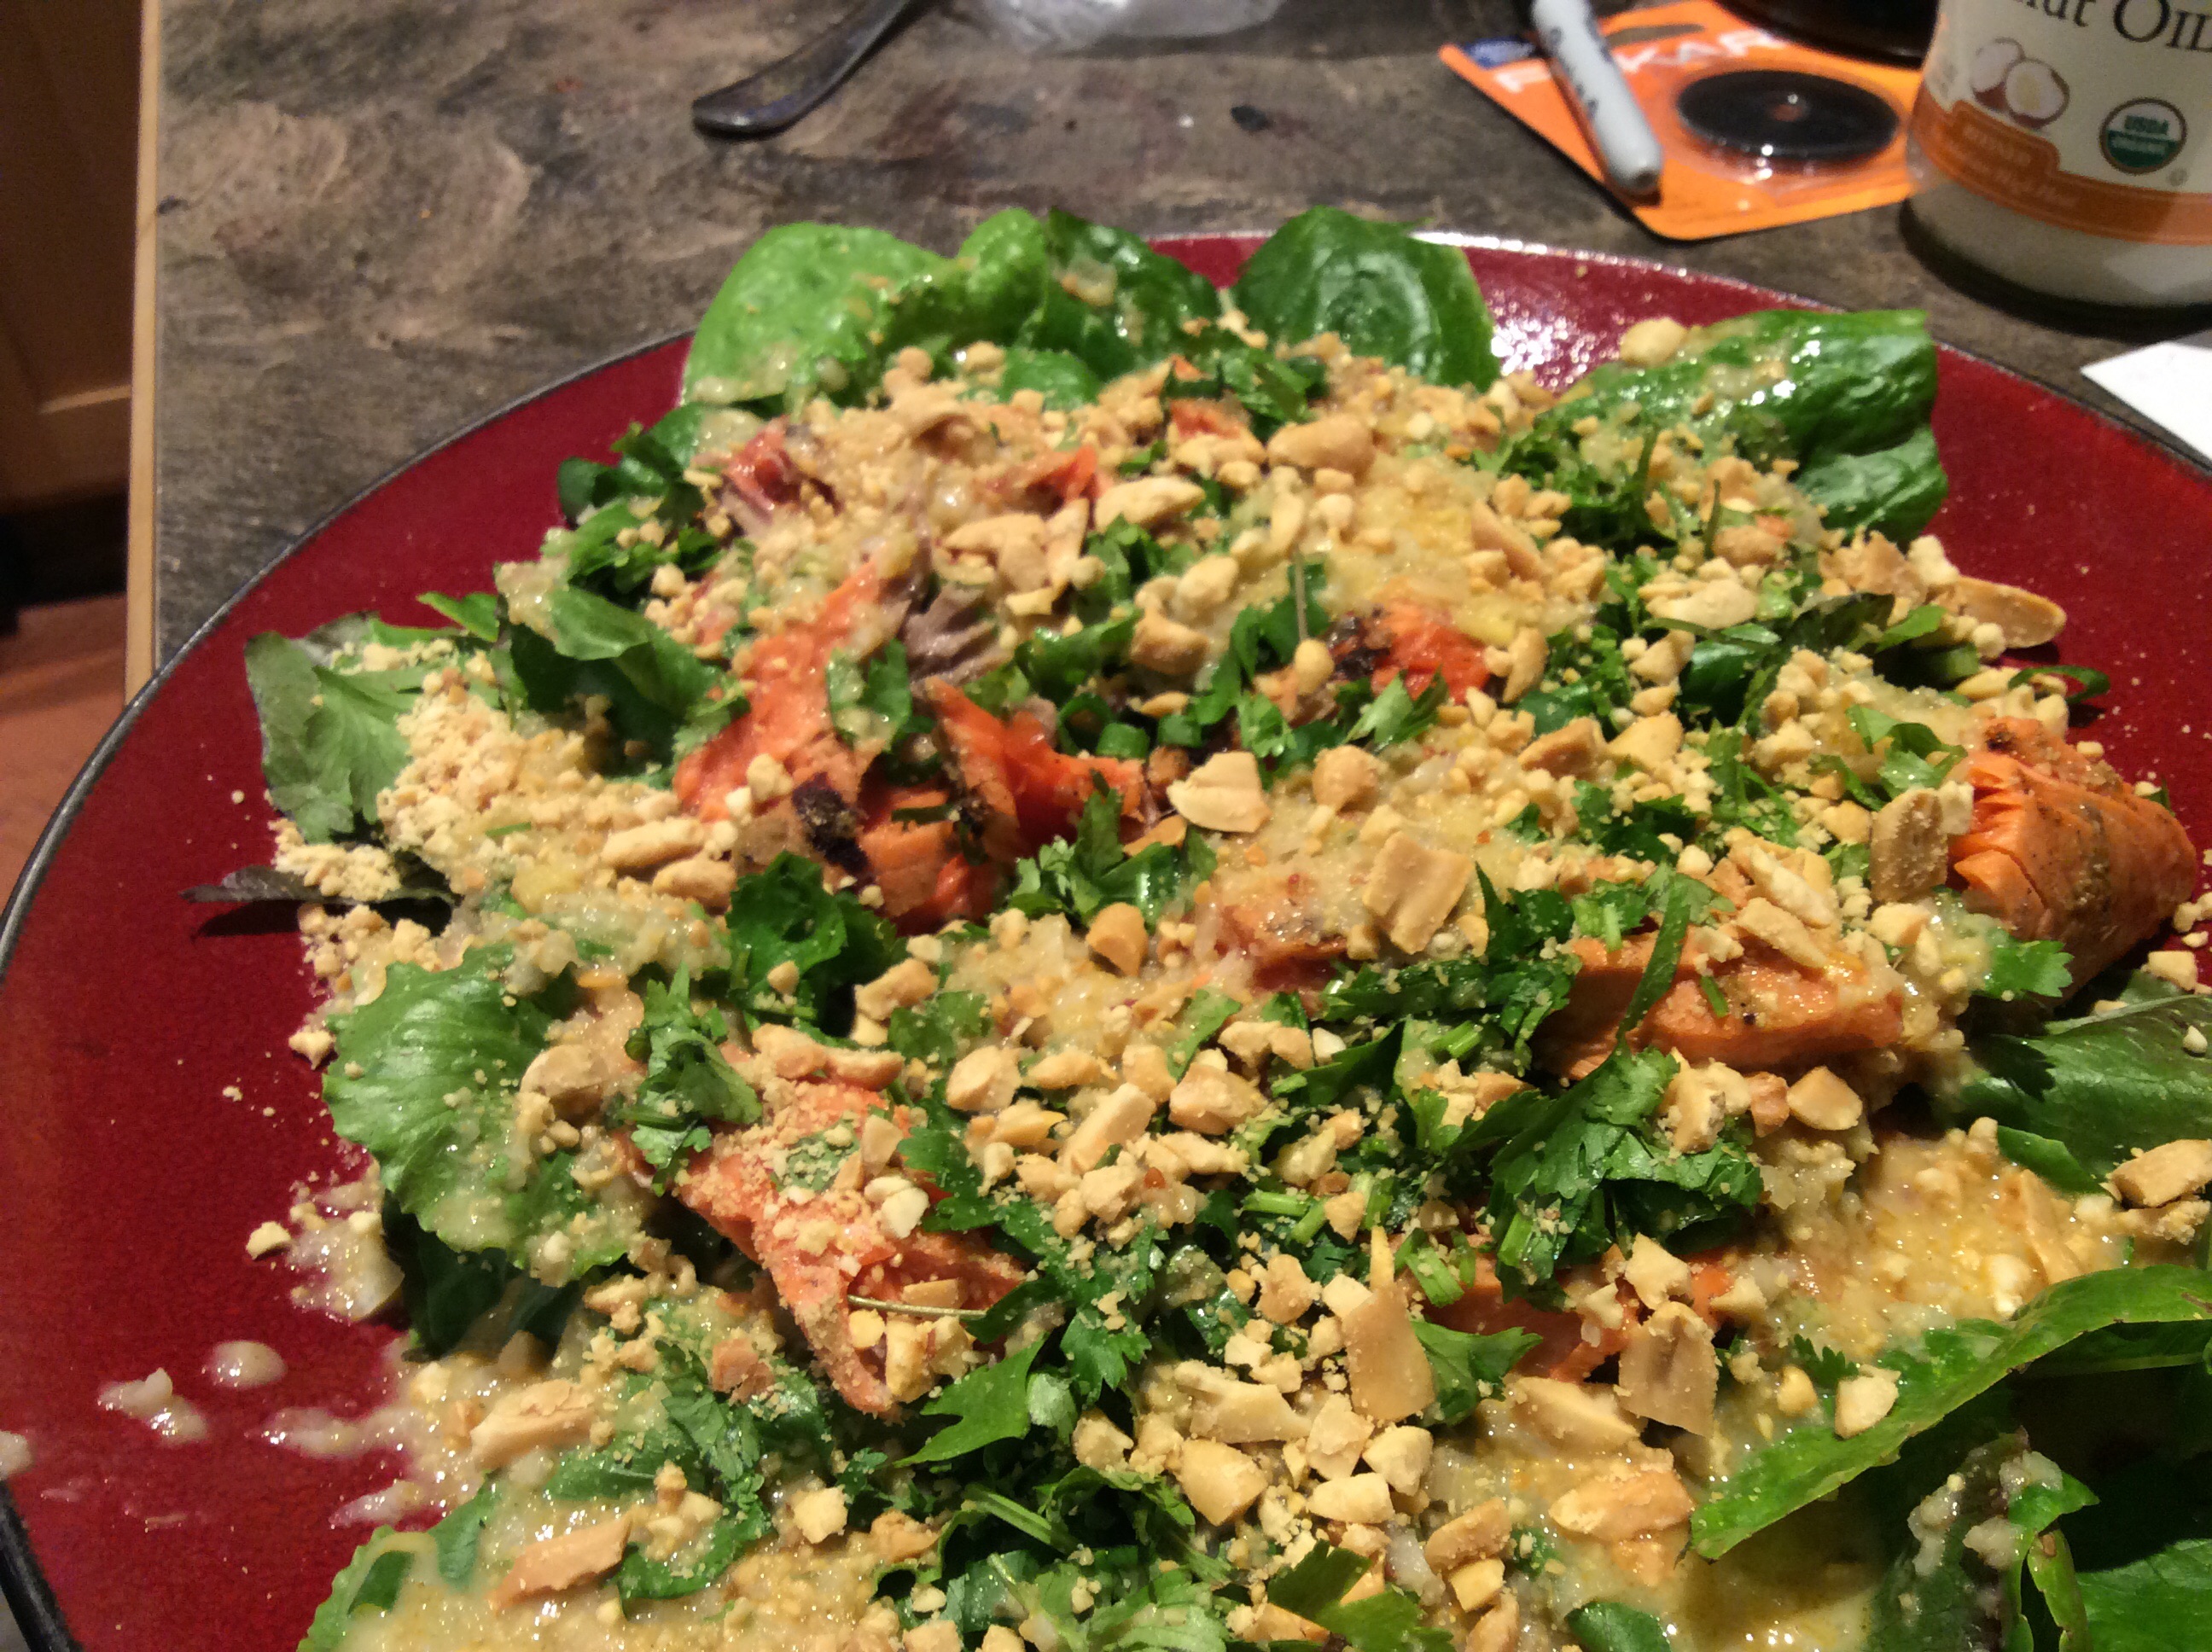
I love chimichurri, the ground herb table sauce of Argentina, but I am by no means faithful to the Argentinian version. If you have an active garden, spring offers the first of infinite variations of chimichurri to accent any grilled meat or poultry. These savory herbal sauces also dress up baked and roasted foods, and are a great way to perk up hard-boiled or fried eggs. People who don’t have to stay low-carb may like them drizzled on bread or rice. Vegetarians will like chimichurri on roasted vegetables, and for that matter ardent carnivores would love it on roasted carrots, broccoli, and other meaty veggies. I can imagine it freshening and enlivening roasted or grilled oyster mushrooms.

The basic necessary ingredients are olive oil, garlic, an acid, salt, herbs, and embellishments. Variables are the herbs, the texture, and the embellishments and degree of heat, if any.

So here’s a menu for infinite improvisation:

Oil: I say very good olive oil is a necessity. If you choose to fool around with other oils, feel free. Plan on between a half cup and one cup.

Garlic: green in spring, mature cloves later on. 2-3 large stalks of green garlic or 3-4 cloves of mature garlic.

Acid: vinegar is traditional but lemon juice is delicious with the more delicate spring versions. Consider wine vinegar or sherry vinegar.  Plan on about 2 tablespoons and have extra available to add if needed. Please, don’t use sweet caramelized ersatz “balsamic” vinegars. Yech.

Salt: “Plenty” is the important concept here. Some chimichurris that seem like failures come alive when enough salty element is added. Remember, this is a seasoning sauce, not a main dish.Your salt element may be sea salt, but a good dab of anchovy paste or a glut of the salty-lemony fermented liquid from preserved lemons may attract you.

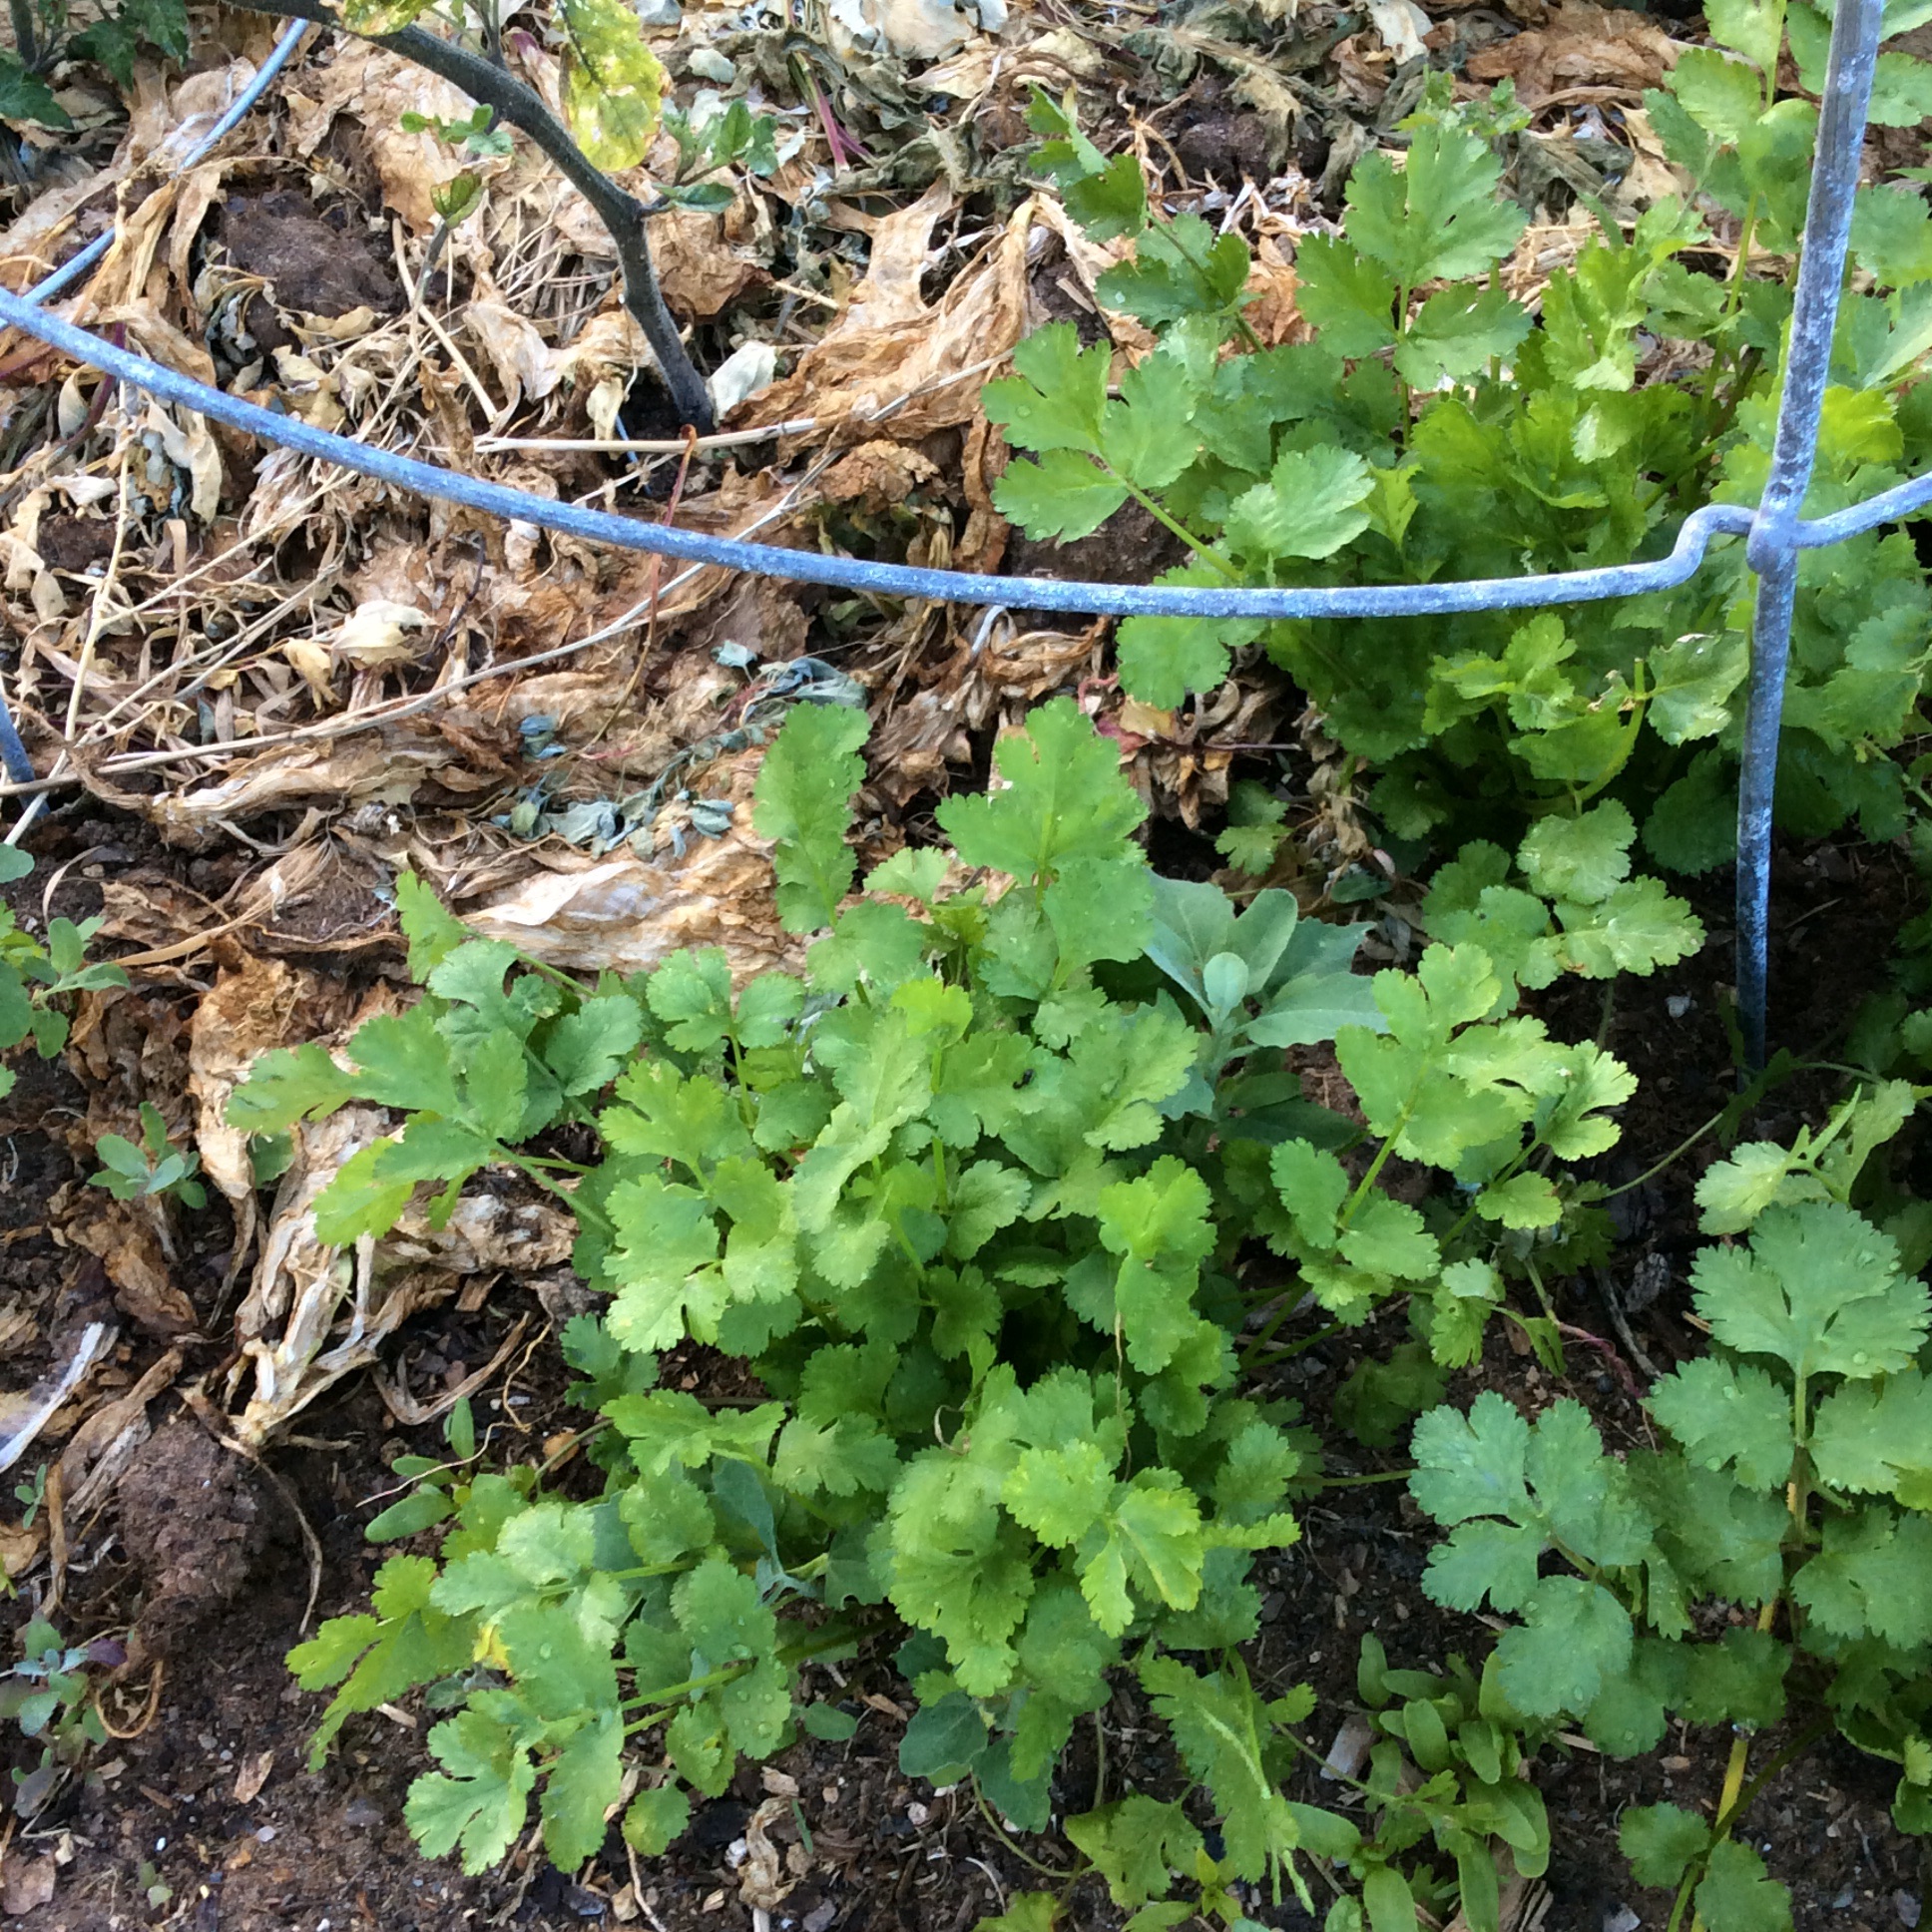
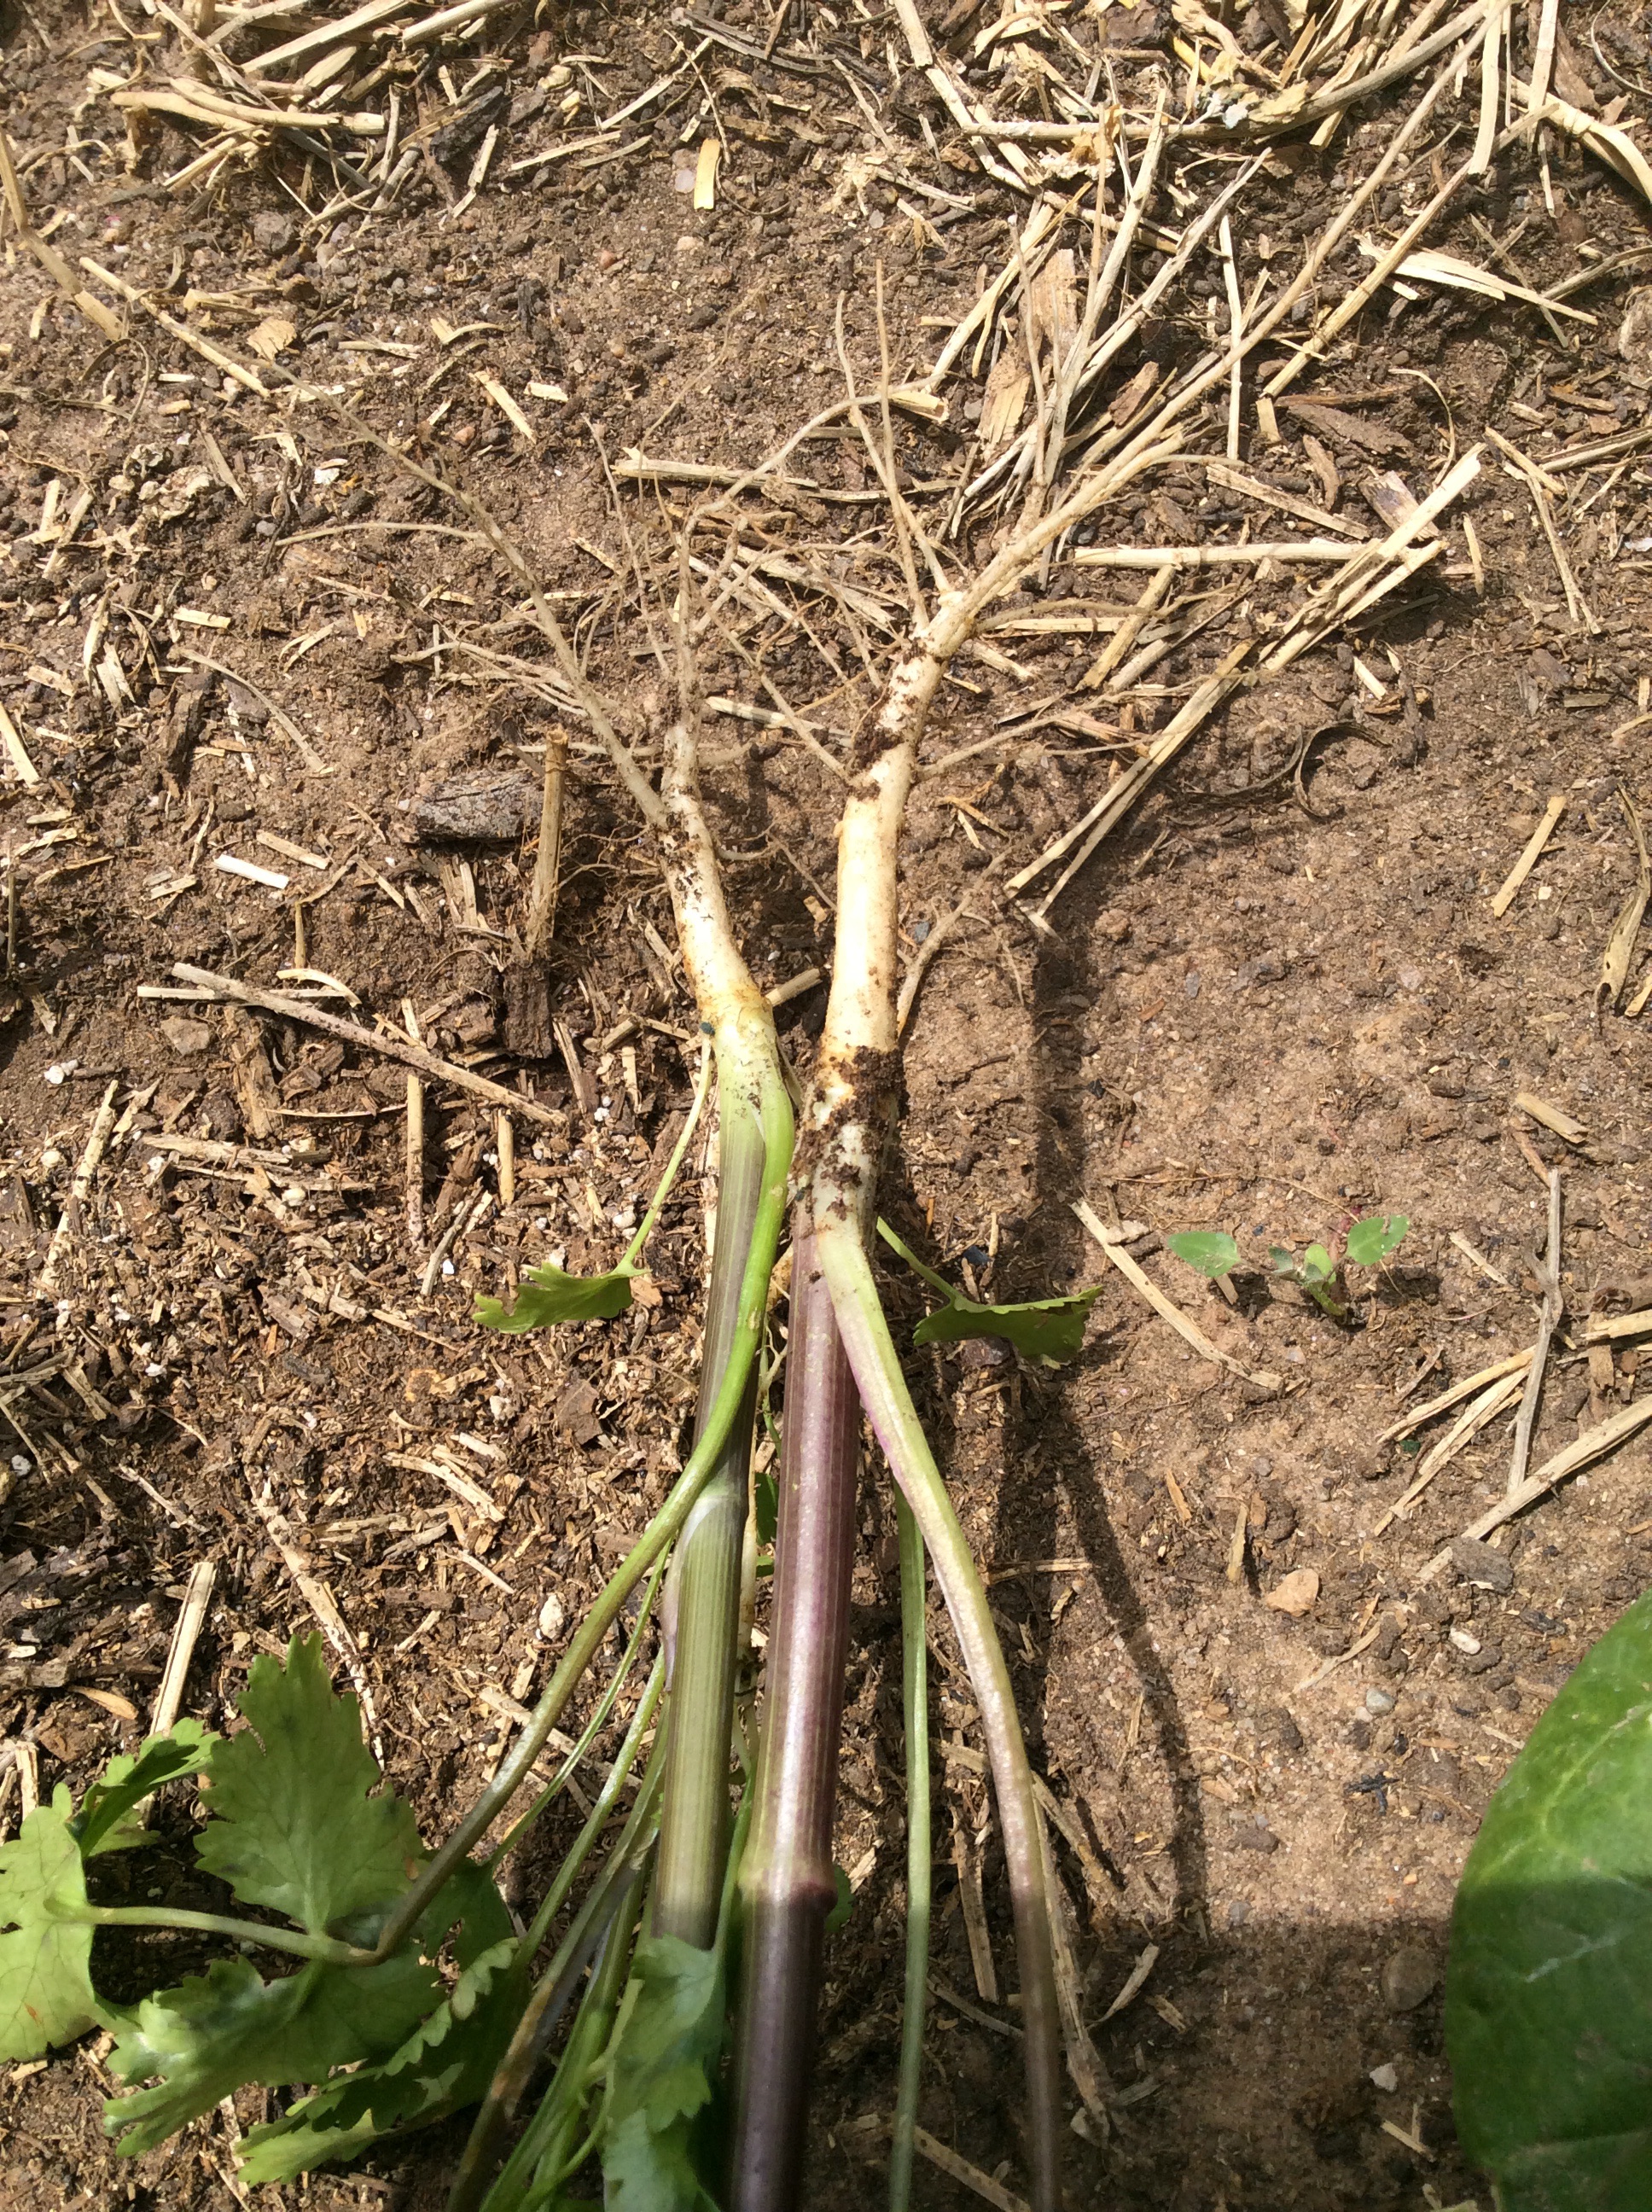
Herbs: parsley is traditional and great, but don’t feel bound. Cilantro is a great alternative for the “bulk” herb, of which you’ll need a bunch (from the store) or a large handful (from the garden.) Oregano, sweet marjoram, summer savory, thyme, and lemon thyme are great options for the subsidiary herb, of which a small chopped handful (combined if using multiple herbs) is plenty. Combos are potentially wonderful. I don’t recommend tarragon for this sauce, but feel free to prove me wrong, and I think rosemary should be limited to a chopped teaspoon or two if used at all. Some mint is a possibility if used judiciously. Sage is difficult to use and, in my view, not a good possibility.But suit yourself, as long as you are pursuing a coherent taste-vision. Wander your garden, be seducible, and work it out later.

Embellishments: Heat is an important possibility. Hot sauce, harissa, and ground dried chiles can all work wonders, and fresh chopped jalapeños (seeded or not per your preference for fire) can do real magic. Anchovy fillets mashed can add a savor and tang that are the making of rich meats like roasted  lamb or goat. Preserved lemon peel, finely chopped, is highly nontraditional but extraordinary in the right circumstances. A pinch  of toasted cumin seeds, finely ground, can give an earthy, sweaty, quintessentially masculine note that makes a simple grilled steak or chop memorable.

Texture: can be anywhere from medium-fine grind to as coarse as a chopped salad. It all depends on your mood and your main dish.

Procedure:

Chop your garlic coarsely or slice finely crosswise if using green garlic and put in a large mortar or small food processor; I invariably use my little stoveside Mini-prep. Chop or pound to desired degree. Add herbs, salt,  and embellishments and process only until you like the texture. Add the acid and salt, process briefly, and work in the oil. Now taste, and think. If you are sure it didn’t work, think about how to rebalance and save it. Sorry to harp, but insufficient salty element is a common fault. Increase the salt, anchovy paste, or preserved lemon juice, or add a bit of the latter two if you didn’t use them before. If overly salty or acid, add more oil to smooth it out.  If bland, add a little more acid. If just not that interesting, consider stirring in more chopped herb or some heat.

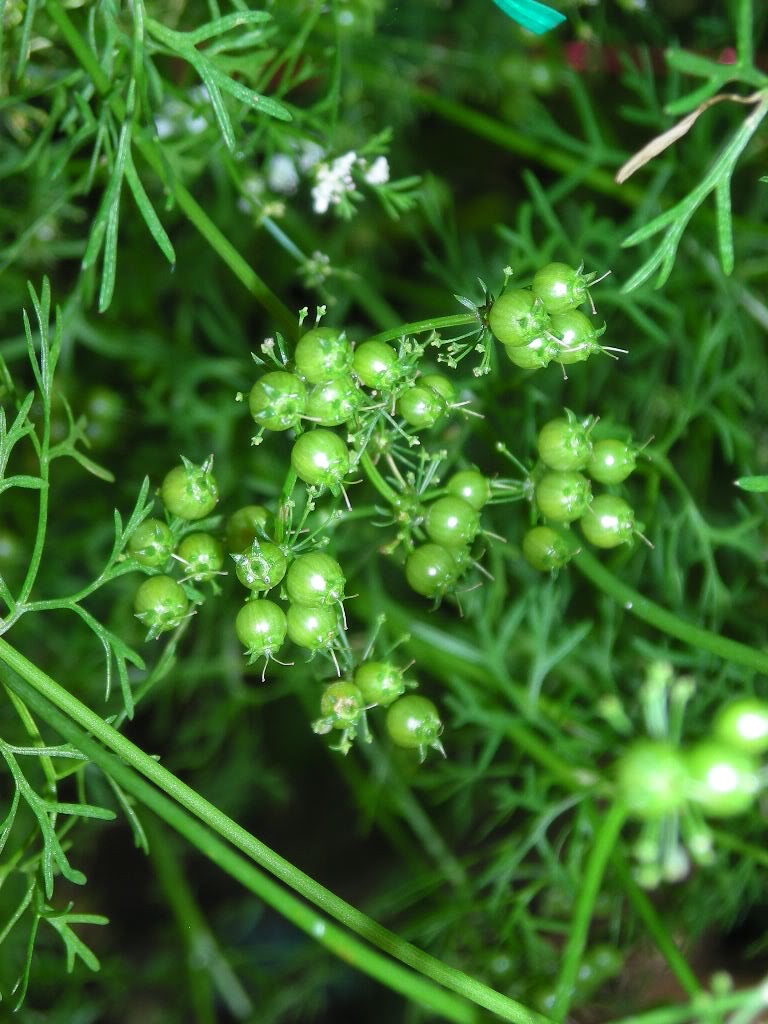
This sauce can be refrigerated overnight and may be even better the next day, although cilantro-based versions tend to lose freshness and pizazz and are best consumed on sight.

Nose-to-tail Cilantro

image
Cilantro is a lovely and evanescent thing. It is a major seasoning herb in Thai and Indonesian cuisines, is widely used in China and Southeast Asia, and fills me with wellbeing whenever I eat it. It was a few years, though, before I learned how to make it pay for its garden space.
First, choose your variety carefully. You need a bolt-resistant type that can be bought in ounces, not packets. Don’t plant the seeds sold as spices. Currently my favorite is Calypso. Second, forget rows. Plant it in bunches that you can harvest all at once, and only have as many bunches maturing per week as you will actually use. I like the bunches to be spaced 8-10″ apart each way, and I plant 15-20 seeds in each bunch, all clustered into an area about 2″ in diameter. I plant 4 bunches a week, every week that I remember and have some bed space available, starting well before the last frost because cilantro likes cool weather and stopping as the days heat up. They will not occupy their real estate more than a couple of months, so I plant them in places where big heat-loving crops like tomatoes or zucchini will take over the space. In the picture above, you see the stem of the young tomato which will spread out when the days heat up. You may also note the early lettuce that occupied the tomato’s space over the winter, now serving as a light mulch.
When the plants are 7-8″ high, I harvest the bunch by cutting about two inches above the ground. They are quite clean because the crowded plants hold each other up, and just need a quick rinse before being used in your favorite way. Cut the bunch rather than pulling, because those stems will keep on working.
Leave the cut stems in place. When they show a good amount of new growth,you will notice that the leaves are finely cut and feathery rather than looking like grocery-store cilantro. This new growth doesn’t have the full cilantro flavor by any means, but I still like to throw chopped handfuls into salads and pounded green herb sauces. But what we are really after at this point is not the leaves. When some of your bunches are tall and starting to bolt, pull them for the roots and lower stems. Scrub the roots and thick lower stems well, cut off the finer roots and discard (into the compost, of course) and chop the roots and stems thinly crosswise. This is your supply of cilantro root, which is used extensively in classic Thai cooking, while the leaves aren’t used in authentic curry pastes etc. In fact, make sure that no leaves get into your root, because the flavor is different and not right for this use. Thai cooking aficionados refer to it as the “unobtainable, mythical coriander root,” but it is highly obtainable if you have a garden. Now you can pound your roots and stems in your faithful mortar and pestle to make curry and seasoning pastes, or freeze them in little plastic bags in quantities of about 4 tablespoons. I tend to use mine up during the summer, which is when southeast Asian cuisine tastes best to me.
image
But don’t pull every bunch. Let some bolt, because you want the green seeds.
image
These have a flavor in between the leaves and the dried coriander seed and are delicious sprinkled over salads, used as a garnish on grilled meats, or tossed over bulgur or rice dishes.
Now you are finally done with your cilantro plants and can pull them and compost them, unless you want to let some set and dry seeds to use as coriander seed. I don’t dry and save seeds, personally. I can buy seeds easily, and prefer to use my own seeds green, when they are a fresh treat that can’t be bought.
For more on using the roots, check out David Thompson’s huge and highly addictive “Thai Food,” the best Thai cookbook in English in my opinion, although it does assume a scary amount of kitchen time😉

Salmon in Springtime

image

Here in central New Mexico we are enjoying a cool and unusually wet spring, and the romaine lettuce is still in great shape. Our local Fishhuggers are back at the markets with lovely Alaskan sockeye salmon caught by Kenny, and there is no healthier meal. For some reason I like my warm-weather lunches to lean Southeast Asian, and this one is a bit Thai-ish.
I used romaine, green onions, and cilantro from the garden, a fillet of sockeye salmon, crushed peanuts, and the vaguely Thai dressing below, which I keep jars of in the refrigerator in warm weather. Put generous heaps of sliced romaine on plates, rub the fillet with salt, grill quickly ( on a hot Green Egg grill, about 2 1/2 minutes each side will do it,) let cool a bit while you chop the cilantro and green onions ( green part only,)break up the fillet and remove all skin and put chunks of warm salmon on the lettuce, scatter on a handful of chopped cilantro and green onions, dress generously, and sprinkle crushed peanuts over the top. Delicious and very quick as well as insanely healthy.

Sort-of-Thai dressing:
Large chunk of ginger, about 1″ by 3″, peeled and sliced
7-10 large cloves of garlic
1/4 cup coconut fat
1 tablespoon green curry paste
2 tablespoons fish sauce
1 cup water
1 can full-fat coconut milk
Sriracha sauce to taste
Artificial sweetener ( I use liquid stevia,) or sugar, and more fish sauce to taste

Finely chop the ginger and garlic, heat the coconut fat in a saucepan, and stir-fry the garlic and ginger until cooked and fragrant but not browned. Add the green curry paste, stir-fry about another minute, add the fish sauce and water and bring to a boil, add the coconut milk and cook just until it’s all melted and creamy, then remove from heat. Let it cool to lukewarm, taste, and add more fish sauce if indicated. Add some sriracha if you like it hot (I love hot food and use about a tablespoon,) and then add sweetener, if you are ketogenic or low-carb, or sugar if that’s still in your kitchen, slowly, tasting frequently. I like mine on the sweet side, to balance the heat. Let cool all the way and use or keep in the refrigerator for later use.
This makes a perfect lunch to eat outside.
image

Vegetable Dinners: Black Bean Cakes, and notes on cornmeal


The famous nutritionist Marion Nestle once claimed that she could tell anyone in a sentence how to improve their health and nutritional status: “Eat less, move more, eat more fruits and vegetables.” Around my house we love to fill our plates with vegetables, so no problem there, but lately I’ve been experimenting with ways to add more dried beans to our diet. This coincides with my aquisition of a solar oven, but in this recipe the beans don’t even have to be cooked. You can soak them for 24 hours, or you can use drained cooked black beans if you have some handy. These patties make a substantial main course and are a good main dish for occasions when you have vegetarians and/or vegans over for dinner.

Black Bean Cakes

Start with one cup dried black beans. Soak in a quart of soft or filtered water at room temperature for 24 hours. If you can’t give them the full soaking time, use 2 cups of cooked drained black beans instead.
About a cup of fine cornmeal (I like finely ground blue cornmeal, which helps keep the color dark)
1 small bunch each of epazote and cilantro, or 1 large bunch cilantro
1 teaspoon lightly roasted ground cumin
2 medium or three small shallots, very finely chopped
2 limes, one juiced, one cut in wedges or slices
salt to taste
1 teaspoon ground chipotle chiles
1/2 teaspoon baking powder
about half a cup of olive oil

Drain the soaked beans very thoroughly. They should now be about 2 cups in volume. If using cooked beans, drain very thoroughly. Whichever kind of beans you are using, let them sit in the strainer for at least half an hour, because you want them as dry as you can get them. Now grind them finely in a food processor. MIx in a small handful of chopped epazote or, if you couldn’t find epazote, a large handful of chopped cilantro. Mix in the chopped shallots, cumin, chipotle, the juice of one lime, and about half a teaspoon of salt, and taste for salt. Add more if needed to make the mixture taste properly seasoned. Make it a little tiny bit on the salty side, because you are still going to add more dry ingredients. Heat about a quarter cup of olive oil in a skillet over medium heat. When almost ready to cook, process in half a cup of cornmeal mixed with the baking powder. Check the consistency; if it’s possible to mold it into cakes, you’re ready to go. Otherwise, add more cornmeal until it can be molded (with difficulty) but is still very soft. Sprinkle cornmeal on a piece of waxed paper and scoop out heaping tablespoonfuls of the mixture onto the paper. When the oil is good and hot, carefully lay the cakes in the hot oil, patting a little with fingers or a spatula to make them no more than 1/2 inch in diameter. Be careful, they’re fragile, but you don’t want to add more cornmeal unless strictly necessary because they can get dry and tough if you add too much. You can also skip the waxed-paper step and spoon the mixture directly into the hot skillet, spreading it out with the back of a damp spoon to make the cakes about 3/8″ thick. Let them sizzle at least 3-4 minutes, then when you’re sure that a good brown crust has formed on the bottom side to hold them together, carefully turn with a narrow spatula and cook on the other side until done. You can keep them warm in a 200 degree oven while you fry the second batch. The main “secrets” are to keep the dough on the moist and fragile side, get the oil hot enough, don’t omit the baking powder because it does improve the texture, and wield your spatula with caution to turn them without breaking the cakes around them. .

Once cooked, you can decide how to serve them. They are fine naked on a warmed platter, garnished with a large handful of cilantro leaves and wedges of lime as shown above. A squeeze of the fresh lime juice is important to the flavor, in my opinion, and I pick up a few cilantro leaves to add to each bite. My favorite garnish (vegetarian but not vegan) is some very good olive oil mayonnaise with a little extra lime juice and a lot of chopped cilantro stirred in. They can also be served with warmed small corn tortillas and guacamole, and a little heap of crumbled cotija cheese on top is a delicious tangy addition; the vegans at the table can just omit it.

The beans and blue cornmeal are both full of antioxidants, blue cornmeal is a whole-grain product, and beans have beneficial phytosterols as well as lots of fiber and other desirable nutritional factors. But I only eat things that taste good, and these cakes taste good.

Notes on cornmeal: a lot of cornmeal on the market is very uneven in grind, and any meal containing large particles will leave unpleasant hard fragments in your finished cakes. I buy a blue cornmeal made locally and ground to flour fineness. If you buy yours at the store, I suggest sifting it to get the largest chunks out, or whir it in the blender for a few minutes to grind it more finely. I would avoid the Bob’s Red Mill “medium grind” cornmeal: it seems to be a mix of the company’s fine grind and polenta grind, and can leave tooth-cracking particles in your bean cakes or cornbread. Seek out a better product.