Posts Tagged ‘garlic’

Living in Interesting Times: Unexpected Perennial Vegetables


I’ve written a lot about the perennial “weeds” around my place that keep me in greens,  but there are also some veggies that aren’t known as perennials but can be managed that way for good eating with very little work.

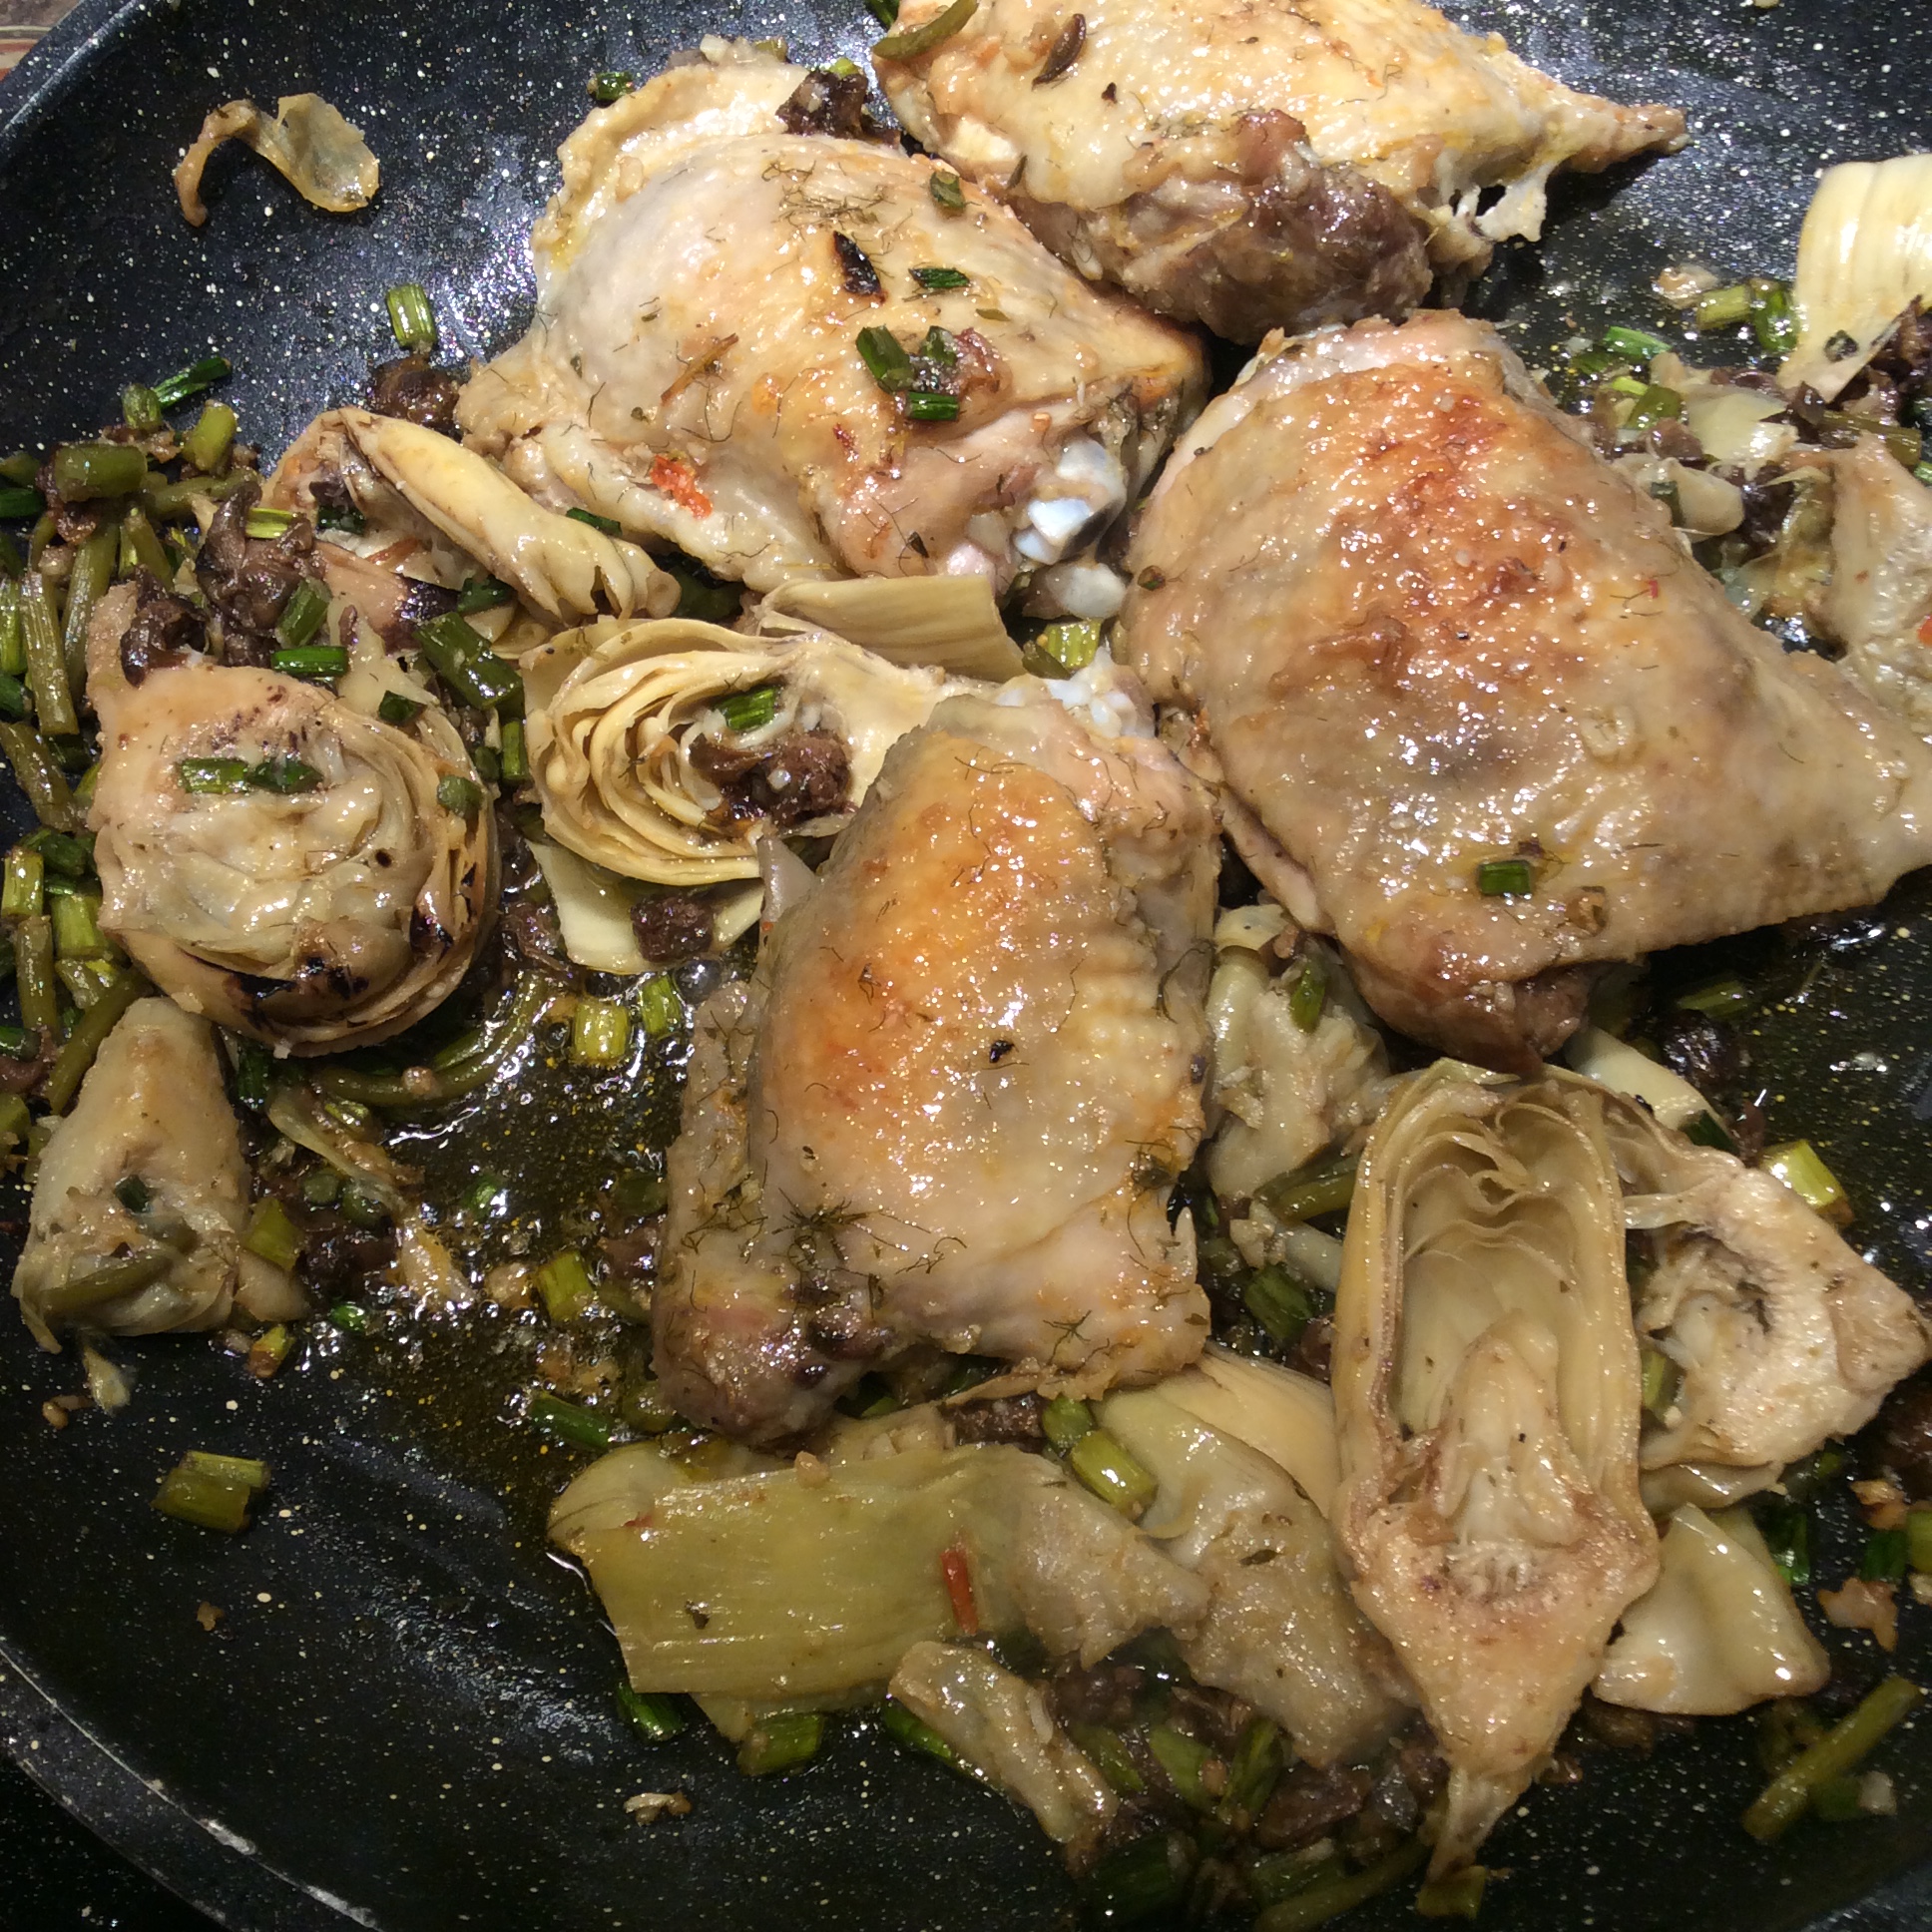
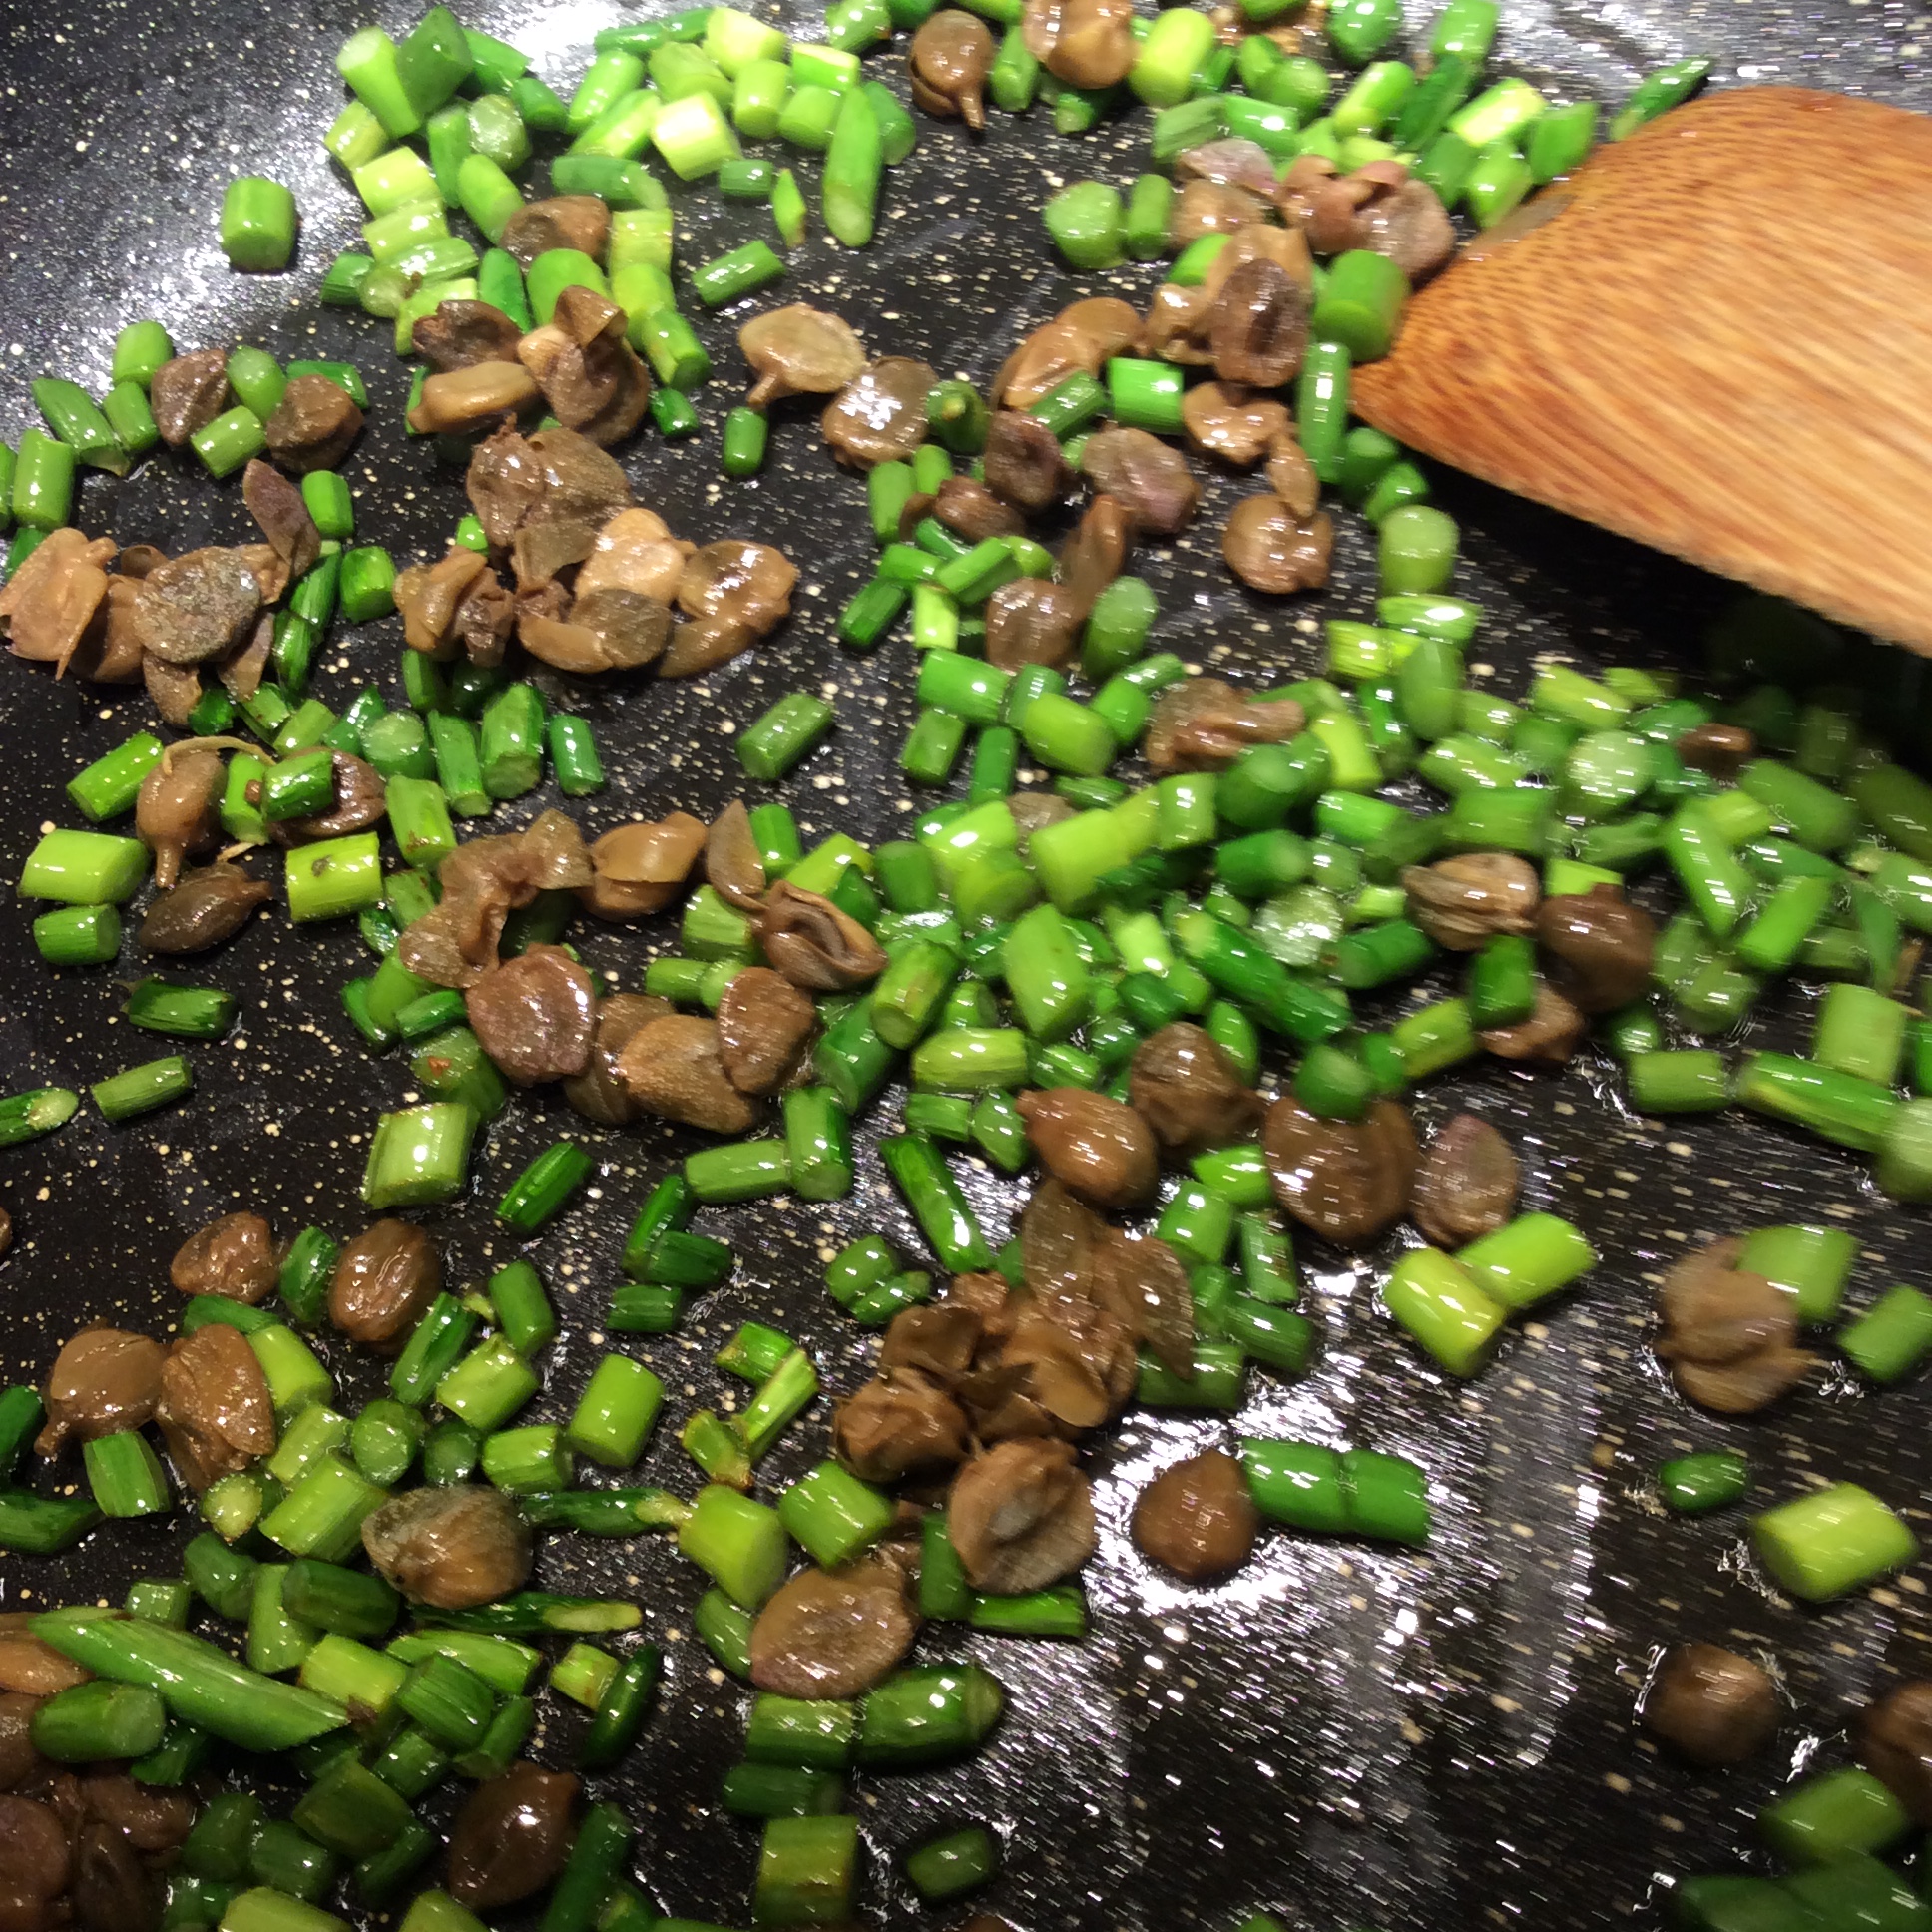
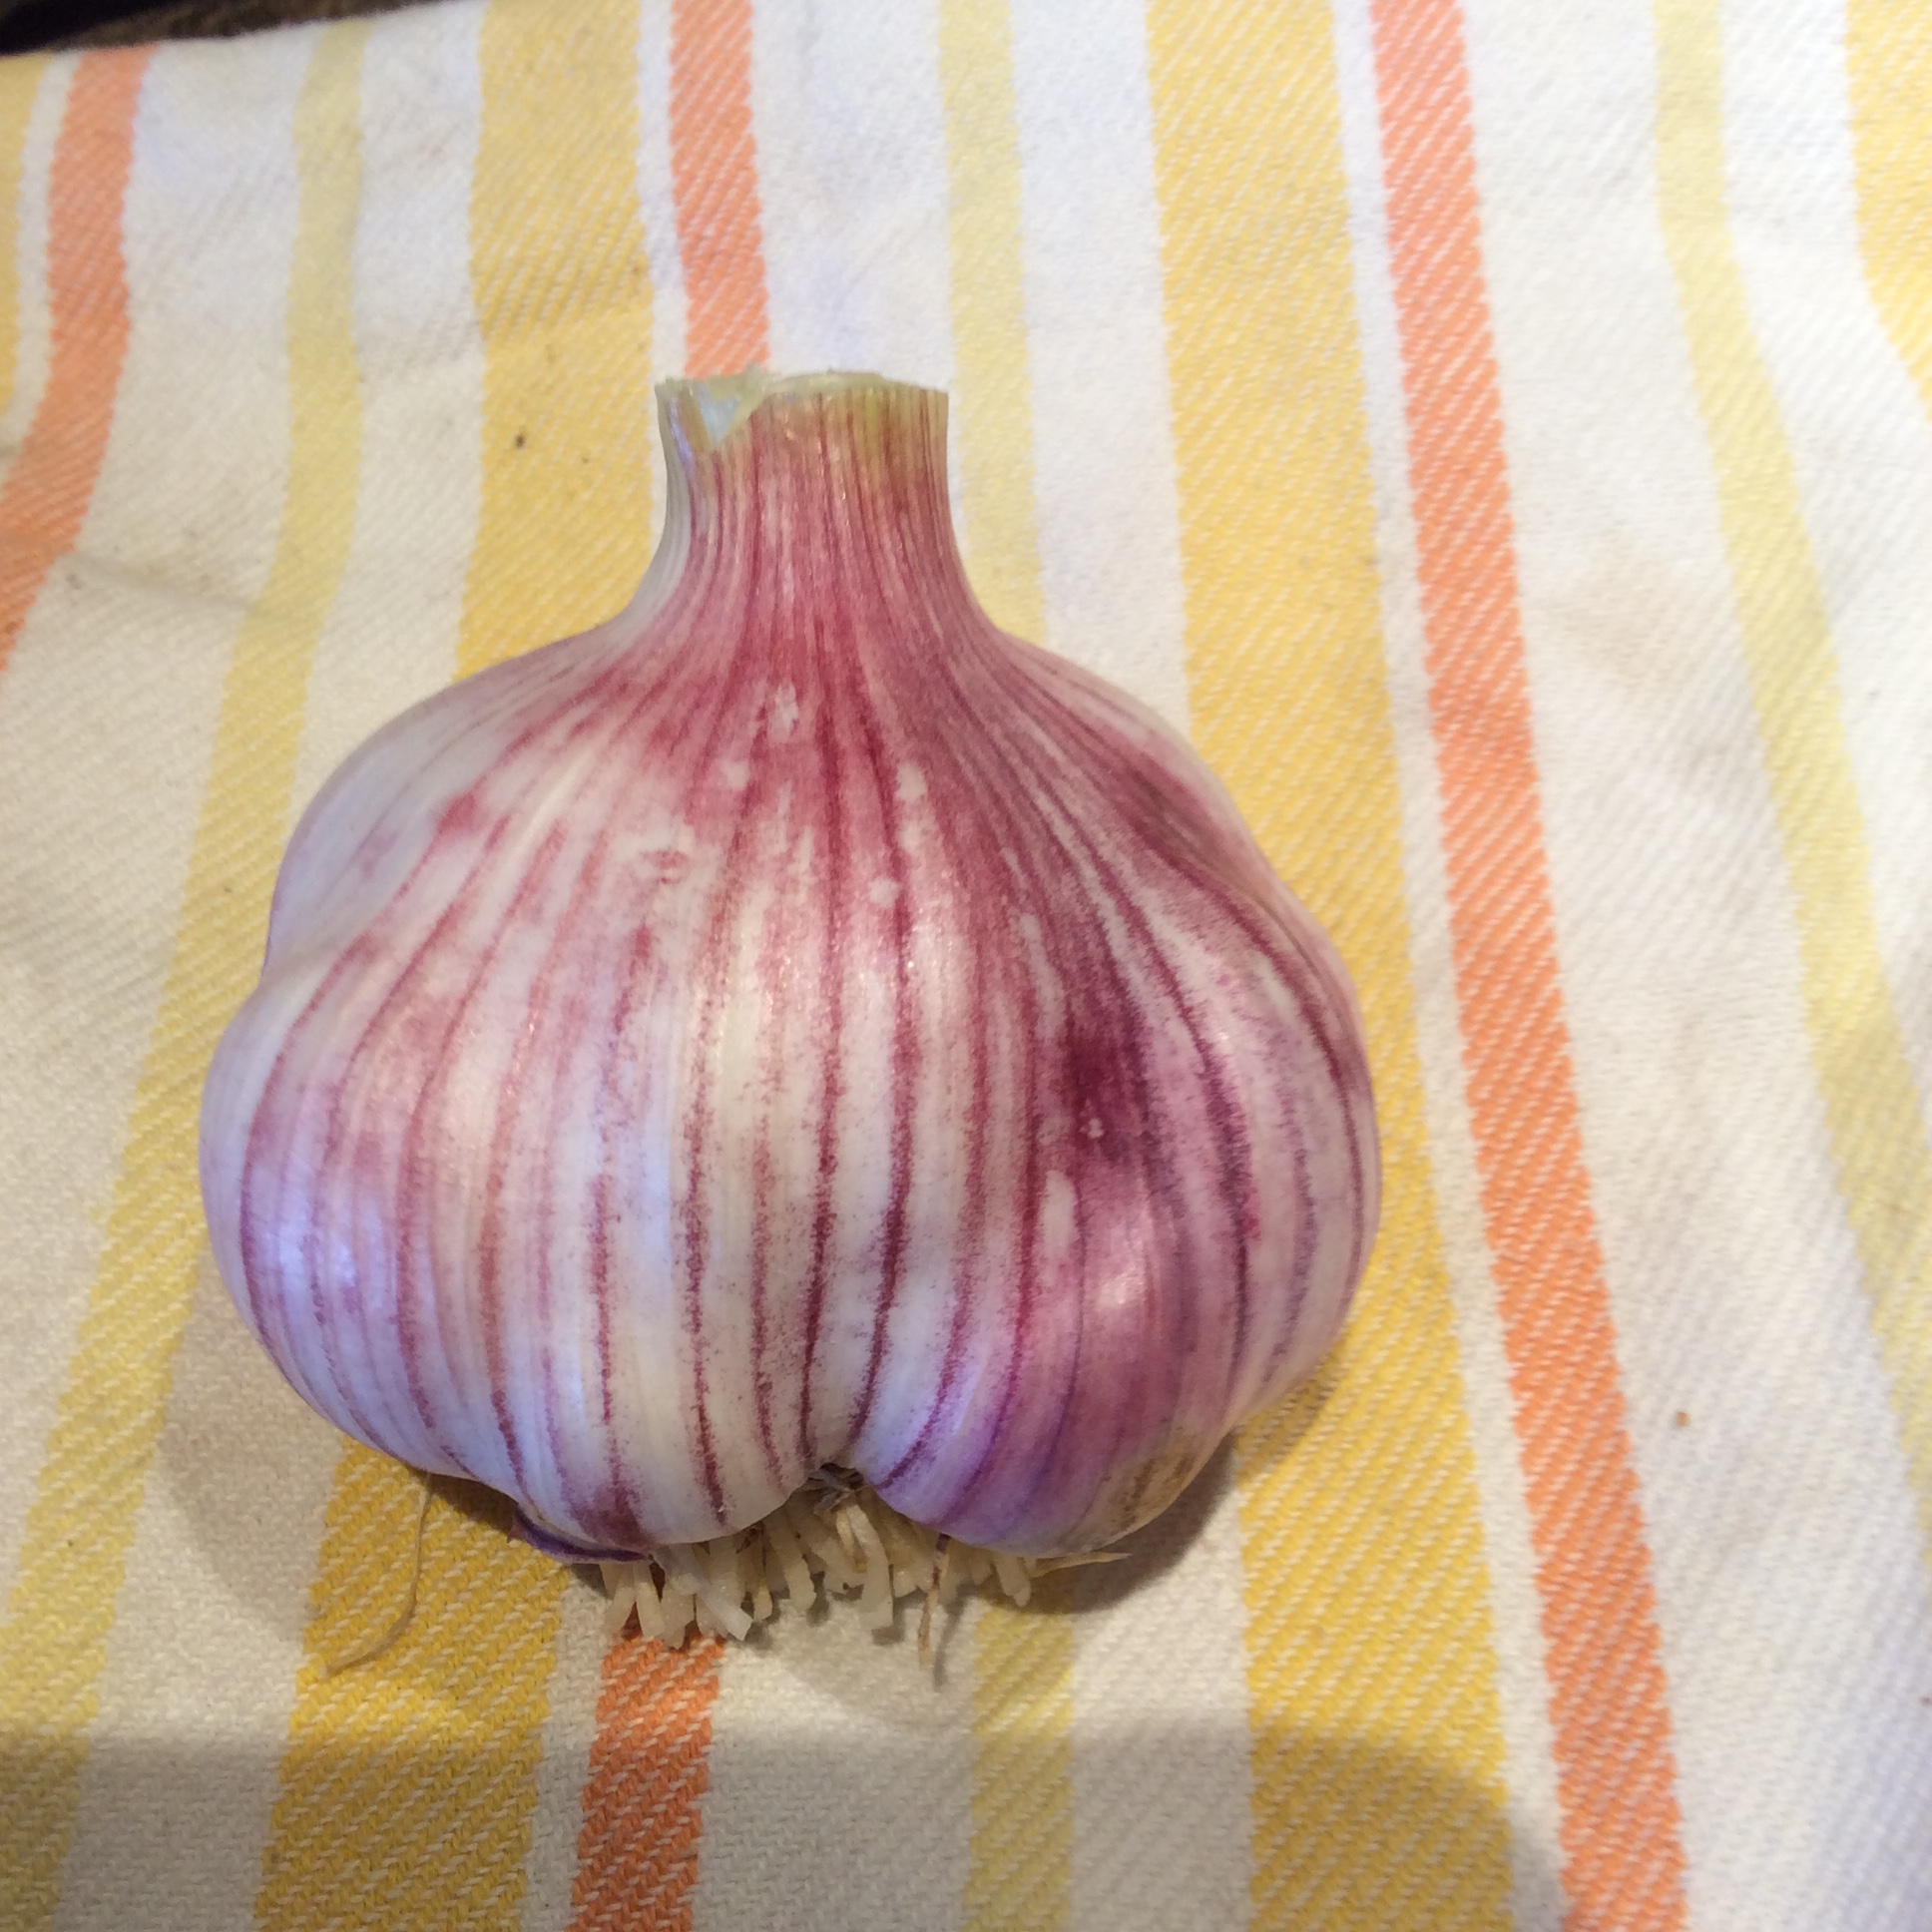
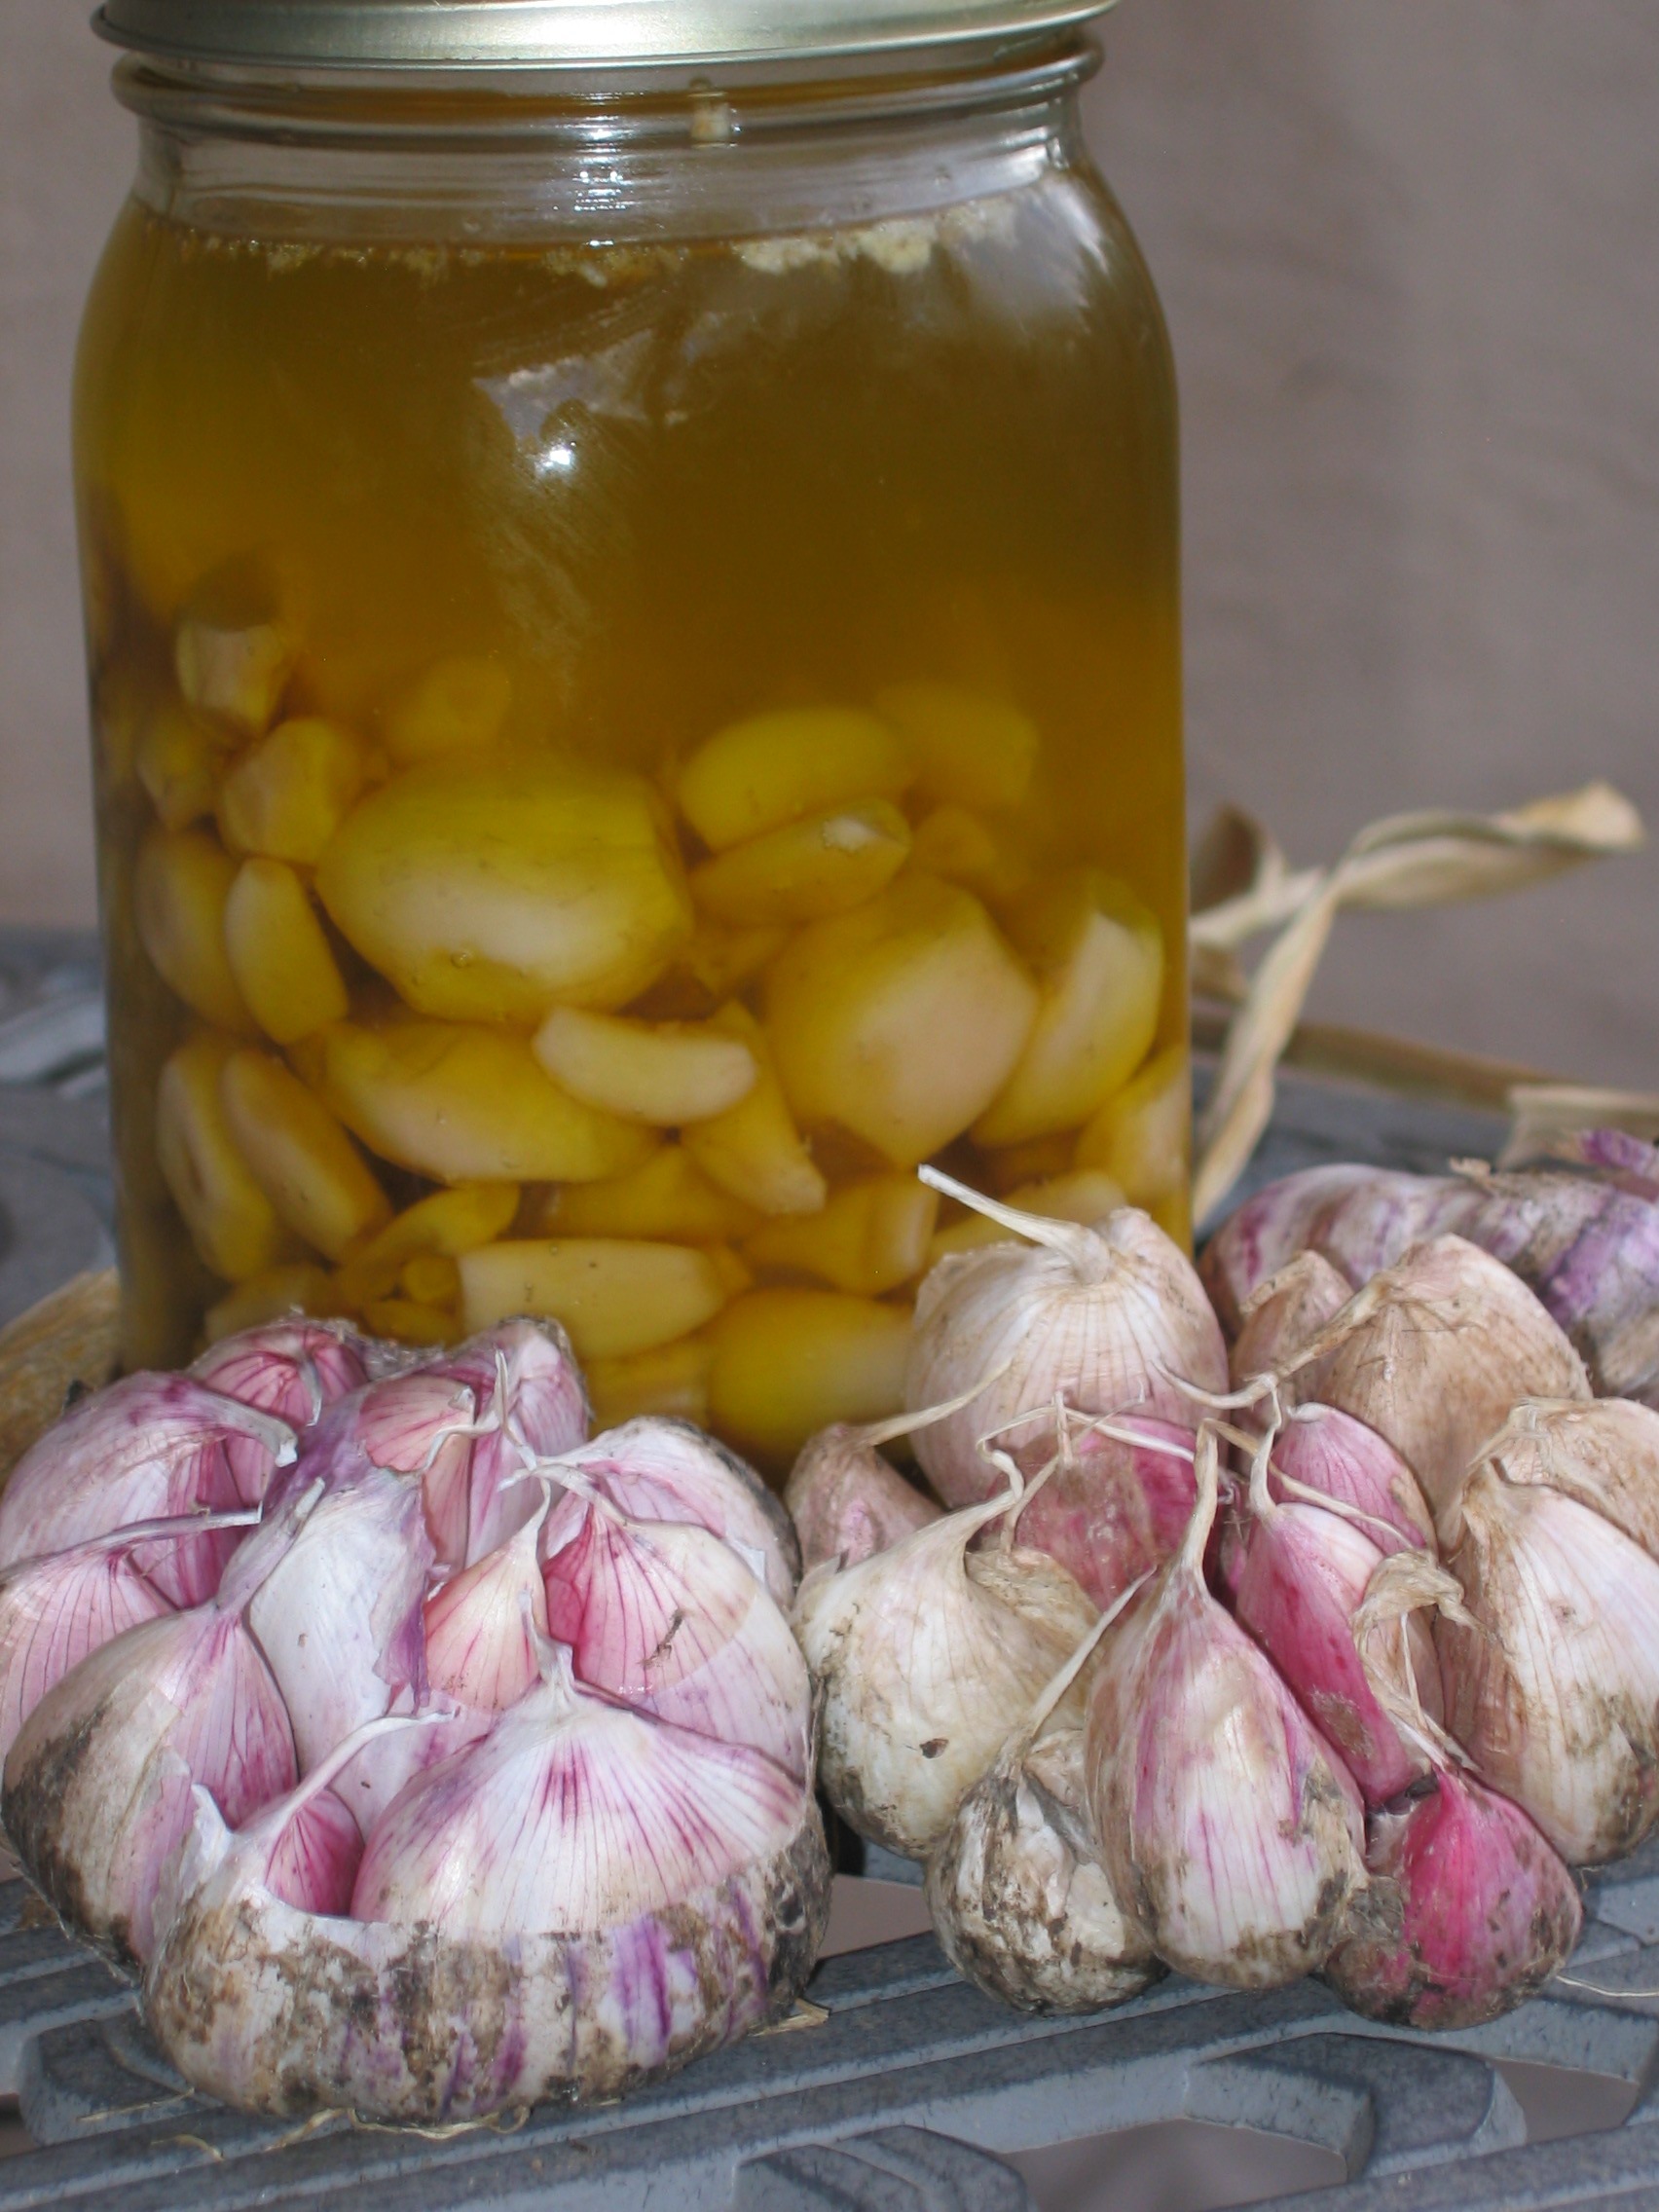
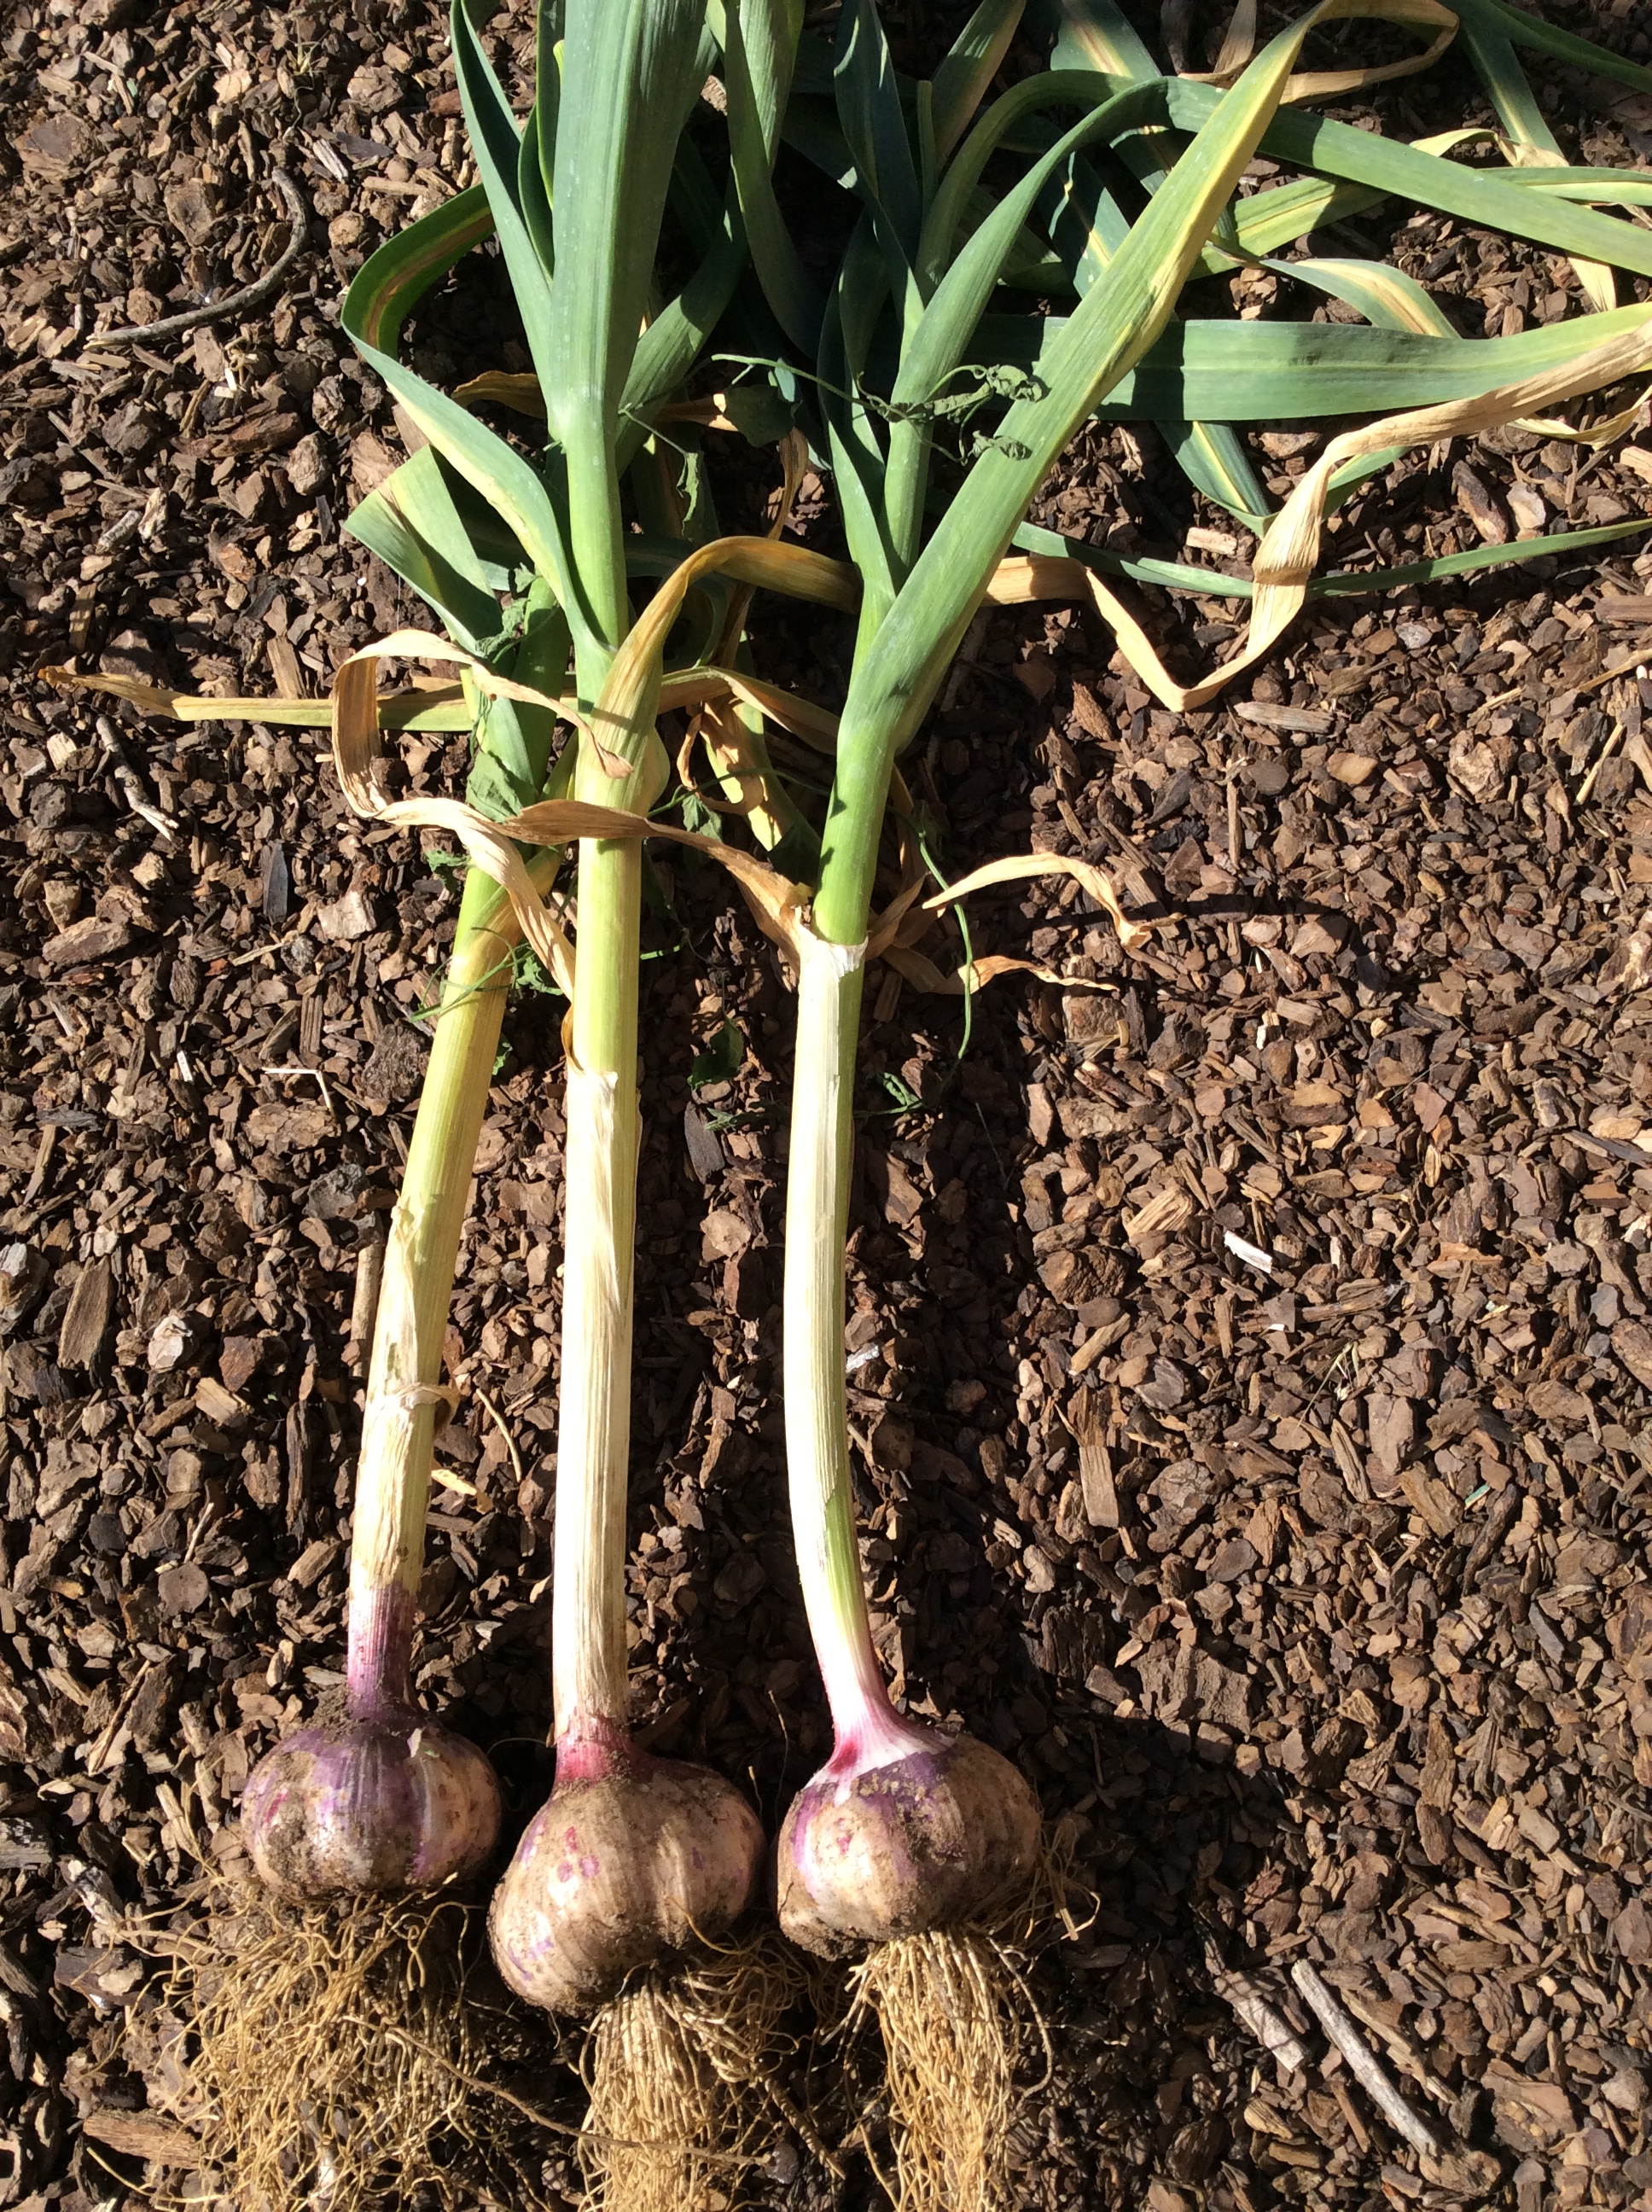
Surprisingly, garlic can be managed that way. I plant a lot of garlic because I use huge amounts as green garlic before it ever matures a bulb. In one area I forgot to harvest, and by year three I had a thick clump of fine grassy leaves in the spring that were tender and delicately scented of garlic. Of course you won’t get any bulbs if you manage garlic this way. It’s strictly a leafy herb. In early spring I start cutting bunches of the leaves thinly, like chives,  to float on soups and toss decoratively on top of other dishes. By late spring the leaves are tougher and I use handfuls of them chopped into stir-fries where they will get at least a few minutes of cooking. In midsummer the leaves brown and die back, and new leaves come up in the fall.

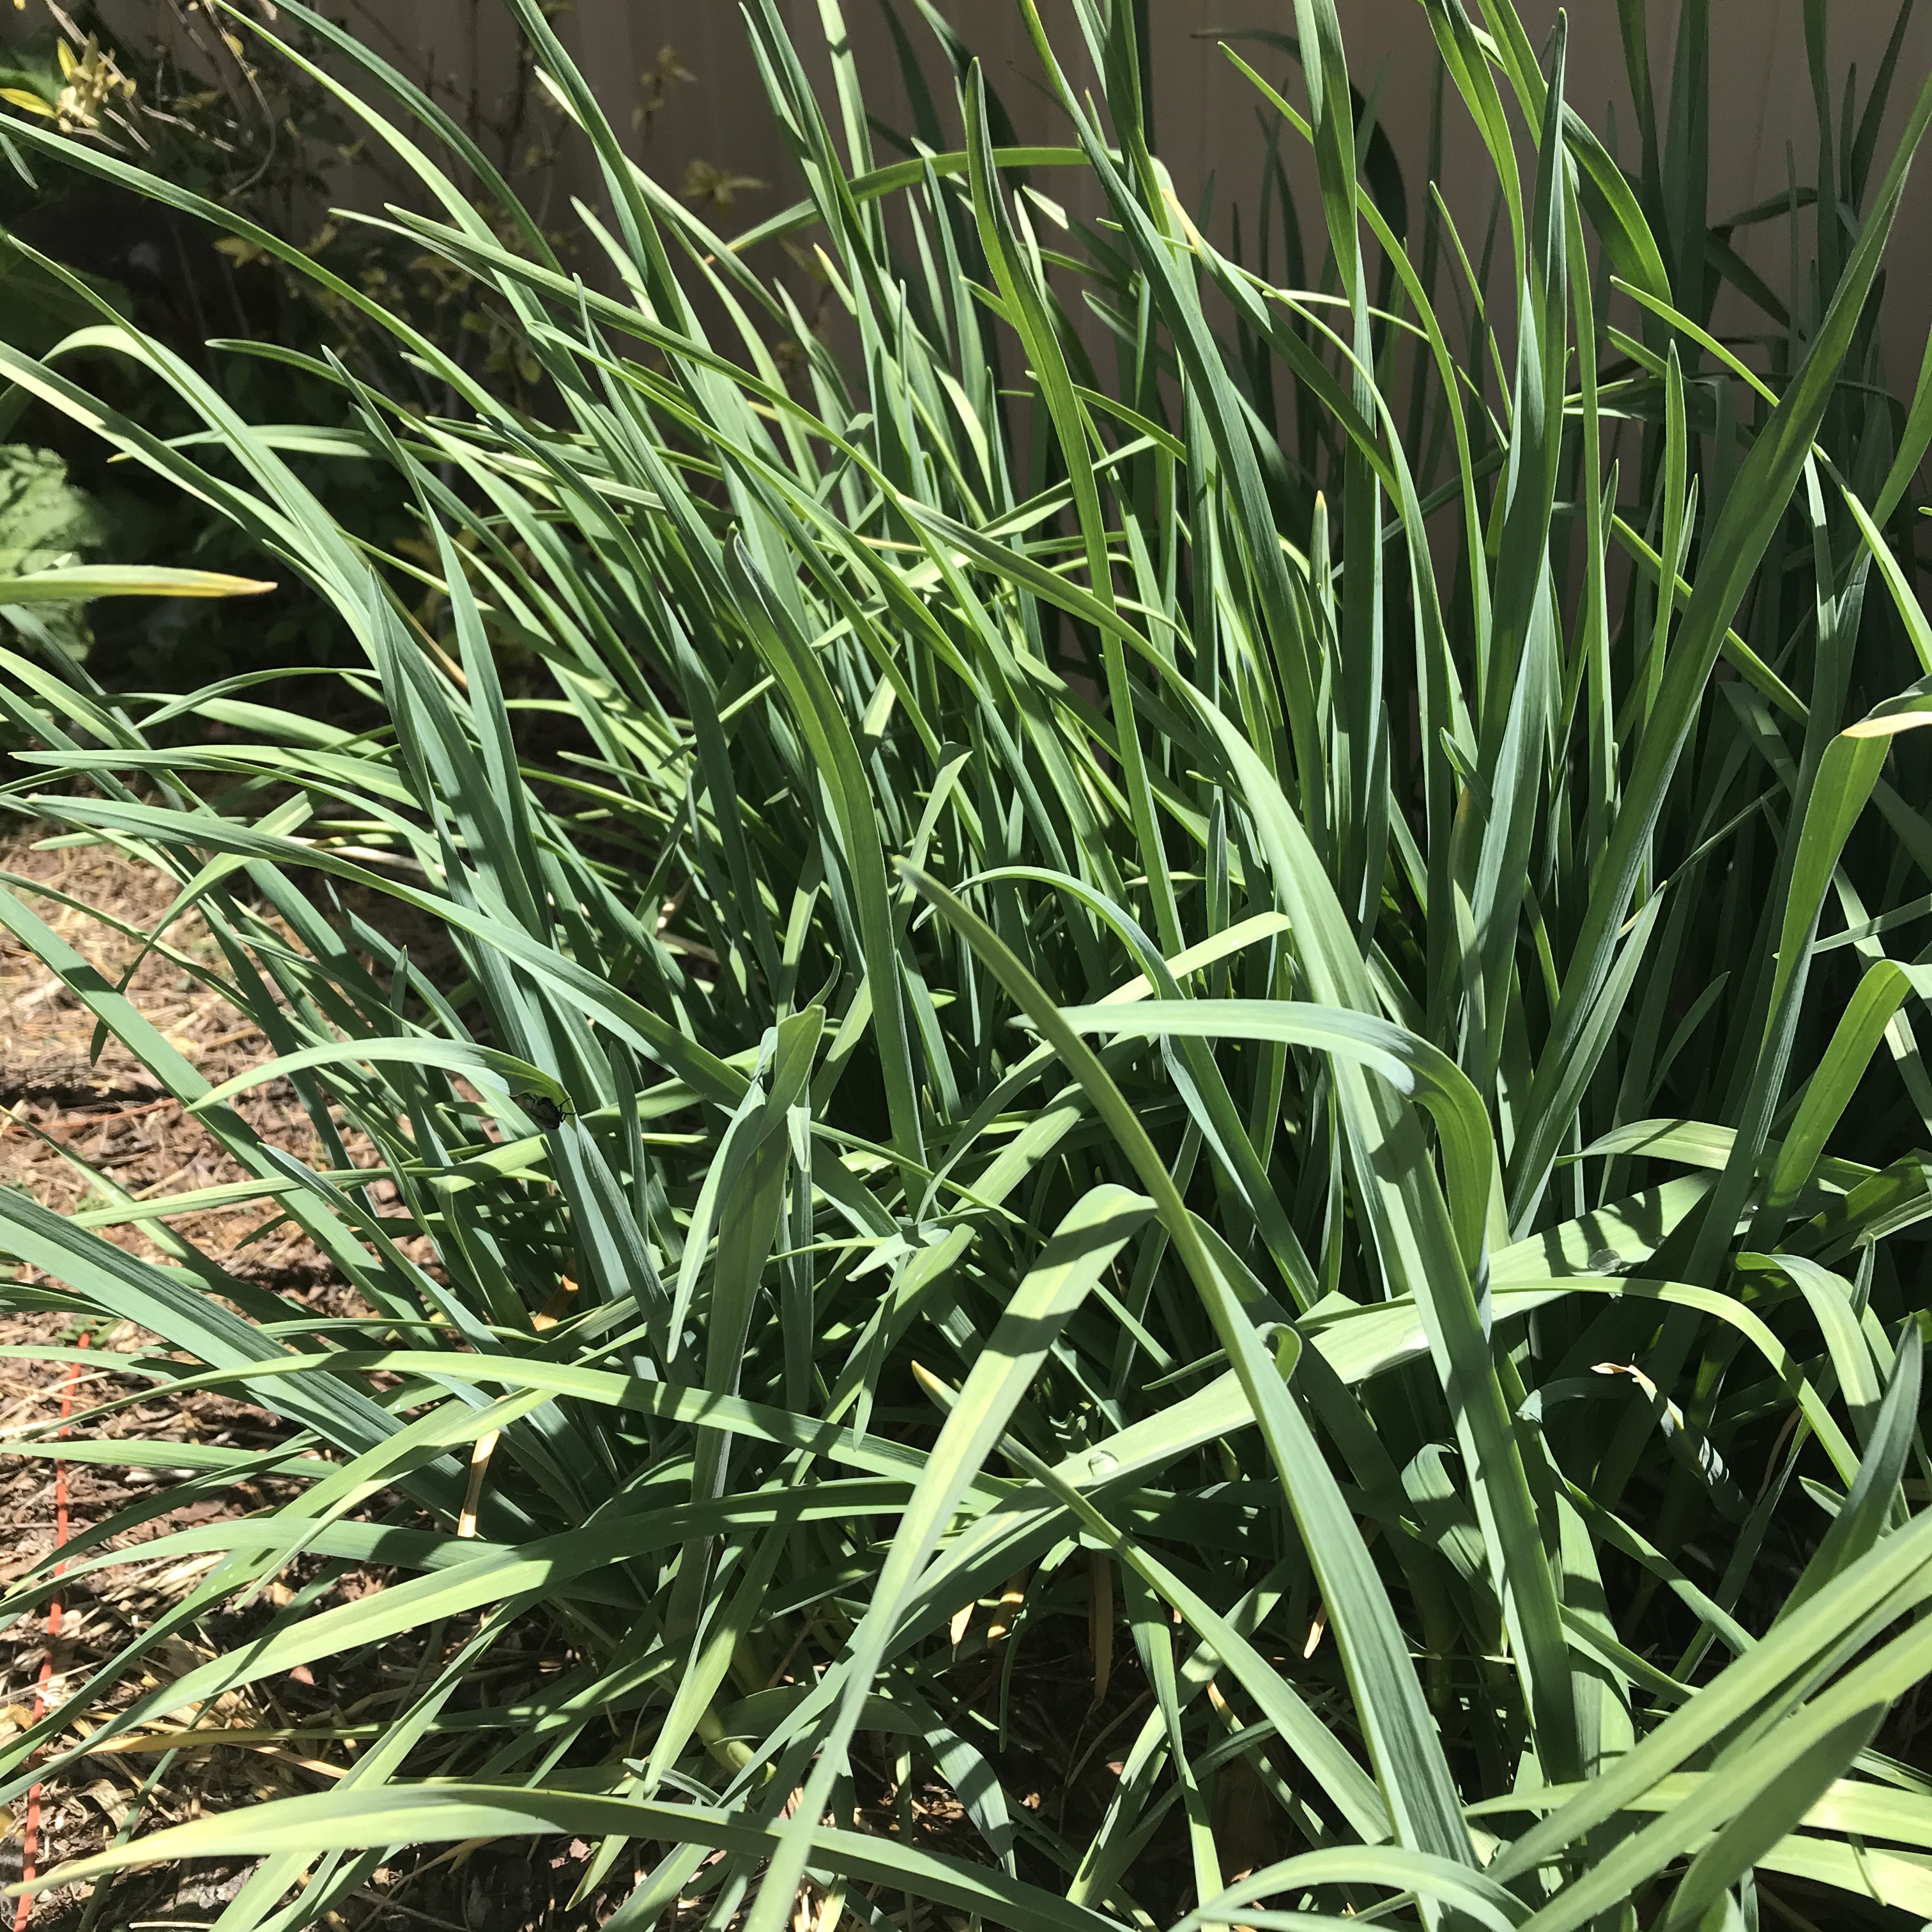
I’m also experimenting with managing ordinary leeks in a perennial bed. So far I’ve only been at this for a couple of years, so I don’t know how it will work out in the long run. The first year I planted deeply in the normal way, then when I was ready to harvest the leeks in late summer, I carefully dug away the dirt next to them and cut the edible shaft off, leaving the base and roots in place. Naturally you get a bit of dirt on the cut and have to trim away another 1/4 inch to clean them up for the kitchen. The following spring each base sent up between 2 and 5 “daughters.” I dug some out by the roots to thin the bed, using the thinnings  chopped up in greens dishes. I left some by themselves and some as smaller clumps of two or three.

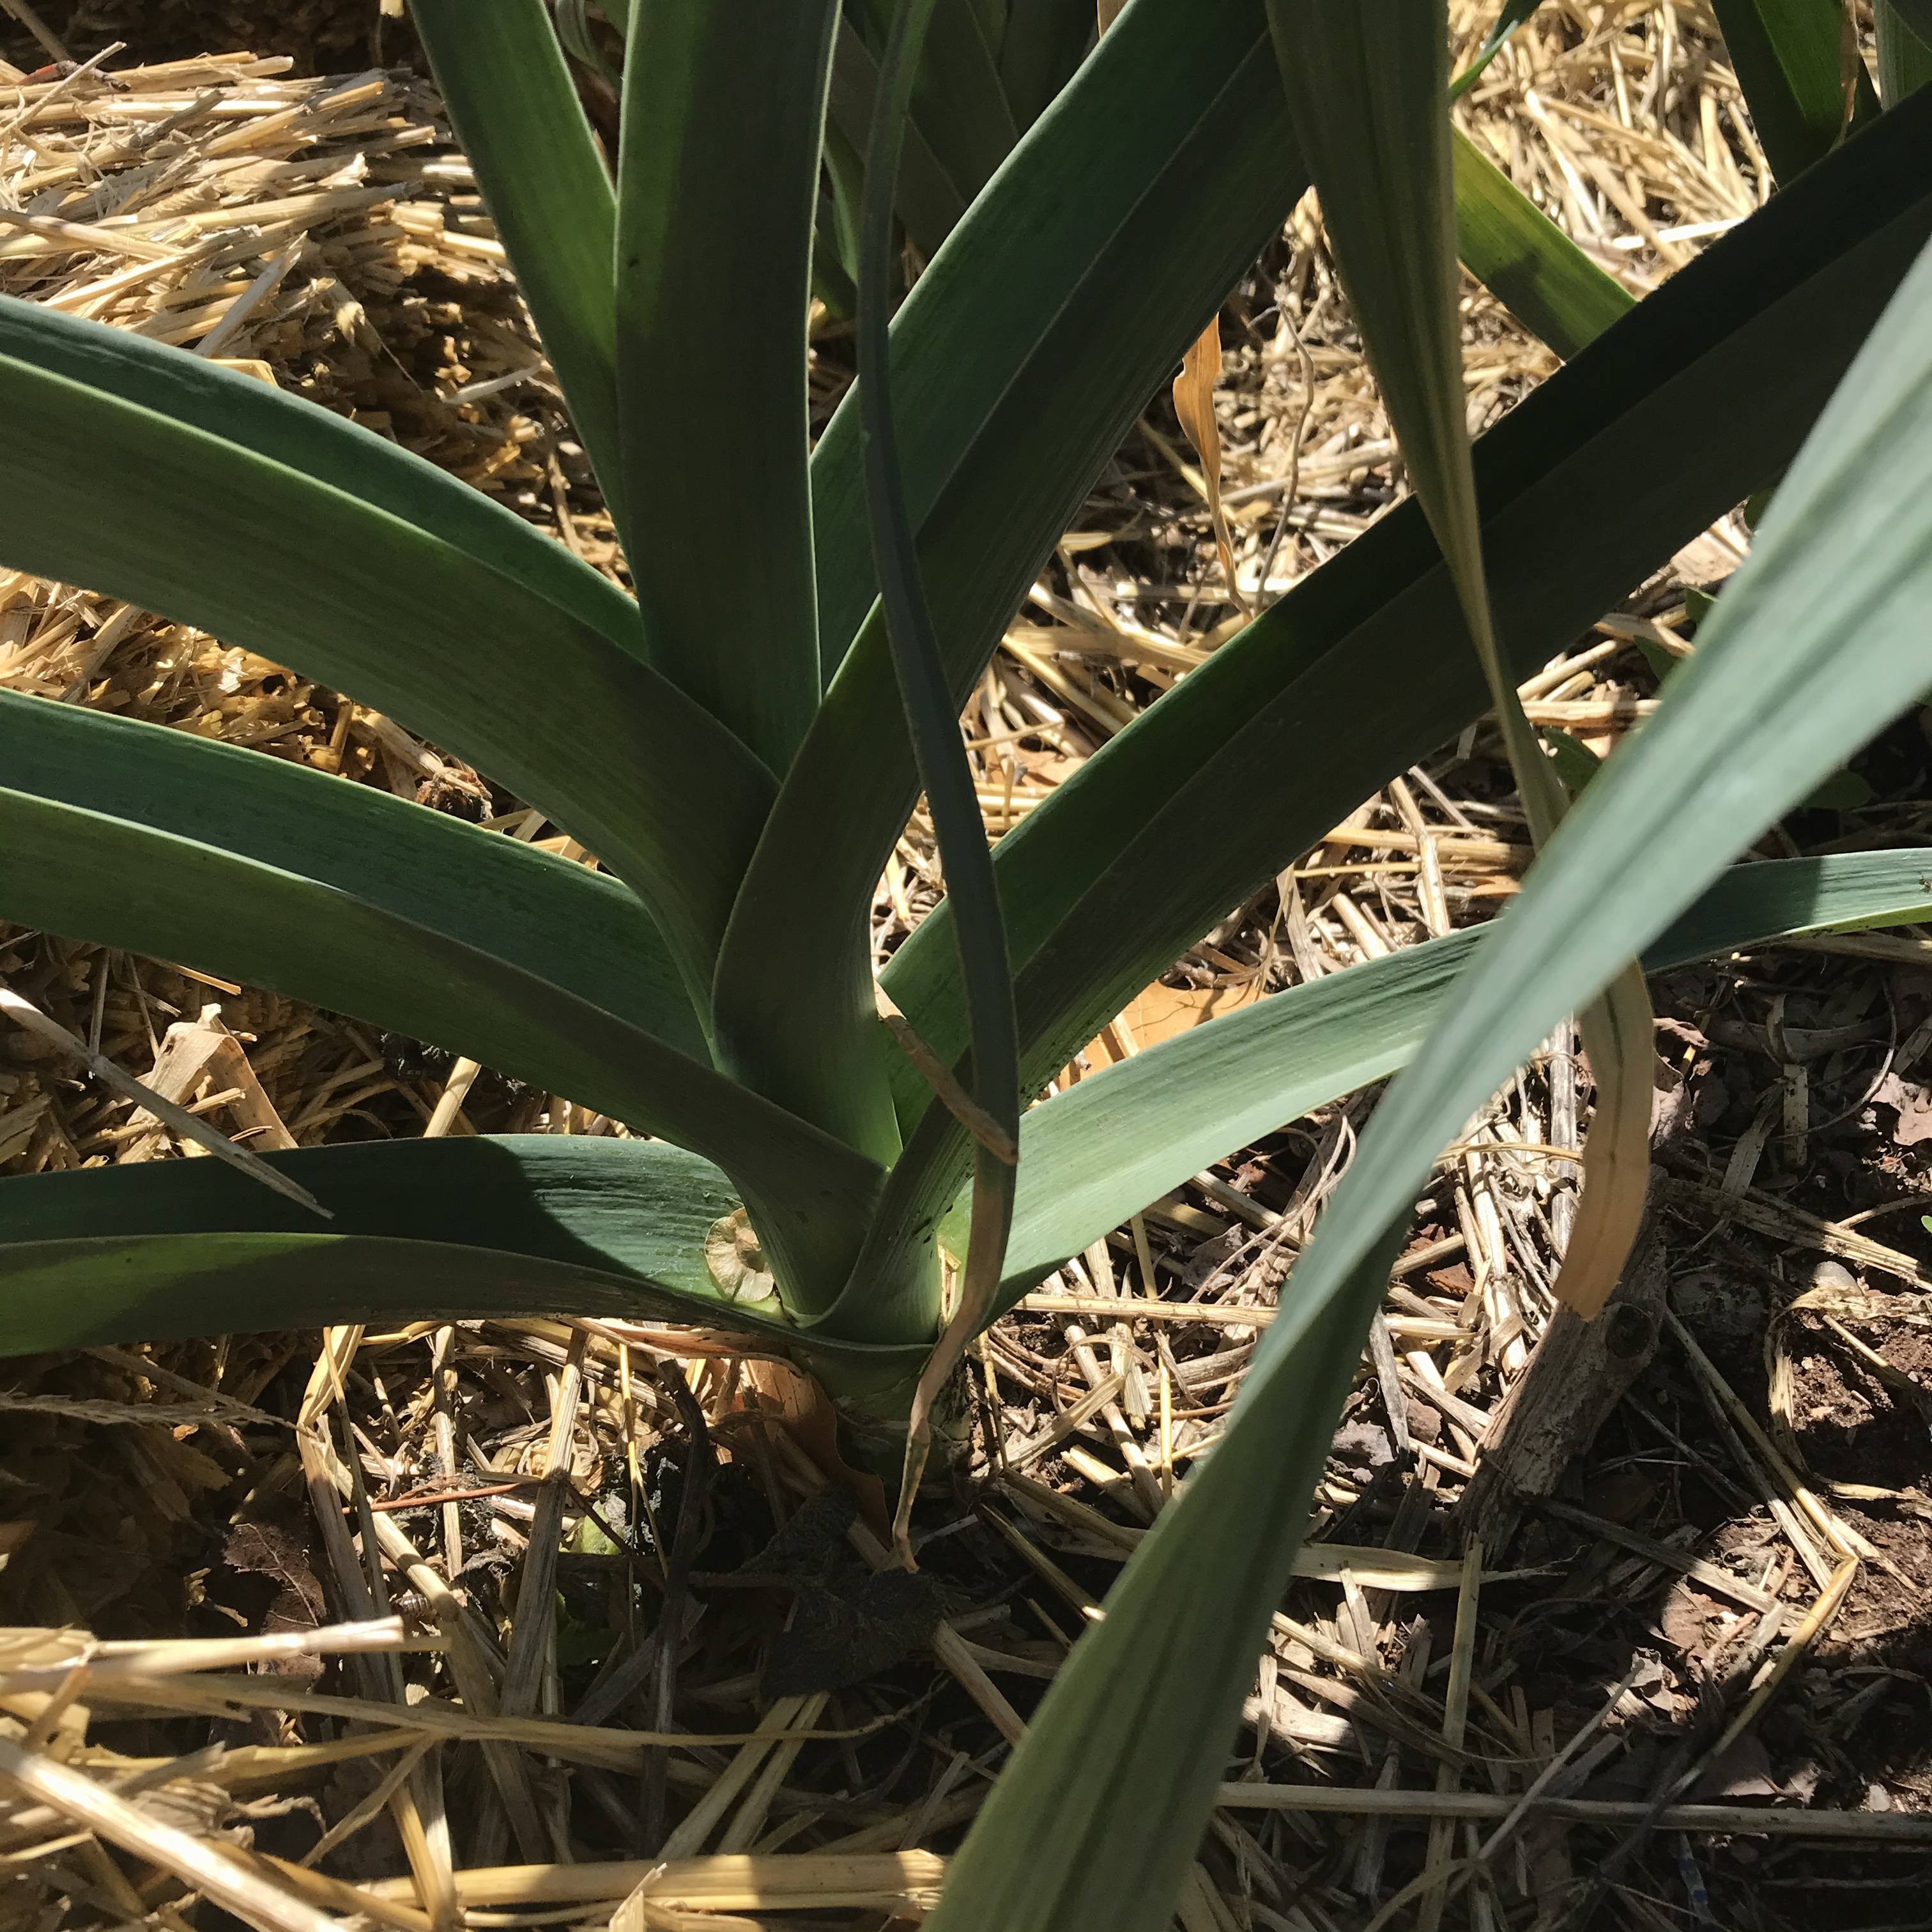
At this point in late spring all are of useable size, although of course the singletons are larger. I’ll harvest some as described above and leave some in place to throw up a bloomscape. Leek scapes  are one of my favorite garden treats. The tough outer skin needs to be peeled off but the interior is delicious, sweet, crisp, and gently oniony. It’s a wonderful element in Chinese dishes, having both flavor and texture.
I’ll plan to dig out enough by the roots to leave just one base in each planting position, so that (I hope) each will again make good-sized useable leeks the following year.

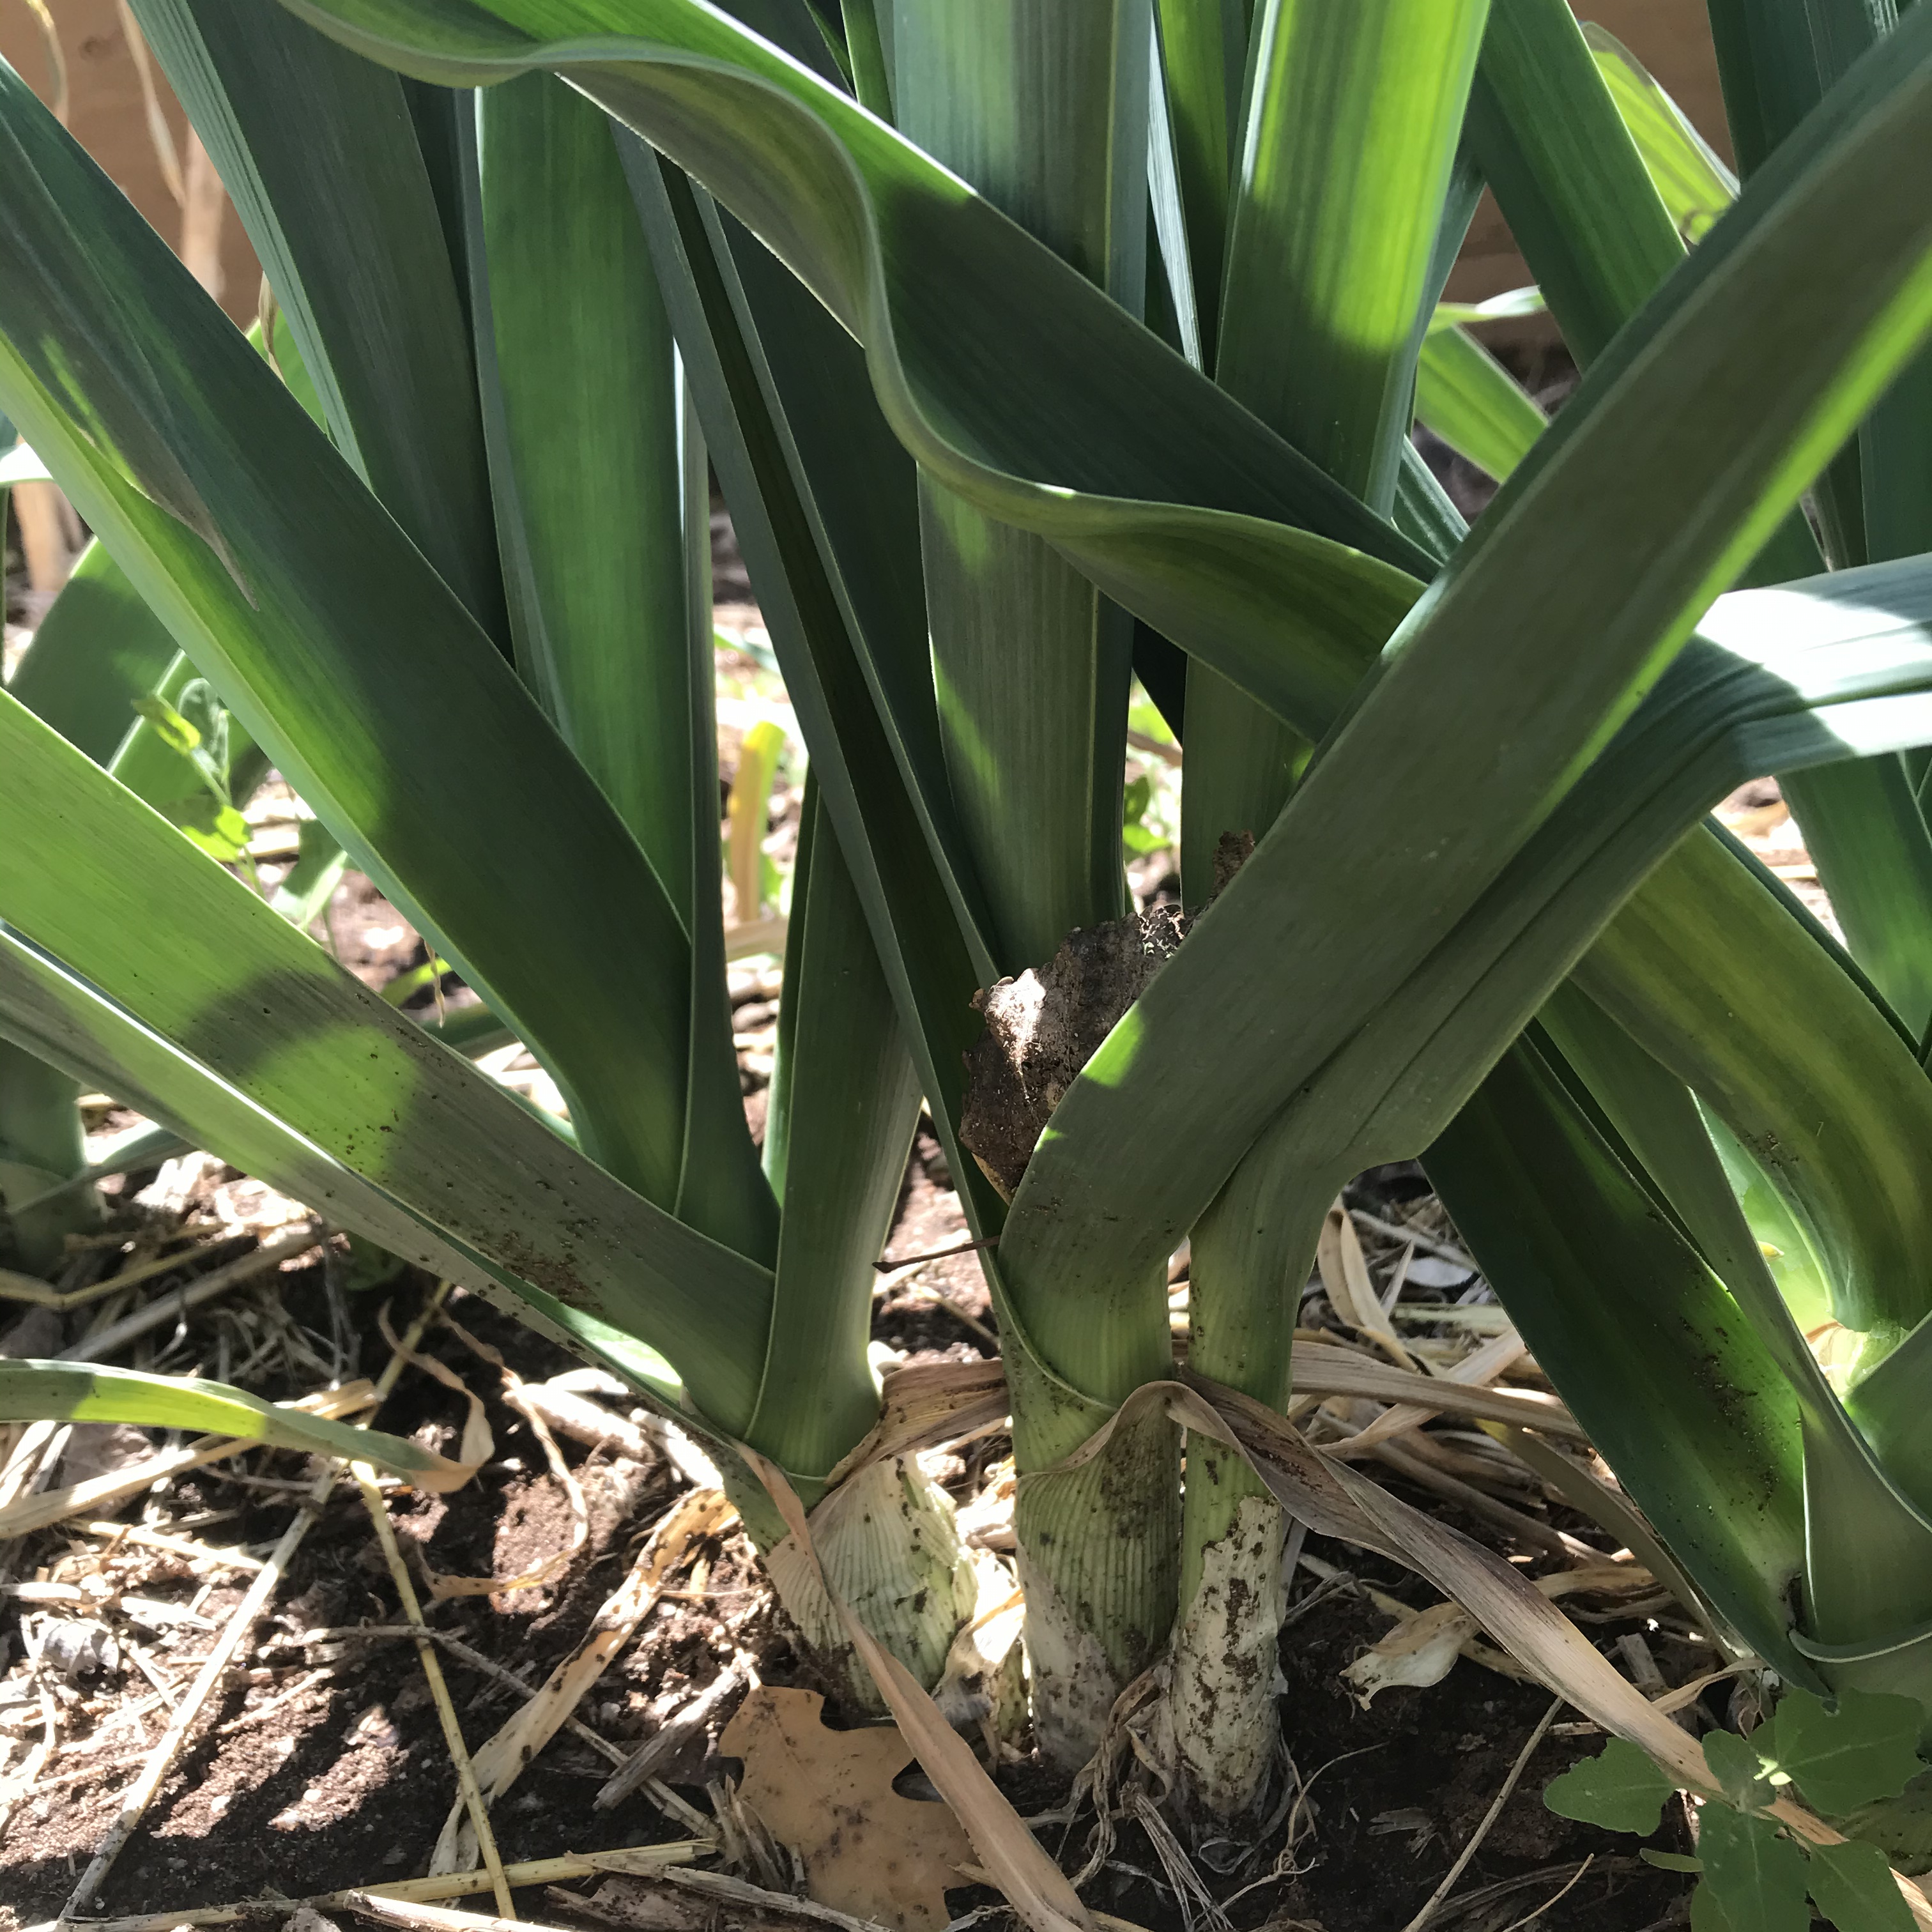
Keep in mind that your own leeks, harvested young, can often be used up to the tips. Cut the leaves in cross sections about 1/4” wide and use in cooked greens dishes or stew them gently in butter or olive oil with a little salt until tender. They need cooking to get tender even in early spring, and get tougher as the weather warms and are no longer useable except to cook in broth for flavoring. Don’t try cooking the leaves of leeks from the store, which have been in storage and are tough as nails.

When managing anything as a perennial, don’t forget to keep the soil fed. I sprinkle some chicken manure around in fall, then mulch with alfalfa hay, and the soil is black and rich now, a far remove from  the tan adobe clay that I started with.

The Greens of Early Summer

I love leafy greens and consider them one of the healthiest foods in the world, as long as they were raised in a clean fashion.  If you are lucky enough to have a garden and an active permaculture property, you can nearly always eat some greens but the source of your greens changes throughout the growing season.  Right now, we are in the glory season for lambsquarters, and they are everywhere and are at their tender best right now. I eat huge quantities of them, but I have written so much about them elsewhere that in this post I will say very little except: for the sake of your health and your palate, learn to identify them, harvest them, prepare them, and eat them.

Today I decided to write about some uncommon greens which are unique to the season.  Americans don’t think very much about eating the leaves of trees, but some of them are very appealing, and my favorite “tree green“ is the young sprouts of mulberry trees.  It is almost never possible to gather good edible leaves from mature trees. The best mulberry greens are the tips of actively growing shoots from trees that have been cut back, and I am lucky because on the walking trail near the river in my area, several mulberry trees have been cut back to keep them from impinging on the trail. They produce a forest of new growth, and it is the tips of that new growth that are good to eat.   Harvest only as far down as the stem can easily be snapped with your fingernail. If it bends or creases instead of snapping, go further up toward the tip.

Incidentally, there is some pretty ridiculous stuff on the Internet to the effect that mulberry leaves will get you high or the water from cooking them will. Utter rot.  This is one of those unfortunate cases of one writer printing a piece of misinformation and dozens of others picking it up as gospel.  I have been eating young mulberry tips for decades, and nothing remotely interesting has ever happened as a result. Euell Gibbons ate them, Samuel Thayer eats them,they are used as a tea throughout Southeast Asia,  and there is no reliable report anywhere of them causing hallucinations. You must always do your own due diligence and make your own decisions, but I simply don’t worry about it.

For a quick lunch for two, I gathered a double handful of mulberry tips. I washed them and cut them in fine cross sections of less than a quarter inch, chopping a large bunch at a time.     Then I considered what else to add.

I could’ve used sorrel for a tart element, but since the leaves on my petit syrah grapevine are young and tender, I decided on several of them.  Wash them, stack them, roll them up like a cigar, and sliver them very thin with a sharp knife.

For flavoring, garlic is always a favorite of mine, and right now the garlic is forming bulbs but they are small and the skin is still young and tender. I pulled an entire head since they are mild this early, peeled off just the toughest outer layers, and sliced the rest finely in cross section and chopped it. The material that would later become the skins is full of allicin, and is very desirable.  But I also wanted some herbal flavor, so I grabbed the top of one of my bronze fennel plants. At this time of year, when it is getting full and bushy, bronze fennel is so ornamental that I can hardly stand to use it, but it tastes good so I try to overcome my scruples.

I decided that I wanted a texture element, and this time of year my favorite crisp texture is the scapes of last year‘s leek plants.

Cut them before the bulb on top begins to open, peel off the very tough outer skin, and then use a vegetable peeler to get all stringy bits off.

As I got ready to cook,  I decided to cut the stalks in quarter inch  cross sections because it would go better with the other textures. The taste of leek stalks is soft, oniony, and sweet.

First heat a skillet over medium heat.  Then add your oil of choice. I used a mixture of olive and avocado oil.  When the oil is hot, put in the chopped garlic, leek stalk pieces, and fennel.  Sauté until the garlic looks cooked. Add the chopped mulberry leaves and grape leaves, and because the texture of mulberry leaves tends to be dry, I added a quarter cup of water at this time.  Add salt to taste, and sauté until the greens are cooked to your liking and any added water is cooked away but the greens aren’t too dry. Personally, I like tree greens a bit on the done side, since they tend to be a bit chewy when cooked al dente.   Taste for seasoning, and then set your greens mixture aside in a bowl, reheat the skillet, put in a knob of butter, and scramble whatever you think is the right number of eggs for two people.  When cooking for my husband and myself, I always use a mixture of three eggs and three additional egg yolks, beaten together with about a tablespoon of cream.  When the eggs are scrambled and have less than a minute left to cook, return the greens to the pan and stir the mixture up together, but you want discrete lumps of egg to remain among the greens.   Serve onto plates, grind over fresh pepper to taste, and salt as needed.

Besides mulberry and  grape leaves, I’m giving thought to other climbing perennials or trees that might be useful for greens.  I have a linden tree that I planted specifically for greens, however the texture turned out to be somewhat mucilaginous and if there is one thing I dislike, it is what my husband calls the “mucoid food group.“  They are fine in a salad when young, but I don’t care for them cooked at all.  I am beginning to eye the shoot tips on Siberian elm trees that have been cut back. My goat and chickens eat them in huge quantities, and maybe I could too,  so I have been searching for data, especially because this is an enormously prolific trash tree in my area.  According to the website Eat the Weeds, run by the prolific and reliable Green Deane, the very young leaves of both Siberian elms and Chinese elms are edible and can be used interchangeably with each other. So I will be trying that in the future. I’ll report back.

Chicken with Double Garlic Sauce

Garlic is wondrous in all its forms. I called this simple chicken sauce  “double garlic” not because it contains a lot of garlic, although it does, but because it contains garlic in two distinct forms. Right now I am harvesting the bulbs of the early Chinese Pink while the late Mount Hood is forming tender scapes. So both went into this dish. For the chicken, I used some leftover plainly roasted thighs. You could also make the very quick seasoning sauce to add interest to a plainly seasoned rotisserie chicken that you bought on the way home after a busy day. Of course you could also cook chicken thighs right in the sauce, but I conceived of this as a way to make leftovers fresh and interesting.

In the spirit of easy convenience, I added some artichoke hearts marinated in oil that I found at a grocery store olive bar. If you have some leftover vegetable that isn’t too seasoned, this is a good place to use it up. Just don’t use marinated veggies that are acidic or pickled-tasting; taste to be sure.

You will need:

1/3 cup very good EV olive oil

7 cloves fresh garlic, chopped

5-6 tender garlic scapes (snap one near the base. It should snap cleanly, with no “bark” peeling at the breakpoint) Chop in bits a little more than 1/4″ long

1/3 cup salted capers, soaked and squeezed dry, or brined capers rinsed and squeezed dry

1/4 cup, loosely packed, chopped herbs of your choice. I used half thyme and half fennel

4 cooked whole chicken thighs, or a disjointed rotisserie chicken

roughly 1 cup of cooked leftover veggies, not too seasoned

Heat a skillet ovet high heat and add the olive oil. Put in the chopped scapes, fry for about two minutes stirring frequently, reduce heat to medium, and cook until scapes are crisp-tender ( the best way to find out is to chew one.)

Add the squeezed-dry capers and cook until they look a bit dry and (ideally) a bit browned. Add the chopped garlic and the herbs, sauté just until the chopped garlic looks cooked, and add about 2 tablespoons of water and the veggies and chicken. Cook uncovered over medium-low heat, stirring and turning as needed, until heated through. There should be little to no water left, just seasoned oil full of delicious bits that can be spooned over the chicken and veggies. Serve with freshly ground pepper, but taste before adding salt, because of the capers and the pre-cooked ingredients.

I have already talked about garlic and garlic scapes at length, so this a good time to talk about capers for a minute. I consider them an essential kitchen staple and my favorites come from Morocco, but they are absurdly expensive, so feel free to buy something much more reasonable. The tiny nonpareil capers are often marketed as the best, but I don’t like them except as a garnish on smoked salmon and generally prefer the largest and most herbaceous that I can find. If salted, rinse the salt off, soak in water to cover for 20 minutes, and squeeze dry. If brined, rinse the brine off thoroughly, soak in hot water for a few minutes, and squeeze dry. There is currently a lot of silly snobbery about brined capers, but they can be delicious and are far preferable to tasteless or oversalted dry capers. I eat capers all summer and try to keep a handful, already soaked and squeezed, ready wrapped in a square of plastic wrap in the refrigerator. They’re astoundingly rich in quercetin, if that’s important to you, and they taste like essence of summer.


Harvesting Garlic

In a way the title of this post is very inaccurate, because I have been “harvesting garlic” since February  in the form of green garlic. But this is the time of year when I start to pull bulbs, because the extremely early Chinese Pink comes out of the ground now. So this is a good time to say something about the curing of garlic.

First, the variety matters. Chinese Pink doesn’t last that long for me and is mainly to tide me over until the main crop comes in, since it’s a good six weeks earlier than any other type that I grow.

Second, harvest at the right time. Watch for yellowing, withering leaves. Generally I harvest when there are four green leaves left, but Chinese Pink is prone to splitting and needs to be harvested earlier, when about the four lowest leaves are yellow. The picture below shows “split” garlic which has been left in the ground too long. It’s still useful but harder to peel and clean.

Third, DON’T cut off the stalks. The curing bulbs draw nourishment from the remaining leaves. Do, however, remove any bloomscapes. Also leave the roots intact but shake off soil. Brush loose dirt off the bulbs.

Fourth, DON’T leave them lying in the sun, where they will “cook” and be spoiled. After pulling the plants, lay them in single layers on a dry surface (I use flattened corrugated cardboard boxes that will later go into sheet mulch) and put out of direct light in a place with good air circulation. Leave for two weeks, turning the bulbs occasionally.

Now cut the withered tops off unless you grew a softneck garlic and want to make braids. My favorite types are all hardneck so no braids for me. The remaining surface dirt is now dry and can be brushed off with a soft brush, but don’t get fanatical with the brushing because you can damage the wrapper and impair the bulb’s ability to keep. Leave in the dim airy place and bring a few bulbs at a time into the kitchen.

When ready for curing, they will look like the picture below. Later on when you clean them up and bring them into the kitchen, they will look like the picture at the top of this post.

Before you start using your garlic, be sure to set aside the largest and best bulbs with the largest cloves for replanting.

Use your garlic.  A lot. This is the fresh clean-flavored garlic that makes recipes like Chicken with 40 Cloves of Garlic or Chicken with Fennel, Pernod, and Garlic such a pleasure to eat. Confit some and enjoy it on toasted sourdough bread or crackers, or alongside roast chicken, or in pepperonata. To confit garlic, peel a quart’s worth of cloves, put in a small heavy saucepan, cover with good extra virgin olive oil and add a heaping teaspoon of sea salt, bring to a simmer, and simmer slowly over low heat with an occasional gentle stir until the cloves just hold their shape but are soft and can be crushed easily with a spoon. If there is any hard “core,” keep simmering. Cool and store in a jar in the refrigerator. Be sure to keep the cloves covered with olive oil and it will keep a month or more. The confiting oil is a treasure, great in dressings or for drizzling.

The image of chicken and garlic above was borrowed from Food 52, my favorite cooking site.

For a far more detailed take on garlic curing and storage, review this excellent PDF from Boundary Garlic Farm.