Cilantro is a lovely and evanescent thing. It is a major seasoning herb in Thai and Indonesian cuisines, is widely used in China and Southeast Asia, and fills me with wellbeing whenever I eat it. It was a few years, though, before I learned how to make it pay for its garden space.
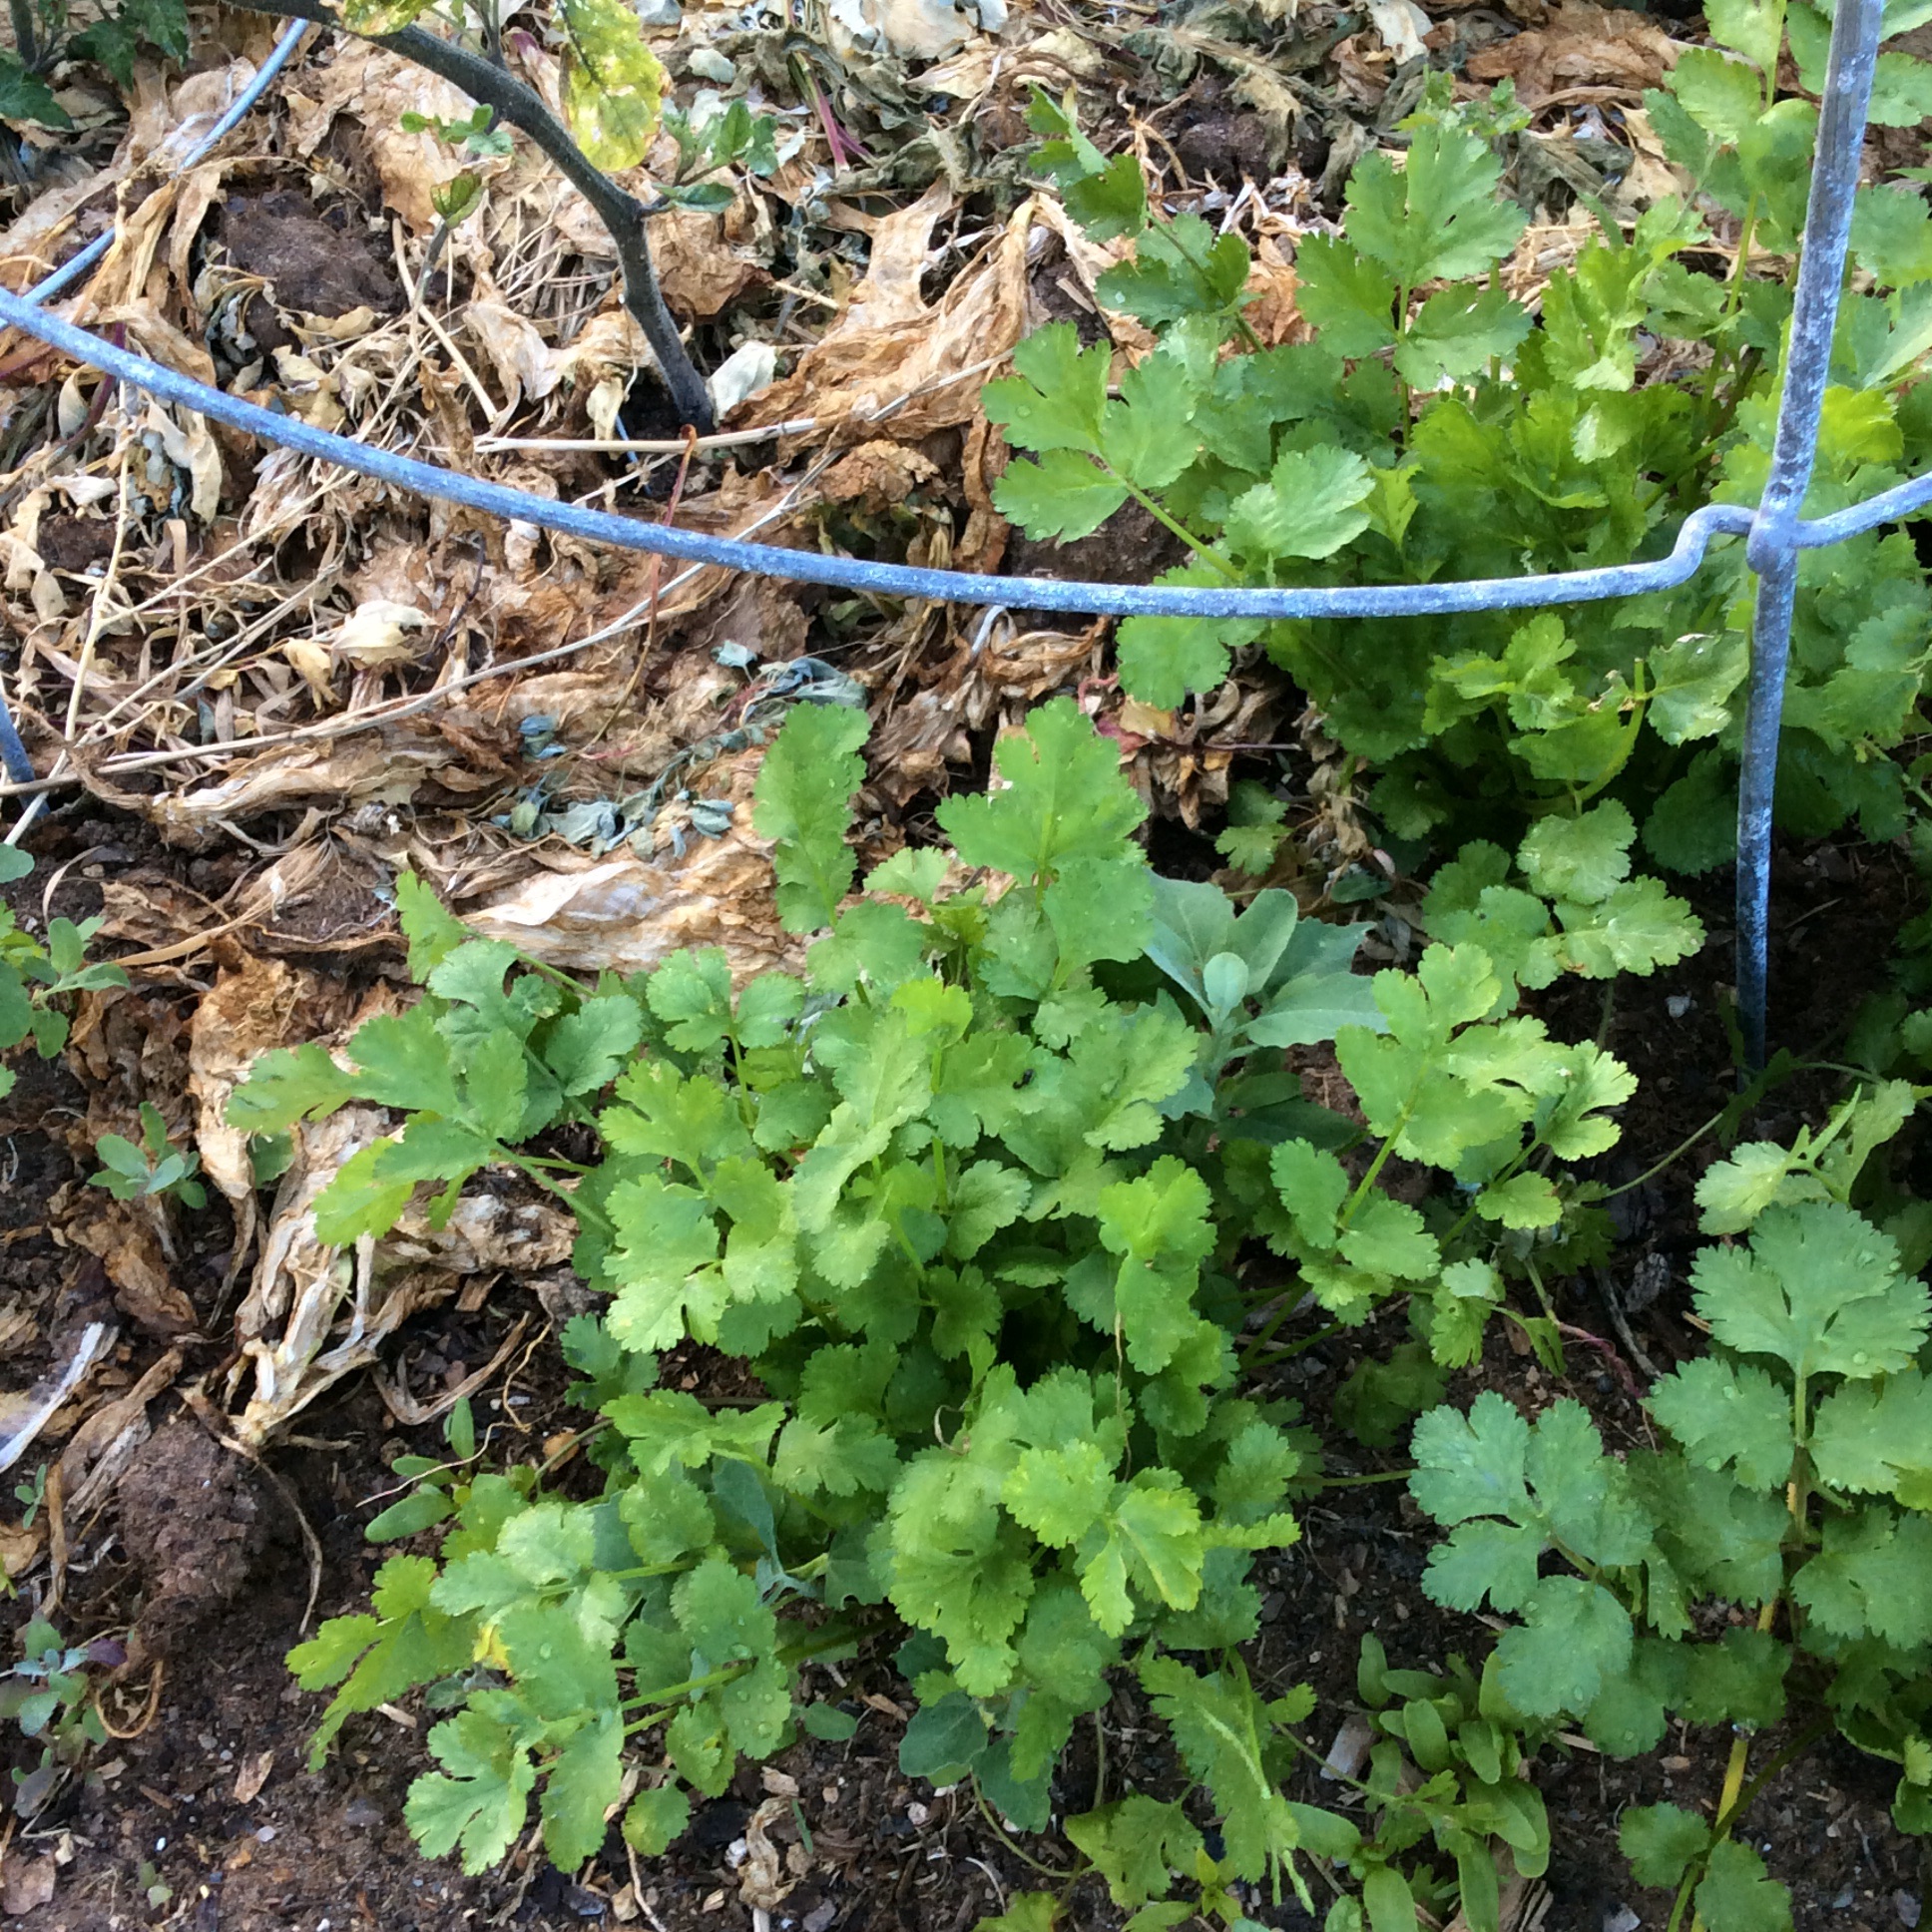
First, choose your variety carefully. You need a bolt-resistant type that can be bought in ounces, not packets. Don’t plant the seeds sold as spices. Currently my favorite is Calypso. Second, forget rows. Plant it in bunches that you can harvest all at once, and only have as many bunches maturing per week as you will actually use. I like the bunches to be spaced 8-10″ apart each way, and I plant 15-20 seeds in each bunch, all clustered into an area about 2″ in diameter. I plant 4 bunches a week, every week that I remember and have some bed space available, starting well before the last frost because cilantro likes cool weather and stopping as the days heat up. They will not occupy their real estate more than a couple of months, so I plant them in places where big heat-loving crops like tomatoes or zucchini will take over the space. In the picture above, you see the stem of the young tomato which will spread out when the days heat up. You may also note the early lettuce that occupied the tomato’s space over the winter, now serving as a light mulch.
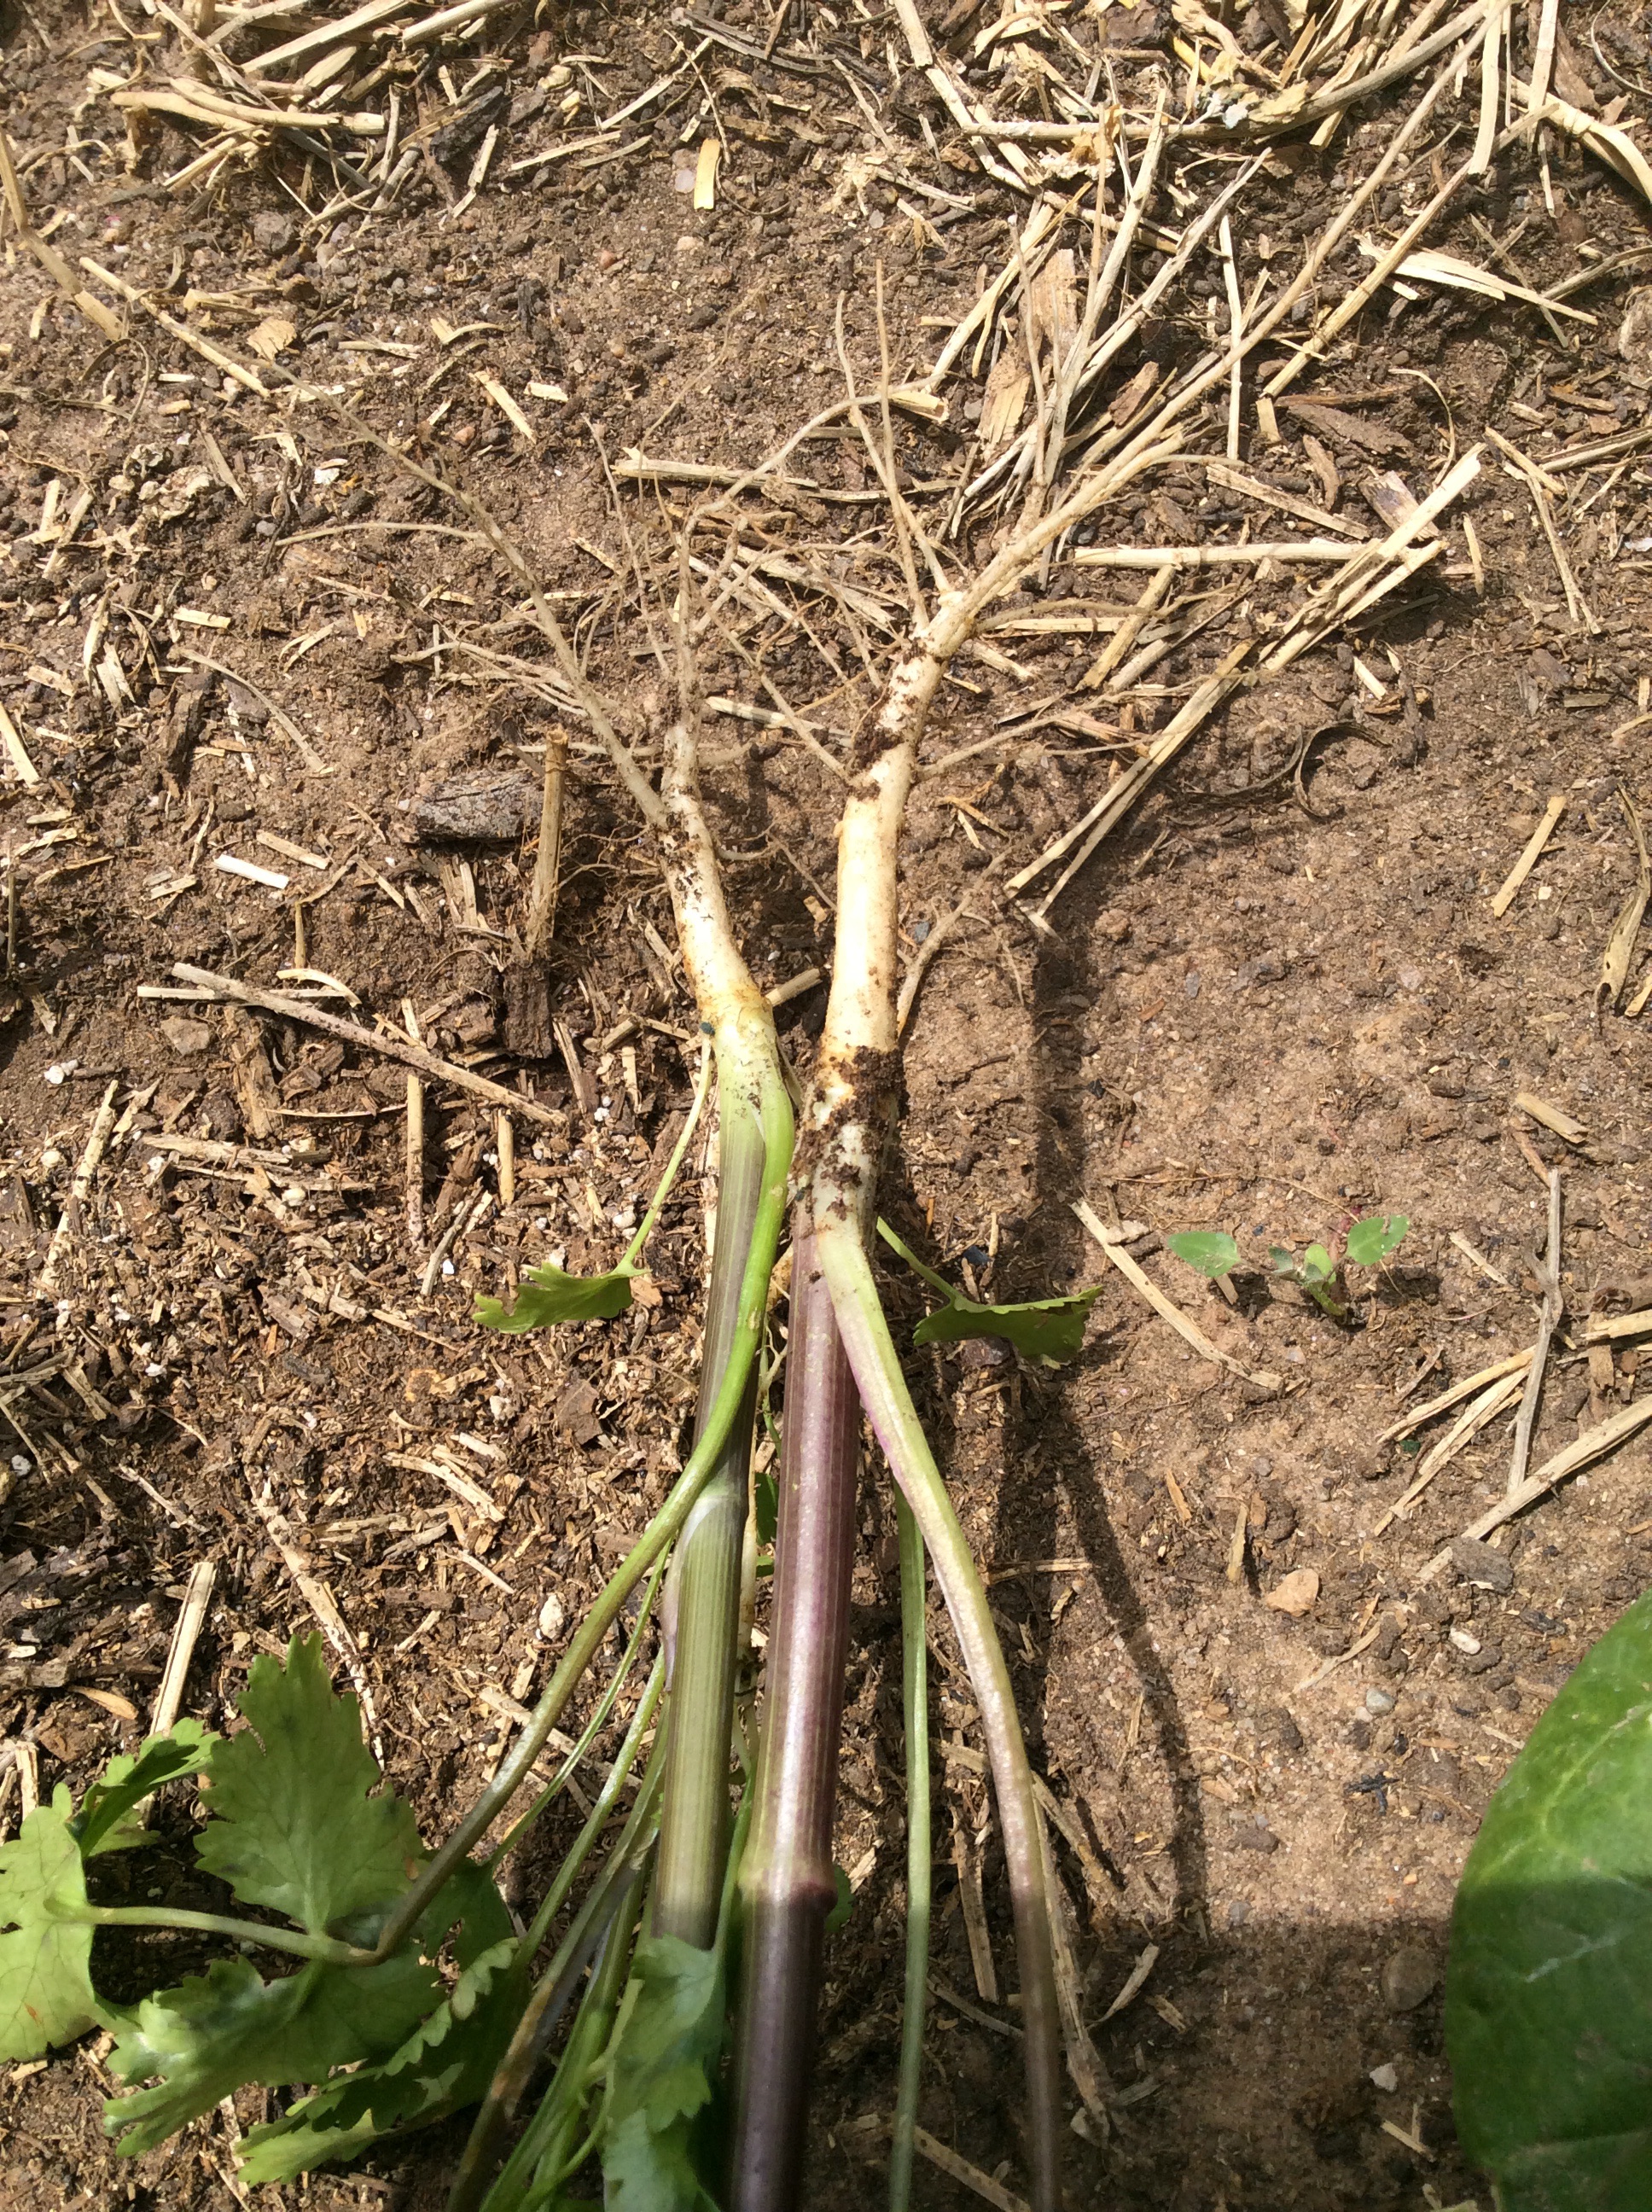
When the plants are 7-8″ high, I harvest the bunch by cutting about two inches above the ground. They are quite clean because the crowded plants hold each other up, and just need a quick rinse before being used in your favorite way. Cut the bunch rather than pulling, because those stems will keep on working.
Leave the cut stems in place. When they show a good amount of new growth,you will notice that the leaves are finely cut and feathery rather than looking like grocery-store cilantro. This new growth doesn’t have the full cilantro flavor by any means, but I still like to throw chopped handfuls into salads and pounded green herb sauces. But what we are really after at this point is not the leaves. When some of your bunches are tall and starting to bolt, pull them for the roots and lower stems. Scrub the roots and thick lower stems well, cut off the finer roots and discard (into the compost, of course) and chop the roots and stems thinly crosswise. This is your supply of cilantro root, which is used extensively in classic Thai cooking, while the leaves aren’t used in authentic curry pastes etc. In fact, make sure that no leaves get into your root, because the flavor is different and not right for this use. Thai cooking aficionados refer to it as the “unobtainable, mythical coriander root,” but it is highly obtainable if you have a garden. Now you can pound your roots and stems in your faithful mortar and pestle to make curry and seasoning pastes, or freeze them in little plastic bags in quantities of about 4 tablespoons. I tend to use mine up during the summer, which is when southeast Asian cuisine tastes best to me.
But don’t pull every bunch. Let some bolt, because you want the green seeds.
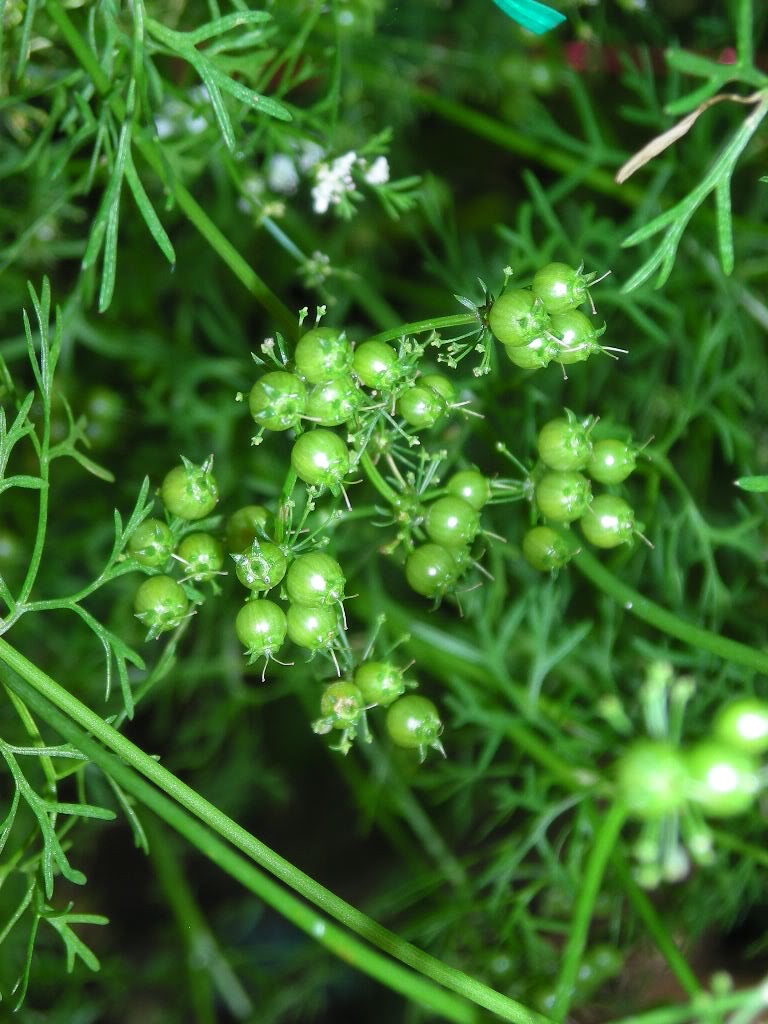
These have a flavor in between the leaves and the dried coriander seed and are delicious sprinkled over salads, used as a garnish on grilled meats, or tossed over bulgur or rice dishes.
Now you are finally done with your cilantro plants and can pull them and compost them, unless you want to let some set and dry seeds to use as coriander seed. I don’t dry and save seeds, personally. I can buy seeds easily, and prefer to use my own seeds green, when they are a fresh treat that can’t be bought.
For more on using the roots, check out David Thompson’s huge and highly addictive “Thai Food,” the best Thai cookbook in English in my opinion, although it does assume a scary amount of kitchen time😉
Archive for the ‘Uncategorized’ Category
30 May
Nose-to-tail Cilantro
21 May
Semi-permaculture
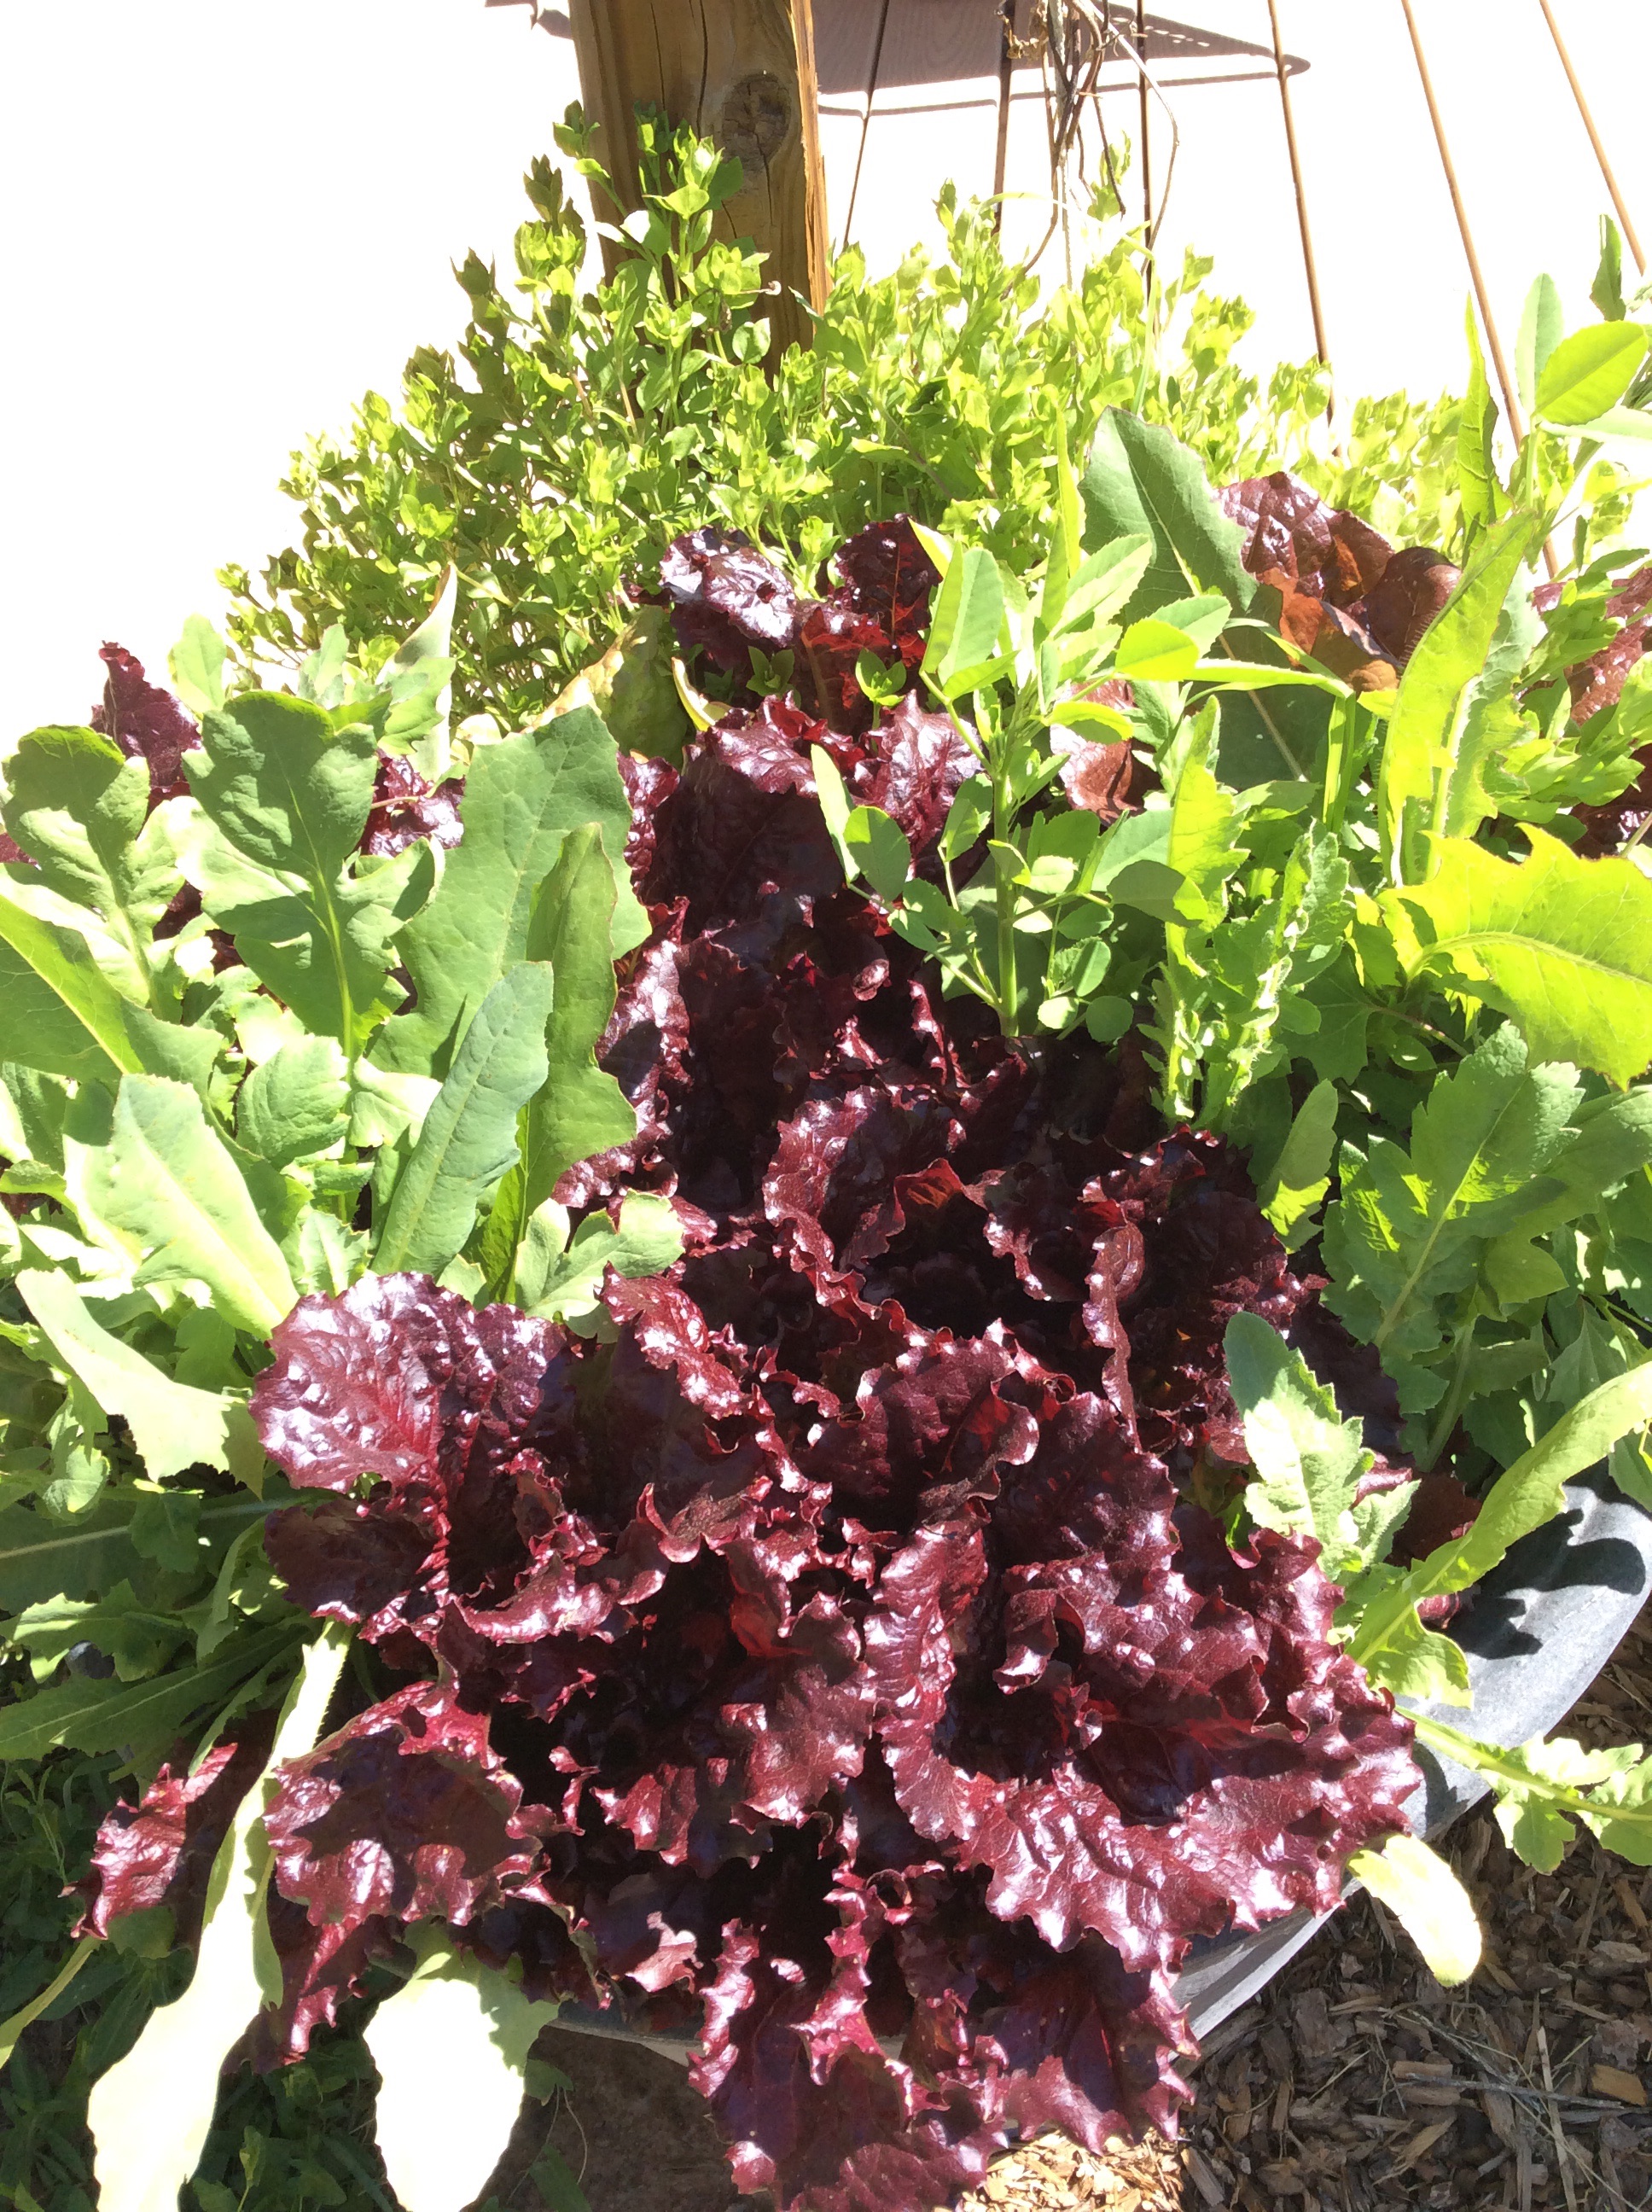
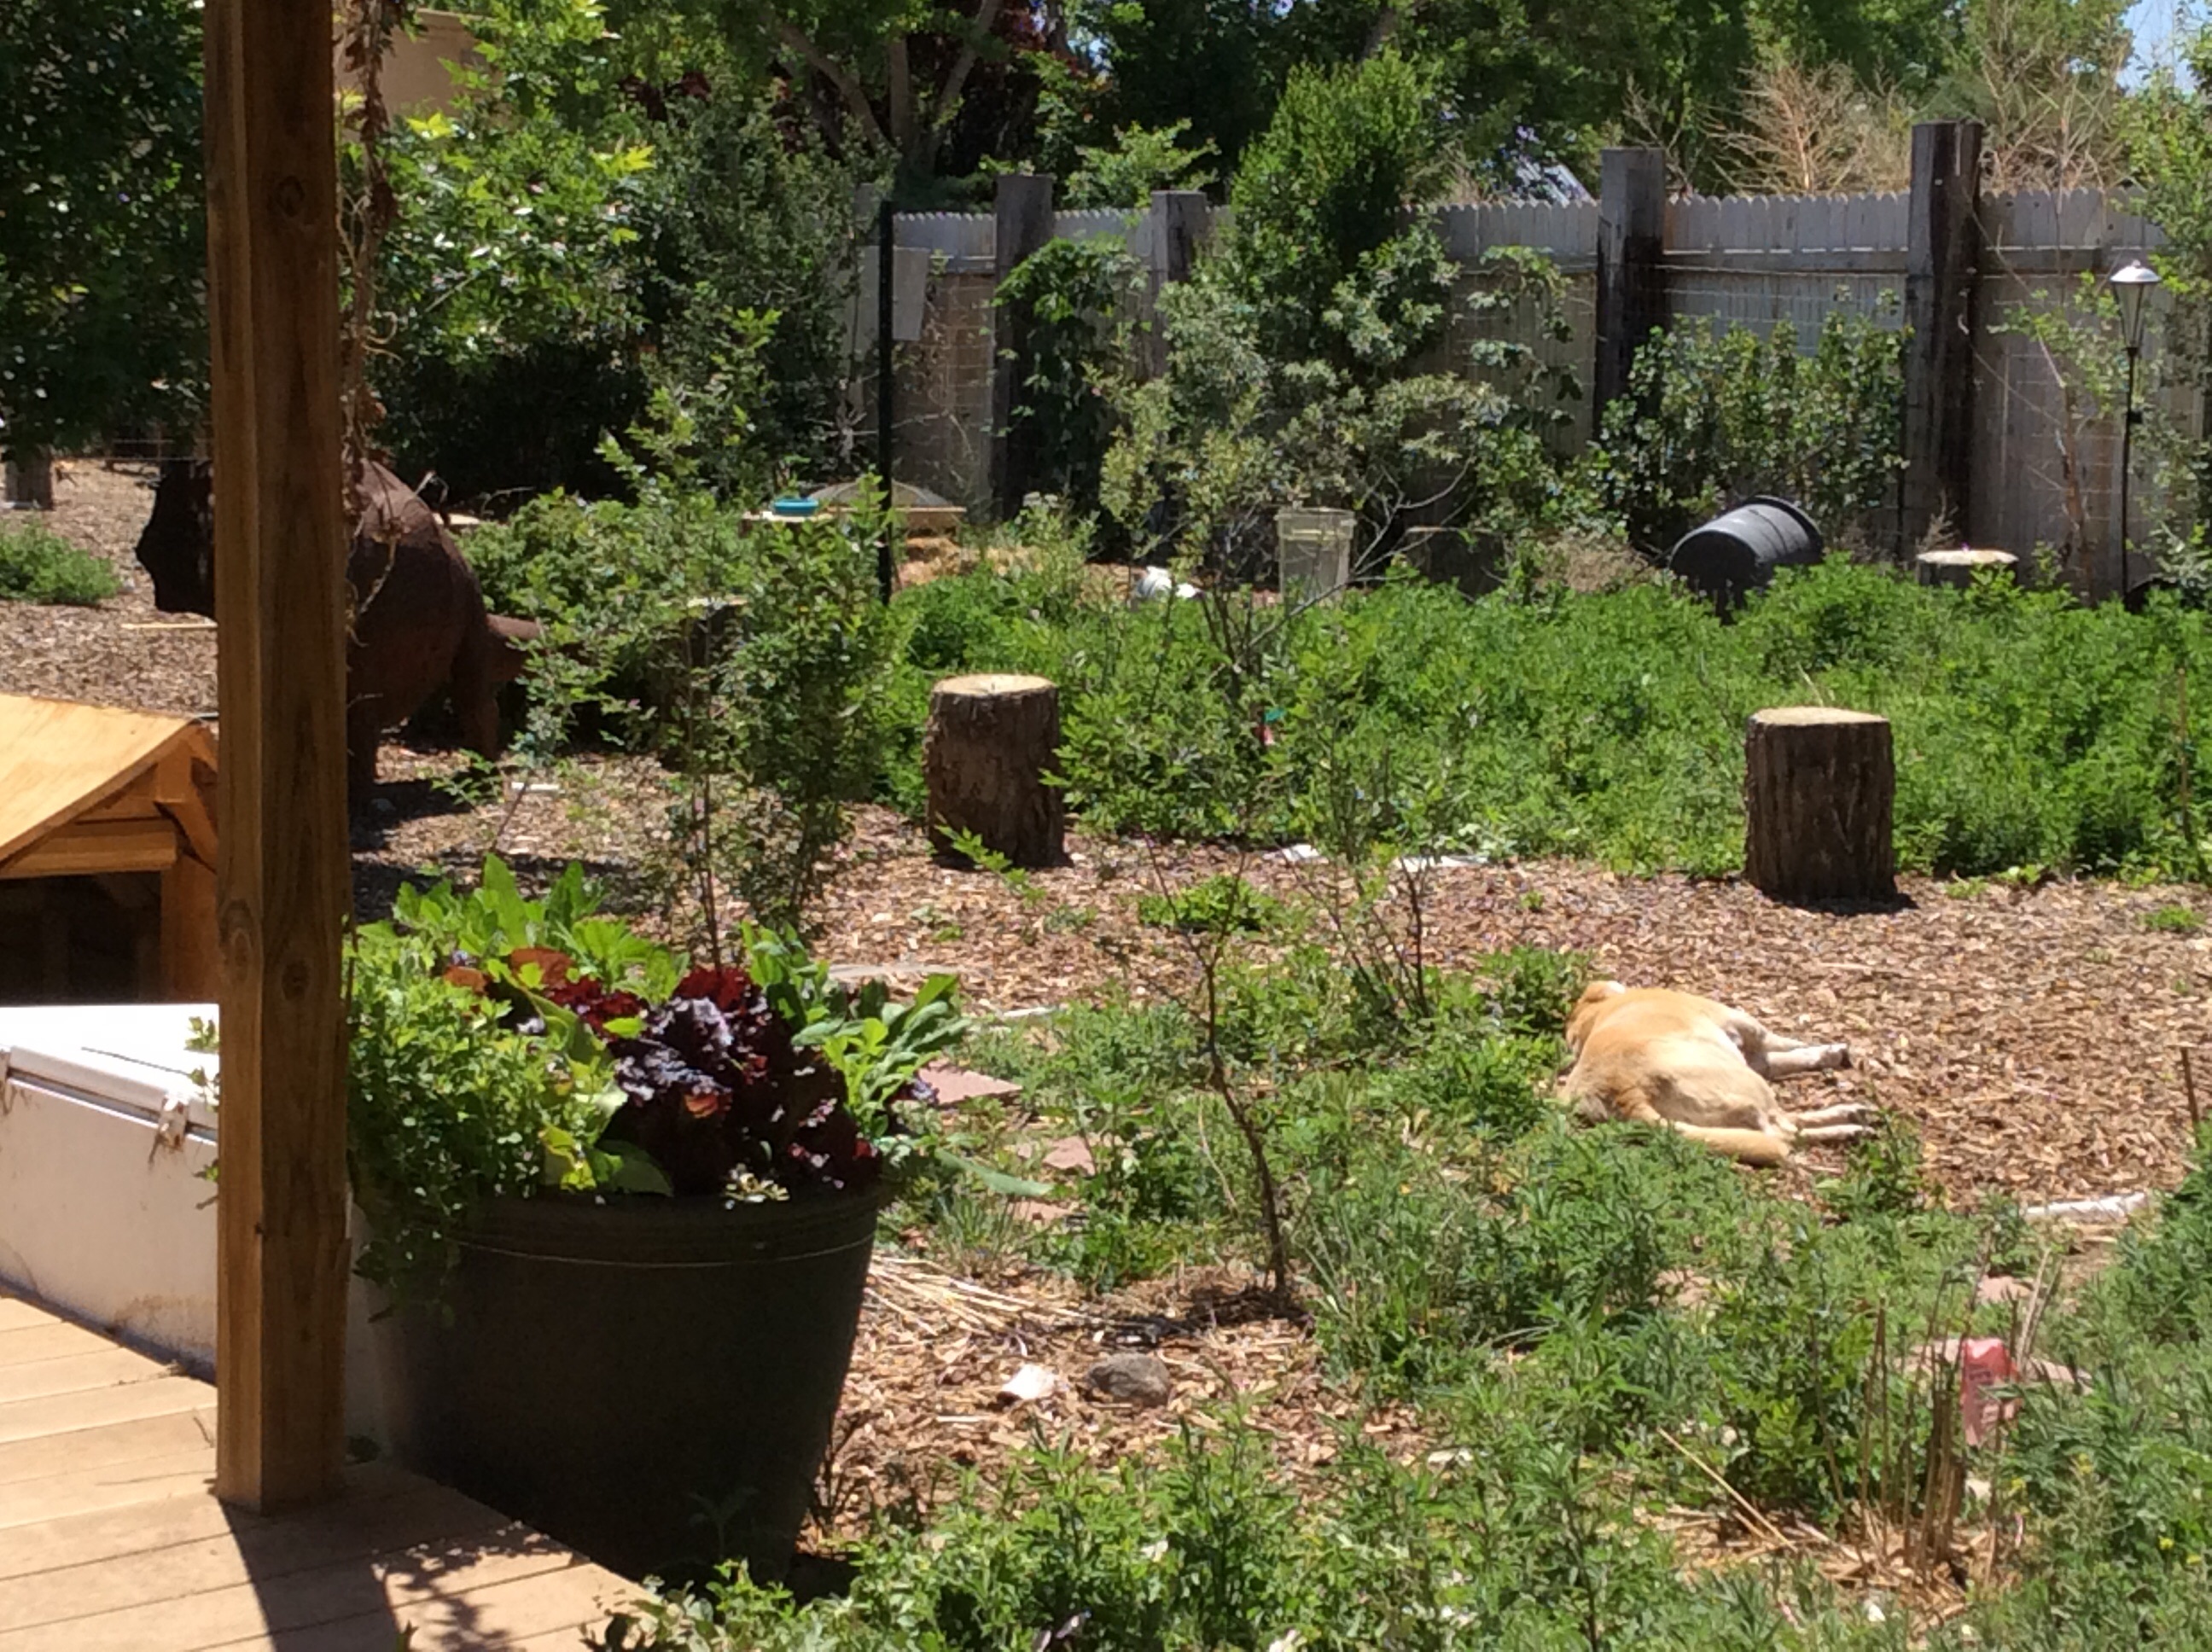
Every now and then I encounter some committed permaculturist who earnestly wishes to educate me about planning guilds (functional plant groups) in my garden. I just don’t think this way. It seems to me that, if you love to grow food, have a fairly high chaos tolerance, and live somewhere long enough, you will naturally and accidentally discover what thrives in groups in your area, as well as what you really like to eat. Take the large pot above, which has been next to my back patio for four years. It is a microcosm, or micro-cosmos, of my interests over the time since it was placed. In it you can spot the gorgeous leaf lettuce Merlot that I’m growing this year, chickweed that I planted three years ago and which is self-seeding nicely, moringa that I started experimenting with last year (which, incidentally, wintered over in a pot that isn’t watered in the winter and survived a very cold winter,) Shirley poppies from four years ago when this pot was placed, and wild lettuce which seeds itself all over at my house and which I tolerate because I like it in cooked greens. My planned combinations haven’t come out nearly so well. Everything in this pot is edible; yes, even Shirley poppy leaves are fine in cooked greens. But it all happened through planting things, not weeding too assiduously, and seeing what happened. If you have a poor memory and are prone to planting things in spots where you already planted something else and then forgot about it, some further felicitous combinations will occur.
A linden planted for its edible leaves has a bird-sown wax current bush growing in its shade, bearing more heavily than its siblings in full sun. Bladder campion seeds itself into the shady north corner under the linden. Siberian elms, self-sown all over, can be coppiced for free goat feed. A bird-sown mulberry nearby can be coppiced for tender edible green shoots to use in cooked greens. Stinging nettles, struggling in the baking desert sun, root their way into the shade of the elm and mulberry coppices and begin to flourish. Stems of oyster mushrooms, dug into garden beds in the fall, produce a few nice oyster mushrooms in the shade of lettuce the following year. A single lambs-quarters is allowed to seed, and late-spring crops of mild and nutritious greens show up all around your intentional plantings for years. A Russian olive that grows smack in the middle of a garden bed despite years of cutting it back and cursing it, can be pruned into a support for climbing snow peas. A really poor clump of garlic at the base of a tree, left by the last owner, turns out to be indestructible through baking summers and perfect for green garlic. Scorzonera and wolfberries make some good food out of baking unimproved spots where you can’t get anything else to grow. A local non-edible legume, the desert bird-of-paradise, springs up and offers light shade to the wolfberry, giving it a new lease on life and more tender leaves that you can toss into greens mixtures. None of this is especially tidy, and the straight-row sort of gardener would never tolerate it. But for those of us who love a bit of natural mess and take our vegetables and our epiphanies where we can find them, it works.
18 May
Improvisational Cooking: Greens on the Table
I am always yapping on about eating more leafy greens, and periodically I like to write about how I put leafy greens on my own table. Here is a low-carb recipe that even greens-phobes tend to like, and leftovers make wonderful lunches and snacks. It is improvisational in nature and you can substitute at will: this is a skeleton recipe and you can flesh it out any way you like.
The basic ingredients are greens, alliums, flavoring leaves, oil, cream, eggs, nuts, seasonings, and cheese. The greens, alliums, and flavoring leaves can be varied endlessly, except that the bulk of the greens should be relatively mild.
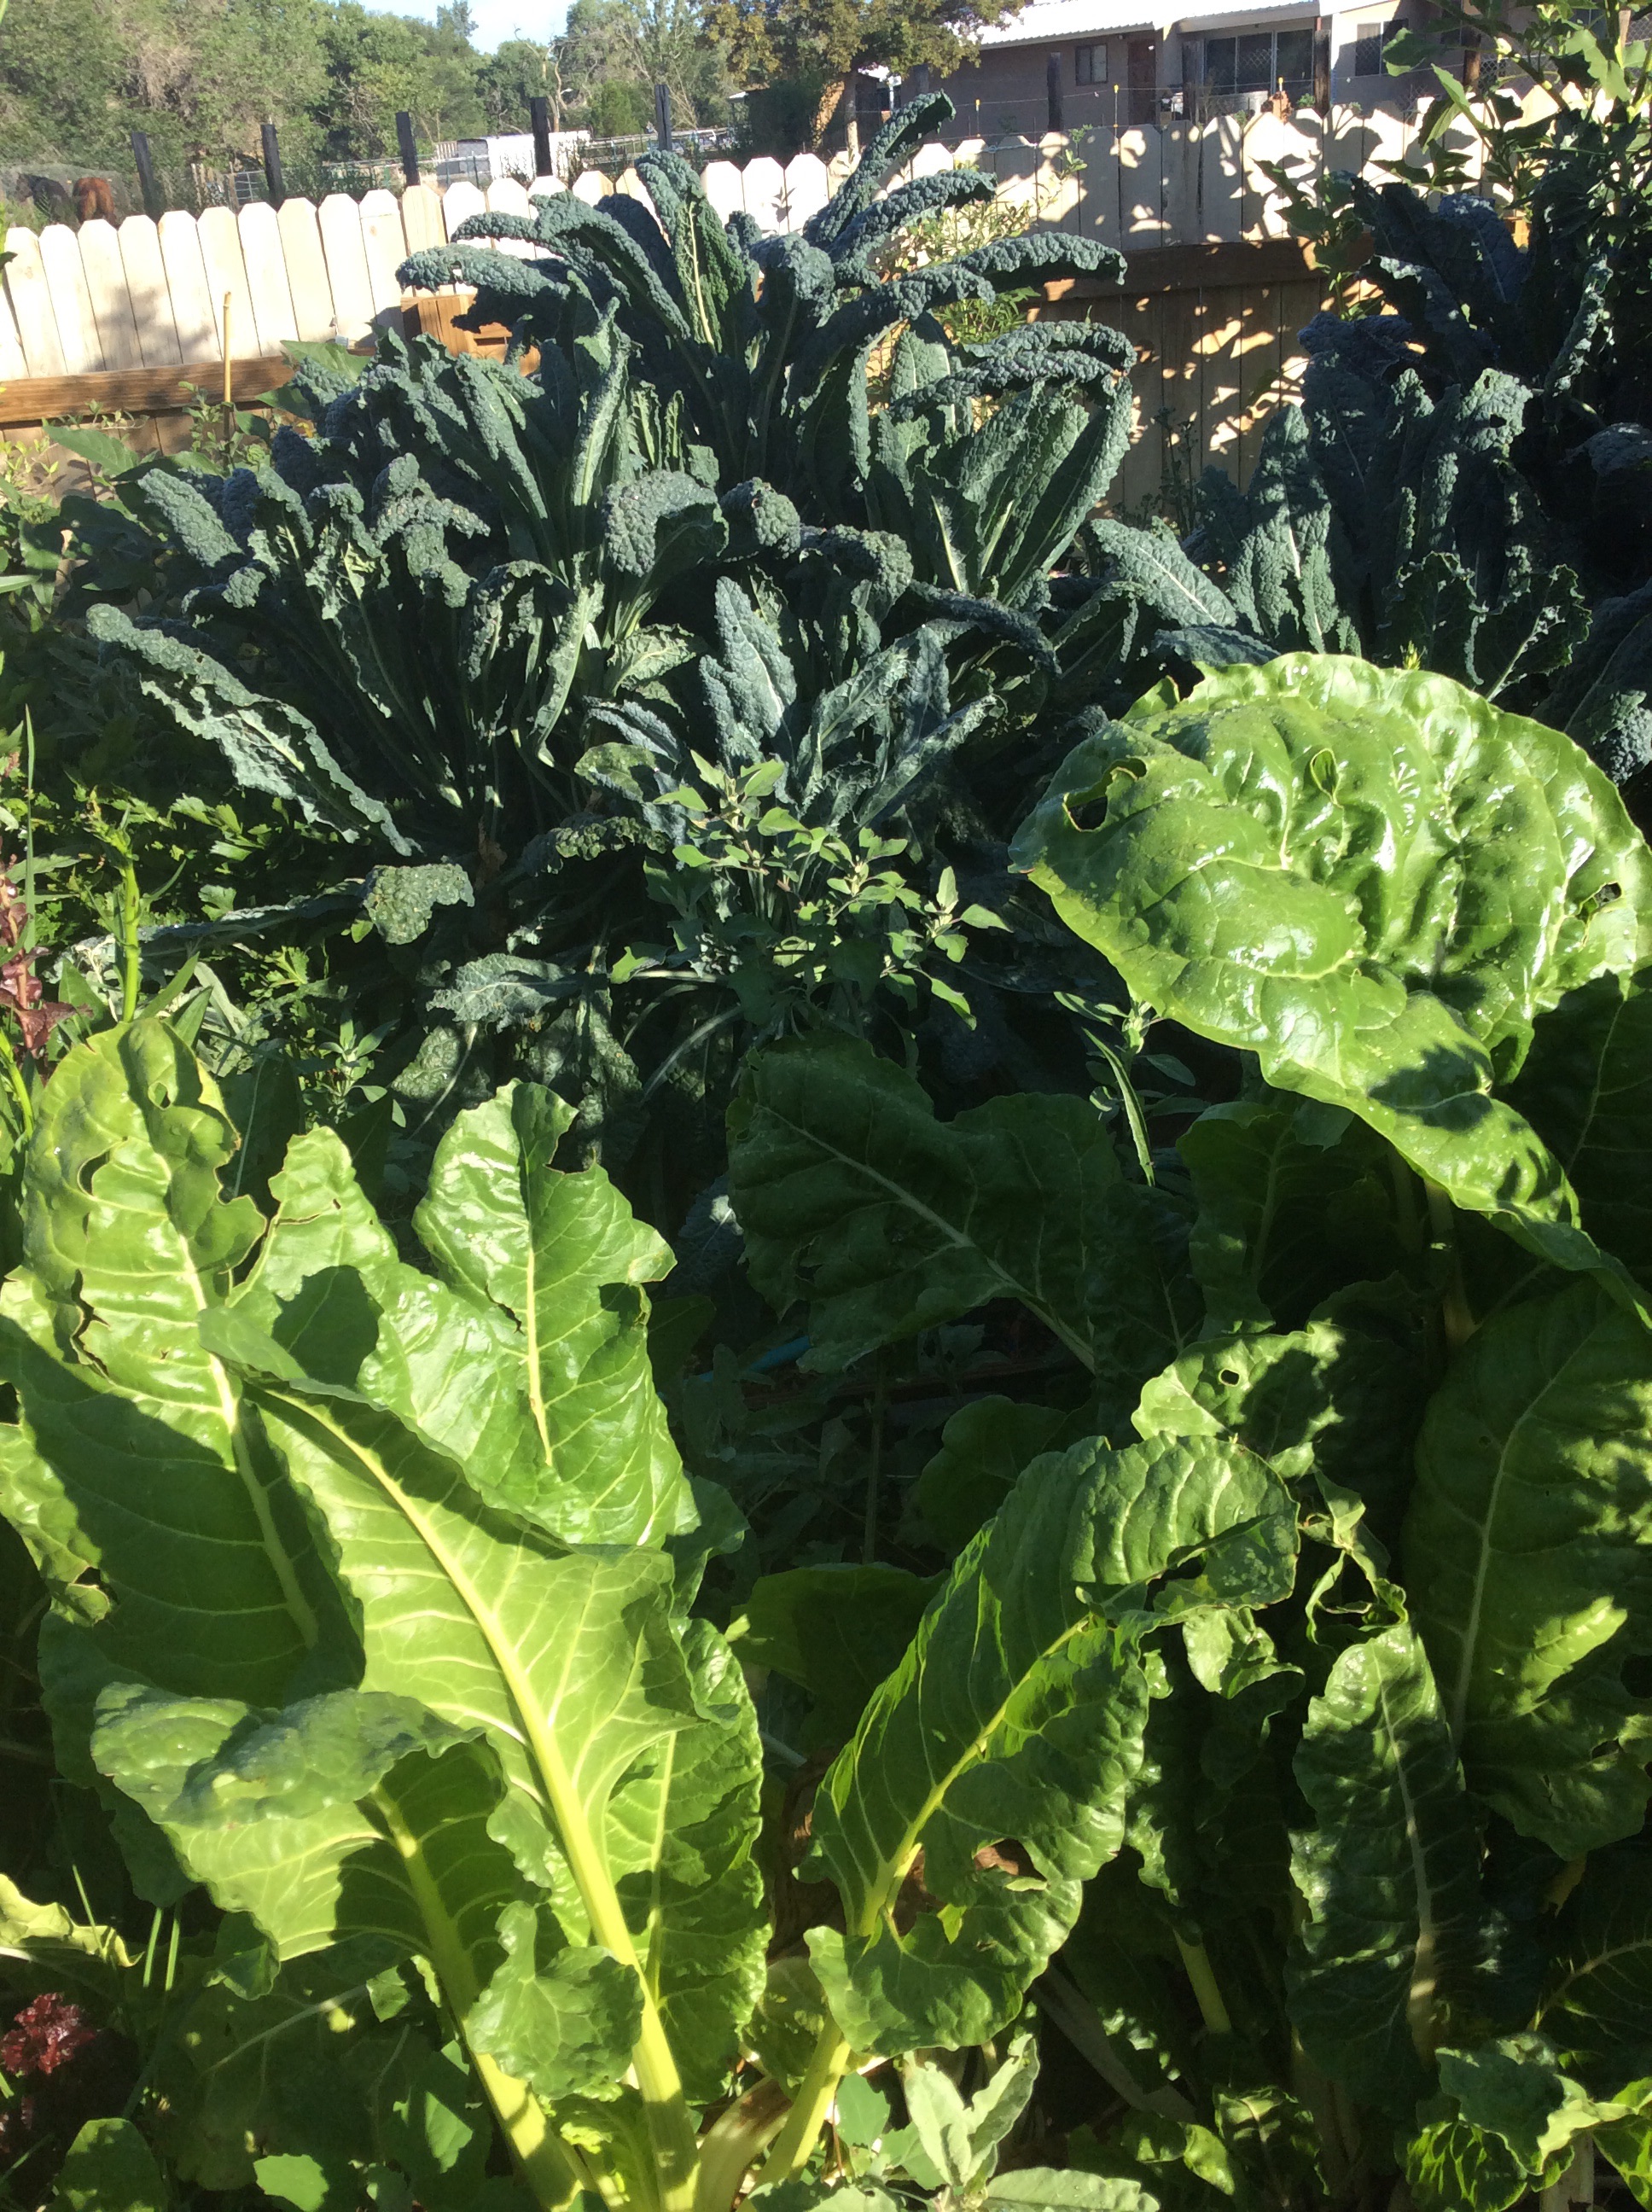
First, catch your greens. I carry a white plastic food-grade 3 gallon bucket out into the garden and pick it full, with the greens loosely thrown in and not packed down. Today I picked mostly lambs-quarters leaves, with some late spinach and early chard. If I was working from the farmer’s market or grocery store, I would choose a very large bunch of chard and Tuscan kale, and would tear out the large central midribs. Wash the greens twice. Grab them by handfuls and, on a BIG cutting board, chop them coarsely.
Second, decide on your alliums. Today I picked two big green onions and a couple of very big stalks of green garlic. If you don’t have a garden, a large onion and three cloves of garlic would work. You could use two cloves of garlic and two bundles of onion scapes from the farmer’s market. Shallots are good in the winter. Don’t use garlic scapes in this recipe, because the texture doesn’t work. Chop your alliums finely.
Third, consider your flavoring leaves. Think in terms of adding herbal, sharp, aromatic, and sour flavors. Today I picked several large young wine grape leaves for the sharp-sour note, a few leaves of lovage and a handful of parsley for green-herbal tones, and a few sprigs each of thyme and fennel for aromatic notes. Possibilities are endless. If working from the grocery store shelves, I would often choose a small bunch of parsley and some tarragon and thyme. Chop your flavoring leaves finely.
For the oil, I use top-notch extra virgin olive oil.
For the cream, I chose a can of coconut milk because I had one on hand, but heavy cream would do just as well, and if you insist on almond or cashew milk you can use that. You need a cup or a little more of your cream of choice.
For eggs, I use three whole eggs and nine egg yolks. Do be sure to get the best pastured eggs that you can get.
For nuts, I always use about half a cup of pine nuts. If you choose some other nut, chop them coarsely.
For seasonings, I used about a teaspoon each of red pepper and Urfa pepper flakes. I seldom vary this, just because I love this combination with greens. You may prefer freshly grated black pepper.
For the cheese, I nearly always use 6 ounces of finely grated Parmesan and eight ounces of the wonderful Mt. Vikos feta, crumbled.
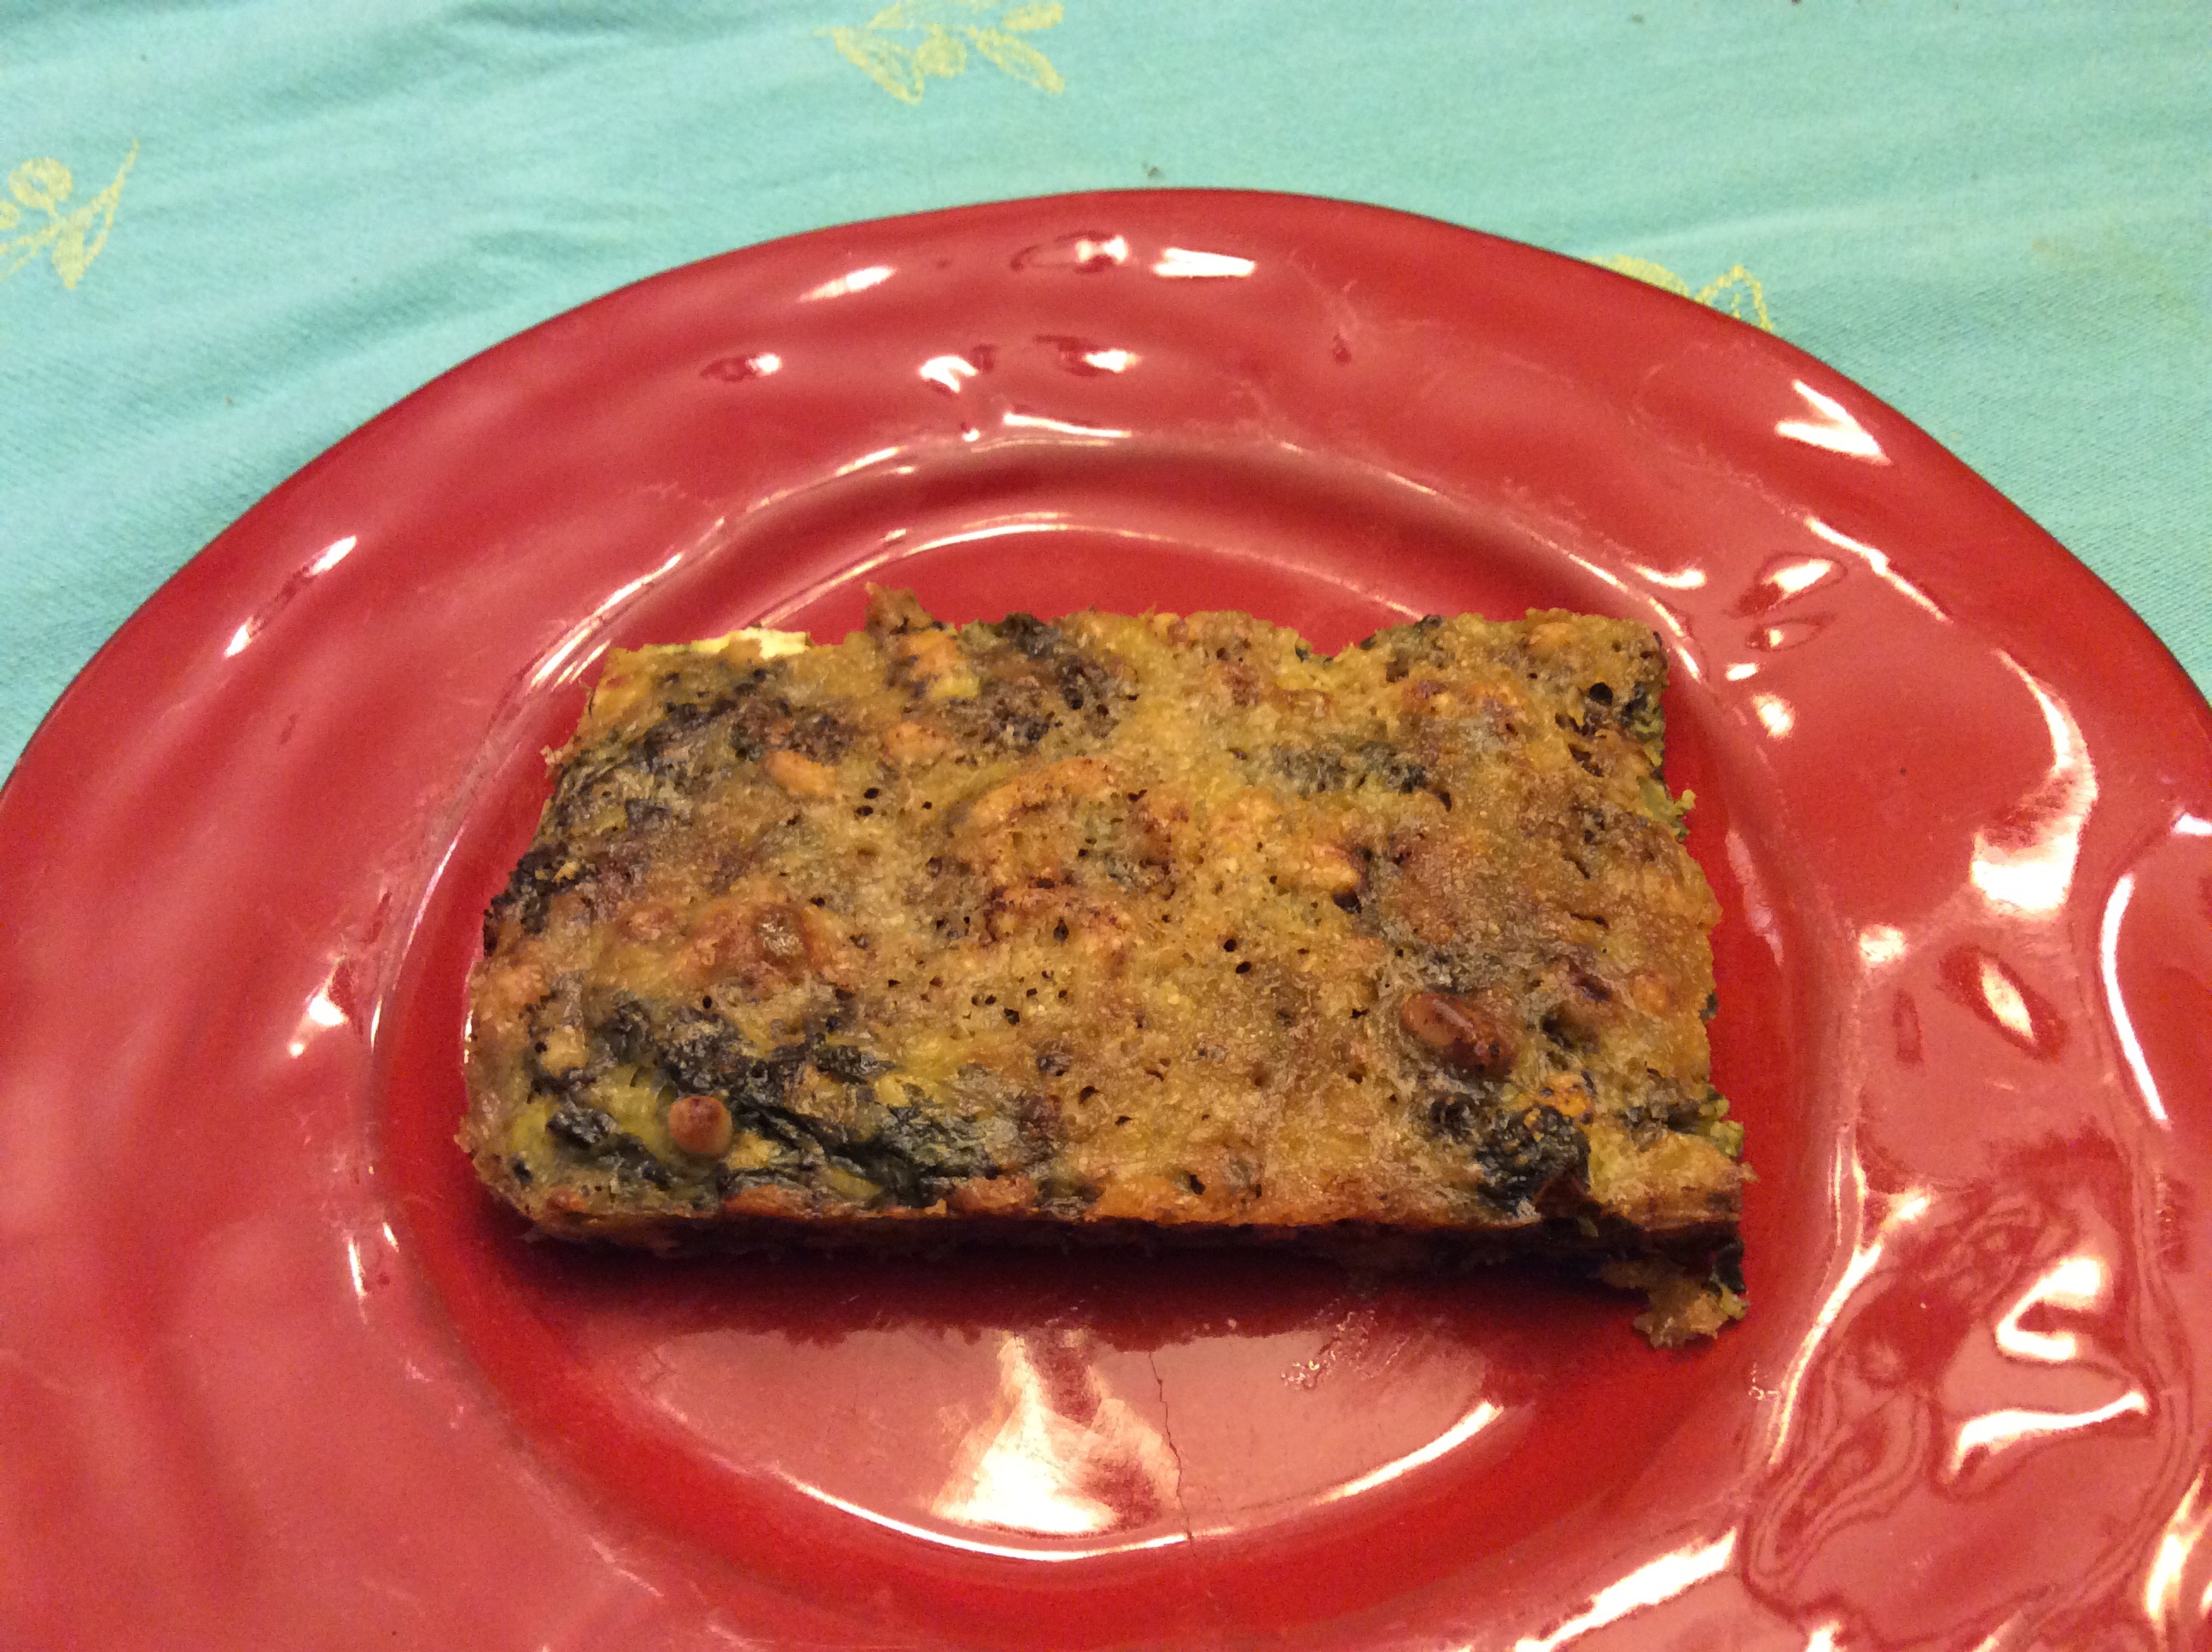
Having made your choices and prepared your ingredients, preheat the oven to 375 and generously grease a pan about 10 by 14 with olive oil. Sprinkle the bottom of the pan with some of the Parmesan. Beat the eggs and egg yolks together and salt them a bit.
Heat some olive oil, about a quarter cup, in your largest skillet and sauté the alliums until they are softening. Add the coarsely chopped greens and salt rather generously, and cook turning frequently and carefully as the greens shrink. Cook them 15 minutes or longer, until they taste good when you eat a bite, and then add the flavoring leaves and sauté about two more minutes. Now add the cream. Boil a minute and take them off the heat and let cool 10-15 minutes.
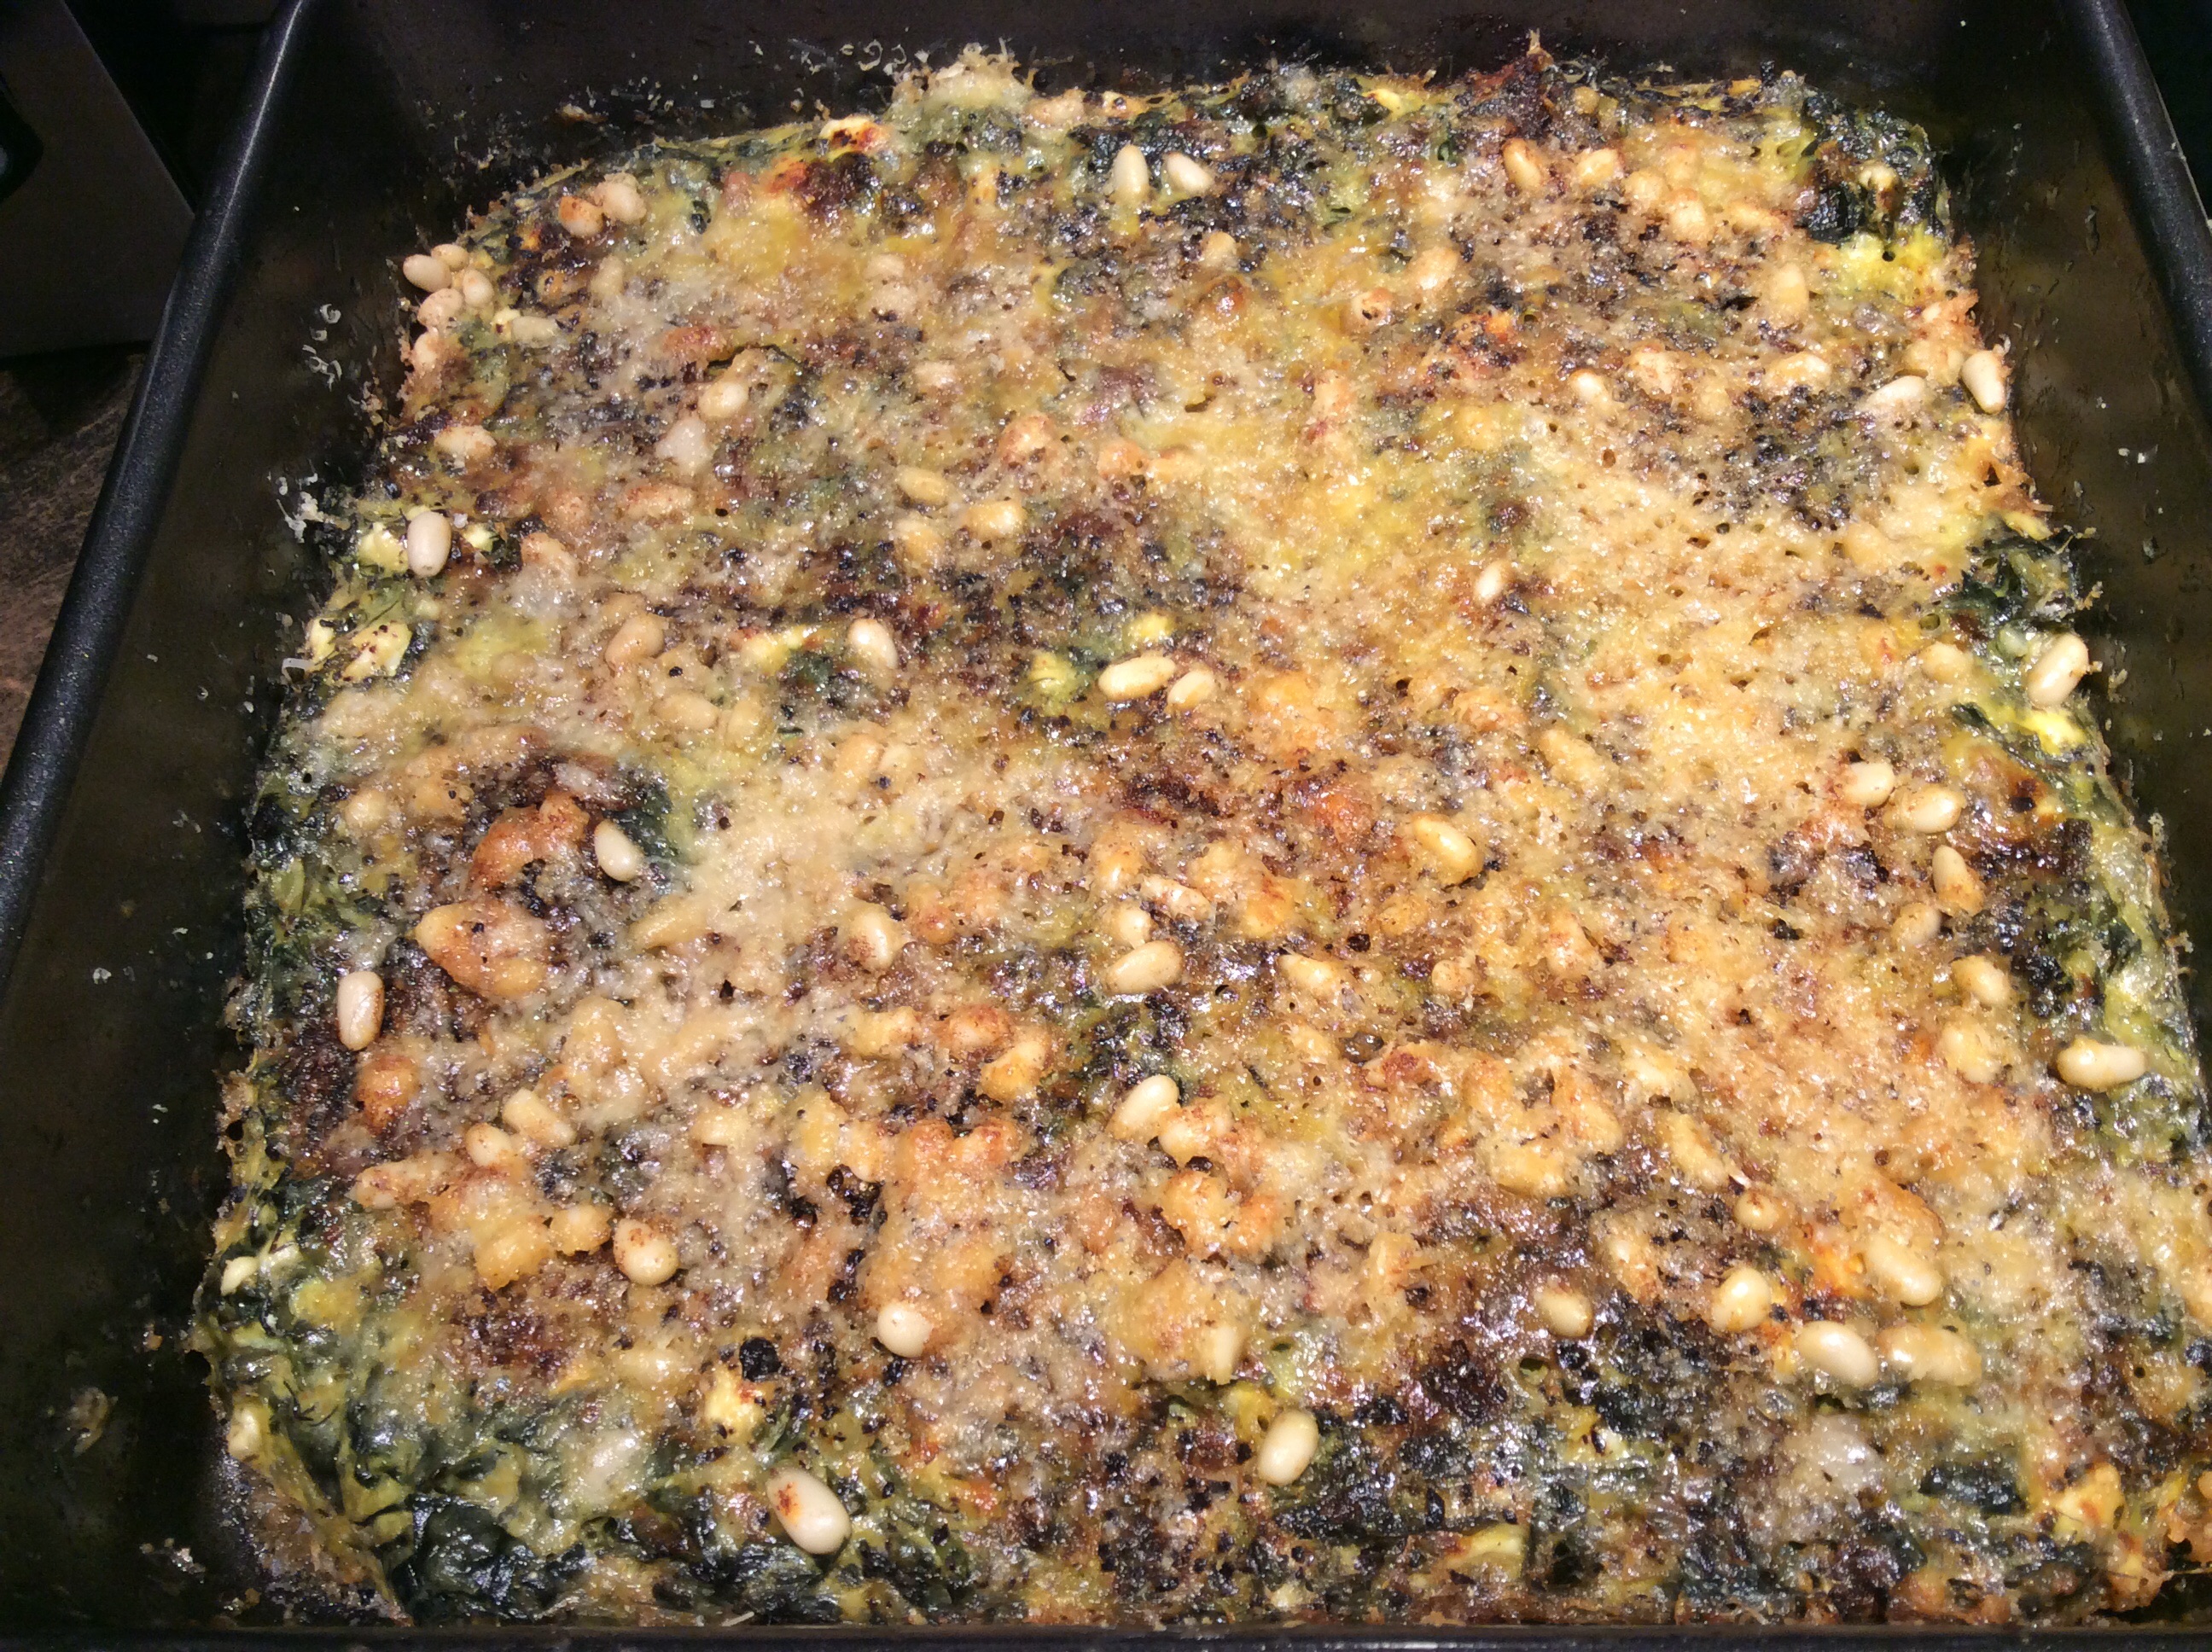
When the greens are just cool enough to handle, stir in the crumbled feta and then the beaten eggs and yolks. Spoon the mixture into the greased cheesed pan, smooth out a bit with a wooden spoon, and sprinkle with the red pepper and Urfa pepper flakes. Then sprinkle on the pine nuts, or whatever nuts you chose. Top with the rest of the Parmesan (I like to drizzle on a bit more olive oil, too) and bake at 375 until the mixture is firm and a knife tip comes out clean, about 18-20 minutes for me. then, if you like, run under the broiler until the top crisps a bit. Be careful not to burn the nuts. Let it cool a little and serve in generous squares, jam-packed with nutrition. Smaller squares could be used as a finger food.
28 Mar
A Succession of Lettuce
Gardeners tend to love the first salads of spring, and many of us long for greenhouses so that we can harvest all winter. But until I get the greenhouse of my dreams, I scheme about ways to have lettuce and salad fixings as early as possible.
This year I bought a roll of frost-blanket fabric from Johnny’s Selected Seeds, and on a bright day in early February I dug up my lettuce beds and pots, composted them heavily, and planted them with various lettuces, planting broadcast-style rather than in rows. Half of the garden bed of lettuce I covered with a double layer of frost-blanket, secured with stones as weights. The other half was left open to the elements, and some was planted in big black pots about 2 feet high but wasn’t protected in any other way.
I supplied them with water (no need to remove the frost-blanket to sprinkle that bed) and otherwise left them alone.
On March 28th, about 6 weeks later, here’s what the beds look like:
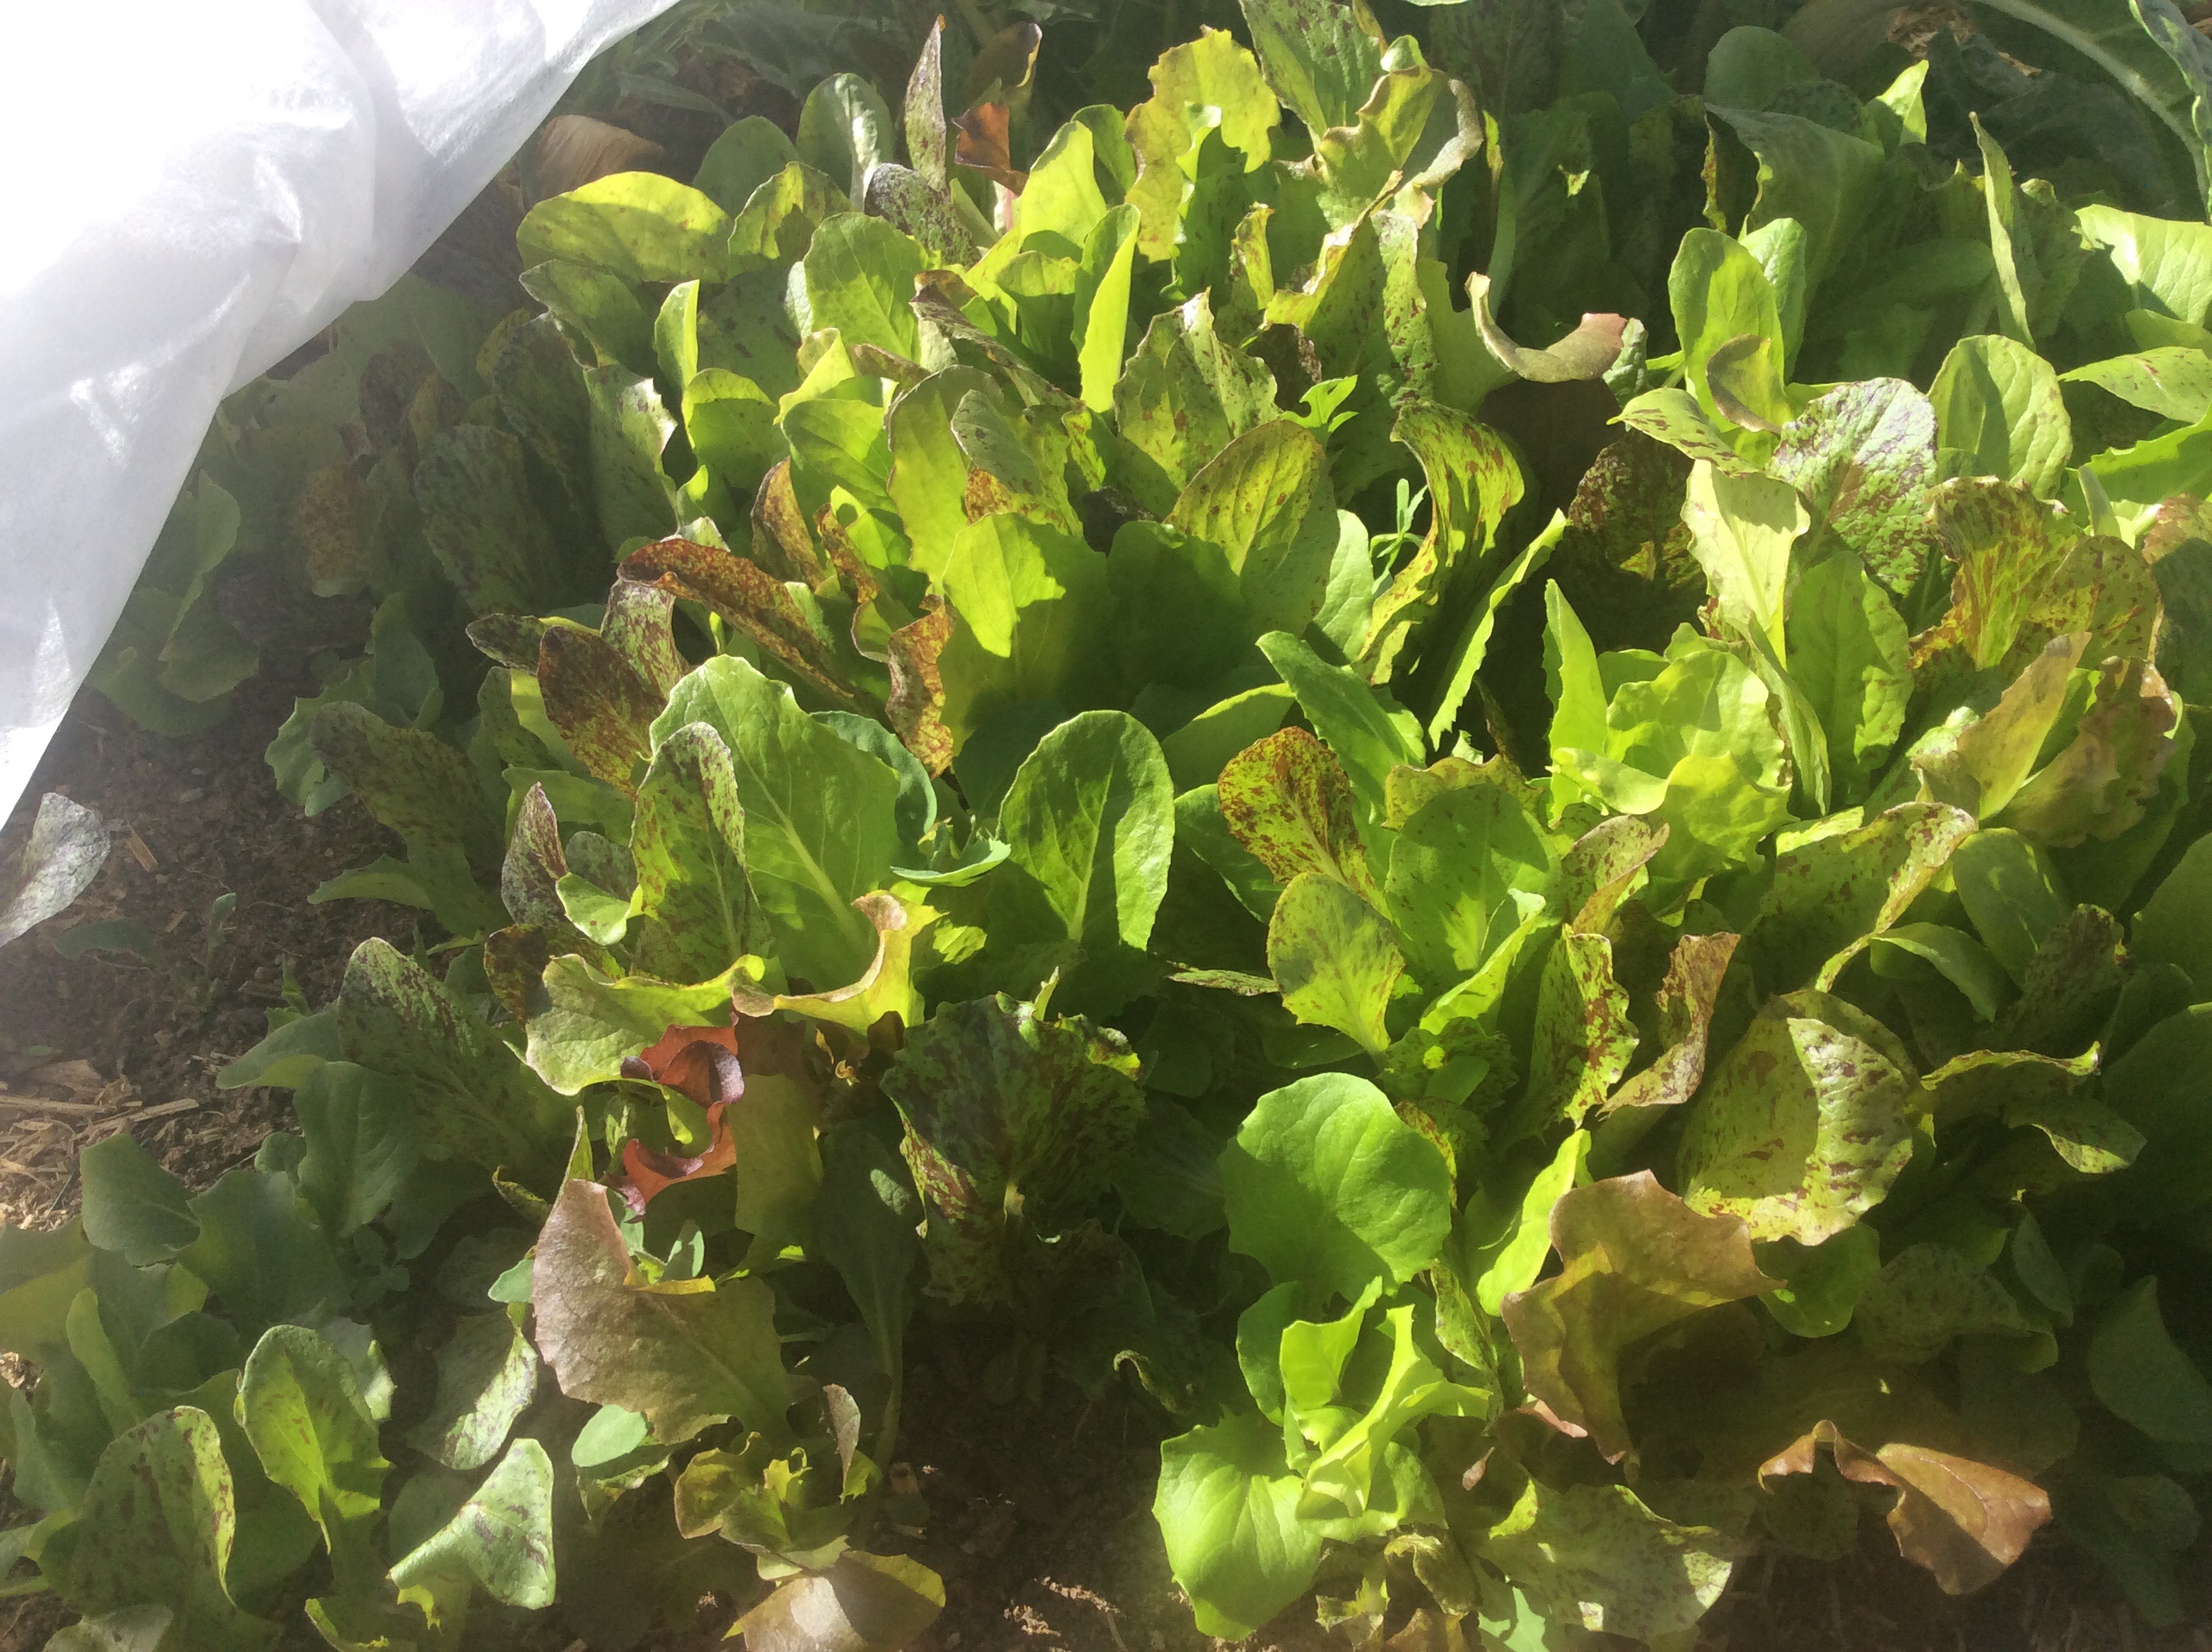
This bed was under the frost-blanket. The little lettuces are over 4 inches high, and harvesting can begin.
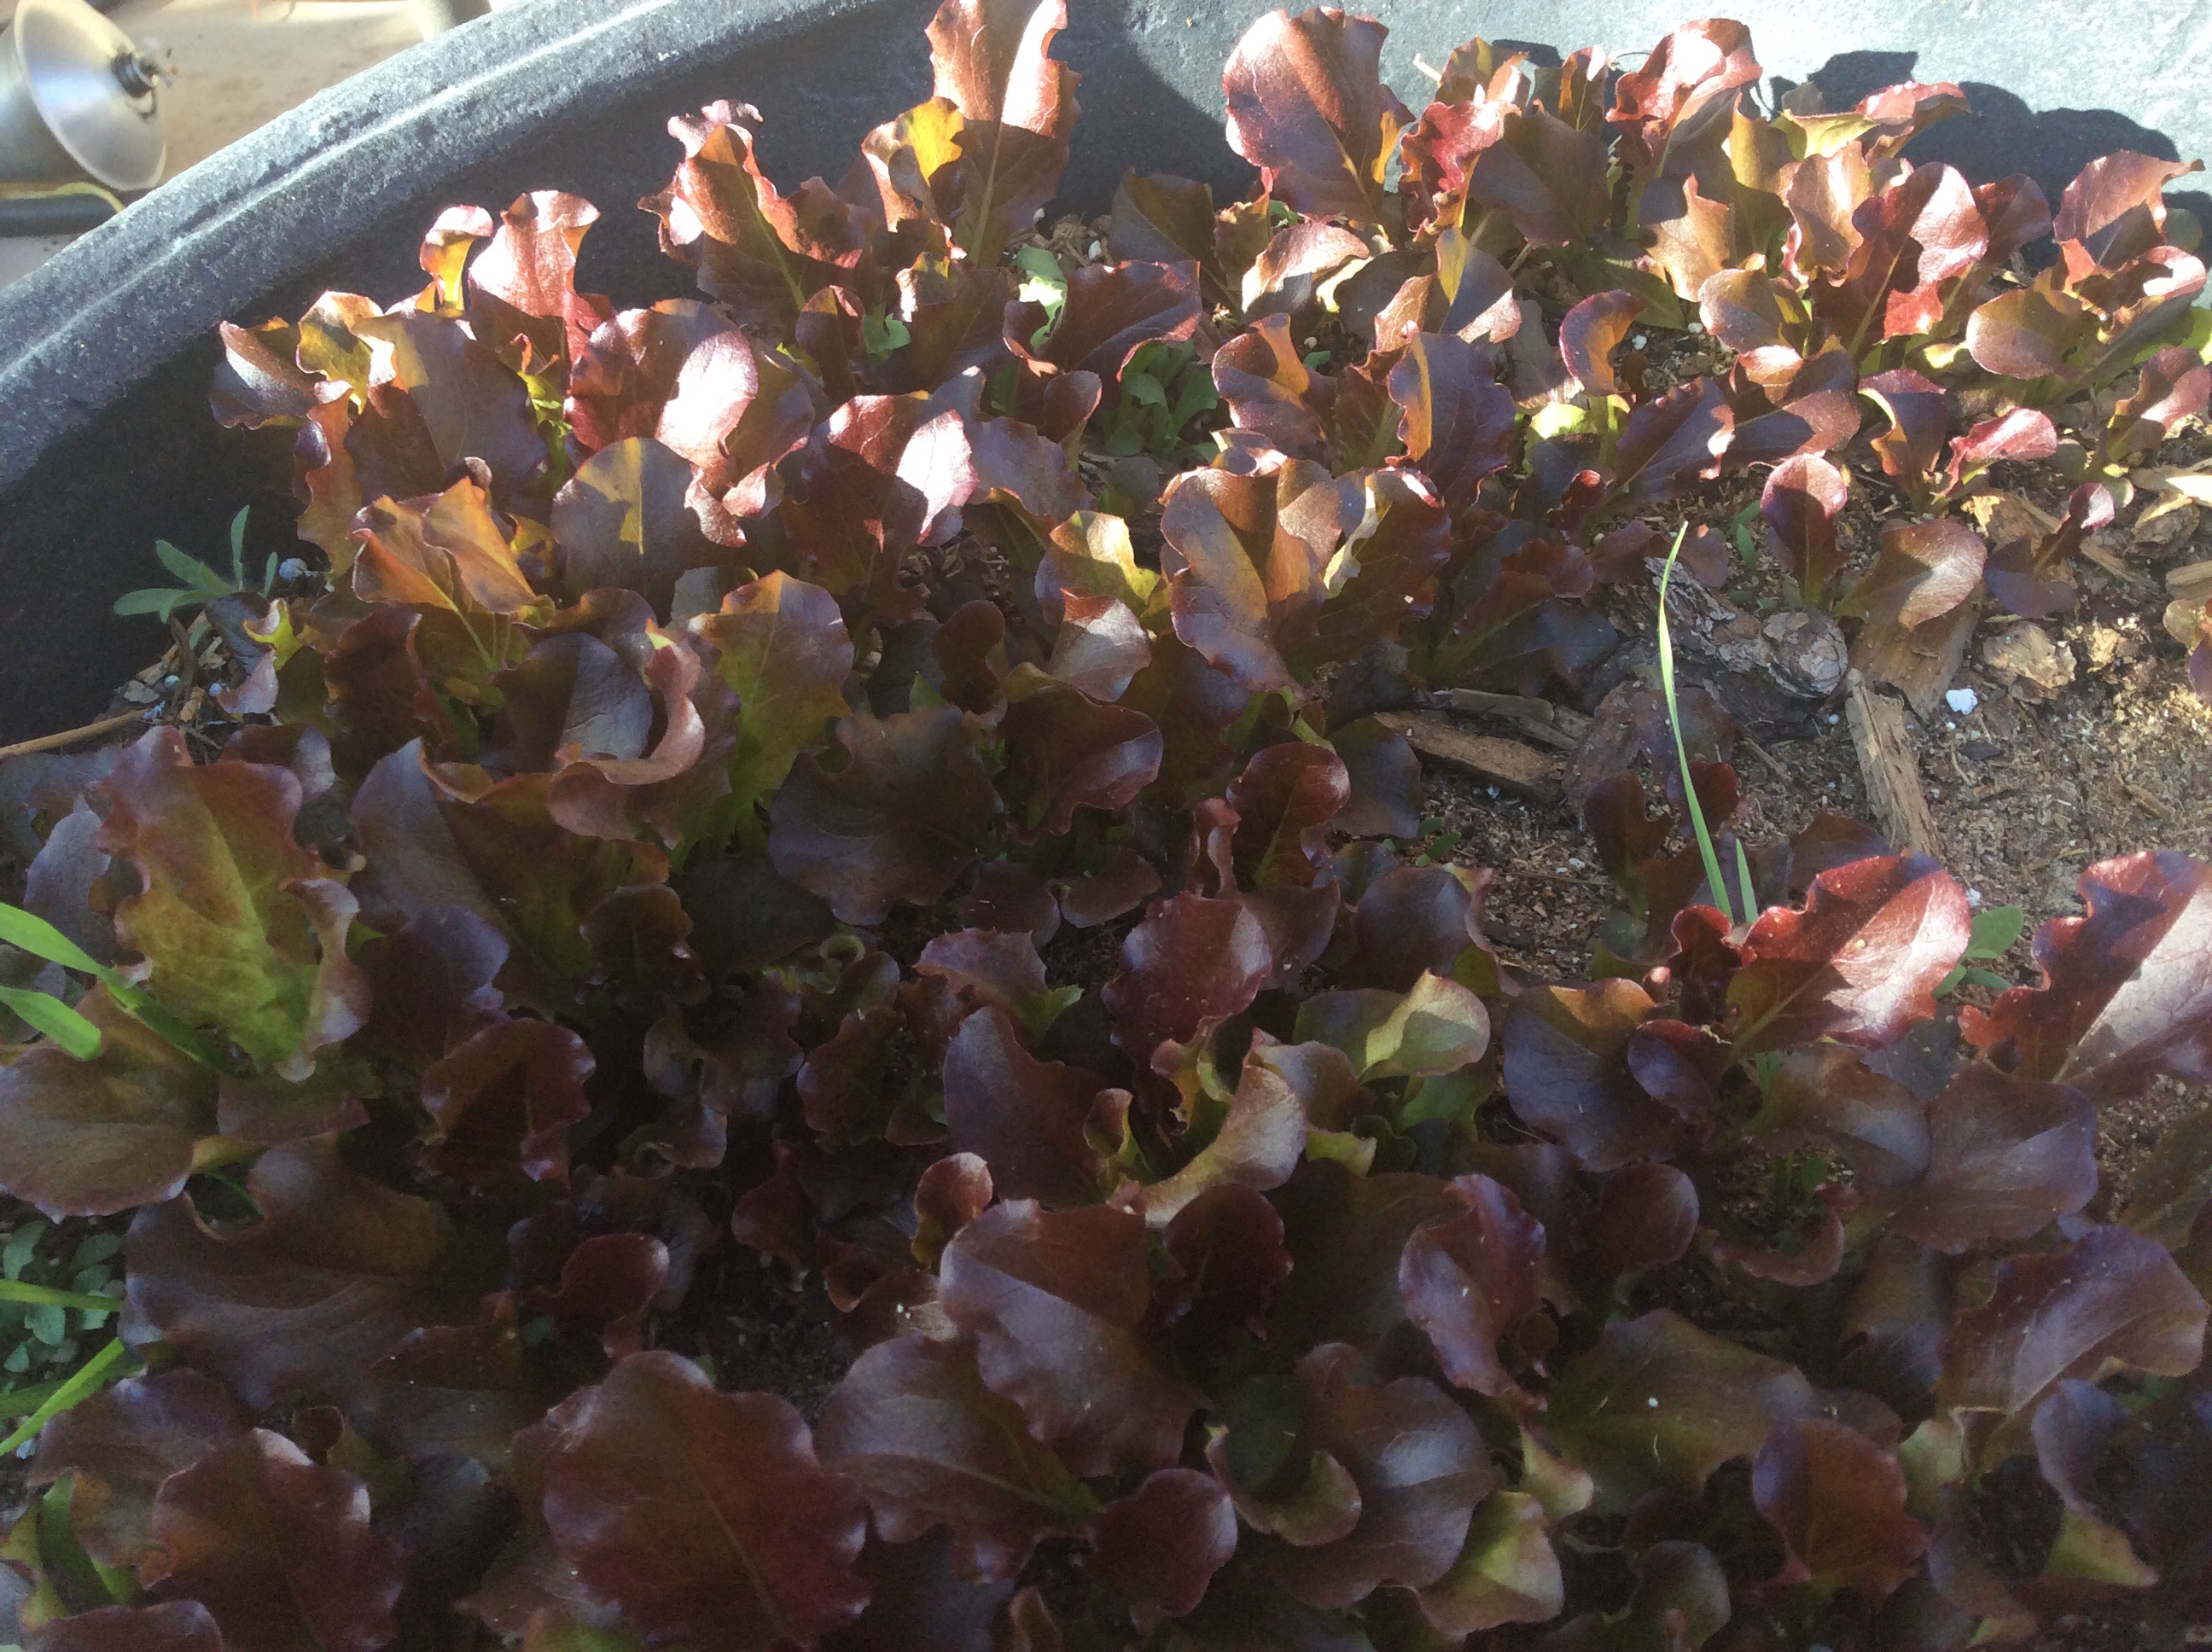
This one is in one of the large pots. The lettuce is about 2 inches high, and won’t be ready to harvest for a few weeks.
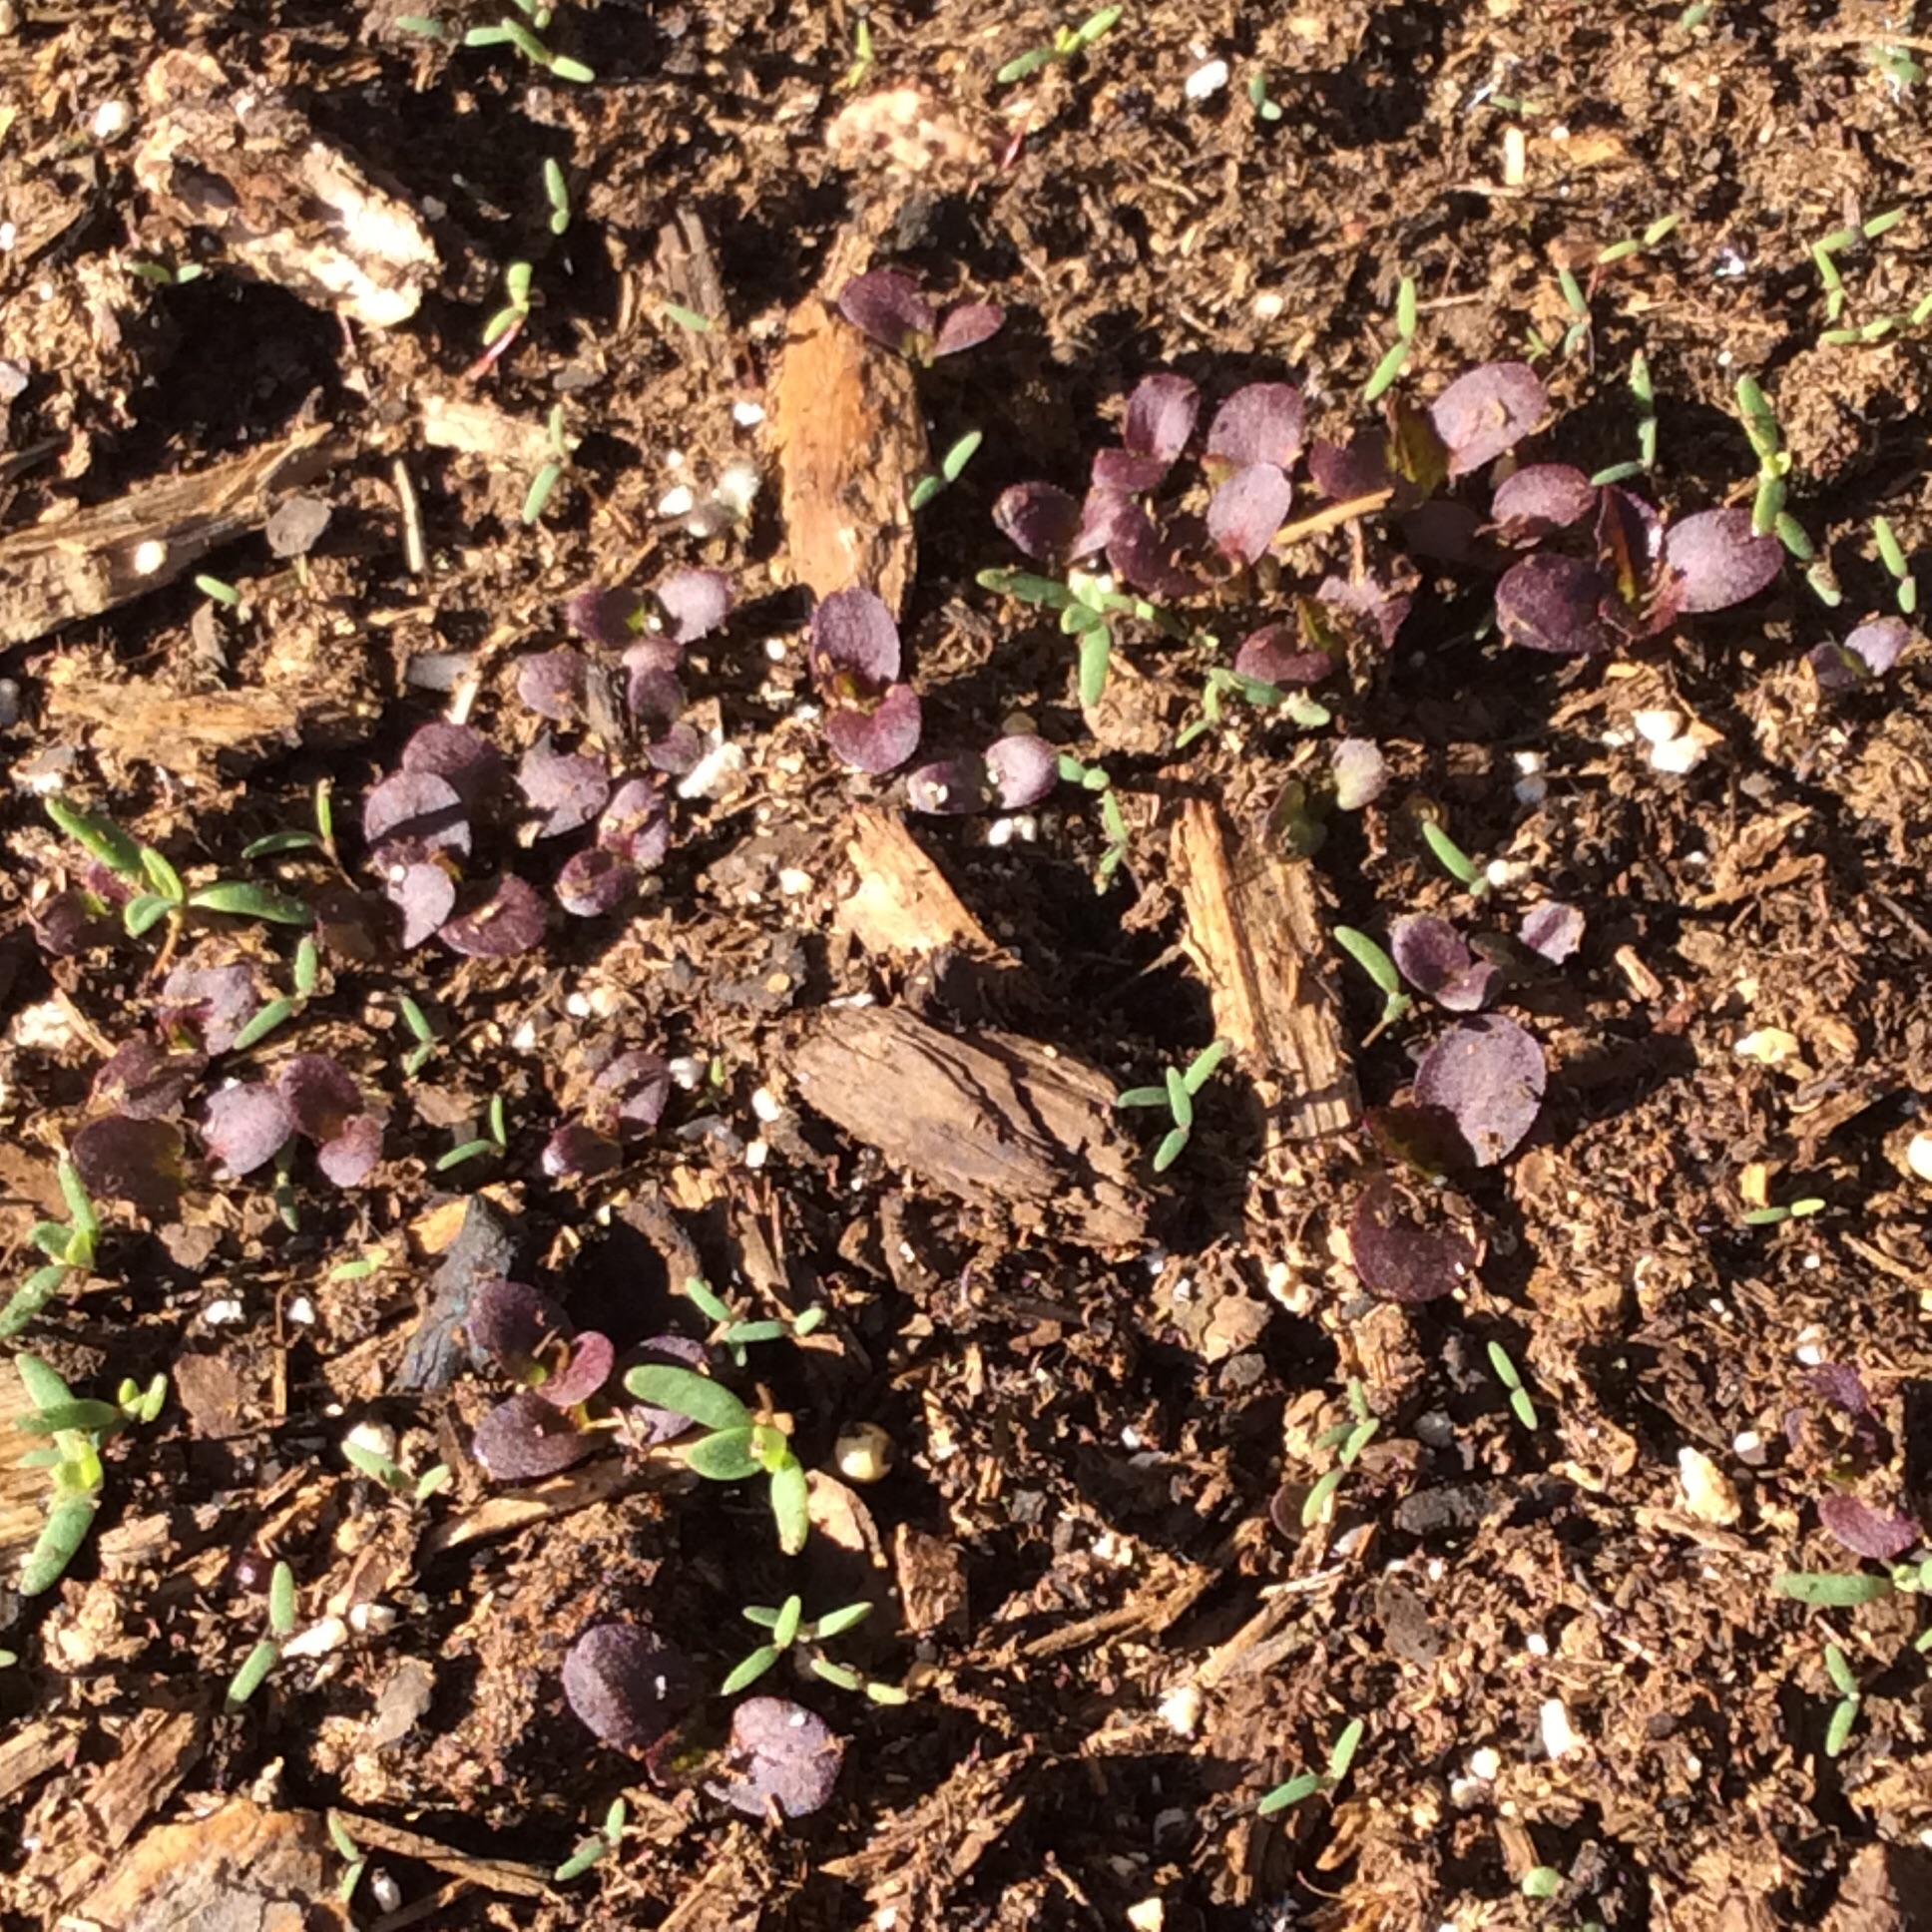
These are planted in the open ground. They have survived hard freezes and an 8″ snowfall and are very small, but undaunted.
From one afternoon of planting, I will be able to harvest lettuce from late March through May, with minimal effort. I will be doing this again next year, and will also plant a bed in October and try to hold it under frost blanket through the winter, to get a jump-started bed in the spring. We urban yard-farmers have day jobs and minimal free time, and this is one way to make the most of it.
