Archive for the ‘Nose-to-tail vegetables’ Category

Bold Scrambled Eggs, and Notes on Egyptian Onions

I love Indian food and cook it frequently, and I especially love the simple dishes that make quick meals in Indian homes. This is a cuisine that vegetarians should get to know well, since the population of India is about 40% vegetarian and vegetable dishes abound. But it can seem daunting to view the ingredient list of many Indian recipes, and the toasting and grinding of spices for each dish can require more time than is available.

So start with simple scrambled eggs. These are loaded with bold flavor, and easy to make. I lean low-carb so I eat them plain, but you can scoop them up with warm parathas or warmed-over naan from last night’s take-out, or pat out squash flatbread thin and use that. It’s always a good investment in your health to use the best eggs that you can lay hands on if you don’t keep your own hens. Check out the farmer’s market and get eggs from hens that have been fed a lot of greens, since bugs and leaves are a big part of the natural diet of a hen.

The only out-of-the-ordinary prep that you need to do is to toast some whole cumin seeds in a dry skillet just until they are fragrant and a little darker and then grind them in a spice grinder. In the summer I do a tablespoon at a time so that I always have a bit on hand, but don’t make too much because once toasted and ground it doesn’t stay fresh for long.

Be sure to add salt to the vegetables as they cook, as directed. This is part of getting them to soften properly and assures that they are seasoned through.

For two hungry people, you’ll need:

3 eggs and three egg yolks, or 4 eggs if you prefer, beaten a bit

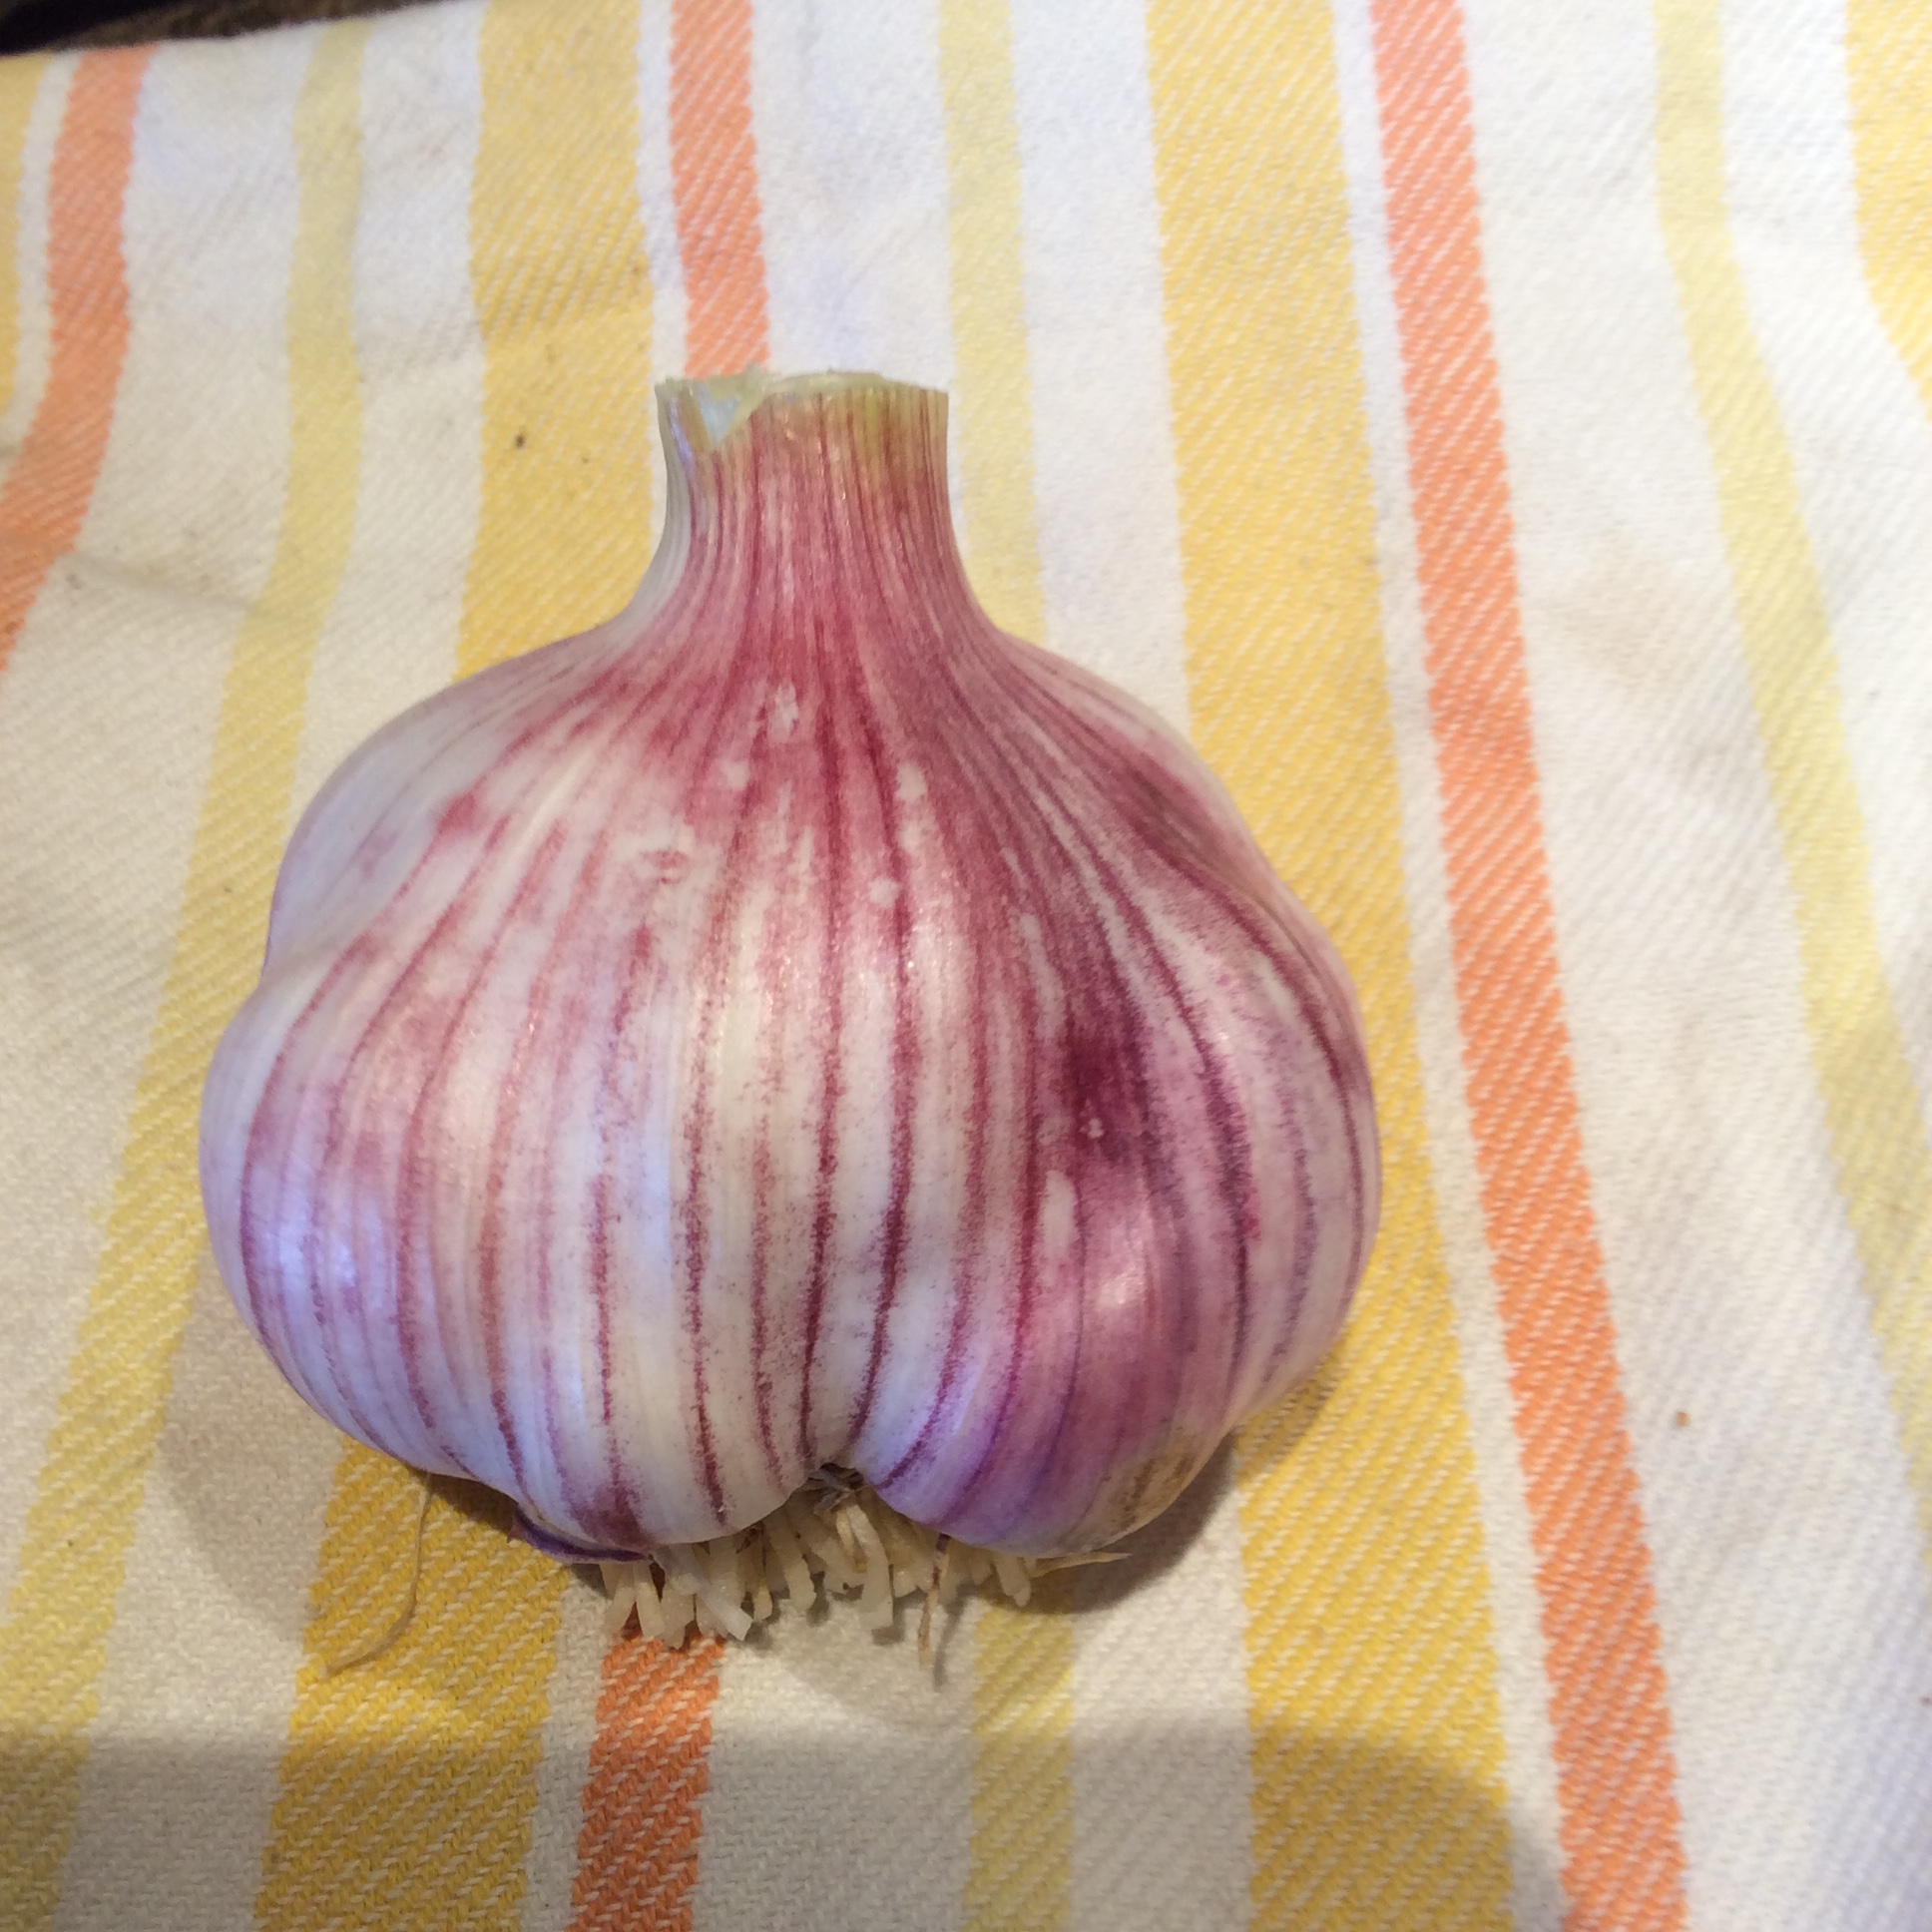
4 large green onions or a bunch of the little grocery store type, cut in 1/4″ slices crosswise, whites and greens kept separate

Ghee, 2-3 tablespoons, or neutral oil of your preference

one small bunch of cilantro, washed and chopped finely crosswise, stems and leafy parts kept separate

one teaspoon of ground toasted cumin seed

Heat the ghee in a skillet, and add the white parts of the green onions with a good pinch of salt and sauté over medium-high heat until cooked through but not browned. Add the onion greens and the cilantro stems and another small pinch of salt and cook until the onion greens look softened; taste one to be sure that they have become pleasant to eat. Add the beaten eggs and yolks and cook, turning over with a spatula, until they are cooked to your preference. Taste for salt and add more if indicated. Add half the cilantro leaves and the toasted ground cumin to the pan and stir to distribute, serve, and top with the remaining cilantro leaves.

This is great as part of an Indian brunch for two as shown above, or by itself as a quick easy meal that can be on the plate in 15 minutes if you have the ingredients handy. You can also make a mini version in your smallest skillet with one big green onion, a few stalks of cilantro, and one egg, if you aren’t hungry enough for a meal but want a nutritious snack.

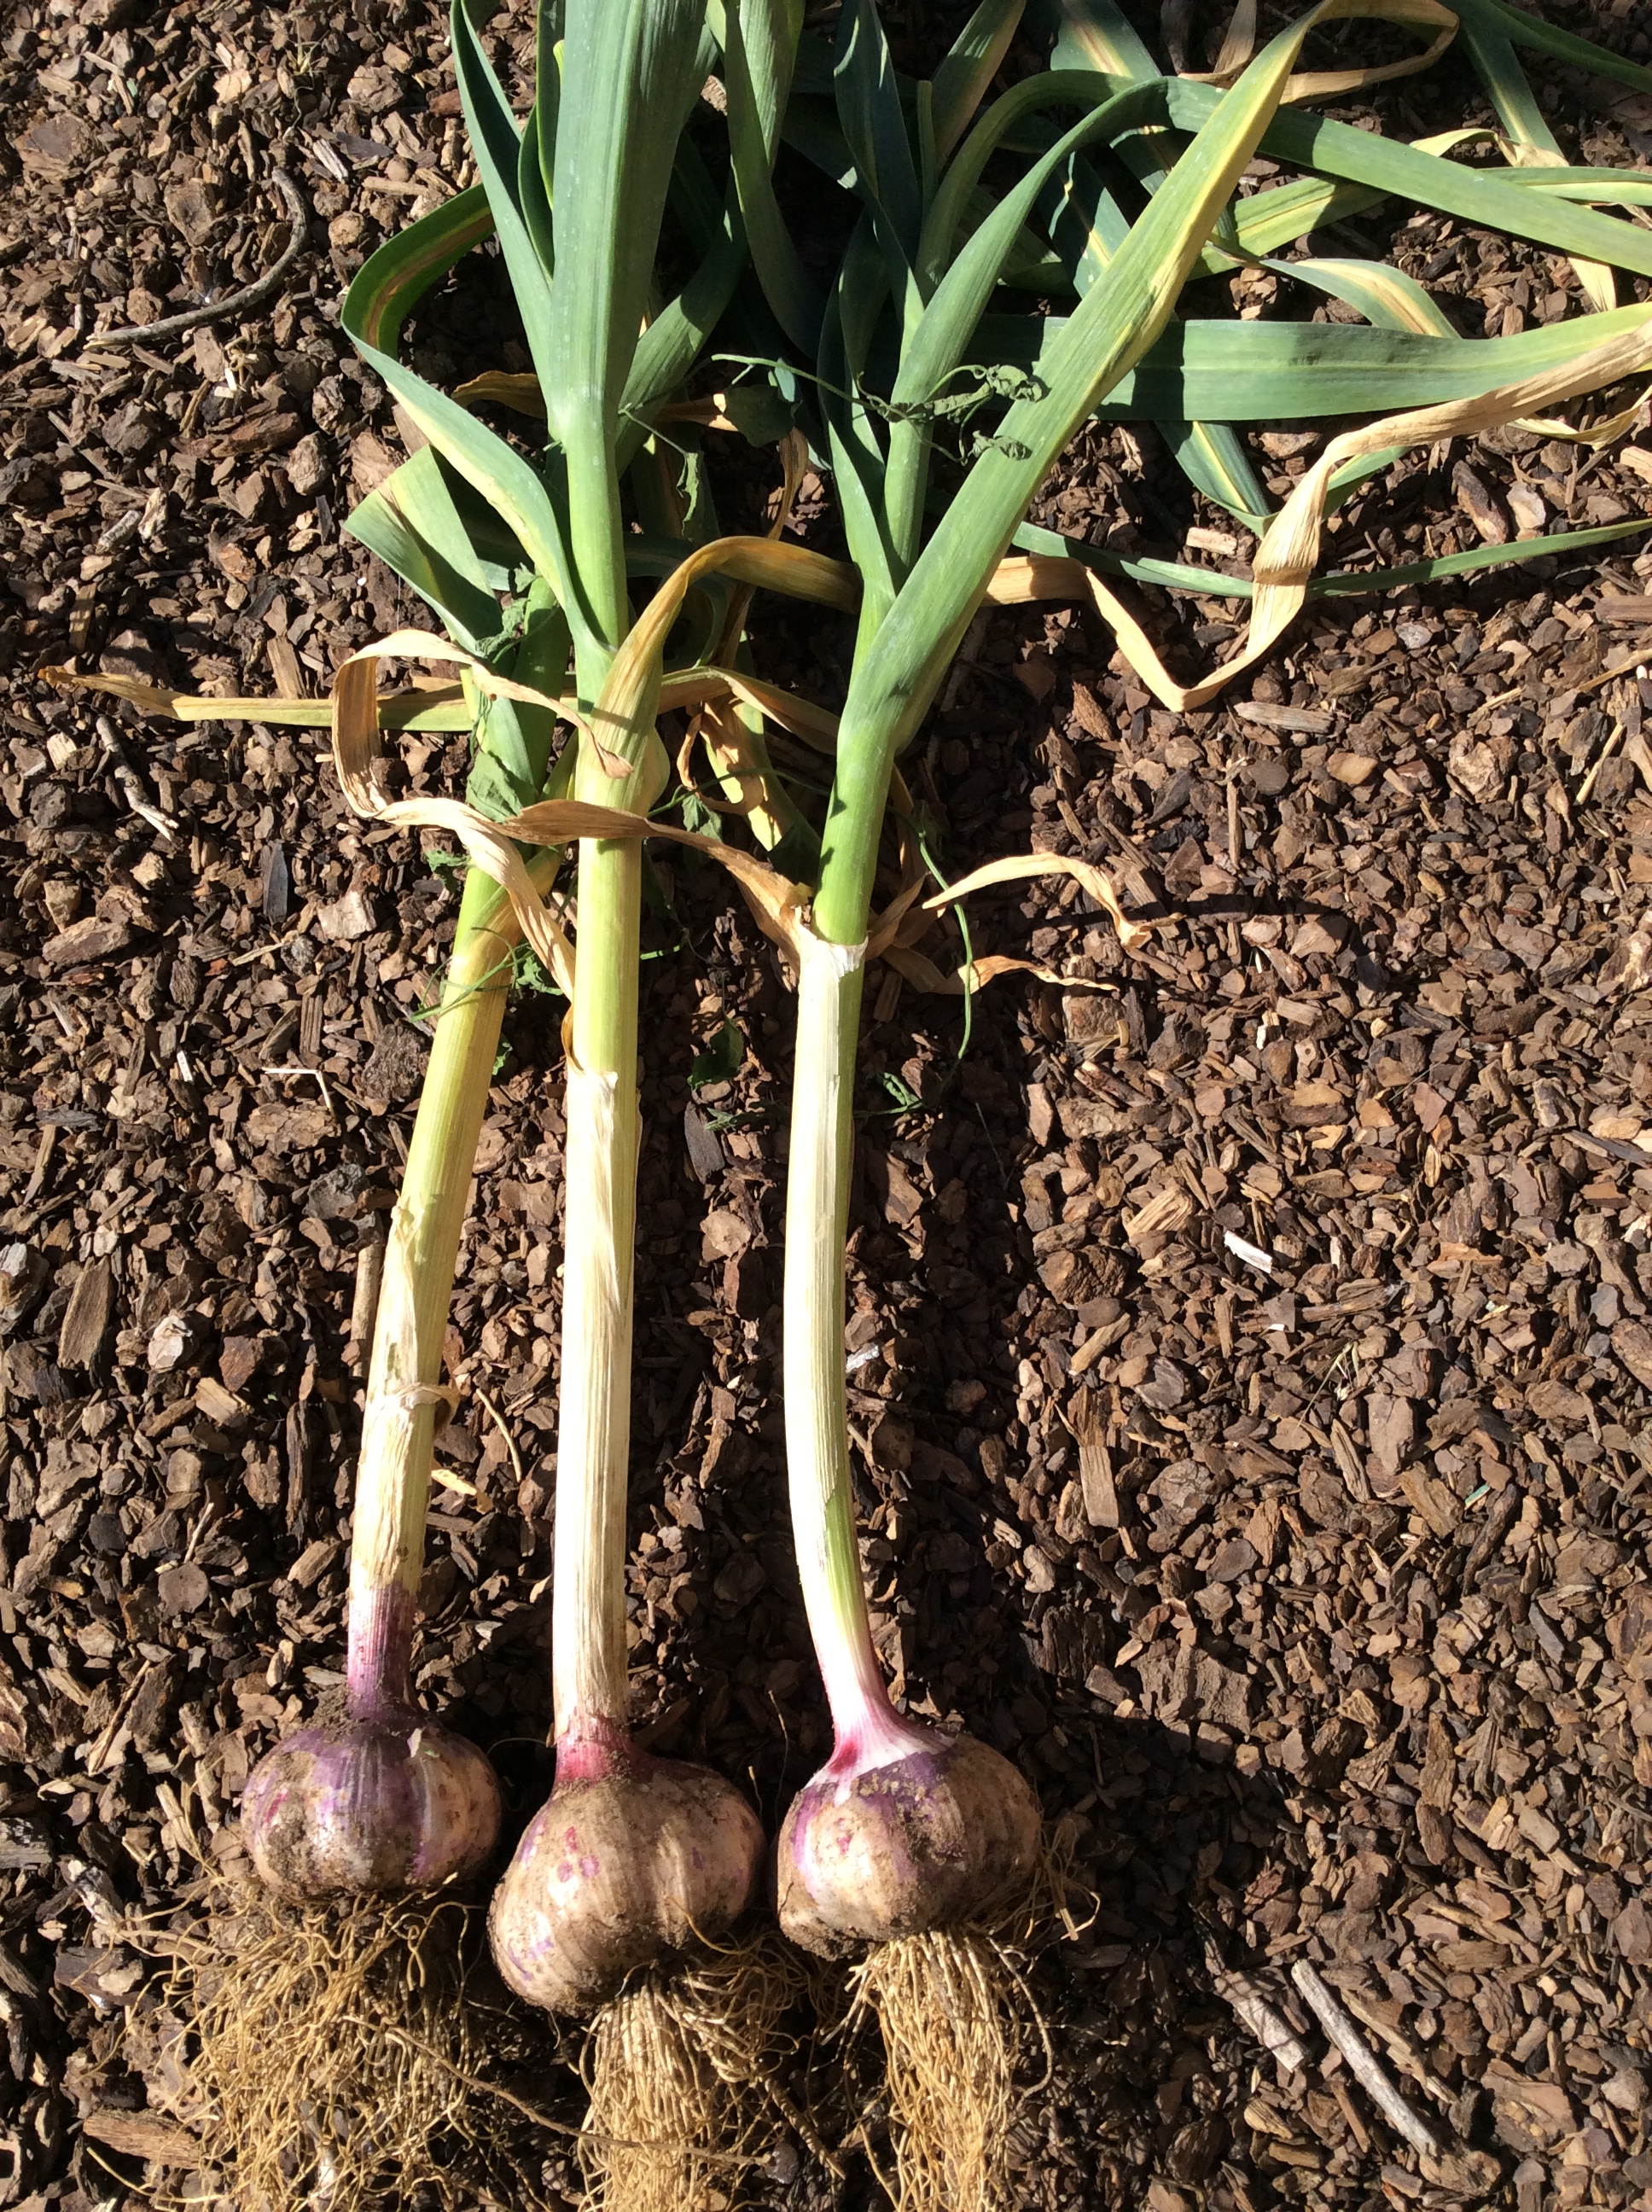
If you love green onions and want to have them around throughout the growing season, my blogging friend Luke has helped me figure out how to do it with Egyptian, or walking, onions. Once you have these sturdy onions, you have them. To get started, I ordered a hundred top-set bulbs off Etsy one fall when they were plentiful. It’s a bit of an investment by gardening standards, but it’s a one-time thing. Choose an area with good rich soil that gets plenty of sun and water. When the top set bulbs arrive, plant 20 of them and keep the rest in a cool dry place well away from direct sun, with excellent air circulation. No plastic bags. The following spring, when the ones you planted in the fall are about 6″ high, plant 20 more. Keep going in like fashion until you have succession-planted them all. If I notice the ones in the storage box sprouting, I put the box in the refrigerator until they are all planted.
When the fall planting is over a foot tall, but has not yet sent up the tough inedible central stalk that forms the top bulbs, start harvesting. This is important: snap or cut them at the soil surface rather than pulling them out. The bulb and roots that you left in the ground will sprout a few new green onions for later in the year. After managing your patch this way for a year, they will get so thick that they are pretty well defended against weeds and you will need to start pulling some out by the roots to prevent overcrowding. At that point, you can also start deciding when to let some go long enough to form top bulbs, and you can either start a new succession bed or give them to a friend who wants to try it.
At this point I let mine perpetuate themselves from the ground and rarely let them form topsets. I keep two smaller beds, one in full sun and one in partial shade, and they yield at different times and keep a fairly good succession going with minimal input from me except harvesting and cooking.

I do top-dress periodically with well-rotted goat manure and kelp meal. I’m a great believer in kelp meal, for bringing back onto the land some of the trace minerals that we washed off it into the ocean. I strongly prefer the organic Icelandic kelp meal from Thorvin, because it is harvested from an area of the ocean tested for heavy metals and some of the other nasties that we are washing into the water. I don’t want a closed system on my tiny urban farm, because any trace mineral deficiencies that existed wouldn’t get corrected. The Thorvin meal would get pretty expensive on a commercial scale, but for the small urban homesteader it’s a healthy investment. I also use it generously as a supplement for my chickens and goat. For the chickens I mix some into any moist food that they like to eat, such as any leftover cooked greens or wilted salads, and for the goat I mix it with organic blackstrap molasses to make a treat that she will trample me to get.


Harvesting Garlic

In a way the title of this post is very inaccurate, because I have been “harvesting garlic” since February  in the form of green garlic. But this is the time of year when I start to pull bulbs, because the extremely early Chinese Pink comes out of the ground now. So this is a good time to say something about the curing of garlic.

First, the variety matters. Chinese Pink doesn’t last that long for me and is mainly to tide me over until the main crop comes in, since it’s a good six weeks earlier than any other type that I grow.

Second, harvest at the right time. Watch for yellowing, withering leaves. Generally I harvest when there are four green leaves left, but Chinese Pink is prone to splitting and needs to be harvested earlier, when about the four lowest leaves are yellow. The picture below shows “split” garlic which has been left in the ground too long. It’s still useful but harder to peel and clean.

Third, DON’T cut off the stalks. The curing bulbs draw nourishment from the remaining leaves. Do, however, remove any bloomscapes. Also leave the roots intact but shake off soil. Brush loose dirt off the bulbs.

Fourth, DON’T leave them lying in the sun, where they will “cook” and be spoiled. After pulling the plants, lay them in single layers on a dry surface (I use flattened corrugated cardboard boxes that will later go into sheet mulch) and put out of direct light in a place with good air circulation. Leave for two weeks, turning the bulbs occasionally.

Now cut the withered tops off unless you grew a softneck garlic and want to make braids. My favorite types are all hardneck so no braids for me. The remaining surface dirt is now dry and can be brushed off with a soft brush, but don’t get fanatical with the brushing because you can damage the wrapper and impair the bulb’s ability to keep. Leave in the dim airy place and bring a few bulbs at a time into the kitchen.

When ready for curing, they will look like the picture below. Later on when you clean them up and bring them into the kitchen, they will look like the picture at the top of this post.

Before you start using your garlic, be sure to set aside the largest and best bulbs with the largest cloves for replanting.

Use your garlic.  A lot. This is the fresh clean-flavored garlic that makes recipes like Chicken with 40 Cloves of Garlic or Chicken with Fennel, Pernod, and Garlic such a pleasure to eat. Confit some and enjoy it on toasted sourdough bread or crackers, or alongside roast chicken, or in pepperonata. To confit garlic, peel a quart’s worth of cloves, put in a small heavy saucepan, cover with good extra virgin olive oil and add a heaping teaspoon of sea salt, bring to a simmer, and simmer slowly over low heat with an occasional gentle stir until the cloves just hold their shape but are soft and can be crushed easily with a spoon. If there is any hard “core,” keep simmering. Cool and store in a jar in the refrigerator. Be sure to keep the cloves covered with olive oil and it will keep a month or more. The confiting oil is a treasure, great in dressings or for drizzling.

The image of chicken and garlic above was borrowed from Food 52, my favorite cooking site.

For a far more detailed take on garlic curing and storage, review this excellent PDF from Boundary Garlic Farm.

Milkweed, For People and Others


People who live in wetter climates would be surprised, and probably amused, to learn what efforts I’ve made to have common weeds like nettles, burdock, chickweed, and milkweed grow on my property. Common milkweed, Asclepius syraica, has been especially difficult because it really does like moist soil and doesn’t tolerate “dry feet” or alkalinity gracefully.  It took a couple of tries before I got any to germinate, and now I finally have a few plants, which have to be watered and tended and fussed over as if they were orchids until they get stronger. I had to borrow photos because my own milkweed is still a bit on the spindly side.

One might well wonder why I bother. One reason is that I like to eat milkweed, especially the young seed pods, but the shoots and buds are just fine too. It’s a true nose-to-tail vegetable. Another is that I am transitioning from annual veggies to perennial wherever possible, and A. syraica is a good useful perennial that doesn’t require soil disturbance to grow. A third reason is that the flowers are fairly ornamental and send out a cloud of perfume reminiscent of flowery vanilla.

A fourth reason can be seen on this map:

Monarch migration

Notice how the sightings in New Mexico just peter out, while the ones in wetter areas east and west continue northward. Compare this to the maps on the same site for larvae and for milkweed. The migration of monarch butterflies from Mexico to the northern US is a migration of generations. The butterfly that arrives in Montana may be great-great-grandchild to the butterfly that flew north from Michoacon. All along the way they need breeding habitat, and their larvae feed on A. syraica and a couple of other closely related milkweed species. The leg of the journey through desert northern Mexico and southern New Mexico is a barren one, and a few milkweed oases along the way might help more monarchs make it to Colorado and further north. I can’t guarantee it, of course, but it seems worth a try. Adult monarchs will sip nectar from many flower species, but the fate of the larvae is tied to milkweed supply.

You can read more about monarch conservation here:

https://monarchconservation.org

Since my plants are still too young to pick for eating, I won’t be writing about milkweed in the kitchen until next year, but you can obtain the two wonderful field guides by Samuel Thayer, The Forager’s Harvest and Nature’s Garden, and be prepared to forage and cook any common wild edible. I never tire of recommending Thayer’s books, which contain great detail about identification and culinary use at various stages.

Pleasures of the Grill: Oyster (and other) Mushrooms

A family member was admiring a picture of my oyster mushrooms, up to 8″ across, and asked if they were too big to eat. Not if you like to grill. I love a plateful of giant oyster mushrooms, as long as they were still fresh and moist and not dried out when picked. The big ones have leathery bases and need to have the stem (technically a stipe) trimmed off to the extent that a little semi-circle is taken out of the base.

Now the toughest part is gone. Clean the rest and rub it on both sides with basic steak marinade. Make sure that the marinade gets up in the gills, since this helps keep them moist while cooking. Sprinkle the gill side with a good smoked salt.

Heat the grill to about 300 degrees and sear nicely on the upper side. Turn and cook on the gill side until done, turning them 90 degrees midway if you want nice crosshatched sear marks. Meanwhile, preheat the broiler. Put the caps on a baking sheet lined with parchment paper, gill side down. Sprinkle lavishly with grated Parmesan, making sure to sprinkle the areas of bare parchment paper to make the lacy garnish. Broil, turning the pan as necessary, until the cheese is just beginning to brown. Eat.

The argument could be made that there’s no point in fussing with crosshatched grill marks since they’re on the bottom and don’t show. This is a fair point, but in good spring weather it’s a pleasure to fuss a bit at the grill.

This is a good meal to share with vegetarians if you don’t use any fish sauce in the marinade. In my opinion the final cheese crusting adds a lot to the flavor and so it isn’t ideal for vegans, but try it if you feel so inclined. If you don’t have oyster mushrooms try portobellos, which come alive with some seasoning. If you find really big meaty fresh shiitakes, they are ideal for grilling whole. If you’re lucky enough to find some porcinis  in the woods or market in the fall, they are superb sliced thickly and grilled.