Archive for the ‘Ketogenic diet’ Category

The Eggplant Chronicles II: cooking eggplant

image
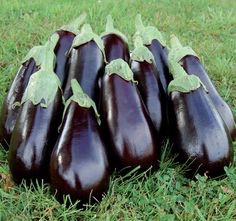
Like most Louisiana natives I love eggplant, and I have fervent opinions about how it should be prepared for cooking. For any application in which it is to be sautéed, I believe that it must be salted and drained first. This is not to get out bitterness, as some cookbooks say; a well-grown eggplant of a good variety doesn’t have bitterness. The disgorging process gives the eggplant a better texture, almost silky, and in my view is not optional.
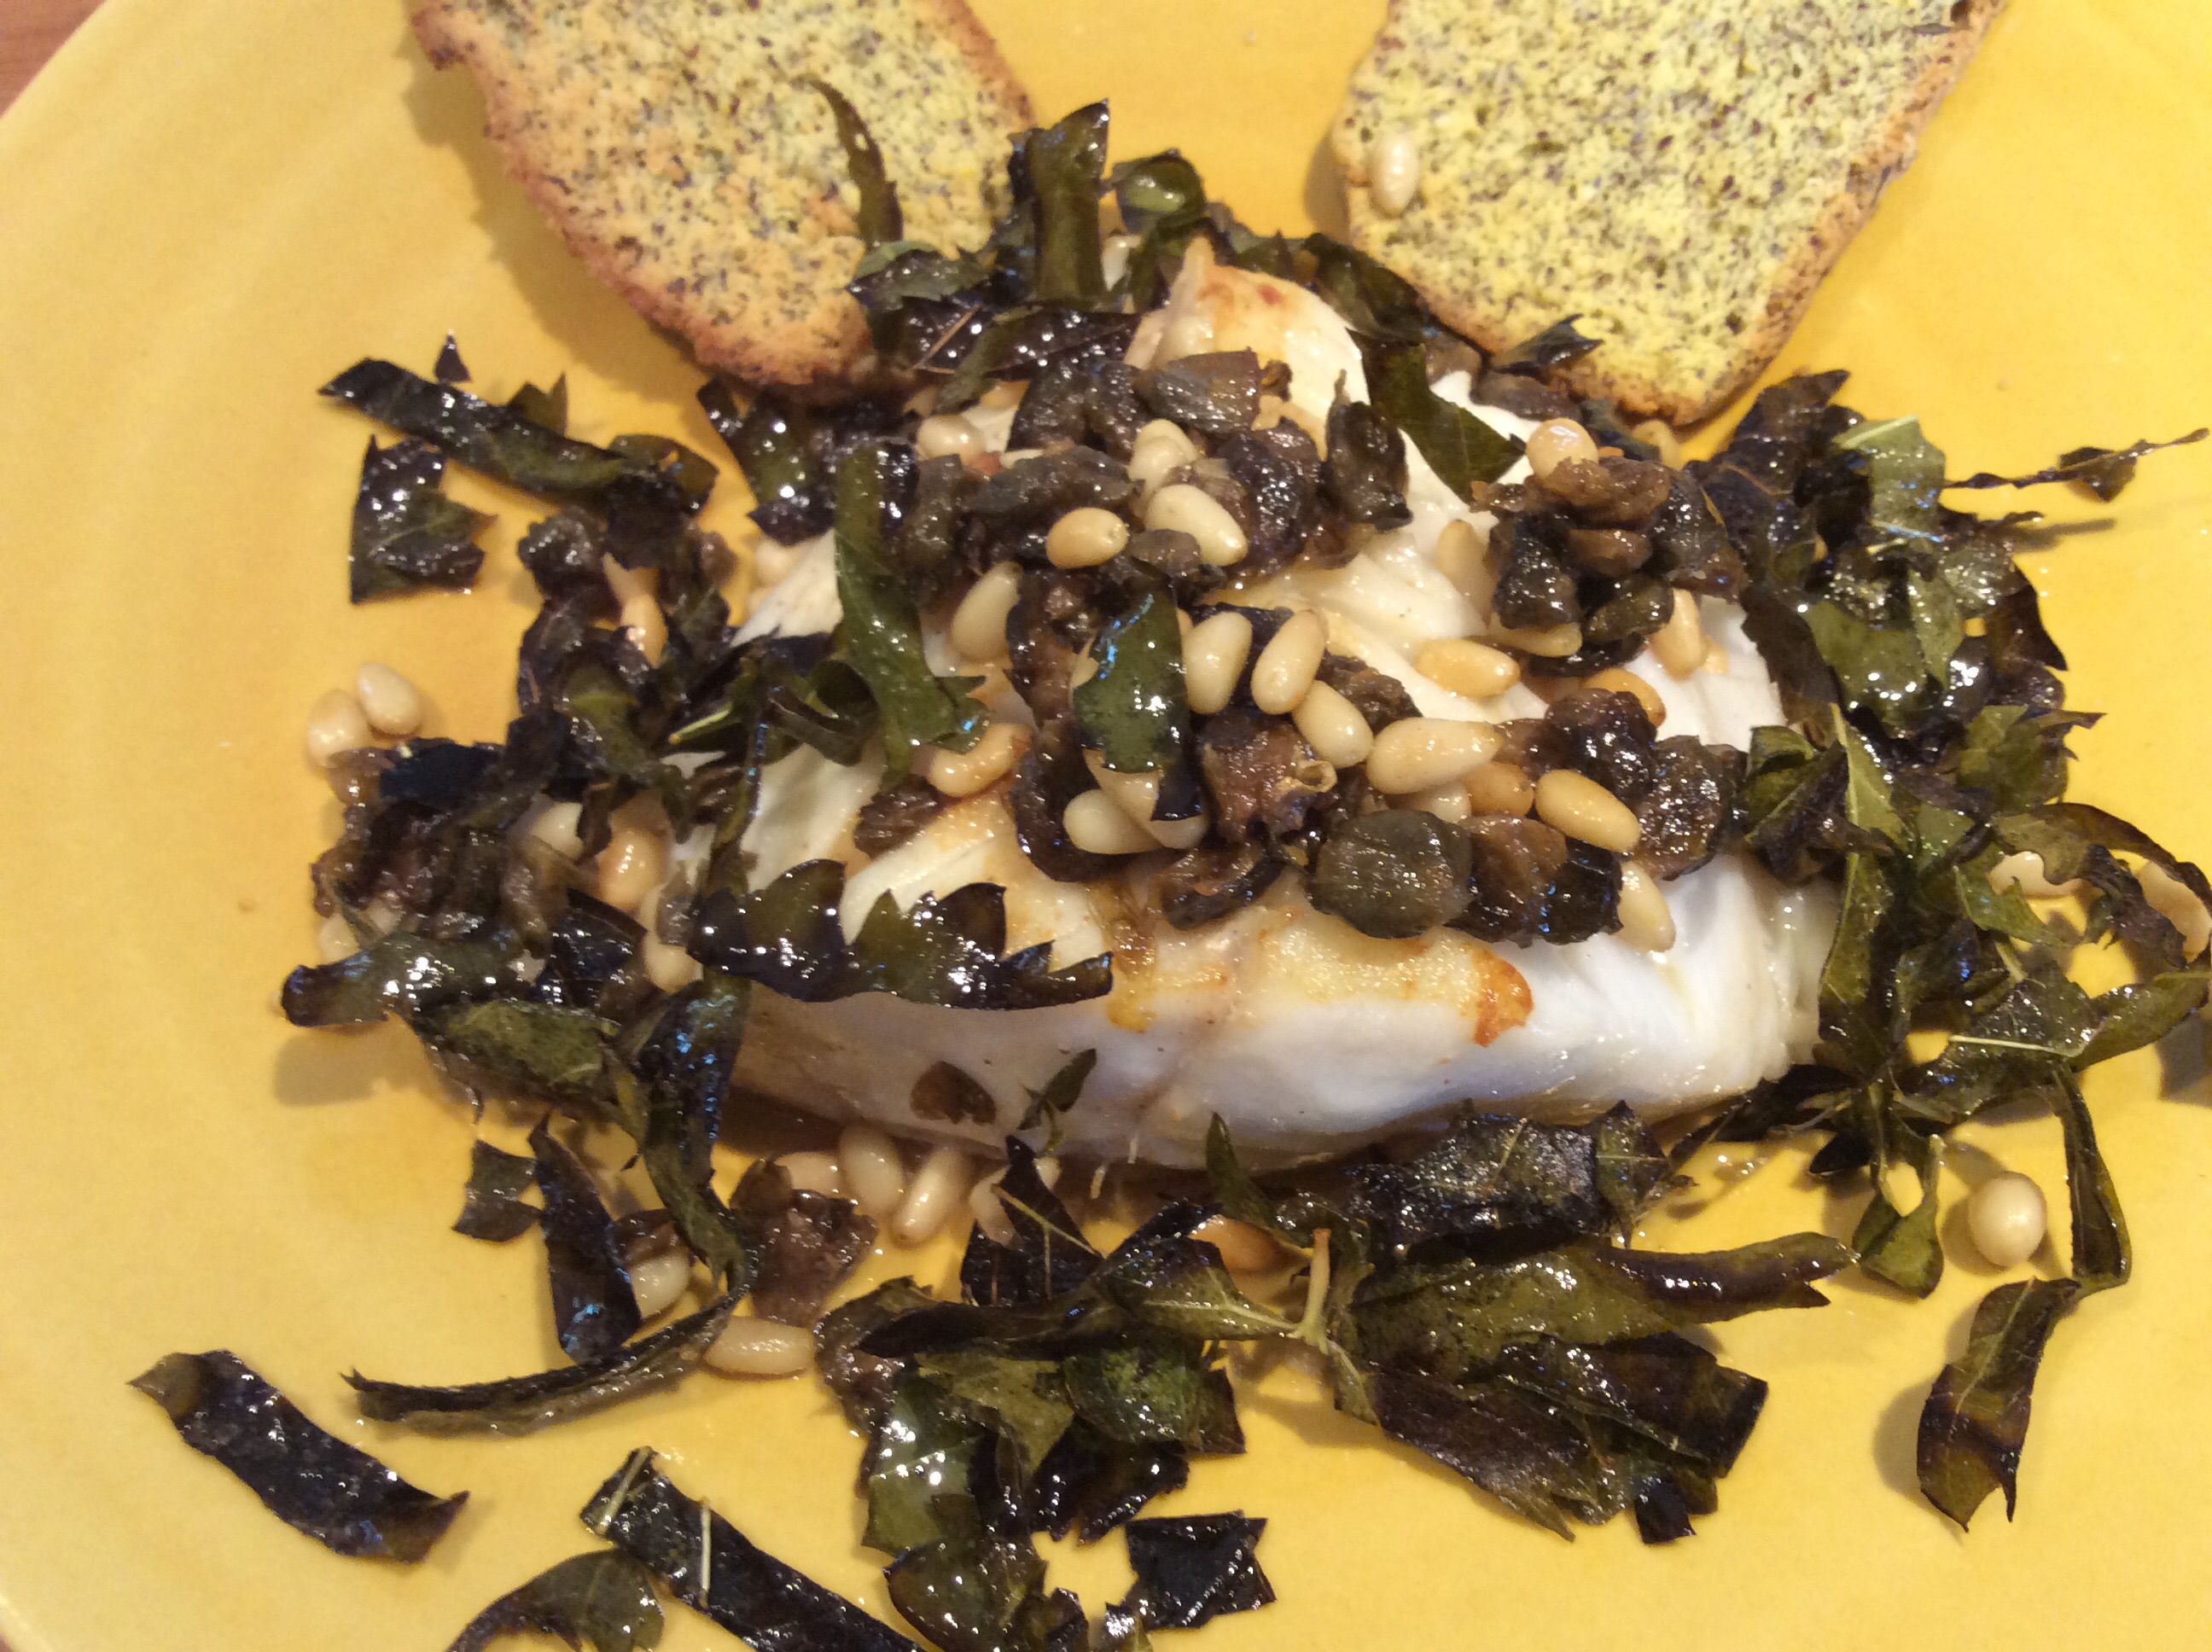
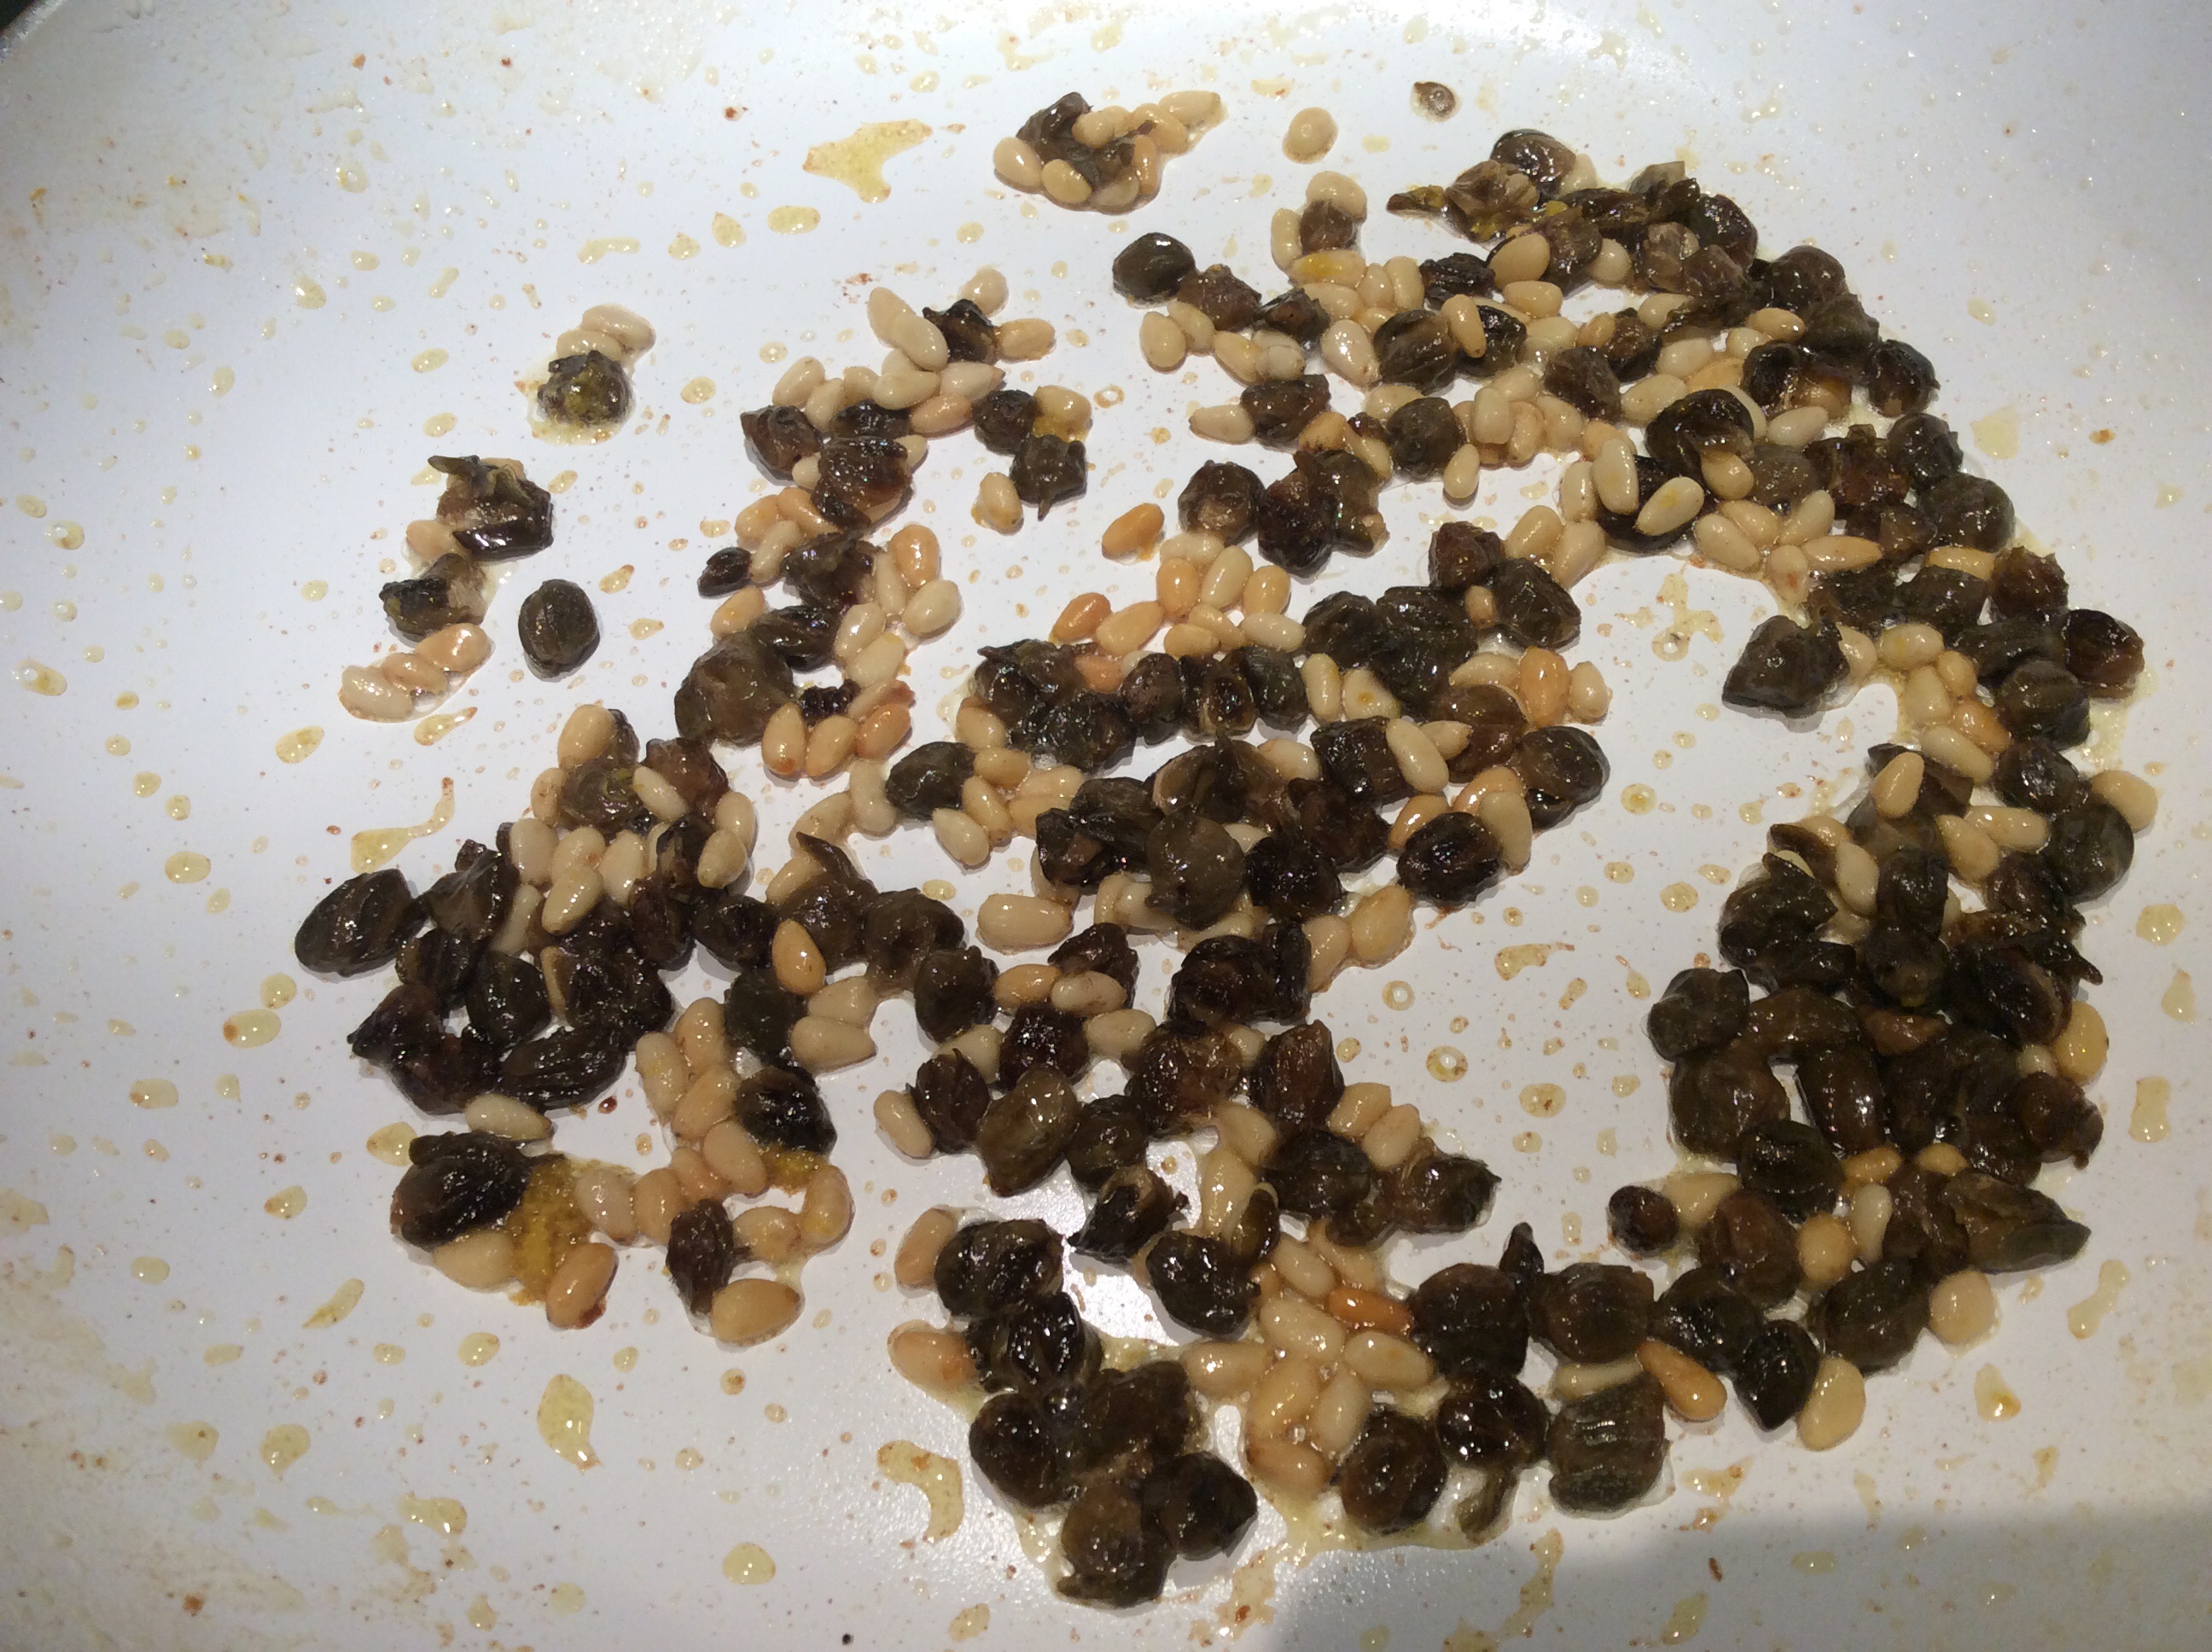
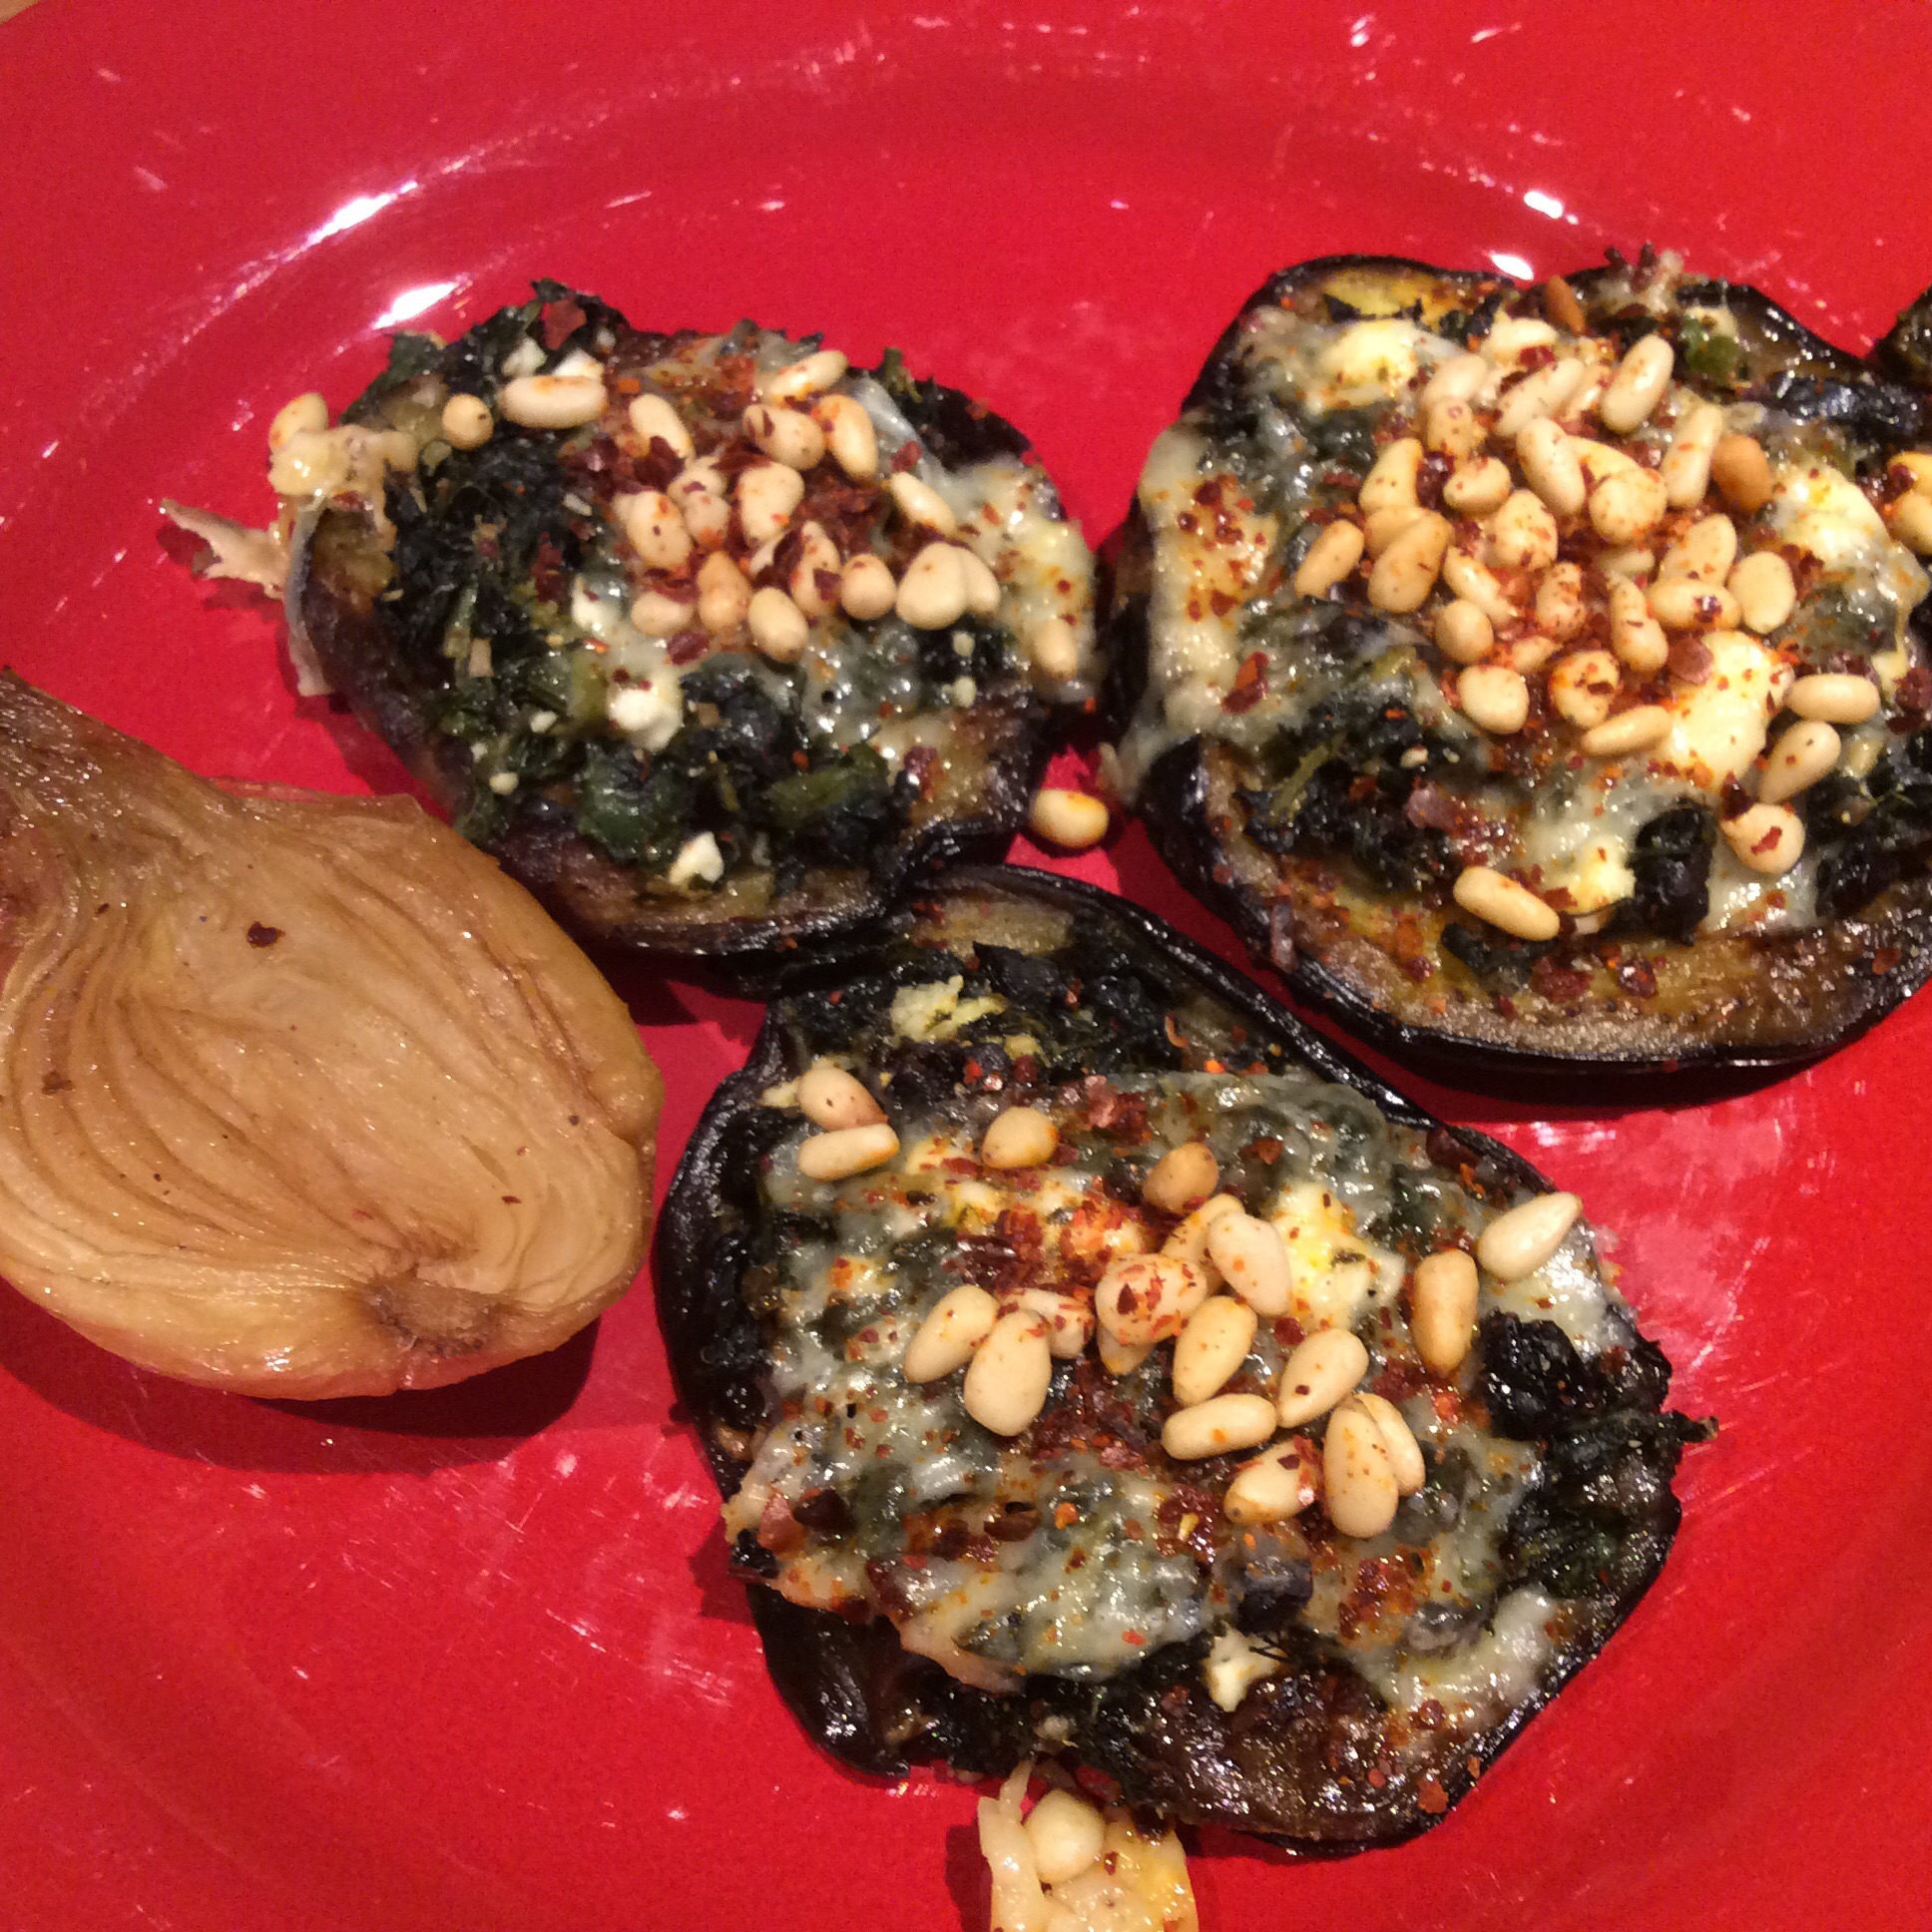
For this dish, I cut an enormous yet still young Black King eggplant into thick meaty slices about half an inch thick. I salted them liberally on both sides in the morning, stuck them in a bag in the refrigerator, and in the evening laid them out in a single layer on half of a clean towel and pushed down hard on the slices with the other half of the towel, pressing out as much liquid as possible. Now sauté them in olive oil over medium-high heat, laying them out on a baking sheet as they finish cooking, and making sure to cook them until they can easily be penetrated with a fork. Meanwhile, decide what you want to put on them. I had some horta (cooked greens mixture) made according to the description in my amaranth post, liberally flavored with garlic, fennel fronds, and salt-cured olives, and decided to use that. Other possibilities include leftover cut-up meat or chicken with herbs, scrambled eggs highly seasoned with herbs, tomato sauce, or whatever. I mixed the horta with crumbled feta for a little pizazz. Top with cheese ( I used an artisanal cheese similar to Parmesan) and pop in a 425 degree oven for 25 minutes or so. Pull them out, top with pine nuts or your own favorite nuts and a lavish sprinkle of Maras pepper flakes or other good red pepper flakes, and put back in the oven for a minute or two. I added some roasted onion halves on the side. Serve. Eat.
This sort of dish screams for a good smooth red wine and has to be eaten with a carefree attitude. Laissez les bon temps roulez, after all.
image

image

Clove Currants

image

The native clove currant, Ribies odoratum, grows beautifully in my area. It is sturdy, healthy, drought-tolerant, will tolerate some shade, suffers from no bugs or diseases, and is reasonably attractive, especially in spring when covered with thousands of tiny yellow flowers that have a soft pleasant scent. I haven’t found them growing wild in my area but I have a bush that was planted by birds; they grow that easily, and start to bear within three years.  I have several large bushes and would have planted more if not for one major disadvantage: I thought the fruit tasted awful.  The fruits, like most berries, are relatively low-carb for fruits and probably contain a good set of antioxidants, but eating things prescriptively rather than for pleasure is just not my style.

But sometimes plants just have to hang around my yard until I learn to use them well. This year, after living with clove currants for five years, I finally figured out (duh) that the fruits are not ready to eat when they turn black. Don’t grab those first black shiny fruits. Leave them on the bush for another couple of weeks. Taste every few days, and when they taste sweet and spicy (still very tart but with a balance of acid and sweetness) they’re ripe. The fruits actually get a little smaller as they ripen, and some will look a bit wrinkled. Don’t worry. Don’t use any that are dry and shriveled, but a little loss of turgor just intensifies the flavor.

I enjoy eating a handful in the garden when I make my morning rounds, but my favorite use for them is in cobbler. If you are low-carb, use my recipe for red, white, and blue cobbler, using clove currants alone or adding in some frozen wild blueberries to make up the fruit volume if you don’t have enough clove currants. Work the sweeteners into the fruit with your fingers, crushing the fruits a bit as you go. If you eat sugar and flour, just use your own favorite cobbler recipe. Be sure to grate a little fresh nutmeg into the fruit mixture to bring out the spiciness.
image
The fruit clings to the stems and often has a little wiry “tail” clinging to the blossom end which has to be removed, so harvesting them is a bit tedious. I wait until early evening and then sit comfortably under the bushes with a bowl, pulling off stems and tails as I go so that fruits that hit the bowl are ready to use. I eat a few along the way. The laborer is worthy of her hire, after all.

I’ve been thinking of other ways to use them, and I think that they might be good in sauces for meat and game. I can recall reading a British recipe for a blackberry sauce for venison, and along those lines I plan to try using clove currants for a sauce for roasted pork. But right now they are going into cobbler or disappearing straight down my greedy gullet.
image

I also have a couple of bushes of Golden currant, also known as wax currant, but they are slower to bear and I haven’t had enough fruit to experiment with yet. More on that later.


A Quick Summer Lunch, and more on fried grape leaves

image
Since writing about frying grape leaves crisp in the Crazy Salad post, I have become more and more interested in the range of flavors and textures produced by frying and toasting leaves. Grape leaves remain my favorites, because of the exquisite lemony-sorrel burst that follows the delicate crunch.
Before you try cooking your leaves, please read the part of the Crazy Salad post that deals with selection of leaves. The short version is : chew up a piece of leaf from the exact vine that you are thinking of cooking. If it chews easily, proceed. If you are left chewing what feels like a bit of wet paper between your teeth, rethink or find another vine. That fibrous quality will not go away when cooked in any fashion. I have liked the leaves of my wine grape vines best.
This is an easy and quick impromptu lunch or light dinner, vaguely Greek in its inspiration. Here I used a garnish of fried grape leaves and capers to add tang and herbaceous pizazz to a nice piece of black cod fillet. For each person eating, you need a 4-5 oz piece of Alaskan black cod fillet or salmon fillet, a handful of capers in salt, 5-6 fair-sized grape leaves, a clove of garlic, a small handful of lightly toasted pine nuts, a quarter of a lemon, salt, and 1-2 glugs of good olive oil.
Prep: Rinse the capers of loose salt, soak them in cold water for about 20 minutes, drain, and squeeze them dry one handful at a time. Rinse the grape leaves, shake them dry, snip the stem away, and stack them up for quick slicing. Slice them crosswise into strips about 1/4 inch wide. Salt the fish pieces, not too heavily because the capers will still be quite salty. Chop the garlic.
Cook: Heat a good nonstick skillet that can easily accommodate the fish pieces over medium heat. When it is hot, pour in 2 good glugs of olive oil. I would guess that this is about 2 tablespoons or a little less. Throw in one strip of grape leaf, and if it sizzles and changes color and crisps in several seconds but doesn’t burn, you are good to go. Otherwise, fiddle with the heat and try again. When the heat is right, toss in the grape leaf strips and stir-fry rapidly until they have all changed color and crisped and there are browned but not blackened spots. Scoop them out onto a paper towel to drain. Check crispness. Limp leaves will not give the right effect. Set them aside.
image
Wipe out the pan quickly, heat it again, put in the same amount of olive oil again, and add the chopped garlic and the capers. Sauté until the garlic is cooked but not browned at all and the capers have darkened a bit. You aren’t going for crisp this time because it would burn the garlic. When the garlic looks cooked, squeeze in the lemon juice and add the pine nuts. Cook a couple of minutes more and pour out into a bowl.
image
Reheat the pan, add a touch more olive oil, and put the fish fillets in skinless side down and cook over medium-high heat until they color an attractive gold in spots. Now turn skin side down and cook to your preferred degree of doneness. Personally, I like salmon medium-rare but black cod cooked until it flakes. Plate the fish, put the caper mixture over the top of each, and finally top with lavish drifts of fried grape leaves.
This is a good healthy dish for ketogenic and low-carb dieters and Paleo dieters, as well as for everyone else.

Red, White, and Blue Cobbler

image
The tart or pie cherry is a pretty yard tree all season, and gorgeous in full fruit, with the glowing colors of a Russian enamel. This year my pie cherry tree bore heavily for the first time, and after making a new supply of tart cherry liqueur (no sugar this time,) I made a few cherry cobblers.
image
First, catch your cherries. They need to be the bright lacquer-red pie type, not the darker sweet cherries, which will turn a rather dreadful color if you try to cook them.
image
Next, pit enough of them to make 1 1/2 cups of pitted cherries. This will serve 2 gluttons or four normal people. I have a pitting device from OXO that pits four at a time, but it’s still tedious work. Be certain to run your clean fingers through the pitted cherries several times to find any pits that you missed, so that no teeth are cracked later.
image
If you eat sugar, it’s very simple from here on. Add a handful of wild blueberries or (from my yard) fully ripe clove currants or serviceberries  for the blue element, sweeten to taste, and make your favorite biscuit dough but sweeten it a little more than usual. Put the cherries and berries in a buttered 7 inch tart pan, top with artistic globs of the biscuit dough, and bake at 375 until the dough is done and browning attractively. If you eat low-carb it’s a little more complicated but not much. Sweeten the cherry mixture to taste with half erythritol and half Sweet Perfection oligofructose, working the sweeteners in with your fingers so that they don’t cake, and add a teaspoon of vanilla extract. Make the topping as follows:
1 1/2 cups almond flour
1/2 teaspoon salt
1/2 teaspoon baking powder
1/4 cup of Swerve sweetener confectioners type
1/3 cup Sweet Perfection oligofructose
1/4 cup butter, cold
2 egg yolks
Combine all the dry ingredients in a bowl and stir well with a fork. Work in the butter, cutting it in with the fork until the largest remaining butter pieces are the size of baby peas. Add the egg yolks, working them in with a fork until the mixture is fairly well amalgamated. Drop on top of the cherry mixture in the small buttered tart pan, pat it out just a bit with your fingertips (it will be sticky and messy,) and bake at 375 until the dough is cooked through and coloring. This dough doesn’t brown evenly as sugar-containing doughs do, and you have to watch carefully so that it doesn’t burn. Serve hot with low-carb
vanilla ice cream.
image
Happy Independence Day!
The gorgeous image of a cherry branch second from the top was on a Google page and I can’t find an attribution for it. If anyone knows who the photographer is, please let me know so that I can give credit.