I have written recently about breeding my own brassica landrace, and I was happy enough that some of the plants survived the winter, made a nice crop of spring greens, and set seed. Since then, to my surprise, after the seed dried down a few of the plants produced a whole new crop of tender greens. So far I have been eating greens from these three plants since last summer, and they still seem to be going strong. It goes without saying that I will choose the seeds that these plants set for next year’s planting, and also will be watchful about whether they set another crop of seed and live through another winter. I am also trialing a few plants of the new perennial kale introduction, Kosmic Kale, shown below.
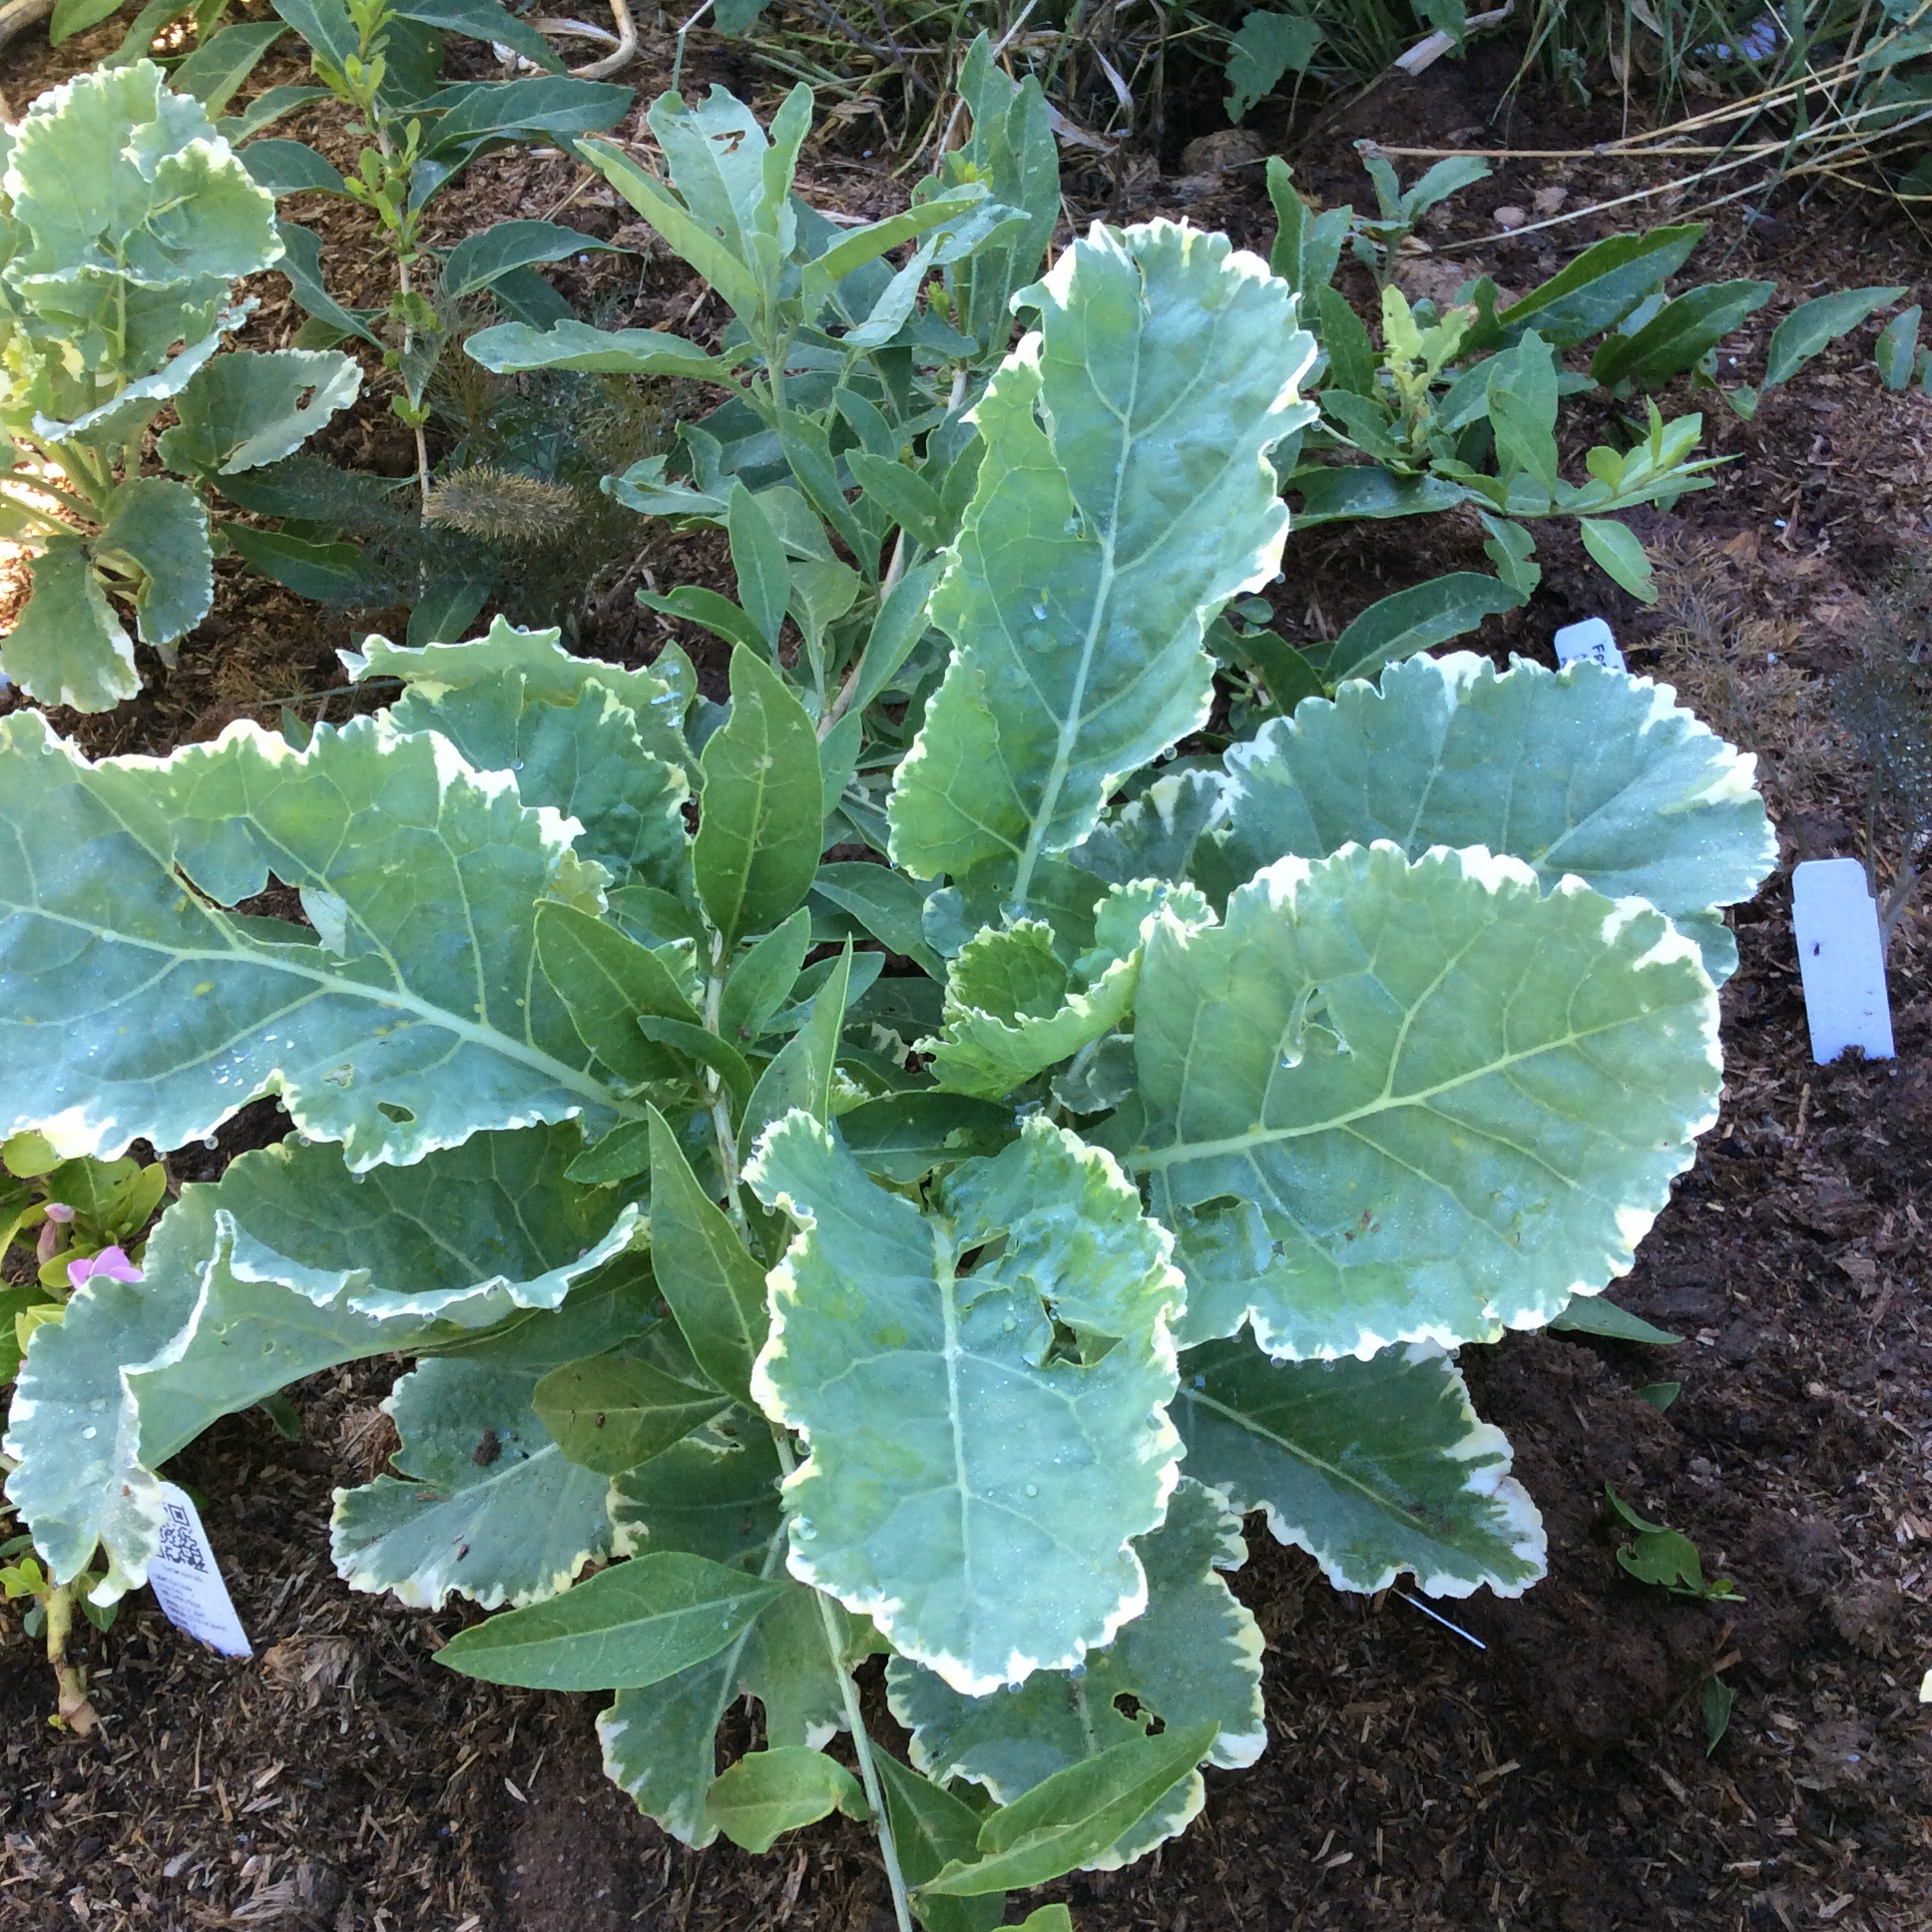
I wonder if the delicious third-growth leaves produced by my brassica landrace might not be preferable to Kosmic, which (so far) is not distinguished for deliciousness.
My main point is, give your plants the room and time to surprise you. If I had pulled the brassica crosses out after harvesting seed, I wouldn’t know about their delightful late-summer greens. When we let nature teach us it’s amazing what we can learn.
Archive for the ‘home food production’ Category
27 Jul
Breeding a Landrace II: the unexpected bonus
16 Jun
Breeding Your Own Landrace
A plant variety is carefully selected to be as uniform as possible, so that each plant you grow of that variety will resemble the others fairly closely, with allowances for growing conditions.A landrace is a different and more chaotic and vibrant thing. A landrace is expected to have a high degree of variability, with the idea that you can plant it in a variety of different conditions and at least some of the plants will grow under those conditions. One way to look at a landrace is that it’s the widely varied genetic material from which varieties can be selected. So why would you want a non uniform seed stock? Well, does your weather change from one growing season to the next? Some members of your landrace will take the changes in stride. If you move, your landrace will go with you, and you will get some plants that adapt well to your new location. Hardcore survivalist types want landraces that can adapt to the challenges of a post-catastrophe area. Those of us who think in terms of smaller catastrophes still want to know that in a bad or atypical growing year our garden food supply will come shining through, or at least some of it will.
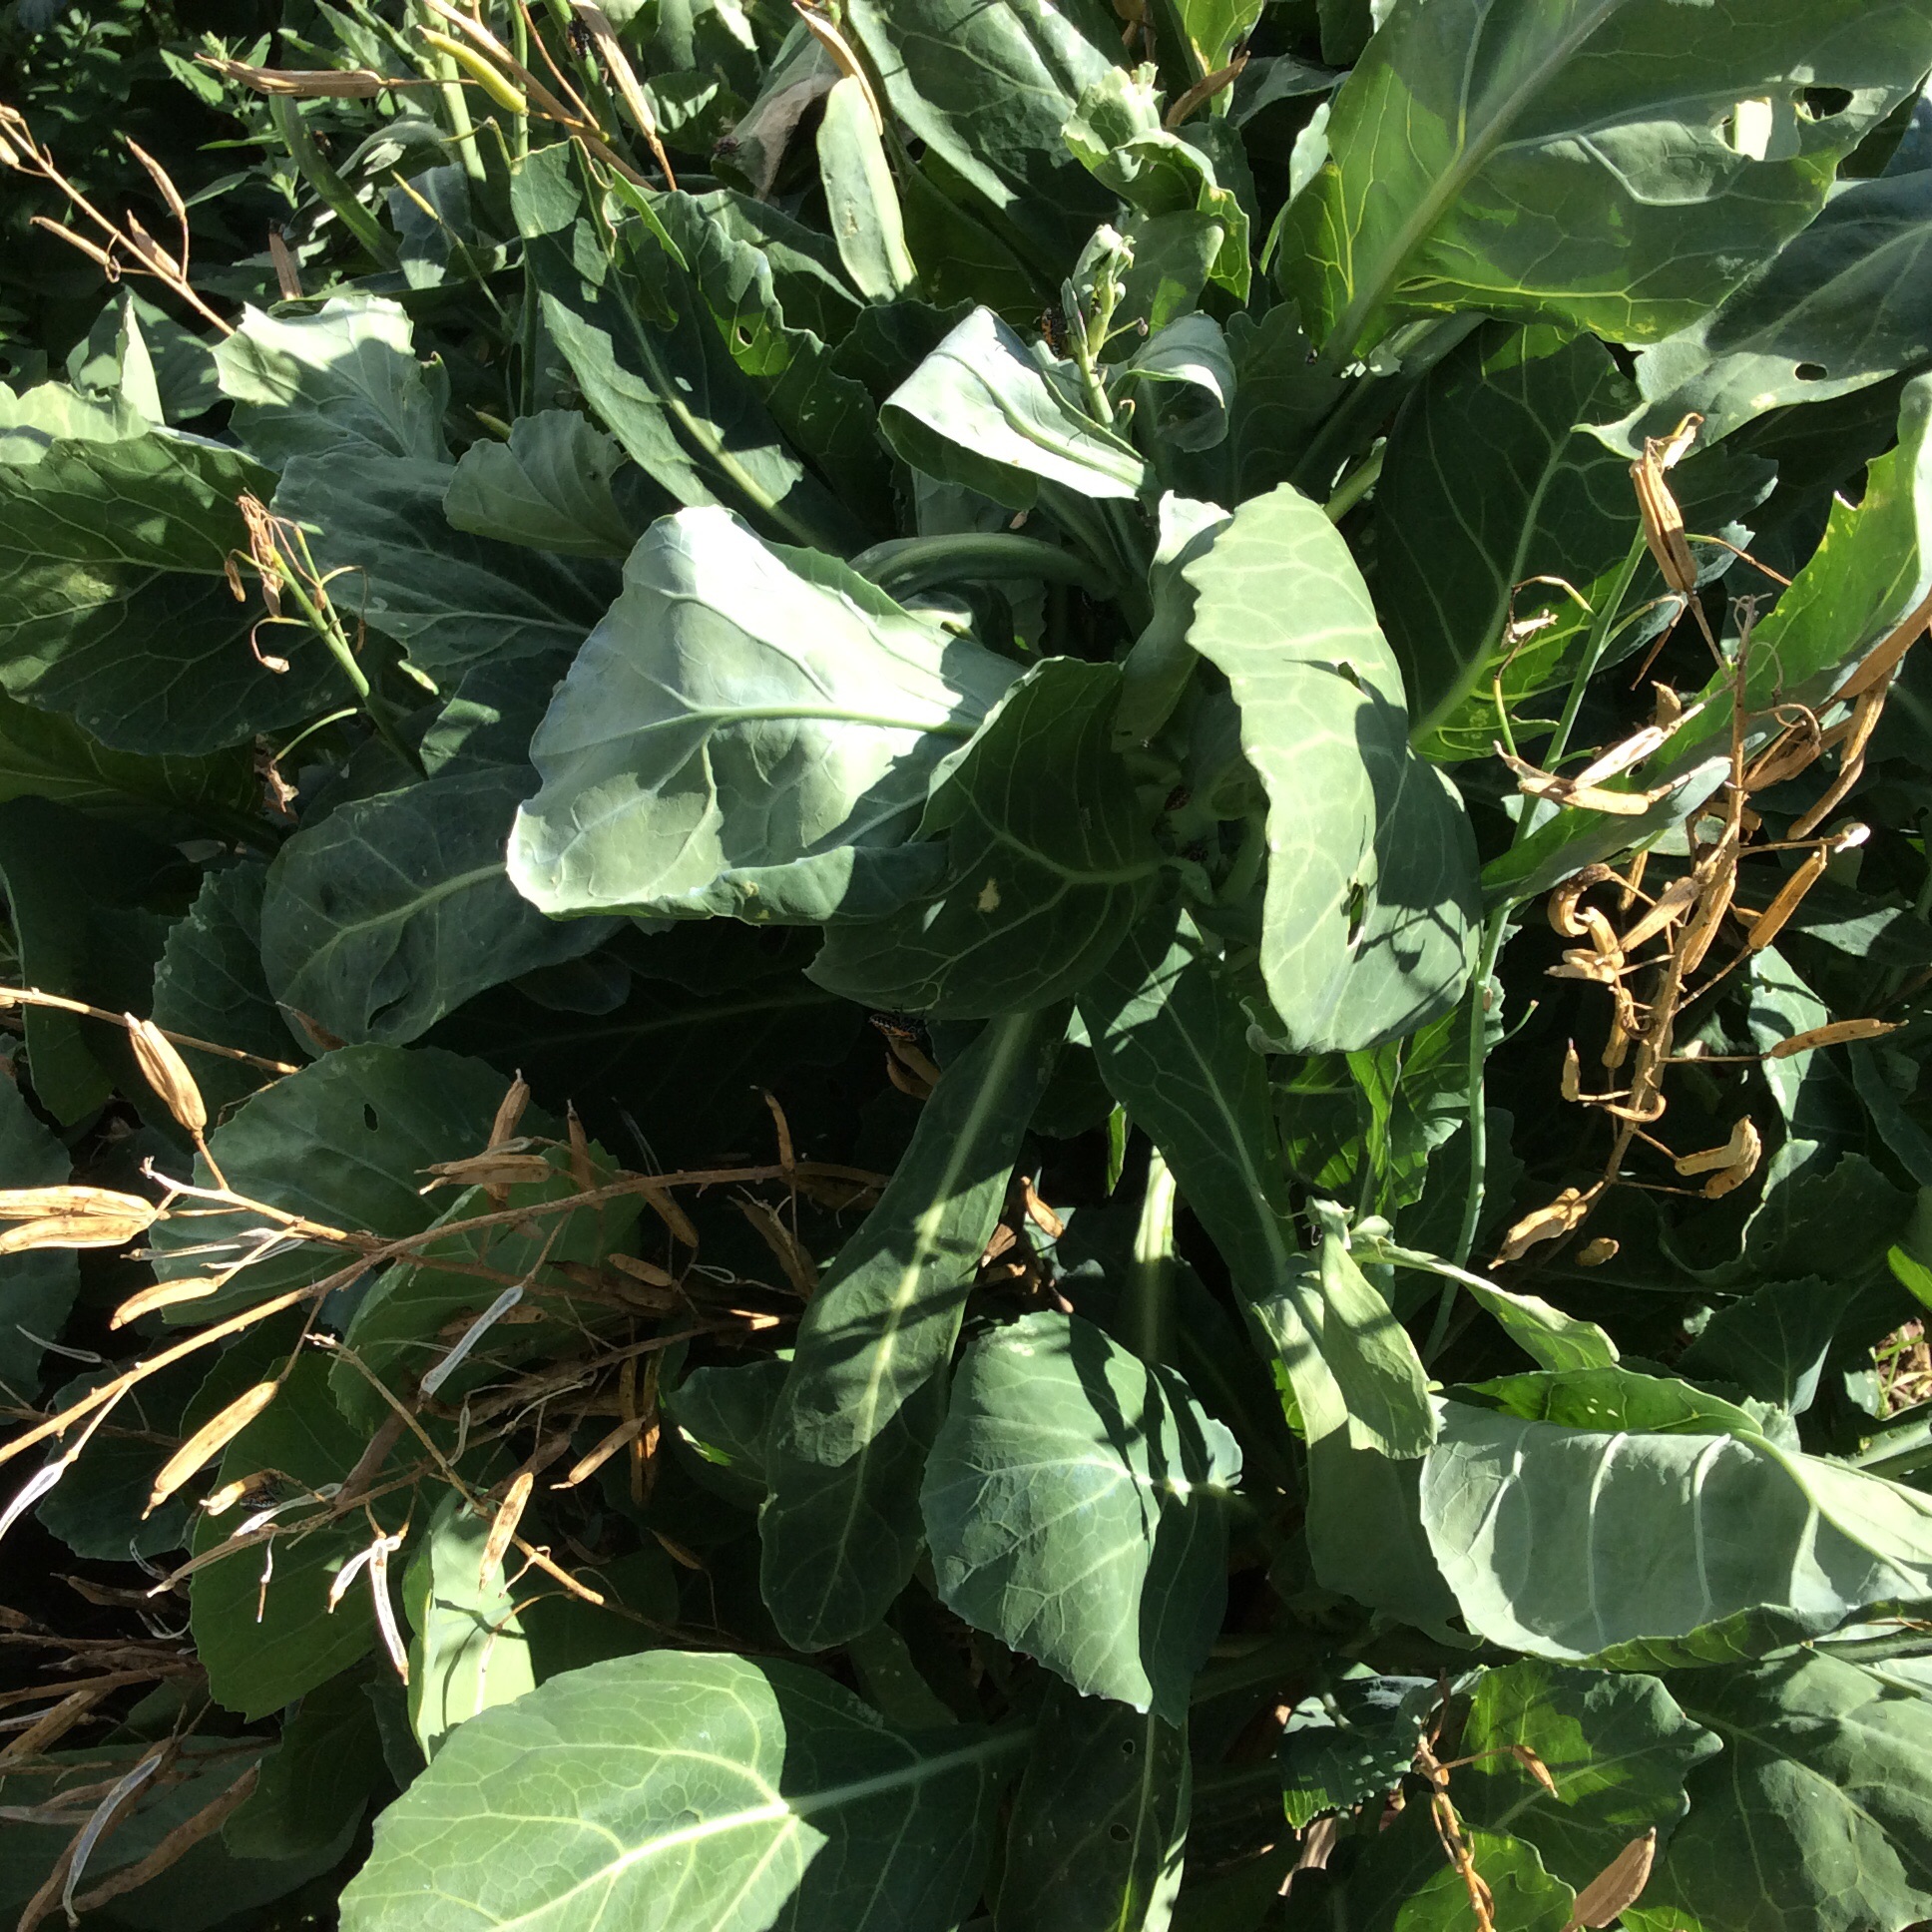
Currently I am trying to create my own overwintering brassica landrace. Overwintering doesn’t sound like a big deal among the brassicas, because many of them will overwinter in very cold climates, but our desert climate is a little different. Our winters are very dry and windy, and we have no snow cover, and so many plants like kale that overwinter well under snow will desiccate to death in our conditions.
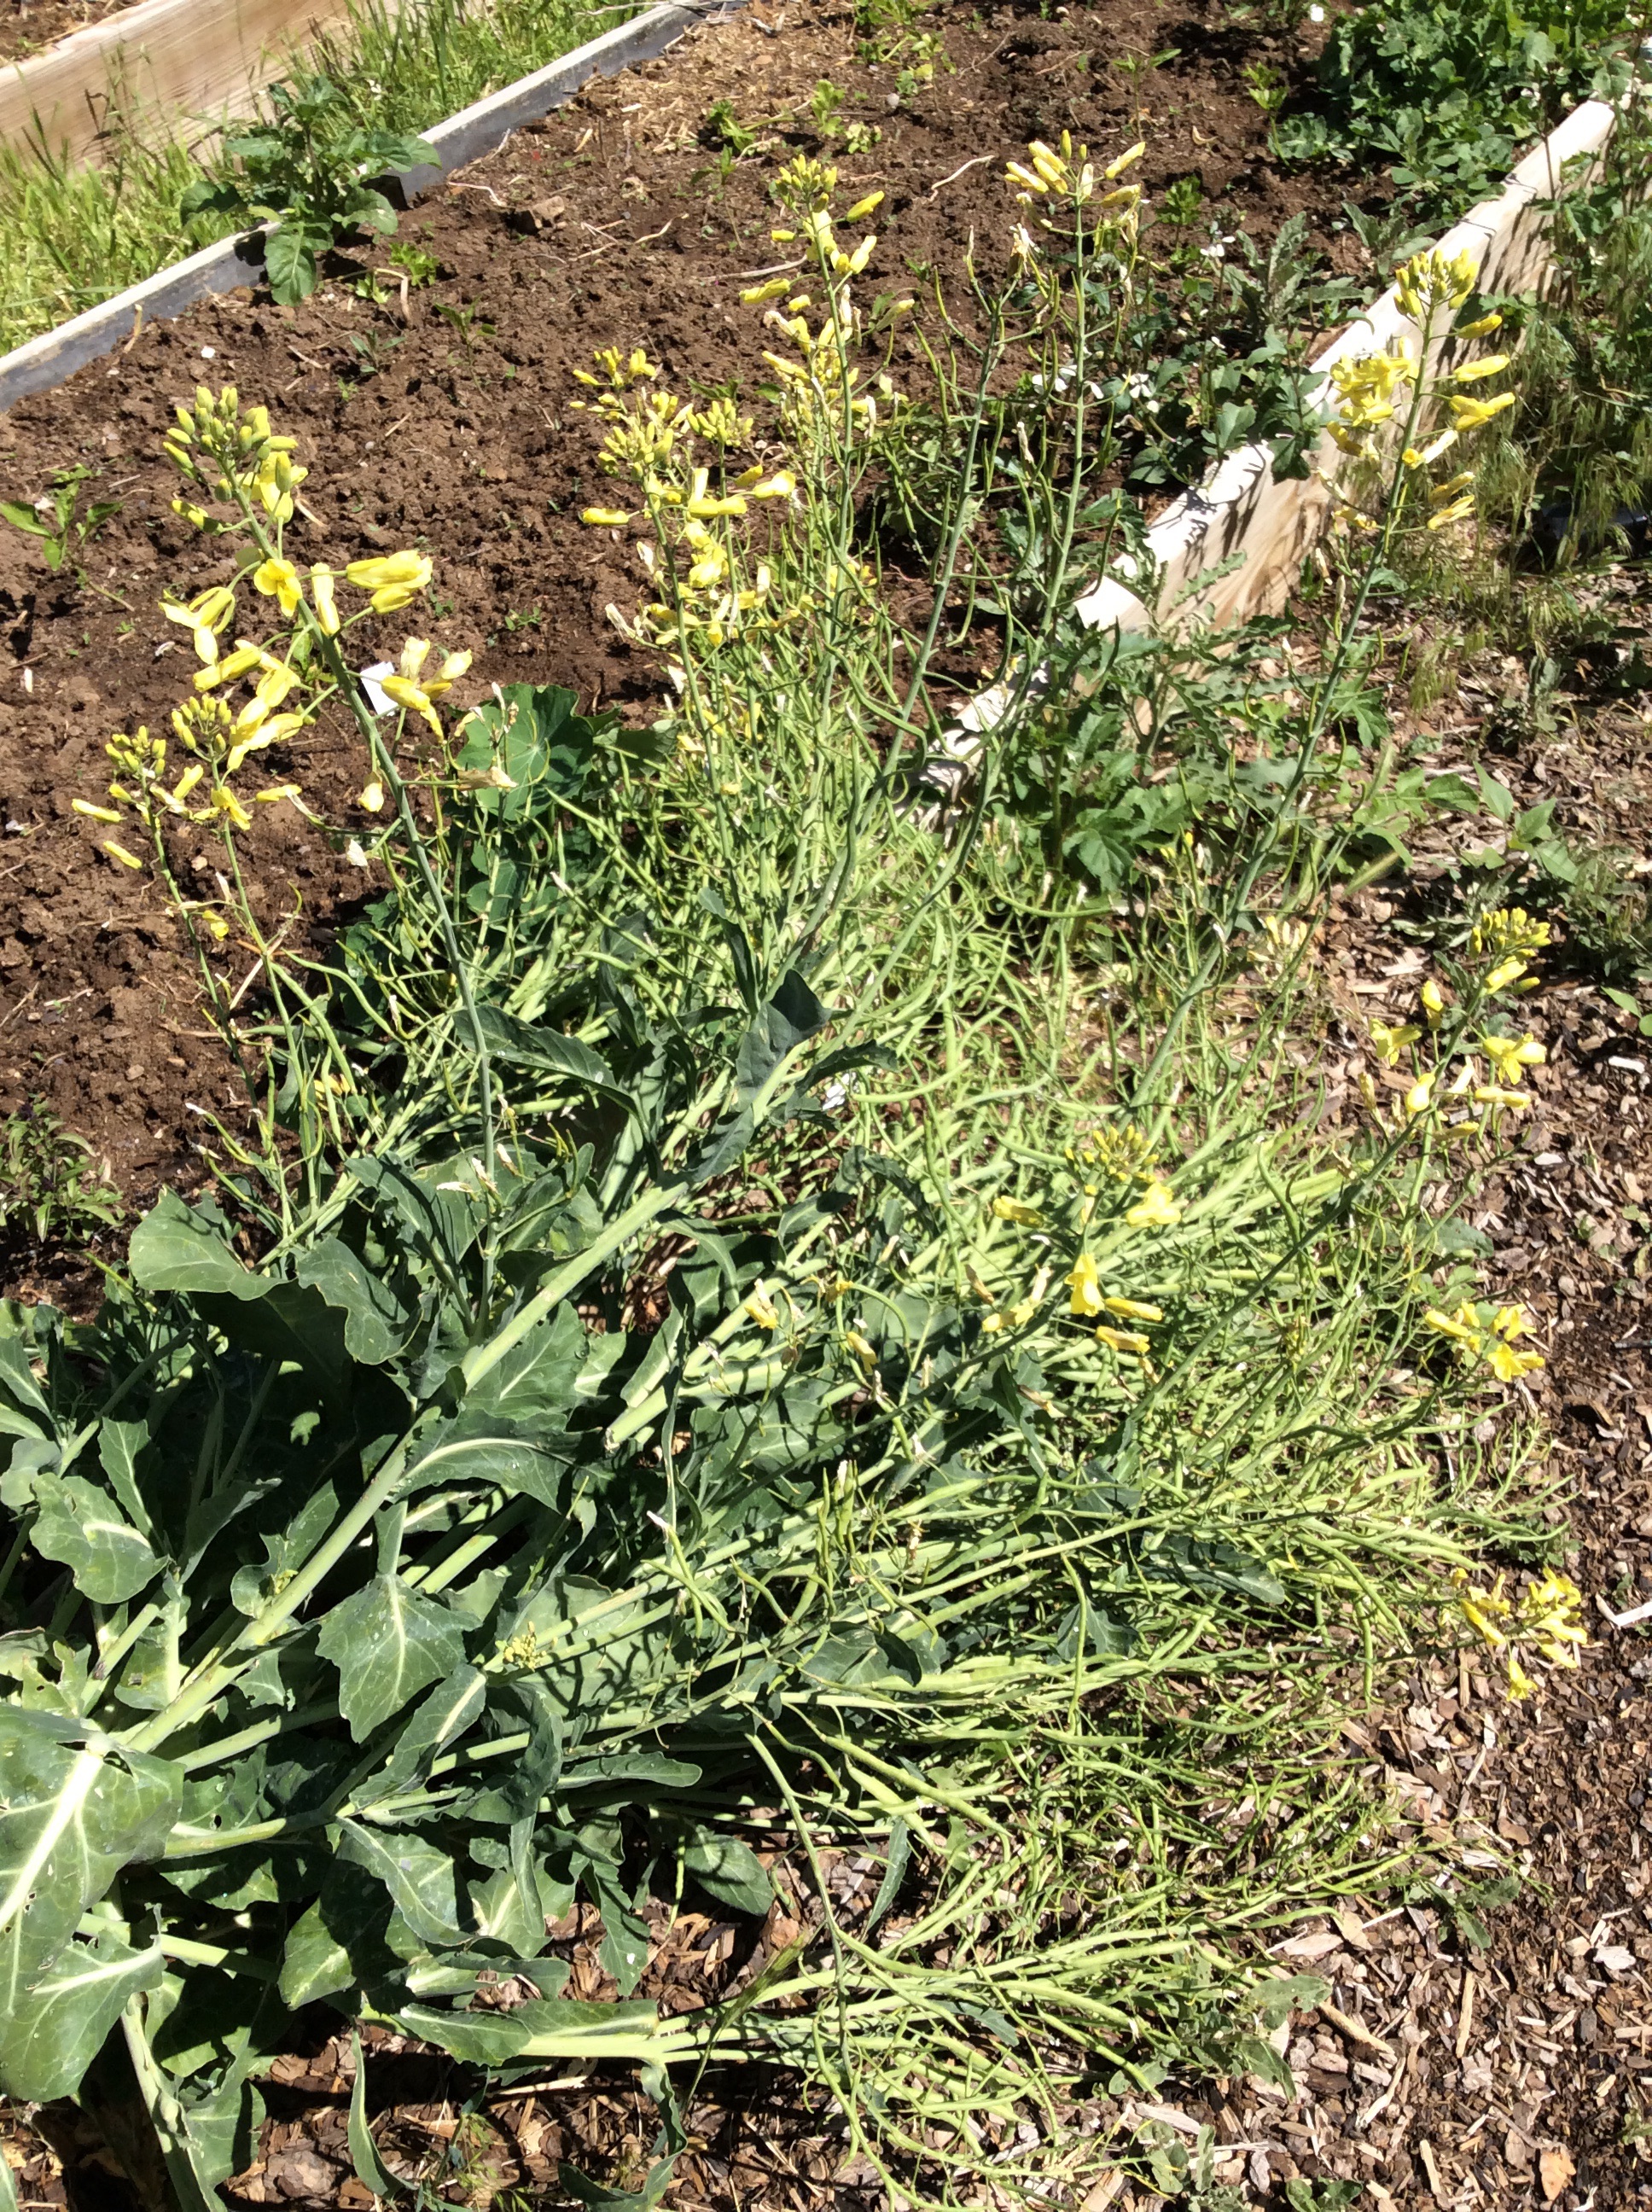
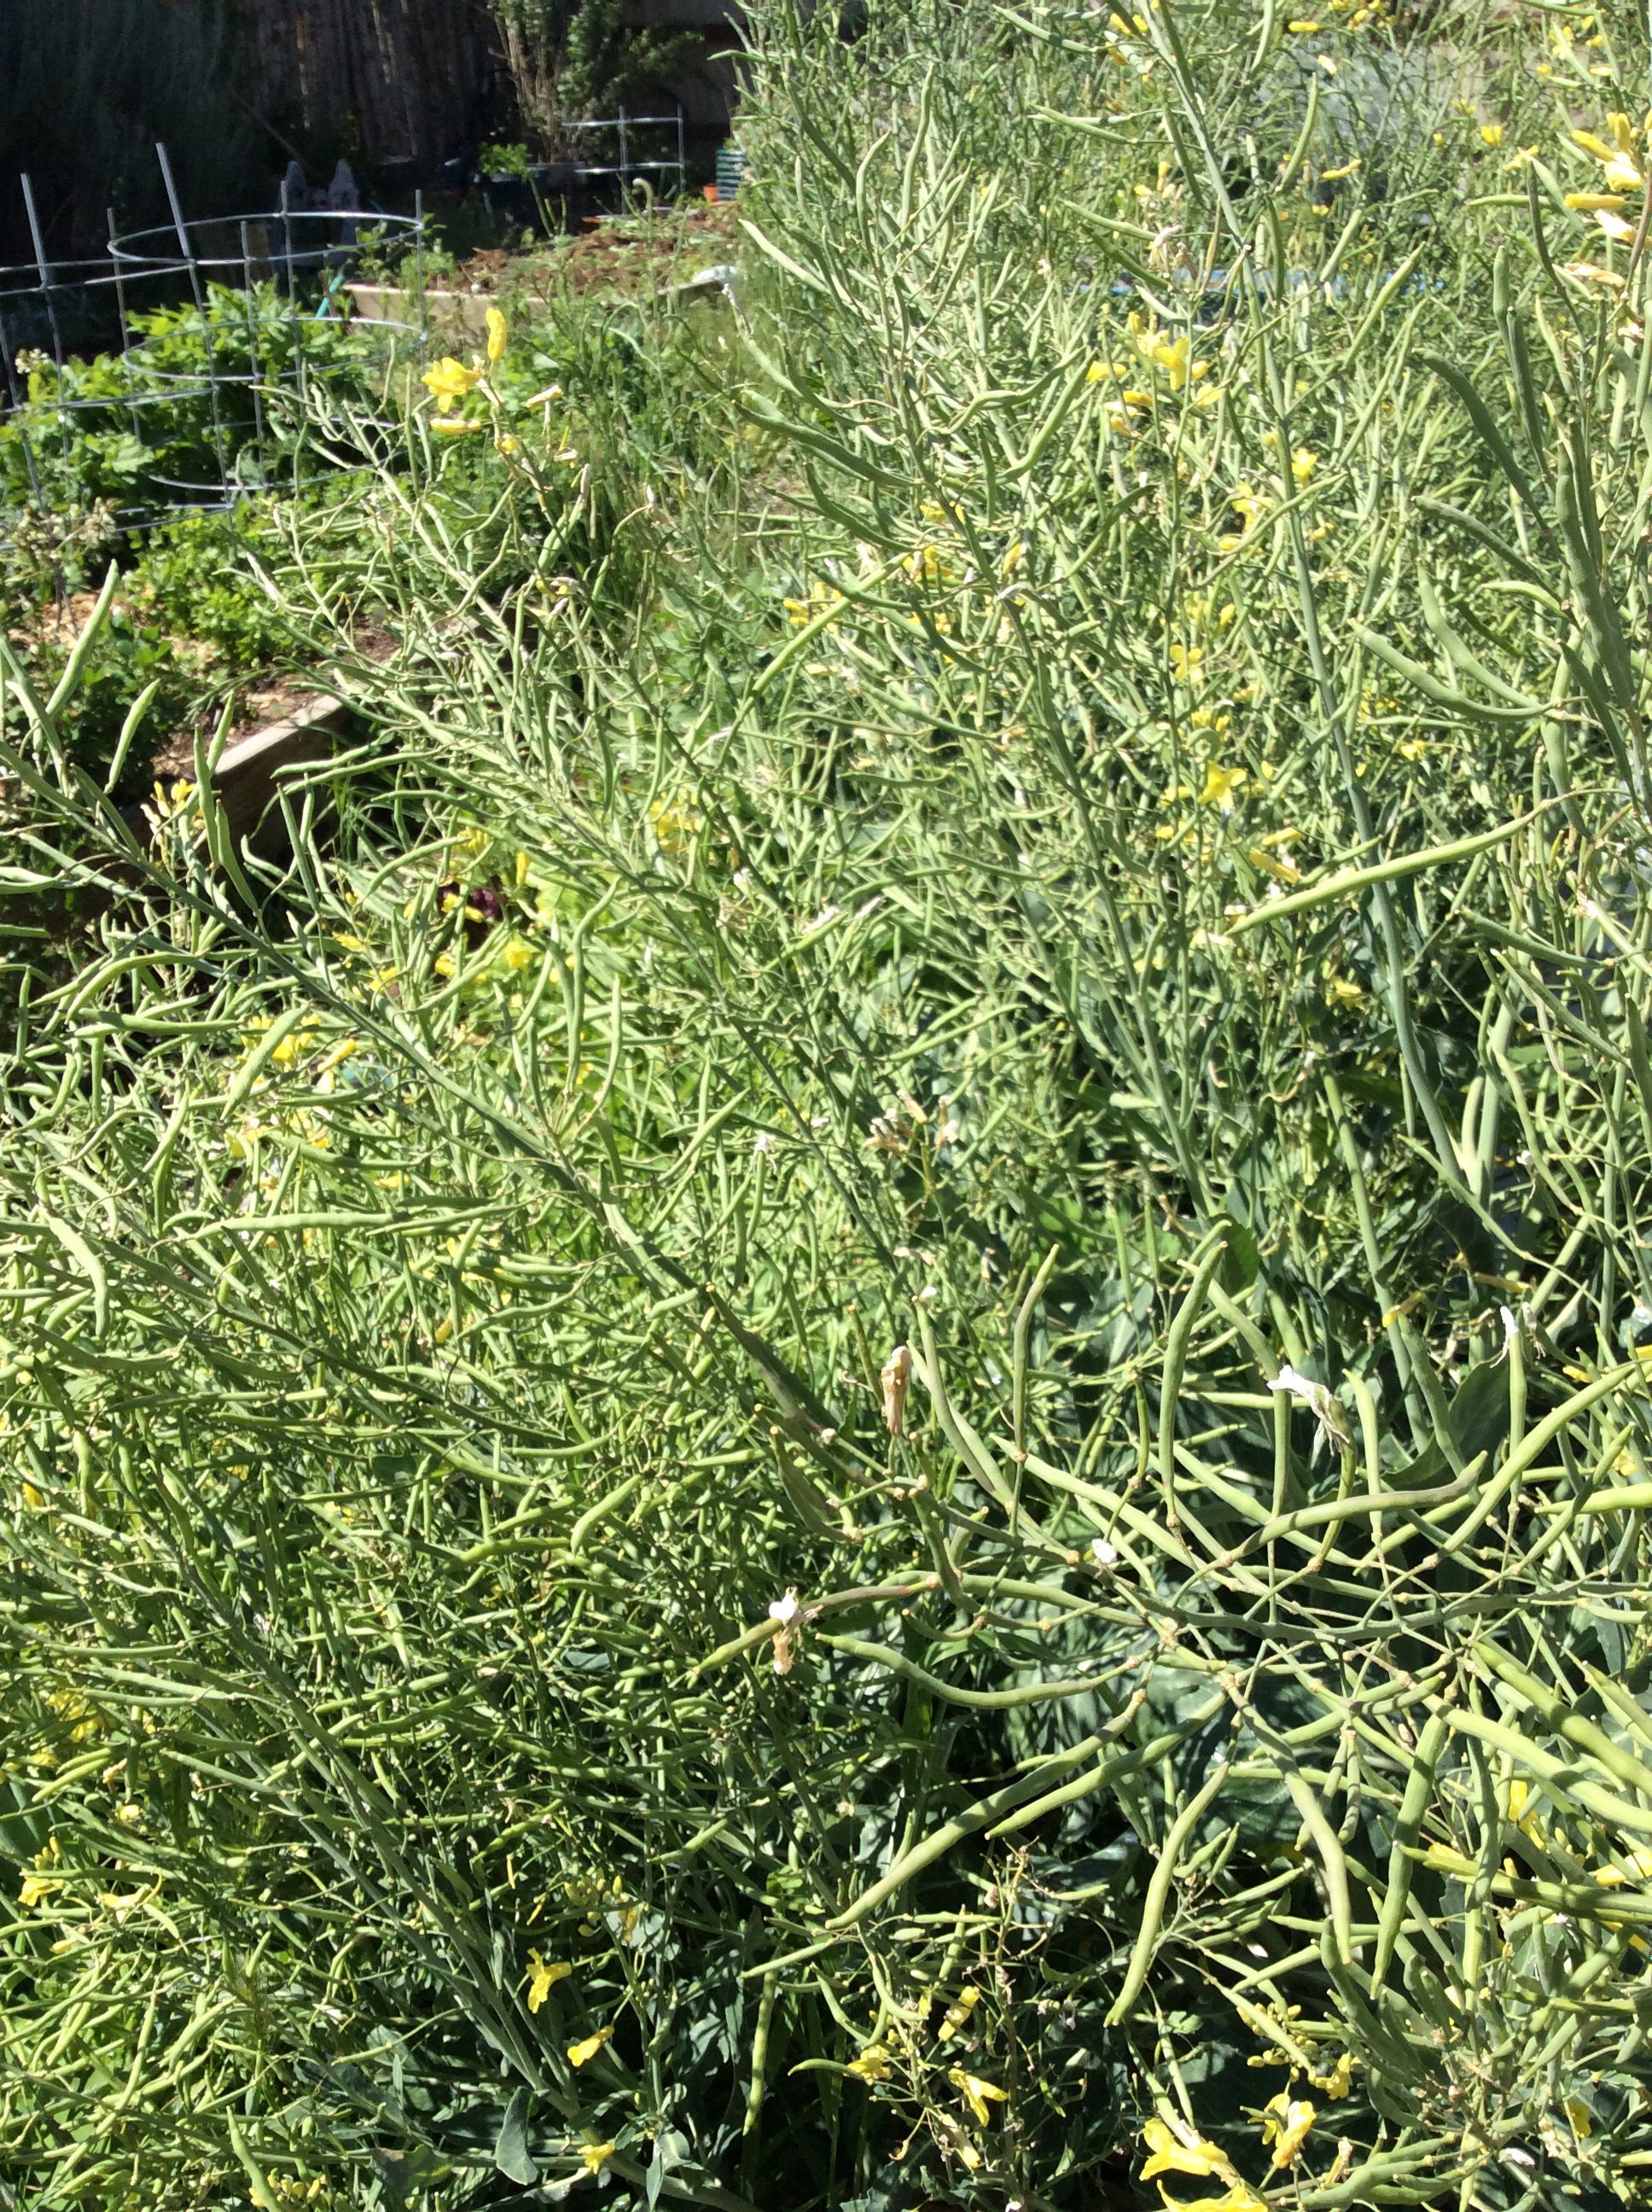
I started my project last year, by planting four different brassicas and leaving them in place over winter to see which ones survived. I chose to start with collards, Portuguese kale, Tuscan kale,and sprouting broccoli. Selection this spring was easy, because only one of the four survived. The Portuguese kale (also known as Tronchuda) came through the winter and put out a very nice crop of leaves during the late February and March “hunger gap.” I cooked some of the leaves to make sure that they were tasty, and they were sweet, mild, and very good.I let the plants go to flower, and found that bees mobbed the light yellow flowers. The buds were also a good addition to vegetable stir-fries, although they have to be picked small because they toughen quickly, and of course you have to leave a lot of them on the plant to get your seeds. The plants get huge as they set seed, and I trained them into the paths so as not to lose too much bed space. I let a spring planted broccoli go to flower at the same time, to try to introduce more genetic variability, and let the bees do the cross pollination. The plants set thousands of seedpods each, and I found that when the seedpods are about 2 inches long and very slender, they make a very nice stir-fry, with much the same flavor as the leaves but a different texture. Currently the seeds are ripening on the plants, and when they are dry I will plant some for fall eating and send them through the winter to see how they fare.
I hope to end up with plants with at least some variability. We do have a number of wild brassicas that grow in the area, so a little bit of outbreeding could occur even if I had not let the broccoli into the mix, and variability is what I’m after. Selection comes later; right now my interest is in having brassicas that overwinter in our difficult climate but aren’t uniform, and might even provide specimens that I want to select and stabilize for different purposes, maybe one type for hunger gap leaves and one type for masses of buds, for example. I have already spent happy hours researching the possibilities, and happy time is among the benefits that my garden provides.
30 May
Nose-to-tail Cilantro
Cilantro is a lovely and evanescent thing. It is a major seasoning herb in Thai and Indonesian cuisines, is widely used in China and Southeast Asia, and fills me with wellbeing whenever I eat it. It was a few years, though, before I learned how to make it pay for its garden space.
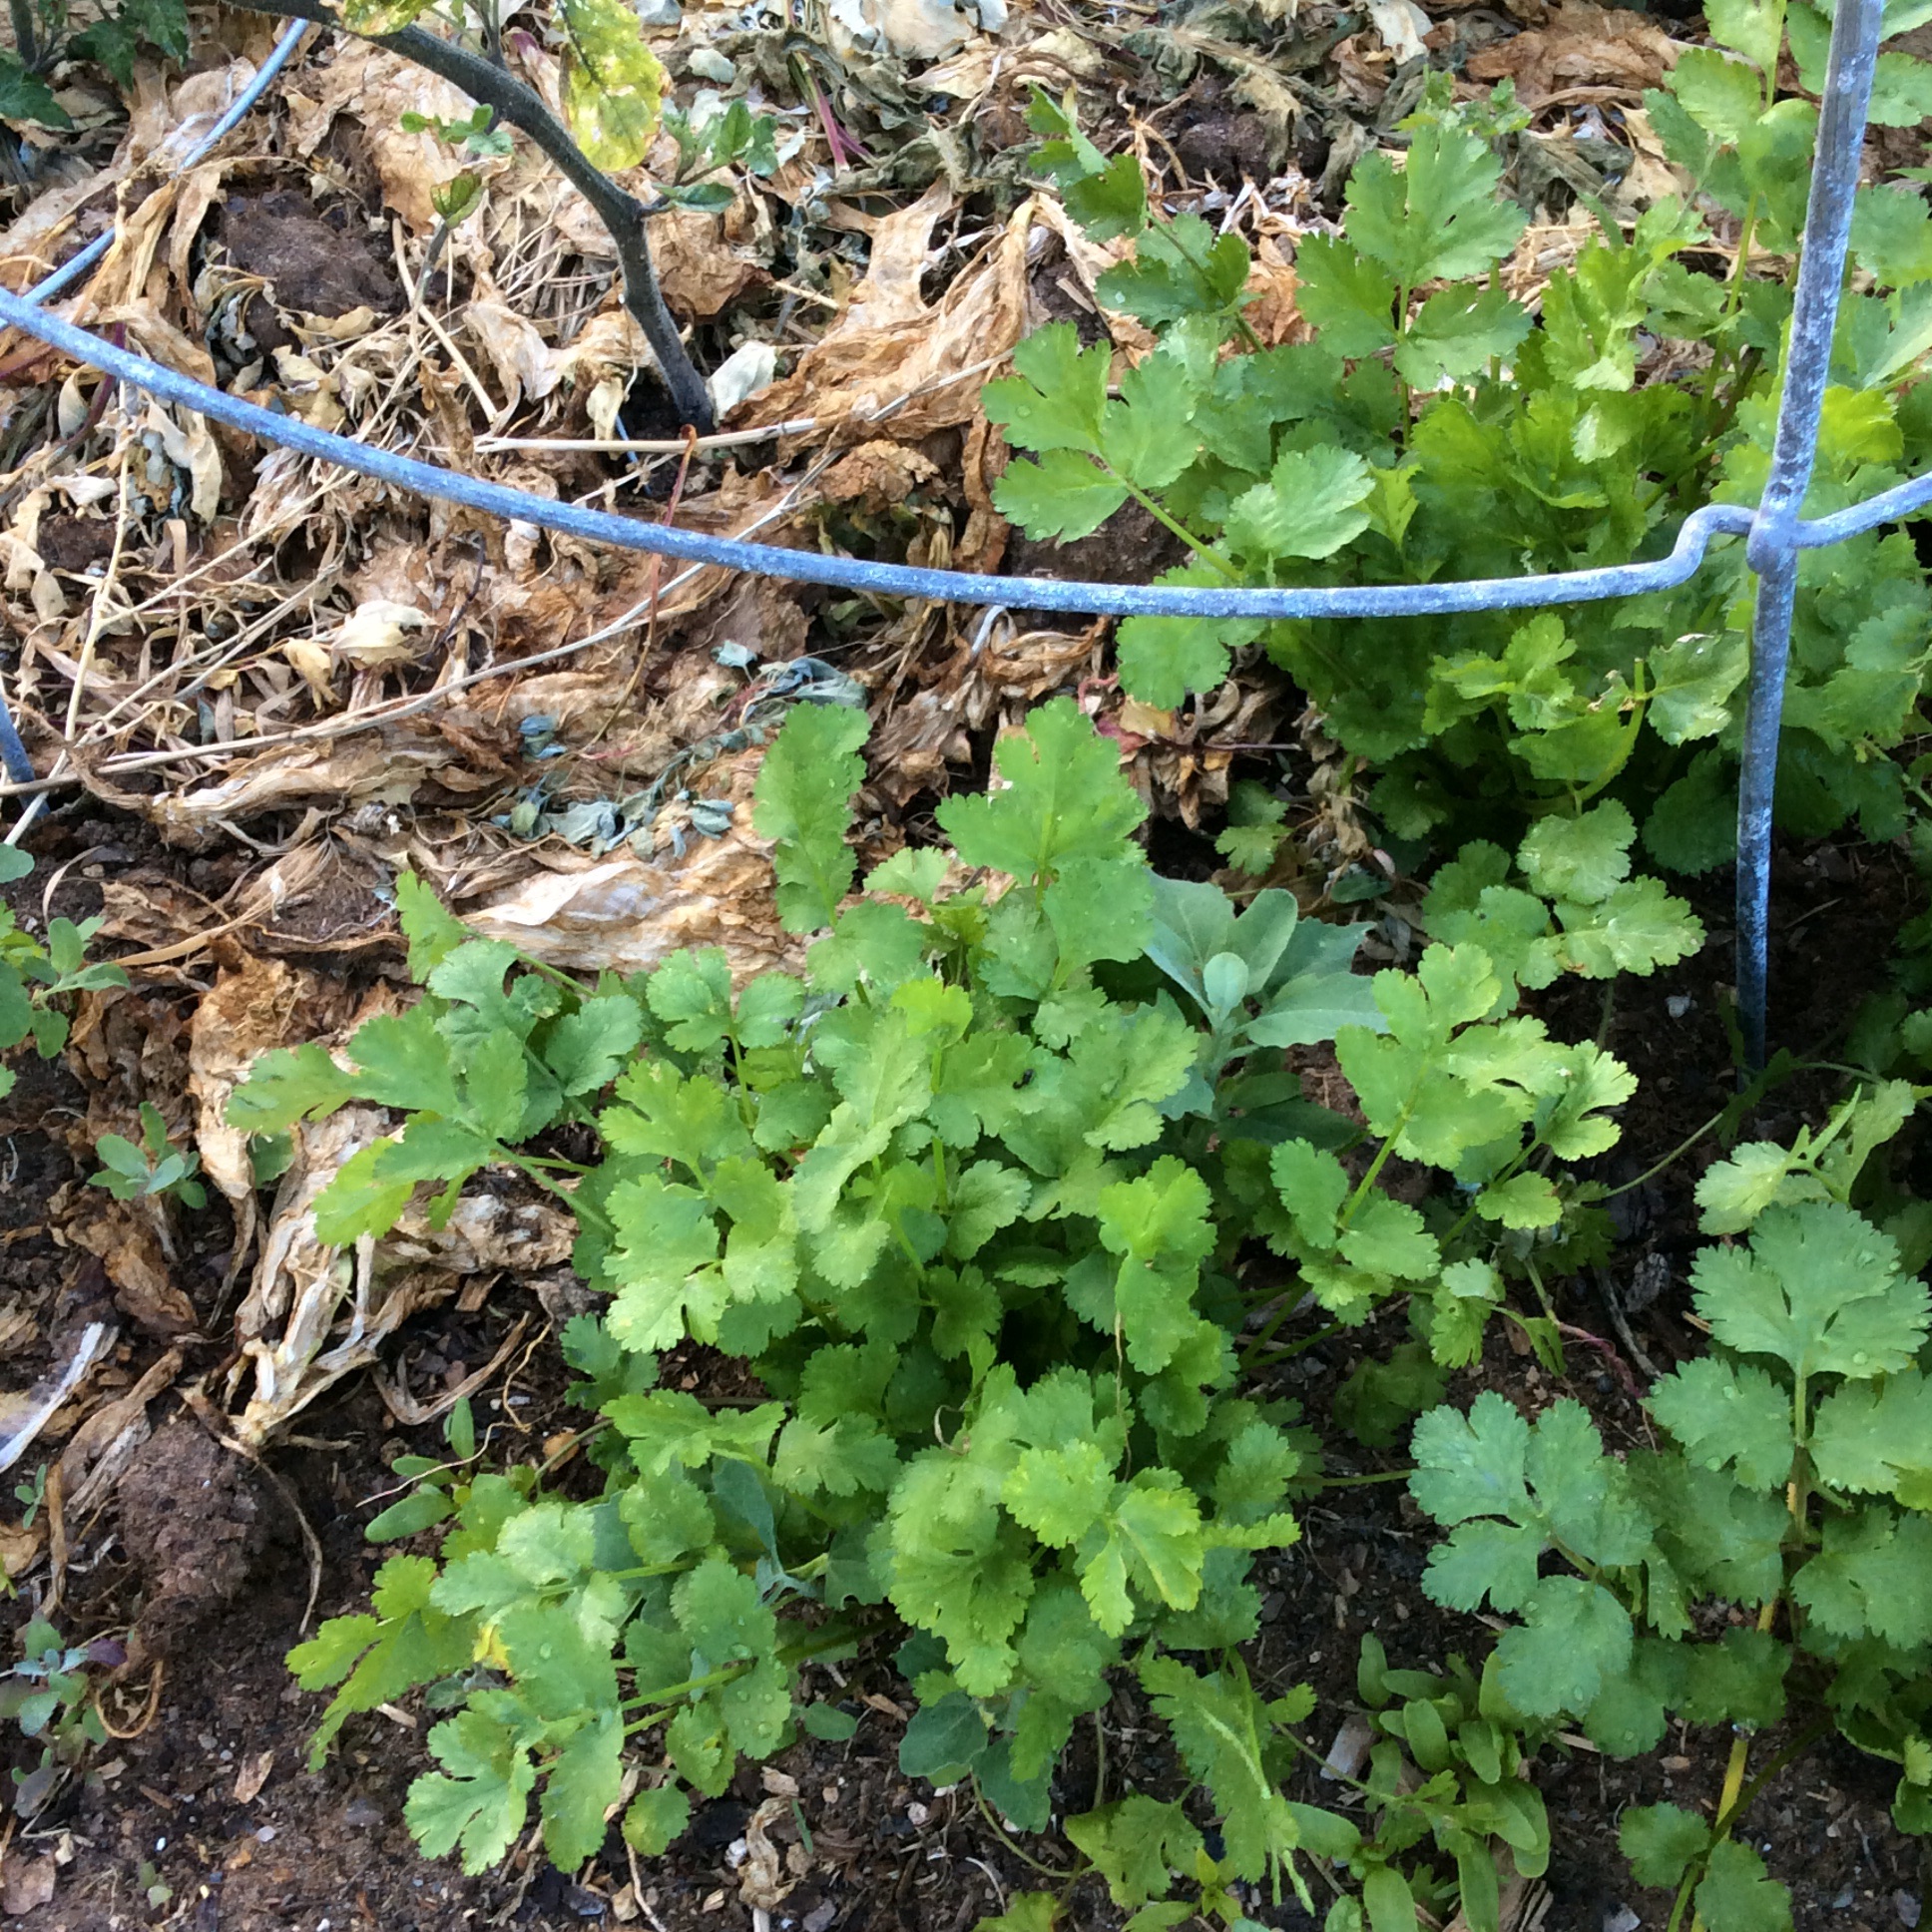
First, choose your variety carefully. You need a bolt-resistant type that can be bought in ounces, not packets. Don’t plant the seeds sold as spices. Currently my favorite is Calypso. Second, forget rows. Plant it in bunches that you can harvest all at once, and only have as many bunches maturing per week as you will actually use. I like the bunches to be spaced 8-10″ apart each way, and I plant 15-20 seeds in each bunch, all clustered into an area about 2″ in diameter. I plant 4 bunches a week, every week that I remember and have some bed space available, starting well before the last frost because cilantro likes cool weather and stopping as the days heat up. They will not occupy their real estate more than a couple of months, so I plant them in places where big heat-loving crops like tomatoes or zucchini will take over the space. In the picture above, you see the stem of the young tomato which will spread out when the days heat up. You may also note the early lettuce that occupied the tomato’s space over the winter, now serving as a light mulch.
When the plants are 7-8″ high, I harvest the bunch by cutting about two inches above the ground. They are quite clean because the crowded plants hold each other up, and just need a quick rinse before being used in your favorite way. Cut the bunch rather than pulling, because those stems will keep on working.
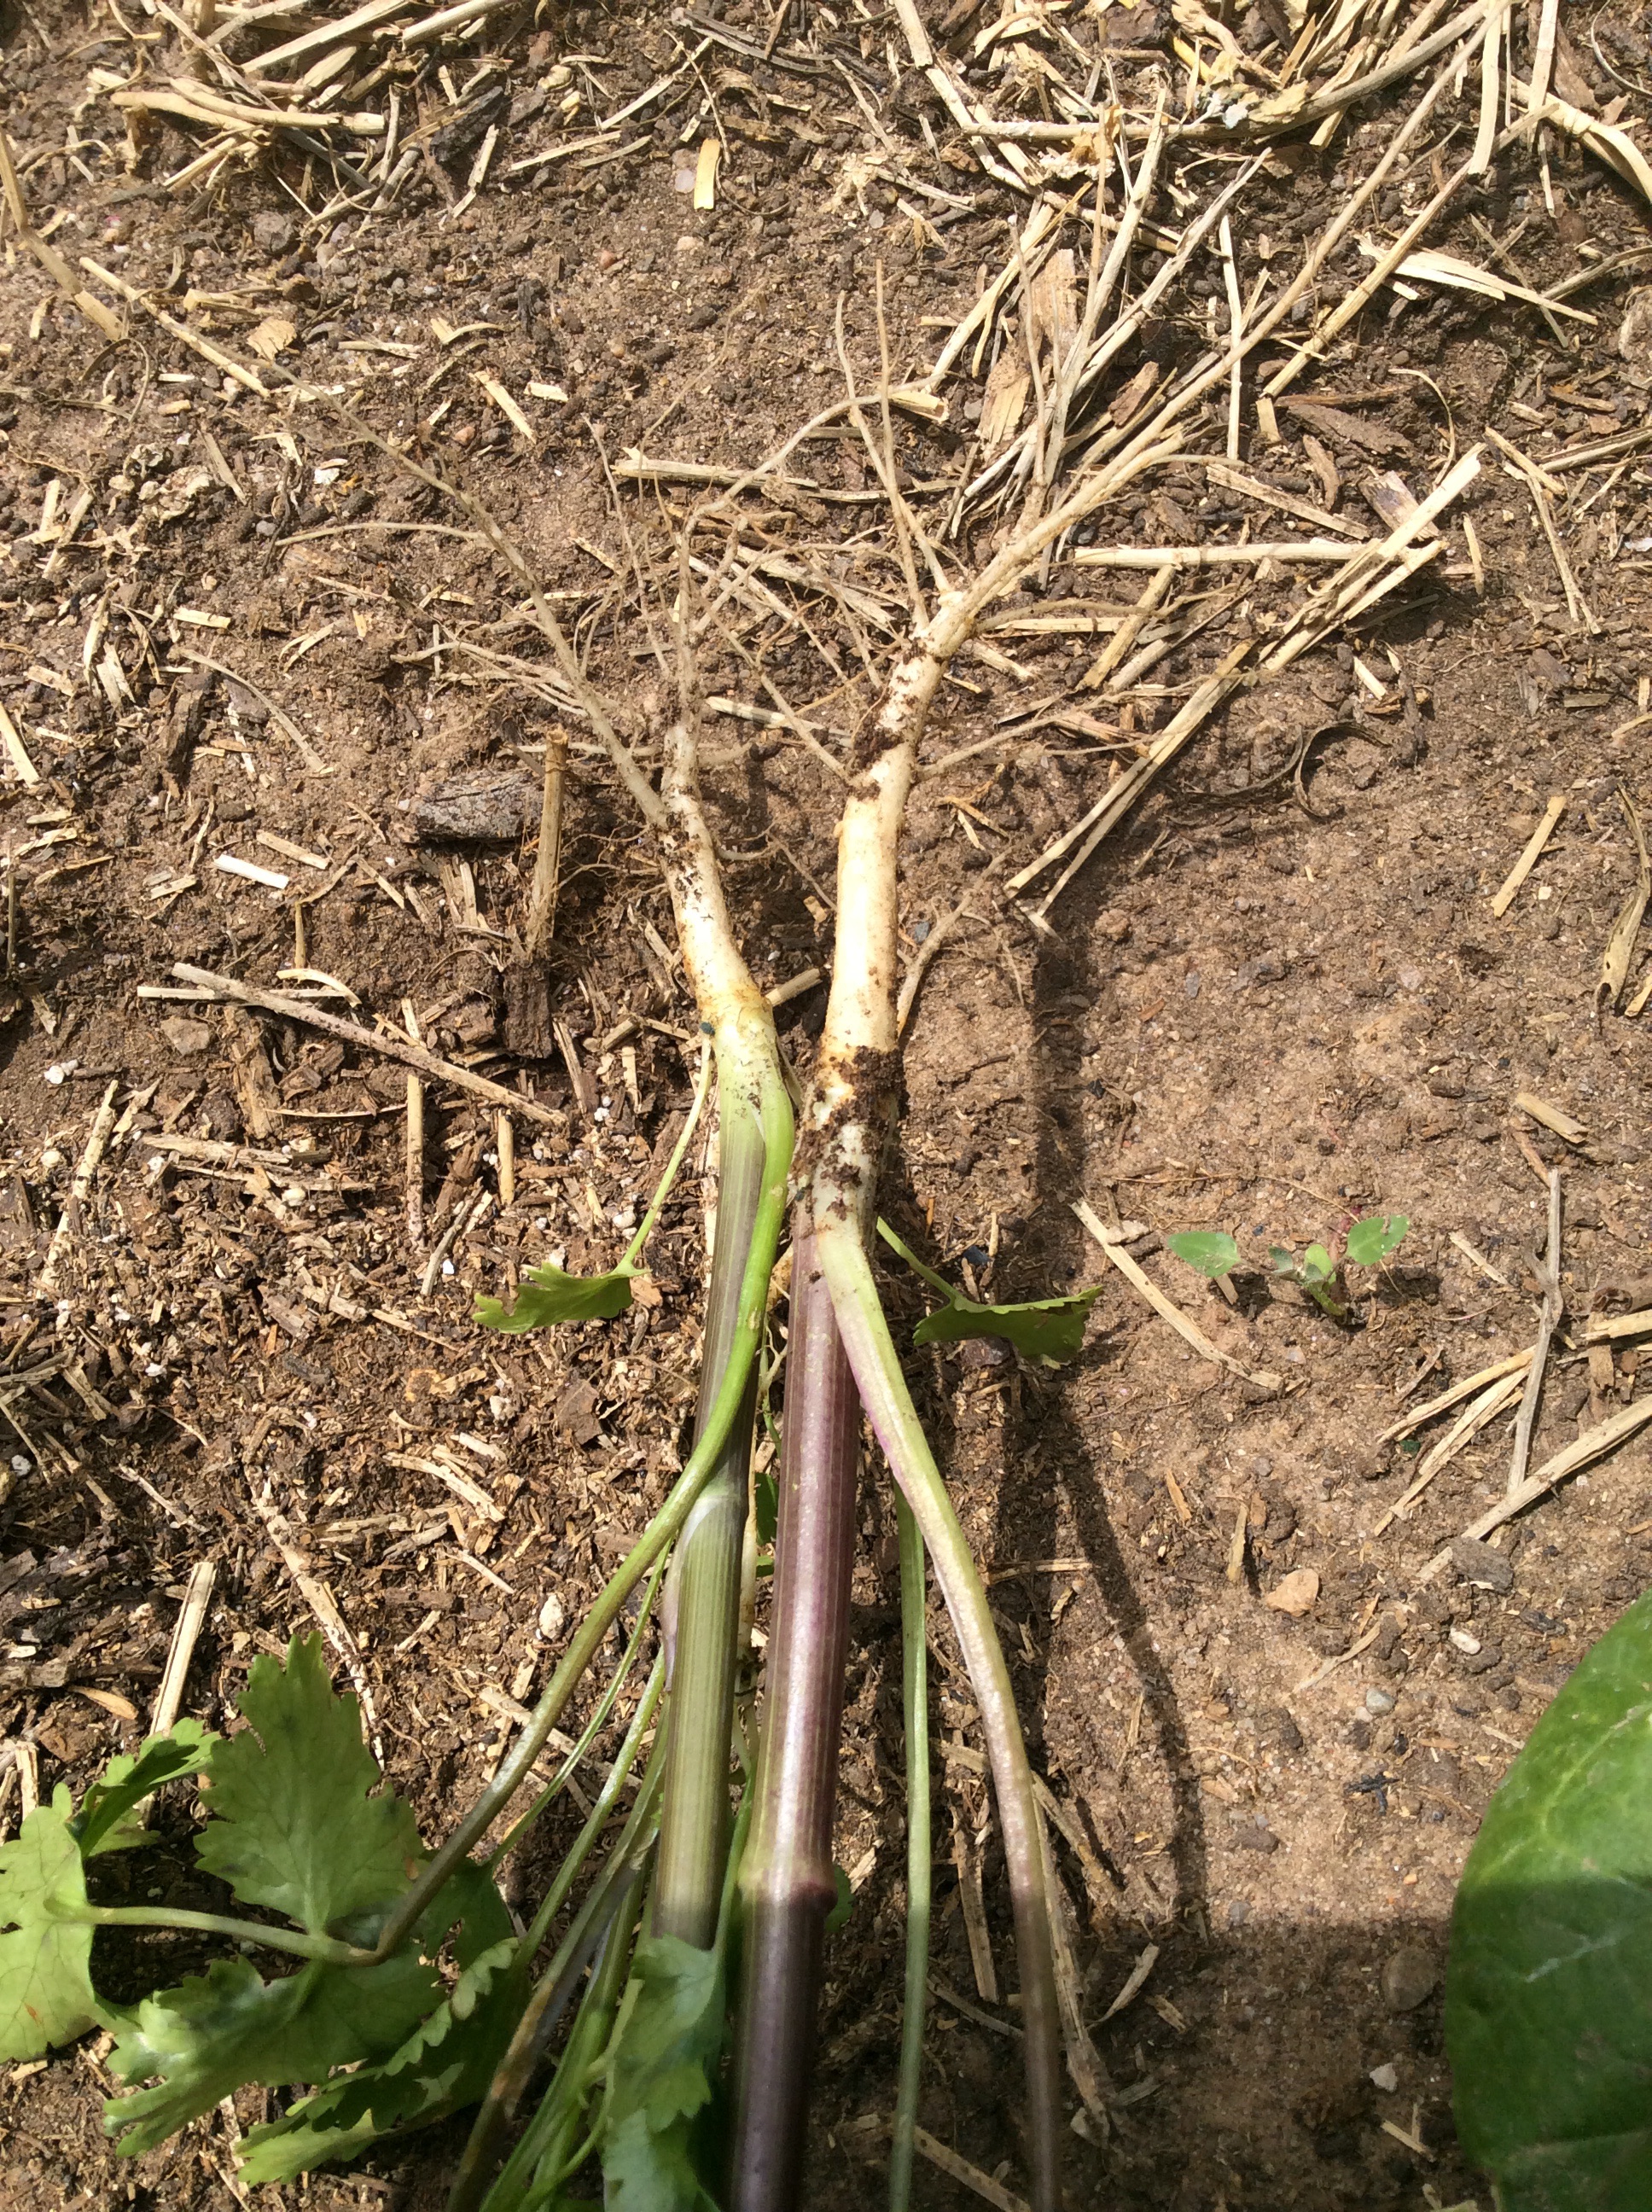
Leave the cut stems in place. When they show a good amount of new growth,you will notice that the leaves are finely cut and feathery rather than looking like grocery-store cilantro. This new growth doesn’t have the full cilantro flavor by any means, but I still like to throw chopped handfuls into salads and pounded green herb sauces. But what we are really after at this point is not the leaves. When some of your bunches are tall and starting to bolt, pull them for the roots and lower stems. Scrub the roots and thick lower stems well, cut off the finer roots and discard (into the compost, of course) and chop the roots and stems thinly crosswise. This is your supply of cilantro root, which is used extensively in classic Thai cooking, while the leaves aren’t used in authentic curry pastes etc. In fact, make sure that no leaves get into your root, because the flavor is different and not right for this use. Thai cooking aficionados refer to it as the “unobtainable, mythical coriander root,” but it is highly obtainable if you have a garden. Now you can pound your roots and stems in your faithful mortar and pestle to make curry and seasoning pastes, or freeze them in little plastic bags in quantities of about 4 tablespoons. I tend to use mine up during the summer, which is when southeast Asian cuisine tastes best to me.
But don’t pull every bunch. Let some bolt, because you want the green seeds.
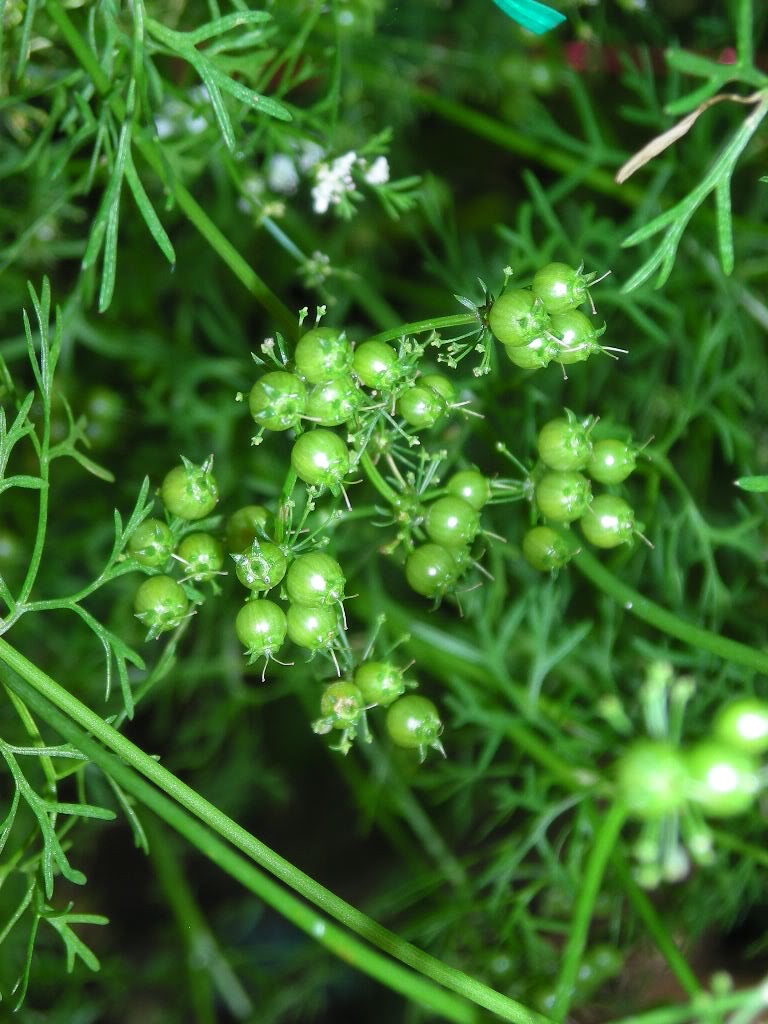
These have a flavor in between the leaves and the dried coriander seed and are delicious sprinkled over salads, used as a garnish on grilled meats, or tossed over bulgur or rice dishes.
Now you are finally done with your cilantro plants and can pull them and compost them, unless you want to let some set and dry seeds to use as coriander seed. I don’t dry and save seeds, personally. I can buy seeds easily, and prefer to use my own seeds green, when they are a fresh treat that can’t be bought.
For more on using the roots, check out David Thompson’s huge and highly addictive “Thai Food,” the best Thai cookbook in English in my opinion, although it does assume a scary amount of kitchen time😉
26 May
Integrating Your Weeds I: lambs-quarters

I’ve written a lot at various times about the Holy Trinity of edible weeds: lambs-quarters, amaranth, and purslane. In this post I don’t plan to say anything much about harvesting and cooking lambs-quarters, Chenopodium album, since I’ve said that already and the short version is “harvest them young, collect as little stem as possible, and use them like any other mild-flavored leafy green.” Personally I dislike the texture and mouthfeel of the raw leaves intensely, and only like them cooked, but others see it differently. This is their great season; after midsummer they are very eager to make seeds and are no longer very usable as a leafy green.
The focus today is on how to have them in your garden without losing everything else. They are highly competitive. First, don’t just let a nice big plant go to seed in your garden, unless you have a lot more space than I do, because they get six feet tall and nearly the same across and tend to flop around, and nothing else in that bed will survive. Instead, look over your self-sown lambs-quarters (which you almost surely have,) choose one right at an edge or corner of a garden bed, cut it down to an inch from the ground, and keep hacking at it until late summer, allowing it to make exactly one branch which lies out horizontally over the ground of the bed. This branch is allowed to go to seed, and everything else is clipped off. It helps if the planned plants in that bed are large and robust. All other lambs-quarters in that bed are pulled out by the roots after harvesting. Your mother plant will dry out in early fall, very unattractively I might add, and when you are sure that it’s dropped its seed, you can dig the husk of the mother plant out. This will take a lot of effort and a good shovel.
Next spring, you will see a fine mist of seedlings on that bed. Keep them watered for tenderness, harvest them at 6-8 inches tall, and be sure to pull out the roots. If you are growing other things in that bed, be sure to give everything else a head start. In the bed shown above, I hoed up the ground when the seedlings showed and planted collards and onions. Don’t worry about hoeing the seedlings. There are millions more to come. Then I let the second wave of lambs-quarters seedlings grow up among my plantings. Today I’ll harvest the lambs-quarters, and mulch around the remaining veggies and let them take over.
No doubt this decreases the total yield of collards and onions, but if you use a rich mulch like stable bedding they will make up for the slower start, and overall you are getting remarkable yields for the space. The returns are especially remarkable if you consider nutrient density, since lambs-quarters are among the most nutritious greens that you can eat.
You should only have to do this once, or maybe once every several years. You will then have millions of potential lambs-quarters in your soil and can grow a crop of them at any point in late spring or early summer that you have a bit of empty space. Just water the ground and stand back.
The marvelous foraging guide by Dr. John Kallas called “Edible Wild Plants: Wild Foods from Dirt to Plate” will enable you to identify and cook your bounty.
