Archive for the ‘home food production’ Category

The January Garden

img_5178

Here in agricultural zone 7 we have a fairly short winter, and I have never gone in for winter gardening.  I don’t have a greenhouse, for the simple reason that I have never been able to make up my mind what kind to get or where to put one. By late fall I have a freezer full of summer food, and I spend the long nights by the woodstove, catching up  on my reading and deciding what to try next.

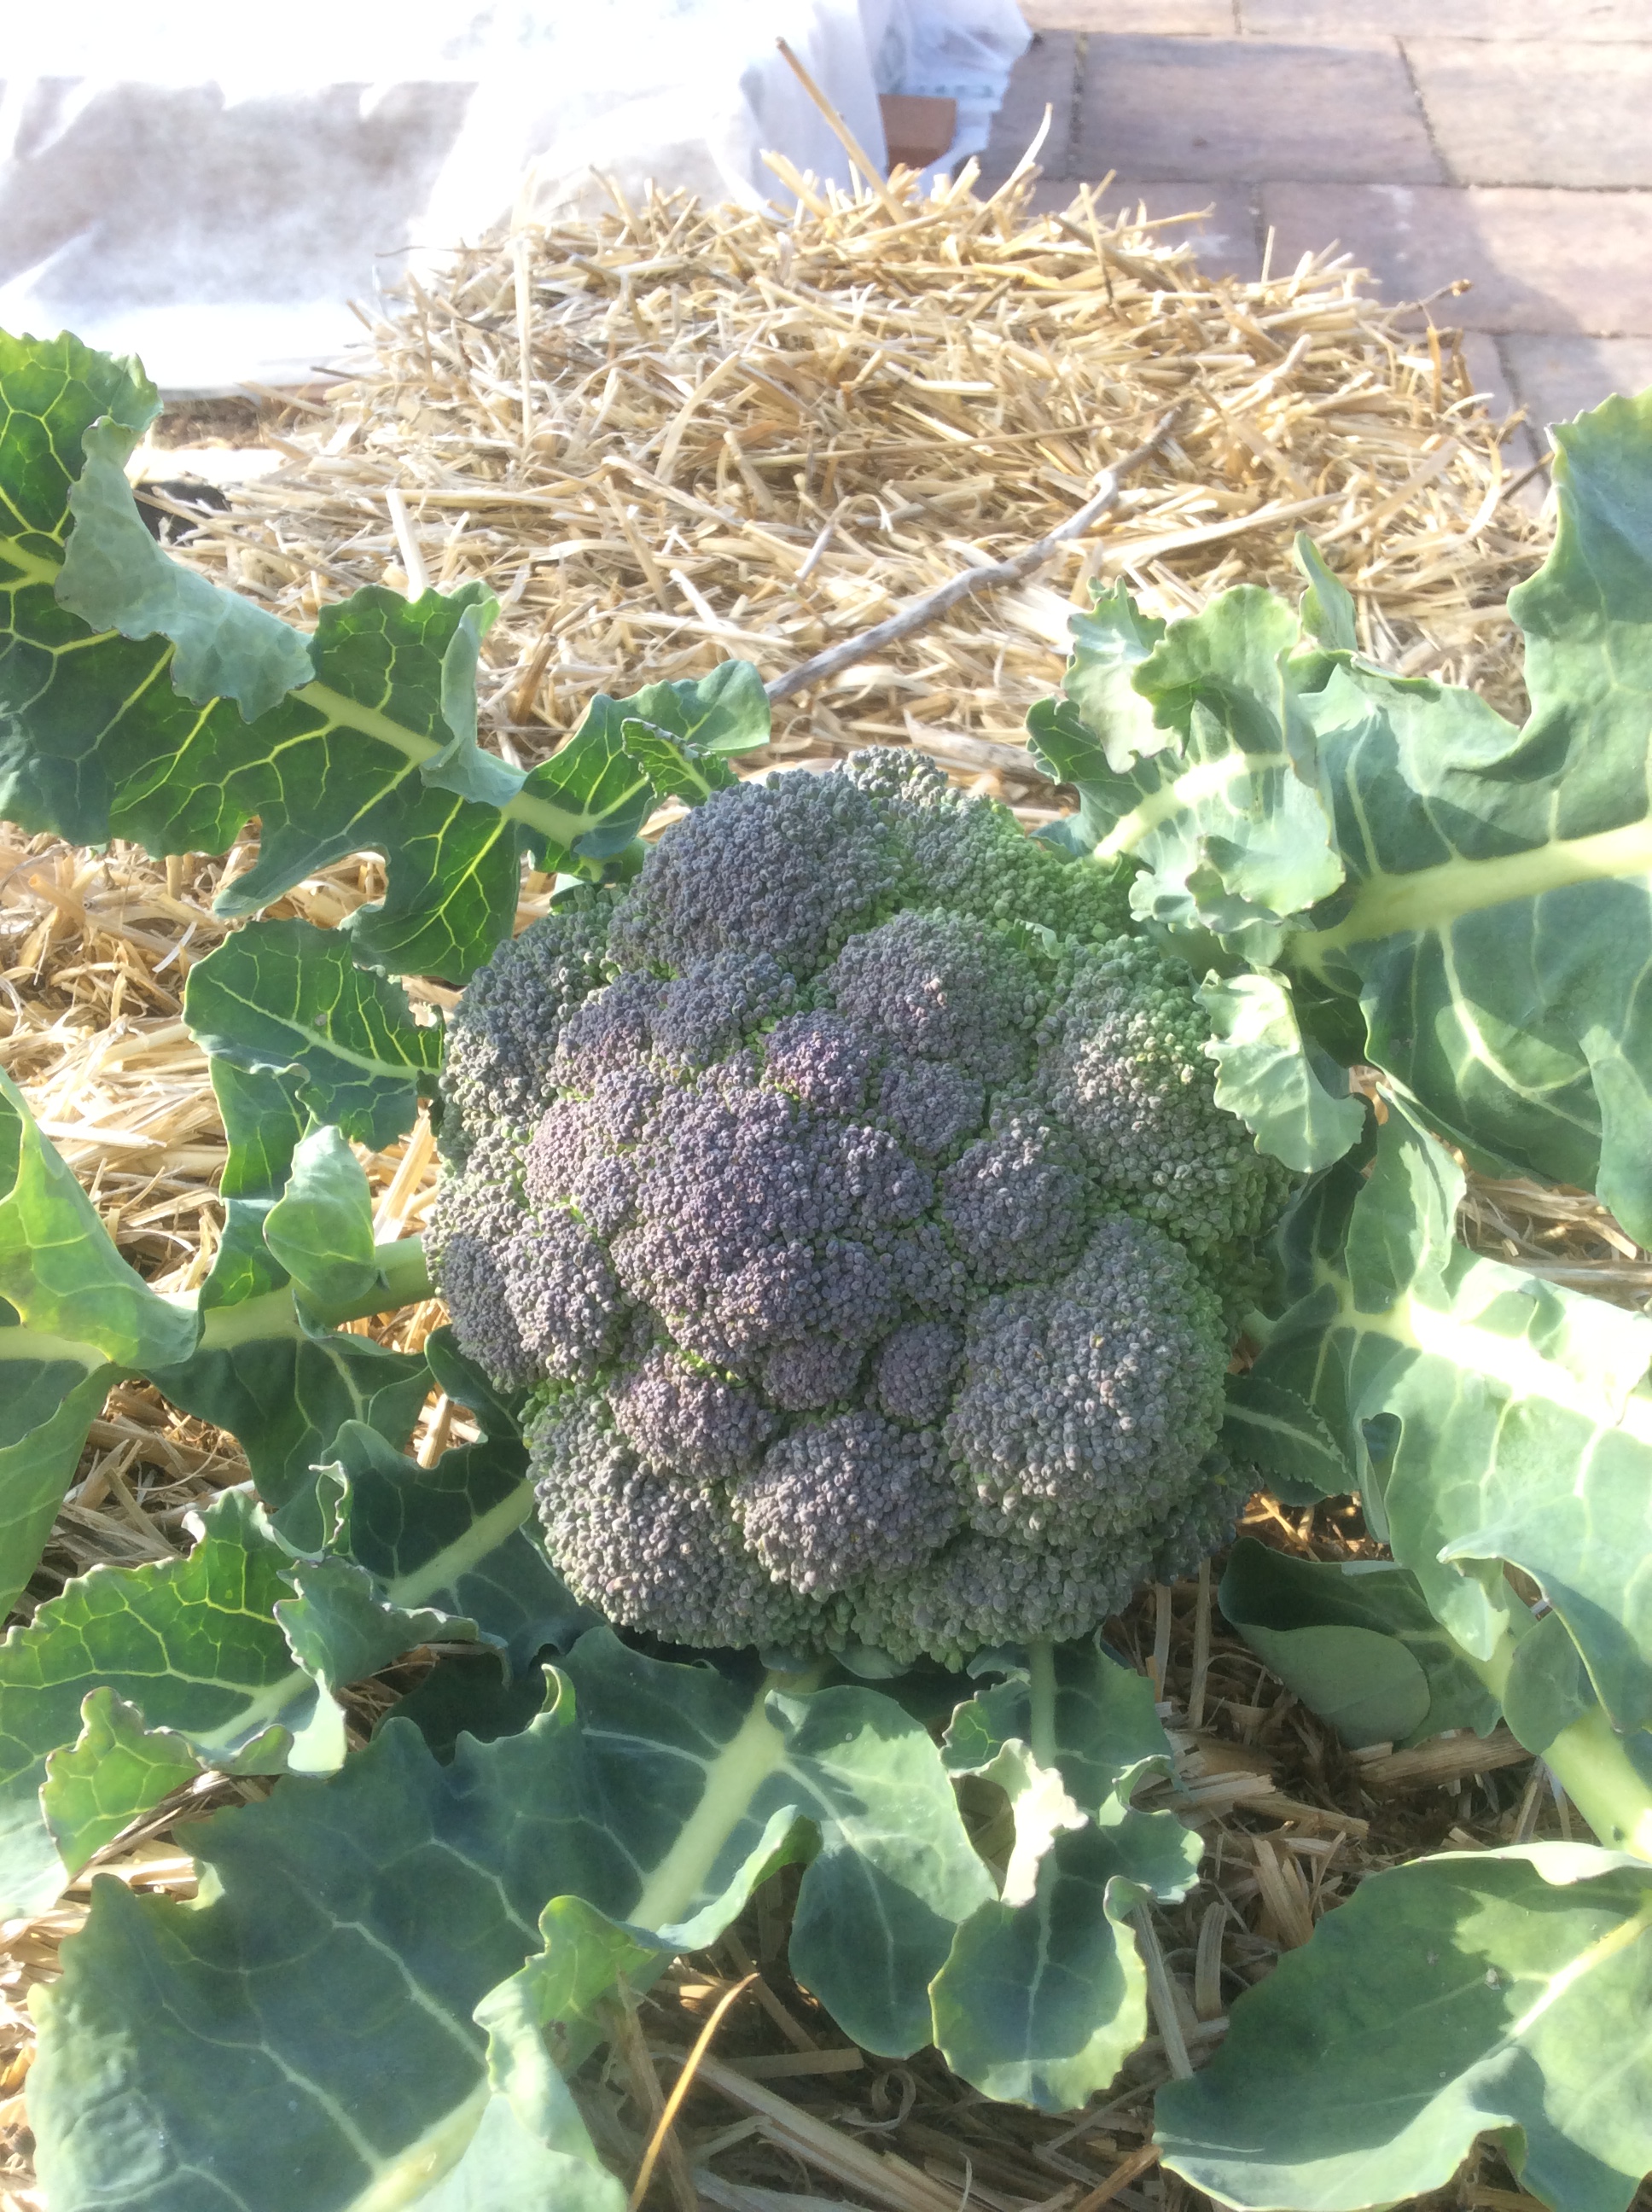
This year, though, I decided to try some very low-tech strategies to prolong my season.  This came about largely because in September I happened to visit a local nursery for supplies and saw a single lonely six pack of young broccoli plants going begging.  It seemed a shame to let them become trash, so I brought them home and planted them with the vague idea that they might winter over. After a little more thought, I ordered  a roll of Agribon-19 plant protection fabric, a lightweight nonwoven fabric that conveys about 2 degrees of frost protection.  It is 13 feet wide and comes folded double, so I put a double layer over the 10′ row of little plants and held it down with stones and bricks around the edges. I did not use hoops or any other kind of support, just left plenty of room for the little plants to grow. (Please note that you cannot do this with tomatoes, peppers, and other plants that have a “growing point” at the top of the plant. In those cases you have to support the fabric and keep it off the growing tip. But the majority of cold-weather garden plants do just fine this way. )  I watered periodically, but did not pay any other attention to the plants until I noticed small heads of broccoli forming. Then I  started checking more regularly. Naturally, because of the cold, the plants grew more slowly and the heads formed more slowly than they would in warm temperatures. This was an advantage.  I found that the heads would hold for up to a week before harvesting with no loss of quality.

The heads were unusually tender and sweet. I liked them best just steamed with a little butter or olive oil and salt. Not every plant produced well. Two of the six plants began to form heads, then the infant head “browned out” and died, although the rest of the plant looked healthy.  I am not sure if this was a disease or what it was, and hope that maybe one of my knowledgeable readers can clue me in.  But I harvested four beautiful heads, and they are continuing to form healthy side shoots, including the two plants that did not form heads.  Not a bad return for my minimal effort, with an investment of $2.99 for plants and about $10 worth of frost protection fabric which can be reused.

Two weeks ago, after the encouraging broccoli results, I planted three beds of salad greens, cooking greens, and more broccoli. Two beds are covered with a single layer of the lightweight Agribon-19 and the other with the much heavier Agribon-70, which gives about 8 degrees of frost protection but lets less light through. So far, all the beds have germinated well. I will be reporting on results. I still want a greenhouse, but this is looking good as a cheap way to keep fresh food on the table.

Good candidates for  growing this way are lettuces of all kinds, chicory, practically everything in the brassica family including broccoli, kale, and collards, arugula, green onions, green garlic,  and who knows what all else.  One of the beds that I covered is one where I have let edible weeds go to seed in the past, so I will watch with interest to see if I get an early crop of those too.  I have planted some snow peas undercover as well, to see if I get a substantially earlier crop this way.  In my climate we have a lot of wind storms in the spring, and just giving some protection from wind might speed them along.

image

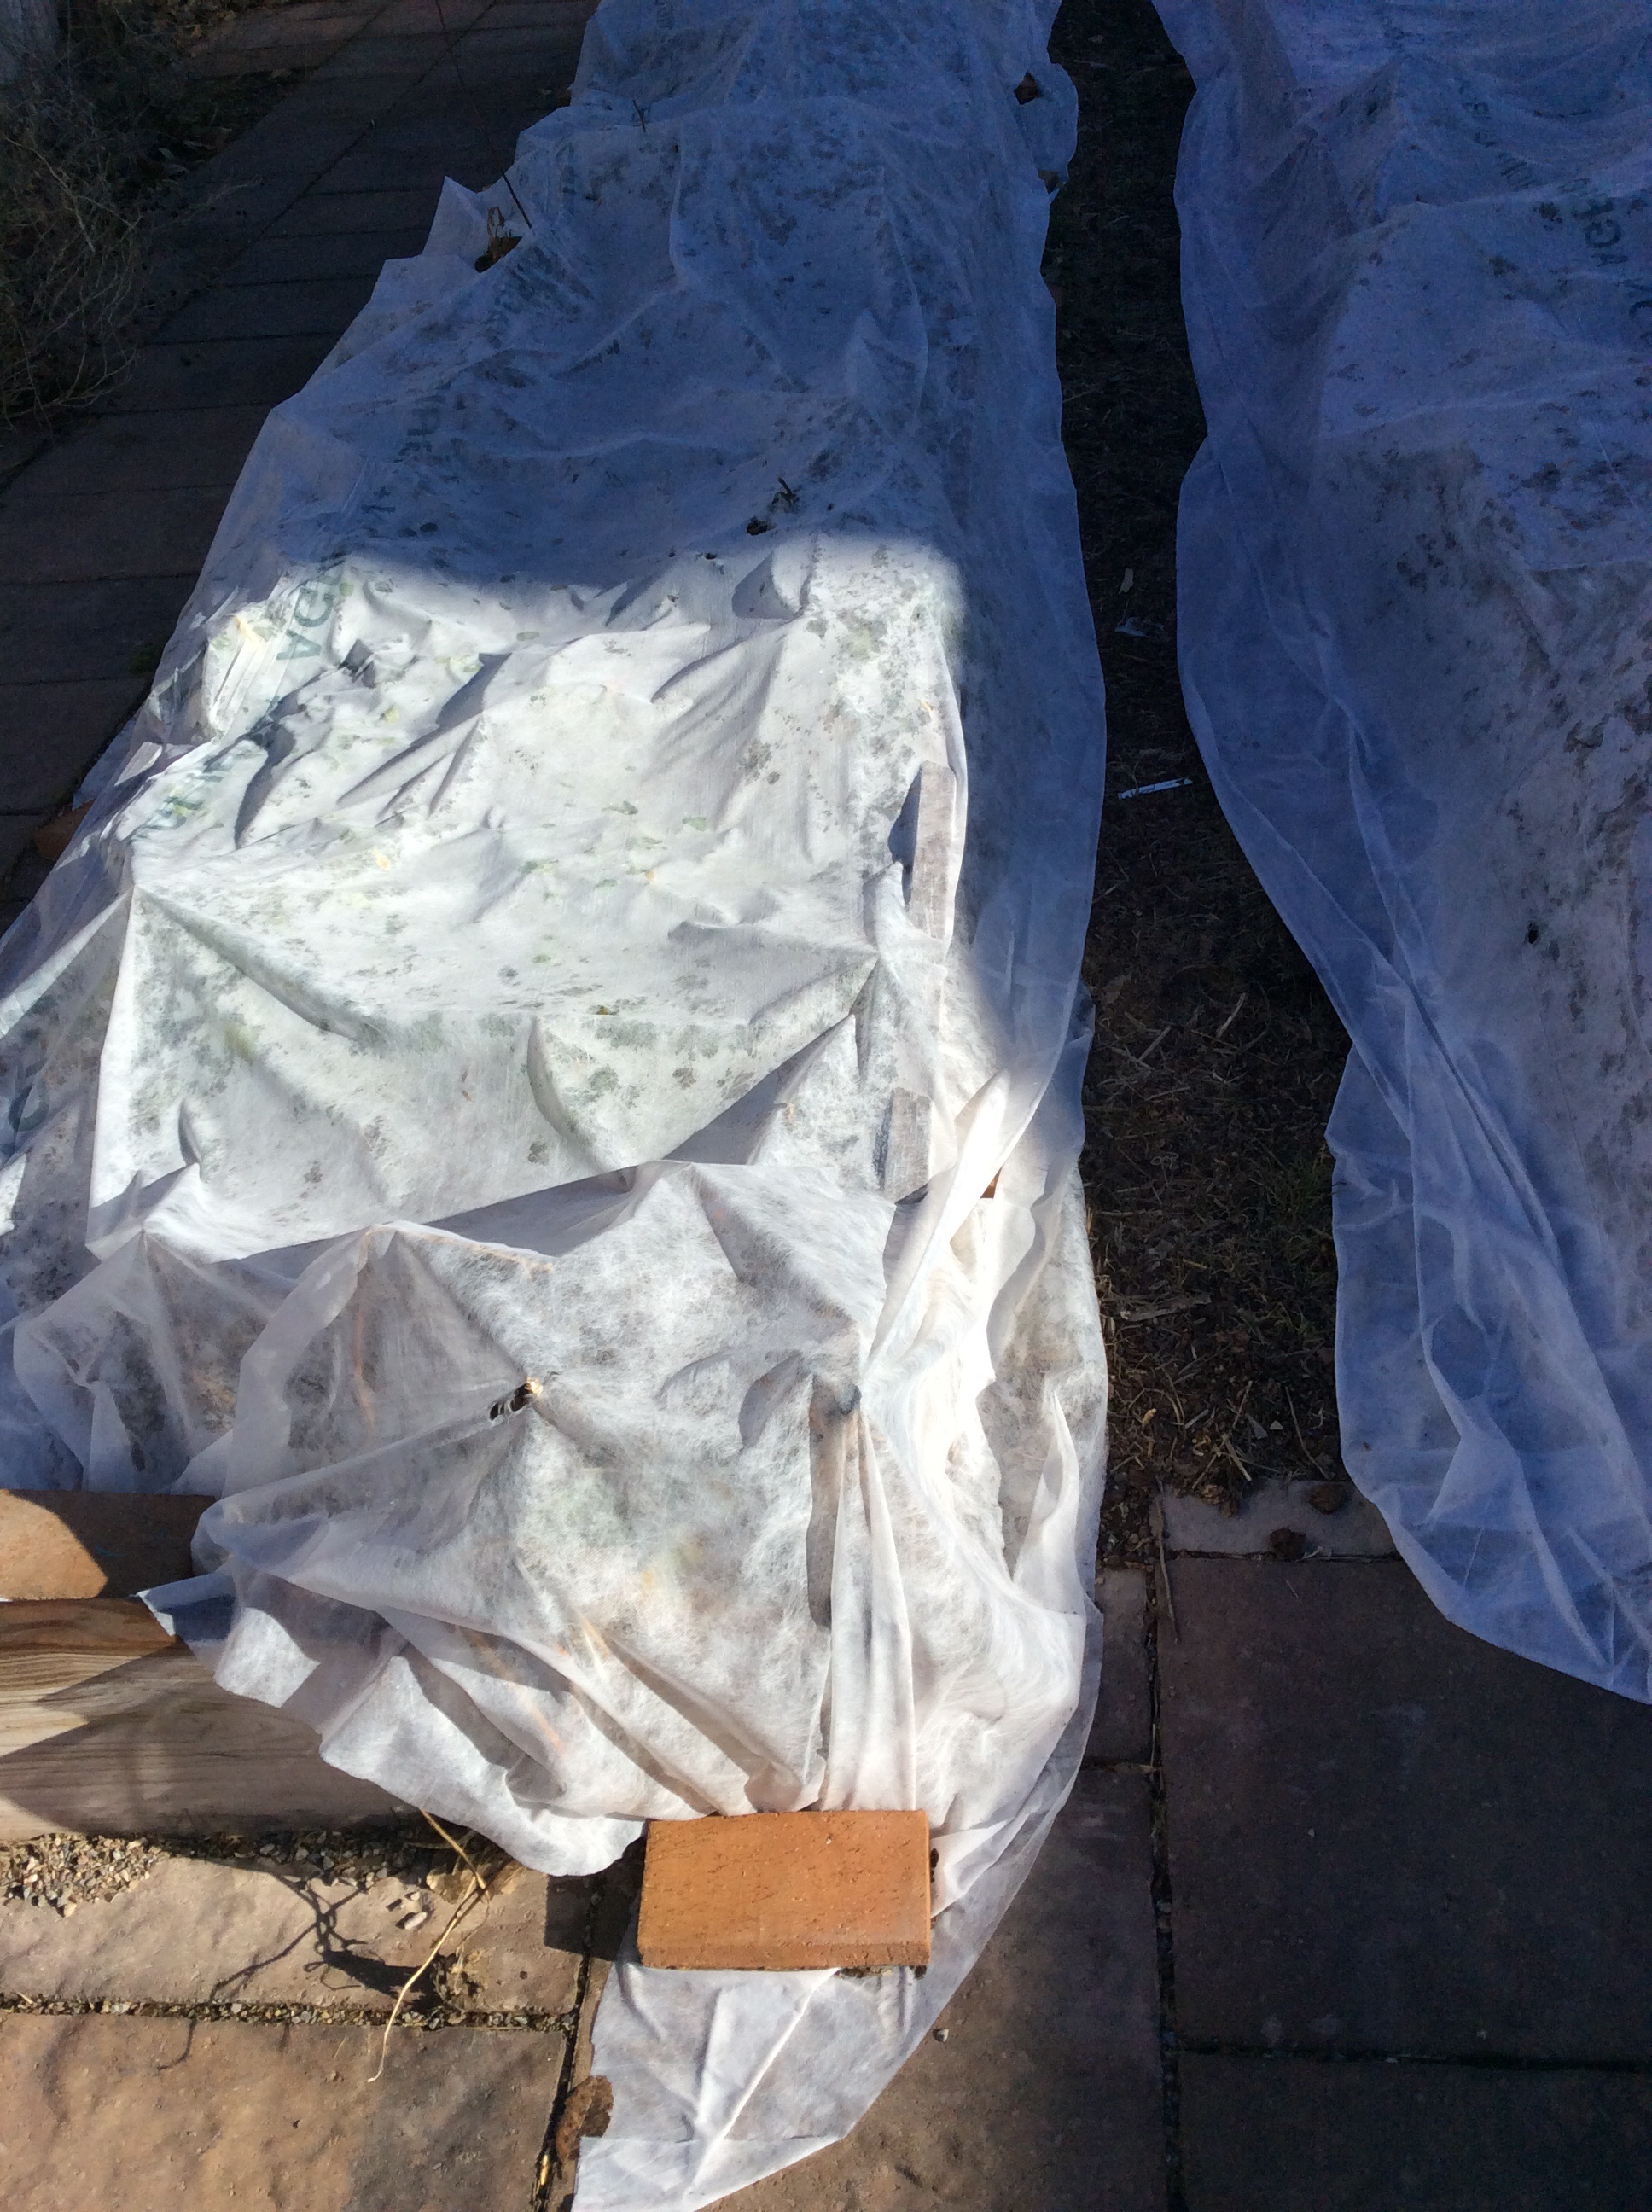
This picture is a cautionary tale: you can see here that before using the lighter cloth, you do need to cut away any old stems etc. that are sticking up, since they can tear the fabric.

Also, because of the decreased light transmission, the plants growing under fabric are essentially hothouse plants and will have to be hardened off to full sun gradually in the spring.  I speculate that the more bitter greens such as dandelion would be tastier and less bitter when grown this way, but don’t know for sure yet.  I am greatly looking forward to finding out.


Oyster Mushrooms Redux

img_5078

In a post this summer, I wrote about the delicious oyster mushroom and my own irritation that I was not able to grow them. My luck has recently changed, as shown above.

Ironically, this was by far my least scientific effort. There are many good books on mushroom growing if you want to learn how to do it properly. But here’s the very improper way I did it:

1. You will need a gallon of concentrated hydrogen peroxide for the sterilization step. I got mine at a pool supply store. It is 27% and I diluted it about 1 to 10 with water to make a nearly 3% solution. I used half the bottle to make about 5 gallons of solution for a total cost of $15.00.

2. Have ready a laundry basket that you won’t need for a while, a large clear plastic bag like a clear garbage-sized bag, a bucket to mix the H2O2 solution, a large bin (a clean plastic garbage bin is fine) for soaking the growing medium, and a source of spawn. You can order sawdust spawn from Fungi Perfecti or a host of other sources. This was an impulse effort for me, and I used a small home oyster growing kit on sale at a farmers’ market and just crushed up the little sawdust log inside to serve as “seed. ” Don’t do the crushing until you are ready to mix it into the moist substrate.

3. Collect junk mail, newspaper, and cut-up cardboard until you have your bin nearly full. Remove any plastic wrappers. I omitted anything with bright pictures etc. to avoid introducing unknown inks.

4. When ready to proceed, throw into the bin a few handfuls of something high in nitrogen for nourishment of the mycelium. I used waste alfalfa because I have a lot of it around, but you could just use organic soy meal or something similar. I can’t be more exact than “a few handfuls” because that’s how I measured it.

5. Pour in your 1 to 10 hydrogen peroxide solution and let it soak a few hours. If you just cover your substrate mix, it should all soak in. Add a little more if needed, but you want it thoroughly damp, not wet.

6. Line the laundry basket with the clear plastic bag. Crush up the hyphae or spawn source if needed. Pile the damp substrate into the basket, adding a layer of sawdust spawn every couple of inches. Pull the bag shut at the top, tie closed, and use a knife to make punctures in at least 10 of the open spaces on each side of the basket.

7. If you want to duplicate my procedure exactly, you now plop the whole rig in an unused and unswept corner of the garage, stride away muttering that you have wasted a few more hours trying to grow mushrooms, and forget about it for 5 weeks or until your spouse informs you that giant mushrooms are popping out and you should go take a look.  Better results will no doubt be obtained if you do it right, which is to hang a sterilized plastic sheet as a humidity tent, not letting it touch your growing rig, and provide air circulation and a humidifier, or mist multiple times daily. Suit yourself. But I got close to 3 pounds of mushrooms at the first flush with no attention at all beyond assembling the growing basket in the first place.

So, I will try this haphazard method again, especially because it should break down my junk mail enough to make it possible to incorporate it into the garden. If you are a better and more detail-oriented grower than I am, please comment and let my readers know how you do it.

ADDENDUM: Had to add a picture of the proof of the pudding.

img_5095

img_5087


Superfruit Sauce

img_4763

A couple of years ago I started my low-carb fruit project, aimed at growing maximum antioxidants with minimum carbohydrates.  This summer my plantings started to bear. Here are a few observations:

1. A good Italian plum tree is abundant beyond rational imagination. In season the branches are weighed down with thick ropes of plums and its overblown beauty warms your heart at sight. Make sure you have plans for the fruit. Prune plums are not low-carb at all but have plenty of soluble fiber in a delicious form, so I eat some.

2. Goji berries are my worst garden invader so far. They seem to behave better in other parts of the country, but they love my alkaline desert soil and go wild. Everywhere I look, yards from the parent plant, eager offspring are poking up among the broccoli and muscling aside the beans. The plants are rather thin, though, and don’t block any appreciable amount of sunlight, so I am happy to have them. But if your nature and aesthetic are more meticulous than mine, better plan to use a root barrier. The shoots, gathered when they still snap cleanly, were one of my favorite perennial vegetables this year. The flavor of the fruit is nothing to write home about, but I enjoy them in savory dishes or mixed with other berries.

3. Clove currants, when left on the bush for a couple of weeks after they turn black, are delicious. Eat them before that and you’ll wonder why you wasted space on them.

4. Goumi berries are very well suited to alkaline soil and tolerate heat well. They smell heavenly when they bloom in May, with a far-reaching honeyed sweetness that is free of the grape Koolaid note that can be overbearing in their close relative the Russian olive.  Again, once they turn red, start tasting every few days, and don’t harvest until they taste good. It’s very worthwhile to buy the expensive named varieties. I didn’t, and my wild-type berries are so tiny that harvesting is very slow and tedious. I’ll be planting some selected varieties next spring.

I had relatively small amounts of all the berry types this spring, so I decided to mix them together and add plums to make a sauce base for producing my own hot sauces and chutneys. Other than stoning the plums, I didn’t do any other prep. I threw roughly equal quantities of the four types of fruit in a stockpot, added good red wine to just cover the fruit, and simmered slowly until the fruits were soft. I think it was about 90 minutes. Then I put the mixture through a food mill to remove any woody seeds that the goumis had contributed and to smoothe and thicken the mixture.

img_4765

Add salt to taste. Now you have an antioxidant-rich purée that can go in a number of directions. Cooked down a little further until it thickens up, and sweetened to taste with sugar or your favorite artificial sweetener, it makes a tart local substitute for cranberry sauce. Cooked a bit with sweetener and chopped garlic and ginger, it makes a delicious Asian sauce for garnishing pork, dipping dumplings, or just as a table sauce. Make hot sauce by pureeing a can of chipotles en adobo in the blender and adding to the superfruit base by spoonfuls until you get the heat level that you want. Sweeten or not; I like some sweet with my heat. My favorite use is superfruit chutney: to a cup of base add a couple of teaspoons of mustard seed lightly toasted in a dry skillet, a teaspoon of garam  masala, a small onion and a clove of garlic finely chopped, and a small piece of ginger grated. Crumble in a dried chile or two if you like heat.  Salt a little less than you think is optimal. Simmer together, adding a little water if necessary, until the alliums are cooked and soft. Taste, adjust seasoning and salt, and cool. Serve with nearly anything Indian.

img_4258

I froze some superfruit base in cartons to use this winter. It could also be canned, although I would suggest pressure canning for safety.


Canna Lilies

img_4917

Every year I try a few new edibles, and I try to lean toward perennials. I have a lot of edible perennials in the spring but very few that produce in hot weather, so I’m especially interested in any heat-tolerant edible. This spring I read about canna lilies as a multi-purpose edible, with young leaves, rhizomes, and flowers all edible. I have seen them perennialized in my area, they tolerate heat beautifully, and I grew up in Louisiana and still have a taste for overblown tropical flowers, so putting in a canna patch was a natural. They grew well and were very pretty, and didn’t even need that much water since they were well mulched.

The hitch came in the kitchen. I tried young tightly rolled leaves sliced on salads, flower petals on top of salads, and finally the season’s new rhizomes boiled. In all three cases the problem was that there was no objectionable flavor but also no desirable flavor. Cannas taste as much like nothing at all as it’s possible to imagine. Since I don’t know of any pressing nutritional reason to eat them, and since yield is low and they use up a fair amount of space, I doubt that I will try them again. I imagined that my goat would enjoy the leafy adult stalks, but to my astonishment she won’t touch them.

So, overall, no reason to keep growing them except that they’re pretty and can make a dramatic addition to summer flowers. And this leads to a bit of ranting about the concept of permaculture. I have recently perused with interest a book claiming that  permaculture could help feed a rapidly expanding world population in an environmentally sound way, but the picture of the authors’ market display shows nothing but standard annual vegetables.  Another book which purports to be a permaculture cookbook has recipes based almost entirely on standard annual vegetables.  If you hope to eat something other than asparagus and spring greens, what exactly do you grow? My weed patch is a partial answer to this question in my own yard, and I’m experimenting with a few Japanese and Andean perennial edibles (so far without much success.) Fruit is an obvious possibility but many of us have weight or blood sugar issues and need to limit the amount of fruit we eat. So in my view the question remains unanswered, and I will be growing and eating annual vegetables for the foreseeable future.  I’m also interested in the concept of wild-crafting, and in my case this means that I attempt to grow edible perennial weeds in my own yard, where I can control soil and moisture and not worry about overharvesting in the wild.

In springtime, the asparagus springs up, nettles and a host of other wild greens sprout, and I can feel like a real permaculturist for the entire month of April. After that, it gets a lot more limited and I’m a more traditional gardener. Unfortunately, canna lilies are not going to do anything to change that.