Archive for the ‘home food production’ Category

Backyard Mushrooms

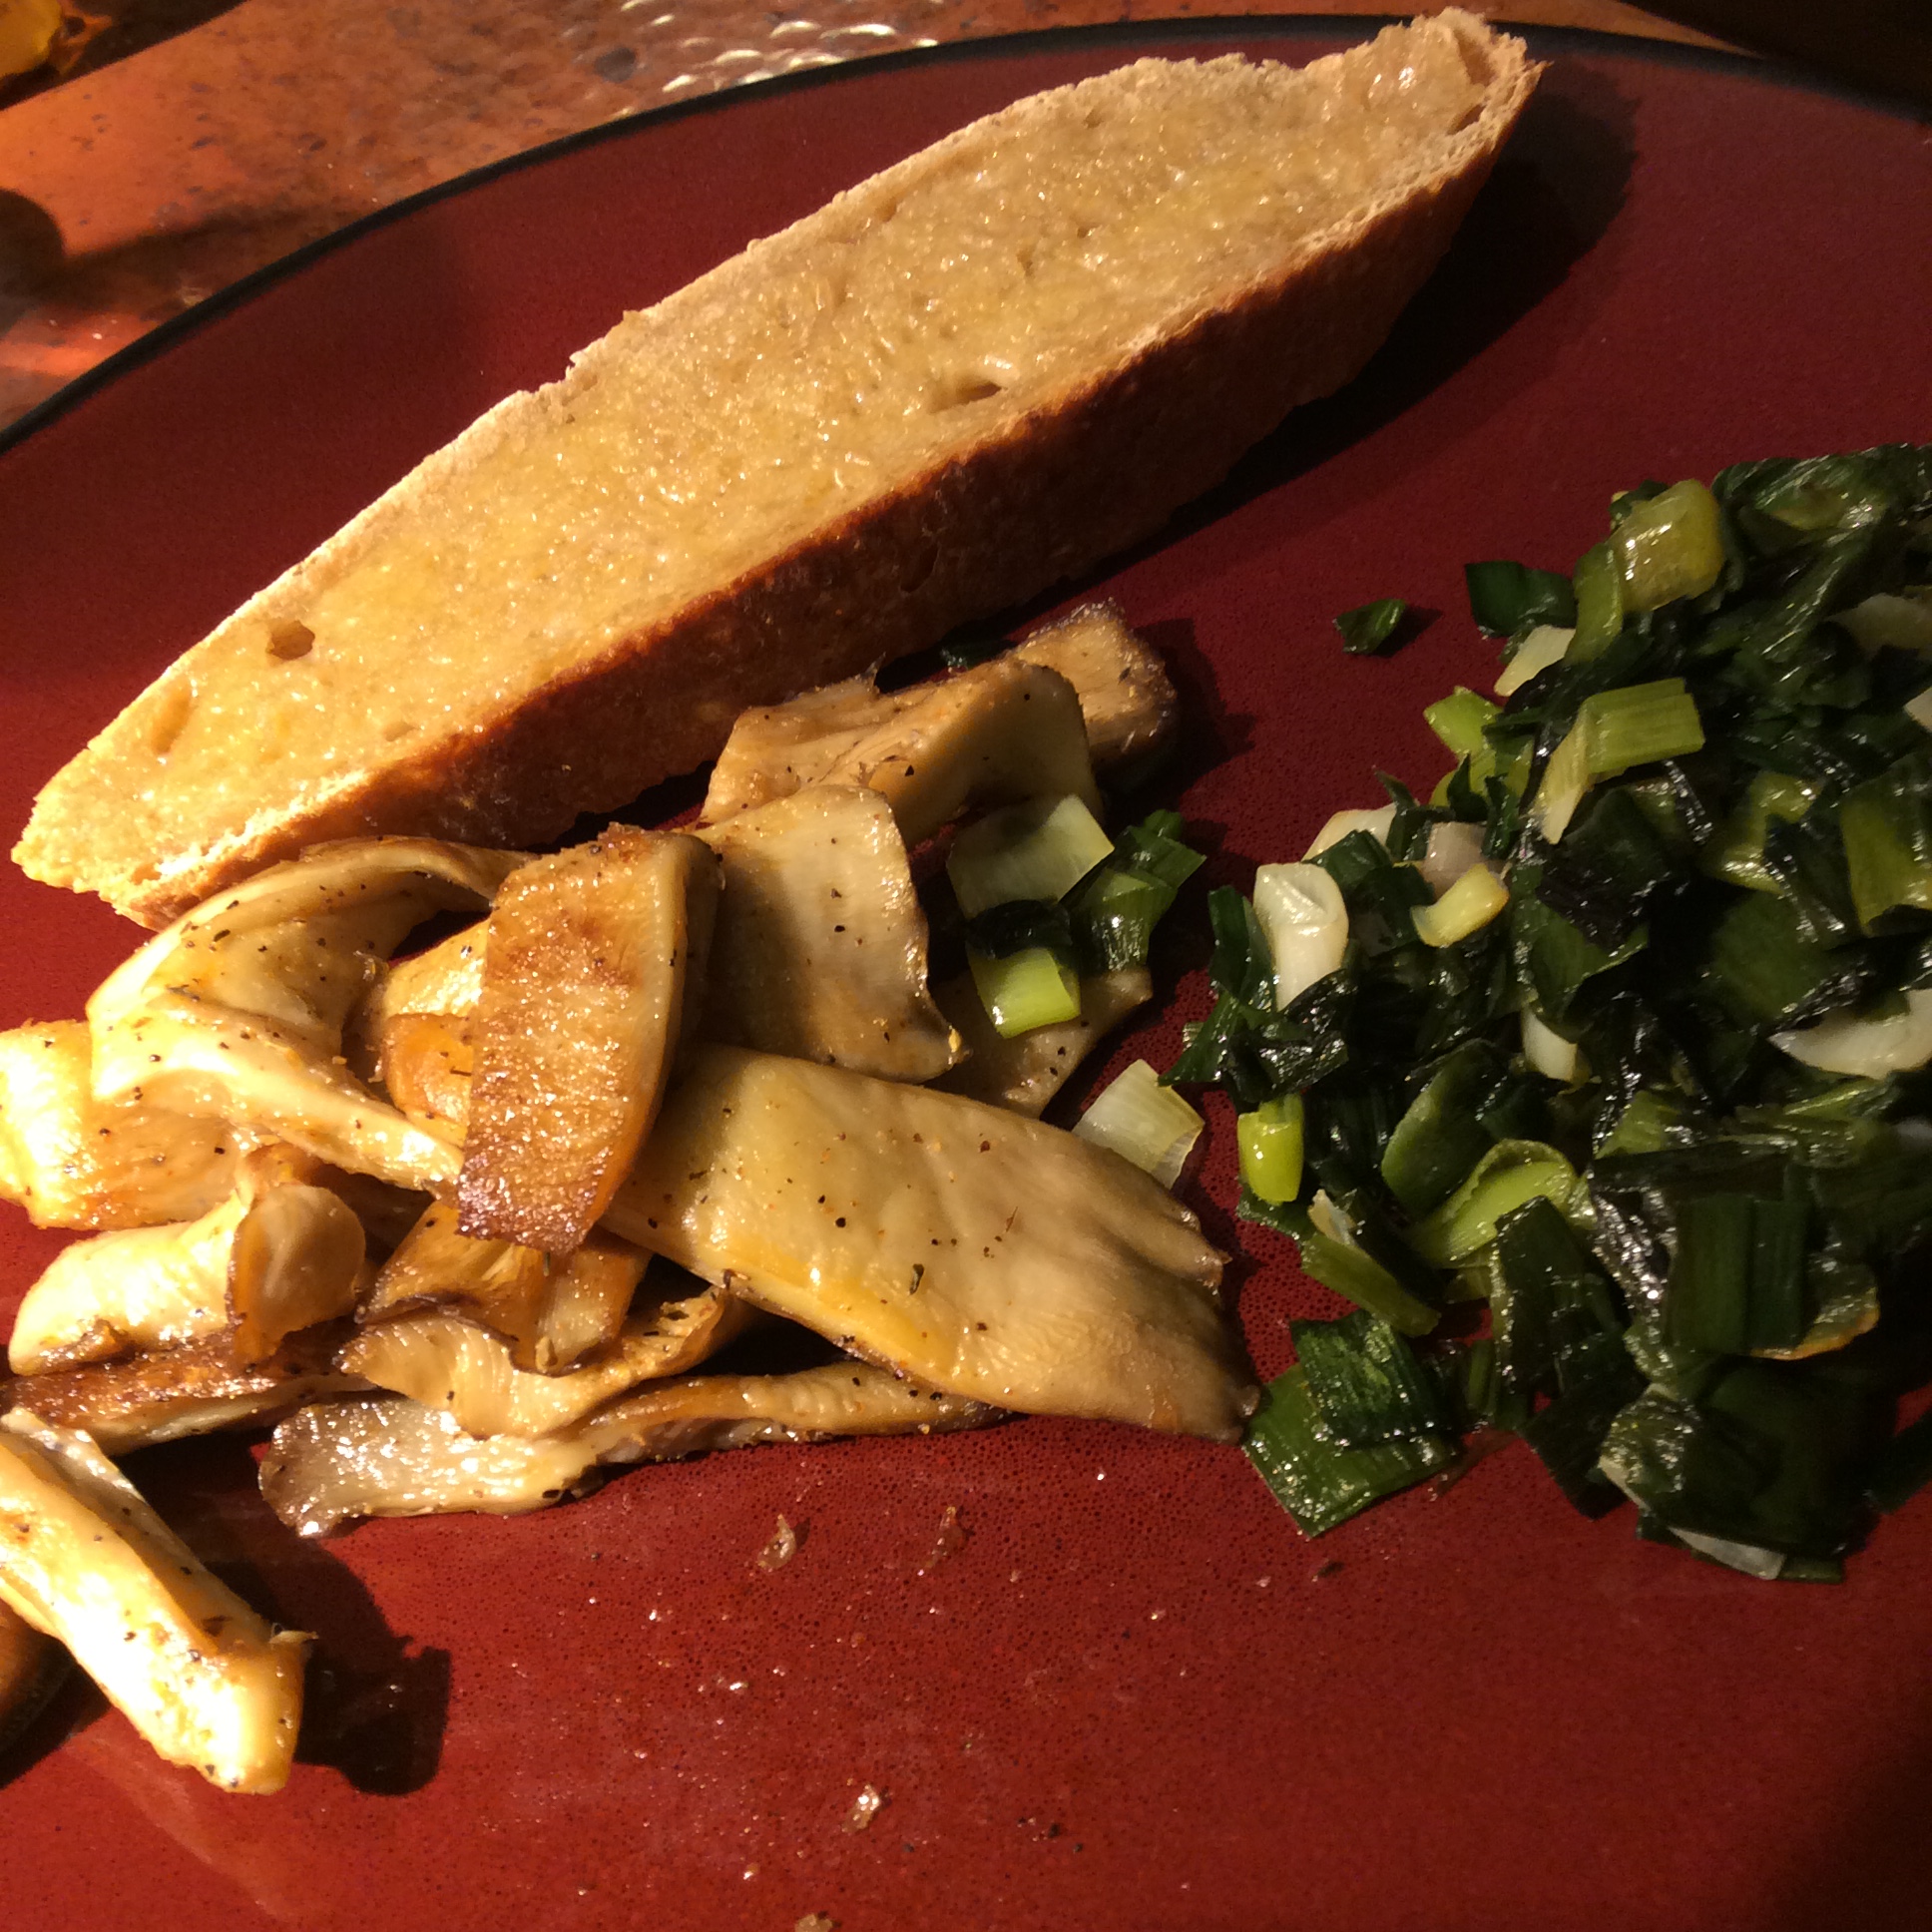
For years I moaned and carried on about my inability to grow mushrooms as an integrated part of my urban homestead, and now I can’t stop them. All winter I grew oyster mushrooms in the garage on a substrate of recycled paper, and last month I put the theoretically depleted basket of substrate outside in the shade with the thought that when I got around to it, I would break up the broken-down paper and incorporate it into my mulch. Instead, the basket was within range of a sprinkler that I was using every other day to help some new plants get started, and produced another three pounds of mushrooms. So this might not  exactly be the Pacific Northwest around here, but the adaptable oyster didn’t care.

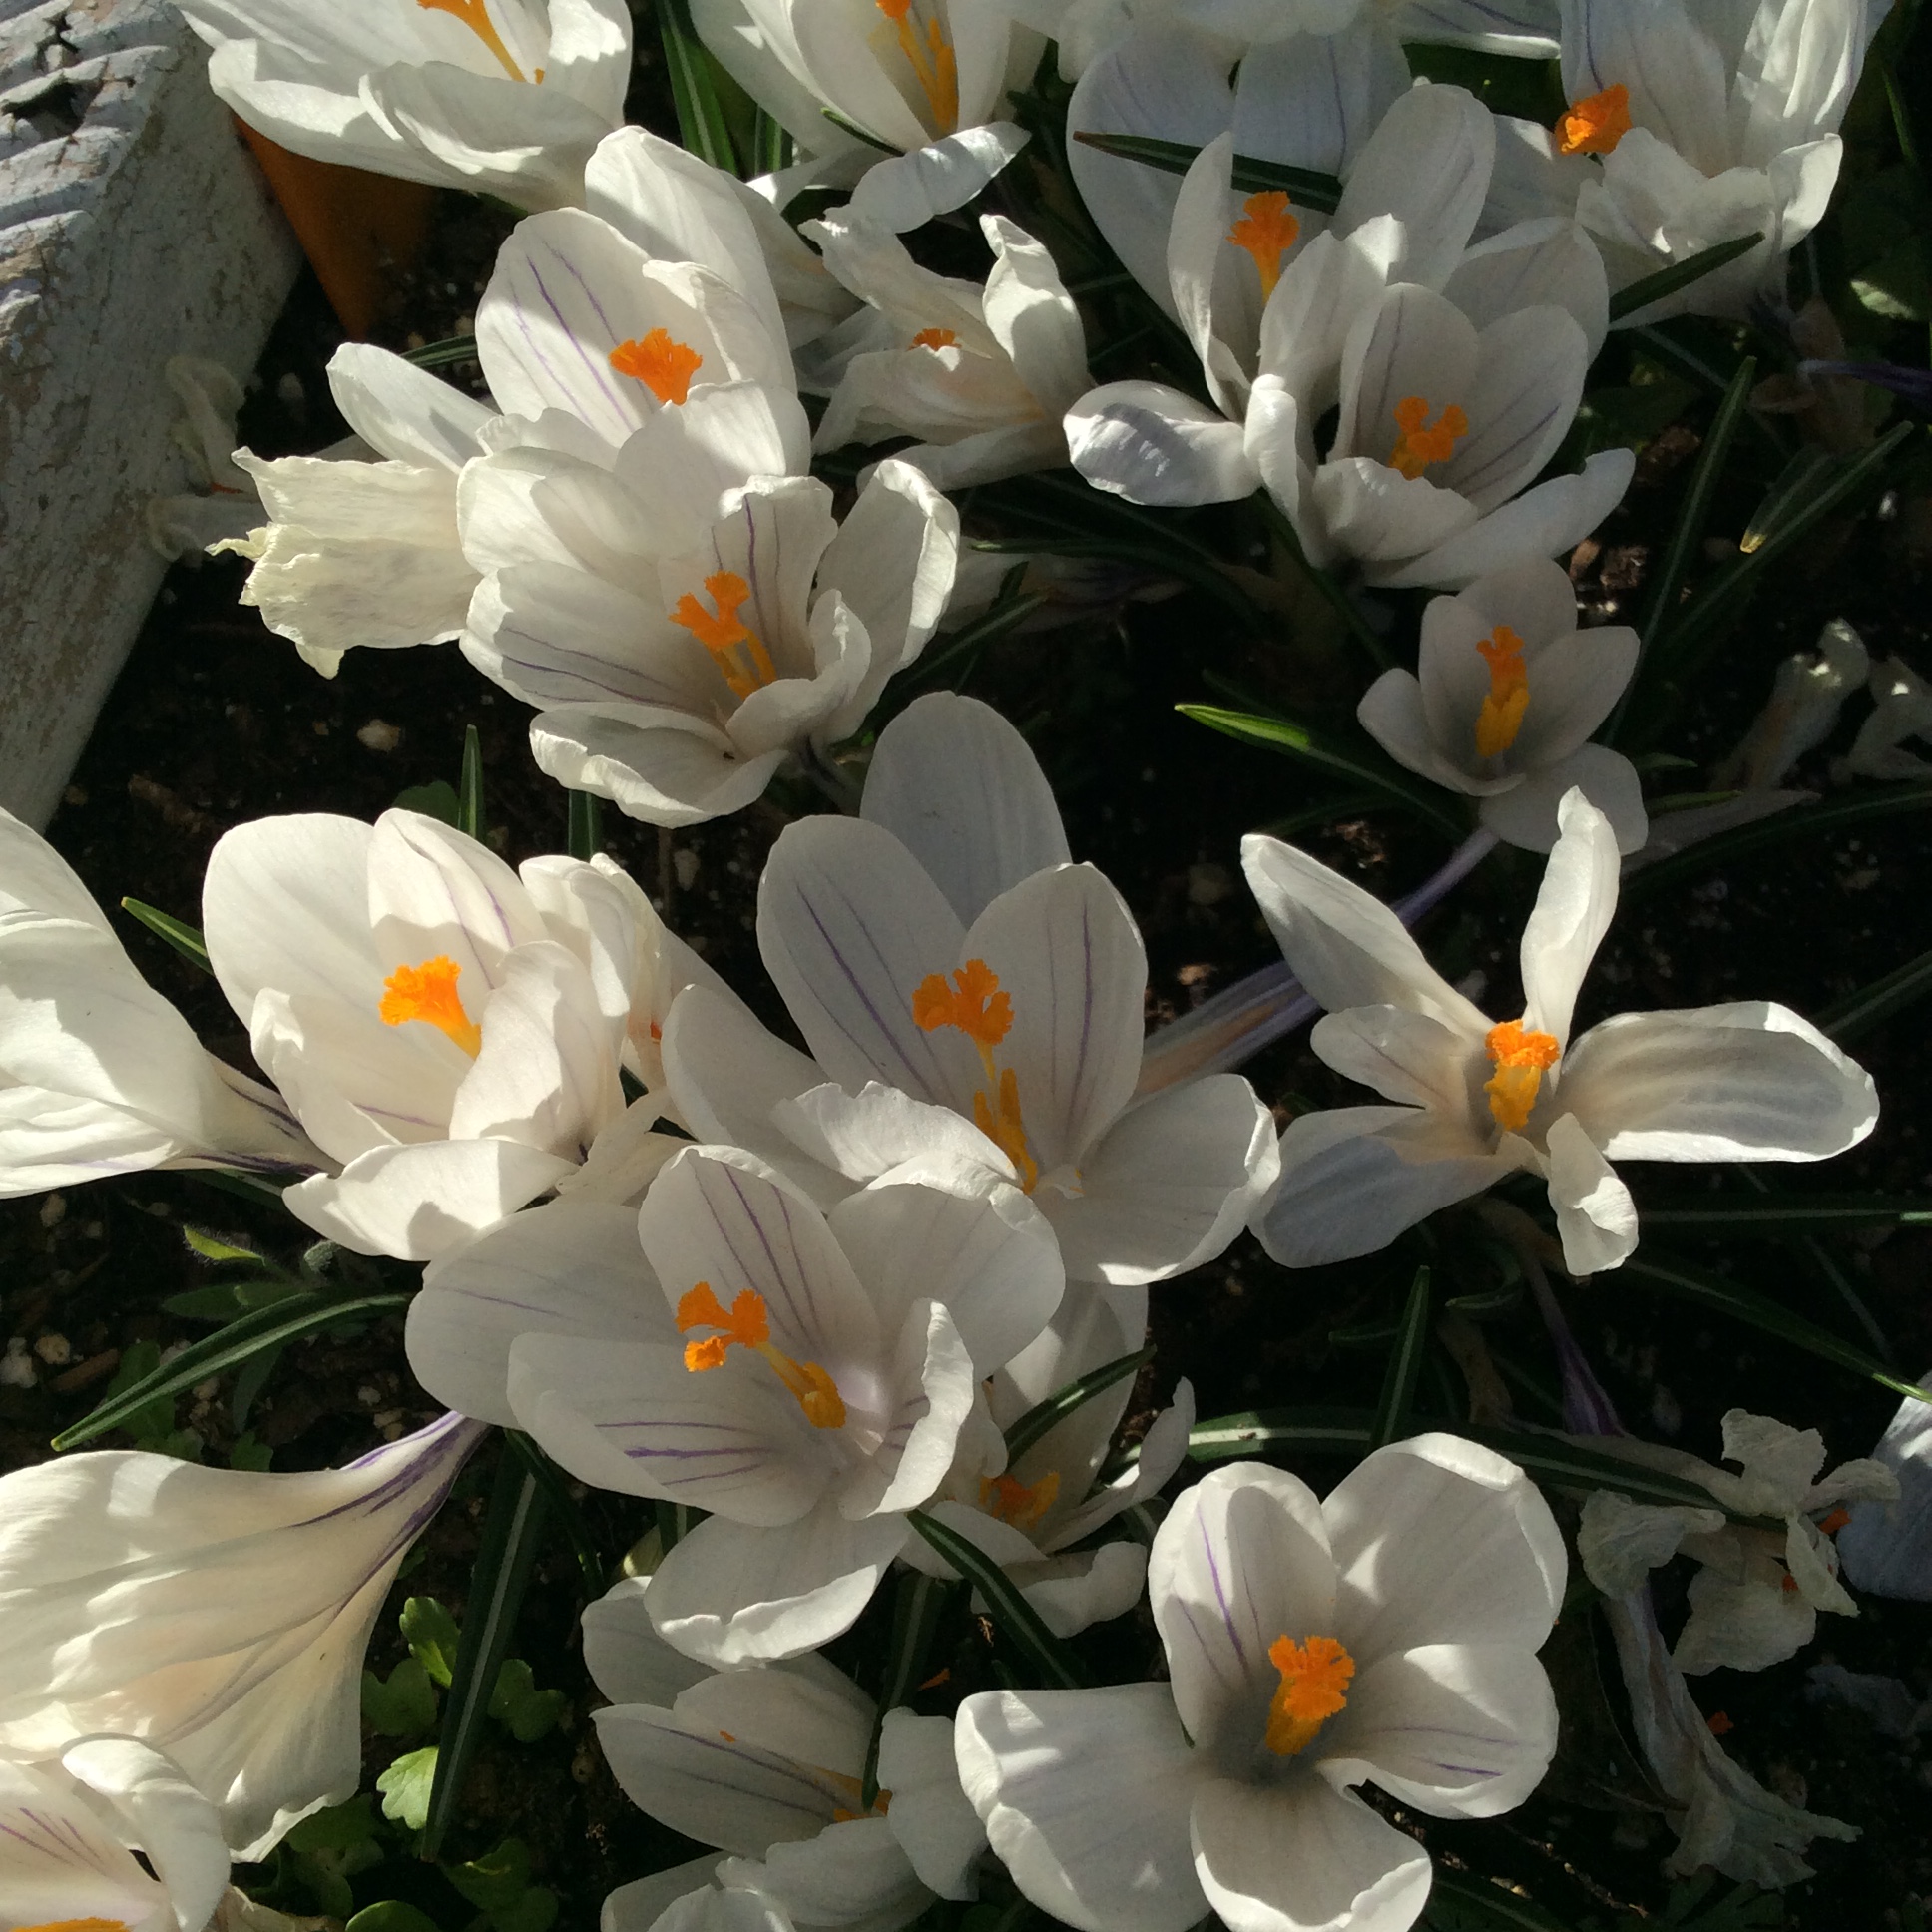
So my point is, as the Gangsta Gardener says, just plant shit. Plant what you would like to eat and don’t give up. Plants and fungi are resilient survivors and may astonish you at some point, even after initial disheartening failures.

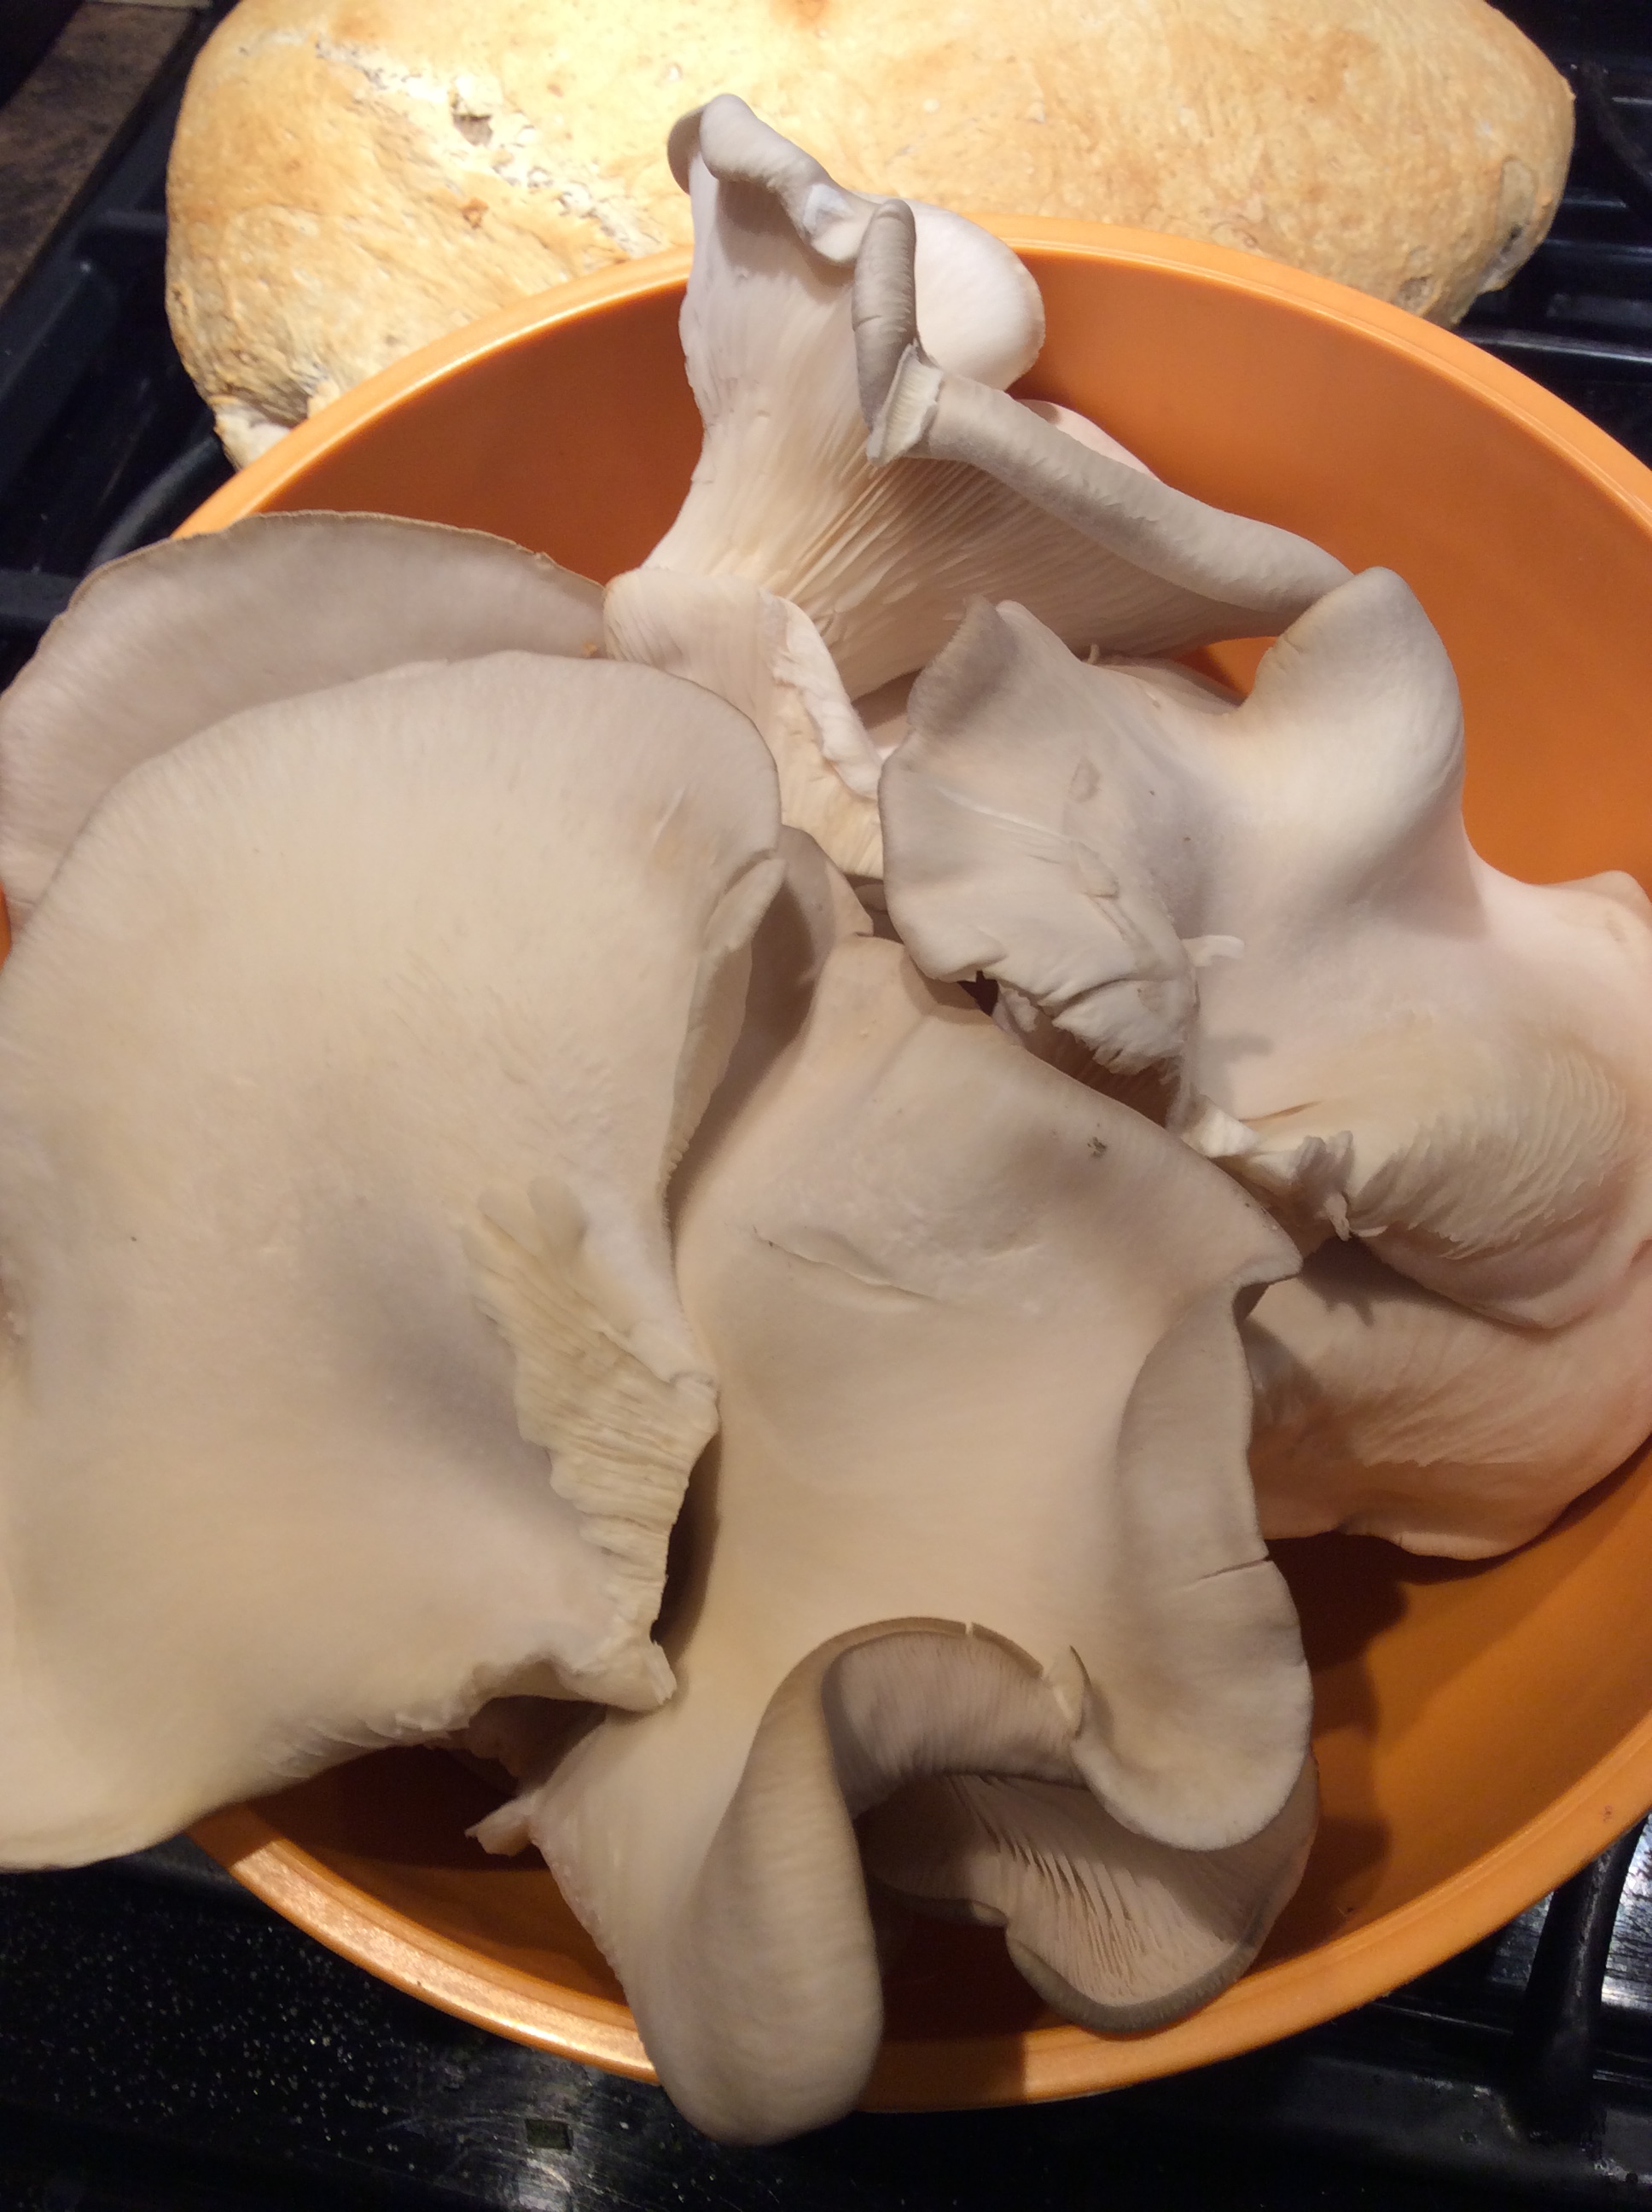
The role of fungi in a healthy ecosystem is far-reaching and worth reading about. They are valuable beyond measure whether you can directly eat them or not. But my greed and gluttony makes me most interested in the edibles. Pleurotis ostreatus, the common oyster mushroom,  is vigorous and highly adaptable and also delicious, which works out well for my purposes. But I am experimenting with some other types. In an area of deep straw and mulch I put spawn of the wine cap mushroom, Stropharia rugosa-annulata, and it seems to be sending mycelia out through the straw. In August I’ll find out if it will fruit for me.

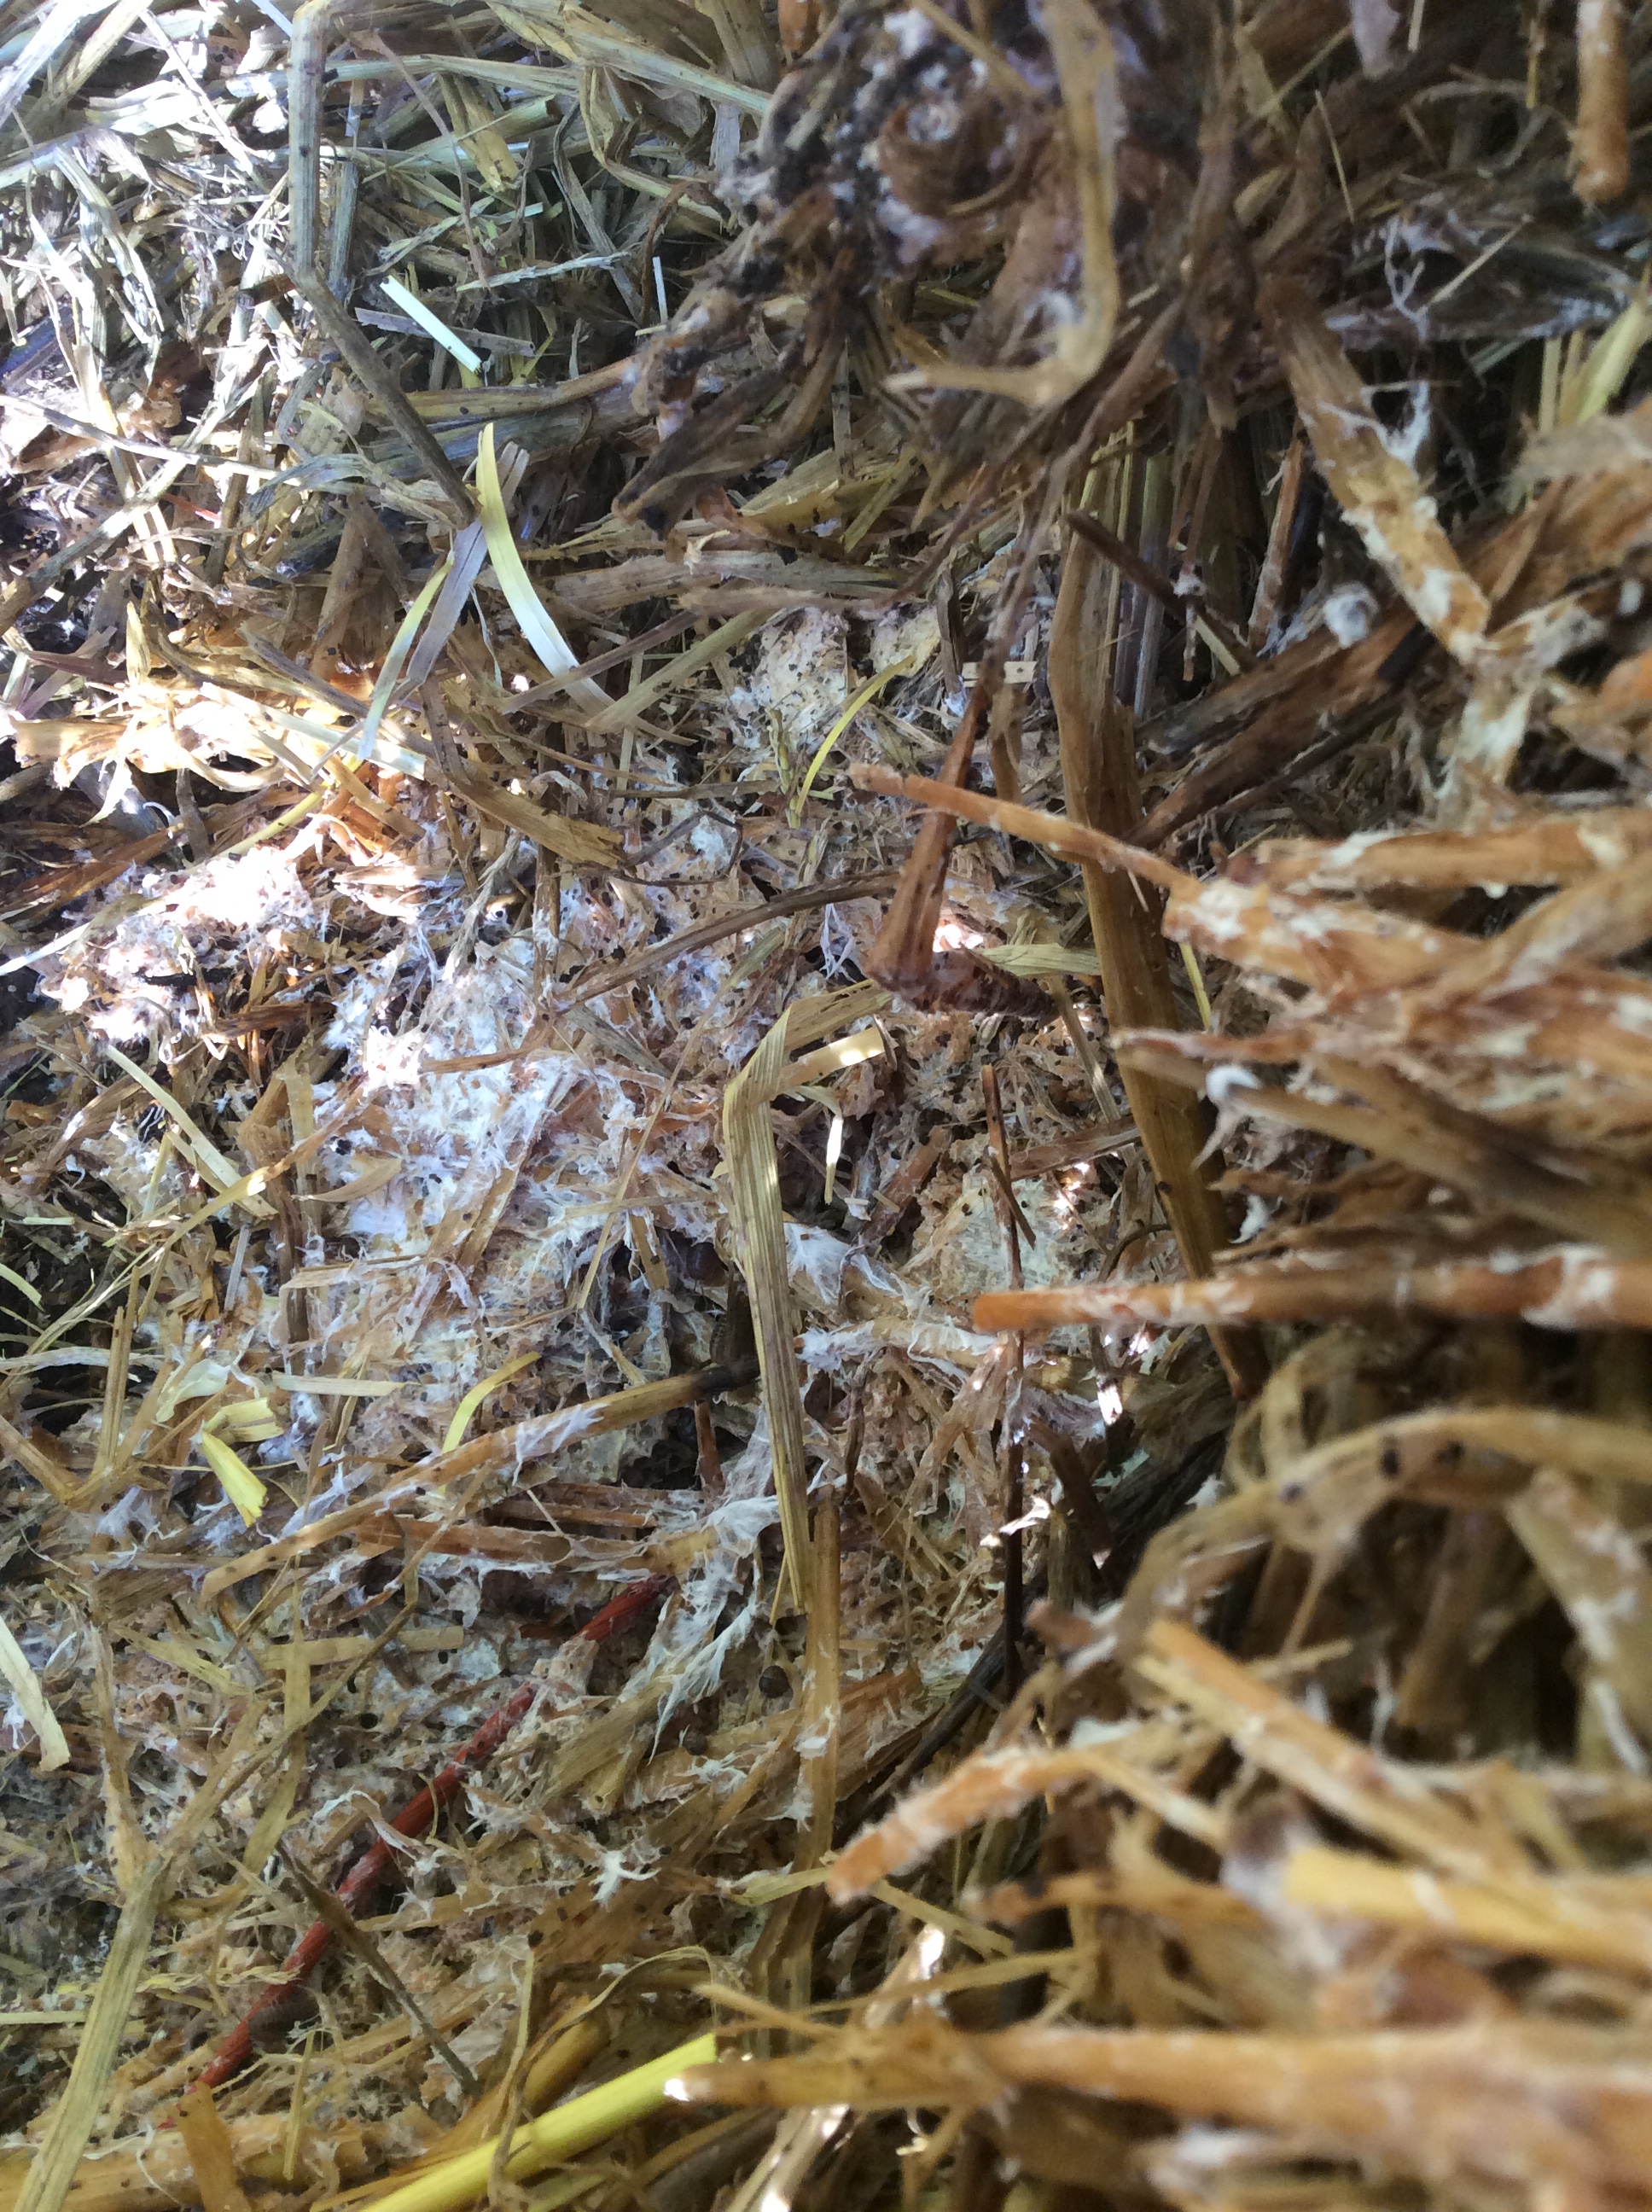
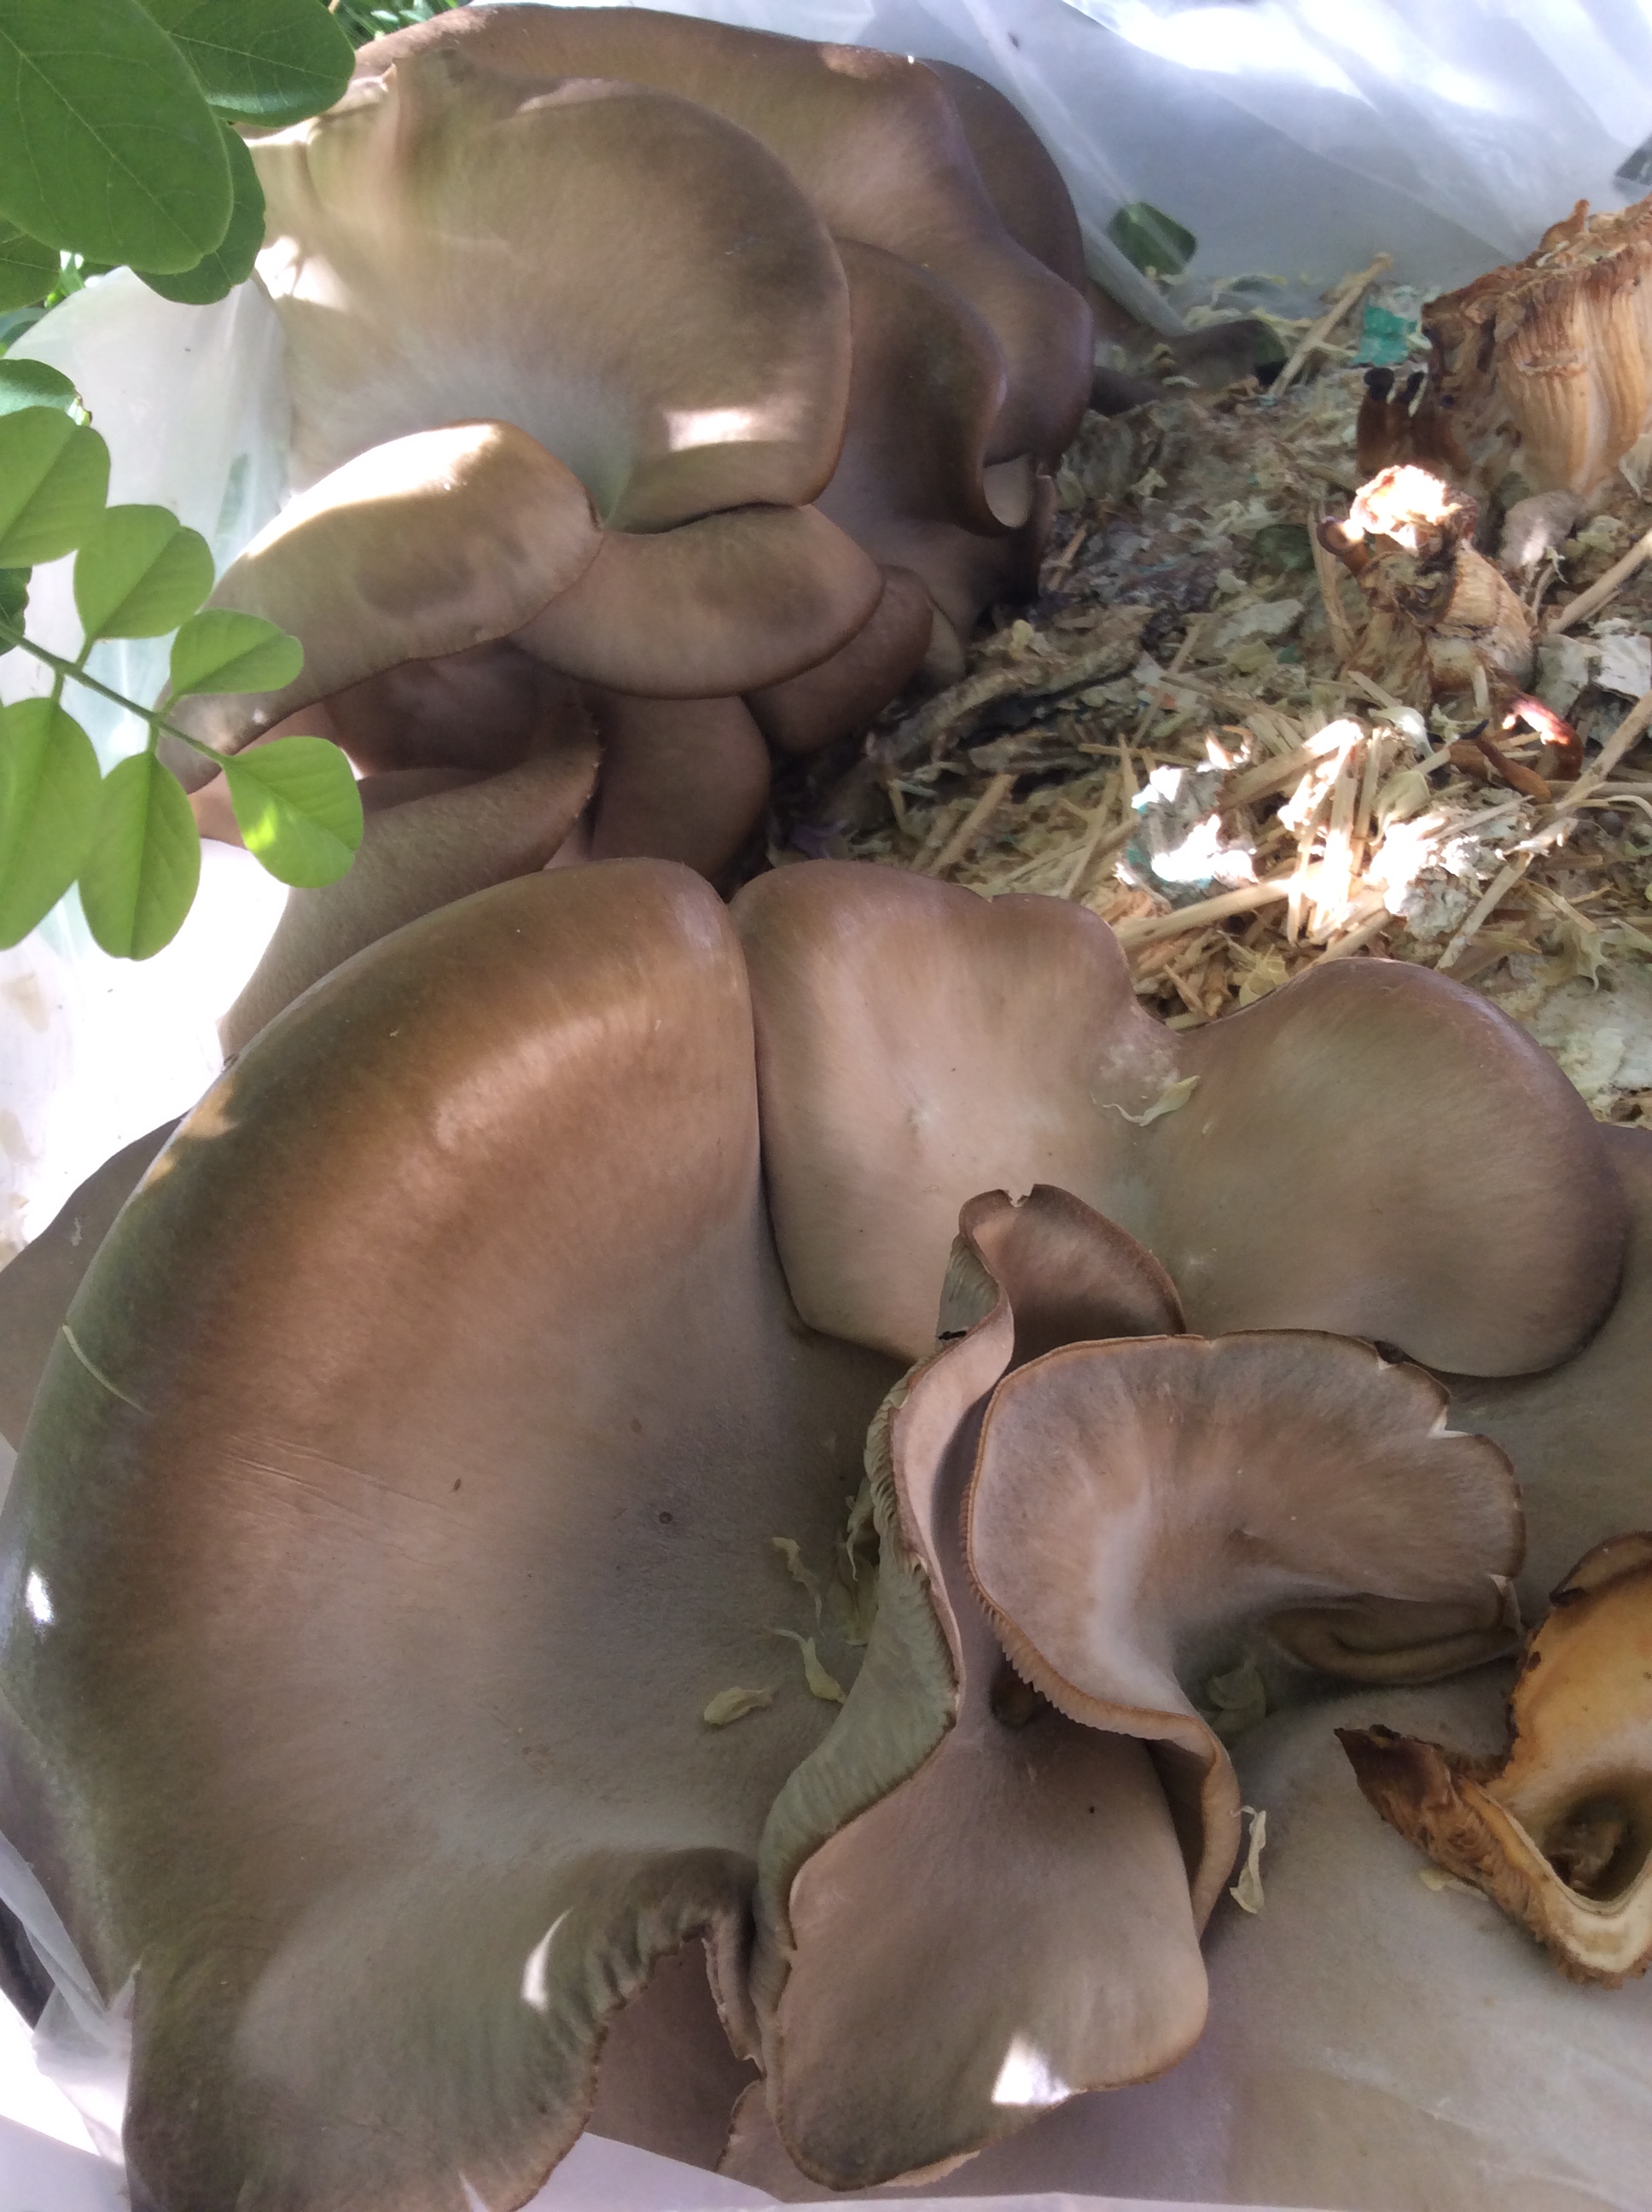
The mycelium above may grow into the mushrooms below:

DCF 1.0

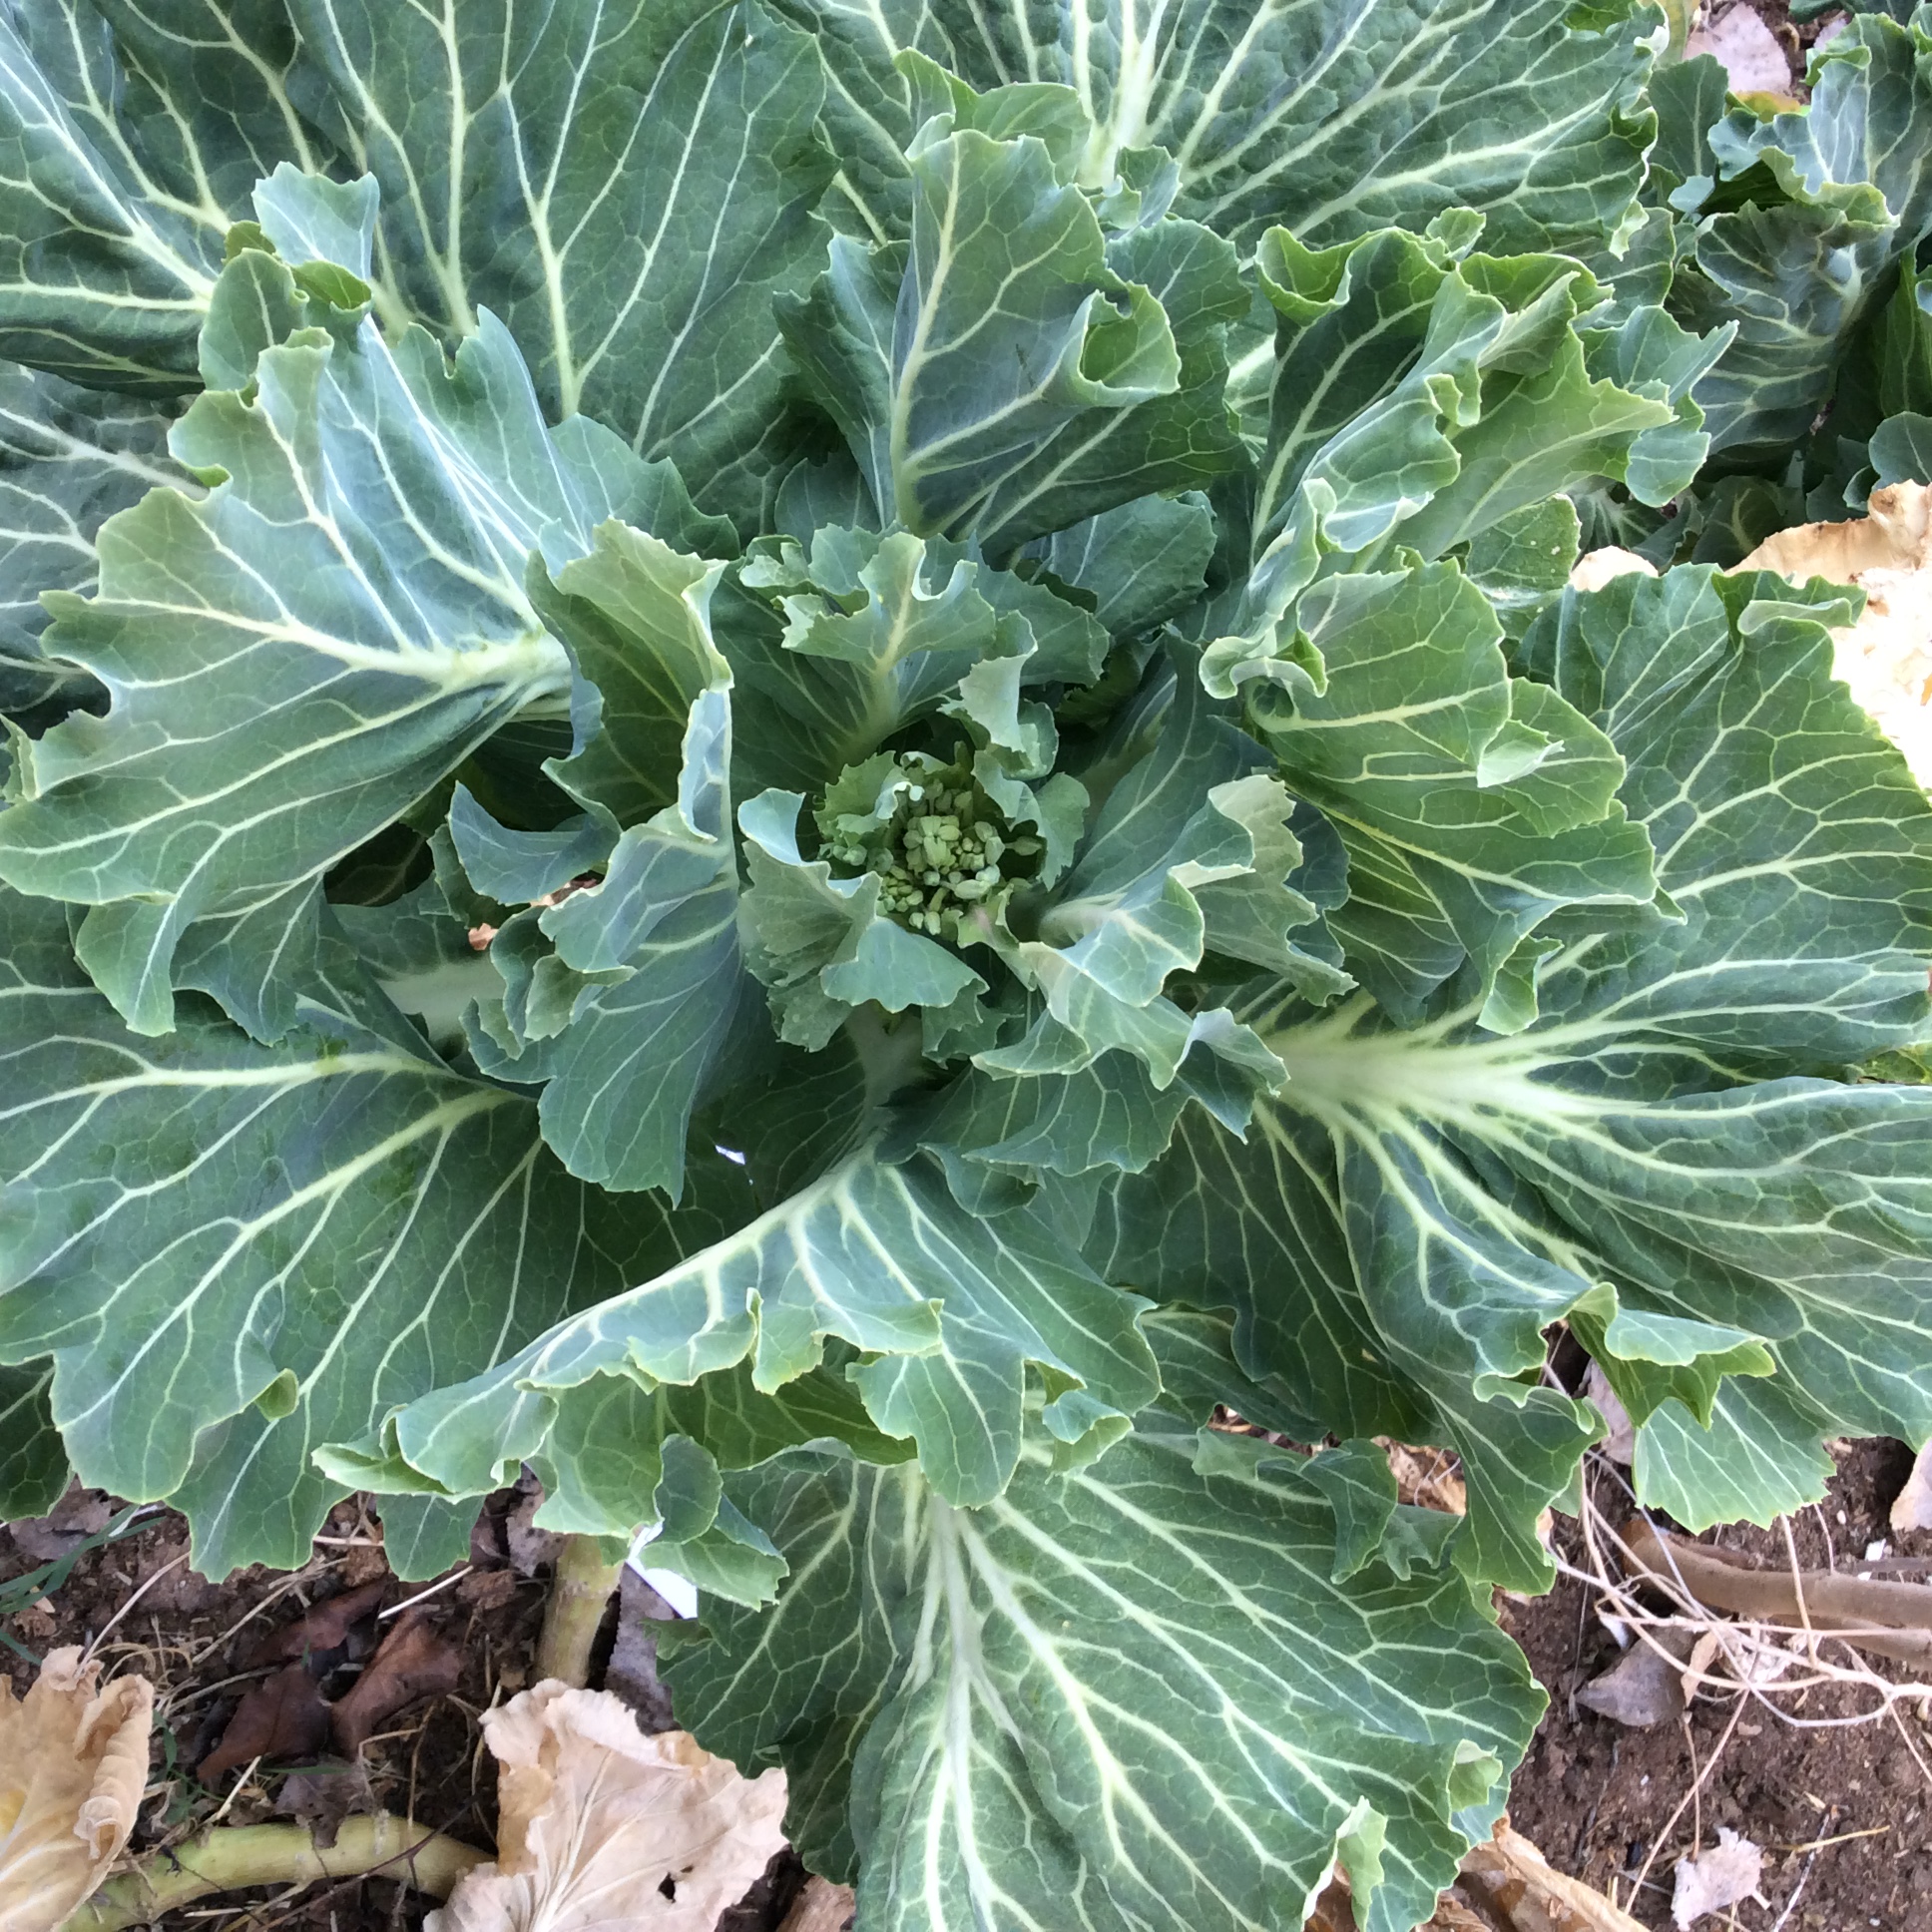
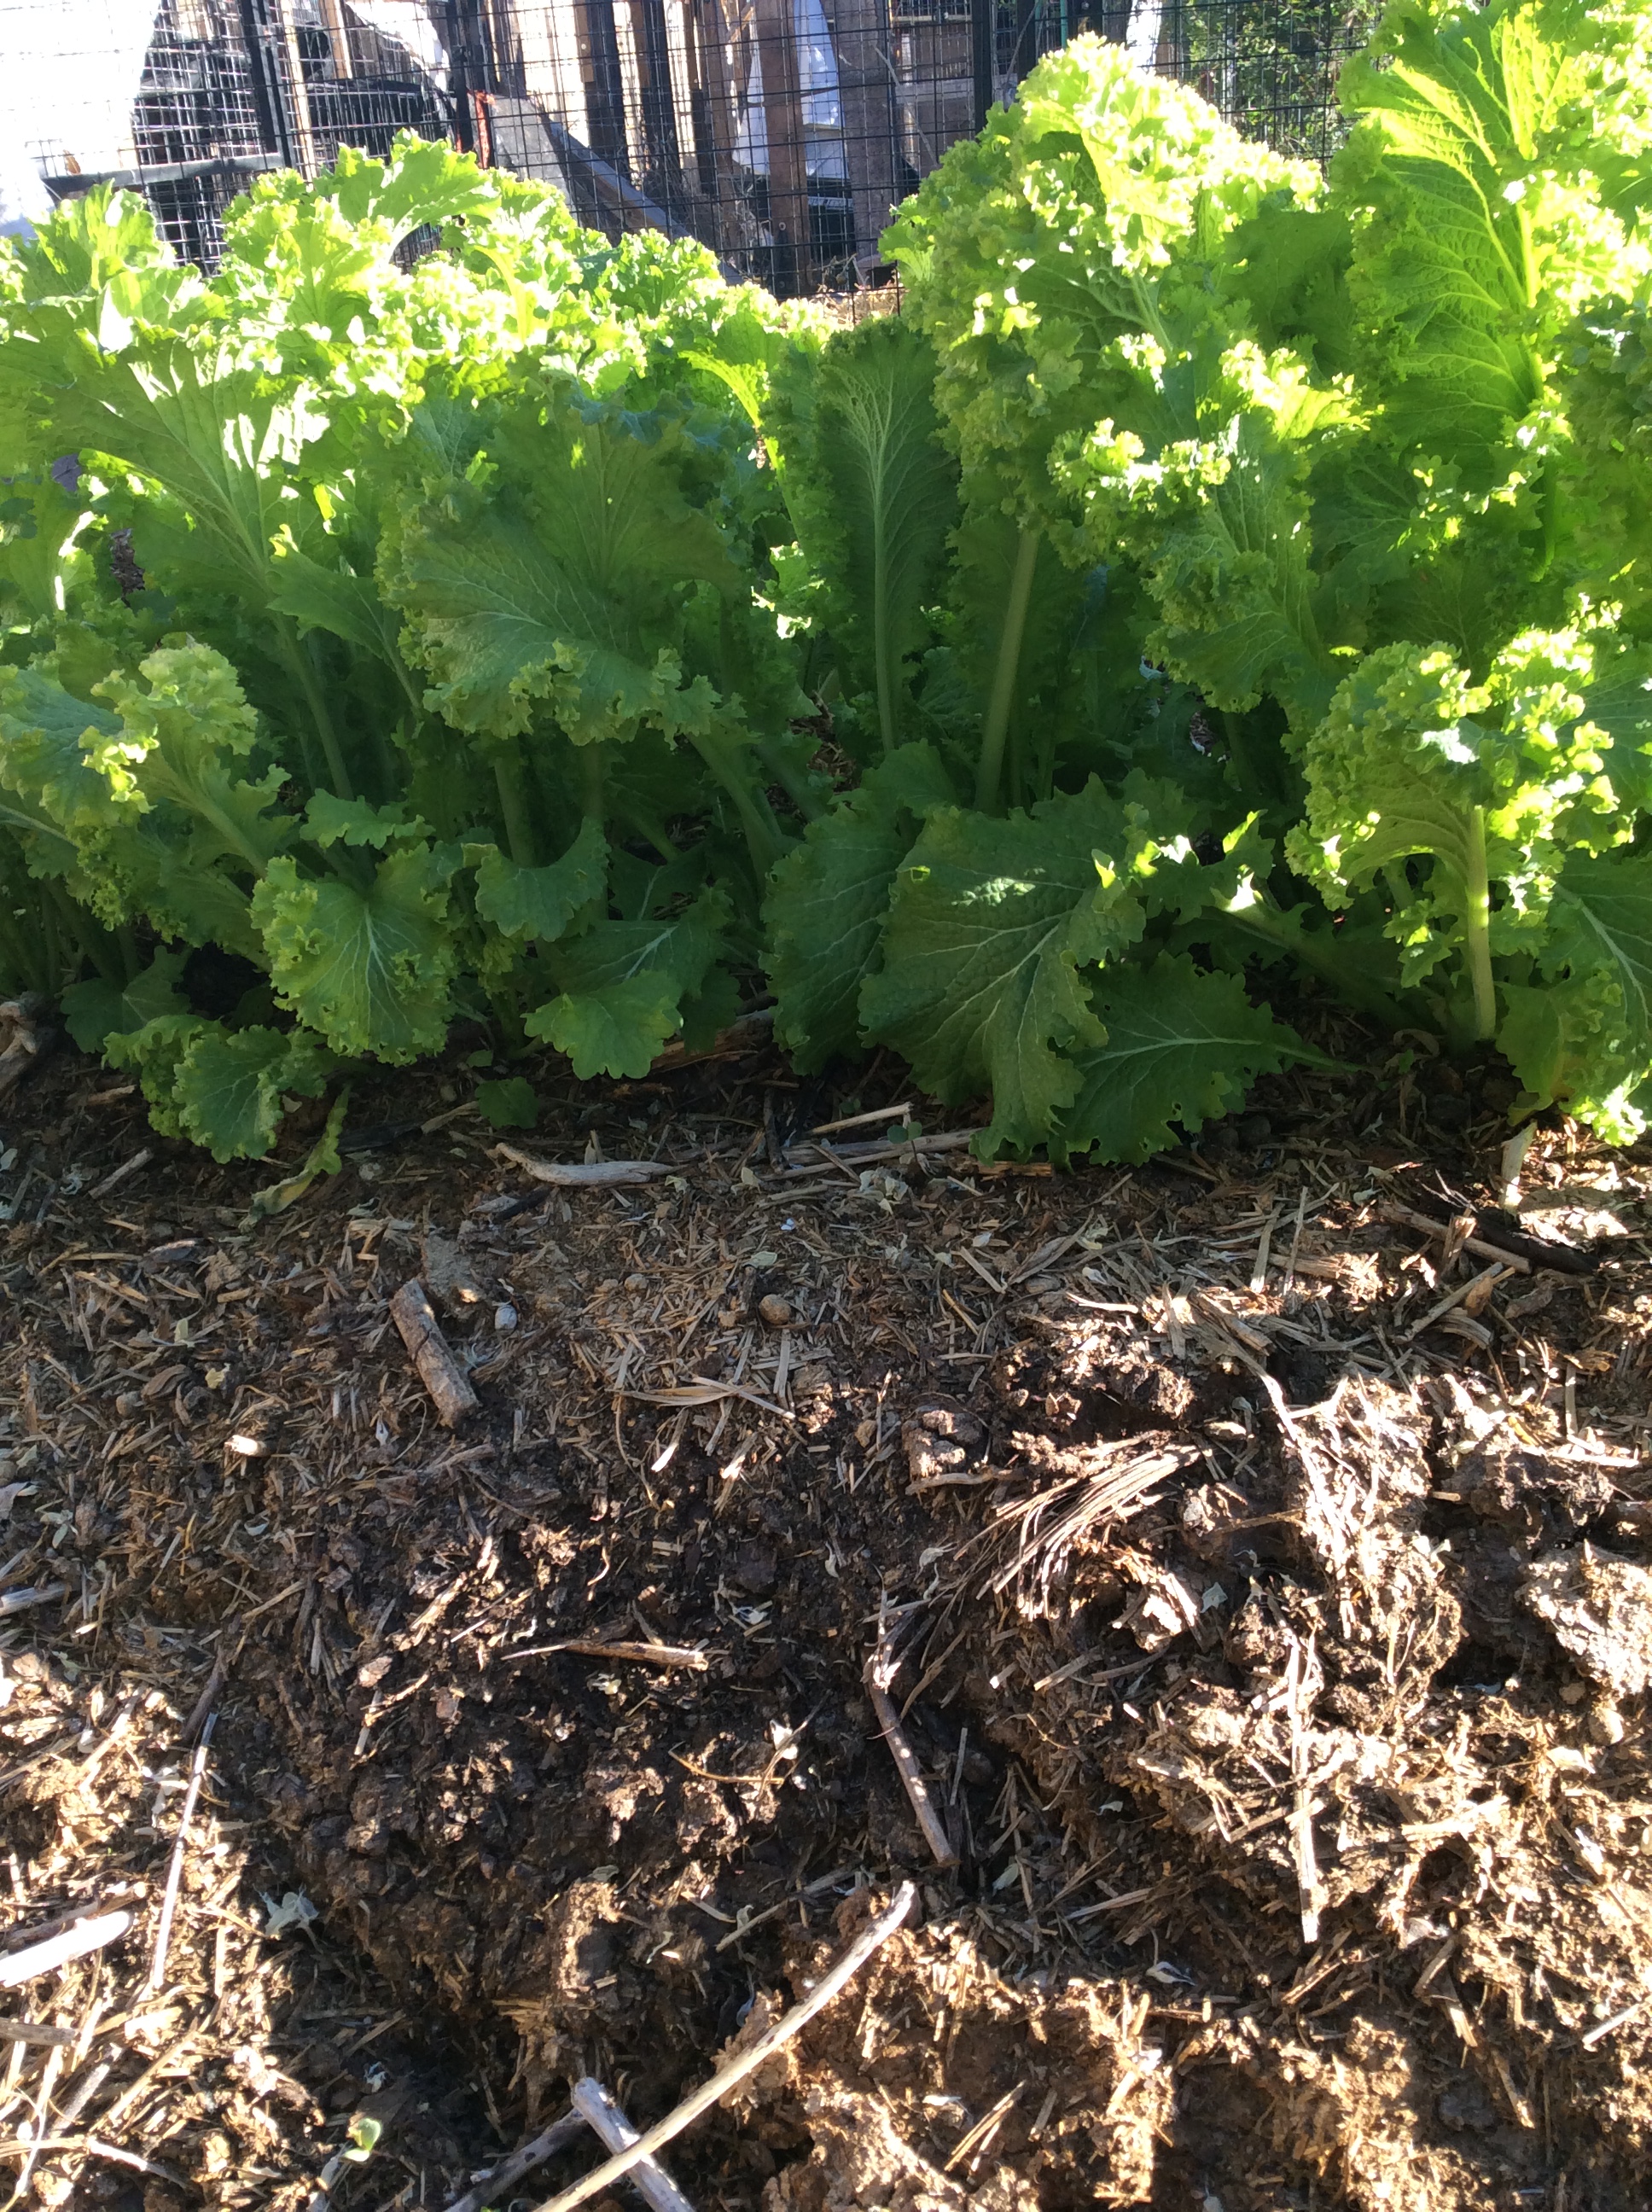
Every year I make a new bed by putting down layers of cardboard and nontoxic paper recyclables and piling up a year’s worth of goat bedding on top. This is a mixture of goat manure and the alfalfa that she eats, and is as hot a compost material as you will find, so I do this in late fall or early winter, wet it down thoroughly, and let it compost in place over the winter. In spring, I start planting into it.  Generally, the first year I use hearty healthy unstoppable plants, such as mustard for greens and summer squash. They always flourish, and by the second year of the compost is finely broken down and will grow pretty much anything. This year I planted spawn of the almond agaricus mushroom, a compost-loving mushroom, into a first-year bed and will see what happens. But I was interested to note that a small shelf of oyster mushrooms poked out the side a couple of weeks ago. The oyster mushroom is not “supposed” to tolerate full sun or hot compost. To which I can only say, tell that to the oyster mushroom.

If you’re interested in learning more about offbeat ways of growing mushrooms, Mycelial Mayhem is a delightful romp through the casual side of mushroom growing. Mycelium Running is a classic about the role of fungi in ecology.

Spring Miscellany

Tonight I find myself eating a lovely and satisfying dinner out of the yard, and reflecting on a series of happy surprises.

First, I went to the shed to get a tool, and my latest mushroom laundry basket had a gorgeous huge clump of oysters across the top.

The tronchuda, or Portuguese kale, was still tender and sweet from night frosts, and there was a wild abundance of green garlic to cook with it because I finally planted enough to satisfy my taste for it.

The exquisite late Jeanne d’Arc crocuses were finishing the crocus season.

And the garden goods could be washed and prepped right in the garden where the water could do some good. This is an ordinary laundry sink, but I asked the nice man at the plumbing supply store to sell me the correct fittings to hook a garden hose to it. So the water can be turned on and off, and the water drains out into a bed that can really use the moisture. My ingenious yard man got me a 3 foot piece of hose with the correct fittings to attach to the fawcet at one end and the hose at the other, so there is no fumbling underneath when I want to use the sink. And it could be lifted and moved if I wanted the water to land somewhere else.

Life is good, and spring is good.

Goat Paneer

Goats are wonderful hardy friendly animals to have around,  and the amount of milk that they give is very considerable relative to the input required, but many people do not like the taste of most goat cheeses. If you are one of these people, or even if you like goat cheese, you may still want to know about some alternatives that avoid the goaty taste. Fresh ricotta and fresh paneer,  when made with fresh goat milk, are not distinguishable from cows’ milk products.  You need to use the milk within a day of milking, or at most two days, and it goes without saying that it has to be refrigerated all that time.

I have written elsewhere about making ricotta and you can review that page because the directions are the very same up to the pressing. Making paneer is every bit as easy but requires just a bit of forethought to have some simple equipment on hand. It has to be strained and then pressed. You can buy a cheese press for this, if you want it for some other purpose, but if you just want to  make paneer, all you need is  real cheesecloth (not the kind sold for dusting and polishing) for the straining, a  baking sheet,  a saucer, and a couple of bricks or other suitable weight. I use a springform pan and a nylon mesh bag made for straining fruit for cider.  A gallon is about the minimum amount of milk that is worth fooling with, and will produce about 8 ounces of finished paneer.

Heat the milk to almost boiling, watching it carefully because it wants to boil over. Add the vinegar, stir in, watch for the formation of curd, and add a little more vinegar if needed until you have white curdled curds in greenish whey.   Put a strainer in the sink or over a bowl if you wish to catch the whey and use it for some other purpose. Line with cheesecloth, pour the curdled milky mixture in, and let it drain for at least 30 minutes.  Within an hour, wrap the largely drained curds up in the cheesecloth with the idea of forming a block that will be about an inch thick. The other dimensions will depend on how much milk you were working with. For a gallon of milk, I plan a block of paneer about  3″ x 6″.  Put it on a baking sheet so that the remaining liquid can drain away, put the saucer upside down on top, and put the weight on the saucer. Or, if you are using my method, put the ring of the springform pan on the sheet, the cloth wrapped curds inside, and use the base of the springform pan on top  to hold the weight and “follow” the curd block as it shrinks in pressing.  Either way, leave your set-up for about eight hours.  You then have paneer, which can be used in many Indian dishes. It browns beautifully, and if the milk came from a grass fed animal, it is superbly  healthy.  It is the backbone of sa’ag paneer, one of my favorite dishes.  It also freezes well, so it’s a good way to preserve your precious grass fed milk.
img_5277

Spring Ricotta

img_5246

This  time of year we are having some warm sunny days and the heavy meaty dishes of winter no longer feel quite right, but I still want something warming  and filling.

At the same time, my doe goat Magnolia is nearing the end of a lactation, getting ready to deliver kids in six or seven weeks. At this point she’s producing just a quart a day, but it’s still rich milk produced entirely on alfalfa and I’m not about to waste it.

So every evening, after filtering the milk, I make ricotta, and when I have a few days’ worth of ricotta saved up I make ricotta al forno. I stole the recipe from Sarah Raven many years ago, and I haven’t tweaked it very much over the years because it’s perfect as is. The main change is that I use egg yolks instead of whole eggs. Yum.

Ricotta, about 1 and a half cups, but a bit more or less won’t hurt.
Yolks of 5 eggs
Salt to taste
Half a cup of heavy cream
Half a cup of grated Parmesan
Half a cup of pine nuts
Cooked veggies as desired. Or none.

Kitchen note: homemade ricotta is drained until quite dry. If you are using store-bought ricotta, you might need to hang it in the sink in cheesecloth or a clean towel for a few hours and let it drain. Otherwise, the resulting dish can be watery.  Another alternative, if you don’t want to take time to drain, is to add one additional whole egg to help it firm up a bit, or leave out the cream.

Put the ricotta in the blender with the cream and add the egg yolks one at a time while blending.  Blend in the grated Parmesan just for a second or two. Add salt to taste.  Decide whether you want vegetables. This is an endlessly versatile way to use leftover but good cooked vegetables. The version shown above has a couple of cups of leftover grilled zucchini, red bell pepper, and eggplant.  In the early summer, fresh cooked peas are absolutely delicious in this dish.  A good handful of chopped fresh herbs may suit your taste.  Just be sure that the cheese mixture is already seasoned properly.  Pour it into a buttered 8 inch baking pan, adding any cooked vegetables or herbs that you wish as you go. Top with pinenuts and push them in a little bit so that they don’t burn. Bake at 350 for 25 minutes or until done.  Let it consolidate and settle down for 15 minutes, then serve in  generous wedges.    A topping of your best homemade tomato sauce adds pizzazz.  My husband likes it with a sprinkle of extra finally grated Parmesan on top and run under the broiler for a minute, which produces the brown spots you see above. Just keep an eye on it because it does burn very quickly.

In June this is absolutely glorious made with some chopped fresh herbs and topped with homemade pesto.  For those of us who eat low-carb, it is something to put pesto on.  This lactation will only last two or three more weeks, but by June I will have fresh glorious grass fed milk again and be back in the ricotta business.

img_4114