Archive for the ‘home food production’ Category

My Winecap Mushroom Bed

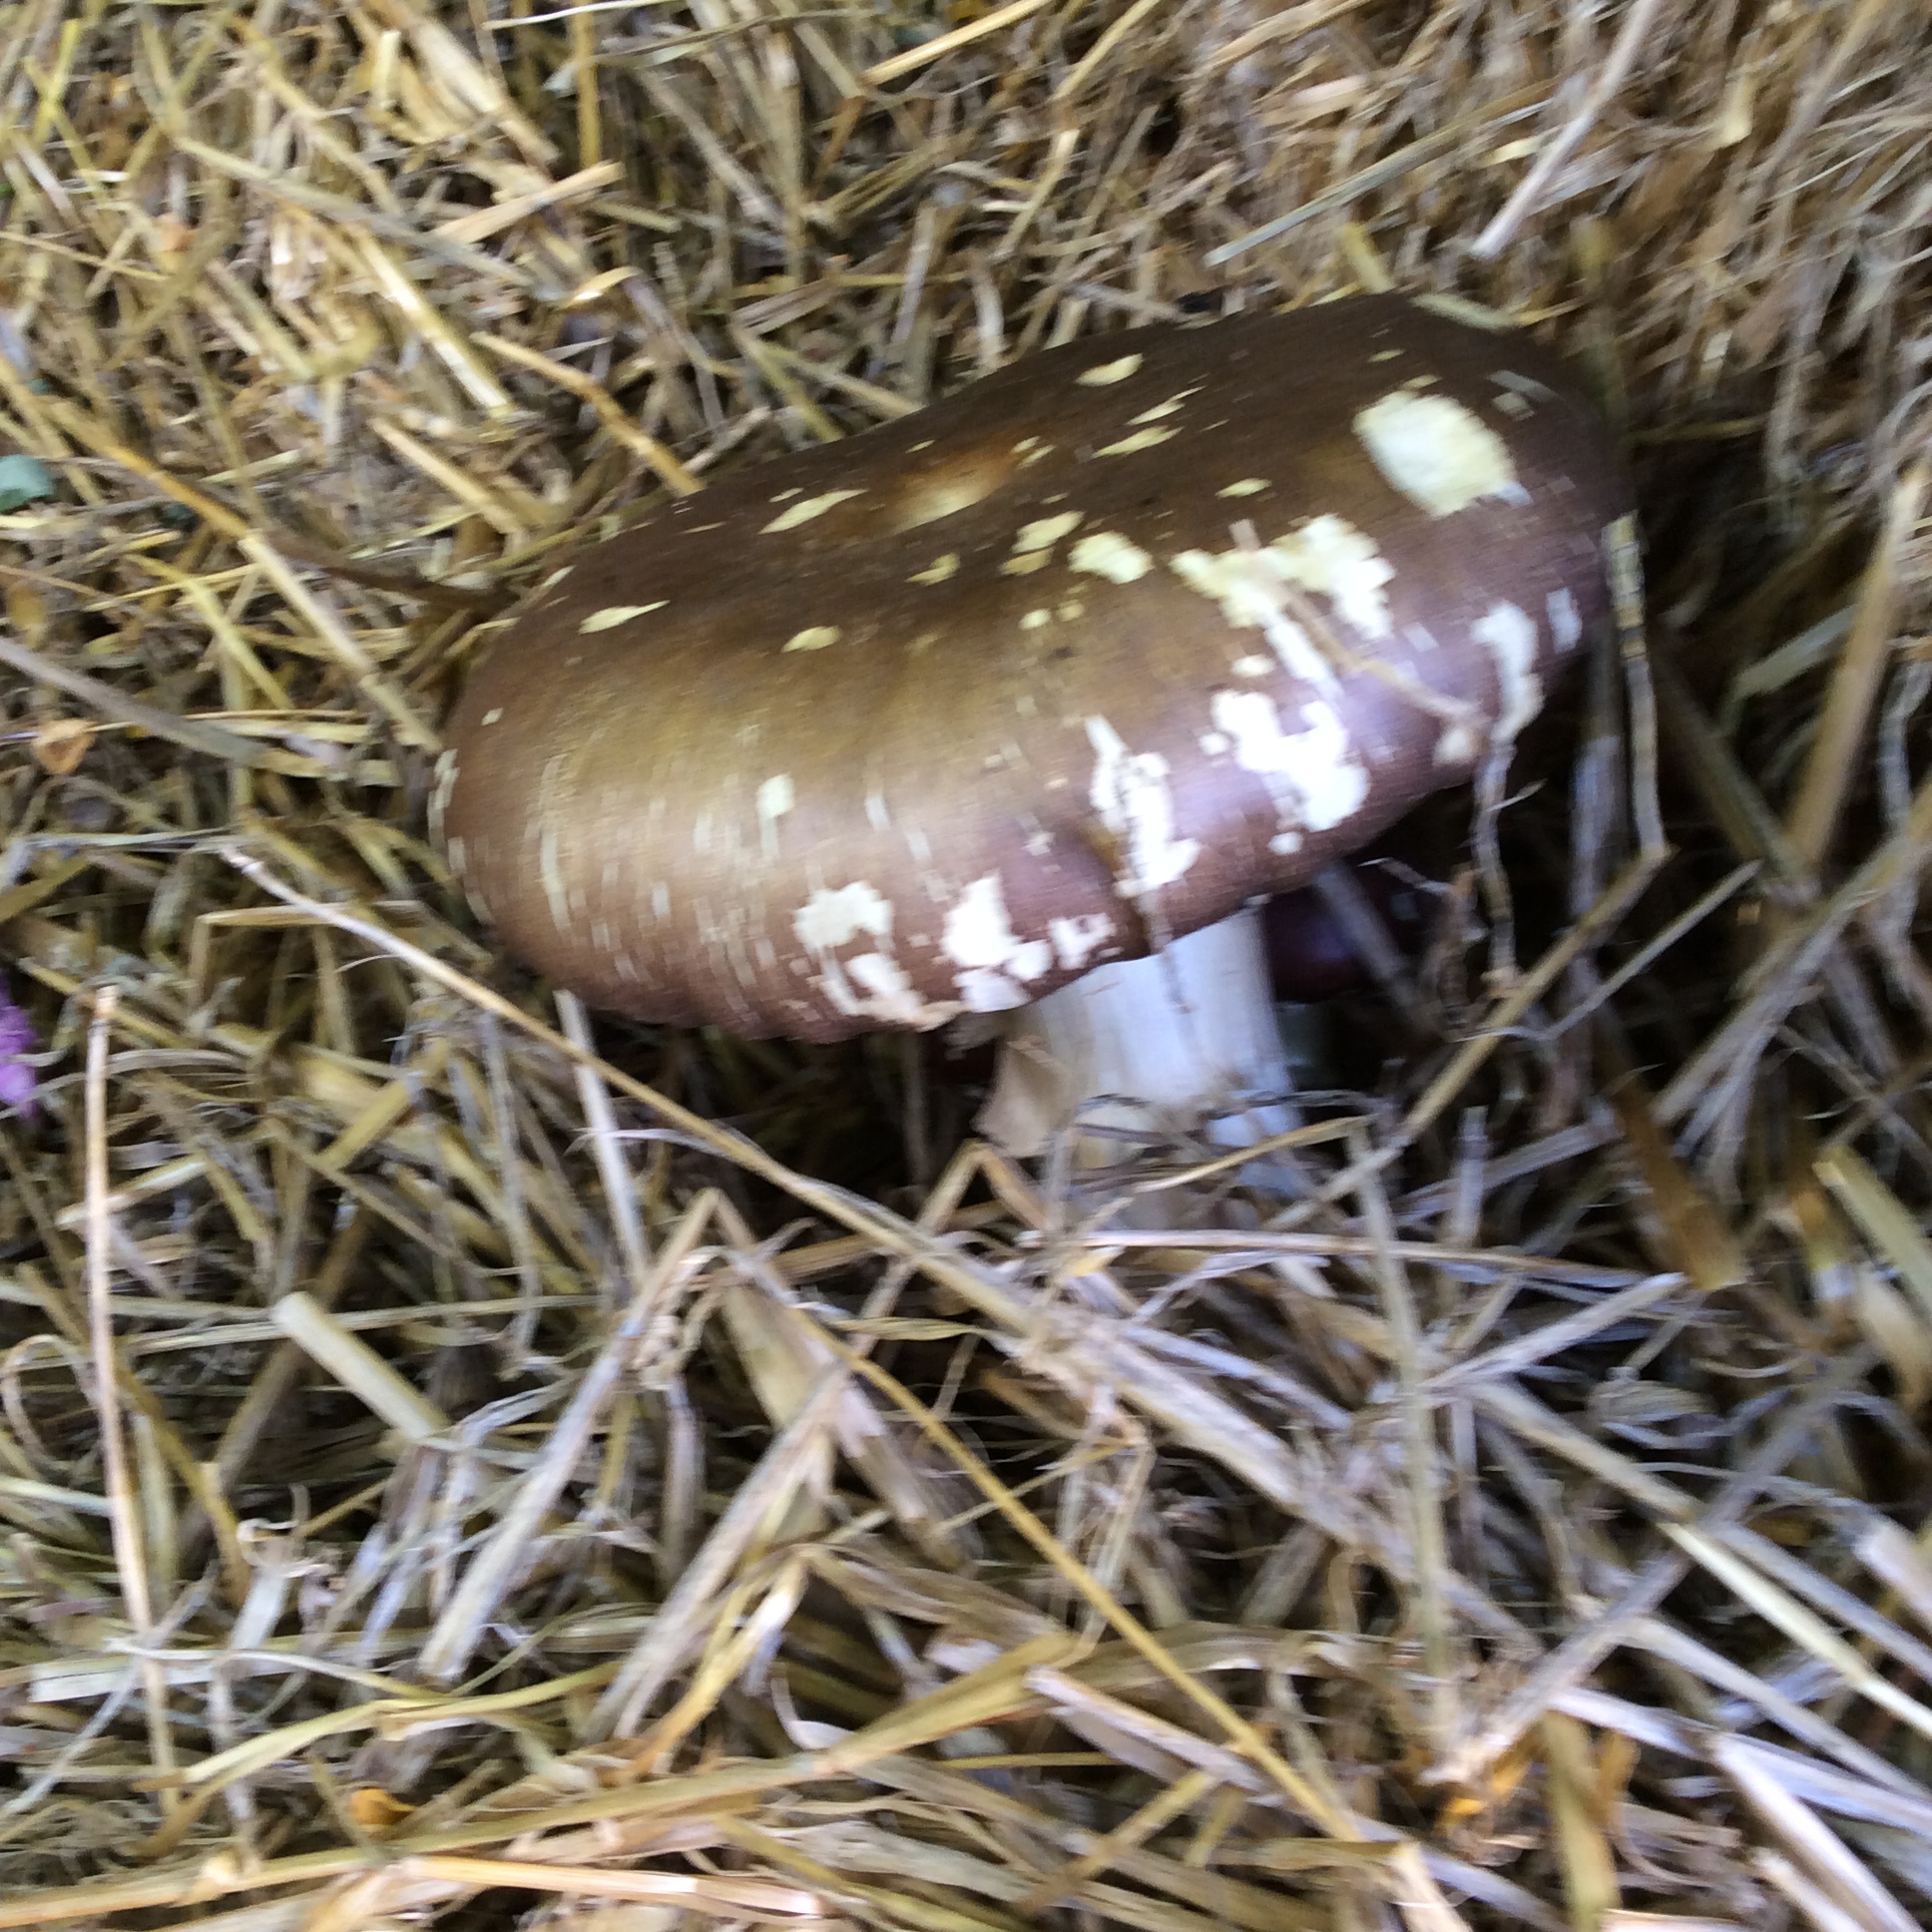
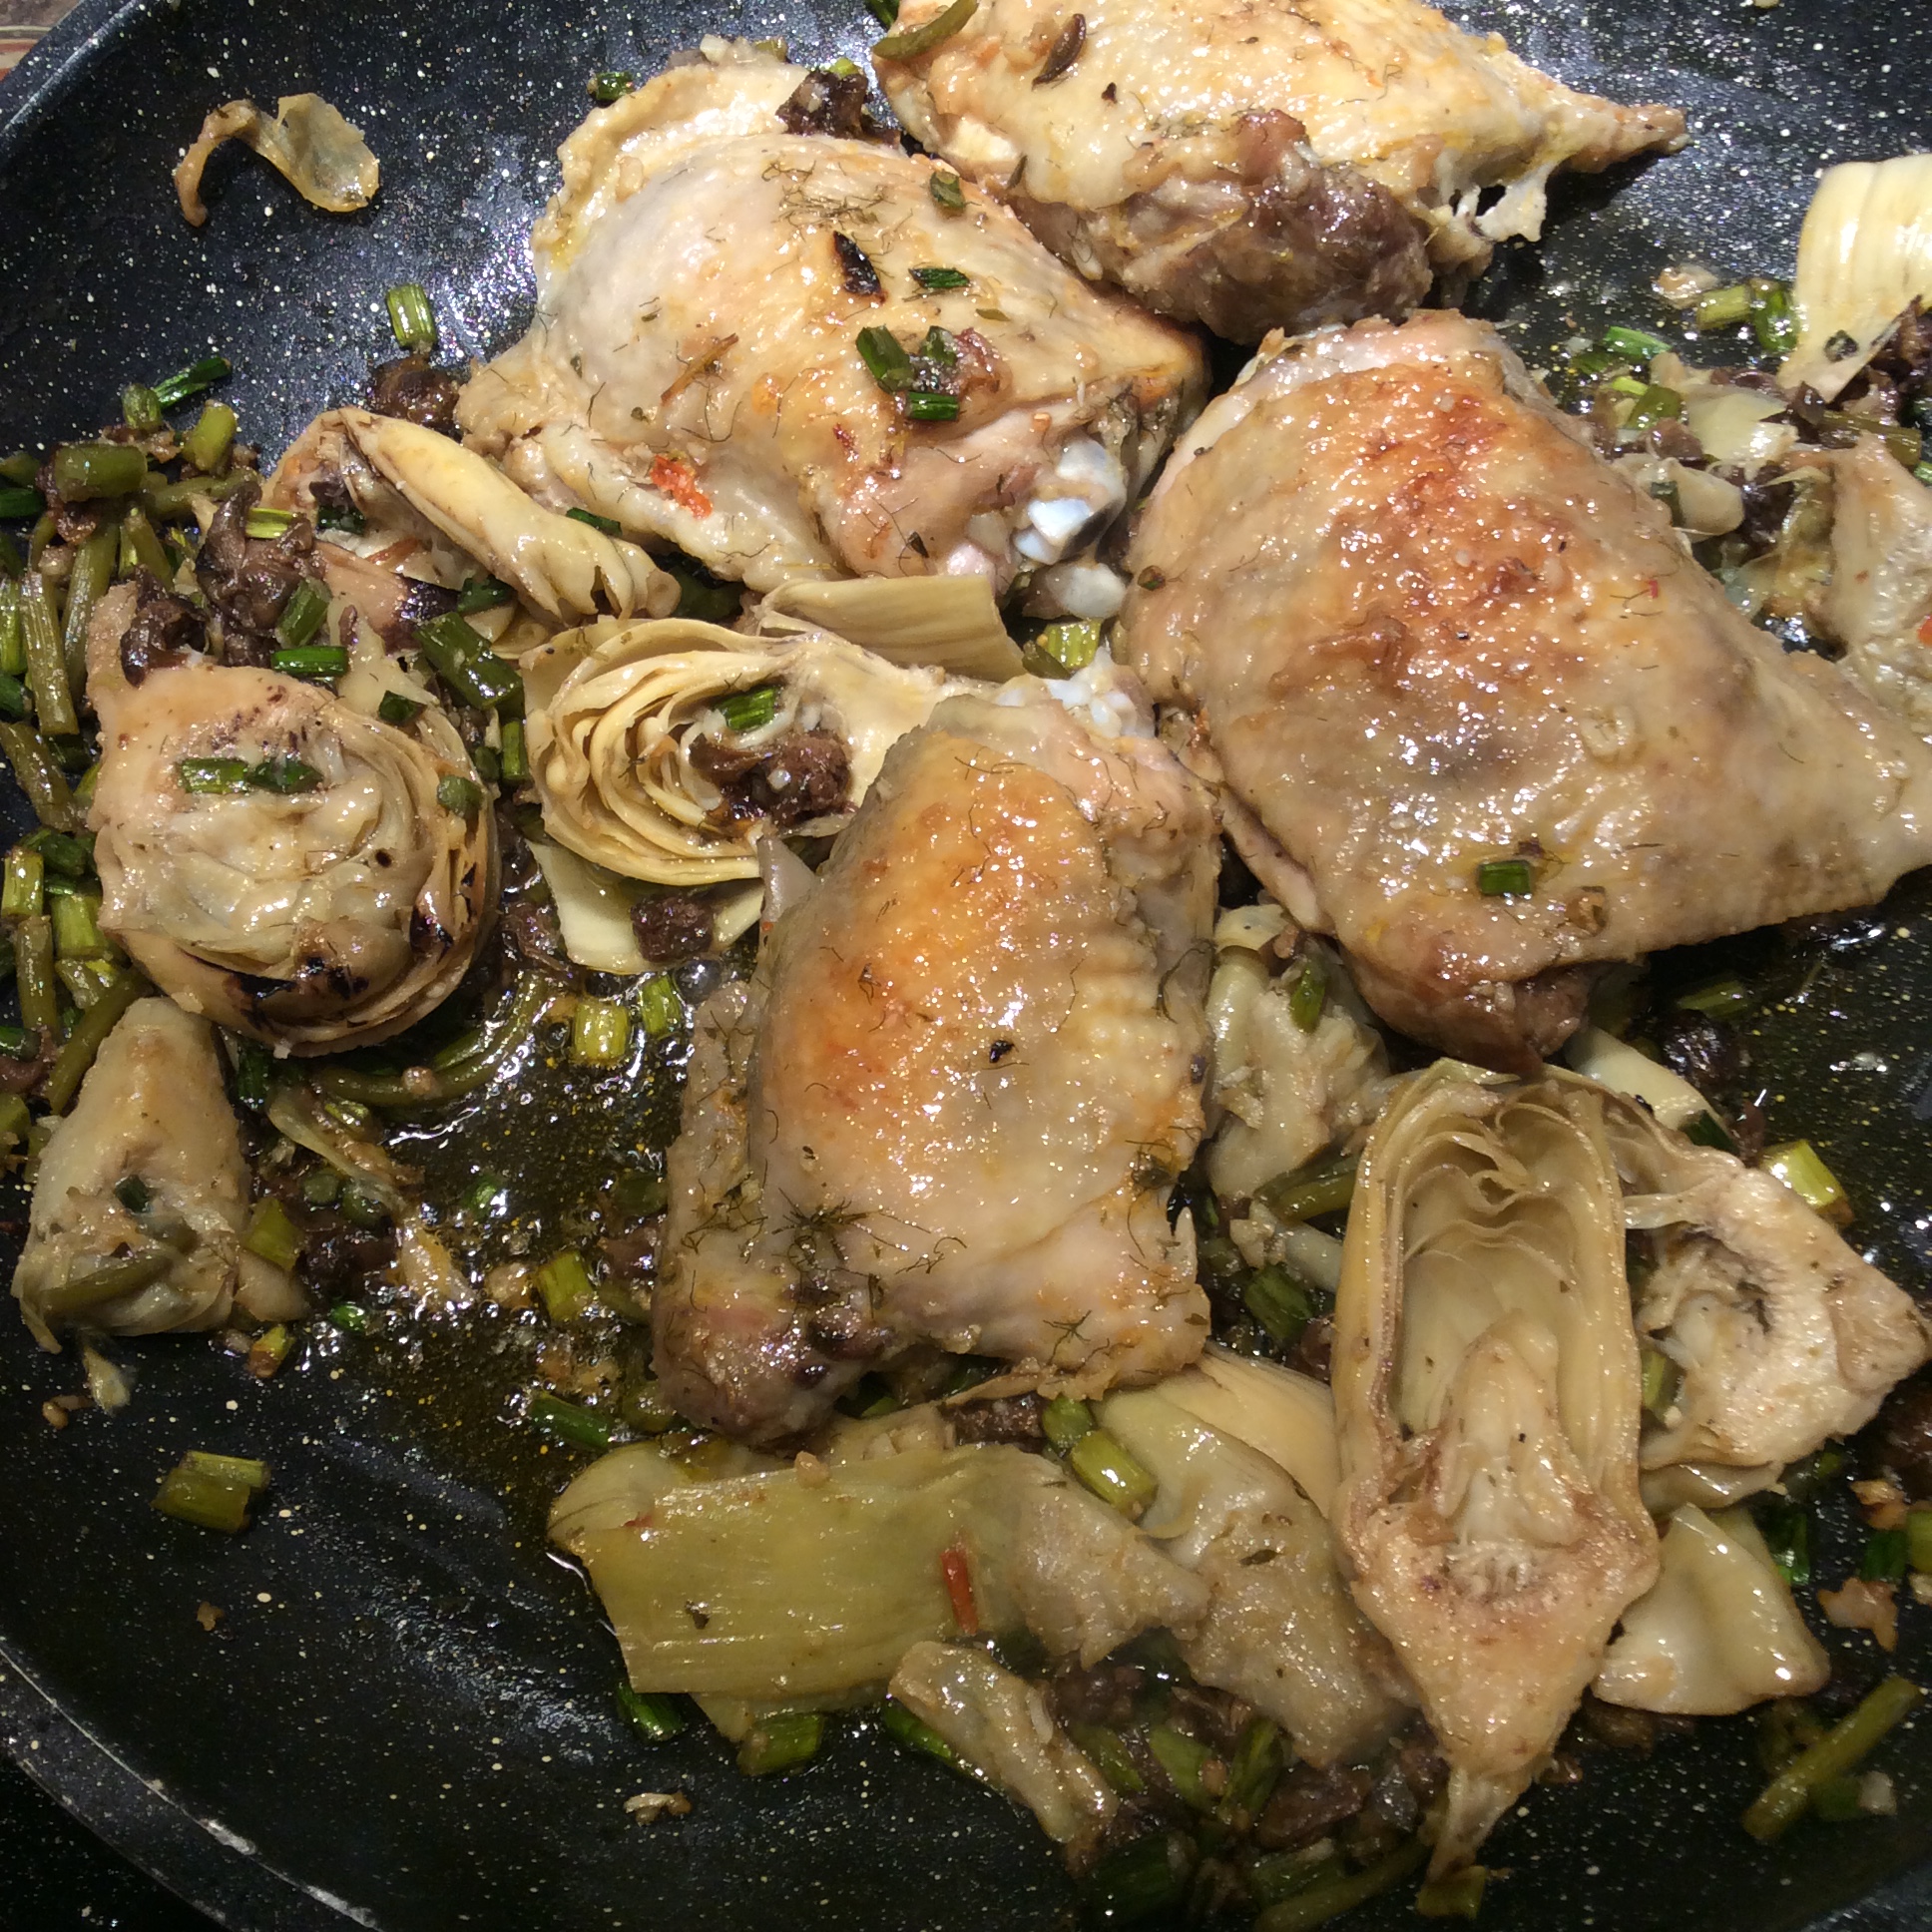
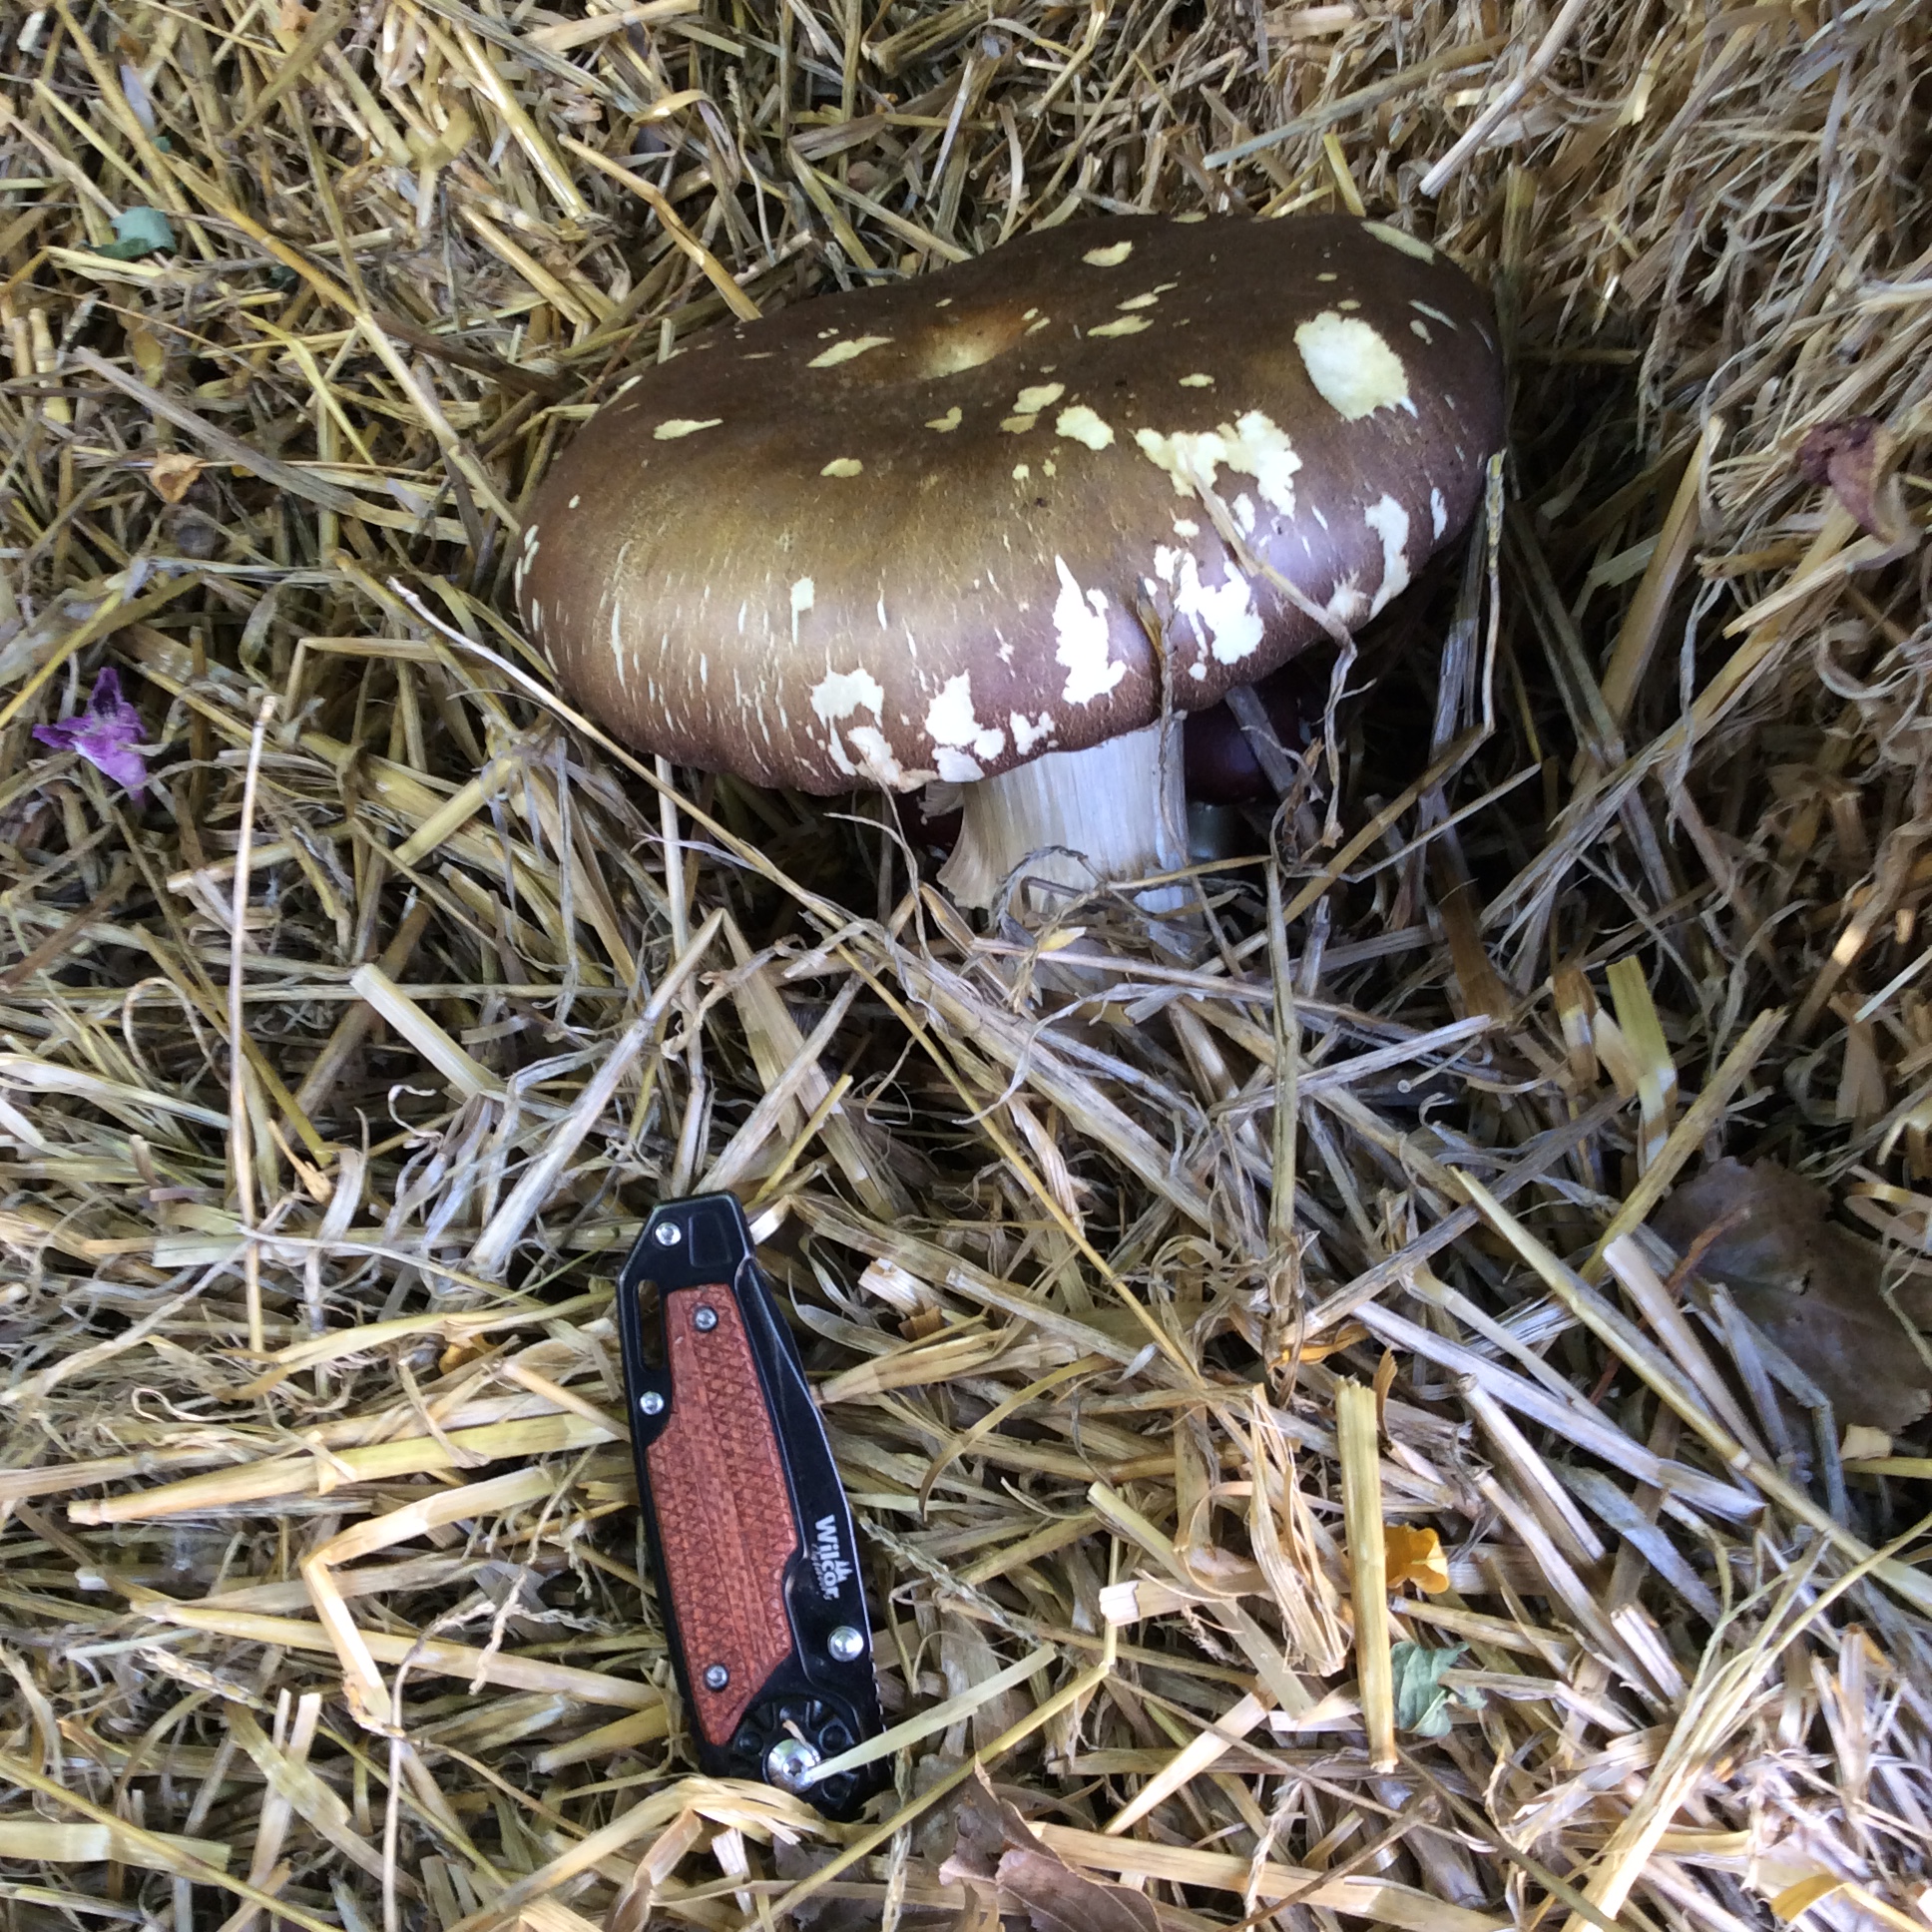
Early this spring I was putting down straw mulch around some new plantings in the shade and decided to order and incorporate some spawn for the winecap  mushroom, Stropharia rugosa-annulata.  I have never grown or tasted this mushroom before, and so I was very excited yesterday when a young friend pointed out “a giant mushroom” under one of the new little saplings.  My first winecap was a healthy 6 1/2 inches in diameter.  I cooked it plainly in butter with a little bit of salt, and it was perfectly nice but I would say not significantly  better than store-bought cremini mushrooms.  Still, my homegrown mushrooms are deep organic and came from my own land, so of course I favor them,  and they benefit the soil and the growing plants as well as me.

The advantage of Stropharia  is that it is fairly rugged and easy to grow. I am told that it grows much better in deciduous wood chips than in straw, and at the very least I should have mixed in some deciduous wood chips or put some on top, but it is one of those things that I meant to get around to and haven’t done yet.  Maybe I will still top up with some wood chips.

They grow well in the paths between garden beds, and once you have them established I am assured that you can move shovelfuls of the substrate around and start new  mushroom beds pretty much at will. The presence of fungi can be very important to the health of plants, and for much more on this fascinating subject I recommend reading “Mycelium Running.”

Here’s an important safety bulletin: just because you “planted” mushrooms in a specific spot, it is not safe to assume that any mushroom that comes up in that spot is what you planted.  There is absolutely no substitute for knowing the identification points for the mushroom you planted as well as for any poisonous look-alikes.  The mushrooms that I grow in my garden, oyster mushrooms and Stropharia, are easy to identify so this is not a difficult task.

The hugeness of the Stropharia  mushrooms can make your whole garden seem Wonderland-like and magical. It might not be the very best eating mushroom there is, but it is quite wonderful to have a visitor gasp and say “Ooh, what is THAT?”


Chicken with Double Garlic Sauce

Garlic is wondrous in all its forms. I called this simple chicken sauce  “double garlic” not because it contains a lot of garlic, although it does, but because it contains garlic in two distinct forms. Right now I am harvesting the bulbs of the early Chinese Pink while the late Mount Hood is forming tender scapes. So both went into this dish. For the chicken, I used some leftover plainly roasted thighs. You could also make the very quick seasoning sauce to add interest to a plainly seasoned rotisserie chicken that you bought on the way home after a busy day. Of course you could also cook chicken thighs right in the sauce, but I conceived of this as a way to make leftovers fresh and interesting.

In the spirit of easy convenience, I added some artichoke hearts marinated in oil that I found at a grocery store olive bar. If you have some leftover vegetable that isn’t too seasoned, this is a good place to use it up. Just don’t use marinated veggies that are acidic or pickled-tasting; taste to be sure.

You will need:

1/3 cup very good EV olive oil

7 cloves fresh garlic, chopped

5-6 tender garlic scapes (snap one near the base. It should snap cleanly, with no “bark” peeling at the breakpoint) Chop in bits a little more than 1/4″ long

1/3 cup salted capers, soaked and squeezed dry, or brined capers rinsed and squeezed dry

1/4 cup, loosely packed, chopped herbs of your choice. I used half thyme and half fennel

4 cooked whole chicken thighs, or a disjointed rotisserie chicken

roughly 1 cup of cooked leftover veggies, not too seasoned

Heat a skillet ovet high heat and add the olive oil. Put in the chopped scapes, fry for about two minutes stirring frequently, reduce heat to medium, and cook until scapes are crisp-tender ( the best way to find out is to chew one.)

Add the squeezed-dry capers and cook until they look a bit dry and (ideally) a bit browned. Add the chopped garlic and the herbs, sauté just until the chopped garlic looks cooked, and add about 2 tablespoons of water and the veggies and chicken. Cook uncovered over medium-low heat, stirring and turning as needed, until heated through. There should be little to no water left, just seasoned oil full of delicious bits that can be spooned over the chicken and veggies. Serve with freshly ground pepper, but taste before adding salt, because of the capers and the pre-cooked ingredients.

I have already talked about garlic and garlic scapes at length, so this a good time to talk about capers for a minute. I consider them an essential kitchen staple and my favorites come from Morocco, but they are absurdly expensive, so feel free to buy something much more reasonable. The tiny nonpareil capers are often marketed as the best, but I don’t like them except as a garnish on smoked salmon and generally prefer the largest and most herbaceous that I can find. If salted, rinse the salt off, soak in water to cover for 20 minutes, and squeeze dry. If brined, rinse the brine off thoroughly, soak in hot water for a few minutes, and squeeze dry. There is currently a lot of silly snobbery about brined capers, but they can be delicious and are far preferable to tasteless or oversalted dry capers. I eat capers all summer and try to keep a handful, already soaked and squeezed, ready wrapped in a square of plastic wrap in the refrigerator. They’re astoundingly rich in quercetin, if that’s important to you, and they taste like essence of summer.


Harvesting Garlic

In a way the title of this post is very inaccurate, because I have been “harvesting garlic” since February  in the form of green garlic. But this is the time of year when I start to pull bulbs, because the extremely early Chinese Pink comes out of the ground now. So this is a good time to say something about the curing of garlic.

First, the variety matters. Chinese Pink doesn’t last that long for me and is mainly to tide me over until the main crop comes in, since it’s a good six weeks earlier than any other type that I grow.

Second, harvest at the right time. Watch for yellowing, withering leaves. Generally I harvest when there are four green leaves left, but Chinese Pink is prone to splitting and needs to be harvested earlier, when about the four lowest leaves are yellow. The picture below shows “split” garlic which has been left in the ground too long. It’s still useful but harder to peel and clean.

Third, DON’T cut off the stalks. The curing bulbs draw nourishment from the remaining leaves. Do, however, remove any bloomscapes. Also leave the roots intact but shake off soil. Brush loose dirt off the bulbs.

Fourth, DON’T leave them lying in the sun, where they will “cook” and be spoiled. After pulling the plants, lay them in single layers on a dry surface (I use flattened corrugated cardboard boxes that will later go into sheet mulch) and put out of direct light in a place with good air circulation. Leave for two weeks, turning the bulbs occasionally.

Now cut the withered tops off unless you grew a softneck garlic and want to make braids. My favorite types are all hardneck so no braids for me. The remaining surface dirt is now dry and can be brushed off with a soft brush, but don’t get fanatical with the brushing because you can damage the wrapper and impair the bulb’s ability to keep. Leave in the dim airy place and bring a few bulbs at a time into the kitchen.

When ready for curing, they will look like the picture below. Later on when you clean them up and bring them into the kitchen, they will look like the picture at the top of this post.

Before you start using your garlic, be sure to set aside the largest and best bulbs with the largest cloves for replanting.

Use your garlic.  A lot. This is the fresh clean-flavored garlic that makes recipes like Chicken with 40 Cloves of Garlic or Chicken with Fennel, Pernod, and Garlic such a pleasure to eat. Confit some and enjoy it on toasted sourdough bread or crackers, or alongside roast chicken, or in pepperonata. To confit garlic, peel a quart’s worth of cloves, put in a small heavy saucepan, cover with good extra virgin olive oil and add a heaping teaspoon of sea salt, bring to a simmer, and simmer slowly over low heat with an occasional gentle stir until the cloves just hold their shape but are soft and can be crushed easily with a spoon. If there is any hard “core,” keep simmering. Cool and store in a jar in the refrigerator. Be sure to keep the cloves covered with olive oil and it will keep a month or more. The confiting oil is a treasure, great in dressings or for drizzling.

The image of chicken and garlic above was borrowed from Food 52, my favorite cooking site.

For a far more detailed take on garlic curing and storage, review this excellent PDF from Boundary Garlic Farm.

Milkweed, For People and Others


People who live in wetter climates would be surprised, and probably amused, to learn what efforts I’ve made to have common weeds like nettles, burdock, chickweed, and milkweed grow on my property. Common milkweed, Asclepius syraica, has been especially difficult because it really does like moist soil and doesn’t tolerate “dry feet” or alkalinity gracefully.  It took a couple of tries before I got any to germinate, and now I finally have a few plants, which have to be watered and tended and fussed over as if they were orchids until they get stronger. I had to borrow photos because my own milkweed is still a bit on the spindly side.

One might well wonder why I bother. One reason is that I like to eat milkweed, especially the young seed pods, but the shoots and buds are just fine too. It’s a true nose-to-tail vegetable. Another is that I am transitioning from annual veggies to perennial wherever possible, and A. syraica is a good useful perennial that doesn’t require soil disturbance to grow. A third reason is that the flowers are fairly ornamental and send out a cloud of perfume reminiscent of flowery vanilla.

A fourth reason can be seen on this map:

Monarch migration

Notice how the sightings in New Mexico just peter out, while the ones in wetter areas east and west continue northward. Compare this to the maps on the same site for larvae and for milkweed. The migration of monarch butterflies from Mexico to the northern US is a migration of generations. The butterfly that arrives in Montana may be great-great-grandchild to the butterfly that flew north from Michoacon. All along the way they need breeding habitat, and their larvae feed on A. syraica and a couple of other closely related milkweed species. The leg of the journey through desert northern Mexico and southern New Mexico is a barren one, and a few milkweed oases along the way might help more monarchs make it to Colorado and further north. I can’t guarantee it, of course, but it seems worth a try. Adult monarchs will sip nectar from many flower species, but the fate of the larvae is tied to milkweed supply.

You can read more about monarch conservation here:

https://monarchconservation.org

Since my plants are still too young to pick for eating, I won’t be writing about milkweed in the kitchen until next year, but you can obtain the two wonderful field guides by Samuel Thayer, The Forager’s Harvest and Nature’s Garden, and be prepared to forage and cook any common wild edible. I never tire of recommending Thayer’s books, which contain great detail about identification and culinary use at various stages.