Archive for the ‘herbs’ Category

Welcome back, and notes on the Ketogenic diet

image

I’ve been MIA for a long time, and I appreciate the kindness of those readers who tactfully enquired about my whereabouts. The main reason was a series of deaths among my nearest and dearest that made 2013-14 seem like The Years That Everybody Died. Change and death are inevitable, and so are grief and railing against fate. Many thanks to those of you who are still with me.

Another change had a happier outcome. I developed clear signs and lab results indicating that the inexorable progression to type 2 diabetes had begun, and this started me wondering whether it really was inexorable. The answer, almost three years later, is an enthusiastic “No way!” After fooling around with various unsuccessful interventions, I finally took the plunge and went on an ultra low carbohydrate (ketogenic) diet, and after the first awful month of withdrawing from all my beloved toxins, it’s been great. Good energy, bubbling good health, and freedom from food cravings don’t come from medications, they come from consciously made lifestyle choices. Even more than I thought before, we choose our health. My menu of food choices includes meat, poultry, fish, seafood, green vegetables and some others, mushrooms, cheese, cream, strained yogurt, coconut milk, and nuts. Plenty to choose from, and plenty to season it with.

So some of my recipes will be a little different now, but the role of home food production is even more important than before. Green vegetables are an even bigger part of my diet now, and I want the best deep-organic stuff that I can get. Good meats are vital, and I produce my own where I reasonably can. I probably couldn’t afford to buy foods of this quality in the amounts that I eat them. This is the perfect time of year to plan your season of growing and foraging, so in the next post we’ll start thinking about what to grow and what to read.
image

Oh, and don’t forget:

image

Vegetable dinners: add an egg! and notes on feeding chickens


Like the British cookbook writer Nigella Lawson, I am both greedy and lazy, so I’m full of timesaving tricks for making real food in a hurry. Now if I also looked like her, that would be nice, but two out of three isn’t bad. One of my favorite time-saving tricks is to make a small batch of yeast dough and stick it in the refrigerator with no clear idea what I’ll use it for. Most recently, I used it to make a variation on a hortapita, filled with mixed greens. Since my chickens have started to lay, I decided to incorporate eggs. This isn’t really a recipe. This is the sort of thing you throw together by instinct on days when you need the comfort of the kitchen but if you think too much more, your brain will break.

If you don’t happen to keep dough hanging around, you can use ready-made pizza dough from the Co-op, but making your own is a cinch. My basic recipe is 2 cups water, 1 teaspoon sugar, 1/2 teaspoon dry yeast, and 2 teaspoons salt. Mix together, knead on a floured surface for five minutes, form into a ball, pop it into an oiled bowl and cover with plastic wrap, and set in the refrigerator for 1-2 days. On the second or third day, take the bowl out before you leave for work and leave it at room temp for the day. When you come home, it will be ready to use for a homemade pizza or hortapita.
Besides the dough, you will need:
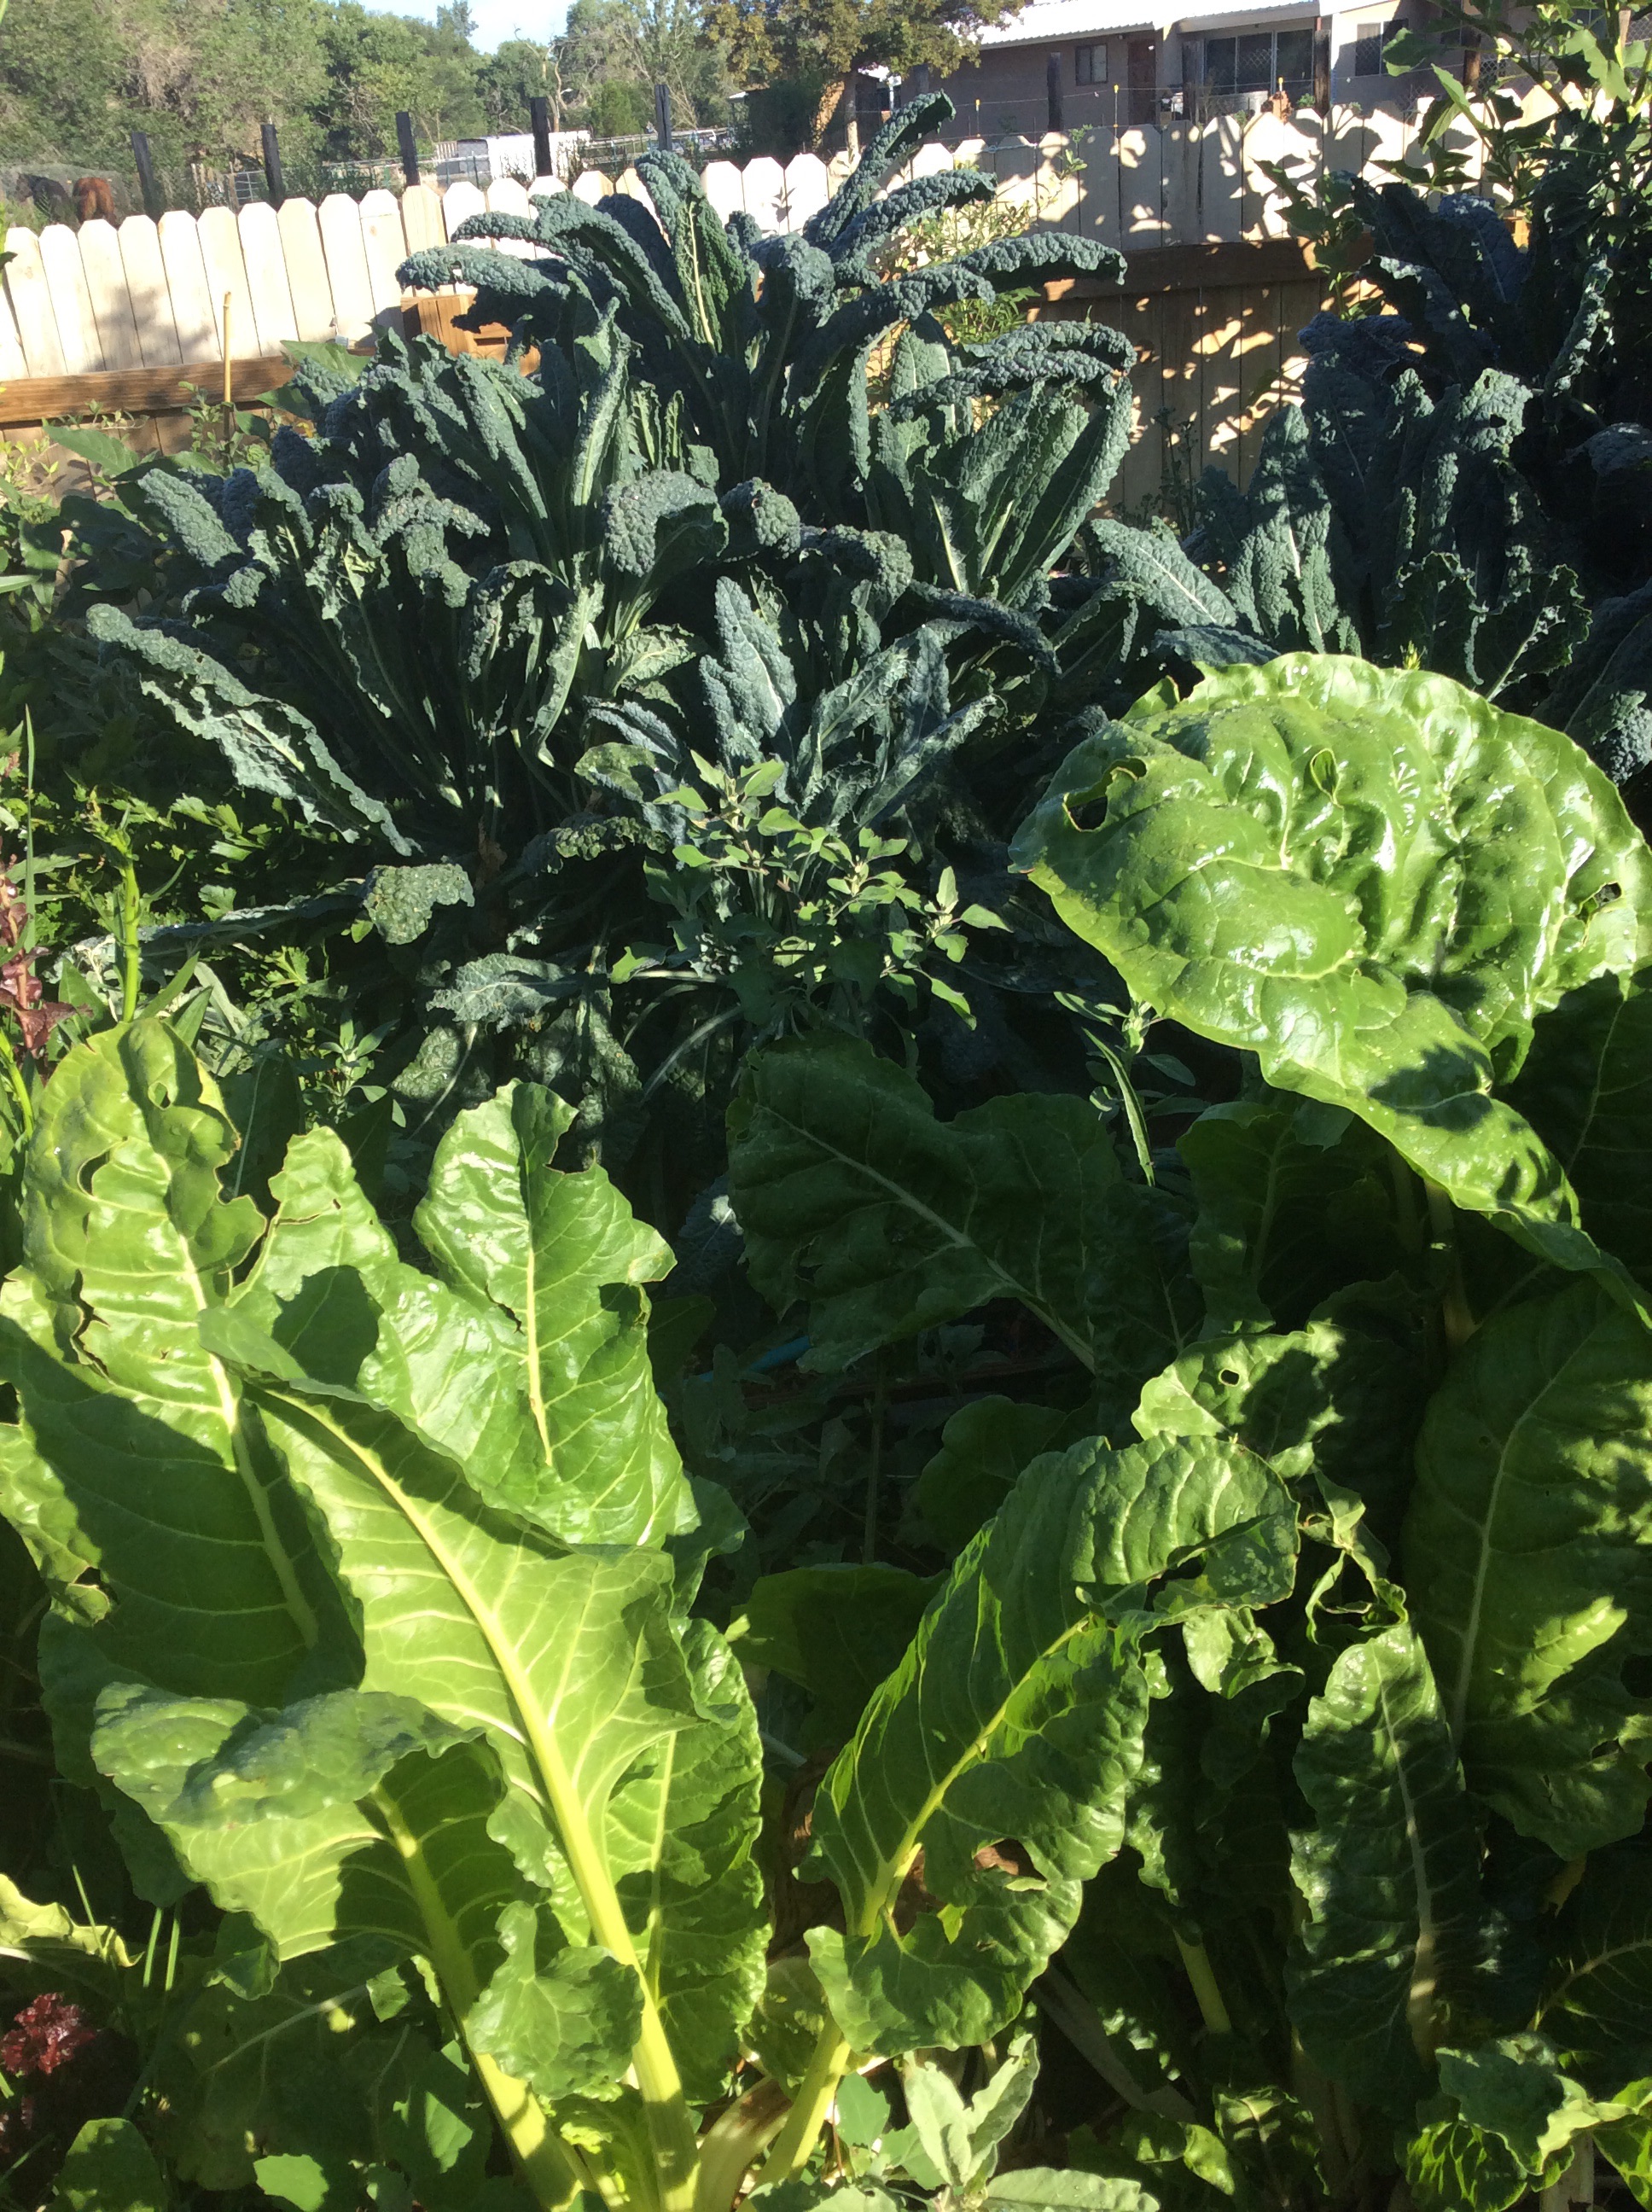
about a pound of mixed greens OR a pound of frozen organic spinach and a handful or two of stronger-flavored greens or herbs to give flavor.
an onion and a couple of cloves of garlic
a packed cup of crumbled feta or shredded parmesan or some flavorful but not stinky cheese. Idiazabal, mild cheddar, or mild gouda would all be reasonable. I used Idiazabal because I usually have some around.
3-4 eggs
some olive oil

Preheat the oven to 425.
For the filling, I took a major shortcut and started with a pound of frozen organic spinach. Then I picked some very mature arugula from the yard to give it that wild strong flavor, but since 6 or 7 big leaves will do the trick, the cleaning time was about 5 minutes for the greens. If I didn’t have arugula in my yard, I’d just chop up a small bunch of parsley or the tops of a few green onions for a different but equally “green” flavor. Chop and saute an onion in olive oil, remembering to stir frequently. Between stirs, shred the arugula or whatever you have into chiffonade and put it in a nonmetal mixing bowl with the frozen spinach. Microwave the mixture on high for two minutes. There may still be some frozen chunks of spinach. Ignore them. Squeeze the mixture over the sink, handful by handful, to get out as much moisture as you can, and return the dry greens to the bowl. At this point the onion should be cooked. Add a couple of cloves of chopped garlic, saute until the garlic is cooked, and add to the greens in the bowl. Add the cheese, toss all together with your hands, and taste. It may need some salt, will surely need some freshly ground pepper, and may cry out for a little thyme (to me, most foods cry out for a little thyme, and so there should always be some in a pot somewhere or in the refrigerator.)
On a large baking sheet, smear around some olive oil and dump the dough on top. Pat it out with your hands, using vigorous stroking motions to spread it out into a big oval without tearing it. When it is about 1/4 inch thick and nearly as large as the pan, pile the greens mixture on half of it and make 3 or 4 depressions in the greens. Crack an egg into each depression, salt the eggs lightly, and fold the other half of the dough over the top and pinch the edges together. Smear a little more olive oil over the surface and stick in the hot oven until done, somewhere between 20 and 30 minutes. Eat with the knowledge that a tough day didn’t get you down. A glass of good strong red wine will help give you the wherewithal to face tomorrow. If you have just a little more energy and half a bunch of parsley, pound a clove of garlic, the parsley chopped, and the juice of half a lemon in your faithful big mortar and pestle. When somewhat pulverized, add enough of your best olive oil to make a chunky puree and salt to taste. I love this simple sauce/dressing/relish beside almost any vegetable or egg dish, but it’s especially good for bringing a makeshift hortapita to life. If you don’t have a big mortar and pestle yet, a food processor is okay.

My eggs come out of my back yard now, and I give a fair amount of thought to feeding my chickens. If you want your eggs to be highly nutritious, you have to give the chickens the nutrients to make good eggs. For maximum security from predators my coop is fixed and nonmobile, so I cut grass and clover from the yard daily to supplement the laying mash. All the vegetable trimmings from garden and kitchen prep go to them, too. Any pumpkin or squash “innards” go to them so that they can eat the seeds. The chickens get oystershell for calcium, and they get any nutritious table scraps that would otherwise be wasted. For example, they will happily devour leftover salad, for which there is no other use, and rice or stale bread or bulgur are right up their alley. If I have leftover oatmeal or yogurt, they wolf it down. Now that we’ve had several frosts there aren’t many green things left in the yard, so I give the chickens some flaxseed every day to keep the omega-3 content of their eggs up (this is how the commercial high-omega 3 eggs are produced.) Flaxseed is expensive, so rather than give it to them dry and permit it to be scratched around and wasted, I mix it into yogurt or chopped vegetable scraps to make a slurry that they can eat out of a small dish.
I also feed their own eggshells back to them for calcium, but I never just throw the shells into the coop, because this trains them to eat their own eggs (yes, healthy chickens with lots of room and food will eat their own eggs if they learn how, and once a flock has learned to eat eggs there’s no good way to stop them.) I set the shells on a plate and microwave them for one minute to dry them thoroughly, then let them cool and set them aside in a bag. When I’ve accumulated a dozen or so, I crumble them roughly by hand and then put them in the blender and grind them to a coarse powder. The powder is added to yogurt or leftover oatmeal and stirred in well. The chickens gobble it up and it helps them make strong eggshells.

Sudden changes of plan


In urban homesteading as in the rest of life, it’s never possible to know what the future holds. In early July as I was planning and starting my fall/winter garden, my very beloved husky was diagnosed with metastatic cancer and a short life expectancy. Thanks to the care of a wonderful canine oncologist he is free of pain and enjoying his last weeks, but it rapidly became clear to me that the fall garden was not going to be a priority after all, both because of his care needs and because I want to spend all the time that I can with him. Weeding, planting, and the constant ongoing care that a garden needs came to a sudden halt.
So, what to do about the garden? I was soon able to identify the vegetables that flourish on neglect. Corn did well, and we gorged on fresh sweet corn regularly, although the last planting was too young to take the neglect and so our corn season ended early. Sweet potatoes have been unstoppable. Swiss chard has done well, and the winter squash is out to eat the world. We have a problem with borers in our area, so this year I limited myself to squash of the C. moschata variety, which are rumored to be resistant to them. The vines are producing well and not a single one has shown that sudden disheartening wilting that heralds the squash borer. My enthusiasm for edible weeds really paid off, as we ate greens dishes full of lambs-quarters, mallow, amaranth, and purslane. I always let some of my spring crop of arugula go to seed, and a self-sown fall crop is coming up to supply our salad bowl. Self-sown chicory is showing up here and there. Dandelions have grown a foot across, and are too bitter to eat now but after a few frosts they’ll be perfect for braising. Mallow enjoys heat and neglect and even offers pretty purple flowers if you grow the Malva sylvestris type. The wild-type daylilies are spreading happily and will supply spring shoots. Peruvian purple potatoes are healthy and strong. They form tubers late, but in a couple of months we expect to be eating a lot of them. Cherry and paste tomatoes are winding their way through the general melee and producing a surprising number of tomatoes.
At the time that my dog was diagnosed there were hundreds of wild sunflower seedlings all around the property, and I decided to let them grow unmolested, thinking that they would eventually supply green matter for mulch and would keep worse weeds from taking over. We now have a sunflower forest twelve feet high on two sides of the house, and the beauty of the flowers lights up the days. They also attract thousands of bees to the open flowers, and the ripening seeds have drawn hundreds of goldfinches to my yard. Hummingbirds strafe each other over my head, and my husky spends his good days wandering in his own private jungle.
To me the spirit of urban homesteading is one of making do as best we can despite uncontrollable circumstances. It’s a spirit that sets priorities and says “First things first.” My priorities right now are clear, and there are more important things then a carefully planned winter garden. To feed the bees and birds and to find my life unexpectedly full of bright color, flashing movement, wild life,and even good homegrown food although not the food that I had planned on is a gift that I hope I won’t forget.

Still more greens, and notes on solar cooking


Since I got a solar oven, I no longer find it difficult to cook chickpeas, and so I’m looking for new ways to use them. I especially like combinations of greens and beans, partly because these primal and earthy dishes are found all over the world wherever people need healthy cheap food, and partly because they taste good. I’m cooking my way through a huge patch of lambs-quarters and amaranth (common pigweed) in my back yard, and getting healthy food from weedy places always satisfies my sense of economy. If you’re not a weed-eater, just use Swiss chard. I like a little smoked meat with greens, but if you don’t eat meat, just leave off the final garnish of bacon. This makes two large main-course servings with leftovers.

One pound young leaves and tender tips of lambs-quarters and amaranth, OR one large bunch of swiss chard, stems removed, chopped coarsely.
One pint cooked chickpeas, with just enough of the cooking liquid to cover them (see Solar Beans, below.)
3-4 tablespoons good flavorful olive oil
1 large onion, finely sliced
2 large cloves garlic, chopped finely
1 tablespoon of fresh thyme leaves
2 teaspoons Spanish Pimenton de la Vera, or smoked paprika
1/2 teaspoon red chile flakes
salt and pepper to taste
a little of your best olive oil for drizzling
1 thick slice bacon, fried crisp and crumbled (optional)
Wash the greens very well, make sure to remove any remaining large stems, and blanch them in boiling water for 1 minute. Drain, press out extra water, and turn out on a cutting board and chop coarsely in both directions. Meanwhile, heat a heavy pot (I like an unglazed clay 3 quart pot) over medium heat, warm the olive oil, and saute the onions in the oil until translucent and cooked through but not browned more than a little. Add the chopped garlic and saute until garlic is cooked. Add the smoked paprika, thyme leaves, and chile flakes, saute a minute but no more, and promptly add the chickpeas and their liquid. When this mixture comes to a boil, add the blanched and chopped greens, salt to taste, turn the heat to low, and let it all mellow together for 10-15 minutes. Check the seasoning, add pepper to taste, and serve with a good drizzle of very good olive oil on each serving and the crumbled bacon on top if you’re using it. With a hunk of good baguette and a glass of full-bodied straightforward red wine, it couldn’t be better or healthier. Without its bacon topping it’s vegan and can be served to people of that persuasion, with the bacon fillip for the carnivores at the table. People who are vegetarian but not vegan will enjoy a pat of butter melted on top to give a little richness. Hedonists will like both a little butter and a little bacon.

Solar cooking is a natural here in New Mexico, where we have more sunlight than we know what to do with.
So, how do you cook solar beans? Fist you catch your solar oven. There are lots of easy plans on the internet for making them, but I chose to buy mine from the Solar Oven Society. Their solar ovens are capacious, lightweight, and every one you buy helps the society provide solar ovens to the third world, which avoids some deforestation and greenhouse gases from cooking fires. Their ovens are cleverly designed with two potential bases to provide a summer sun-catching angle and a winter sun-catching angle. Optional reflectors are available to achieve higher temperatures. You may want the optional reflectors for other purposes, but for cooking beans you won’t need them. Two graniteware pots are included with the oven, and you can put a pint of dry chickpeas in each one, cover with cold water by at least 2″, and set the oven up facing south in the morning with the two full pots inside. Then employ my special cooking technique: walk away, laughing a carefree laugh, and go to work or just get on with your life. On a reasonably sunny day, the oven without reflectors attached will reach a peak temperature of about 250 degrees and will stay in that range for much of the day. When you get home eight or nine hours later, you will find two steaming pots of perfectly cooked chickpeas, and you can salt them to taste, let them cool, and use immediately or freeze in pint containers with enough of their pot-liquor to cover. I love the oddly meaty-tasting cooking liquid and often use it as the broth for the finished dish, as I do above.
The directions that come with the oven imply that you need to turn it a few times to keep it facing the sun, but at least in summer I just point mine due south and forget about it. Other types of beans are also naturals for this solar slow-cooking, but they take less time, so I do them on weekends when I can check the oven in 4 hours or so to see how they’re coming along. For readers at lower altitudes than our 5500 feet, cooking times would tend to be much shorter. If the day clouds over, you may need to finish inside, or just put the pots in the refrigerator overnight and try again the next day. Don’t forget and leave the beans in the cool solar oven overnight, since some very nasty bacteria including botulinum could grow in room-temperature aqueous solutions. Cool them and pop them in the fridge or freezer when they’re cooked. Eat in the knowledge that you’re taking in all sorts of nutritive and cholesterol-lowering compounds that cost you no energy and very little trouble to cook. Beats canned, doesn’t it?