Archive for the ‘farmers market’ Category

Harvesting Garlic

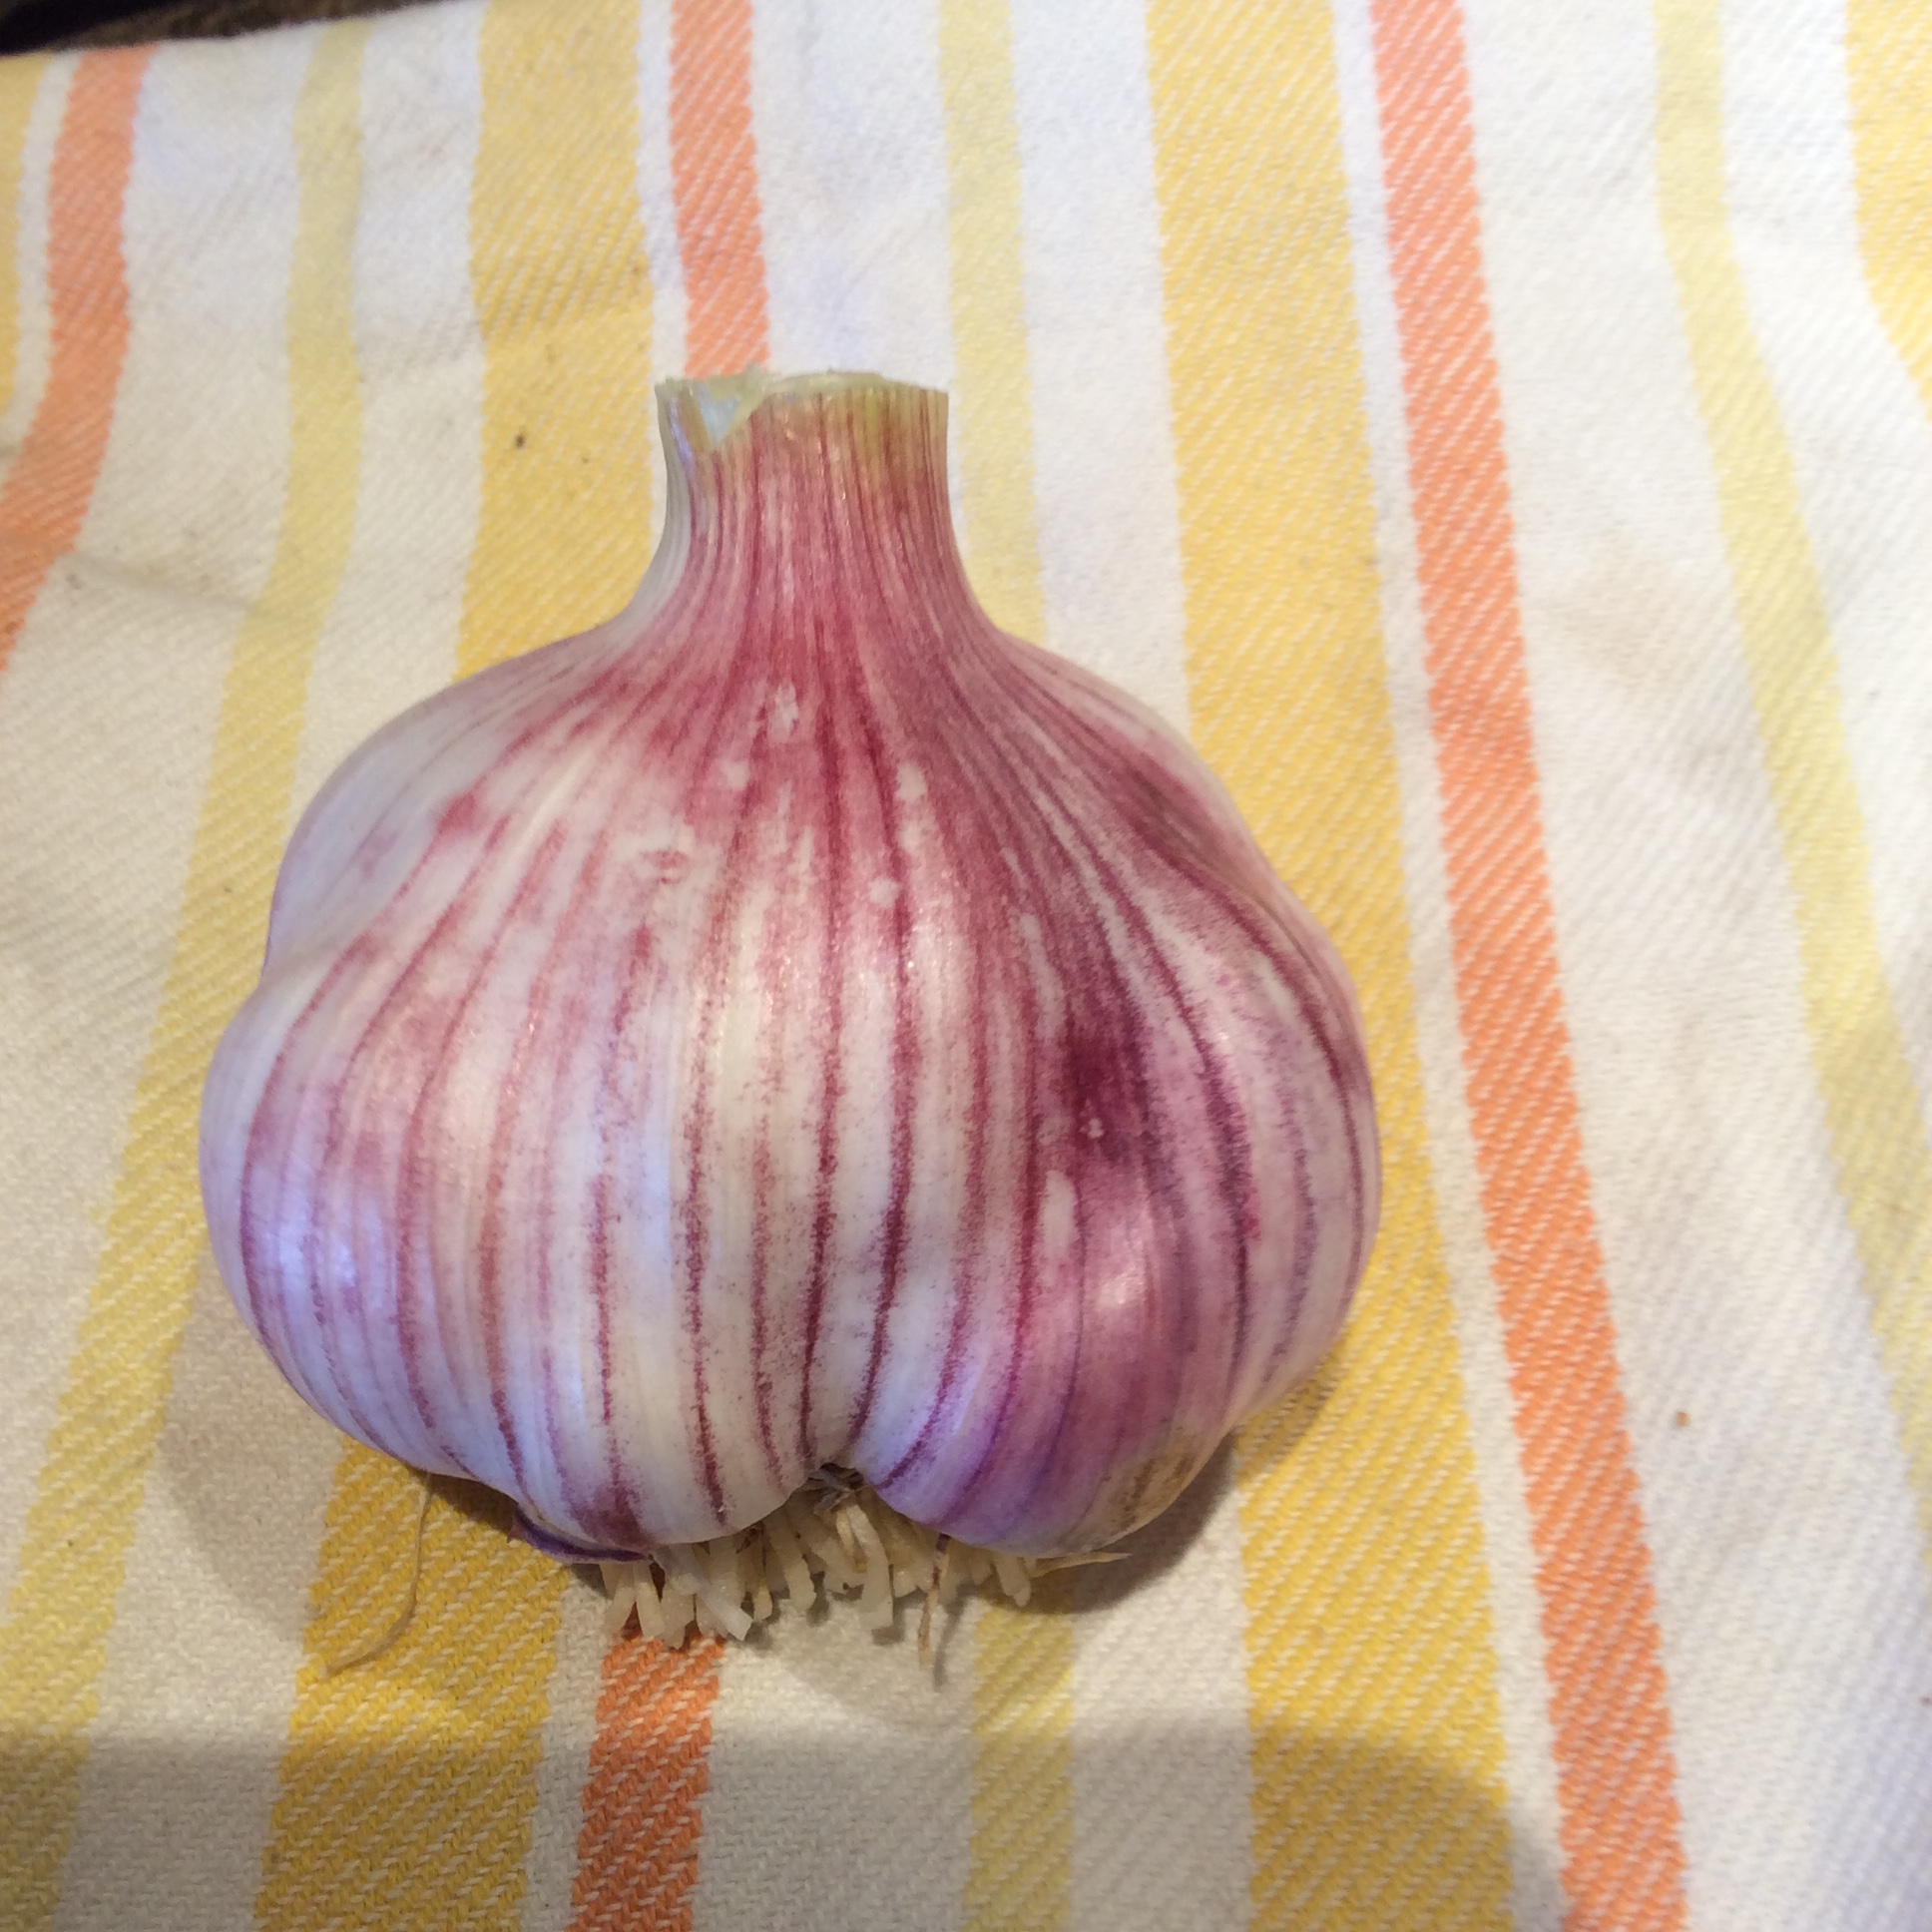
In a way the title of this post is very inaccurate, because I have been “harvesting garlic” since February  in the form of green garlic. But this is the time of year when I start to pull bulbs, because the extremely early Chinese Pink comes out of the ground now. So this is a good time to say something about the curing of garlic.

First, the variety matters. Chinese Pink doesn’t last that long for me and is mainly to tide me over until the main crop comes in, since it’s a good six weeks earlier than any other type that I grow.

Second, harvest at the right time. Watch for yellowing, withering leaves. Generally I harvest when there are four green leaves left, but Chinese Pink is prone to splitting and needs to be harvested earlier, when about the four lowest leaves are yellow. The picture below shows “split” garlic which has been left in the ground too long. It’s still useful but harder to peel and clean.

Third, DON’T cut off the stalks. The curing bulbs draw nourishment from the remaining leaves. Do, however, remove any bloomscapes. Also leave the roots intact but shake off soil. Brush loose dirt off the bulbs.

Fourth, DON’T leave them lying in the sun, where they will “cook” and be spoiled. After pulling the plants, lay them in single layers on a dry surface (I use flattened corrugated cardboard boxes that will later go into sheet mulch) and put out of direct light in a place with good air circulation. Leave for two weeks, turning the bulbs occasionally.

Now cut the withered tops off unless you grew a softneck garlic and want to make braids. My favorite types are all hardneck so no braids for me. The remaining surface dirt is now dry and can be brushed off with a soft brush, but don’t get fanatical with the brushing because you can damage the wrapper and impair the bulb’s ability to keep. Leave in the dim airy place and bring a few bulbs at a time into the kitchen.

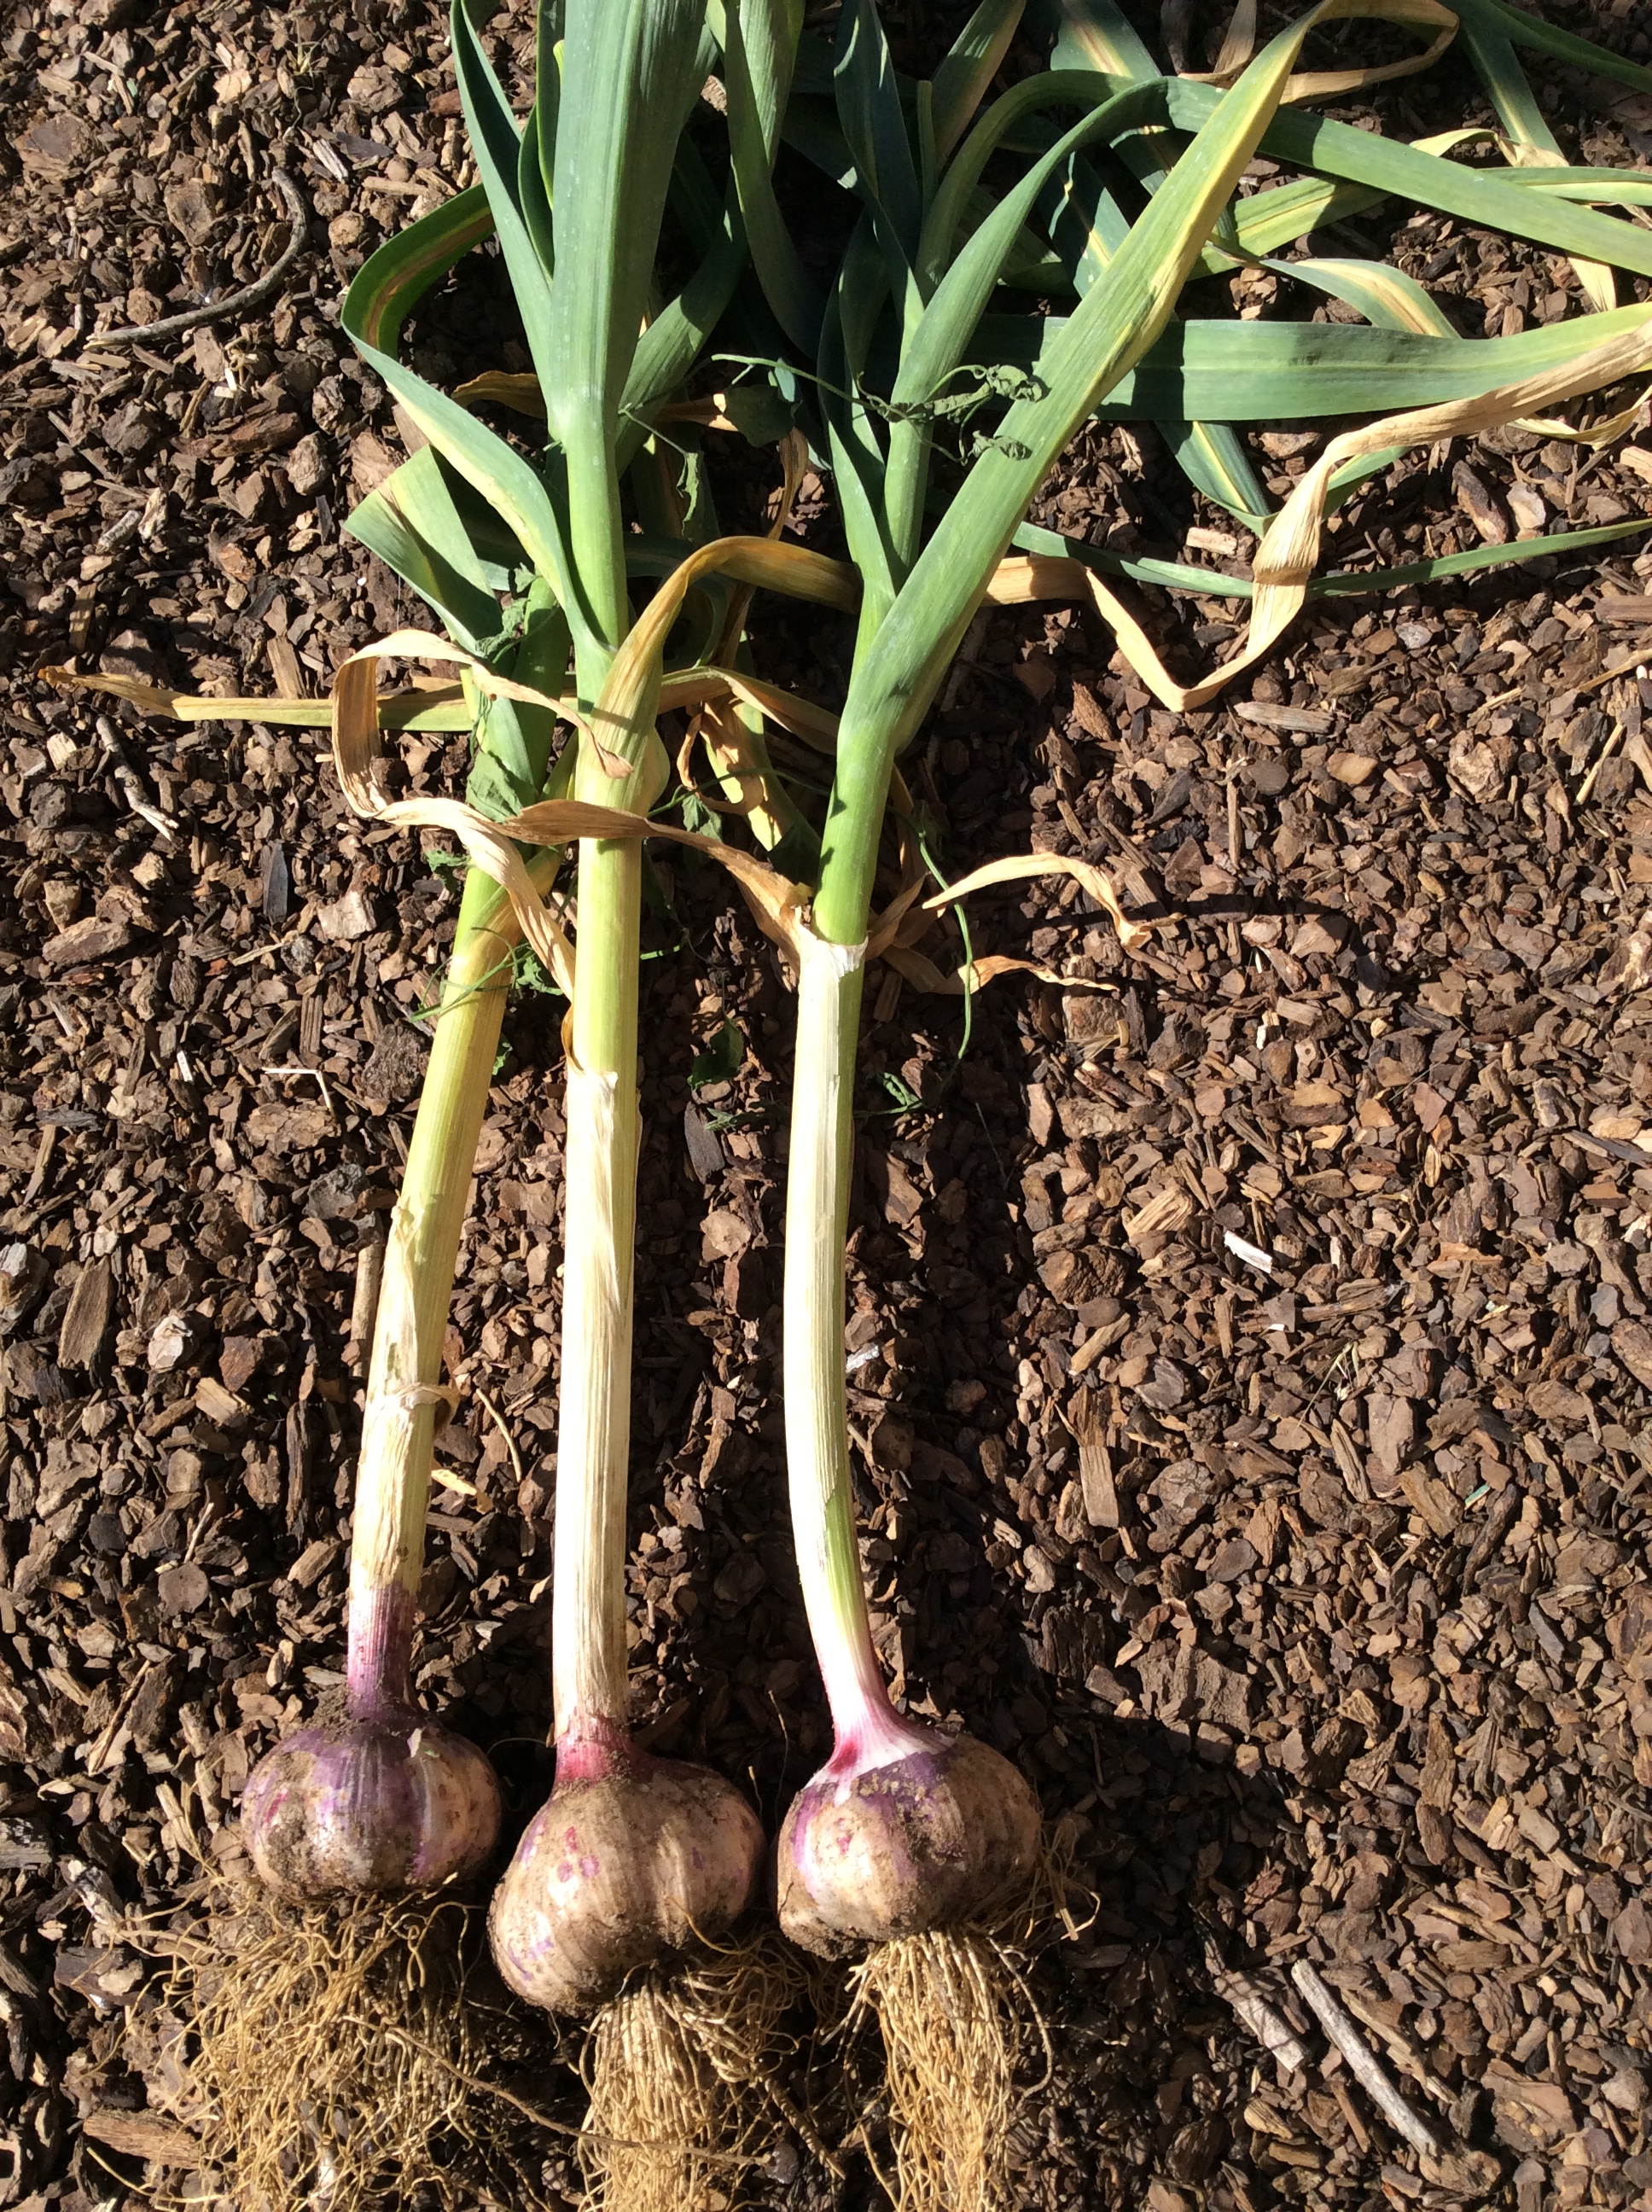
When ready for curing, they will look like the picture below. Later on when you clean them up and bring them into the kitchen, they will look like the picture at the top of this post.

Before you start using your garlic, be sure to set aside the largest and best bulbs with the largest cloves for replanting.

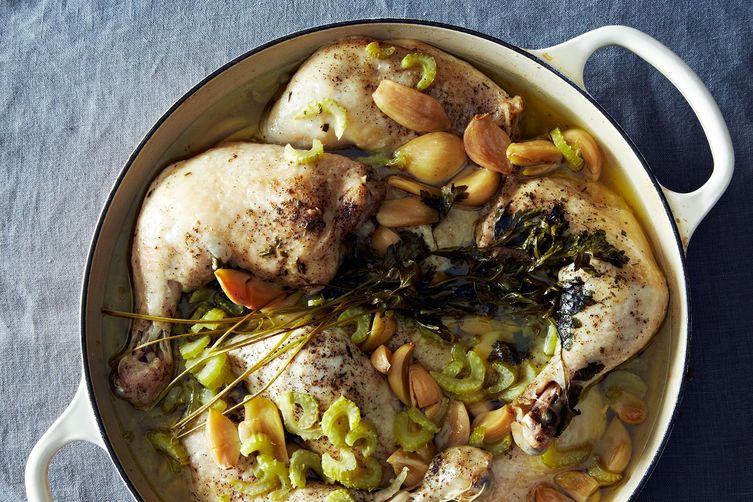
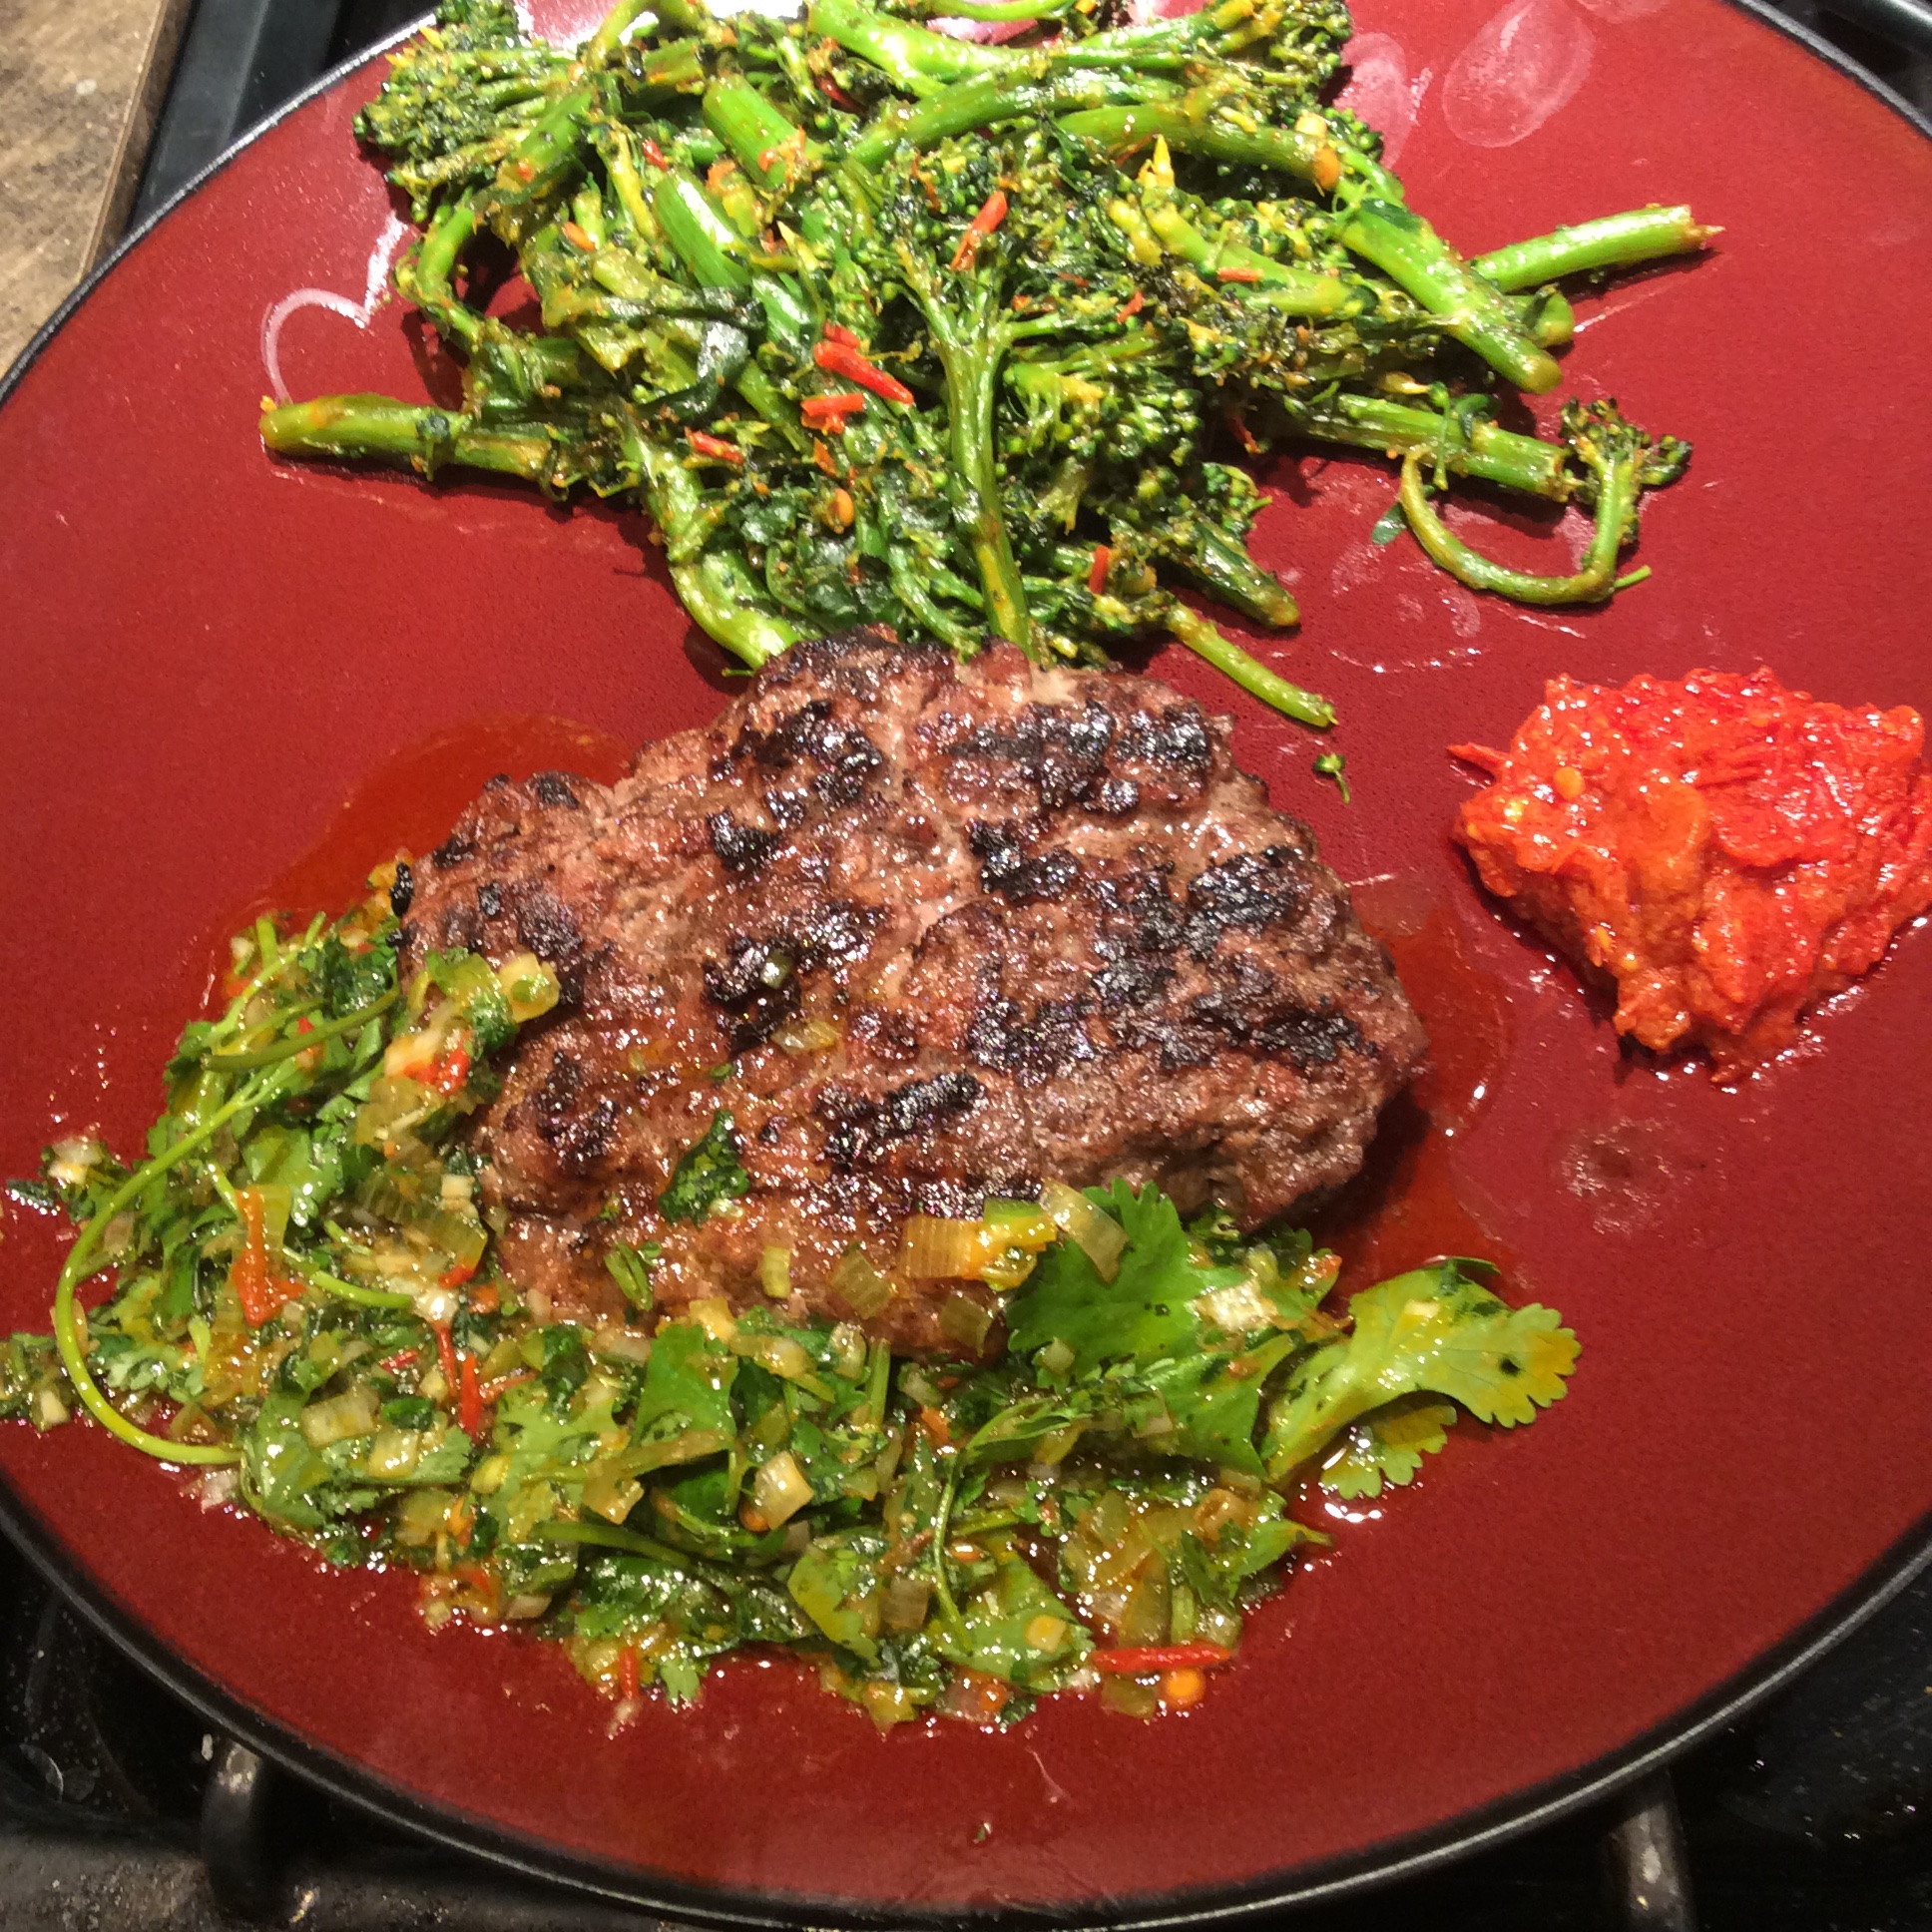
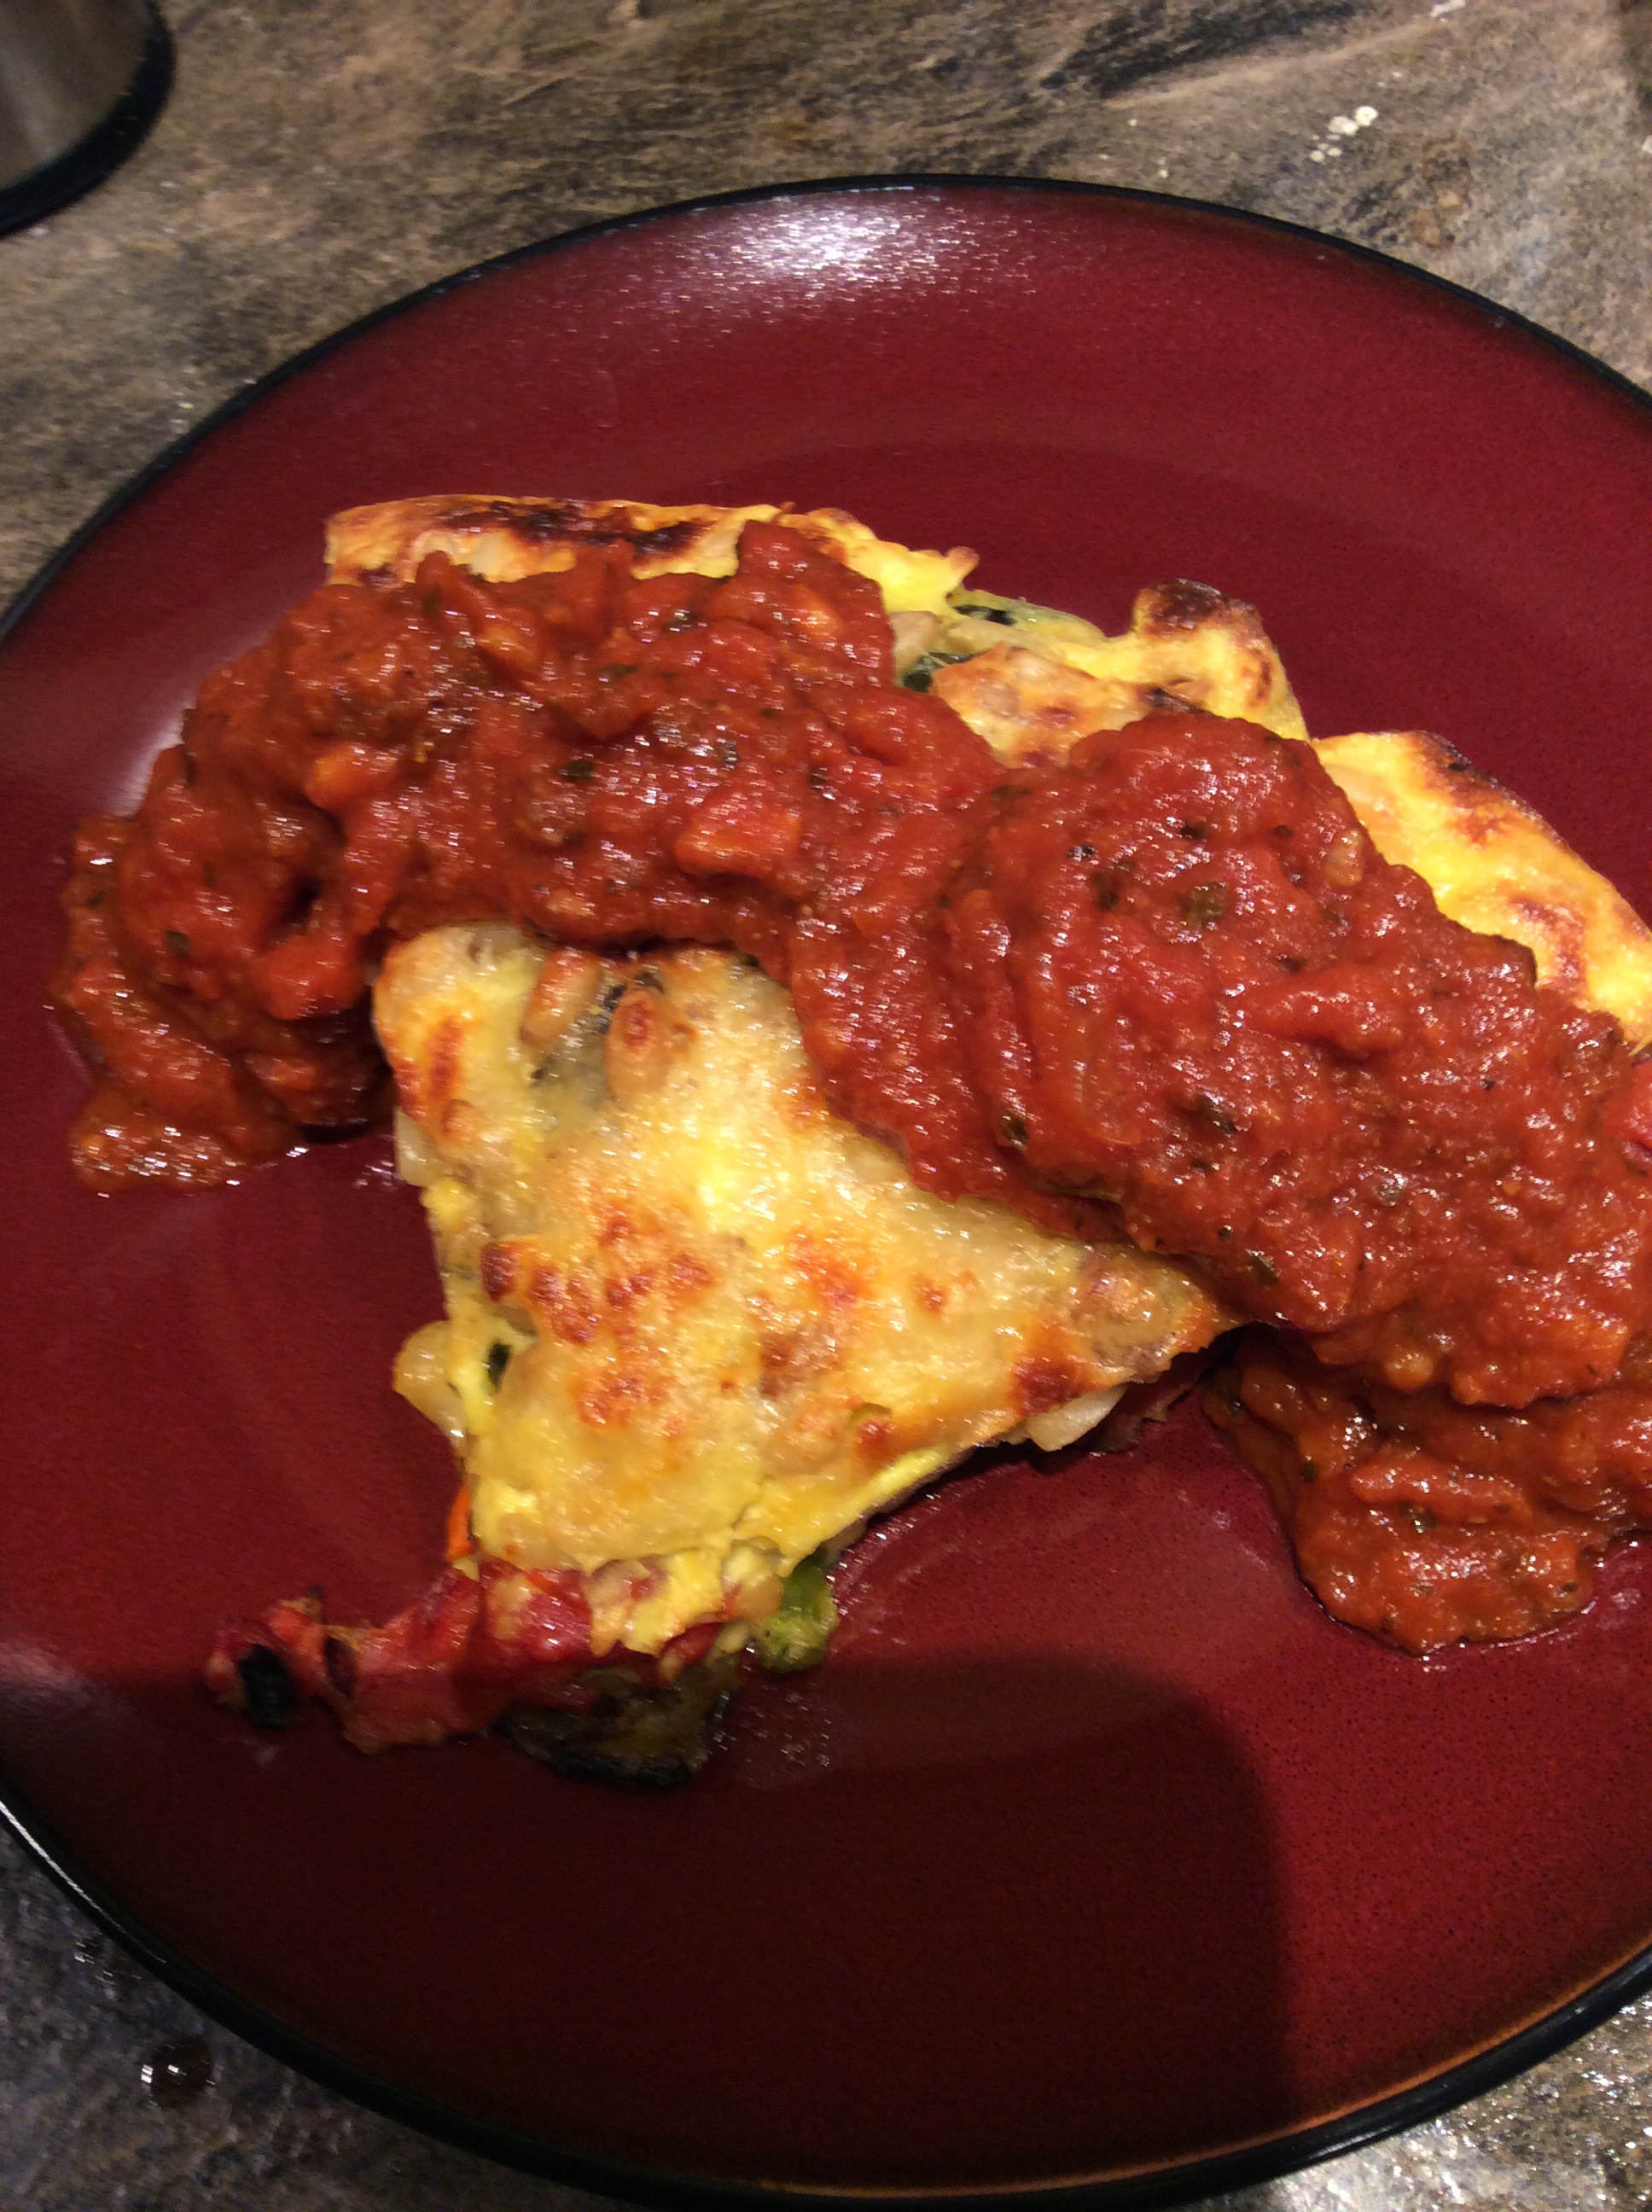
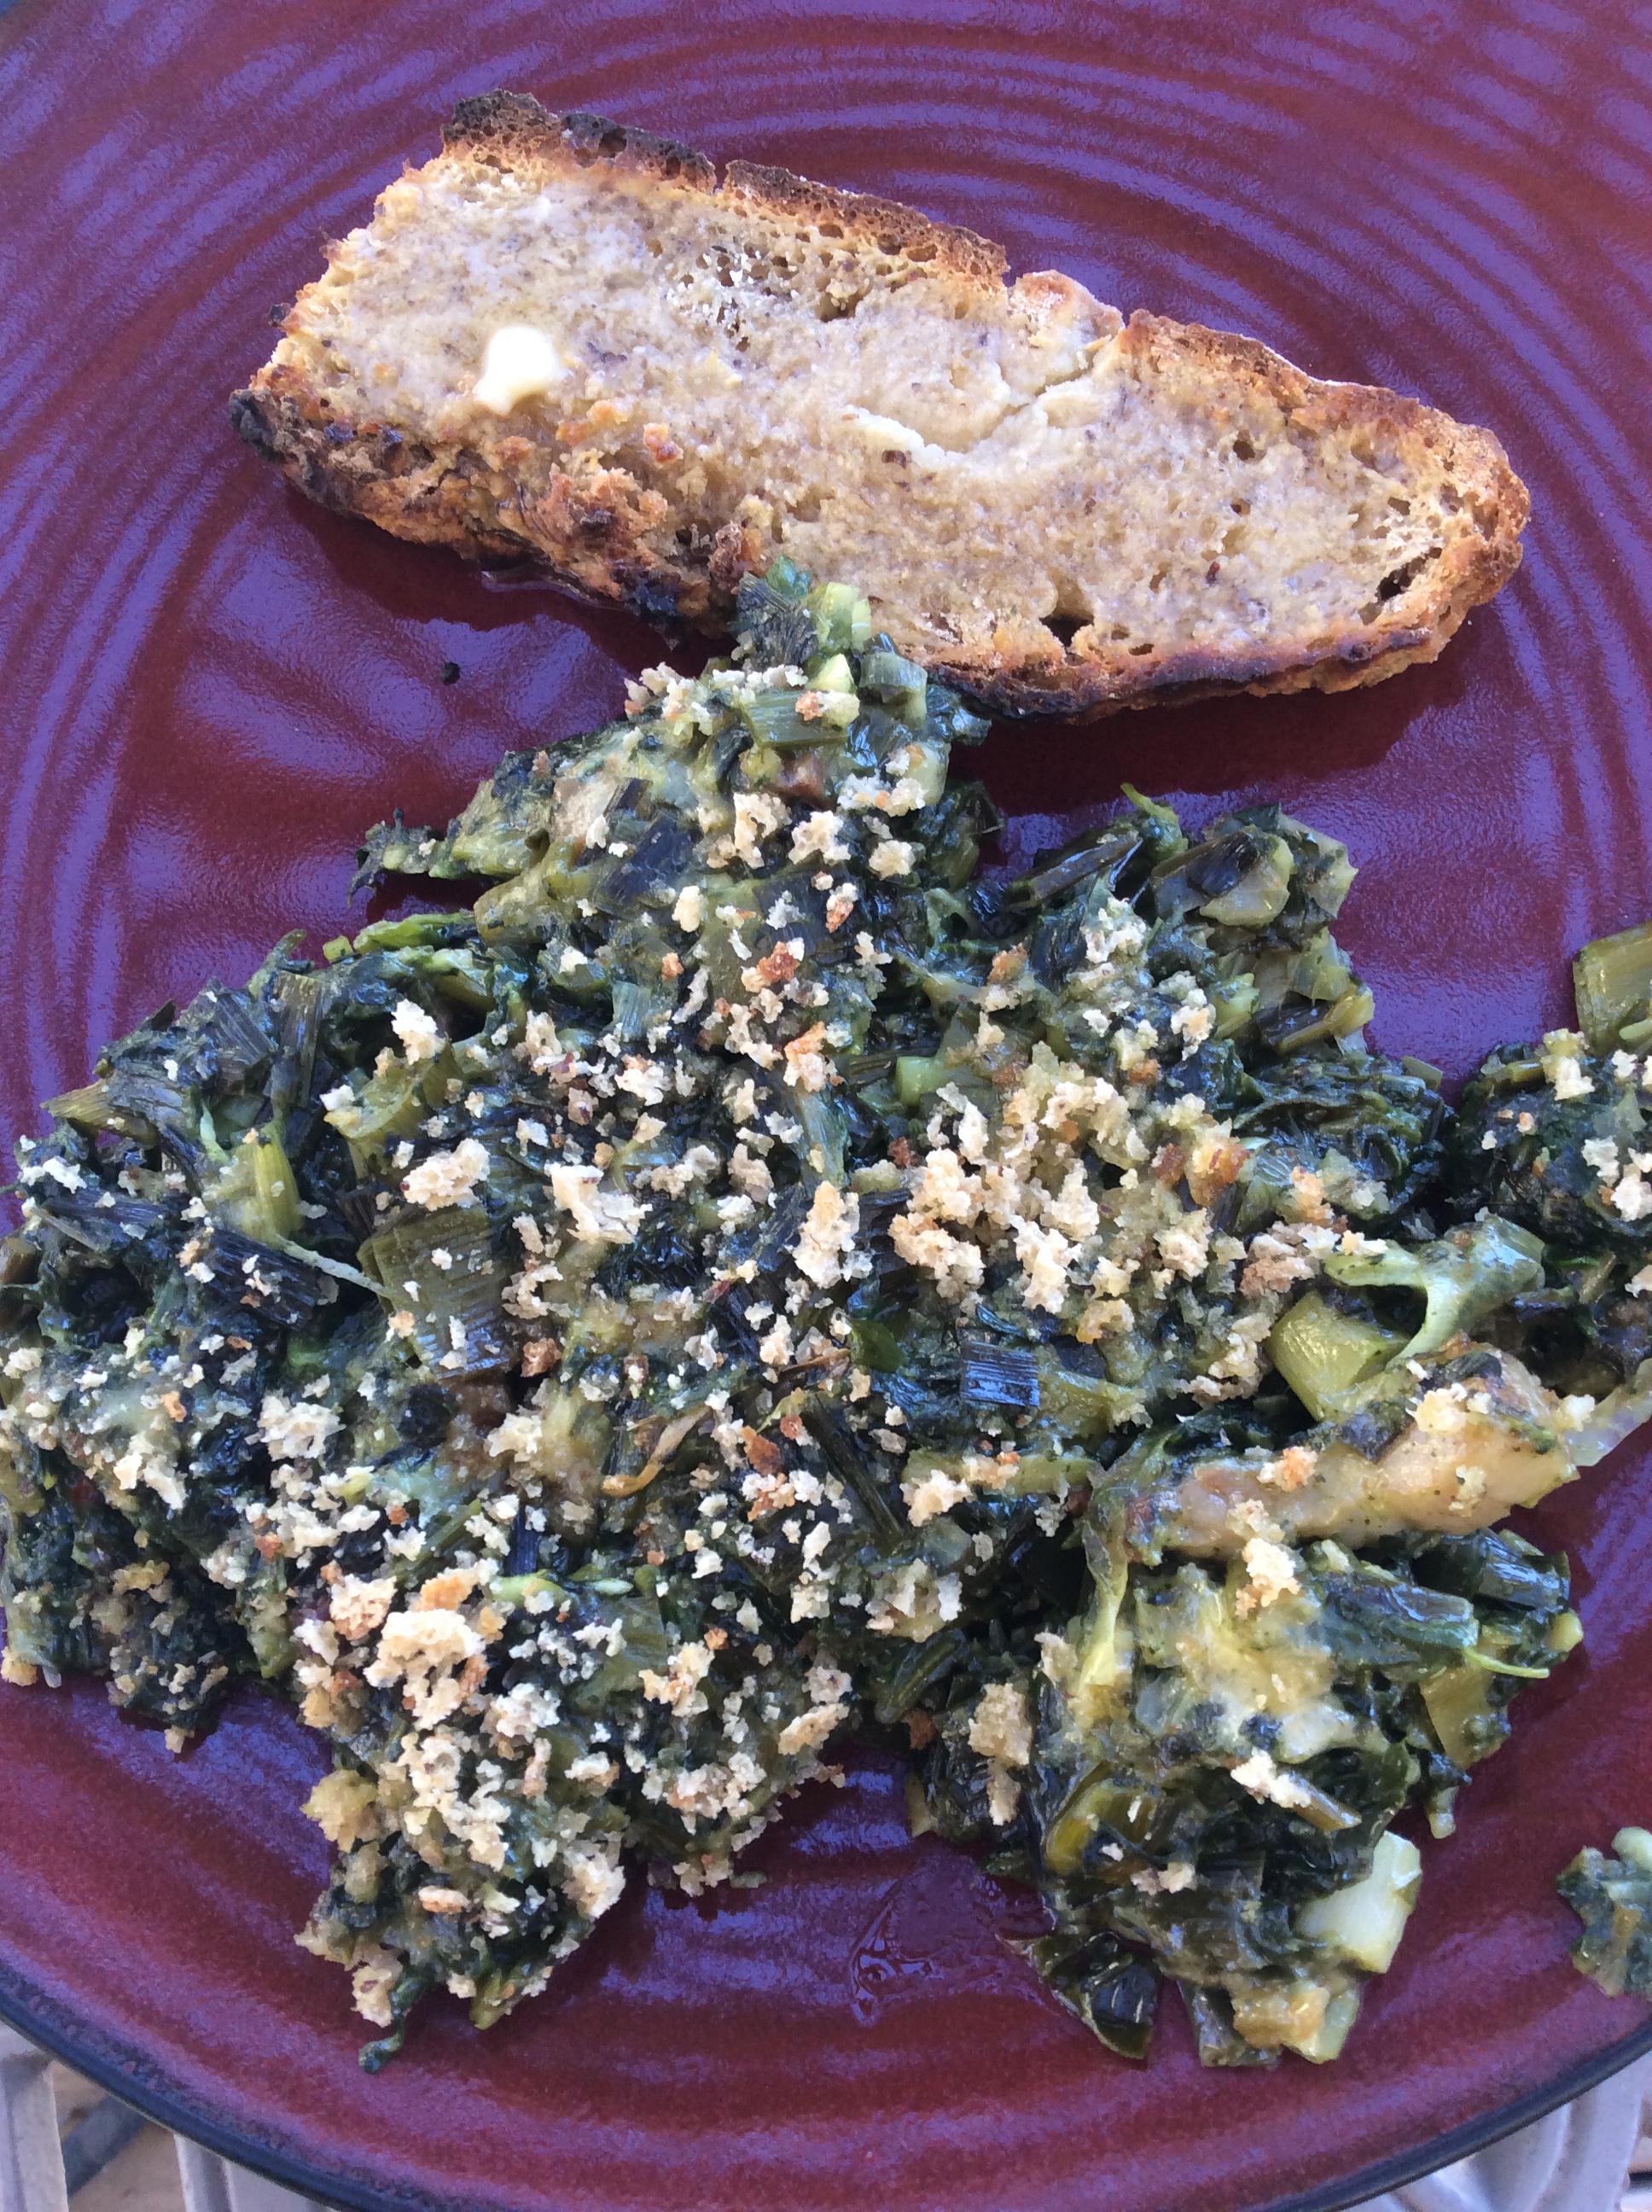
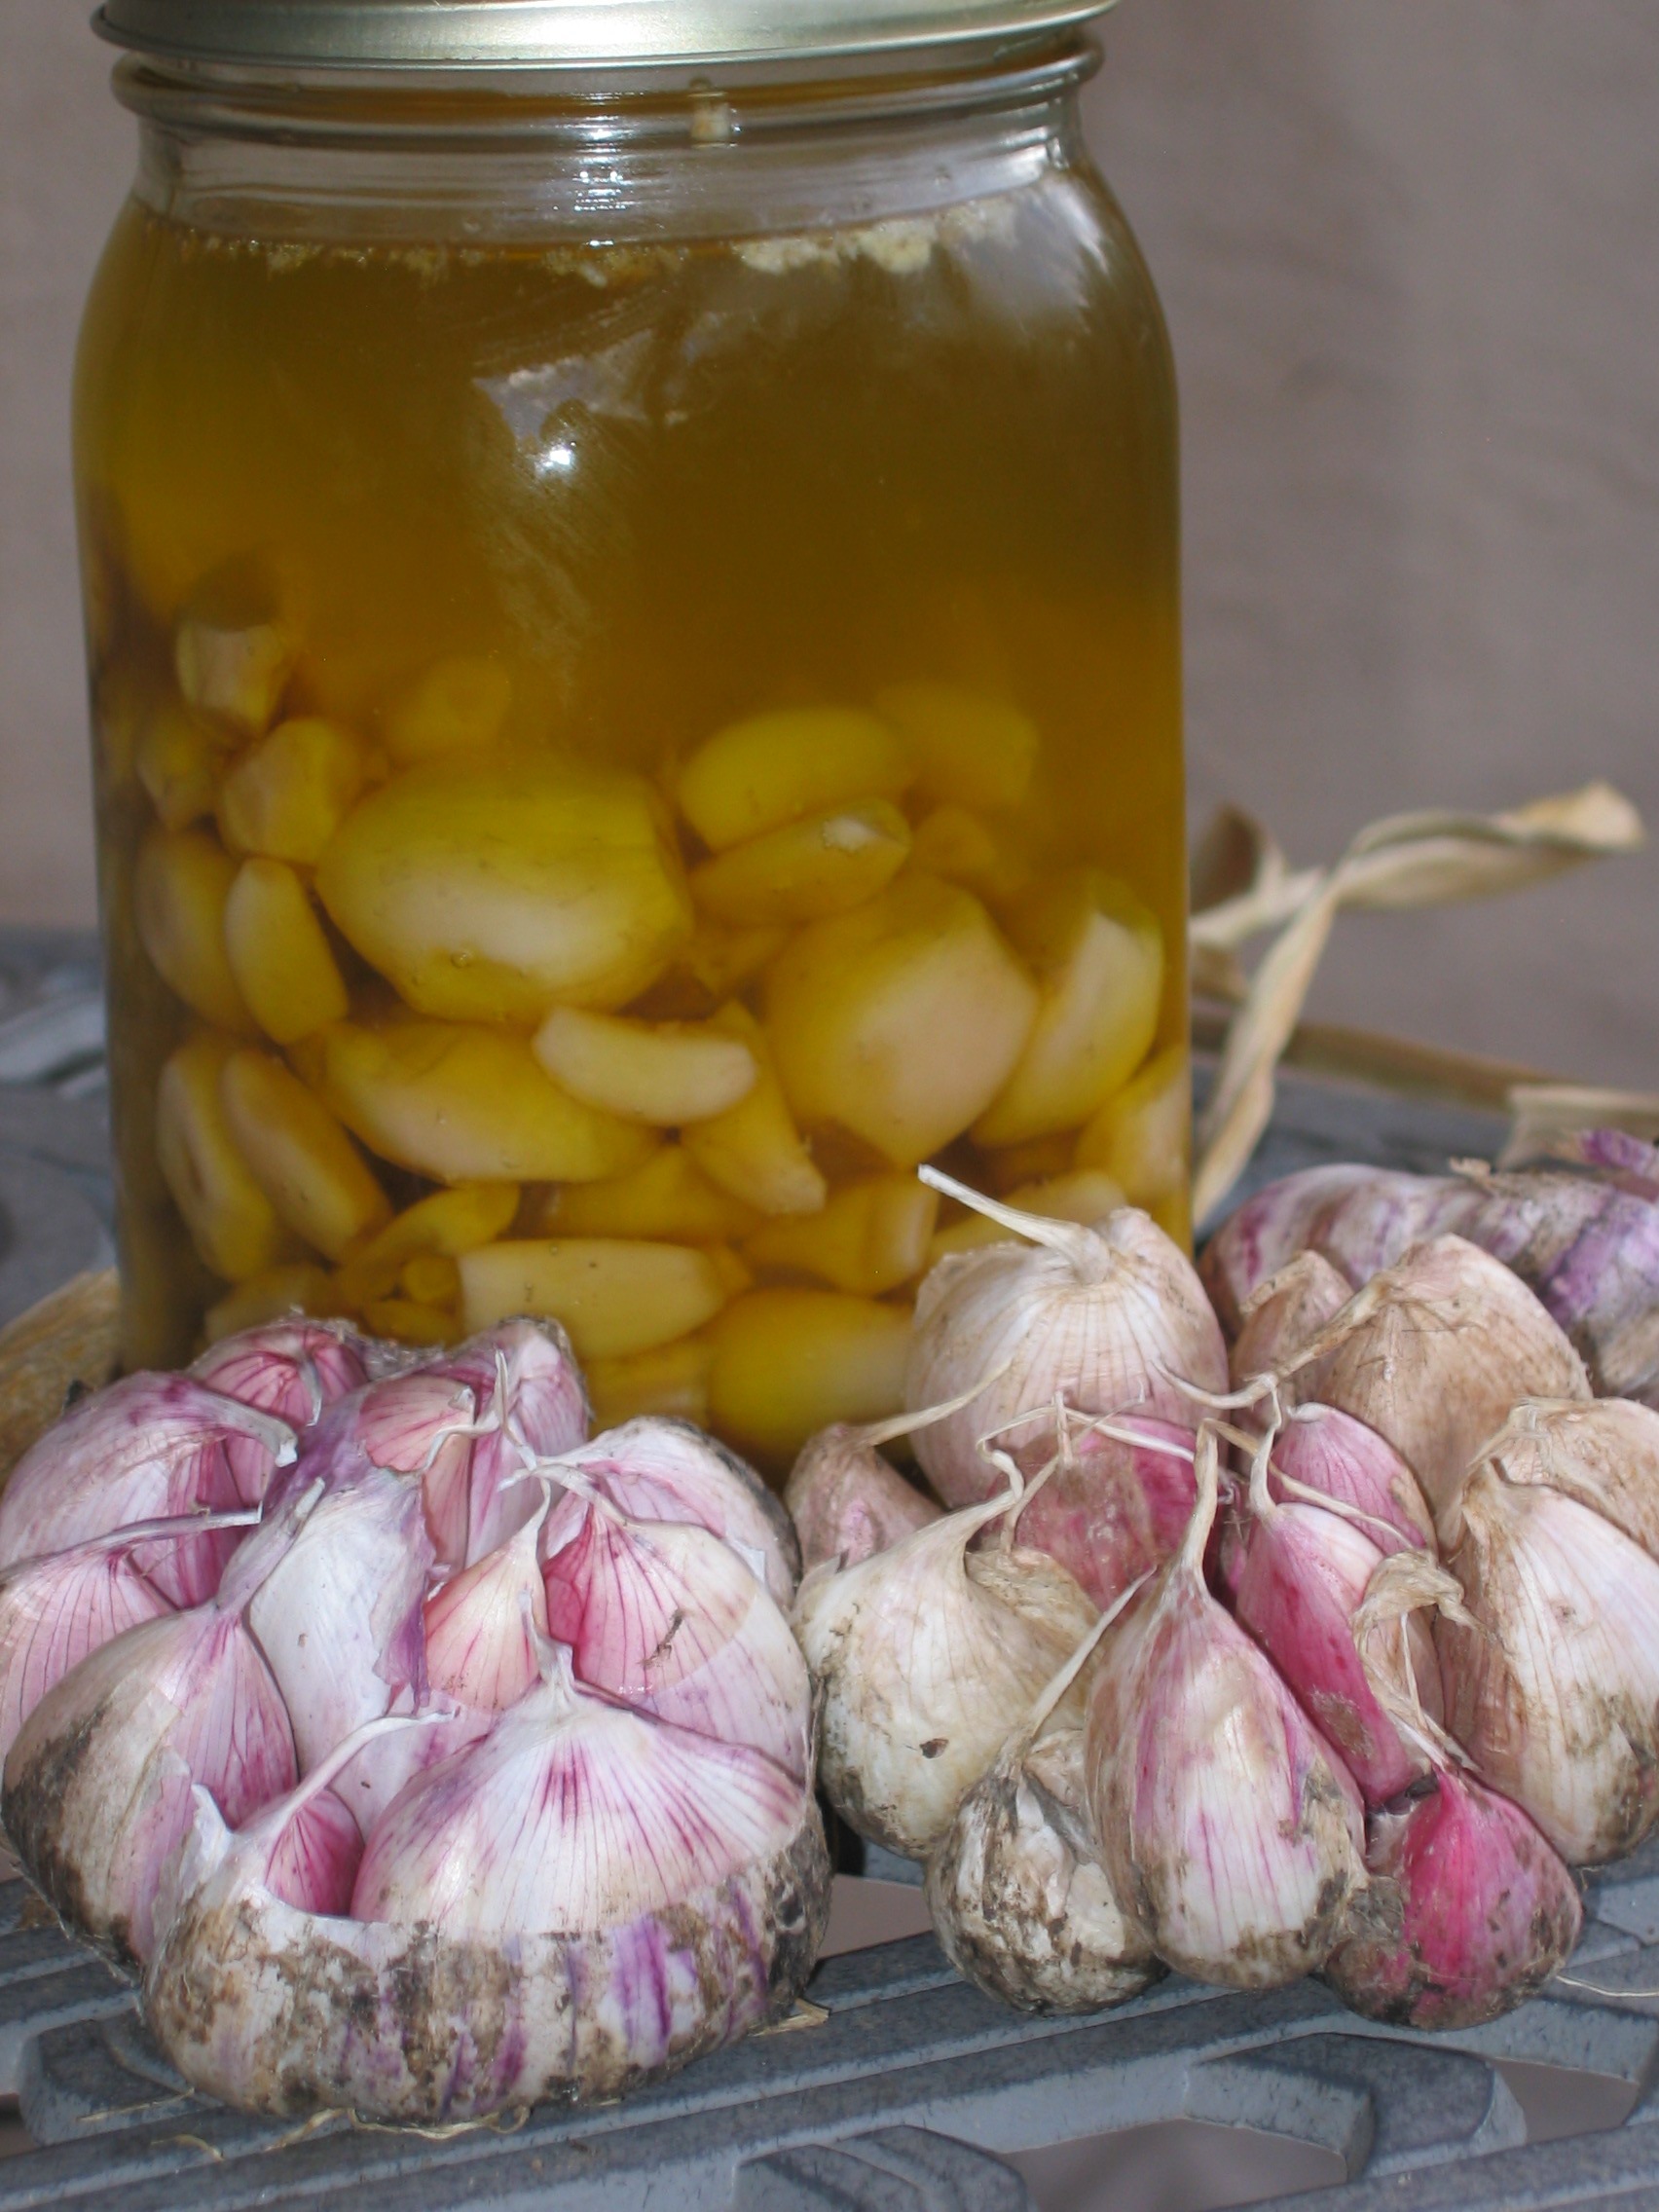
Use your garlic.  A lot. This is the fresh clean-flavored garlic that makes recipes like Chicken with 40 Cloves of Garlic or Chicken with Fennel, Pernod, and Garlic such a pleasure to eat. Confit some and enjoy it on toasted sourdough bread or crackers, or alongside roast chicken, or in pepperonata. To confit garlic, peel a quart’s worth of cloves, put in a small heavy saucepan, cover with good extra virgin olive oil and add a heaping teaspoon of sea salt, bring to a simmer, and simmer slowly over low heat with an occasional gentle stir until the cloves just hold their shape but are soft and can be crushed easily with a spoon. If there is any hard “core,” keep simmering. Cool and store in a jar in the refrigerator. Be sure to keep the cloves covered with olive oil and it will keep a month or more. The confiting oil is a treasure, great in dressings or for drizzling.

The image of chicken and garlic above was borrowed from Food 52, my favorite cooking site.

For a far more detailed take on garlic curing and storage, review this excellent PDF from Boundary Garlic Farm.

A Hundred Kinds of Chimichurri

I love chimichurri, the ground herb table sauce of Argentina, but I am by no means faithful to the Argentinian version. If you have an active garden, spring offers the first of infinite variations of chimichurri to accent any grilled meat or poultry. These savory herbal sauces also dress up baked and roasted foods, and are a great way to perk up hard-boiled or fried eggs. People who don’t have to stay low-carb may like them drizzled on bread or rice. Vegetarians will like chimichurri on roasted vegetables, and for that matter ardent carnivores would love it on roasted carrots, broccoli, and other meaty veggies. I can imagine it freshening and enlivening roasted or grilled oyster mushrooms.

The basic necessary ingredients are olive oil, garlic, an acid, salt, herbs, and embellishments. Variables are the herbs, the texture, and the embellishments and degree of heat, if any.

So here’s a menu for infinite improvisation:

Oil: I say very good olive oil is a necessity. If you choose to fool around with other oils, feel free. Plan on between a half cup and one cup.

Garlic: green in spring, mature cloves later on. 2-3 large stalks of green garlic or 3-4 cloves of mature garlic.

Acid: vinegar is traditional but lemon juice is delicious with the more delicate spring versions. Consider wine vinegar or sherry vinegar.  Plan on about 2 tablespoons and have extra available to add if needed. Please, don’t use sweet caramelized ersatz “balsamic” vinegars. Yech.

Salt: “Plenty” is the important concept here. Some chimichurris that seem like failures come alive when enough salty element is added. Remember, this is a seasoning sauce, not a main dish.Your salt element may be sea salt, but a good dab of anchovy paste or a glut of the salty-lemony fermented liquid from preserved lemons may attract you.

Herbs: parsley is traditional and great, but don’t feel bound. Cilantro is a great alternative for the “bulk” herb, of which you’ll need a bunch (from the store) or a large handful (from the garden.) Oregano, sweet marjoram, summer savory, thyme, and lemon thyme are great options for the subsidiary herb, of which a small chopped handful (combined if using multiple herbs) is plenty. Combos are potentially wonderful. I don’t recommend tarragon for this sauce, but feel free to prove me wrong, and I think rosemary should be limited to a chopped teaspoon or two if used at all. Some mint is a possibility if used judiciously. Sage is difficult to use and, in my view, not a good possibility.But suit yourself, as long as you are pursuing a coherent taste-vision. Wander your garden, be seducible, and work it out later.

Embellishments: Heat is an important possibility. Hot sauce, harissa, and ground dried chiles can all work wonders, and fresh chopped jalapeños (seeded or not per your preference for fire) can do real magic. Anchovy fillets mashed can add a savor and tang that are the making of rich meats like roasted  lamb or goat. Preserved lemon peel, finely chopped, is highly nontraditional but extraordinary in the right circumstances. A pinch  of toasted cumin seeds, finely ground, can give an earthy, sweaty, quintessentially masculine note that makes a simple grilled steak or chop memorable.

Texture: can be anywhere from medium-fine grind to as coarse as a chopped salad. It all depends on your mood and your main dish.

Procedure:

Chop your garlic coarsely or slice finely crosswise if using green garlic and put in a large mortar or small food processor; I invariably use my little stoveside Mini-prep. Chop or pound to desired degree. Add herbs, salt,  and embellishments and process only until you like the texture. Add the acid and salt, process briefly, and work in the oil. Now taste, and think. If you are sure it didn’t work, think about how to rebalance and save it. Sorry to harp, but insufficient salty element is a common fault. Increase the salt, anchovy paste, or preserved lemon juice, or add a bit of the latter two if you didn’t use them before. If overly salty or acid, add more oil to smooth it out.  If bland, add a little more acid. If just not that interesting, consider stirring in more chopped herb or some heat.

This sauce can be refrigerated overnight and may be even better the next day, although cilantro-based versions tend to lose freshness and pizazz and are best consumed on sight.

Spring Ricotta

img_5246

This  time of year we are having some warm sunny days and the heavy meaty dishes of winter no longer feel quite right, but I still want something warming  and filling.

At the same time, my doe goat Magnolia is nearing the end of a lactation, getting ready to deliver kids in six or seven weeks. At this point she’s producing just a quart a day, but it’s still rich milk produced entirely on alfalfa and I’m not about to waste it.

So every evening, after filtering the milk, I make ricotta, and when I have a few days’ worth of ricotta saved up I make ricotta al forno. I stole the recipe from Sarah Raven many years ago, and I haven’t tweaked it very much over the years because it’s perfect as is. The main change is that I use egg yolks instead of whole eggs. Yum.

Ricotta, about 1 and a half cups, but a bit more or less won’t hurt.
Yolks of 5 eggs
Salt to taste
Half a cup of heavy cream
Half a cup of grated Parmesan
Half a cup of pine nuts
Cooked veggies as desired. Or none.

Kitchen note: homemade ricotta is drained until quite dry. If you are using store-bought ricotta, you might need to hang it in the sink in cheesecloth or a clean towel for a few hours and let it drain. Otherwise, the resulting dish can be watery.  Another alternative, if you don’t want to take time to drain, is to add one additional whole egg to help it firm up a bit, or leave out the cream.

Put the ricotta in the blender with the cream and add the egg yolks one at a time while blending.  Blend in the grated Parmesan just for a second or two. Add salt to taste.  Decide whether you want vegetables. This is an endlessly versatile way to use leftover but good cooked vegetables. The version shown above has a couple of cups of leftover grilled zucchini, red bell pepper, and eggplant.  In the early summer, fresh cooked peas are absolutely delicious in this dish.  A good handful of chopped fresh herbs may suit your taste.  Just be sure that the cheese mixture is already seasoned properly.  Pour it into a buttered 8 inch baking pan, adding any cooked vegetables or herbs that you wish as you go. Top with pinenuts and push them in a little bit so that they don’t burn. Bake at 350 for 25 minutes or until done.  Let it consolidate and settle down for 15 minutes, then serve in  generous wedges.    A topping of your best homemade tomato sauce adds pizzazz.  My husband likes it with a sprinkle of extra finally grated Parmesan on top and run under the broiler for a minute, which produces the brown spots you see above. Just keep an eye on it because it does burn very quickly.

In June this is absolutely glorious made with some chopped fresh herbs and topped with homemade pesto.  For those of us who eat low-carb, it is something to put pesto on.  This lactation will only last two or three more weeks, but by June I will have fresh glorious grass fed milk again and be back in the ricotta business.

img_4114


Green Alliums Madeleine

img_5210

In my home state of Louisiana there is a popular dish called Spinach Madeleine. It combines spinach, bacon, onions and garlic, flour, cream, and (no kidding) Kraft Jalapeño Cheese Rolls, back when those existed. True Louisiana cooks now use Velveeta Mexican cheese instead. It’s really delicious, a testimonial to the Cajun ability to bring gastronomic harmony out of any degree of chaos. I use a mild grass-fed cheddar instead. I never tire of this dish, which made the River Road Cookbook go viral back before the Internet existed.

Recently I found myself interested in the lovely warm flavor of sautéed green onions and green garlic, as well as being interested by their high health benefits, and decided to try giving them the Madeleine treatment. My freezer is full of sautéed green alliums, so this was a quickie dish for me, made with equal parts of sautéed green onion and green garlic. If you’re starting from scratch, you will need about 10 ounces of spinach and three standard bunches of green onions, chopped in 1/4 inch slices and sautéed in 1/3 cup of olive oil until tender.

Other ingredients:

1/4 lb bacon

1 clove garlic, chopped

1 tablespoon flour or porcini flour

1/3 cup cream

2 cups grated mild cheddar, preferably grass-fed

1/2 teaspoon ground chipotle chile (optional)

1  pinch (no more) grocery-store chili powder

Cut  the bacon in strips or lardons and fry brown in their own fat over medium heat. When done, add the chopped garlic to the pan, stir a minute, and add the flour or porcini flour and stir for 1-2 minutes. Add the green onion mixture and cook over medium heat until heated through. Stir in the cheese and seasonings and stir just until the cheese is melted. Turn into a buttered baking dish. Top with buttered bread crumbs if you like them. Bake at 350 for about 25 minutes, and brown the crumbs just a touch if you used them. Yum.

If you want a look at the original recipe, it can be found here: http://www.jfolse.com/recipes/vegetables/sidedish45.htm