I’ve had more inquiries about this post than about any other, so I’m re-upping it with a few subsequent notes:
1. The effect of fermentation on flavors is unpredictable and often wonderful. I am not at all a fan of beets, for instance, but one or two beets gives the brew a beautiful rosé color and the beet flavor is gone by the end of fermentation.
2. My blog is never about plant identification and does not contain sufficient information for that purpose. It is entirely up to you to determine what leaves are safe. I like using tree leaves, but often it is hard to find sufficient data on their safety. If uncertain, don’t use them. I would just encourage you to think a bit beyond the usual. One of the most successful batches I made was based on collards after I came into a dozen bunches of organic collards unexpectedly. Collards are not by any means my favorite vegetable, but flavored with a bit of fennel seed and star anise and fermented out, the wine was good. Another successful batch was based on parsley.
3. Some delicate flavors do not survive the initial boiling but can still be added later by the same method as dry-hopping in beer brewing. Bronze fennel is a good example. Added to the cooked brew its flavor disappeared, but when a batch was pounded a bit on the cutting board, put in a hops bag, and fermented with the liquid for the first two weeks, it gave a very good subtle flavor.
By any standards, we have been through a very strange year, and it isn’t over yet. The tragedy of the pandemic looms over everything, changing every professional, social, and financial situation. As a healthcare worker I’ve seen the distress caused as the impact of deaths ripples outward through families and communities. Anything that we can do to help and protect each other needs to be done.
More than ever, I feel that provident householders who have taken some steps toward being able to meet their own needs are relatively fortunate even when times are tough. The 2020 growing season was a strange one here, starting with an early long balmy spring that encouraged everything to start leafing out and blooming, then days of hard freeze that destroyed all the blossoms and infant fruit. Apples, peaches, apricots, cherries, plums, all gone. I didn’t harvest a single piece of fruit. Not even grapes, because the hungry squirrels ate them. Thinking that I would not be able to do any winemaking, I wandered around disconsolate, until it occurred to me that what I had was leaves. Lots and lots of leaves. Leaves can be made into teas and liquid infusions, and therefore they can be fermented into wine.

Throughout this discussion I’ll give brief directions suited to people with some fermentation equipment and experience. If you have neither, I’d recommend the book Making Wild Wines and Meads by Rich Gulling. The book gives more complete directions but preserves the spirit of experimentation that makes fermentation so interesting. Just be aware that his directions about the amount of sweetening to add produce very high alcohol wine, suitable for the storage times that he talks about. Mine are different.
Step 1 is to prepare the yeast. Any yeast intended for white wine will work. I use champagne yeast because it’s sturdy and unstoppable and I’ve never had a problem with it. Put half a cup of warm water in a large glass, stir in 2 teaspoons of sugar until dissolved, then add a teaspoon of dry winemaking yeast. Let the yeast granules moisten for a few minutes, stir them in, and cover the glass with plastic wrap. If you forget to give the yeast a head start you can pitch it directly into the sweetened brew later, but with the prestart it is rarin’ to go when added to the brew.
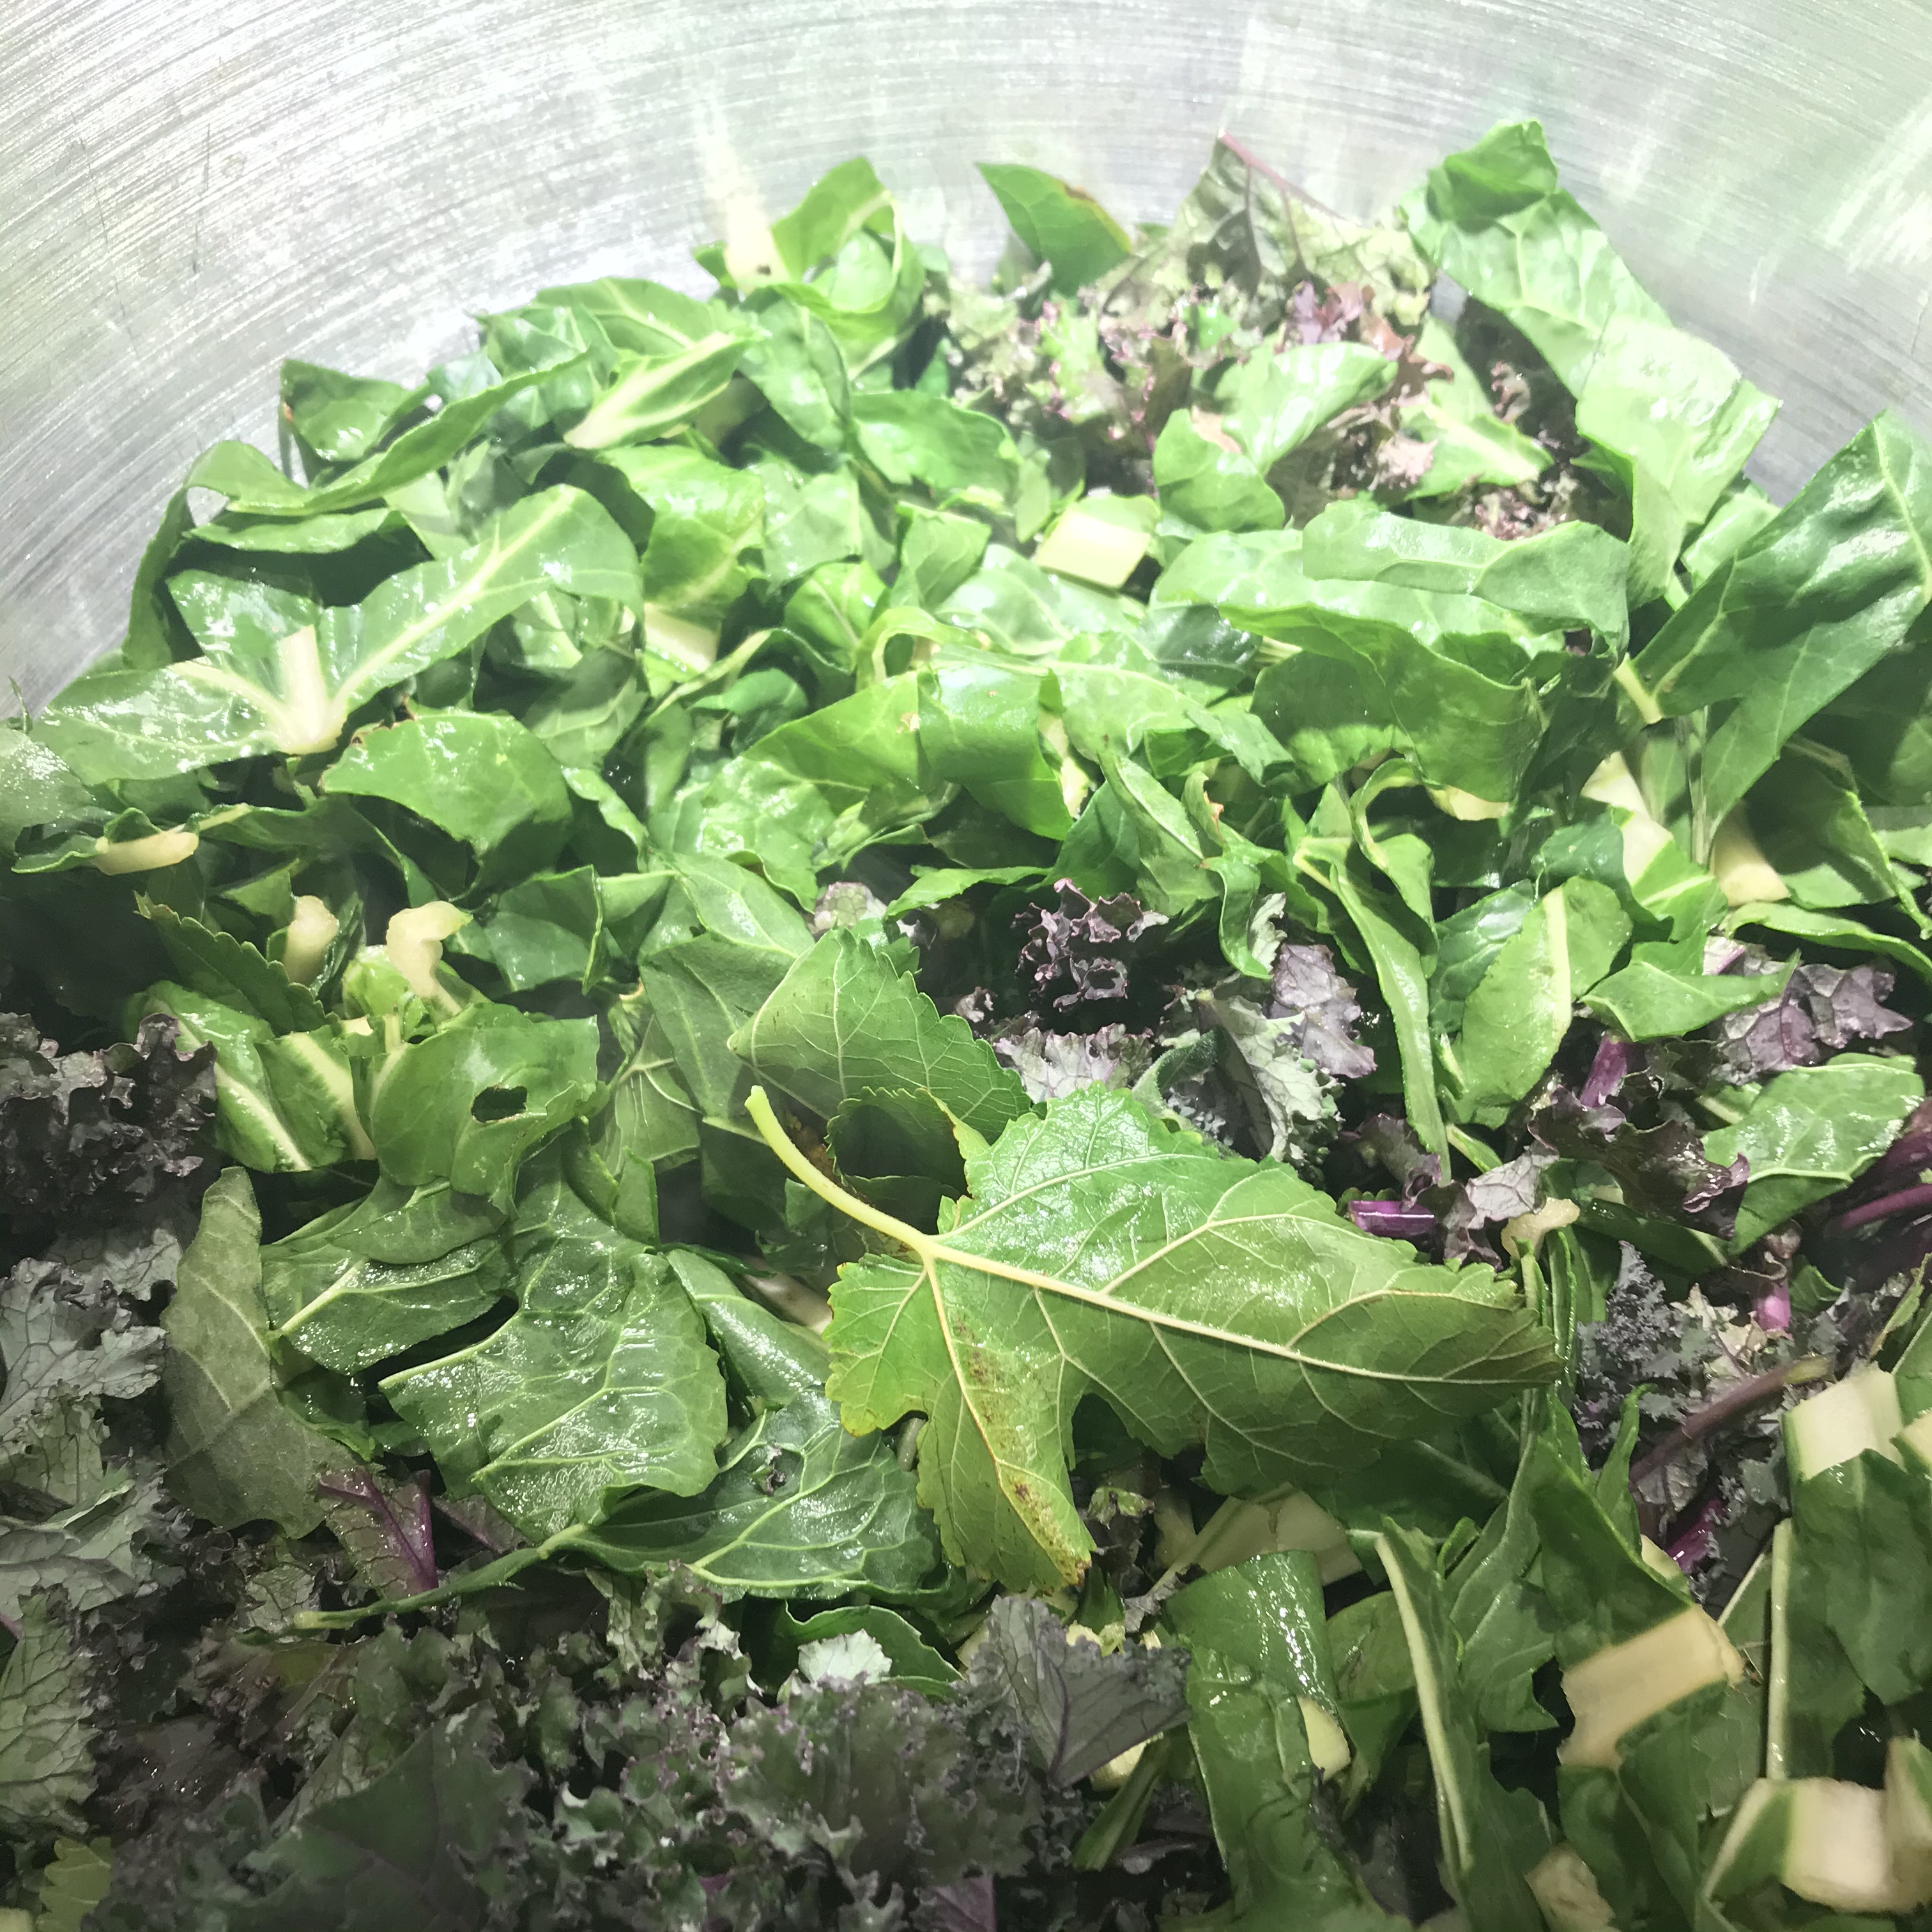
Next, catch your leaves. For the most part I used tree leaves, because it was in accord with my semi-permaculture principles and because I had a lot of them. In western society we don’t make a lot of use of tree leaves, so it’s very important to find out which ones you can safely use. In my area there are a lot of mulberry trees, and I have fig trees on my property, and I knew that these leaves are used for teas in other countries and are safe and non-toxic. Some people do have allergic skin reactions to handling fig leaves, so determine your own limits. I’ll have more to say about leaf foraging further along. To make a 1.5 gallon batch of wine, I started by going out in the yard with a 2 gallon stockpot and picking it full of leaves, packed slightly but not tightly. Then I washed the leaves carefully, and chopped them up a bit just by sticking my big kitchen shears in the pot and cutting through handfuls of leaves. The exception was the fig leaves. I rolled them up in bundles of about 10 leaves and cut them in crosswise strips. I was fairly sure that they were too thick and tough for my stick blender to chop up. Then water was added to almost fill the pot, and the heat was started. I let the water come to a boil, stirred the leaves frequently, and after about 15 minutes when the leaves started to shrink and look cooked, I started chopping with my stick blender. Ultimately you want an almost-puréed witch’s brew looking like this.
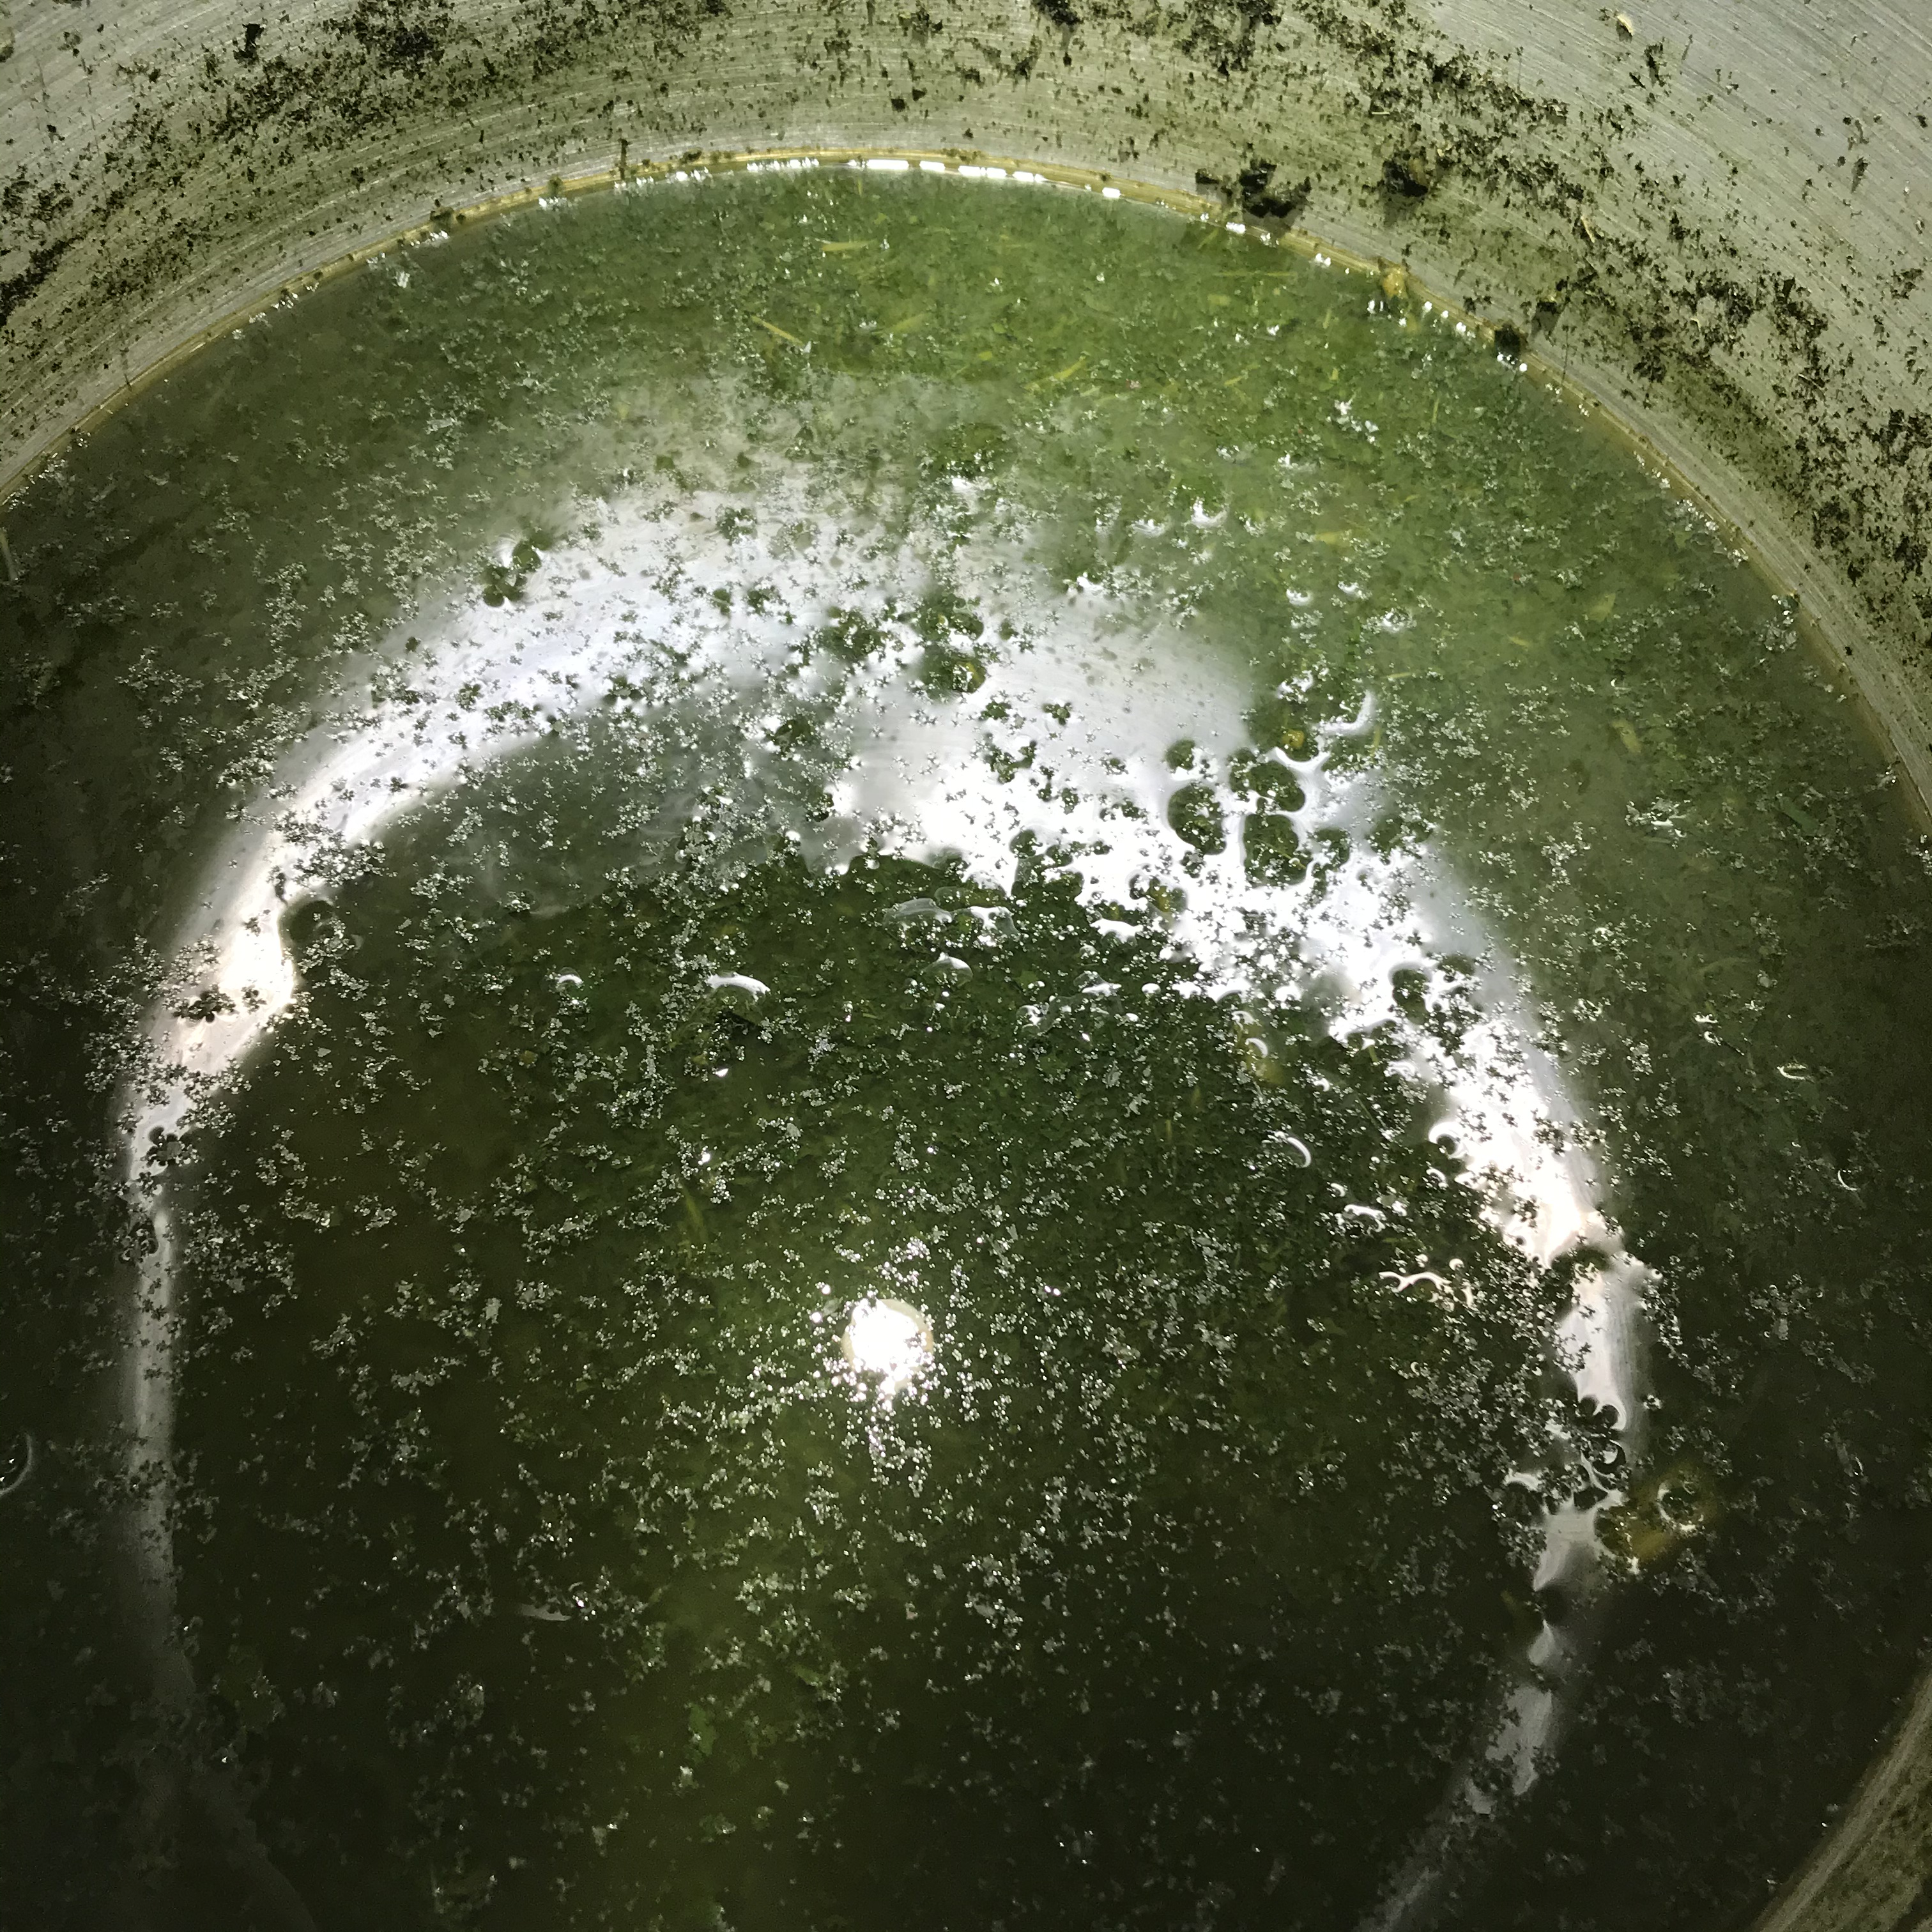
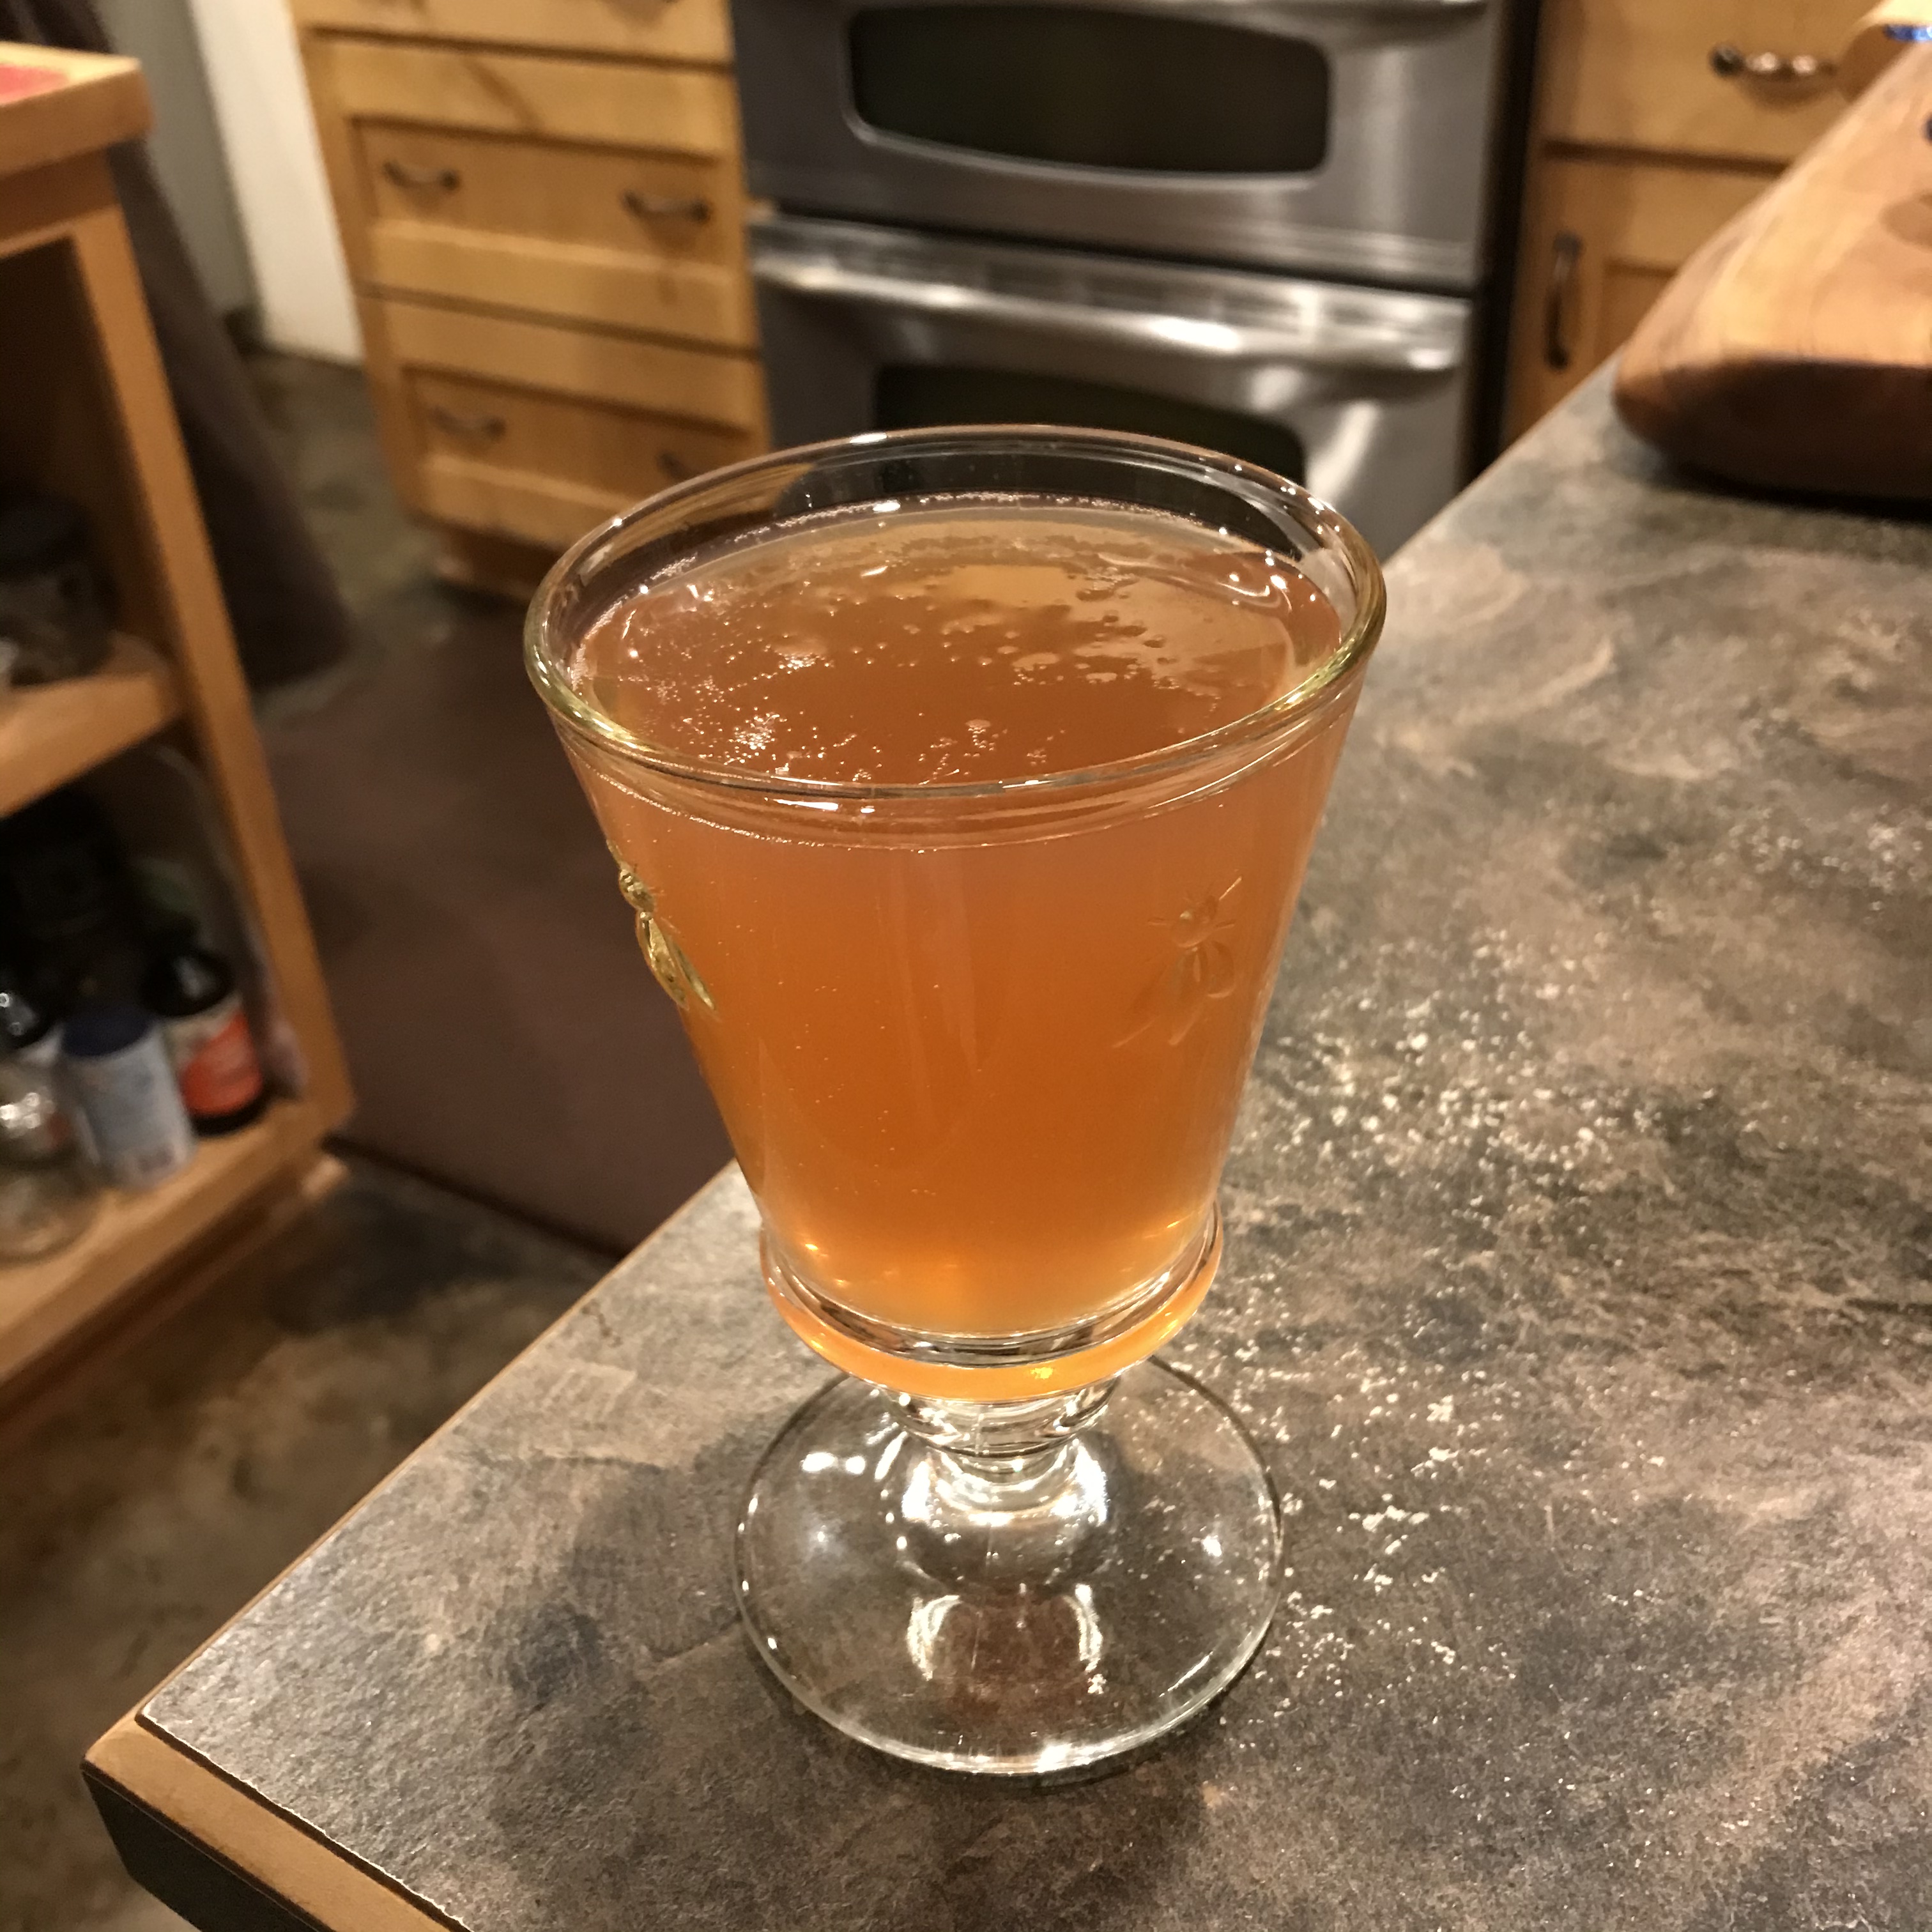
Yech, right? But your finished wine will look quite different and will resemble the pale green-gold wine in the second photo above. At this stage start to think about how to flavor it. The leaves have little flavor, so if you add nothing else it may not taste like much. My personal favorite is about 10 stars of star anise thrown in at this point and simmered with the brew for another 15 minutes, but there are lots of other possibilities. I think that lemon verbena would be a particularly nice flavor, and next summer I plan to try that. You can also add flavoring agents to the finished wine later. After you have simmered in your flavor ingredients of choice, turn off the burner and let the brew cool to room temperature.
Next, run the brew through a mesh straining bag, which you can get through any brewing supply store. Wring and squeeze the bag to get as much fluid out as possible. You should get about 1.5 gallons back. Now you add the sweetening that the yeast will live on. The amount added determines the alcohol level of the finished wine. I use 1pound per gallon of ordinary table sugar or raw sugar, or 1lb 8oz for this quantity, which makes a very light wine of about 4% alcohol content. You can use more if you want more alcohol. You also need to add some acid at this point or your finished wine will be very bland. I make 5 gallon batches and lemon juice would be too expensive, so I use malic acid powder from the brewing store. The amount is a very individual thing. For this quantity I use about two tablespoons. Have a small clean cup handy and taste the brew, bearing in mind that the sweetness will be gone after fermentation and you are tasting only for acid content. Be cautious, because you can always add more later.
By now your glass of yeast should look foamy and bubbly. Add the yeast mixture to the cooled brew, stir in thoroughly, put the brew in a 2 gallon fermentation bucket, fit with a fermentation lock, and put it in a place that isn’t too chilly. Bubbles should start to come through the fermentation lock within 12 hours, and reach peak in 2-4 days. Let the whole rig sit undisturbed for 2 weeks, then siphon into a clean bucket, put the fermentation lock on again, and leave it for another two weeks. Be sure to watch the fermentation lock and keep it full of liquid to the fill line. It has now completed secondary fermentation, and you can siphon it into glass jugs.
A wine this low in alcohol has very little ability to keep, so you will want to use it in the near future or store it in the refrigerator. Now let’s consider how to drink it. Chill it, taste it, and think about it. The sweetening is now completely gone, and it may taste too acid. Add a little sugar, or a drop or two of artificial sweetener if you use that, and see if you like that effect better. If it seems bland, a small squeeze of lemon juice added in the glass might be just what it needs to perk it up. If the acid balance seems right to you but you don’t taste enough other flavors, it might be delicious with a little bit of one of the many herbal liqueurs added. I make my own mixed herbal liqueur and my own anisette, and often add a few drops of each to a glass. I like the leaf wines best when carbonated, and for my large batches this is done in a kegerator, but you can carbonate small amounts using the Drinkmate. Add fruit juice or whatever else takes your fancy. Play with it. It’s yours, and the rules that might apply to fine wines have no application here.
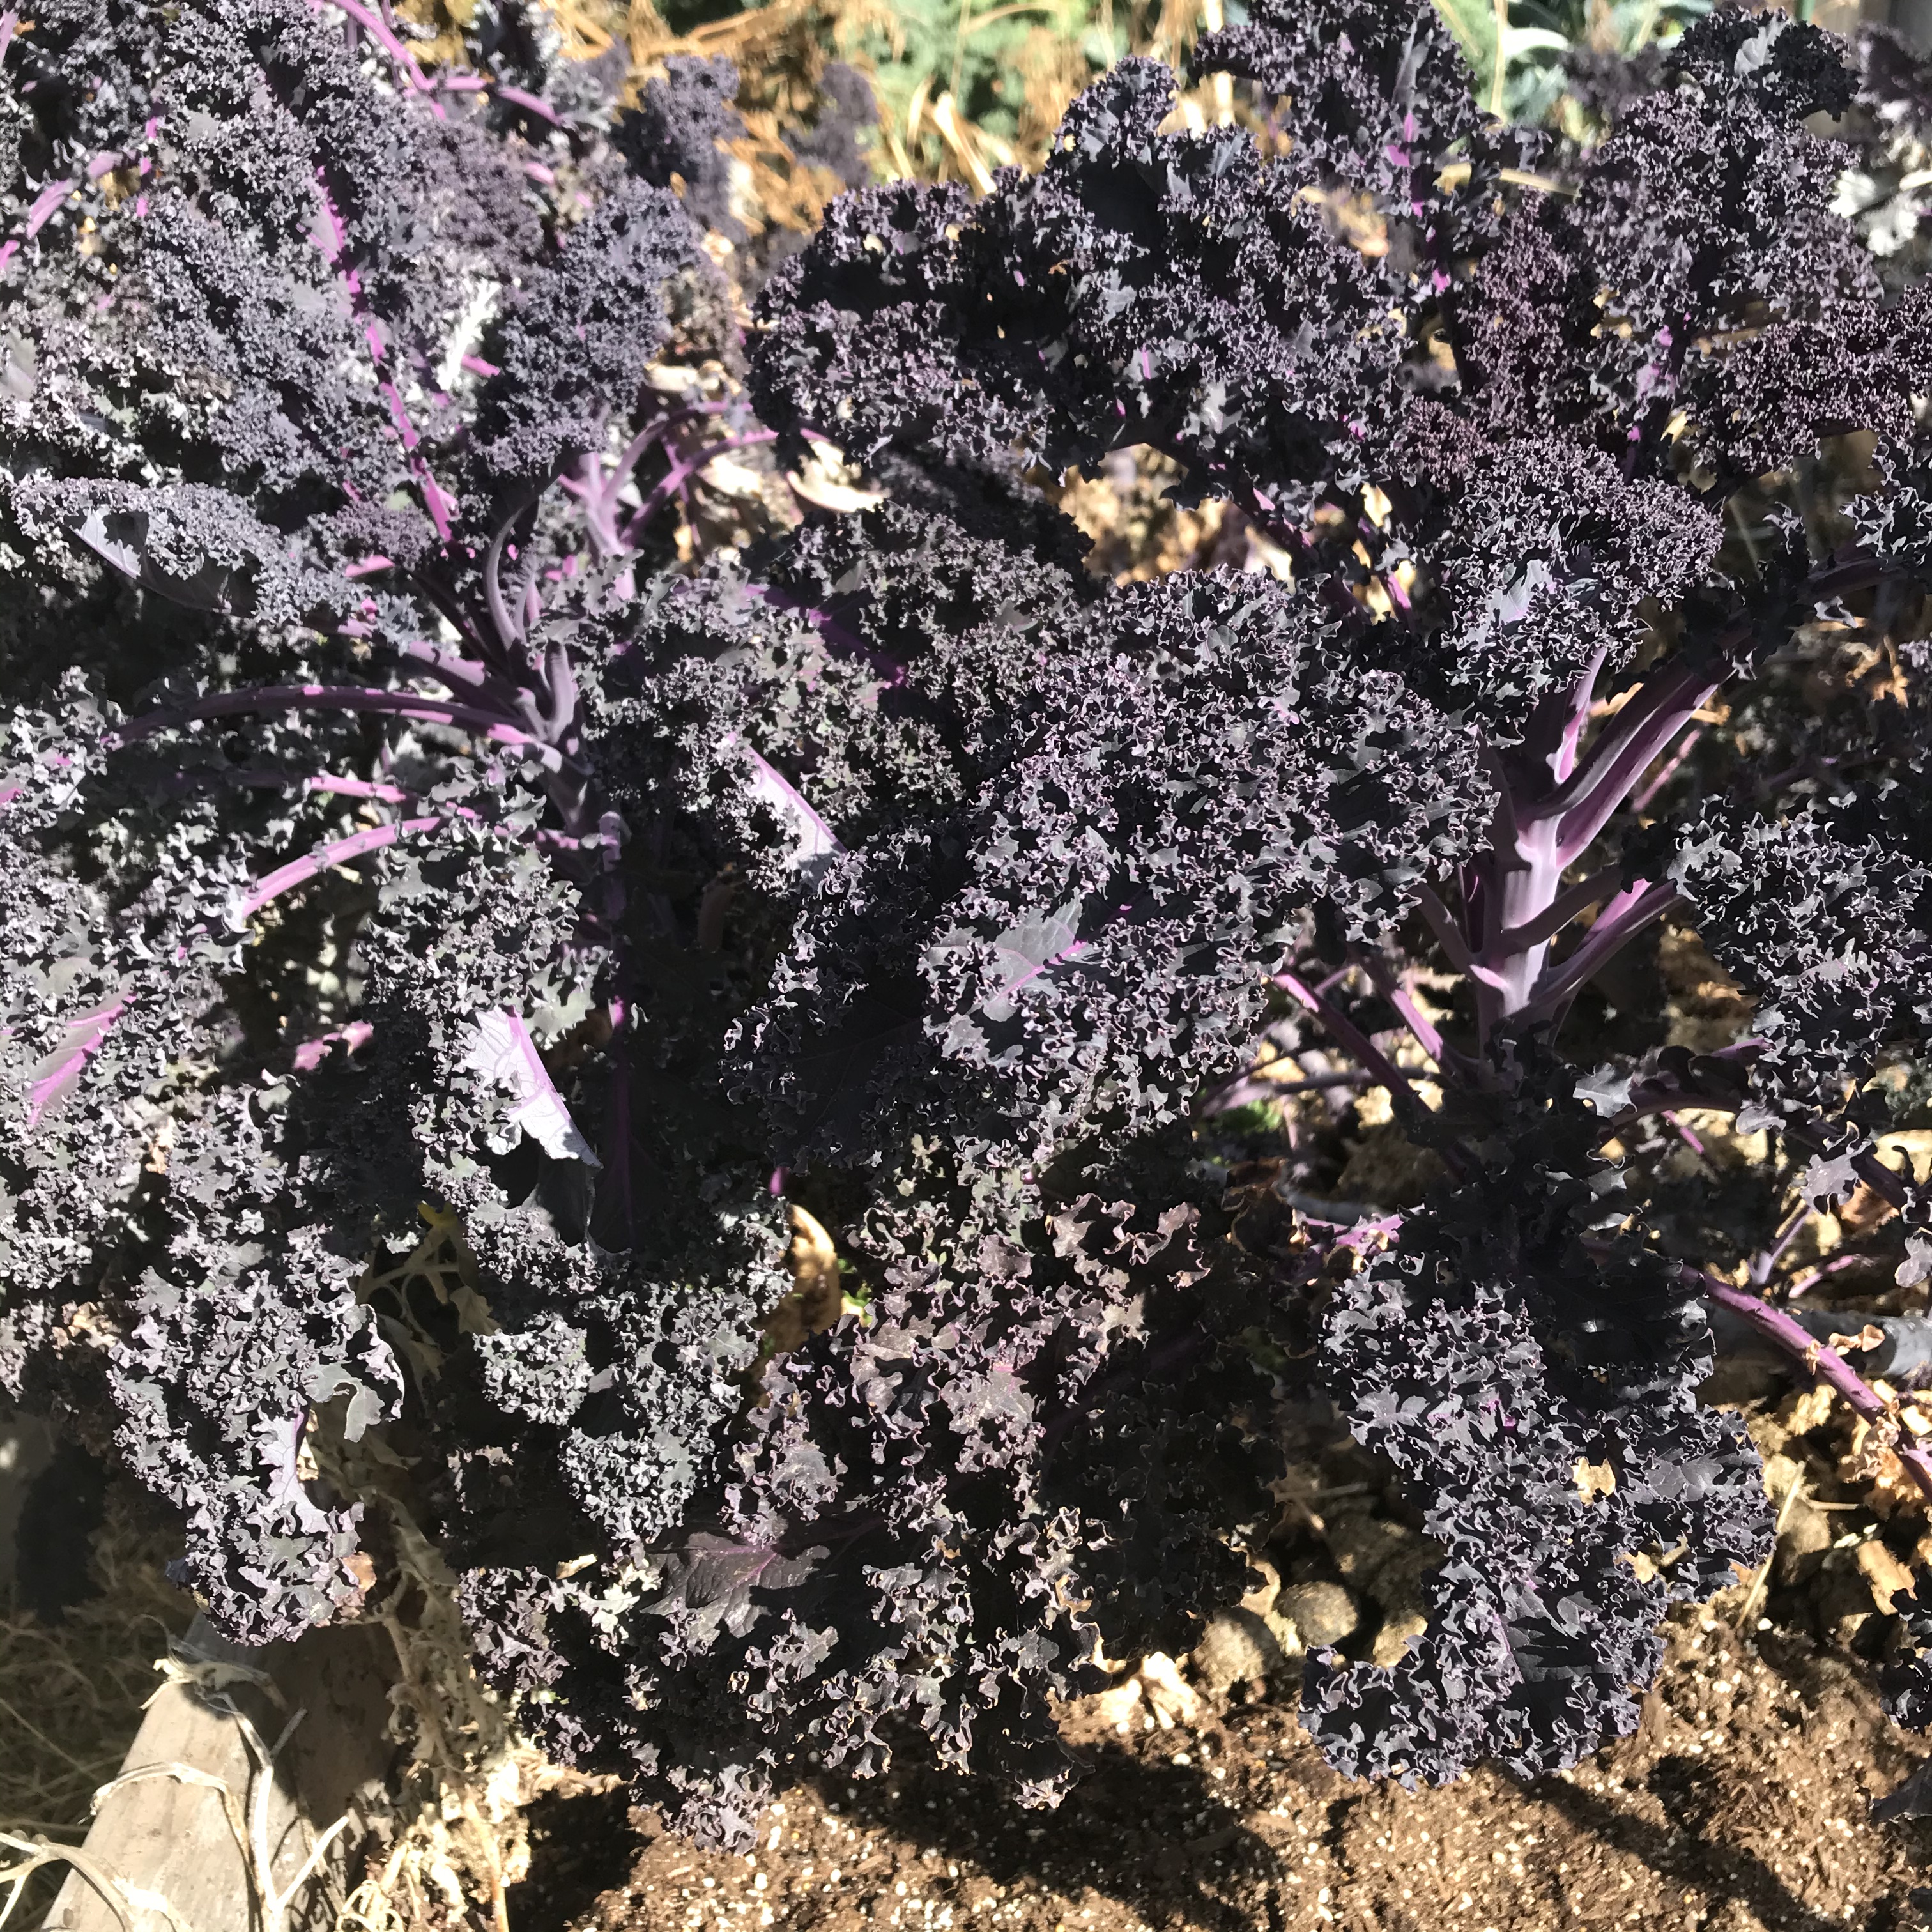
If you don’t have any tree leaves available but you do have a garden, you still have the materials to make a very personal leaf wine from your own property. I often use Swiss chard leaves from my garden in these brews, and have discovered to my great pleasure that I can use kale and outer leaves of cabbage, and although the cabbagey scent can be quite obnoxious in the original brew, it is gone after fermentation. One of my favorites was made entirely from scarlet kale, and is beautiful in the glass.
This:
Turns into this:
If you decide to try it, be aware that in the pot the brew will be a dreadful purple-brown shade and you will curse me. Fear not, when you add the acid the magic of polyphenol redox chemistry will take place and the brew will turn a lovely bright magenta.
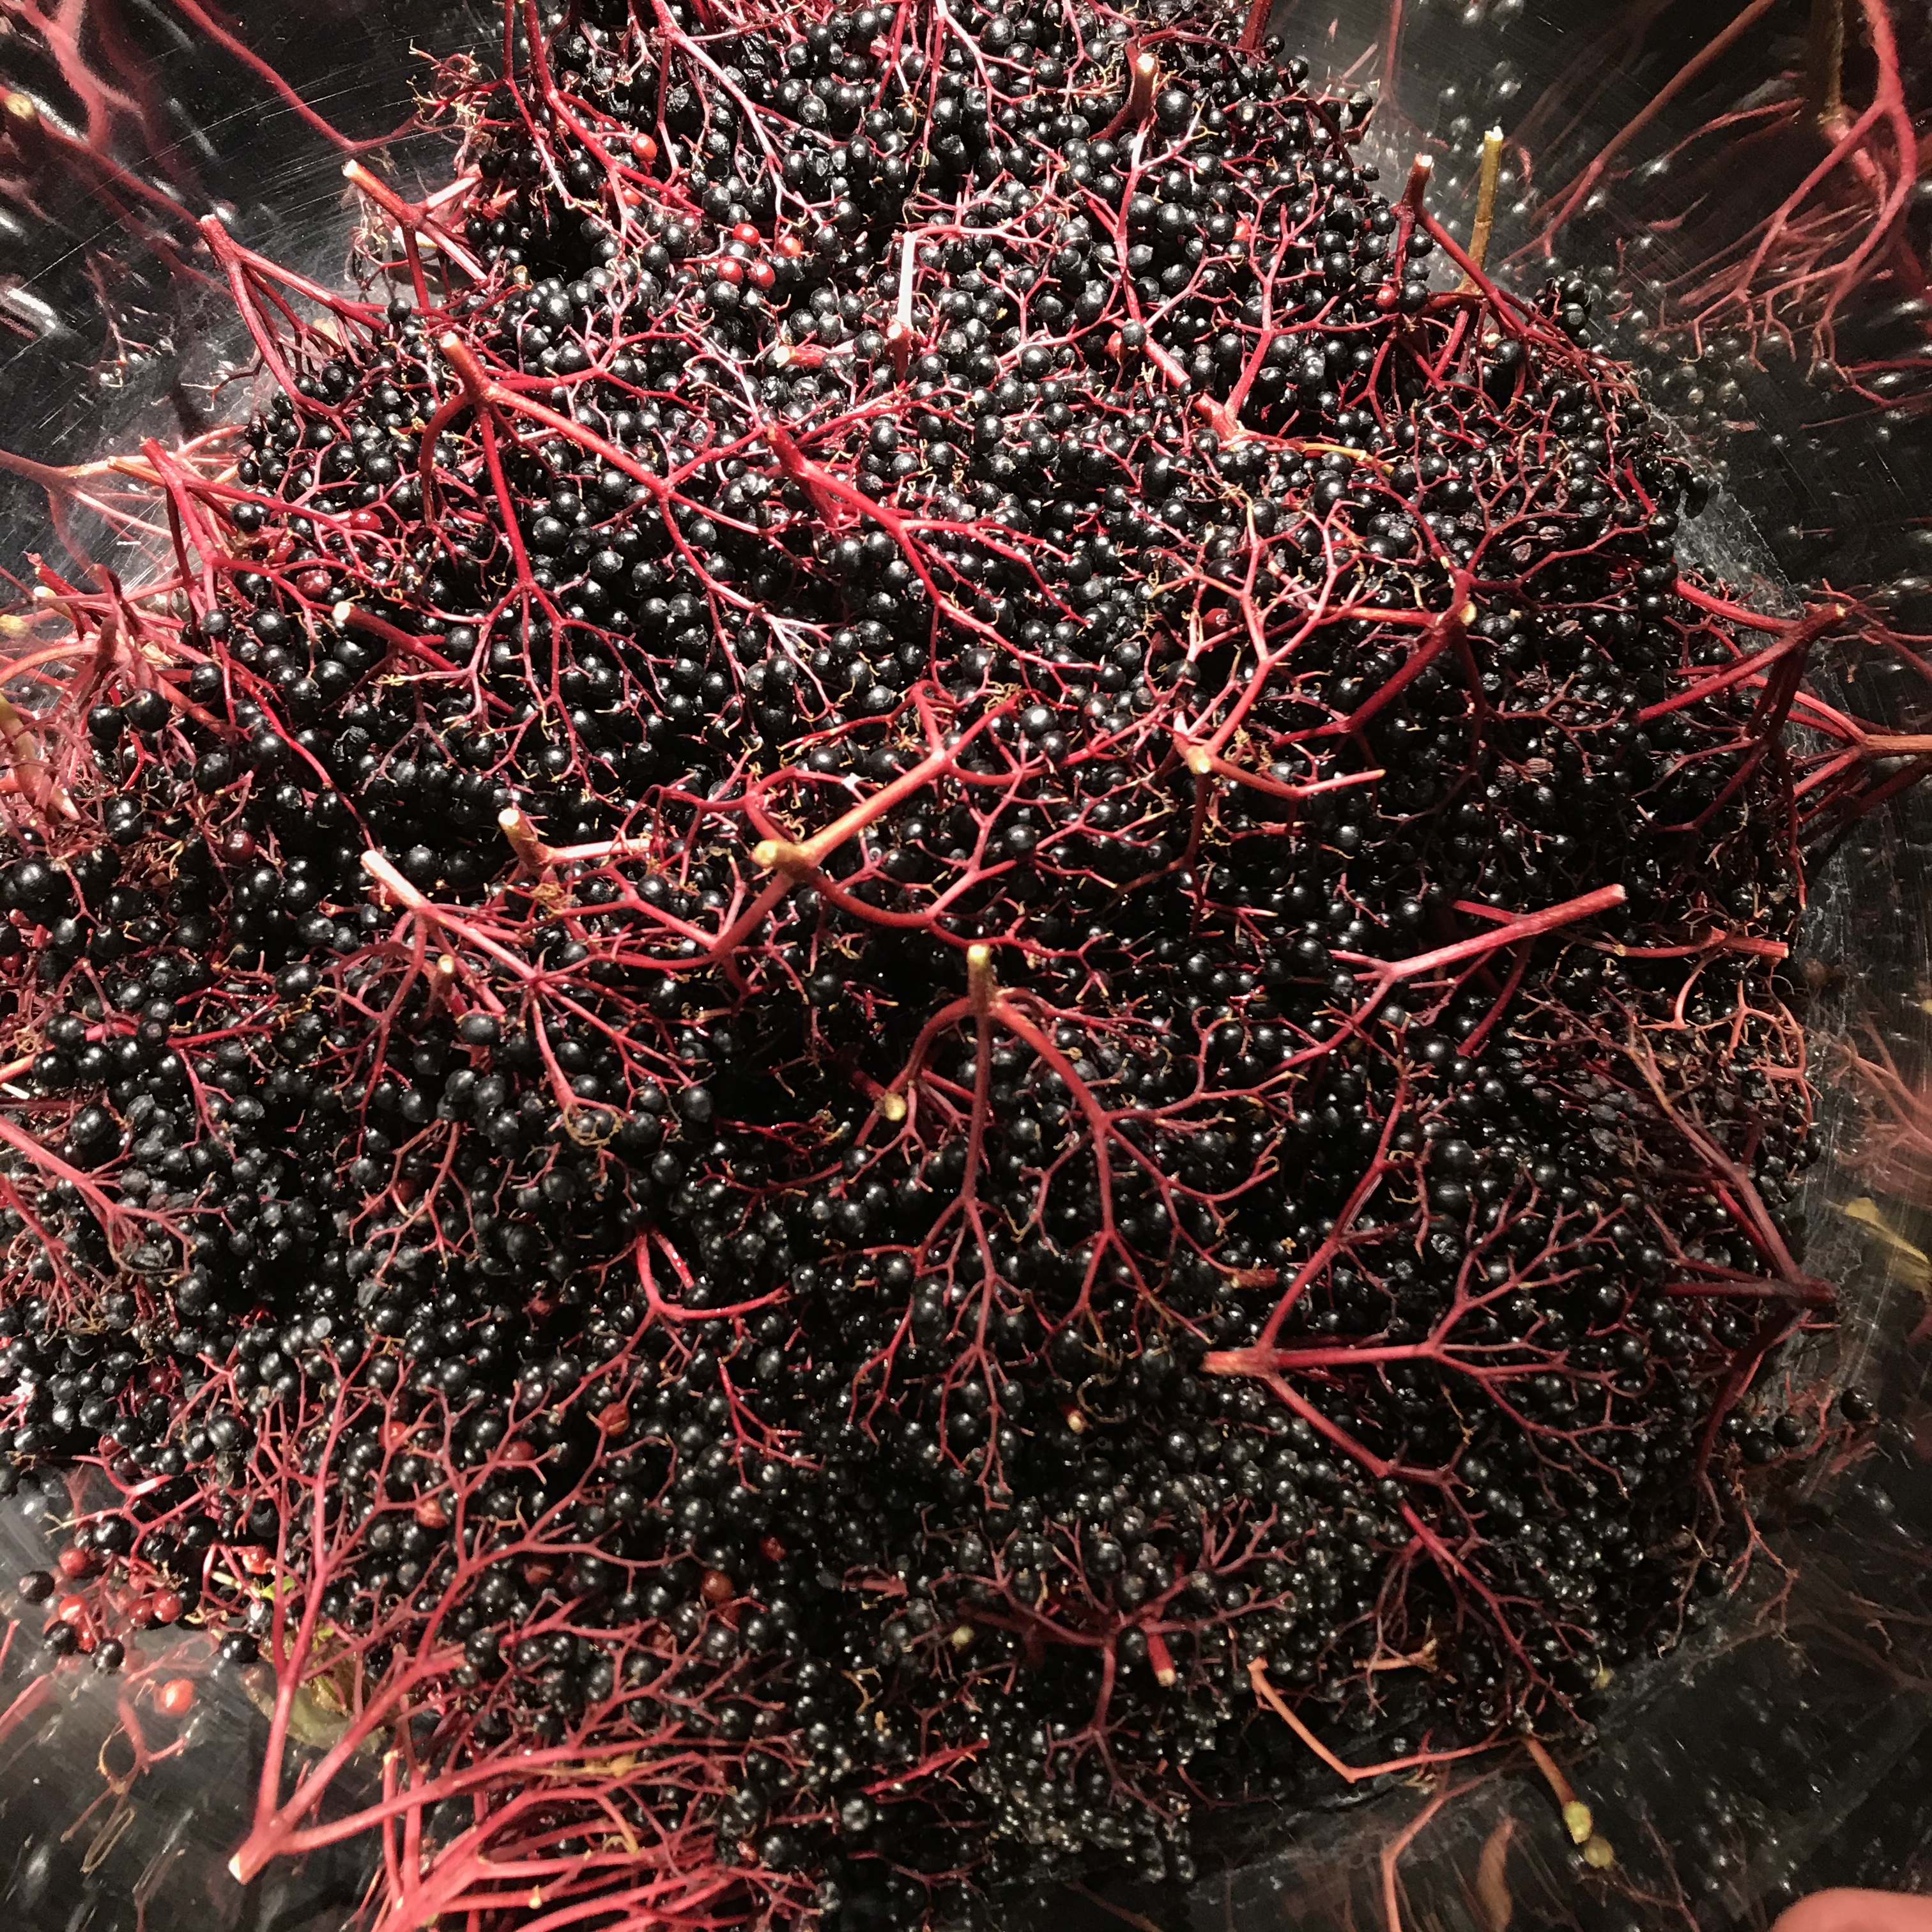
Other things that I have added to leaf wine brews include prickly pear juice, blood orange juice, and elderberries.
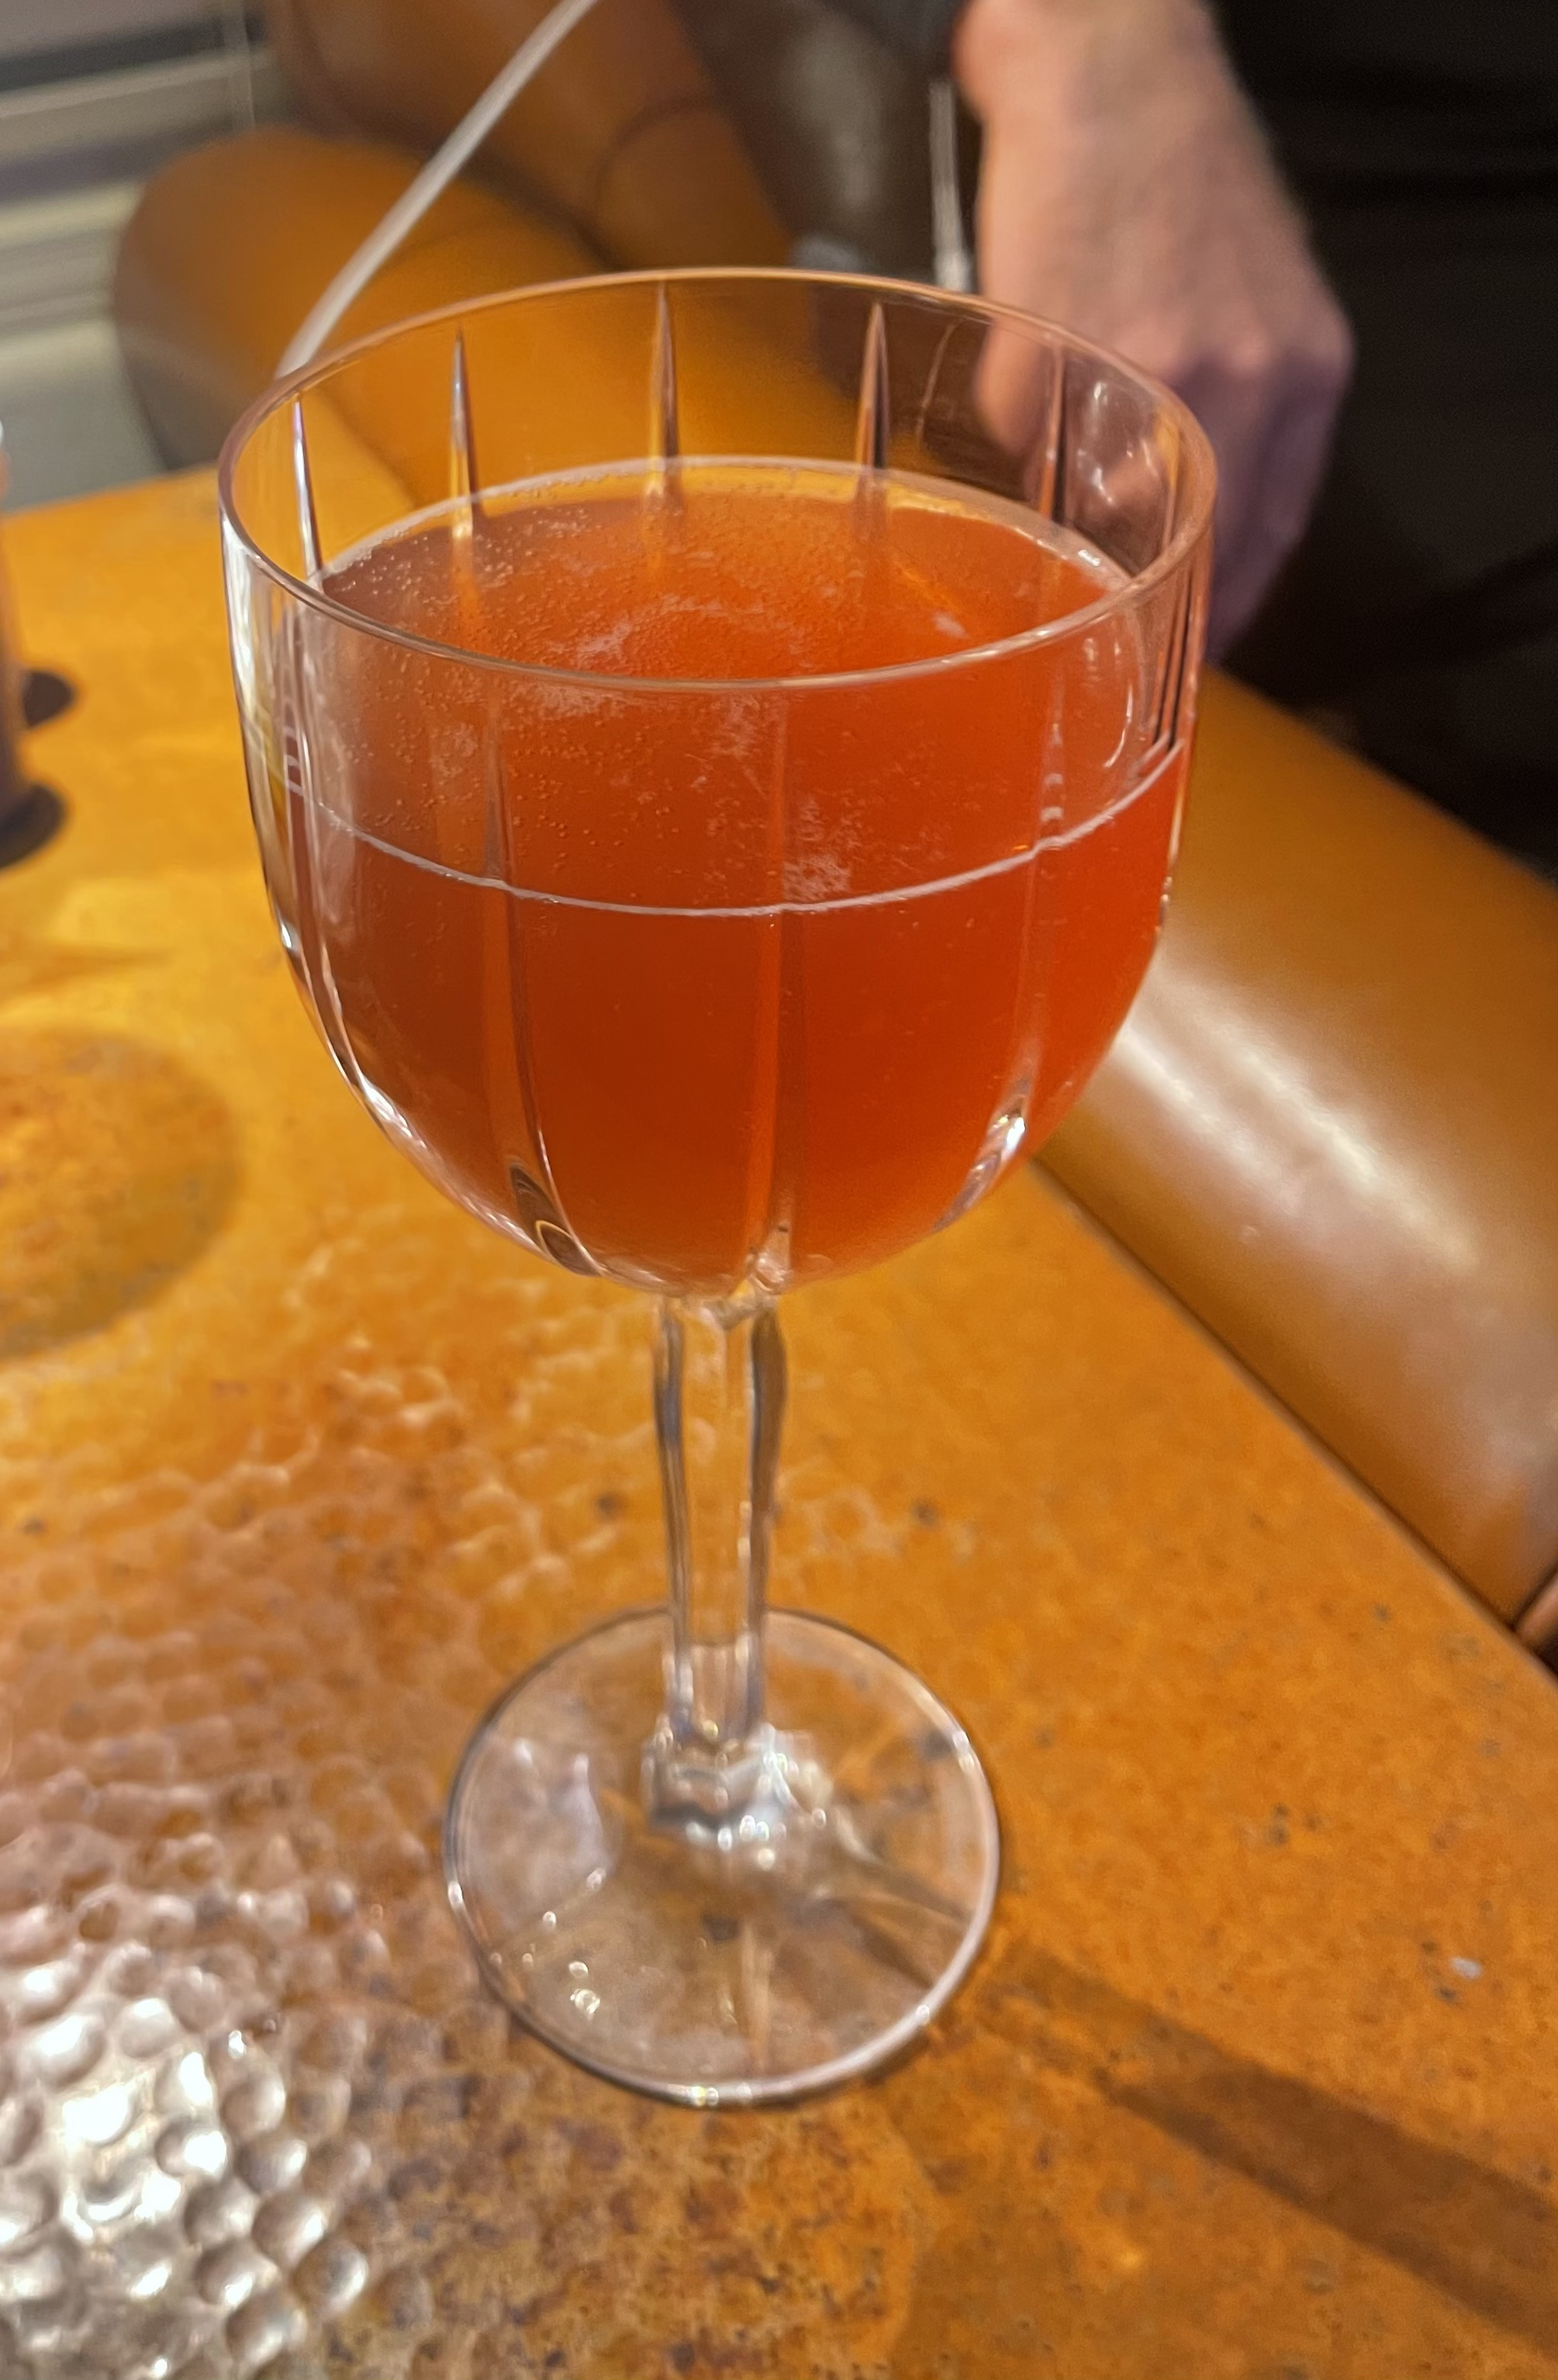
Rose hips are also good material, and the pretty tawny-rose wine at the top of this post was made with rose hips. A double handful of blackberries added a pretty tinge to another batch. This can be a good way to make use of a small amount of fruit.
We enjoy the leaf wines so much that I make 5 gallon batches in my giant 8 gallon stockpot, but don’t do this until you’ve tried some small batches to see if you like the concept. Also, just to emphasize this point again, leaf wines made according to my directions have a very low alcohol content and won’t keep well unless refrigerated. I am able to store them under refrigeration, but if you aren’t, stick to smaller amounts.
Also be aware that when I started making large batches, my home stick blender dropped dead and I had to get a commercial one from a restaurant supply house. Tree leaves are tough.
As always when foraging, use common sense and tend to your own safety. I don’t have any problem consuming mulberry leaves, fig leaves, or Siberian elm leaves, but you might. Never assume that the leaves can be used because the fruit can be used; elderberries are just one example of a plant that has edible fruit but poisonous leaves. Never trust your safety to a stranger on the Internet. Do your own research.
If you are interested in thriving on what’s around you, leaf wines can add a bit of sparkle and joy to your life.
Addendum: if you don’t have fermentation experience, please do read the recommended book or some other good book about home winemaking before getting started. It’s easy to make “informal” wine but there are some things to know in order to prevent messy overflows.


