Posts Tagged ‘vegetable gardening’

The Eggplant Chronicles I: choose your plant

image

For the last couple of years I’ve rolled my eyes over the phenomenon of grafted vegetable plants, and griped lustily that there is nothing difficult about growing tomatoes or eggplants, so why would anybody  fall for the grafted ones? Then I saw a picture of the extremely deep rootball that the grafted rootstock develops and began to ponder whether this might be really advantageous in my very hot dry area. So this year I tested two grafted eggplants, one Millionaire ( a Japanese-type eggplant) and one Black King. I planted several standard Millionaire and Ichiban plants for comparison.

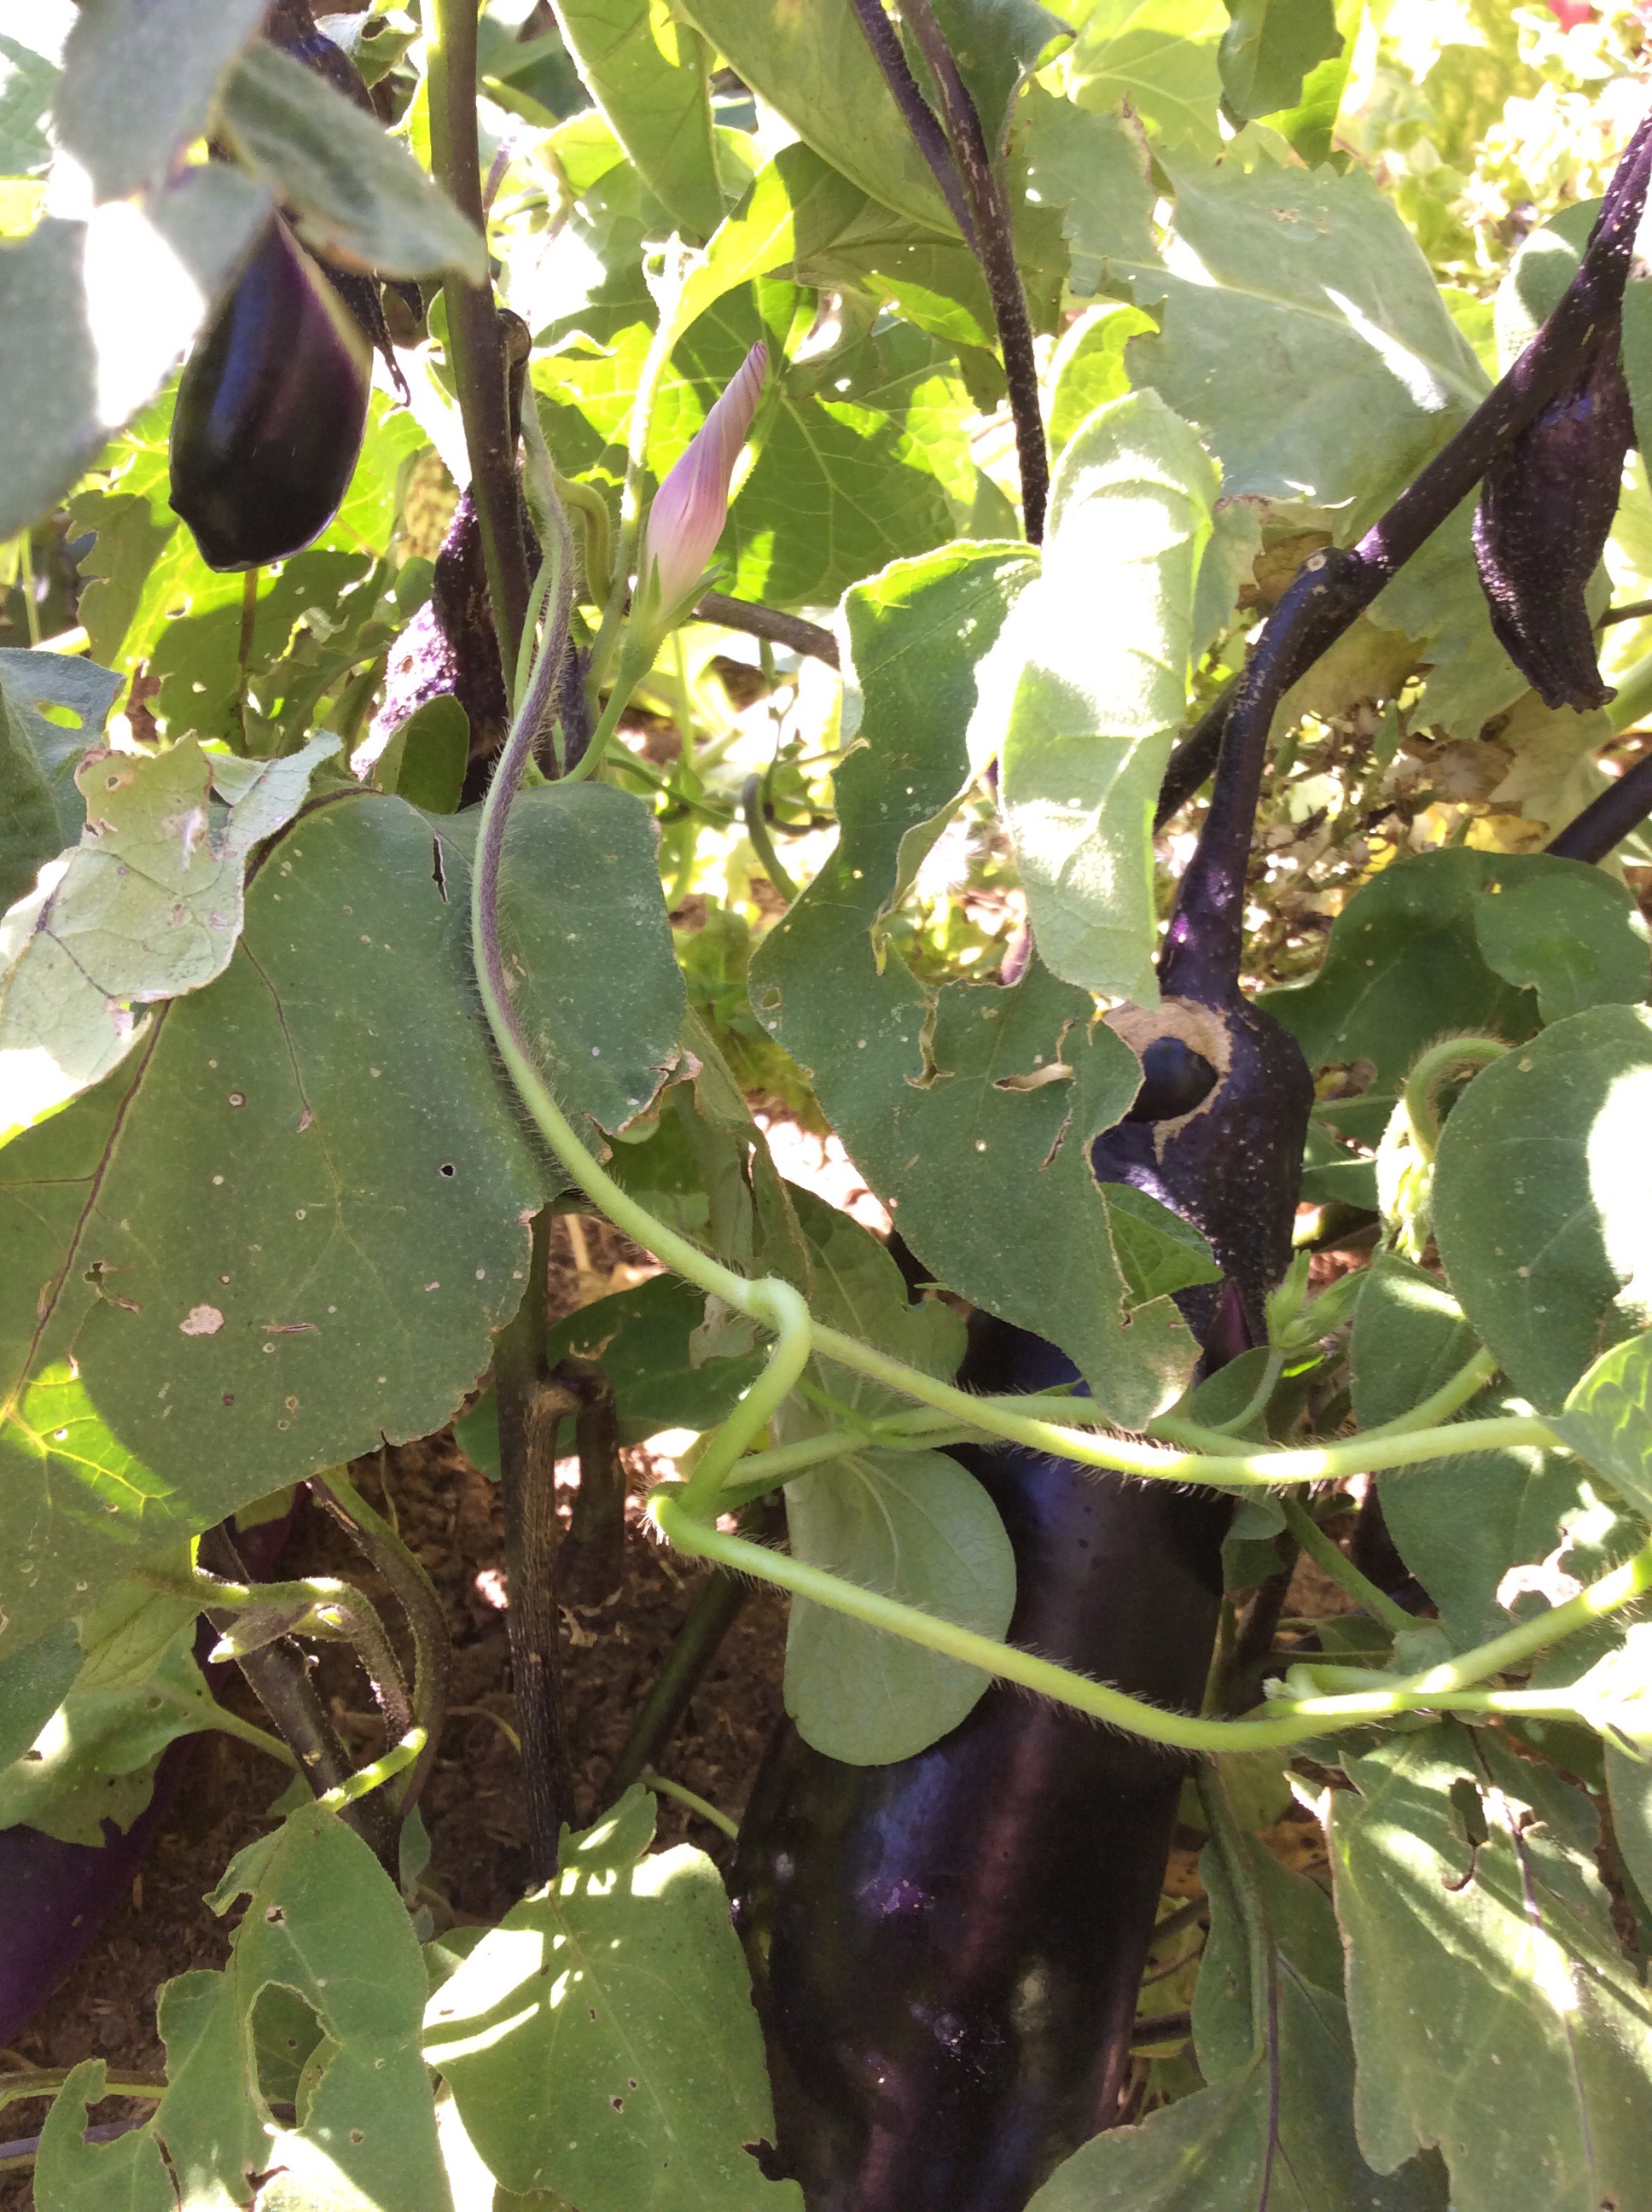
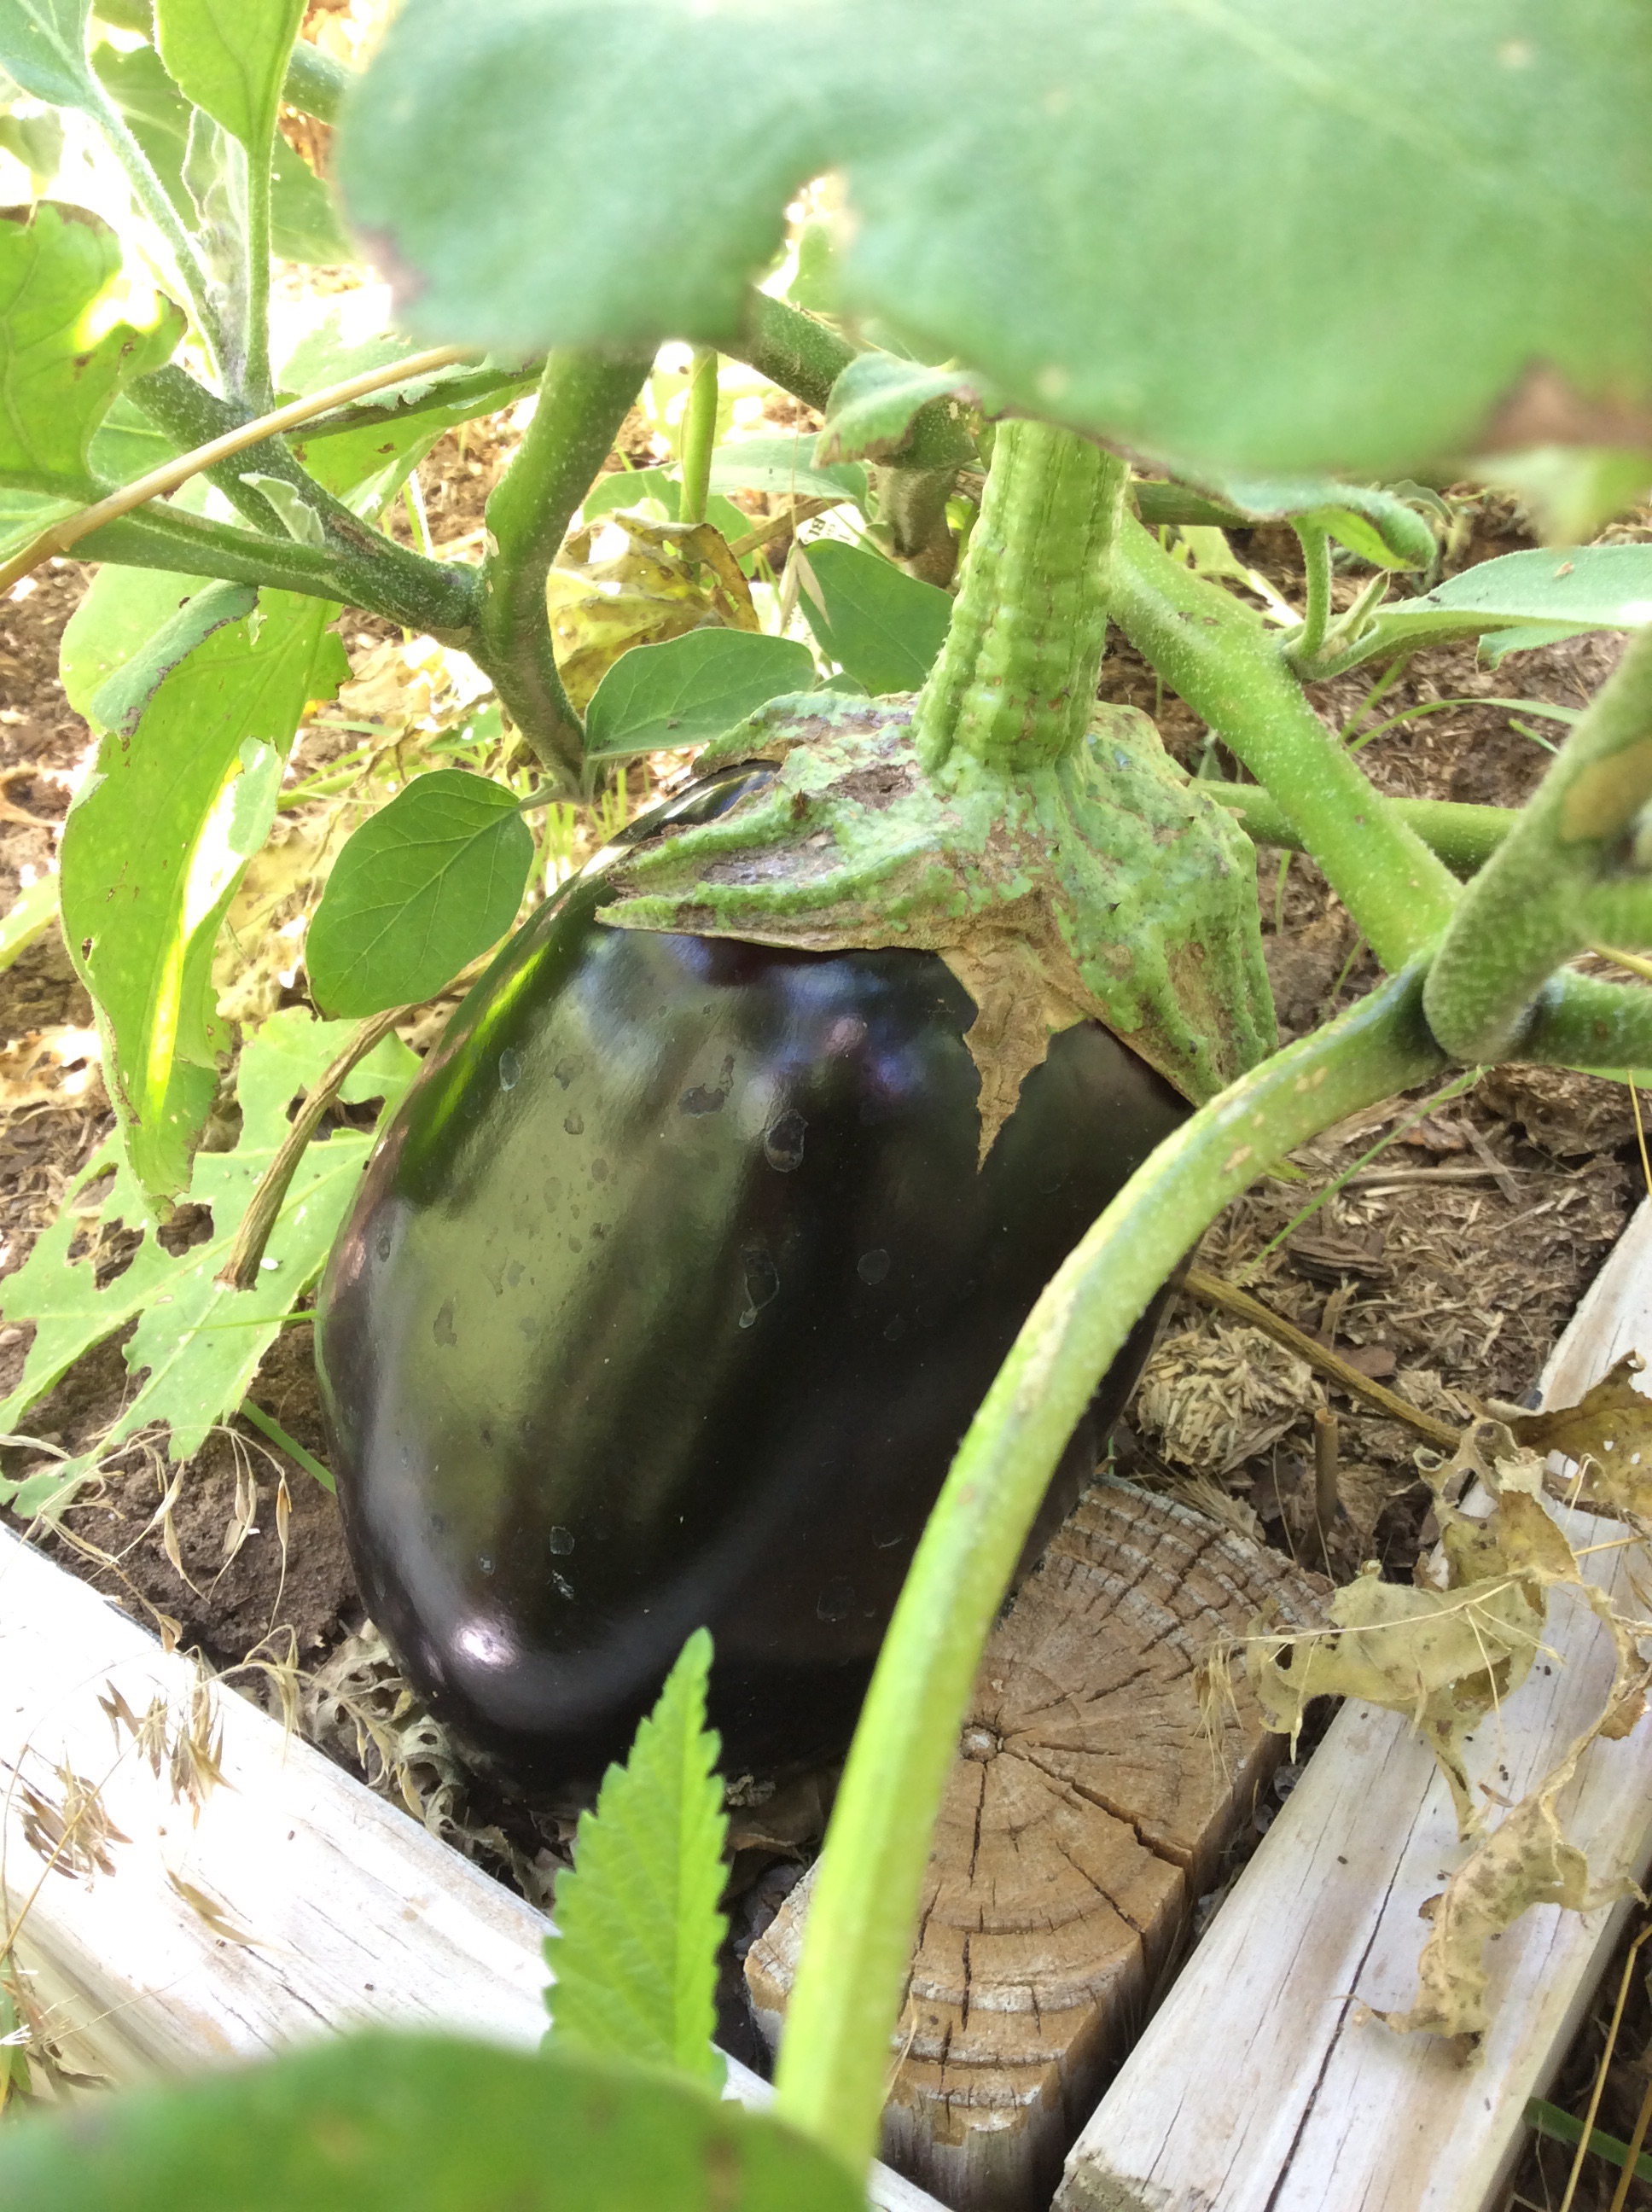
So far, the grafted Millionaire is out-producing the ungrafted Japanese eggplants at a rate of three to one. I don’t know how well you can see them in the picture above but the plant currently has five eggplants in various stages and is covered with blossoms further up. This one plant would have been plenty for us. The Black King seems sturdier than large eggplants I’ve grown in the past and is holding its enormous fruit without flopping.
image
So I will be planting grafted eggplants again. They cost just about twice as much as the ungrafted plants that I bought from a good local grower, but they are producing three times as much eggplant in less space. The two grafted tomatoes that I tried don’t seem to be outdoing their nongrafted kin at this point, but the jury’s still out. Also, one growing season isn’t a true test. But I’ve seen enough to be intrigued.
There are a lot of kinds of eggplant. The only types that I grow these days are the resplendent big Italian types and the long slender Japanese types. My preference is for meaty eggplants from which I can carve out big luxurious eggplant steaks. If your cookery leans Asian, you may be interested in the tiny bitter Thai eggplants and the dozens of other Asian types.
By the way, eggplants are highly ornamental at nearly every stage of growth. No need to stick them in the back yard.

Nose-to-tail Cilantro

image
Cilantro is a lovely and evanescent thing. It is a major seasoning herb in Thai and Indonesian cuisines, is widely used in China and Southeast Asia, and fills me with wellbeing whenever I eat it. It was a few years, though, before I learned how to make it pay for its garden space.
First, choose your variety carefully. You need a bolt-resistant type that can be bought in ounces, not packets. Don’t plant the seeds sold as spices. Currently my favorite is Calypso. Second, forget rows. Plant it in bunches that you can harvest all at once, and only have as many bunches maturing per week as you will actually use. I like the bunches to be spaced 8-10″ apart each way, and I plant 15-20 seeds in each bunch, all clustered into an area about 2″ in diameter. I plant 4 bunches a week, every week that I remember and have some bed space available, starting well before the last frost because cilantro likes cool weather and stopping as the days heat up. They will not occupy their real estate more than a couple of months, so I plant them in places where big heat-loving crops like tomatoes or zucchini will take over the space. In the picture above, you see the stem of the young tomato which will spread out when the days heat up. You may also note the early lettuce that occupied the tomato’s space over the winter, now serving as a light mulch.
When the plants are 7-8″ high, I harvest the bunch by cutting about two inches above the ground. They are quite clean because the crowded plants hold each other up, and just need a quick rinse before being used in your favorite way. Cut the bunch rather than pulling, because those stems will keep on working.
Leave the cut stems in place. When they show a good amount of new growth,you will notice that the leaves are finely cut and feathery rather than looking like grocery-store cilantro. This new growth doesn’t have the full cilantro flavor by any means, but I still like to throw chopped handfuls into salads and pounded green herb sauces. But what we are really after at this point is not the leaves. When some of your bunches are tall and starting to bolt, pull them for the roots and lower stems. Scrub the roots and thick lower stems well, cut off the finer roots and discard (into the compost, of course) and chop the roots and stems thinly crosswise. This is your supply of cilantro root, which is used extensively in classic Thai cooking, while the leaves aren’t used in authentic curry pastes etc. In fact, make sure that no leaves get into your root, because the flavor is different and not right for this use. Thai cooking aficionados refer to it as the “unobtainable, mythical coriander root,” but it is highly obtainable if you have a garden. Now you can pound your roots and stems in your faithful mortar and pestle to make curry and seasoning pastes, or freeze them in little plastic bags in quantities of about 4 tablespoons. I tend to use mine up during the summer, which is when southeast Asian cuisine tastes best to me.
image
But don’t pull every bunch. Let some bolt, because you want the green seeds.
image
These have a flavor in between the leaves and the dried coriander seed and are delicious sprinkled over salads, used as a garnish on grilled meats, or tossed over bulgur or rice dishes.
Now you are finally done with your cilantro plants and can pull them and compost them, unless you want to let some set and dry seeds to use as coriander seed. I don’t dry and save seeds, personally. I can buy seeds easily, and prefer to use my own seeds green, when they are a fresh treat that can’t be bought.
For more on using the roots, check out David Thompson’s huge and highly addictive “Thai Food,” the best Thai cookbook in English in my opinion, although it does assume a scary amount of kitchen time😉

Eat Your Allicin! Notes on Green Garlic

image
Garlic went through a period of being a fad health supplement for its allicin content. Allicin is an antioxidant to which miracles were ascribed at the time. Now that the fad is long over, maybe we can return to the subject in a more measured way, and eat some delicious food while we’re at it.
There is relatively little allicin in mature culinary garlic, since it is found mostly in the skin. But there’s a way to eat a lot of it and enjoy it: eat green garlic, which is also a culinary delight. Garlic cloves are planted in early fall, and the greens shoot up in early spring. They vary in size according to variety. They are edible at any stage, from the tiny ramp-like beginning to nearly-mature but still soft-skinned bulbs as shown above. When the stem begins to thin and wither and the leaves look distinctly un-fresh, it is maturing and should be used as bulb garlic rather than green garlic. And here’s how to get your antioxidants in full: in the green garlic stages the whole plant is edible and tasty, and the leaves, shoot, and tender skin contain most of the allicin (reference below). The leaves, stem, and skin( after the outermost layer is peeled off) all go into your sauté pan. Cut the root end off, trim the leaf tips, wash well, slice very thinly the whole length of the nascent bulb, shaft, and leaves, chop finely, and sauté in butter or olive oil with a good punch of salt until tender. Keep the heat medium to medium-low and plan to spend 15 minutes or so on the process, lowering heat as needed. It is done when it tastes rich, garlicky, mellow, and a little sweet. Do note that slicing it very thinly crosswise in the beginning is key to the shoot and leaves being pleasant to eat, since they contain strong lengthwise fiber. They can be used as the basis of any dish that includes garlic, unless the green color would be a problem, in which case just use the bulb and tender inner skin. I also like the whole sautéed plant as a vegetable side dish when it comes from the milder varieties of garlic. If I am going to eat it by itself, I slice thinly crosswise but don’t chop the slices up, so there is some textural interest in the finished dish. Also, make sure to salt to taste during cooking, not when finished, so that the salt can penetrate. This is really good next to a lovely steak.
image
Don’t forget that you can tuck a useful amount of green garlic into flowerbeds and at the bases of trees. Just don’t confuse it with daffodil foliage or other poisonous plants with similar long narrow leaves. If in any doubt, tear a leaf and sniff. Garlic leaves smell like garlic!
I have heard that the leaves can also be dried, powdered, and used as a seasoning, but I’ve never tried it and don’t vouch for it. I go for fresh stuff.
Here’s your reference on the allicin content:
“Department of Pharmacology, School of Medicine, Ardabil University of Medical Sciences, Iran
Food Chemistry (Impact Factor: 3.26). 05/2010; 120(1):179-183. DOI: 10.1016/j.foodchem.2009.10.004
ABSTRACT The presence of allicin in green garlic plant extracts was investigated. Allicin in aqueous extracts from green garlic leaf, shoot and young bulbs were determined by HPLC. Allicin was present at highest level in extracts from whole green garlic plant at 0.48 ± 0.01 mg/mL, followed by that in shoot and leaf extracts at 0.44 ± 0.00 and 0.26 ± 0.01 mg/mL, respectively. The results obtained in this study offer green garlic as a new source of allicin, as green garlic plant is used as a favourite vegetable in many countries.”
image

A Succession of Lettuce

Gardeners tend to love the first salads of spring, and many of us long for greenhouses so that we can harvest all winter. But until I get the greenhouse of my dreams, I scheme about ways to have lettuce and salad fixings as early as possible.

This year I bought a roll of frost-blanket fabric from Johnny’s Selected Seeds, and on a bright day in early February I dug up my lettuce beds and pots, composted them heavily, and planted them with various lettuces, planting broadcast-style rather than in rows. Half of the garden bed of lettuce I covered with a double layer of frost-blanket, secured with stones as weights. The other half was left open to the elements, and some was planted in big black pots about 2 feet high but wasn’t protected in any other way.

I supplied them with water (no need to remove the frost-blanket to sprinkle that bed) and otherwise left them alone.

On March 28th, about 6 weeks later, here’s what the beds look like:
image
This bed was under the frost-blanket. The little lettuces are over 4 inches high, and harvesting can begin.
image
This one is in one of the large pots. The lettuce is about 2 inches high, and won’t be ready to harvest for a few weeks.
image
These are planted in the open ground. They have survived hard freezes and an 8″ snowfall and are very small, but undaunted.

From one afternoon of planting, I will be able to harvest lettuce from late March through May, with minimal effort. I will be doing this again next year, and will also plant a bed in October and try to hold it under frost blanket through the winter, to get a jump-started bed in the spring. We urban yard-farmers have day jobs and minimal free time, and this is one way to make the most of it.