Posts Tagged ‘permaculture’

Mulberry Heaven

image
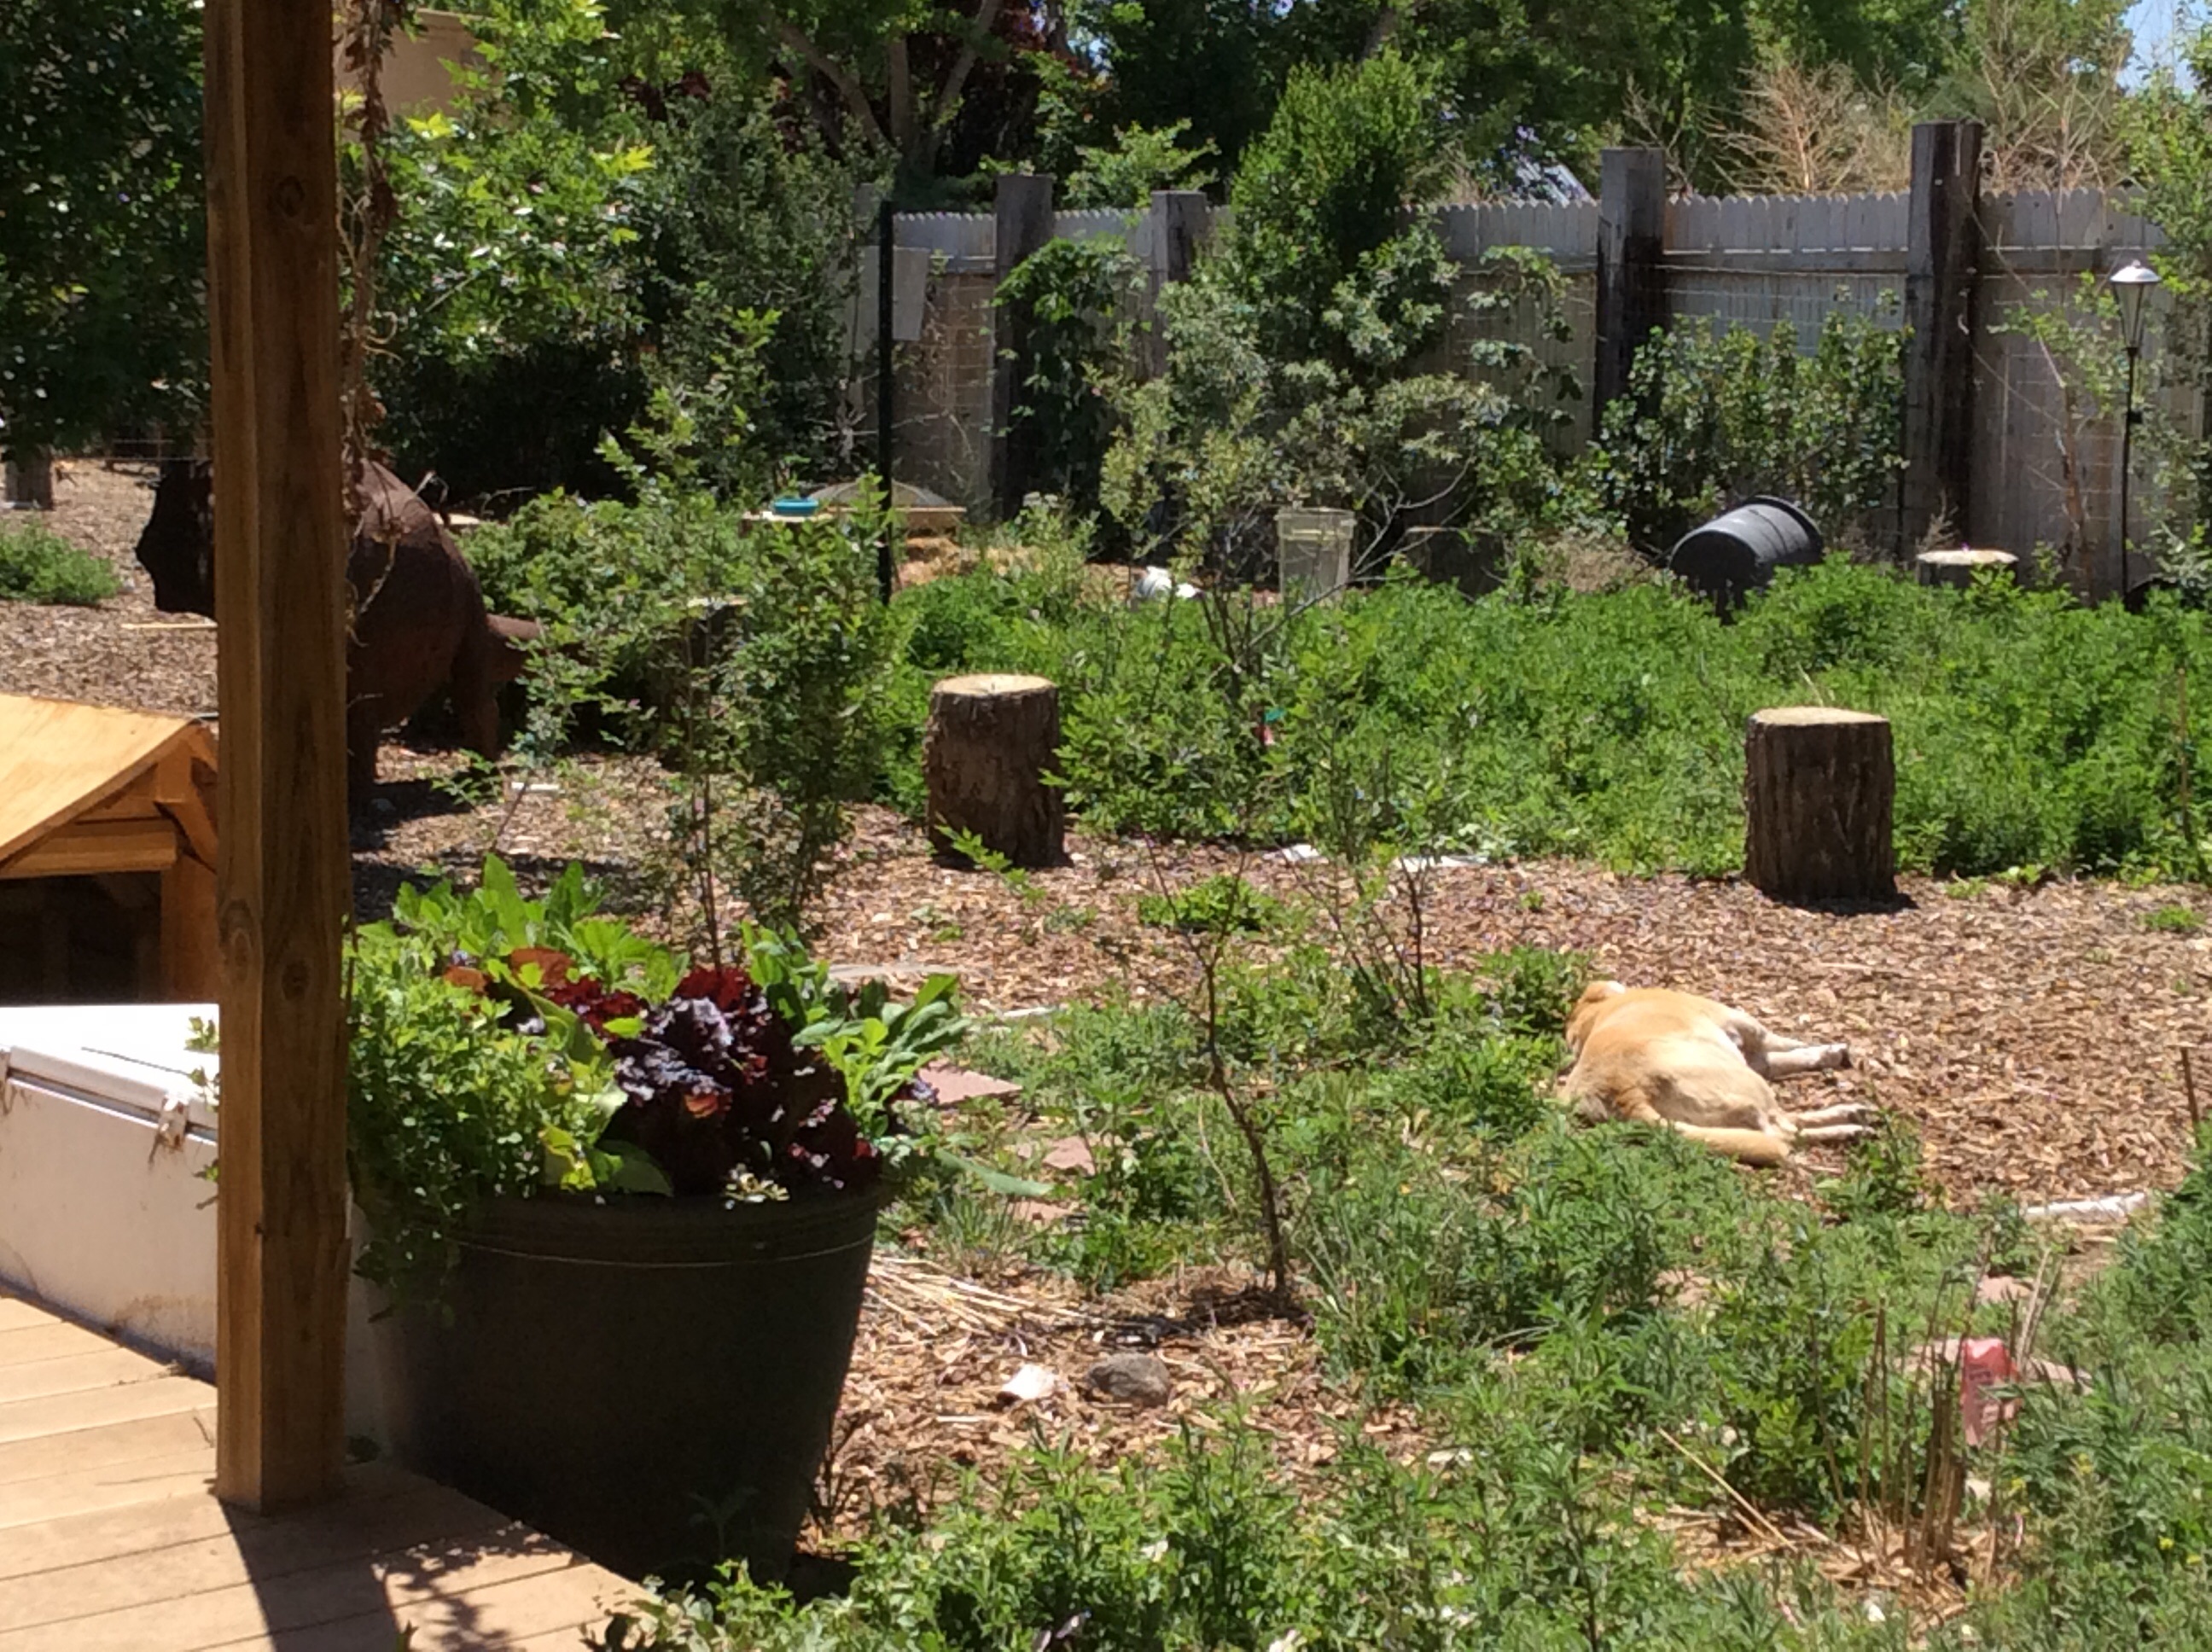
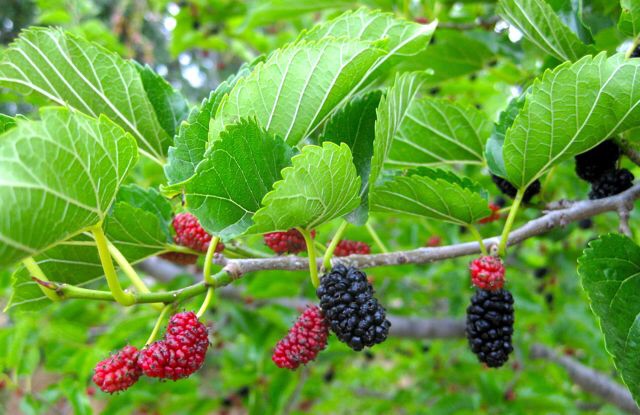
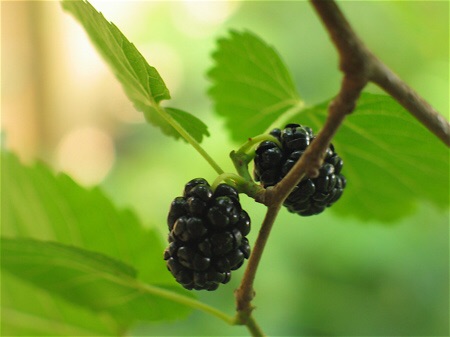
Near my home there is a mulberry tree that has delicious black fruit and low-hanging branches. When the fruit ripens, I throw my ketogenic diet temporarily out the window and go every evening to stand under it, gorging myself, while my dogs eat dropped fruit off the path. This is one of the greatest joys of the summer season. But it isn’t by any means the only use for mulberry trees.
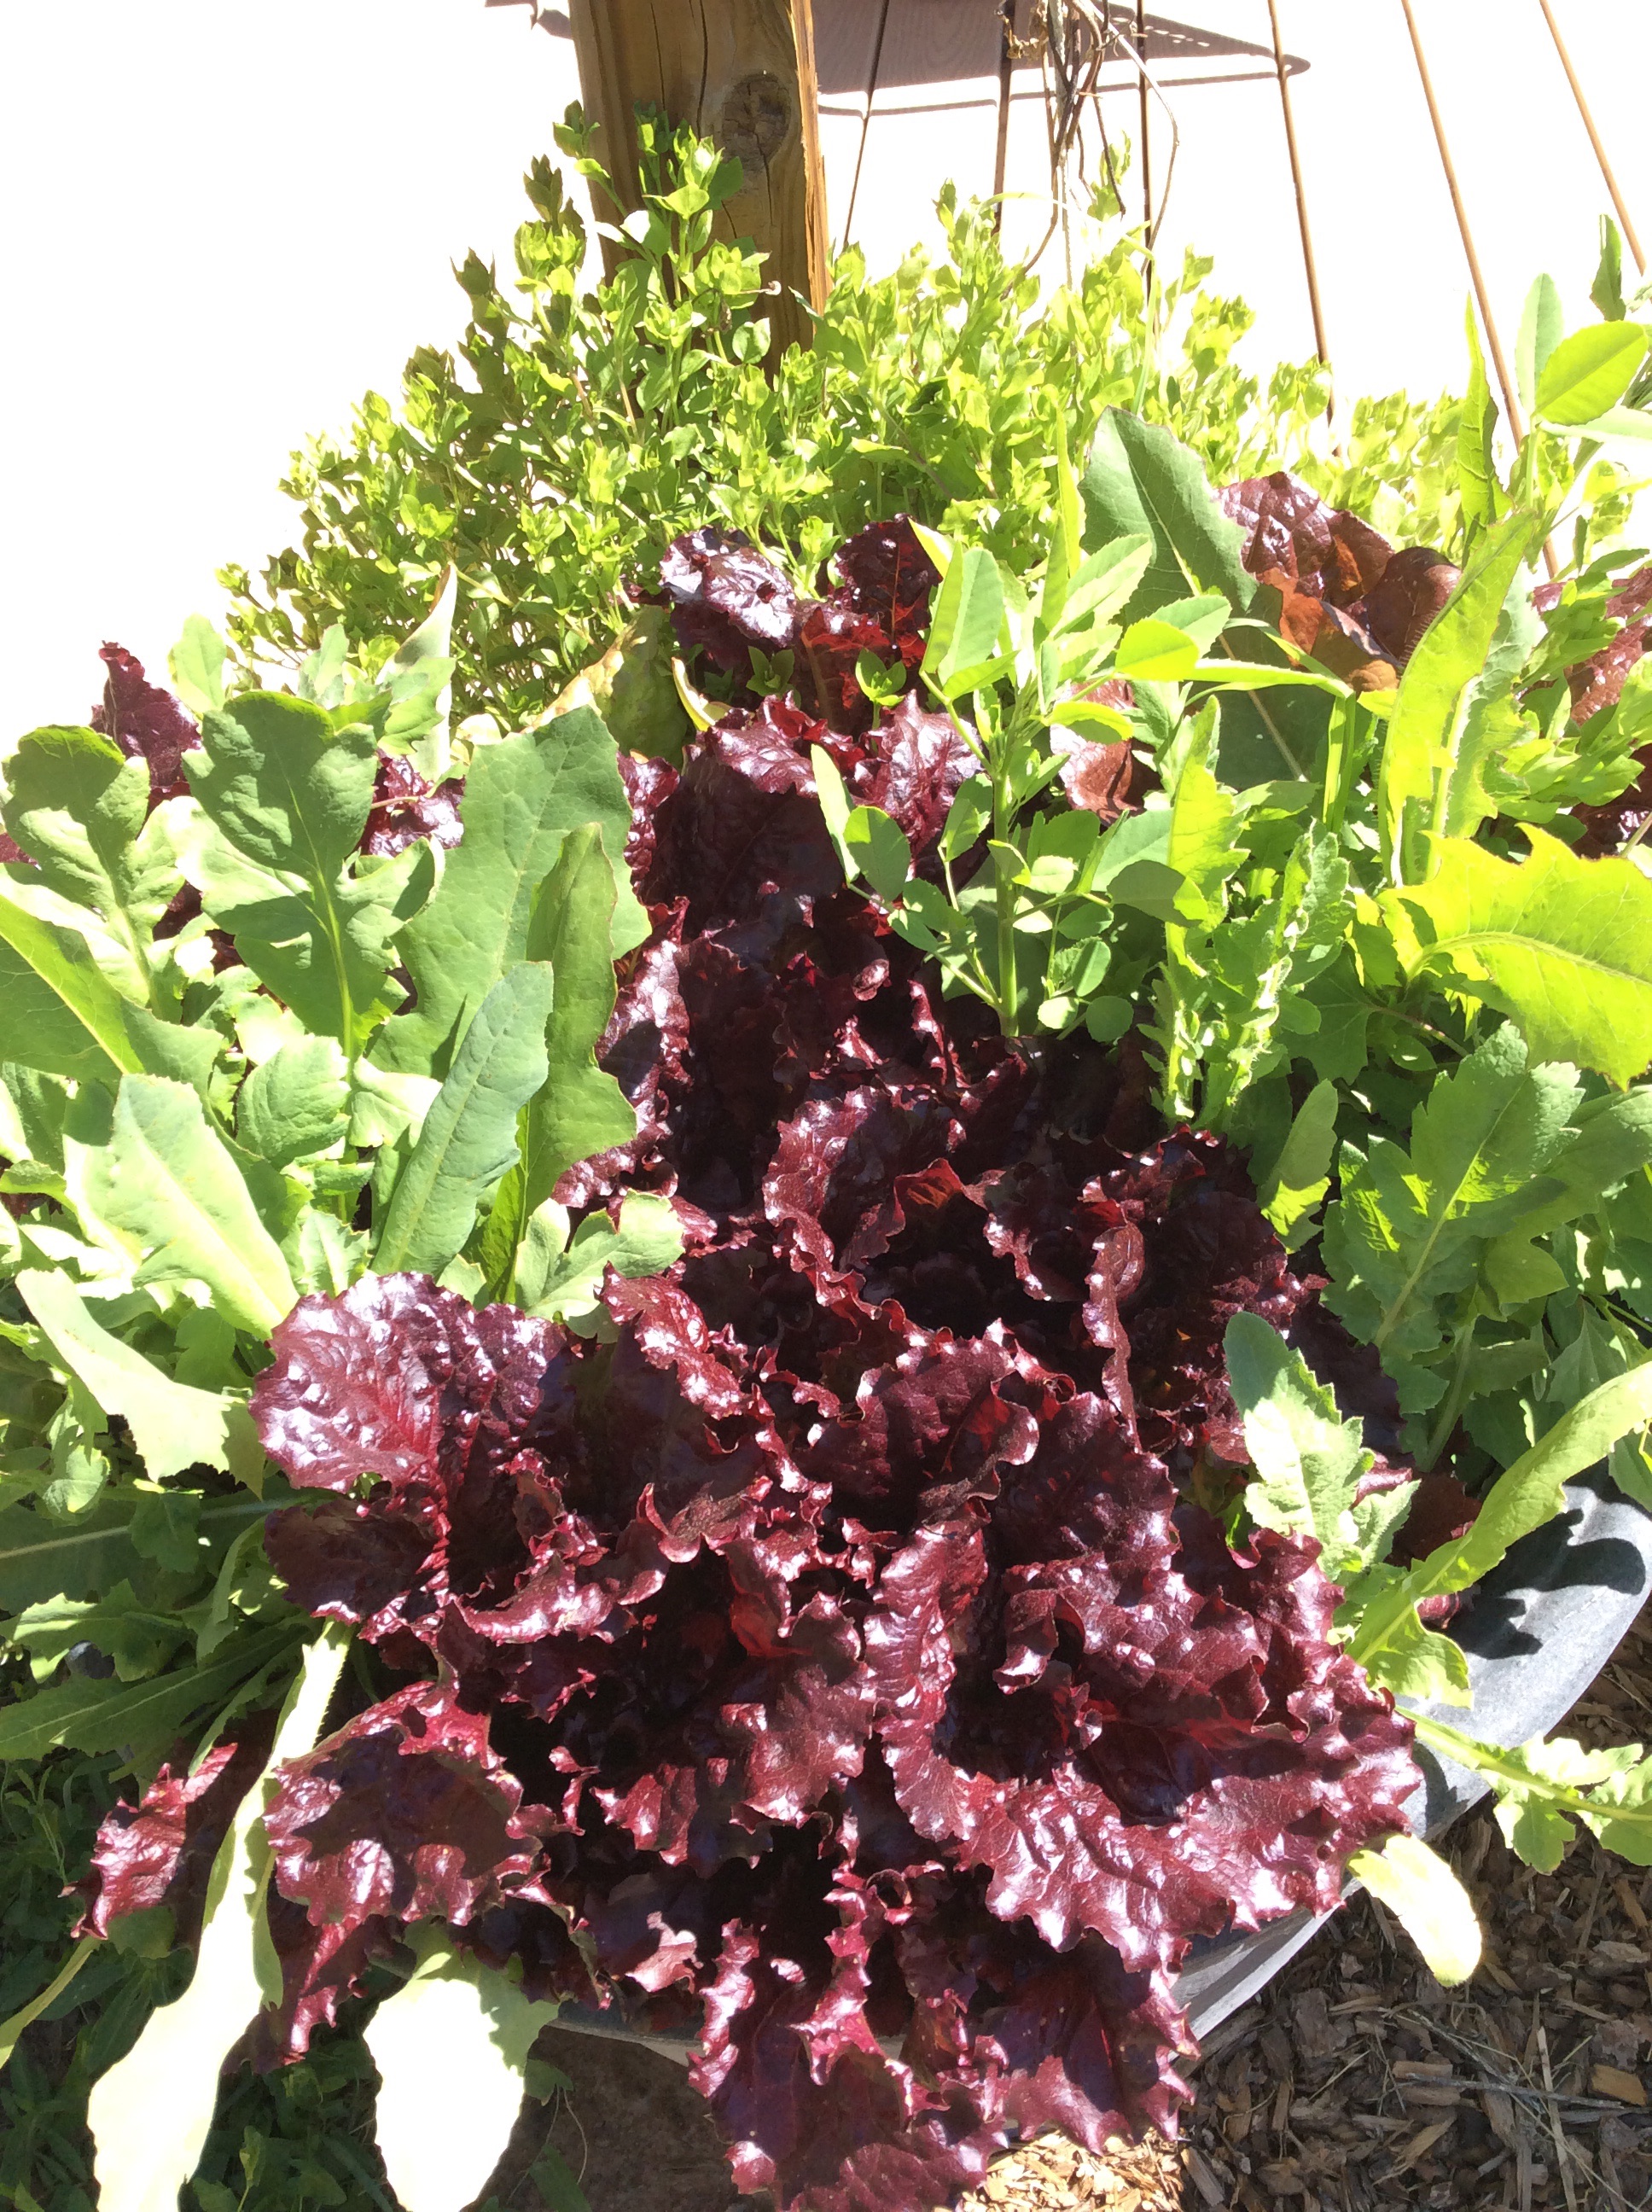
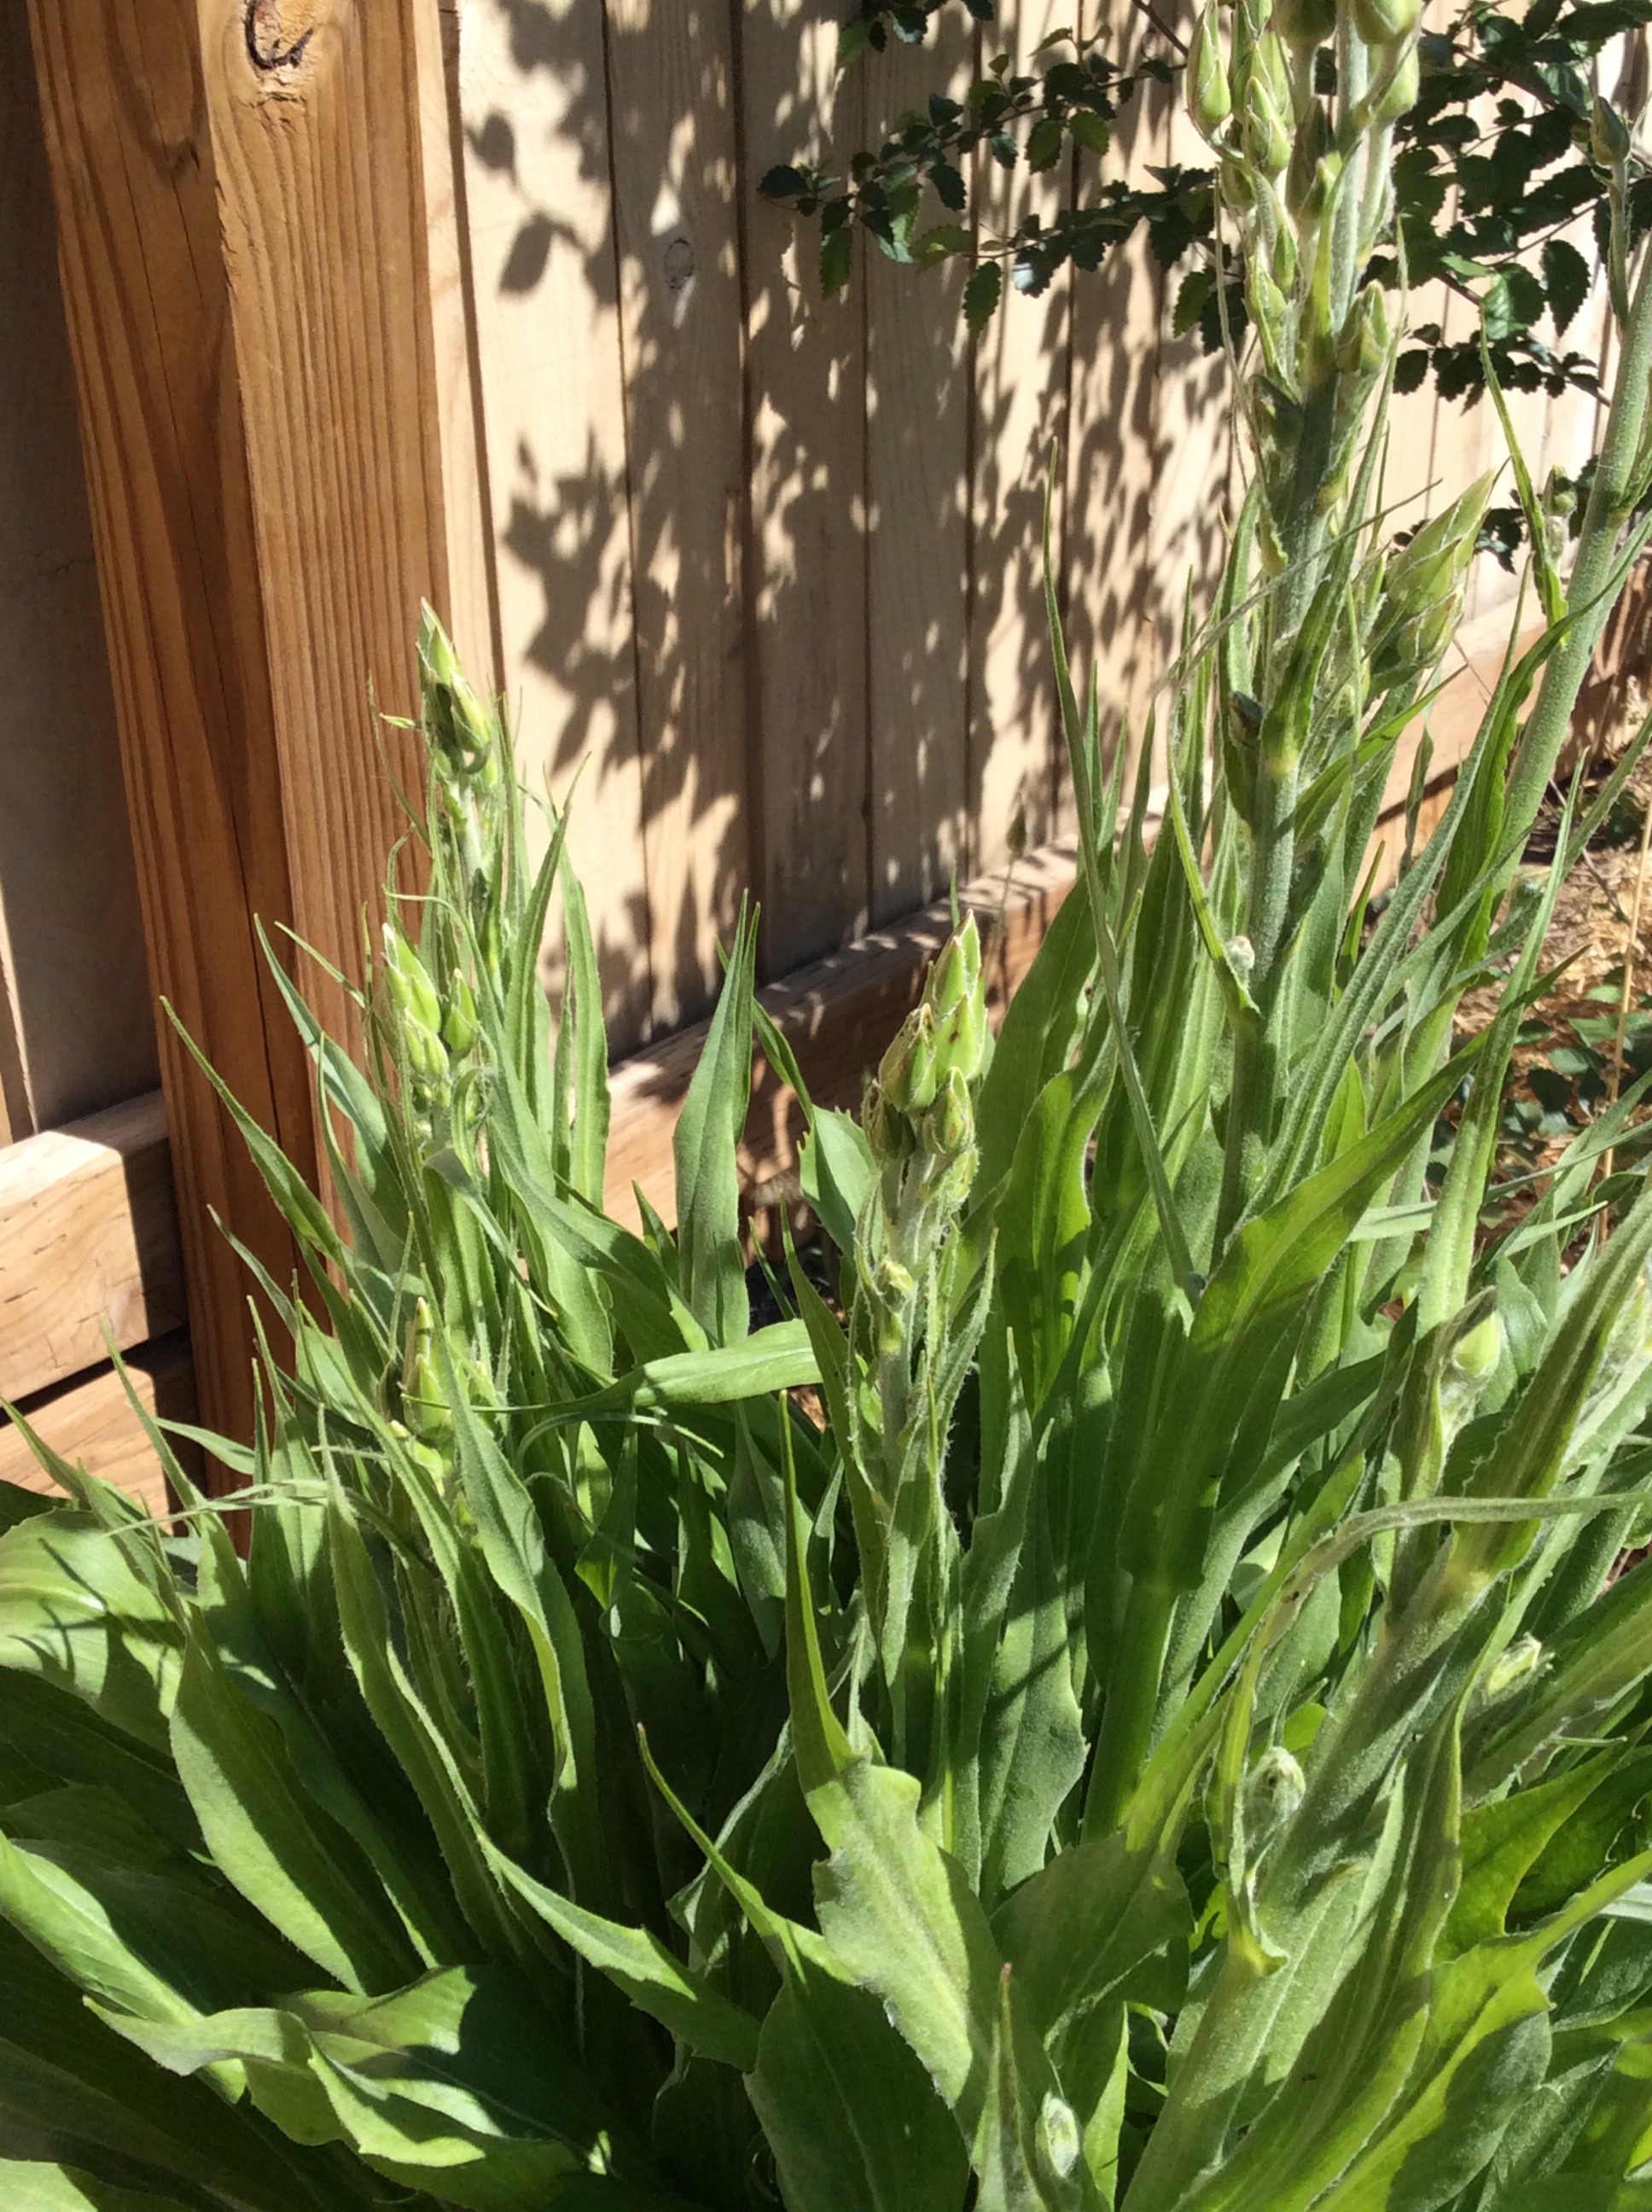
On my own property I don’t have any mulberries big enough to fruit, but I do have two mulberries that I harvest greens from. The leaves of all mulberries are edible when young and tender, but flavor ranges from tasty to nasty. By hanging around a local organic nursery and surreptitiously tasting leaves, I got a couple that had fairly good-tasting leaves. At my last home I had a mulberry with delicious and large leaves, but alas, that tree is no longer mine, and I didn’t try rooting cuttings because I had no clue how hard it would be to replace. But the ones I now have are passable. The trees will rapidly grow tall if you let them, which I don’t. From the time they are 4 feet high I start managing them for leaf harvest by keeping them small. At first this is a matter of a little delicate trimming and weighting some branches so that they grow out nearly parallel to the ground. Later on in their lives, much harder cutting is needed, and by the time that they are 5-7 years old, they need coppicing (cutting off a few feet above the ground) to keep them in check. Coppicing keeps them from producing fruit, and incidentally they also don’t bloom and produce their incredibly allergenic pollen when managed this way. They do produce masses of young tender tips that can be pinched off at the point where they are nonwoody and break easily and cooked as a green, a good green that fills in gaps between cold-weather and hot-weather greens and contains resveratrol as a bonus.
image
At the point when my coppiced trees start producing more greens than I can use (which is a few years down the road,) I will start harvesting bigger branches for my goat, who thinks that mulberry branches are the food of queens. Mulberry leaves can also be dried to make tea, although I think the resulting tea is pretty insipid stuff and needs other herbs for interest. I would also use “extra” cuttings for mulch and spare biomass.
For more about mulberry trees, see the link below for a terrific and very comprehensive post about mulberries in permaculture. Don’t miss the wonderful pictures of stuffed mulberry leaves! The recipes are available too, and I plan to try this soon.
Temperate Zone Permaculture mulberry post
image
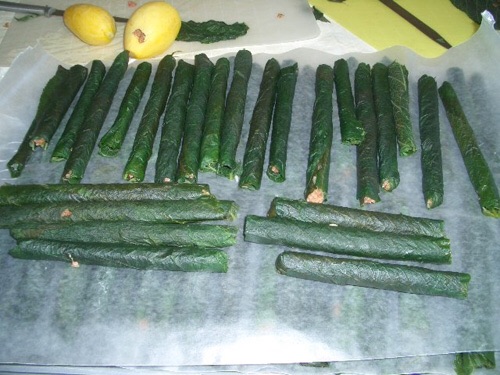
This image of stuffed mulberry leaves, poached from the Temperate Zone Permaculture post linked in above, looks especially interesting to me. Check out the recipes in that post.
image
The stigmata of the mulberry fancier. Consider yourself warned.


Integrating Your Weeds I: lambs-quarters

image

I’ve written a lot at various times about the Holy Trinity of edible weeds: lambs-quarters, amaranth, and purslane. In this post I don’t plan to say anything much about harvesting and cooking lambs-quarters, Chenopodium album,  since I’ve said that already and the short version is “harvest them young, collect as little stem as possible, and use them like any other mild-flavored leafy green.” Personally I dislike the texture and mouthfeel of the raw leaves intensely, and only like them cooked, but others see it differently. This is their great season; after midsummer they are very eager to make seeds and are no longer very usable as a leafy green.

The focus today is on how to have them in your garden without losing everything else. They are highly competitive. First, don’t just let a nice big plant go to seed in your garden, unless you have a lot more space than I do, because they get six feet tall and nearly the same across and tend to flop around, and nothing else in that bed will survive. Instead, look over your self-sown lambs-quarters (which you almost surely have,) choose one right at an edge or corner of a garden bed, cut it down to an inch from the ground, and keep hacking at it until late summer, allowing it to make exactly one branch which lies out horizontally over the ground of the bed. This branch is allowed to go to seed, and everything else is clipped off. It helps if the planned plants in that bed are large and robust. All other lambs-quarters in that bed are pulled out by the roots after harvesting. Your mother plant will dry out in early fall, very unattractively I might add, and when you are sure that it’s dropped its seed, you can dig the husk of the mother plant out. This will take a lot of effort and a good shovel.

Next spring, you will see a fine mist of seedlings on that bed. Keep them watered for tenderness, harvest them at 6-8 inches tall, and be sure to pull out the roots. If you are growing other things in that bed, be sure to give everything else a head start. In the bed shown above, I hoed up the ground when the seedlings showed and planted collards and onions. Don’t worry about hoeing the seedlings. There are millions more to come.  Then I let the second wave of lambs-quarters seedlings grow up among my plantings. Today I’ll harvest the lambs-quarters, and mulch around the remaining veggies and let them take over.

No doubt this decreases the total yield of collards and onions, but if you use a rich mulch like stable bedding they will make up for the slower start, and overall you are getting remarkable yields for the space. The returns are especially remarkable if you consider nutrient density, since lambs-quarters are among the most nutritious greens that you can eat.

You should only have to do this once, or maybe once every several years. You will then have millions of potential lambs-quarters in your soil and can grow a crop of them at any point in late spring or early summer that you have a bit of empty space. Just water the ground and stand back.

The marvelous foraging guide by Dr. John Kallas called “Edible Wild Plants: Wild Foods from Dirt to Plate” will enable you to identify and cook your bounty.


Semi-permaculture

imageimage

Every now and then I encounter some committed permaculturist who earnestly wishes to educate me about planning guilds (functional plant groups) in my garden. I just don’t think this way. It seems to me that, if you love to grow food, have a fairly high chaos tolerance, and live somewhere  long enough, you will naturally and accidentally discover what thrives in groups in your area, as well as what you really like to eat. Take the large pot above, which has been next to my back patio for four years. It is a microcosm, or micro-cosmos, of my interests over the time since it was placed. In it you can spot the gorgeous leaf lettuce Merlot that I’m growing this year, chickweed that I planted three years ago and which is self-seeding nicely,  moringa that I started experimenting with last year (which, incidentally, wintered over in a pot that isn’t watered in the winter and survived a very cold winter,) Shirley poppies from four years ago when this pot was placed, and wild lettuce which seeds itself all over at my house and which I tolerate because I like it in cooked greens. My planned combinations haven’t come out nearly so well. Everything in this pot is edible; yes, even Shirley poppy leaves are fine in cooked greens. But it all happened through planting things, not weeding too assiduously, and seeing what happened. If you have a poor memory and are prone to planting things in spots where you already planted something else and then forgot about it, some further felicitous combinations will occur.

A linden planted for its edible leaves has a bird-sown wax current bush growing in its shade, bearing more heavily than its siblings in full sun. Bladder campion seeds itself into the shady north corner under the linden. Siberian elms, self-sown all over, can be coppiced for free goat feed. A bird-sown mulberry nearby can be coppiced for tender edible green shoots to use in cooked greens. Stinging nettles, struggling in the baking desert sun, root their way into the shade of the elm and mulberry coppices and begin to flourish. Stems of oyster mushrooms, dug into garden beds in the fall, produce a few nice oyster mushrooms in the shade of lettuce the following year. A single lambs-quarters is allowed to seed, and late-spring crops of mild and nutritious greens show up all around your intentional plantings for years.  A Russian olive that grows smack in the middle of a garden bed despite years of cutting it back and cursing it, can be pruned into a support for climbing snow peas. A really poor clump of garlic at the base of a tree, left by the last owner, turns out to be indestructible through baking summers and perfect for green garlic. Scorzonera and wolfberries make some good food out of baking unimproved spots where you can’t get anything else to grow. A local non-edible legume, the desert bird-of-paradise, springs up and offers light shade to the wolfberry, giving it a new lease on life and more tender leaves that you can toss into greens mixtures.  None of this is especially tidy, and the straight-row sort of gardener would never tolerate it. But for those of us who love a bit of natural mess and take our vegetables and our epiphanies where we can find them, it works.


Scorzonera Finds Its Purpose

image

Five years ago, when we first moved to our current property, I planted some scorzonera with the idea that it would be a good root vegetable for fall. When fall came, I dug up a root and prepared it, and found it stringy, hard to prepare, and not all that interesting to eat. I had two good-sized plants, and I never got around to digging up the second one. The next spring it sent up attractive green leaves, and although it was in a spot that I never remember to water, it flourished all summer on the 11″ of rain that we get in an average year. Impressed with its stamina, I left it in place. By the time it came up the third year I had read that the leaves were edible, so I tried them but found them undistinguished and didn’t bother with them again. The plant continued to earn its place by being bright green and trouble-free. This year, its fifth year,  the plant began to send up bloomstalks at a time when I had a free afternoon and a propensity to experiment, and I discovered scorzonera asparagus, the plant’s culinary reason for existing. Gather the top 4-5 inches of each scape while the buds are still tightly closed and held close to the stalk, wash well, and toss into a hot skillet with a generous glug of good olive oil and salt to taste. Turn the heat down to medium now. Turn them often so that they brown in spots but don’t blacken. Don’t walk away from the stove! They are done when the leaf tips are fried brown and crispy, and the stalks are just cooked through. Eat promptly, as the semi-wild treasure that they are. I made a little plate of them to be a “cook’s treat” in the kitchen while I was cooking something else, and unwisely offered my husband a taste, which resulted in him eating most of them. They’re good.

This tough-as-nails perennial grows in the desert with little care besides the initial planting and weeding when it’s small, and I plan to plant more. I do offer it some water to make it grow big and bountiful.  I may have called the leaves “undistinguished,” but if other spring greens ever fail me, I guess I’ll be glad to have them. It took me a while to learn to use it well, but this plant earns its place in the food garden.


image