Posts Tagged ‘greens’

Red-cooked Winter Greens

Any regular reader of my blog knows my nutritional obsession: nobody really eats enough leafy greens, including me. But I do make regular efforts to correct this.

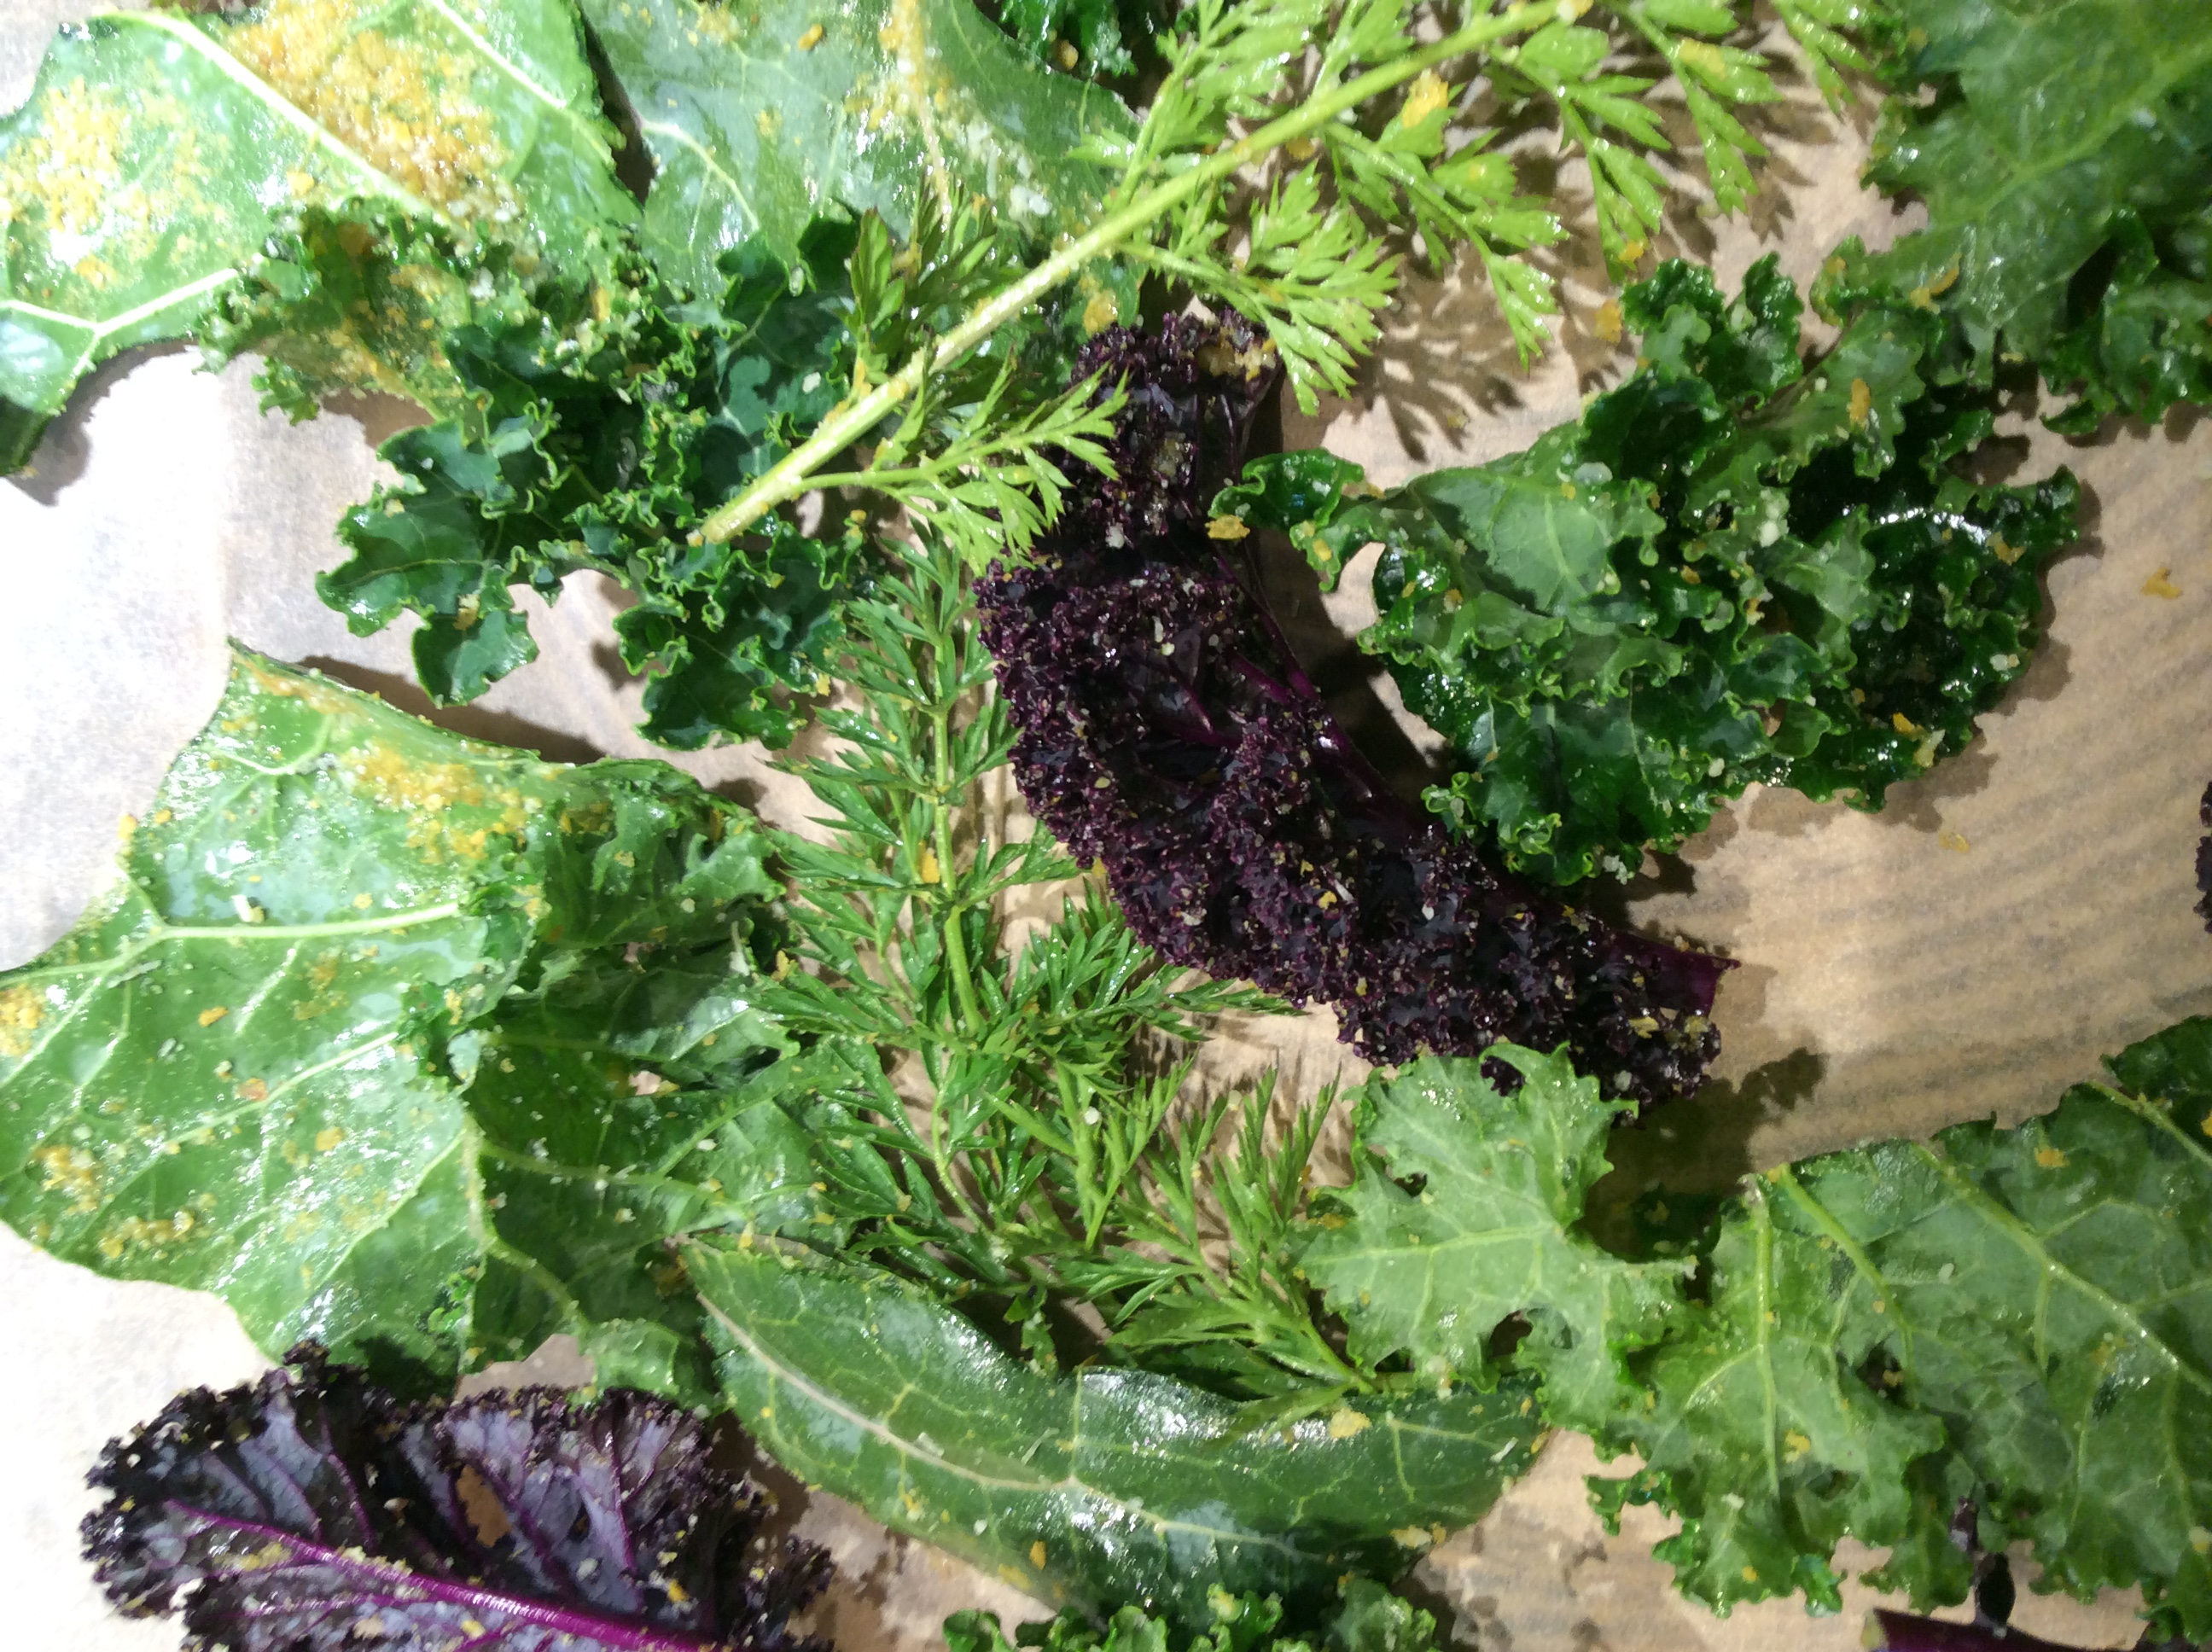
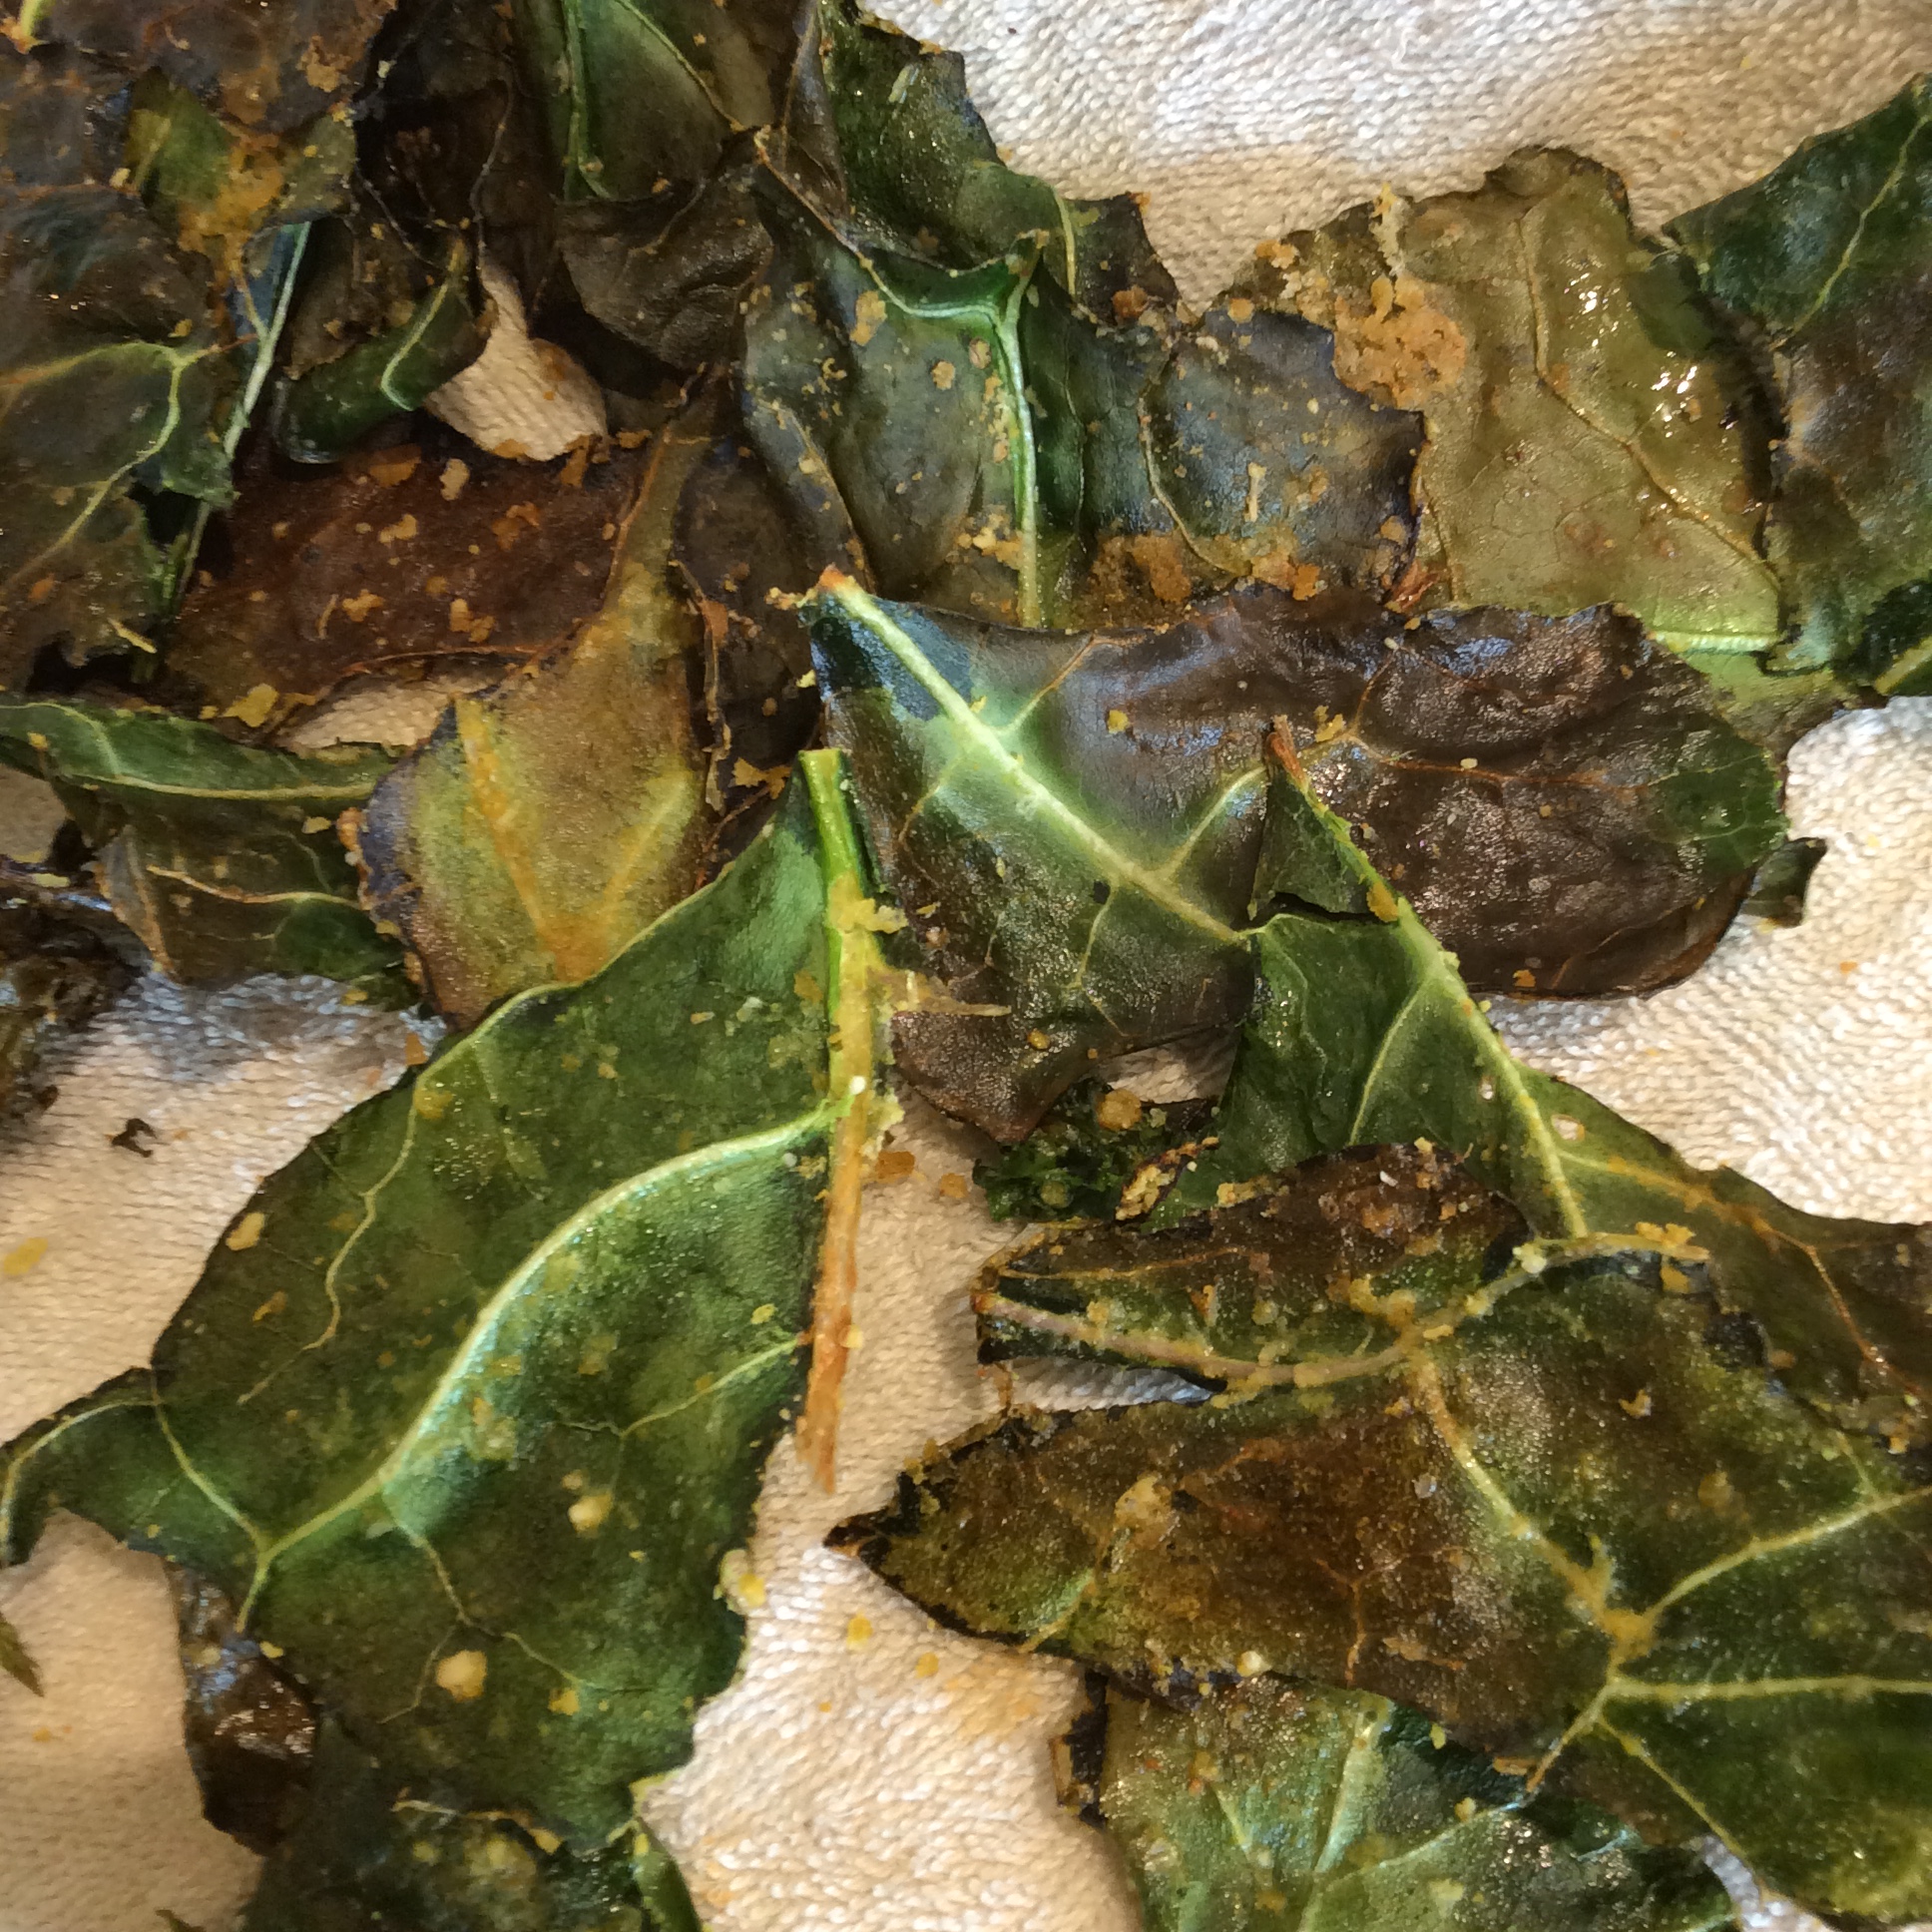
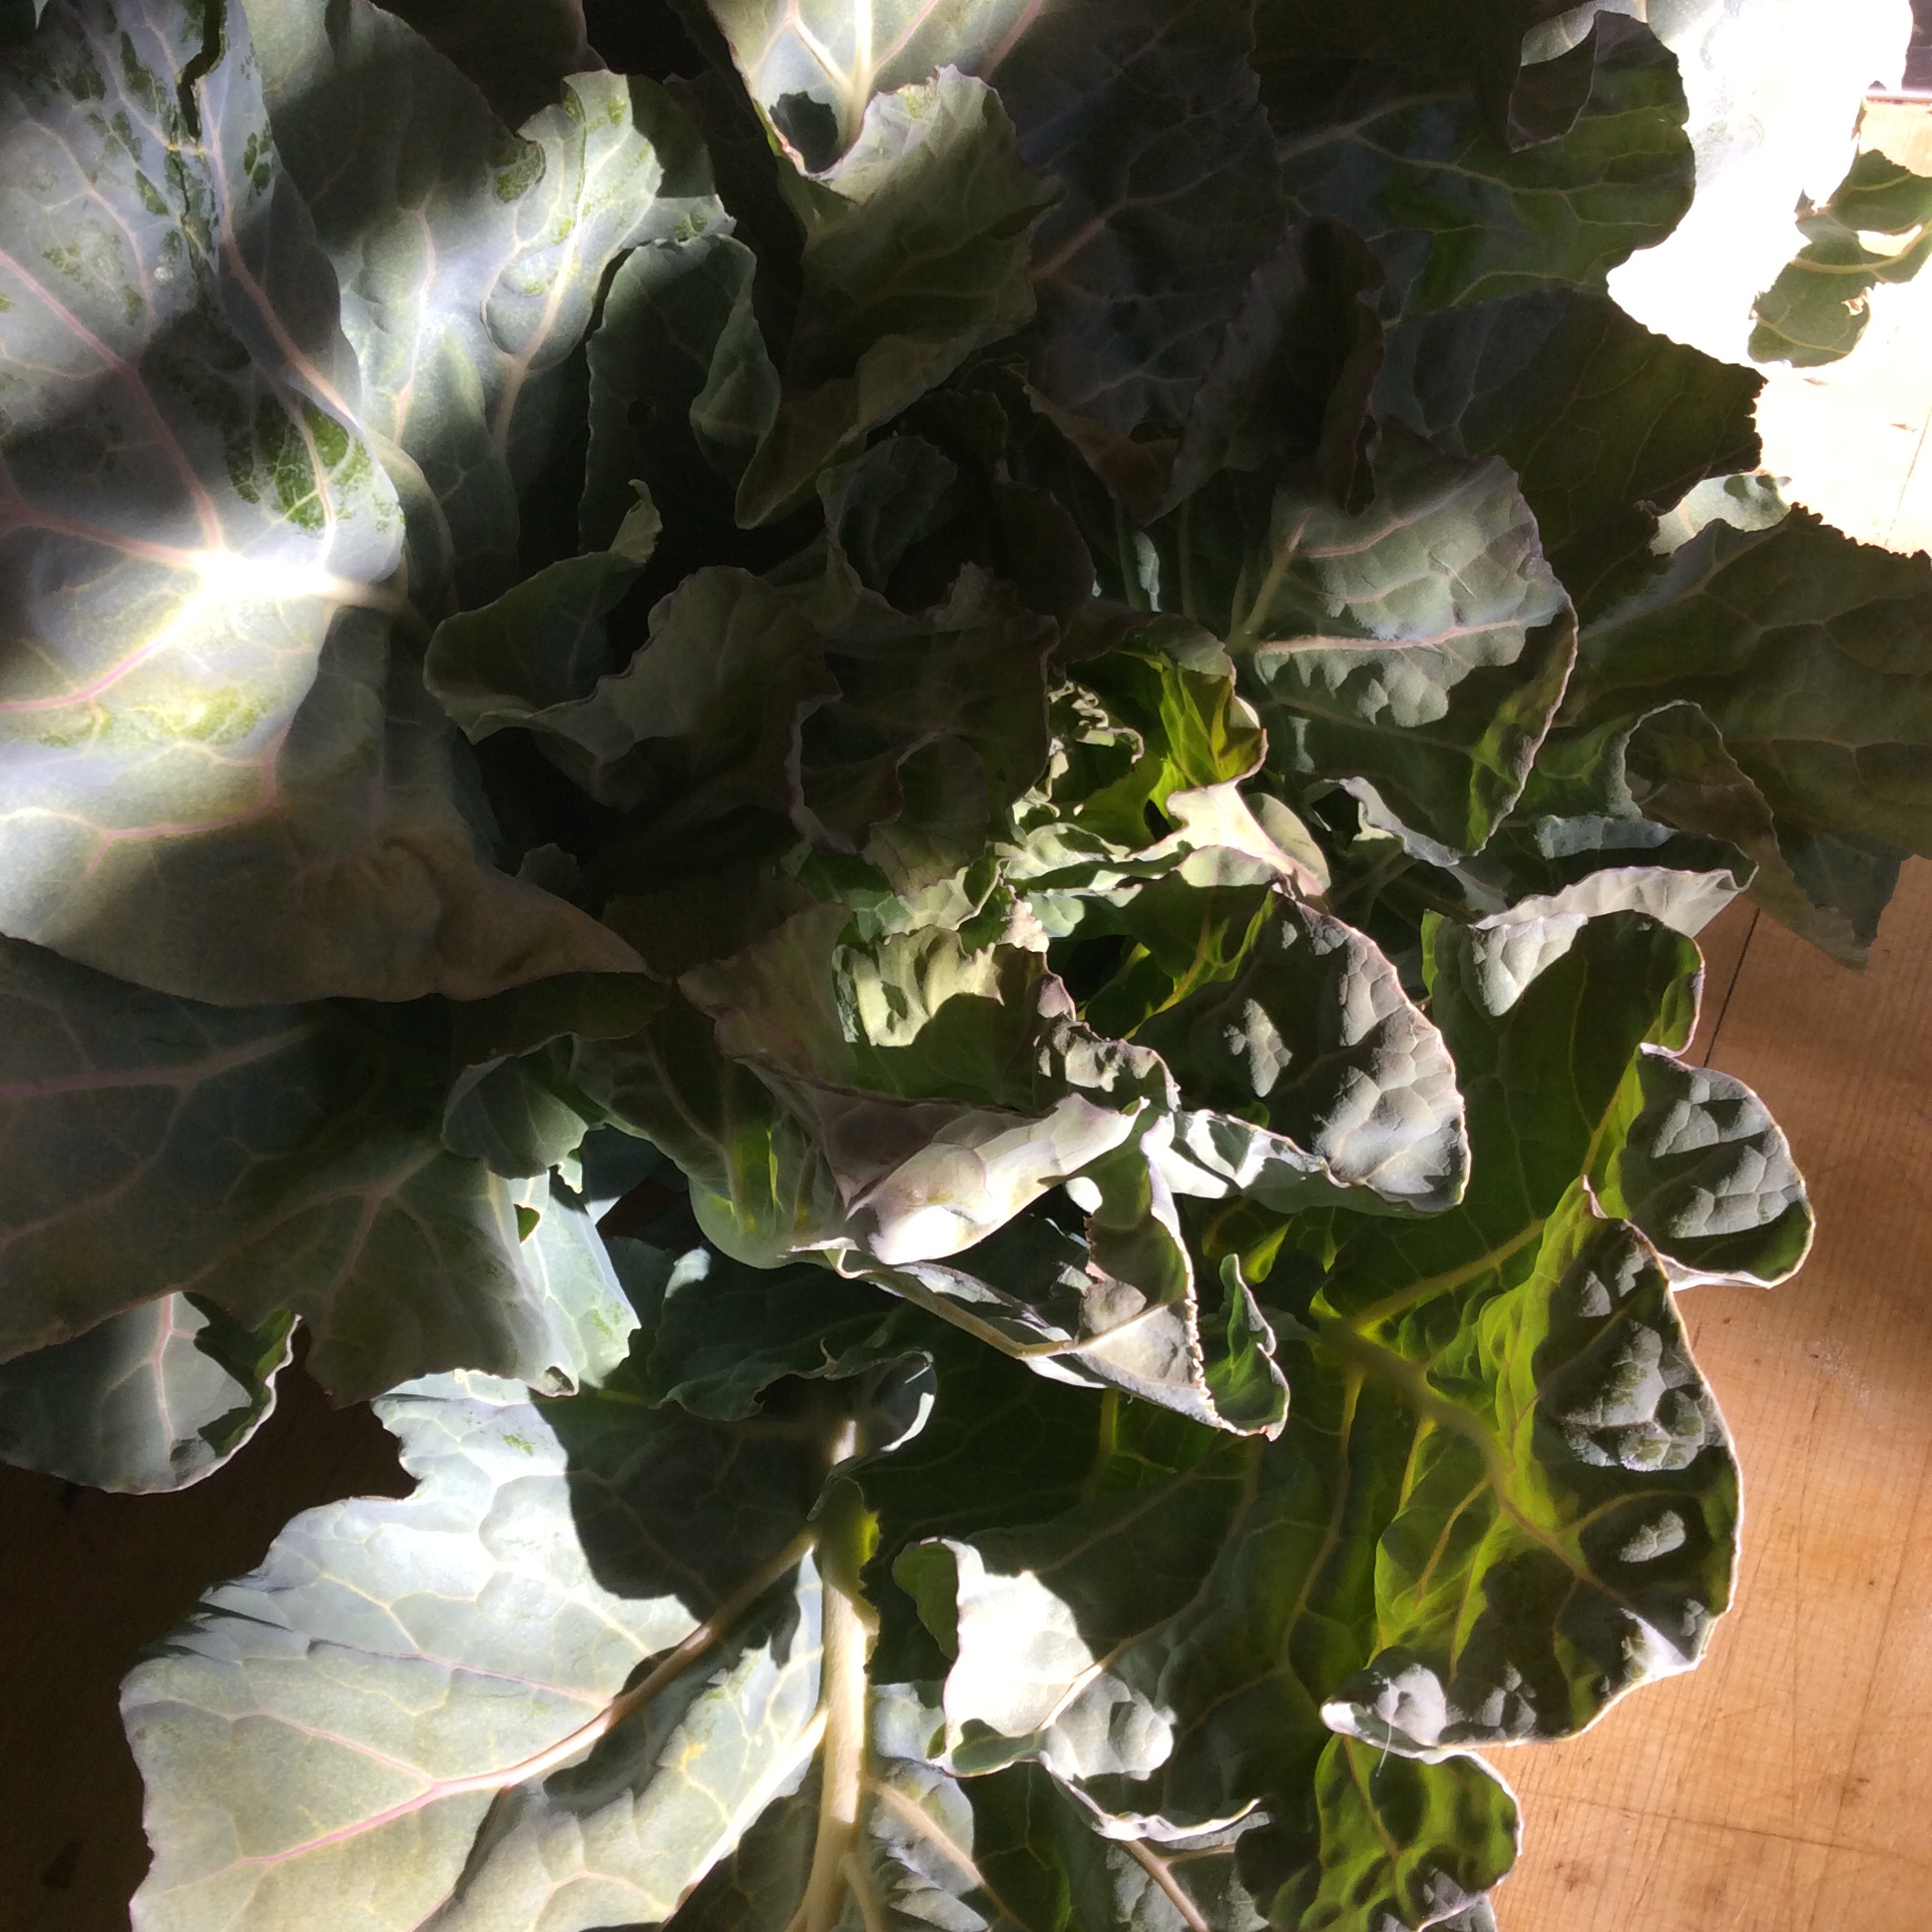
In my last post  I wrote about grassfed short ribs red-cooked in Chinese fashion, and tonight I wanted that soft succulent meat again  but with a strong vegetable component, not the pure meatfest that I had last time. I am also conducting an ongoing experiment to see what greens can produce in winter in my garden with no protection. This sounds simple, given that I am down in zone seven and vegetables like kale are famous for holding all winter up in zones four and five, but it’s a little more complicated than that. Our desert winters are not as cold as further north, but they are absolutely dry with no protective snow cover and have occasional windstorms that will wipe the moisture out of almost anything but a cactus. Kale is invariably withered by early December. I have been trying to breed my own desert-hardy greens but have learned this year that collards, the common green of my southern Louisiana childhood,  are remarkably cold-tolerant and resist drying out better than anything else. I picked the last plant today, and the lower leaves are a little desiccated but the whole upper half of the plant is still in excellent condition.

I still had a cup of Master Sauce left over from cooking the short ribs. This is not the very concentrated sauce  that was used to finish the ribs, but the original cooking liquid. If you don’t have any Master Sauce, combine a cup of water or preferably good broth, a full “star” of star anise, a teaspoon of five-spice powder, a smashed cloves of garlic, a tablespoon of sugar or the equivalent in artificial sweetener of your choice, and a few “coin” slices of fresh ginger. Bring  to a boil in your smallest saucepan, simmer 15 minutes, remove the solid star anise and garlic and ginger, and use. If you have a cup of this juice in a jar in your refrigerator, you are ready to red-cook veggies at any time. Just use within a week. You may like it a little more or less sweet. Suit yourself.

All I did with the collards was wash them, remove the tough center ribs, slice them about a quarter inch wide, bring the master sauce to a boil, and drop the leaves in. I would estimate that there were 8 to 10 whole leaves and maybe about 2 quarts very loosely packed when they were sliced up. This would be the equivalent of one bunch of supermarket collard greens.

Bring the Master Sauce to a boil and throw in the greens. Stir frequently and watch

I cooked over medium-high heat for a bit over fifteen minutes, stirring very frequently toward the end, until the greens were fairly soft and the liquid almost gone.  At this point they are dark and very intensely flavored and delicious. If you want them a brighter color but a little less flavorful, you can stop at the stage above, before the greens start to darken,  but be aware that they are definitely somewhat tougher  at this bright green stage.  Some people like the extra chewiness, but most do not, and often your thick-leaved winter greens will be better accepted by others if they are cooked a little more. In fact, as I keep saying, this is true of greens in general. Cook them until they taste good, and don’t stop sooner.  As long as you are using the cooking liquid, or in this case evaporating away most of it, there is little nutrient loss, and the greens will taste better so that you eat more of them, and also will probably suit your GI tract better.  In the picture below, you can see the finished dark greens underneath the short rib meat. What you can’t see is that there is quite a pile of them, and really only several bites of meat.    Add ginger and green onion relish, or not, as you choose.  But the greens are serving as the bulk of the meal, and you avoid any use of starches, and you will be full for hours and hours afterwards because of all the soluble fiber in the greens. I added a couple of roasted carrot slices for more color, and of course for flavor.

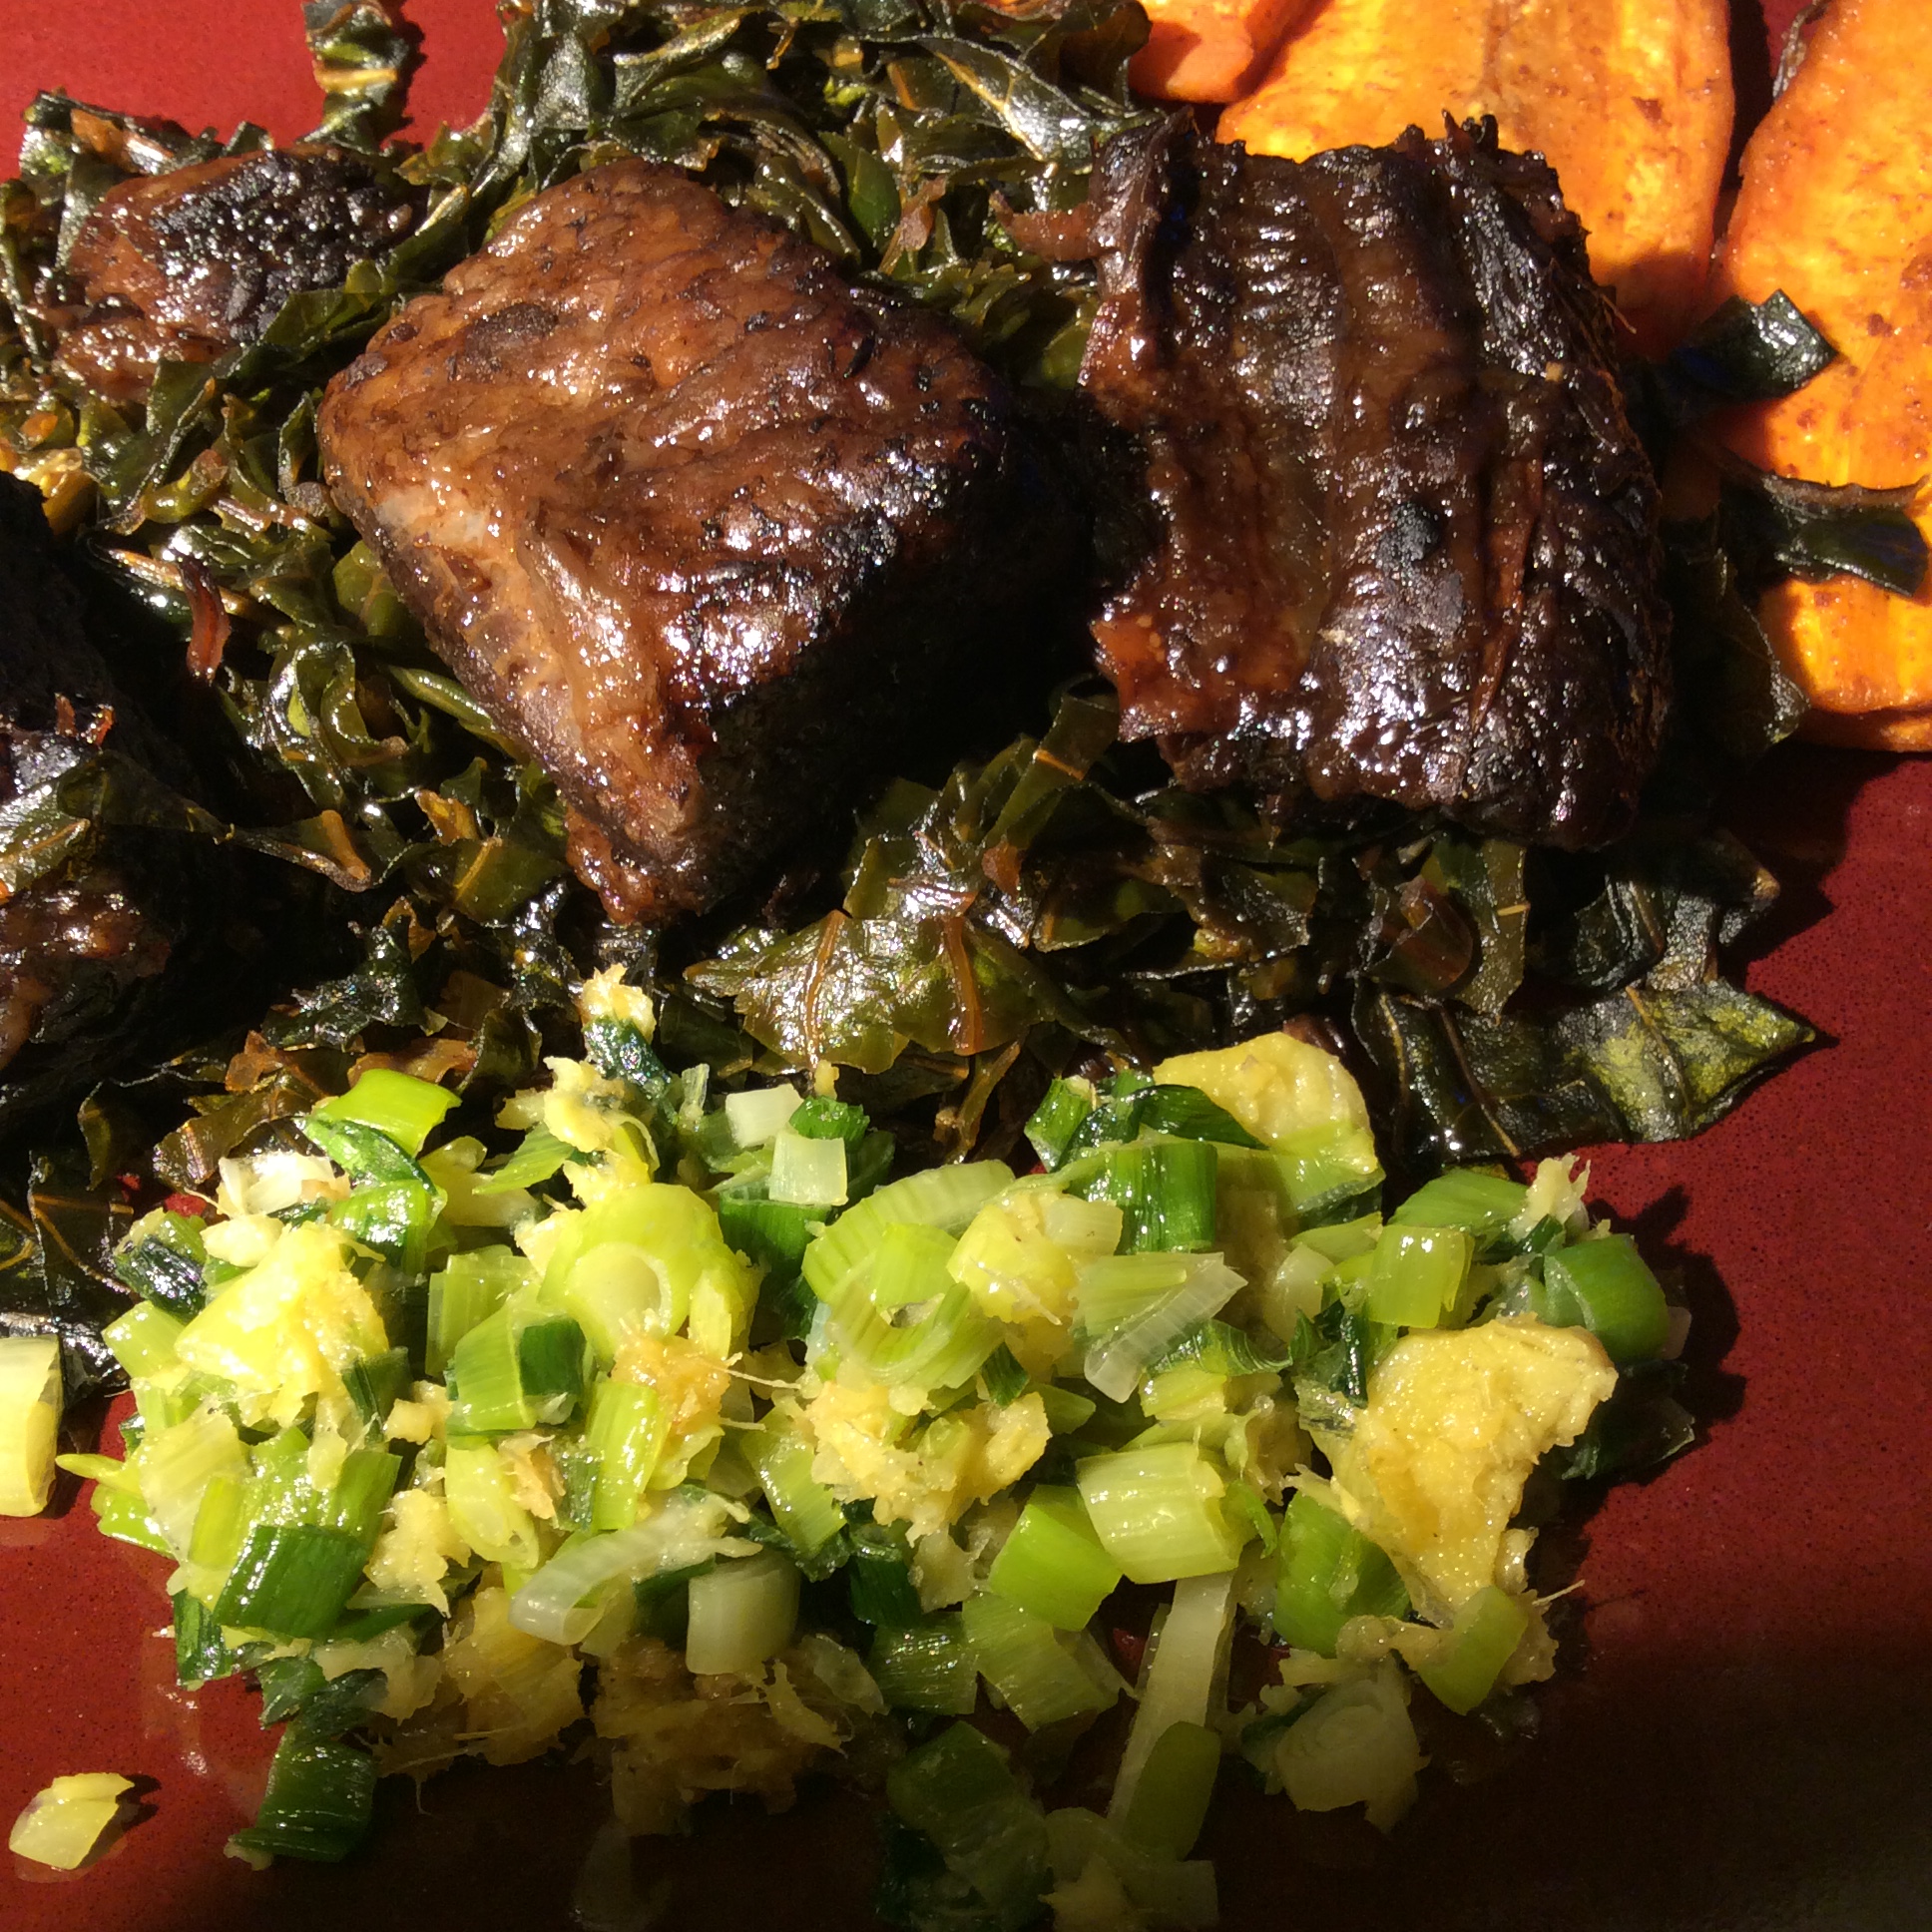
Incidentally, if any greens are left over, they are delicious the next day and can be just brought to room temperature and eaten as a sort of cooked salad.

Snacking Greens

Probably everybody has made kale chips, the delectable snack made by oiling and seasoning pieces of curly kale and baking them at 375 or 400 until they are crisp. They are delicate, and not much good for dipping in anything, but they are quite wonderful by themselves. Recently I was making a batch and began to wonder about using some of my other available greens. Ultimately I used both green and scarlet curly kale,  carrot leaves, and torn sections of collard leaf because that was what was left in the garden.  The leaves were washed, allowed to drain, and 12 mid ribs removed from the larger leaves. In the case of the small carrot leaves, the stem was snapped off just below the lowest leaflet. I drizzle them with olive oil and seasoned with salt, finally grated Parmesan, nutritional yeast flakes, and a sprinkling of roasted ground garlic. If you want an exact recipe, there are dozens on the Internet. This is something you can do in a very improvisational way as long as you don’t oversalt.

Lesson learned:  don’t put them all on the tray at the same time, no matter how pretty it looks. The three greens finished at very different times.  Collards needed the least time, and despite several experiments I never did get them quite right. They go from olive-green and ready to eat to brown and burnt-tasting  in under a minute. Also, they don’t cook very evenly despite your best efforts, so ultimately what I ended up doing was just picking out the brown leaves, which taste burnt, and throwing them away. I still think there are real possibilities here but I did not get them to work as a satisfactory chip.

The carrot leaves were astoundingly good, with a perfect delicate crunch and a mild flavor. Even the stems had a good texture, lost their toughness, and tasted just fine.  I wish I had discovered this earlier in the year when I had more carrot leaves. But this is a good reason to keep a blog, or a written record of some kind, because if you don’t you end up “discovering” the same things every few years.  I am recording it so that I won’t have to discover this again. It’s a handy thing to know if you buy carrots with the leaves on. Remove the leaves as soon as possible before storing in the refrigerator, because they seem to go limp more quickly if still attached to the roots.

Curly kale was delicious, as it always is when baked this way.  I just love the stuff, and have no idea how large a bowl of kale chips I could eat, but I guarantee that it would be a big one.  If you live in a snowy climate, it is very likely that you can keep curly kale in good shape through much of the winner in your garden. Here in the high desert it does not get all that cold but we don’t have any snow cover and we have a lot of drying winds,  so by this time of year the curly kale that is growing uncovered looks pretty tattered. Also, for reasons I don’t know, there is an invasion of aphids in early December, and they are hard to wash off. But this year I did plant a row of curly kale and put frost blankets over it in early November, and that row is looking great and has no aphids.  So I have at least a few more batches of homegrown kale chips coming.

Incidentally, if you are cooking a meal and have the oven at 375 or so for something else, a few kale leaves out of the garden in a little pan make a great cook’s treat to tide you over until the meal is ready.

Glories of Spring, and a Green Gadget

Spring in the garden is so beautiful that there is nothing you can do but admit to the cosmos that you could never have deserved this rush of glory but somehow received it anyway. The season conduces to a stance of awestruck gratitude. This is also the great season for salads, and on an average day my salad bowl contains somewhere between 12 and 20 species.  I don’t know how I managed to miss the existence of the Bluapple, a wonderful little device that absorbs ethylene gases and helps your salad greens stay fresher longer.  Two of these little devices and a year’s supply of refills come in under $20, a bargain when you consider how often it will save you from throwing away your salad materials.  Personally I always want to eat my salad greens within a few days of picking, but with this in my salad crisper, they are beautifully vibrant at the three day point, much as if I had just picked them out of the garden.  This is significant for working people because washing and drying salad greens takes time, and if you could do it a day or two ahead of time without loss of quality, you will definitely eat more salads.

“Processed” Food

IMG_5298

Like everyone else who works, I have a lot to do when I get home and some nights I need help to get a healthy dinner on the table. I eat a ketogenic (low carbohydrate) diet and don’t have pasta and rice and bulgur to fall back on. For those nights I keep some “fast food” in the freezer, like riced organic cauliflower. If I’m thinking ahead, I leave a bag out to thaw in the morning. More often I didn’t think ahead and need to thaw it quickly in the microwave. Either way, if you just cook it as is, you are going to have a rather damp mess on your hands, in my opinion anyway. So take the thoroughly thawed cauliflower, bundle it in a dish towel, and squeeze the water out of it. You’ll get a surprising amount out. Now you can throw it in a skillet with some salt, sliced green onions, chopped herbs, olive oil, and sliced almonds, and cook over medium heat for about 20 minutes with regular stirring. Don’t add water back. Cauliflower loves to go soggy if it gets a chance. It’s done when the cauliflower grains are done to your preference. I like mine a bit on the firm side, holding their shape briefly to the tooth without any hint of raw crunch.  Check whether it needs more salt before you serve. Meanwhile, grill some salmon as shown here, or warm up leftover chicken thighs, or slice up some warmed leftover meat. Land it on your cauliflower pilaf and flavor it with finishing butter (Montpellier butter with green garlic is shown here) which also lives in the freezer in convenient individually wrapped portions, or just drizzle with your best olive oil.
Some would say that I should grow, grate, and freeze the cauliflower myself if I’m going to use it, and when such people get hold of me, I always suggest that they invite me over for a meal 100% produced from their yard so that I can write about it😉. So far, those invitations haven’t arrived. I am not a believer in making the perfect the enemy of the good, and we are not full-time yard farmers and have to make our modern lives work. Besides, grating cauliflower is one of the few kitchen jobs that I hate and one that I outsource whenever possible. I grow things that are unobtainable at markets or distinctly better when home-grown, and cauliflower is neither. So let somebody else do the work for you.
Regarding the finishing butter above, I am used to horrified shrieks of “It’s GREEN!” Indeed it is, and so are a lot of other good things. Expose yourself (and your family and friends) to green food until you get used to it, and your health will benefit. After all, nobody has ever looked at wild-caught Alaskan salmon at my table and said “Ugh, it’s PINK!” Good food is good food. Close your eyes if you really must, but getting over biases about green is better.

Here’s another version tricked out with capers, green garlic, thyme, pine nuts, and castelvetrano olives.