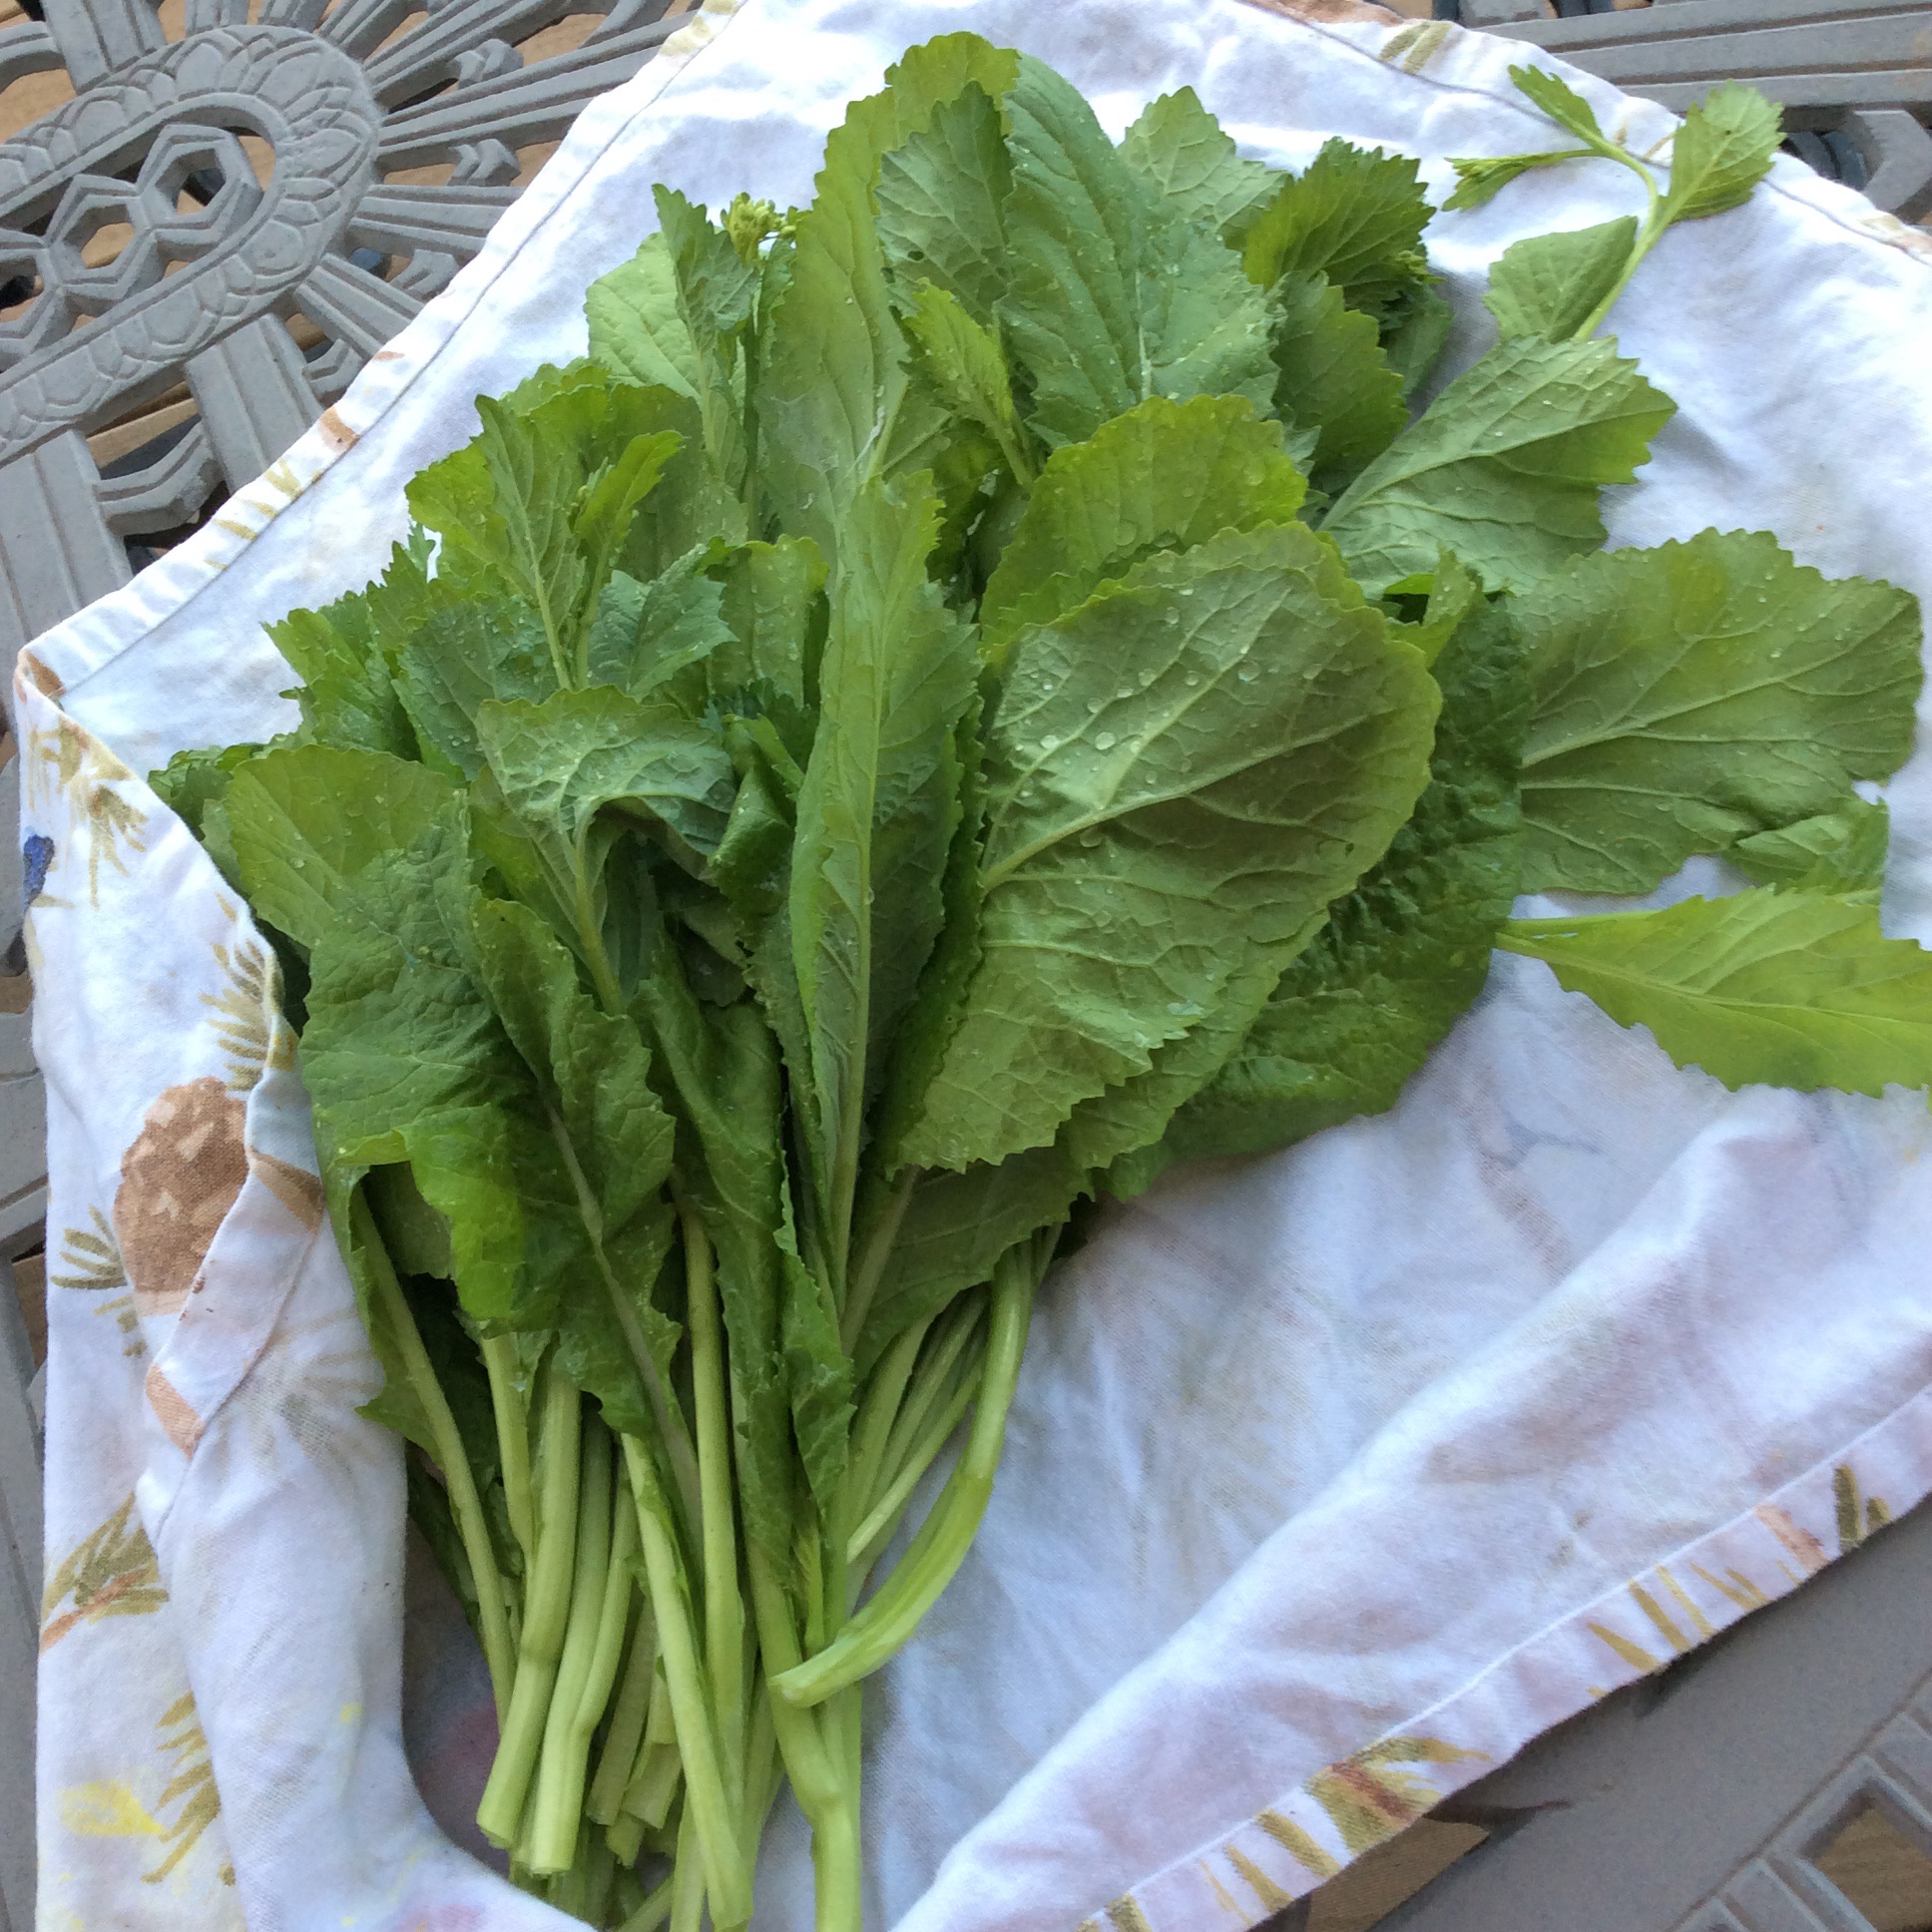
I hear people talk about how difficult they find it to cook vegetables for themselves. I’m on my own tonight, so I decided to try it. I started with a bunch of mustard from an area where I’d sown mustard greens thickly as a quick cover crop. The greens were thinned to 2″ apart in the seedling stage, and now are about a month old and maybe 8″ high. I grabbed a handful and pulled them out by the roots. Then, still holding the stems together as a bunch in my left hand, I used my right hand to snap the roots off of each stem at the point where they snapped rather than bending, taking the lower yellowed leaves away with the roots, and put the roots aside on the mulch and avoided dirtying the leaves. It’s important to break the stems where they snap. If they bend almost double instead, they have acquired more fiber than you can chew. Then I took the rootless mustards inside and washed them quickly. They grew upright due to the crowding, and that keeps them clean and saves washing. This entire process took five minutes, plus another minute to snap off two young tender garlic scapes and rinse them.
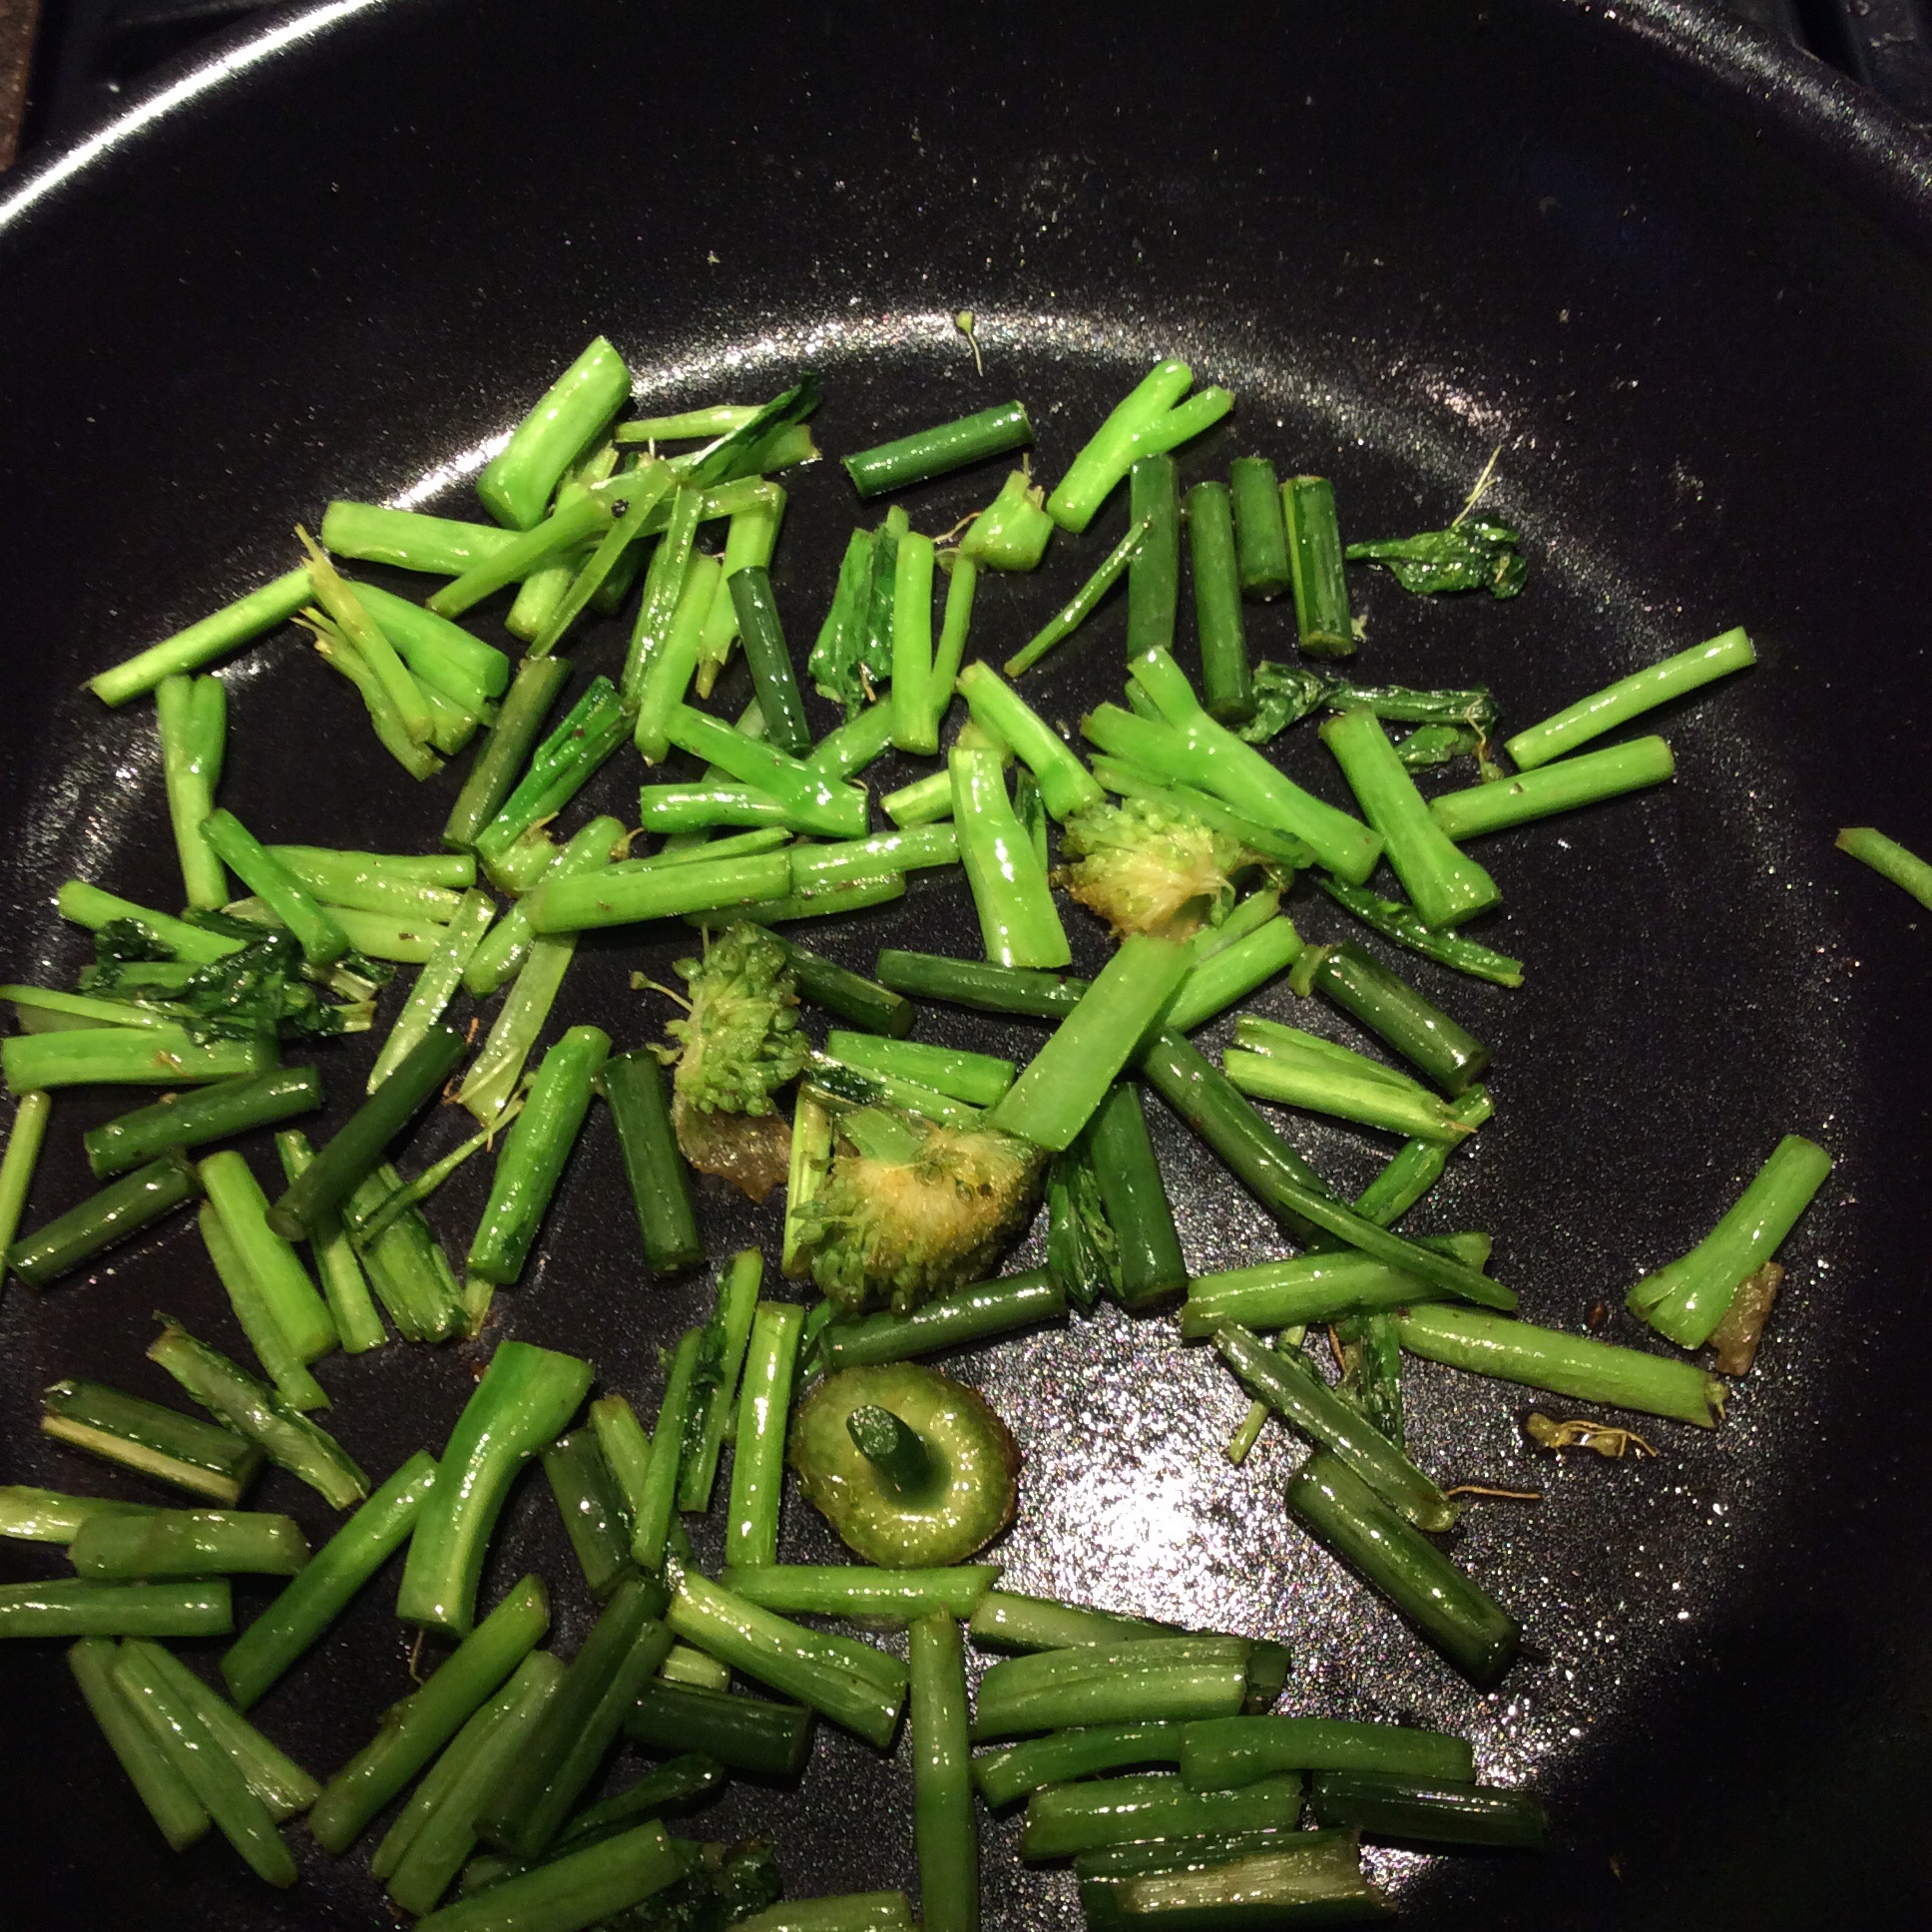
Then I heated my skillet over fairly high heat, and while it was heating I cut the garlic scapes crosswise into 1″ lengths. When it was hot, I put in a couple of tablespoons of olive oil and tossed in the garlic scapes. I put in the cut-up bud sheath from the top of the scape too, but I ended up picking it out later because it was too large and tough. No issues, you are alone and there are no mistakes. While they sizzled, I cut the mustard bunch crosswise into 1″ sections.
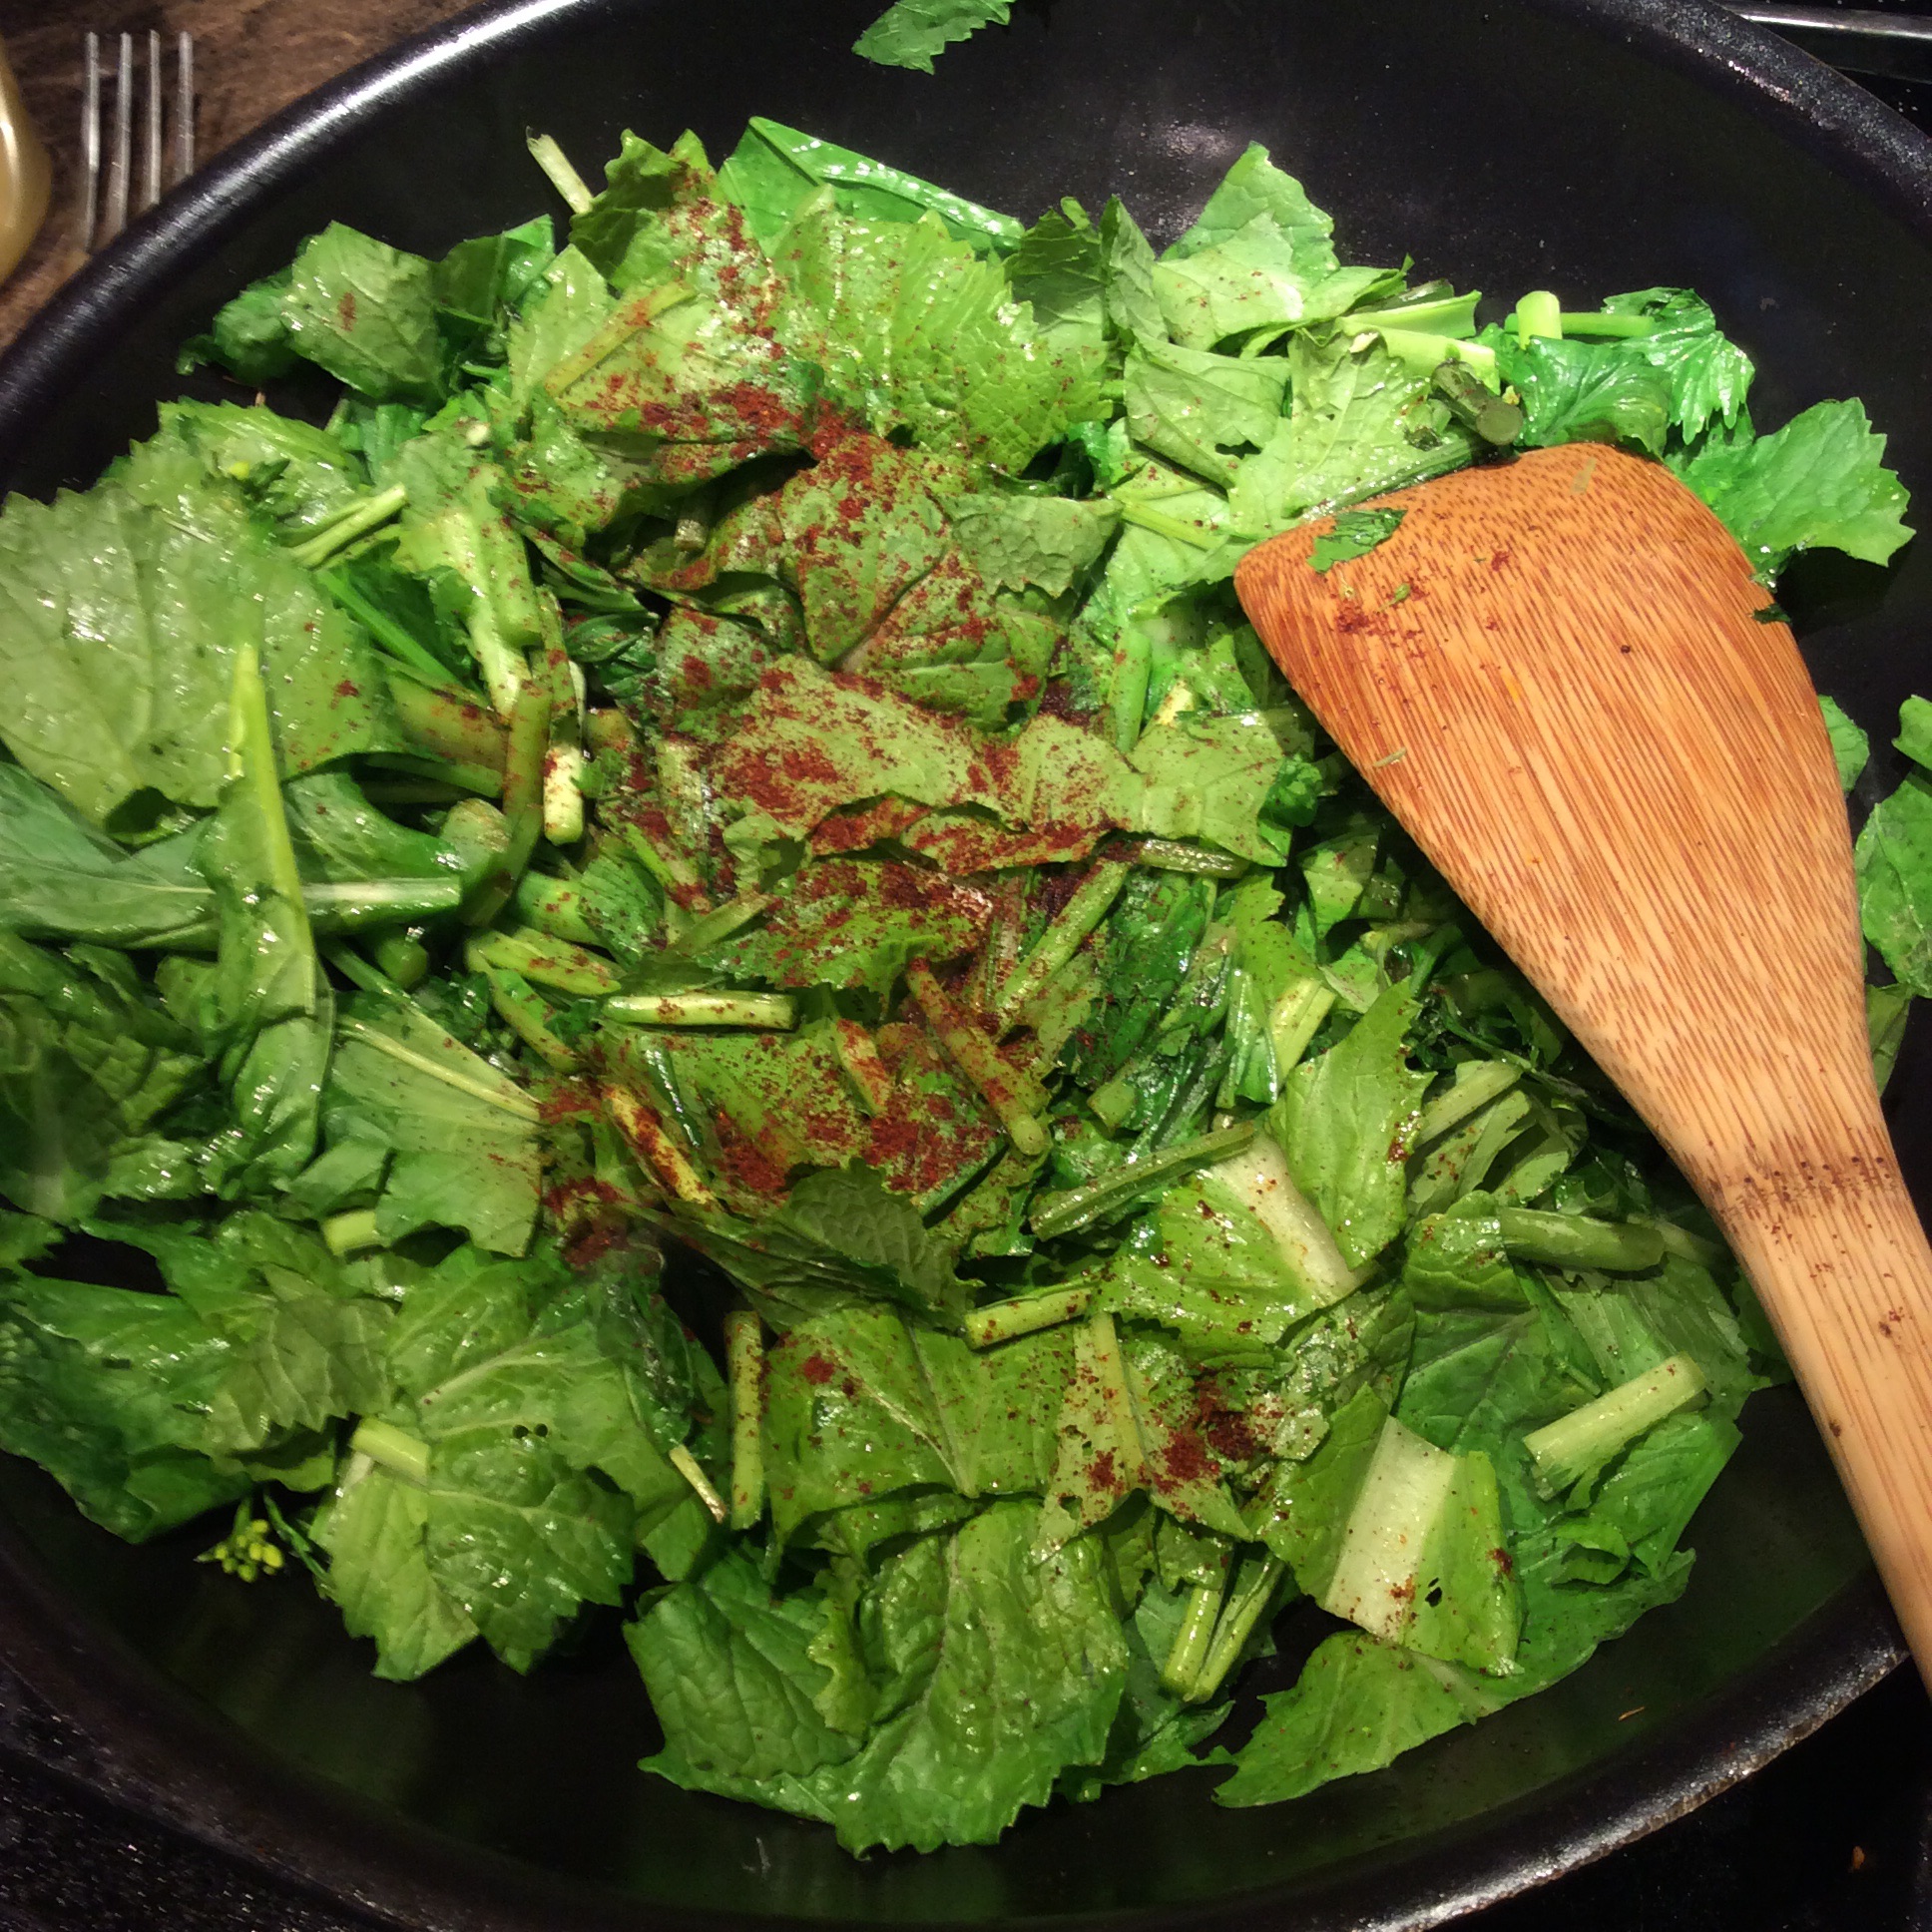
After the scapes had cooked about three minutes, I added the stem ends of the mustard, cooked a couple of minutes, and then added the rest of the cut-up mustard and a large pinch of salt, stirred and fried a few minutes, and added a heaping quarter teaspoon of ground chipotle chile. If you don’t care for heat, Spanish smoked paprika would work well. Keep tossing every minute or so.
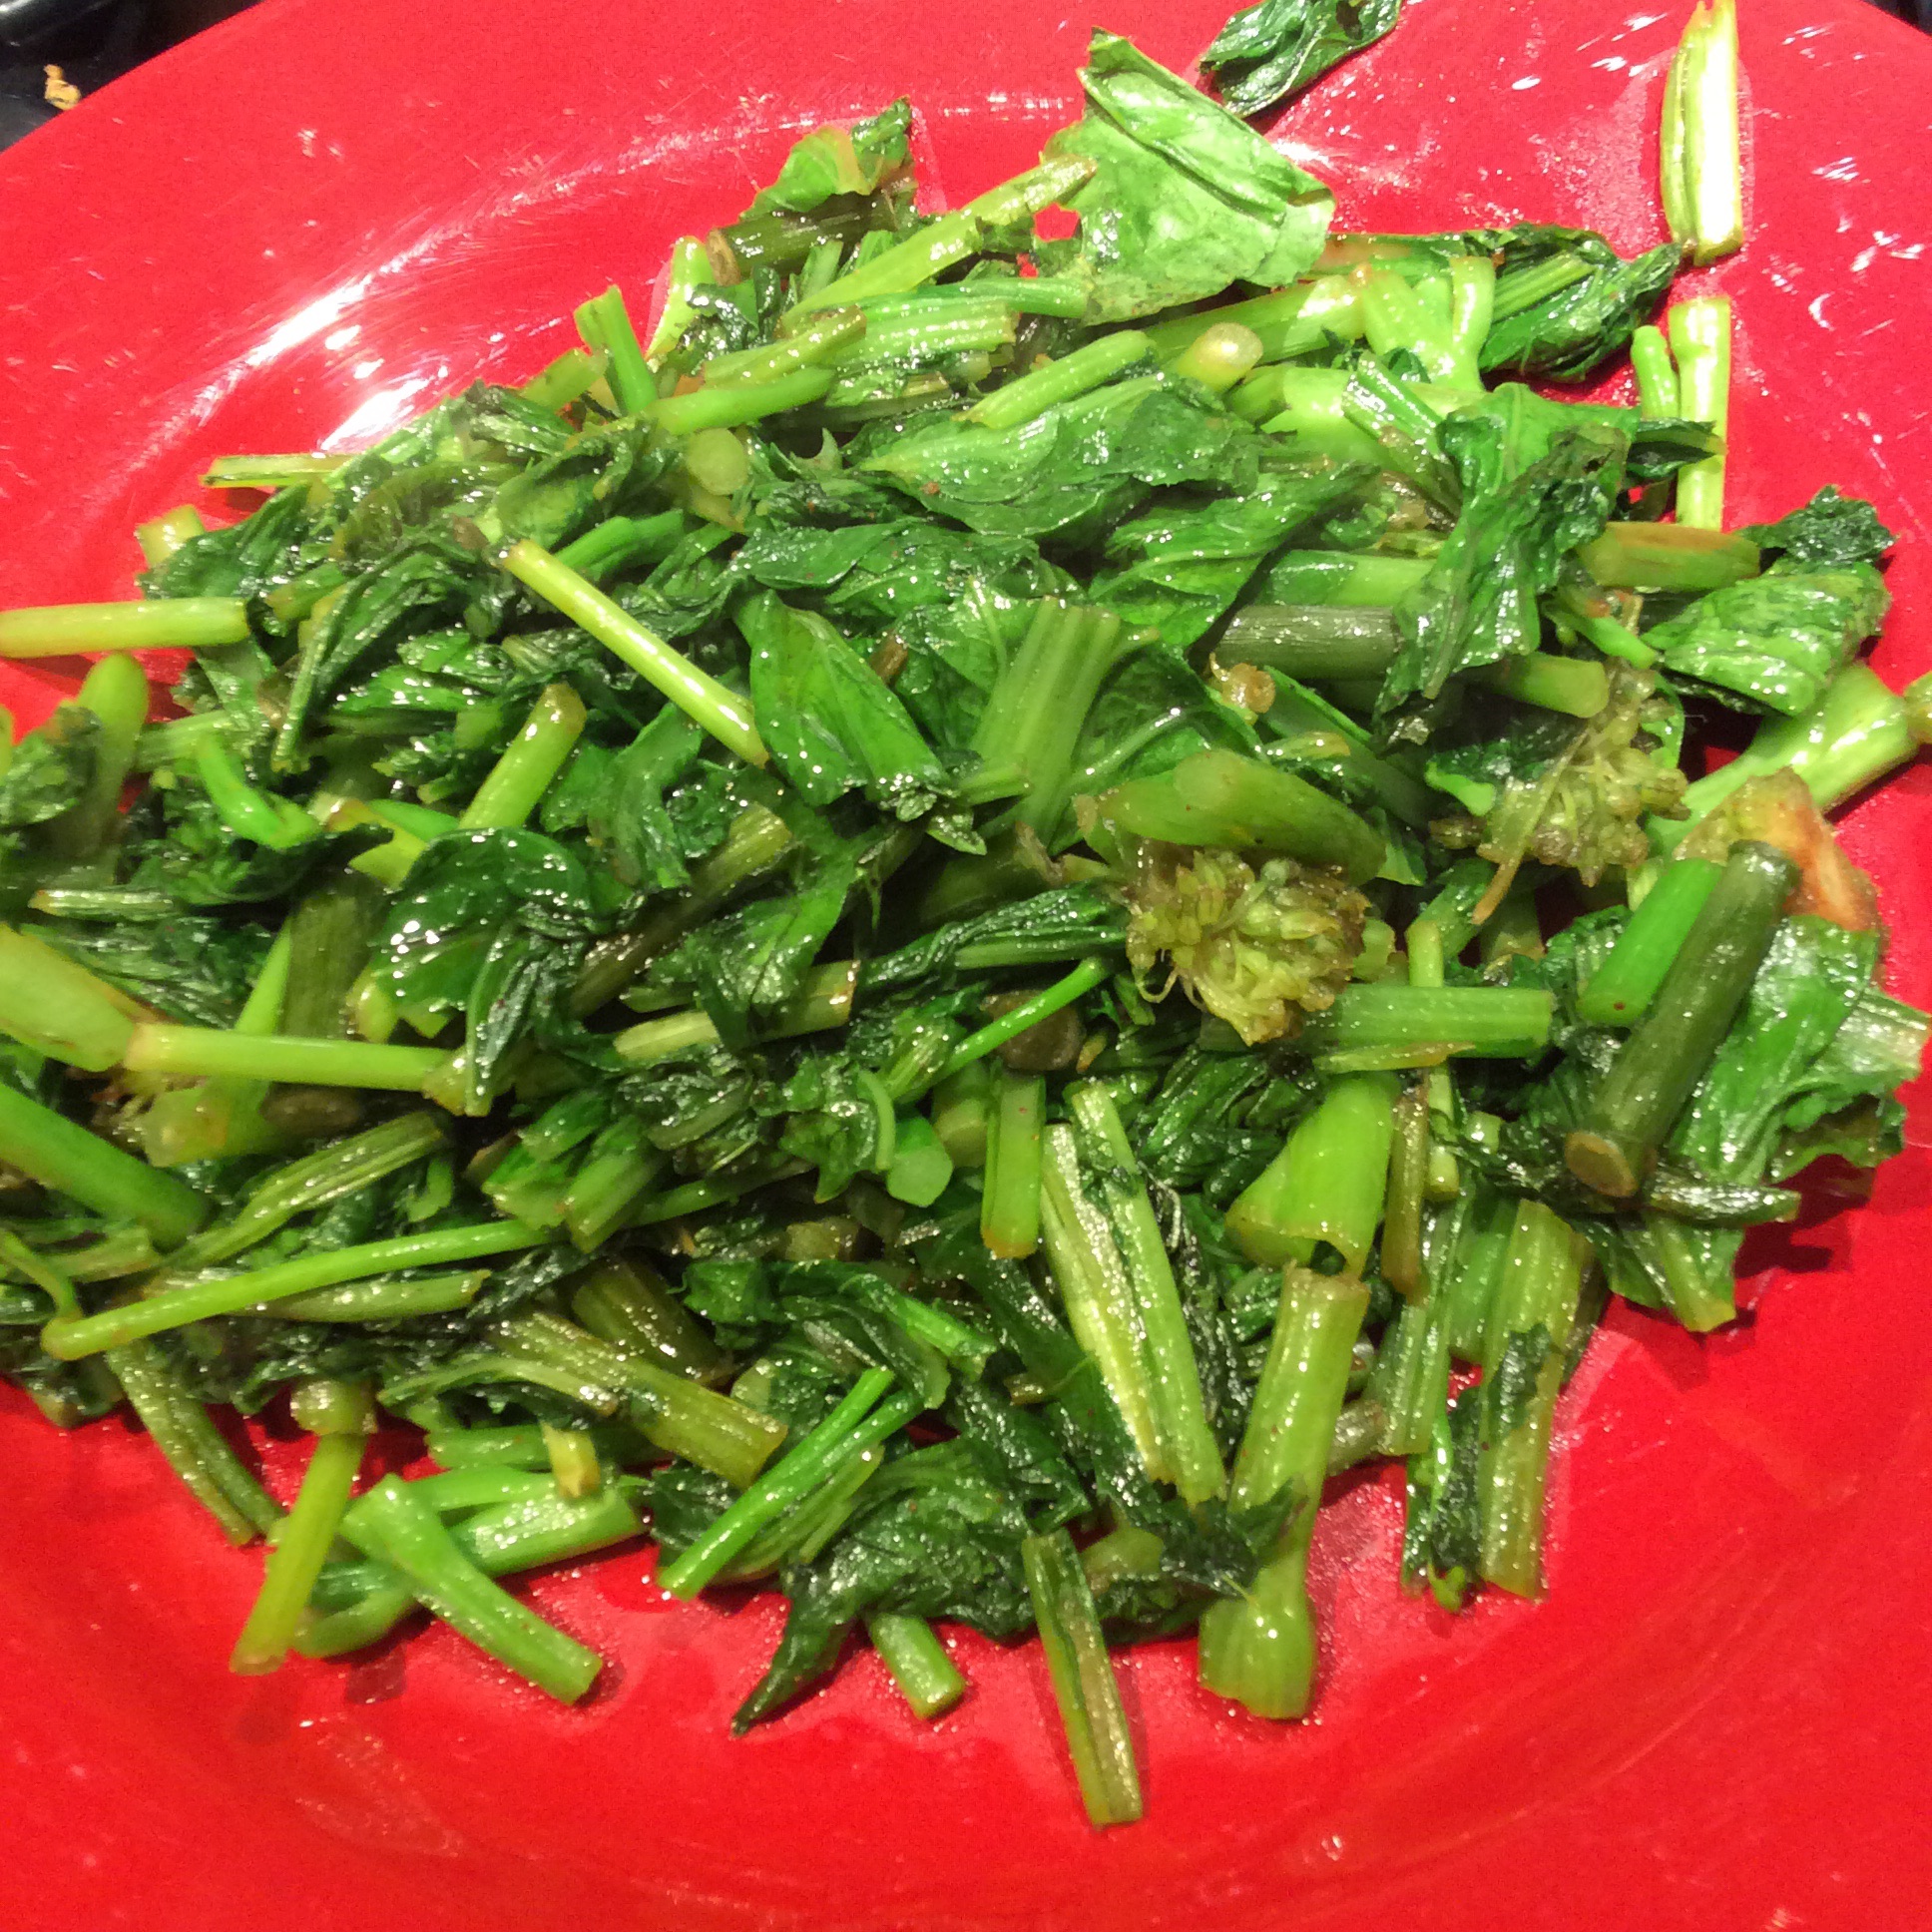
Just before they were done, I added a good dash of Red Boat fish sauce, which is easily obtainable at Asian markets or online and is the closest substitute for Italian colatura. Stir another minute, check doneness by eating a leaf section and a stem section, and keep cooking until it tastes good. Keep the heat fairly high but not hot enough to brown the leaves. When done to your taste, plate it. I think everything tastes better on red plates.
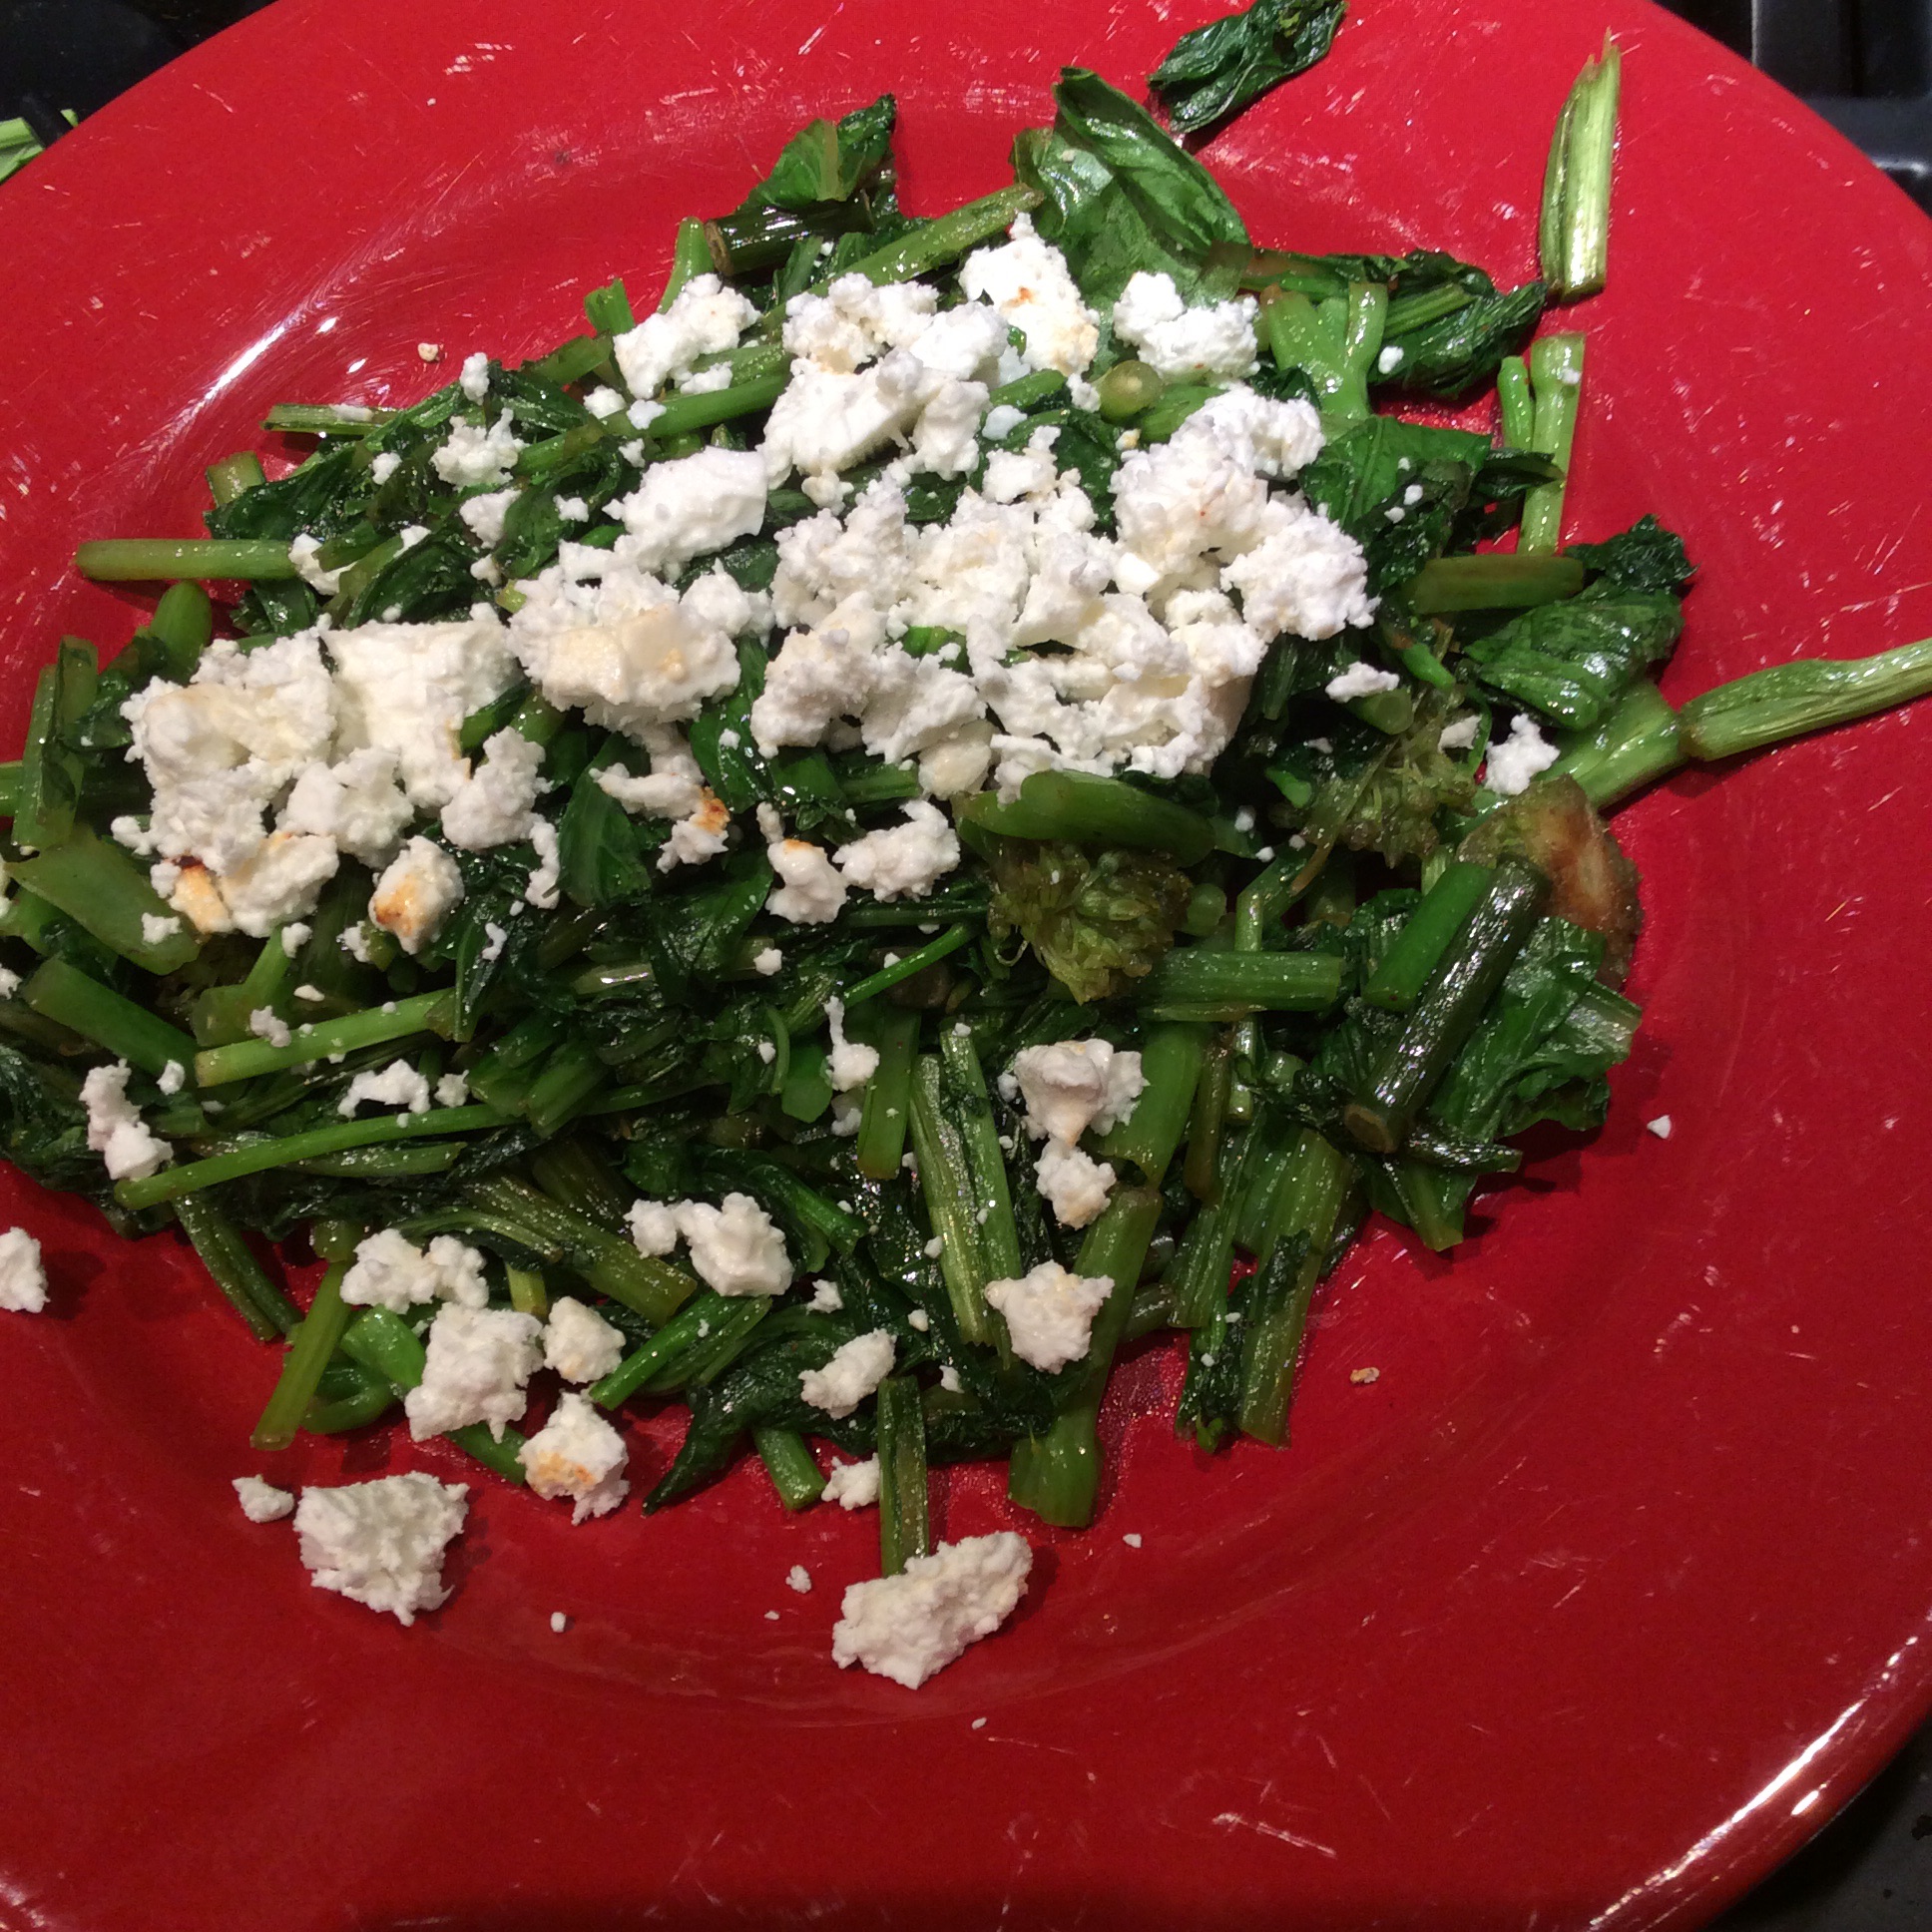
Then I looked in the refrigerator for a cheesy protein component. I suddenly went all Greek and crumbled some wonderful locally made goat feta over the top. If not using feta, check the salt. If really hungry, top the greens and feta or other cheese with a fried egg.
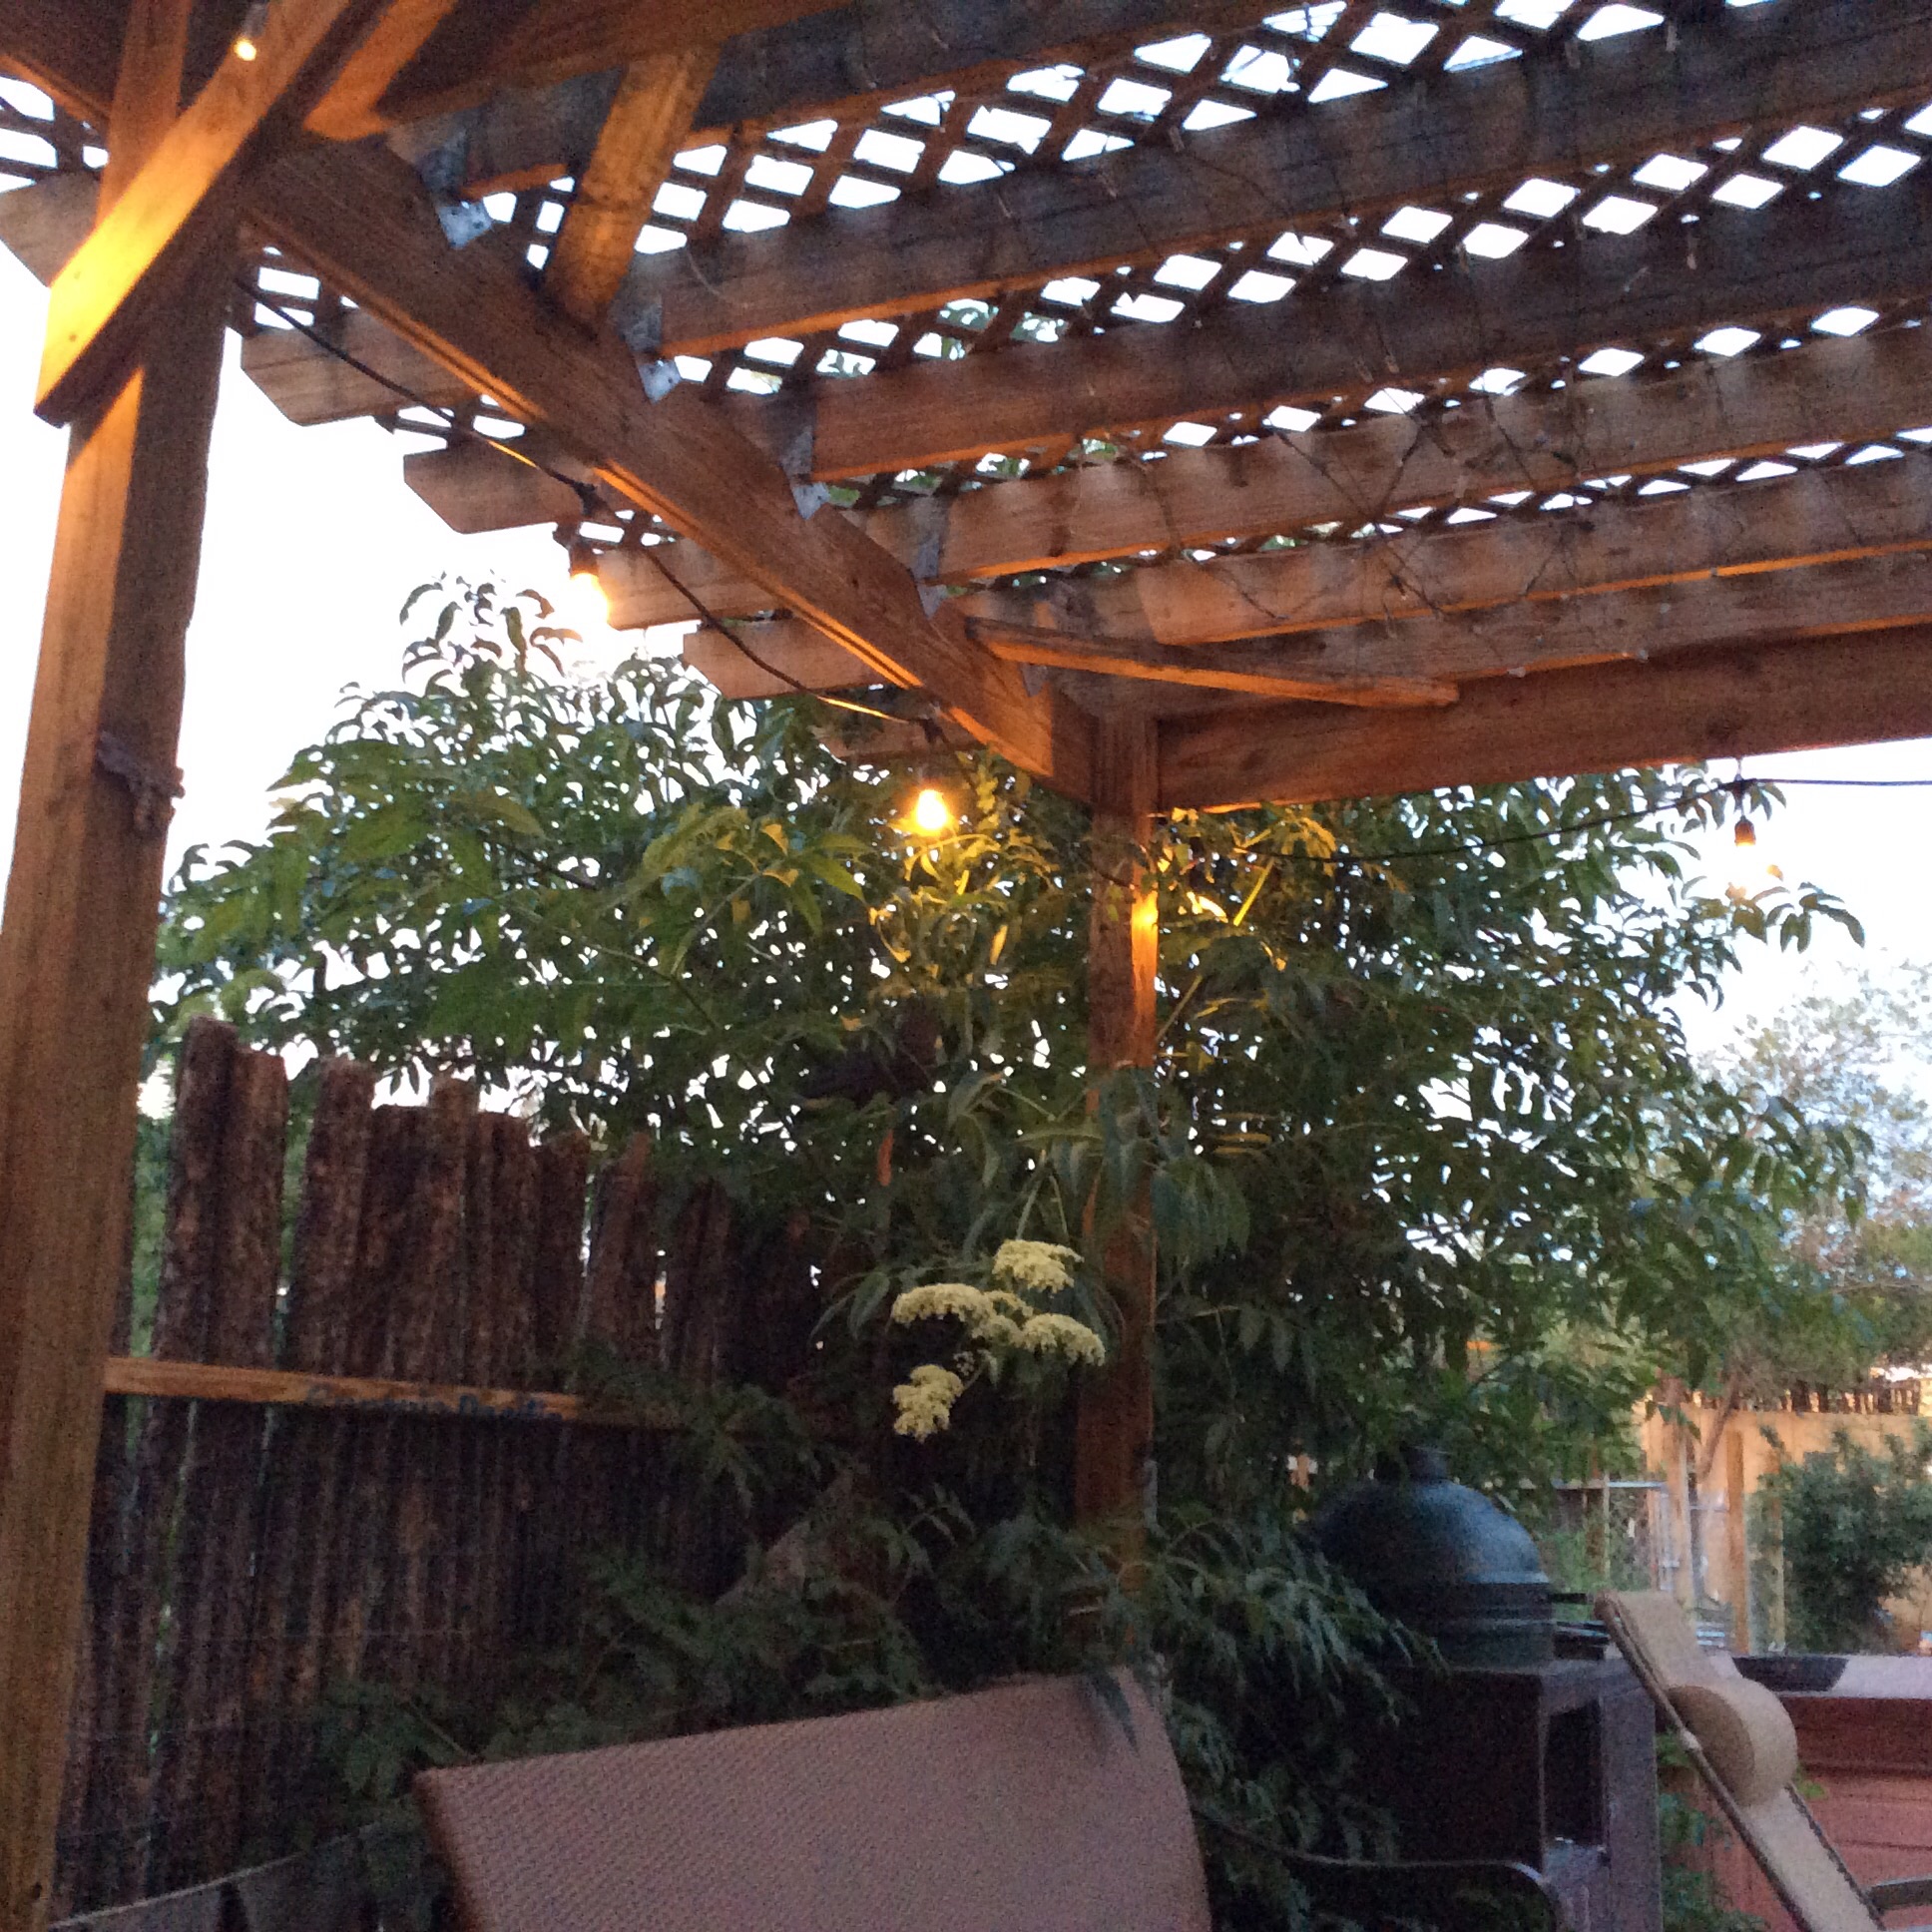
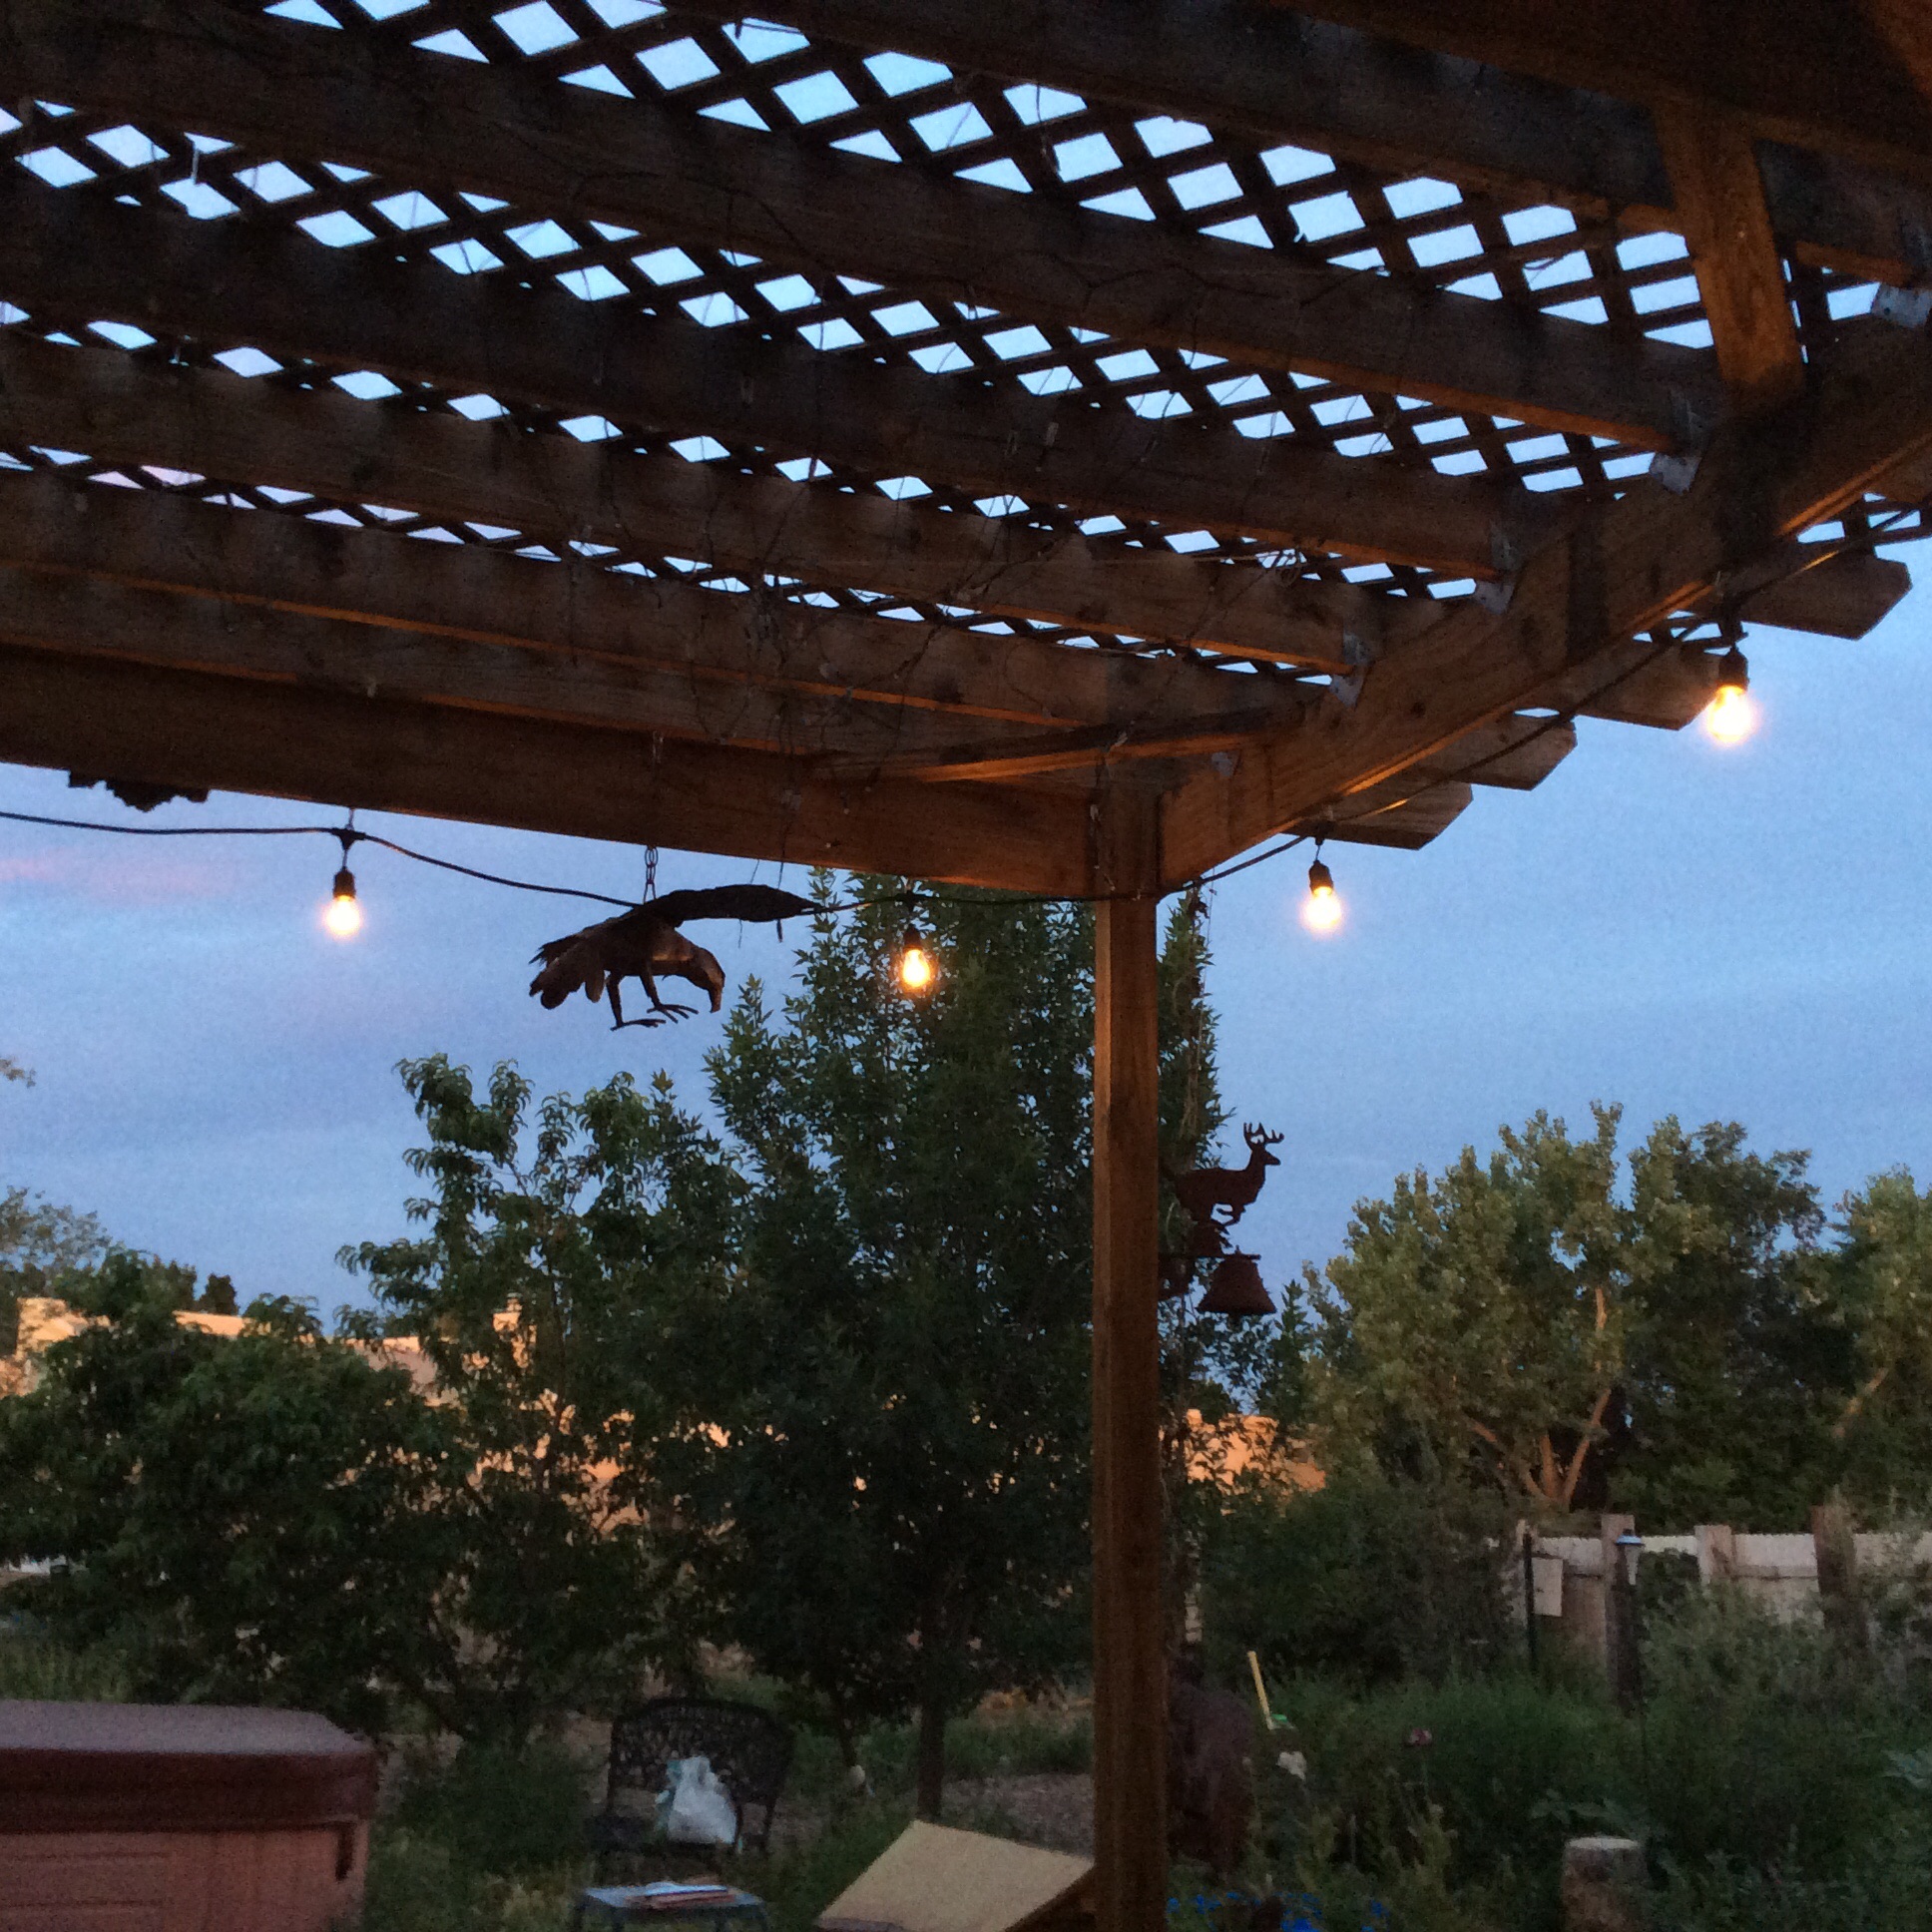
Eat in solitary splendor. You are doing a good thing for your body and it tastes good. How cool is that? So eat on the patio under the romantic lights.
Have a little dark chocolate for dessert, because life is short.
Posts Tagged ‘green vegetables’
9 Jun
Vegetables for One
4 May
Books Worth Reading: Eat Your Greens!
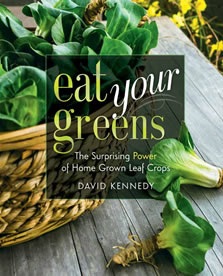
I am a gardener and also a doctor, so I spend a lot of time thinking about what could improve health for individuals and communities. When it comes to simple and practical innovations, I’m firmly convinced of this: there is no better thing that we can do for our own health and our families’ health than cook, serve, and eat more leafy greens. You can take me at my word,or you can read Eat Your Greens, by David Kennedy. Mr. Kennedy has collected a lot of information about why growing and eating more leafy greens is important, and gives information about some obscure greens. He is the founder/director of Leaf for Life and he wants everyone to be healthier.
Whenever I review a book, I want to talk about what it is and what isn’t. This is not a gardening book, and it isn’t a cookbook. It is a book about the importance of leafy greens to improving health worldwide. Lots of plants are given equal importance, no matter how relatively unsuited they are to cultivation in temperate America; this author thinks globally. Read it anyway, if you need to be convinced that the best thing you can do with your home garden plot is to grow a good supply of greens. A plentiful supply of fresh 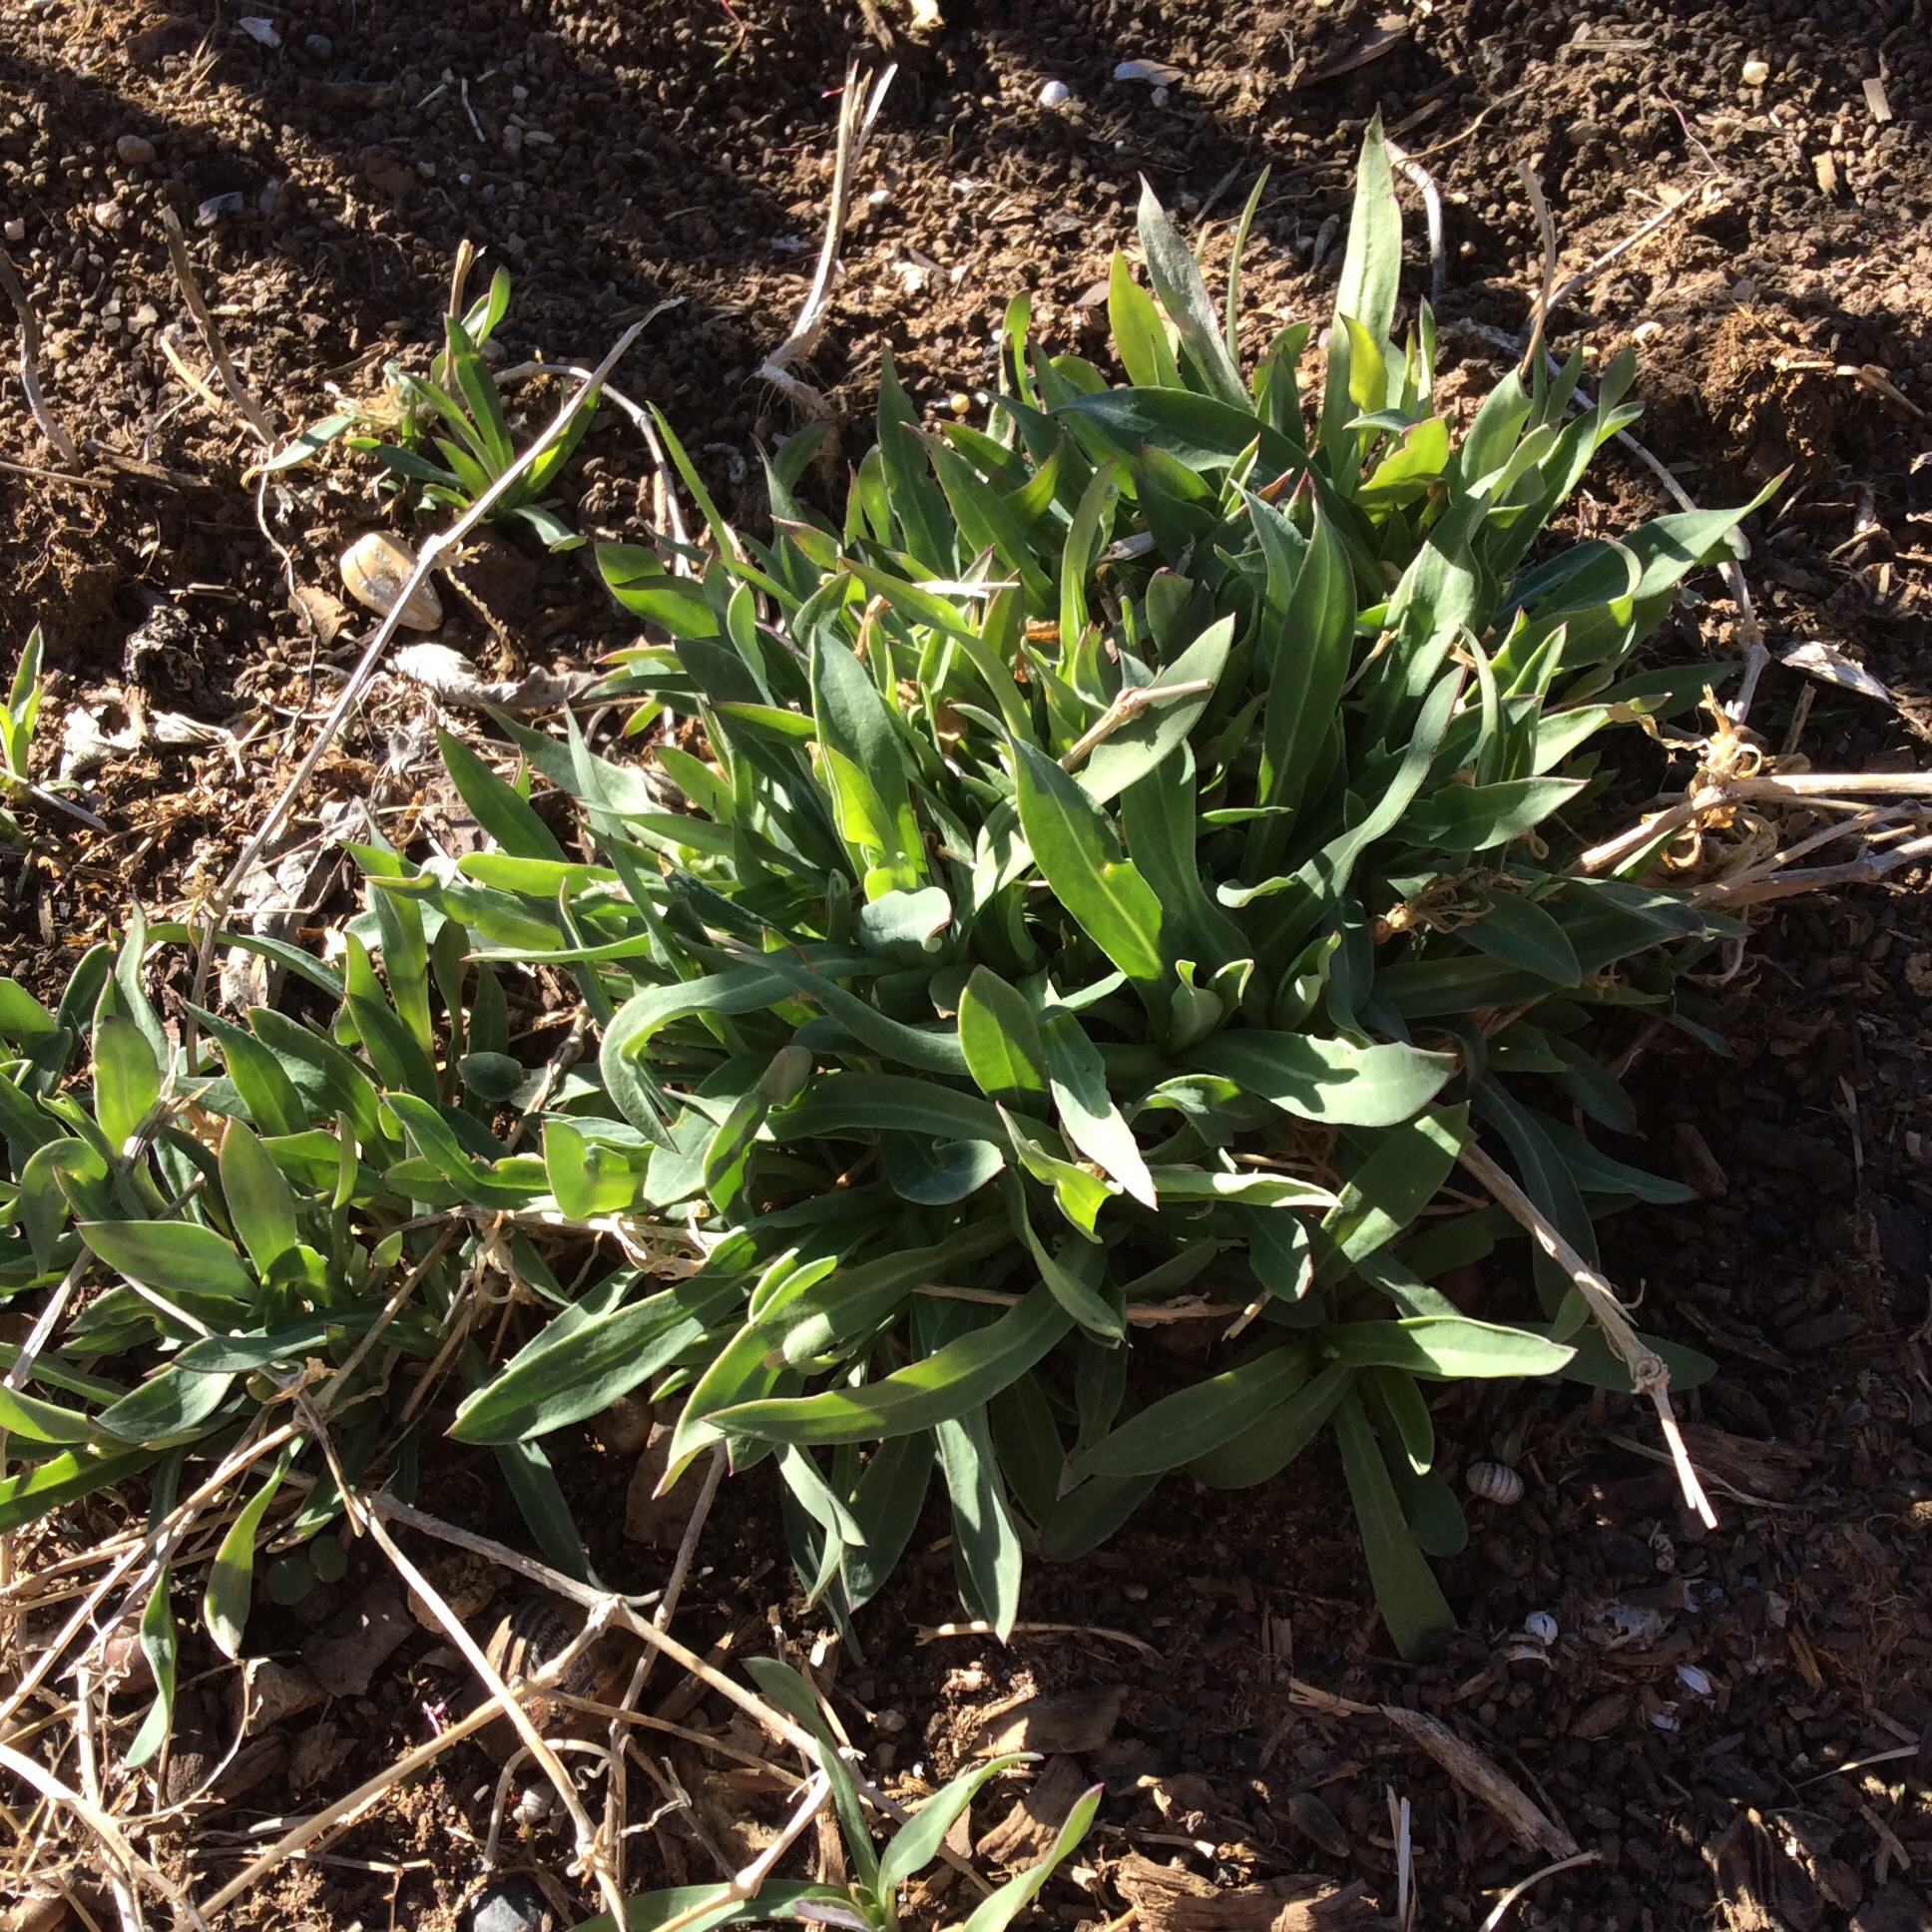 unsprayed greens is just about guaranteed to improve your health and your family’s health. There are some really good books about how to cook your crop. This one is to stretch your thinking in other directions.
Be sure to review the chapter on edible cover crops. If you want to improve your soil and eat some greens at the same time, try the cover crops that Kennedy recommends.
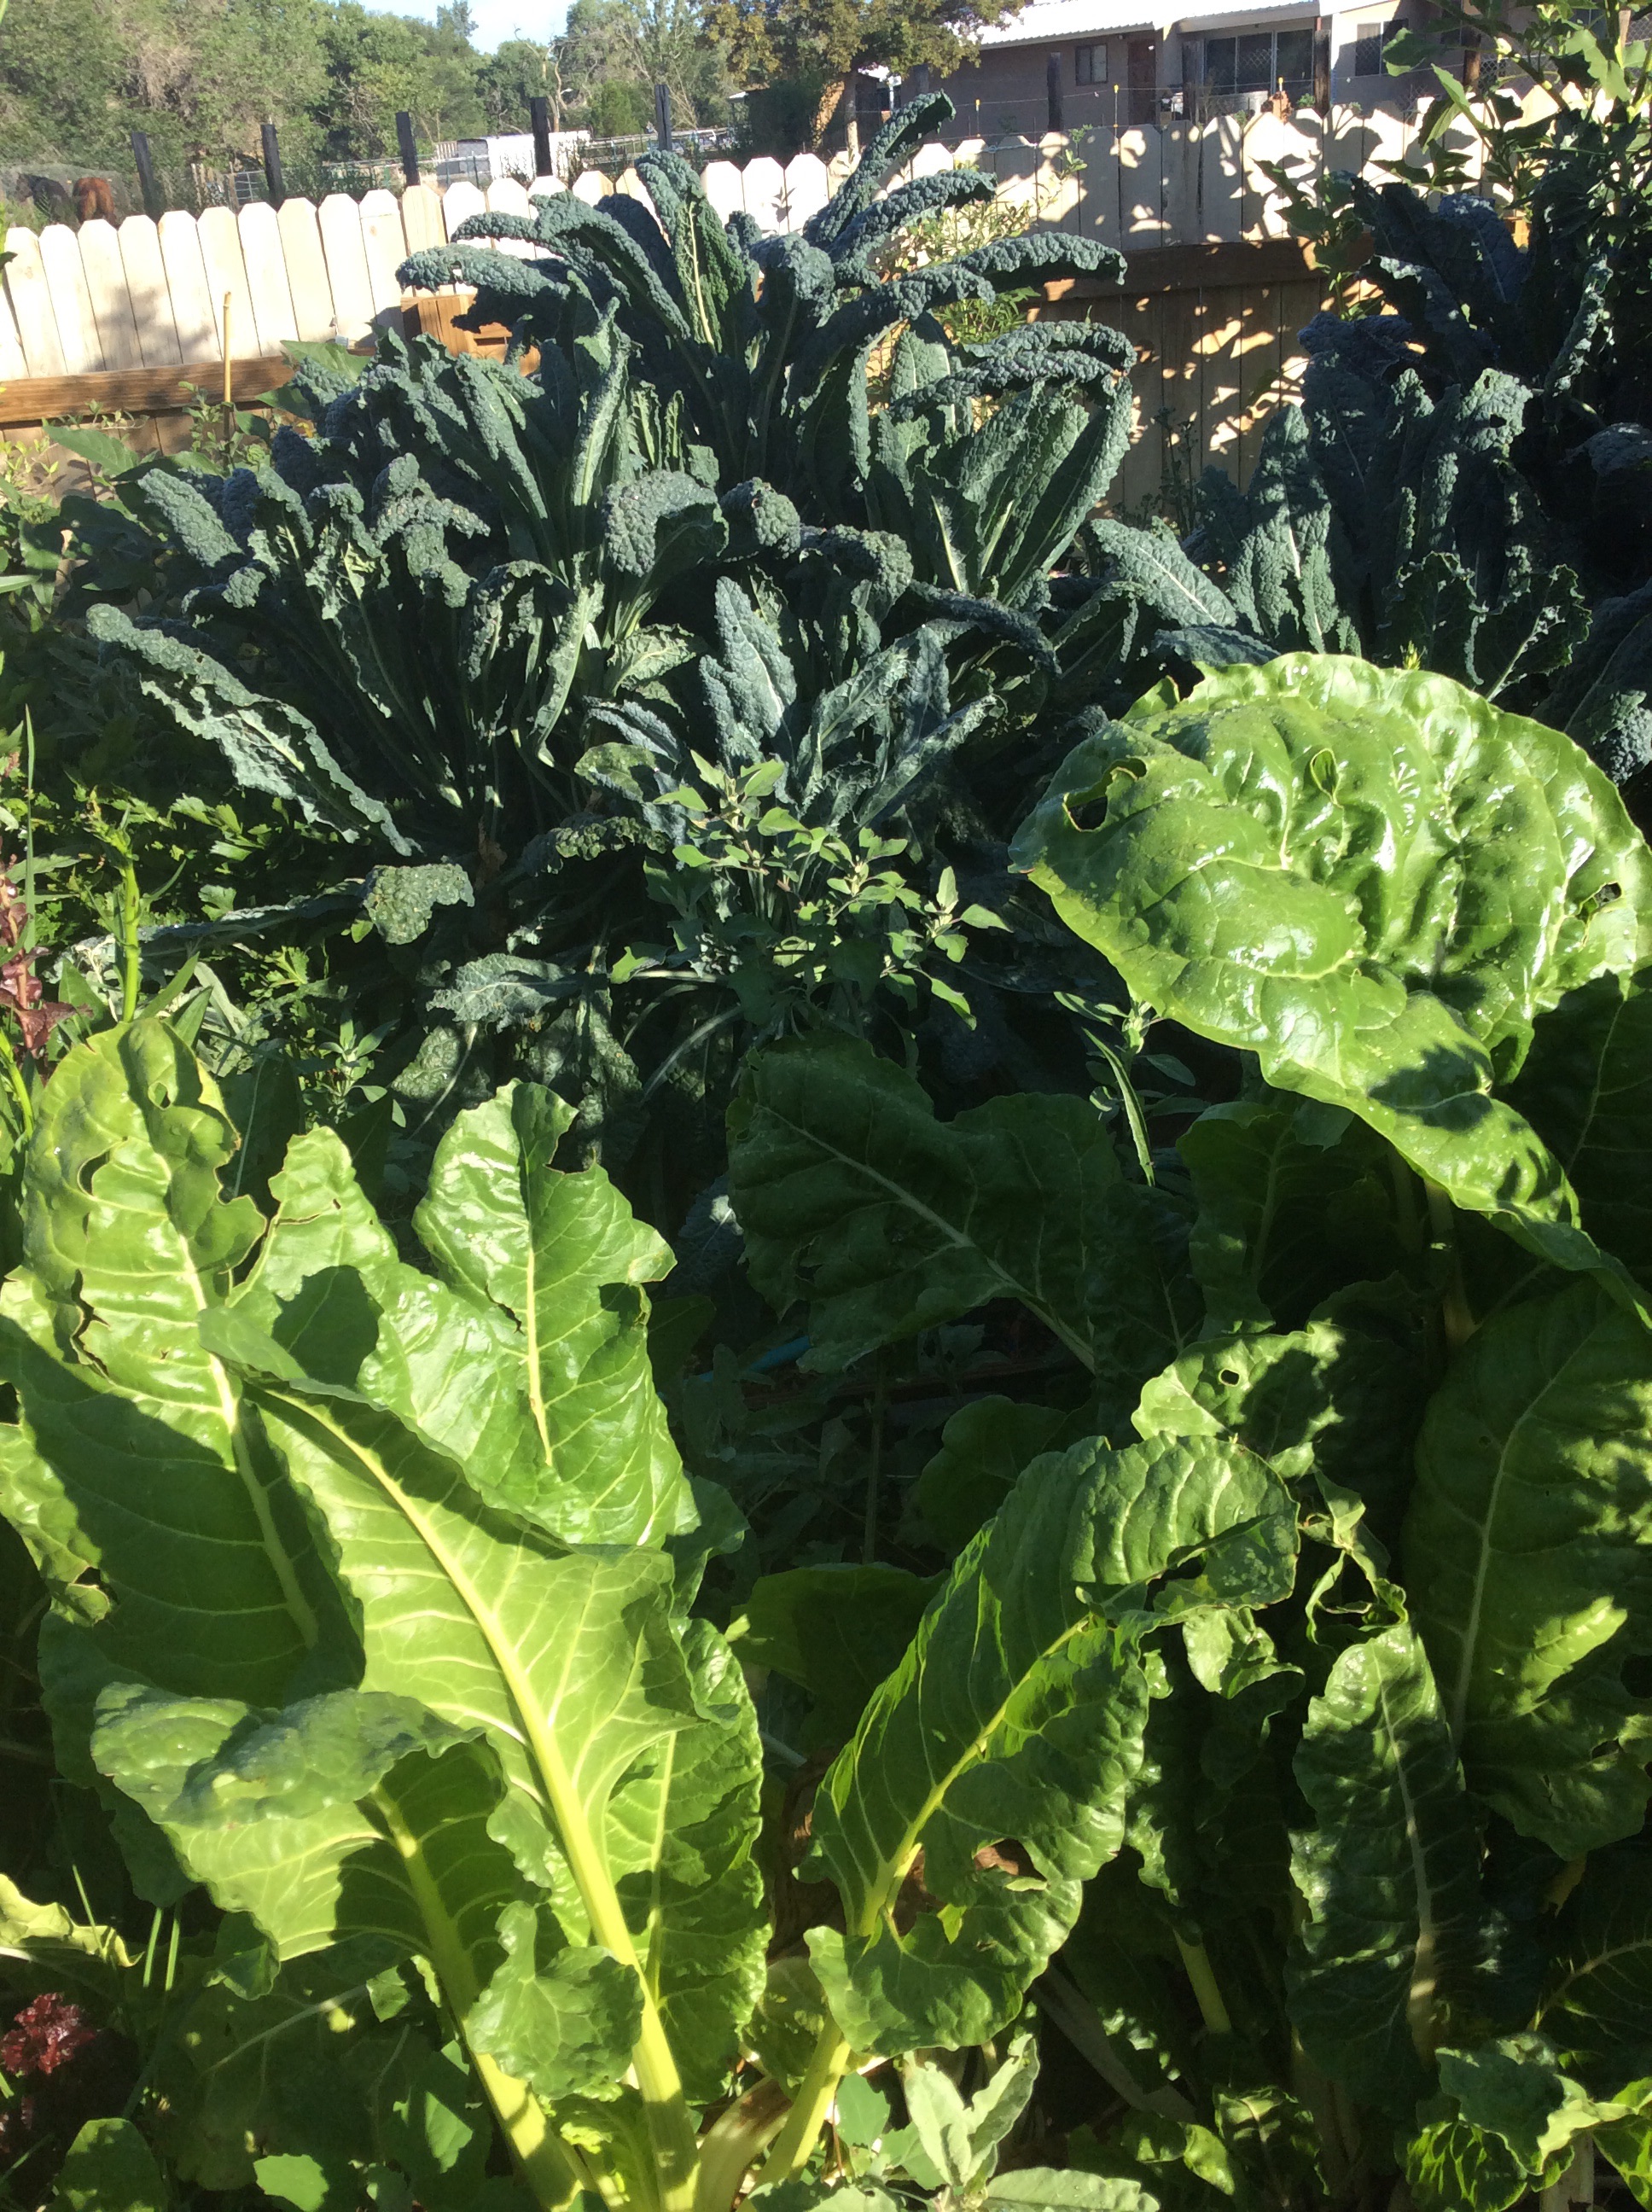
So, my personal opinion, after years of home gardening and given that I have trialed moringa and Chaya and many other chic greens discussed in this book, goes something like this: forget the obscure stuff unless you love to fool with that sort of thing (I do, but that’s not where the bulk of our green veggies come from.) Grow what grows well in your area. Grow kale, lots of kale, and chard and spinach and leaf lettuce, and harvest amaranth and lambs-quarters and purslane from your weedy patch. Grow any green leaves that you like to eat, and then eat them. Lots of them. Use cover crops in your little yard-farm, and feed leafy greens to your chickens and other livestock so that they will enrich you indirectly. Recognize green leaves as the most extraordinary solar collectors in the world, and let them feed you the energy of sun, earth, and water. Think about how to preserve them for winter. Keep them on your table. I will be trialing some of Kennedy’s ideas like Green Tofu, or leaf-juice curd, and I’ll let you know how it comes out for me. But please, eat your greens!
Oh, and please consider buying this book and other great books at your local independent bookstore. This is a genuine case of use it or lose it.
21 Feb
The Seeds You Need
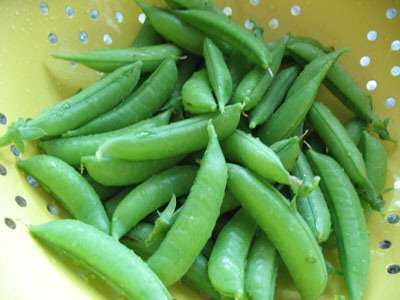
Here in the high-desert Southwest, our cold-weather vegetables need to be planted by mid-March, and so late February is my last good chance to review my seed box and order what I need. This resulted in my sending off a frantic order for sugar snap peas. My attachment to them is strong, largely because I love English (shelling) peas but never find time to shell them. My favorite snap pea is the original Sugar Snap. This variety has some disadvantages: it climbs 5-6 feet and has to be provided with support, the pods have strings and need to be de-stringed before cooking, and it doesn’t have much in the way of disease resistance (although I have had no problems with disease.) It has a single incomparable advantage: flavor that none of the newer, neater varietals can live up to. For best flavor, the peas inside the pod have to be allowed to develop. Don’t pick them in the flat snow-pea stage. Then rinse and string the pods, which is a very quick job, and steam them to eat with butter, stir-fry with some scallion and ginger, or cook them in your own favorite way. Yum.
In my opinion they develop a soapy taste when frozen, so I don’t recommend “putting them by.” Eat mountains of the fresh article and give any extra to people you really like.
The important thing is, order those seeds now.
And don’t forget to plant extra so that you can cut pea shoots. Cut when they are 6-8 inches high, pea shoots are delicious in salads and stir-fries.
1 Mar
The Greens of Spring: Broccoli Raab, and a brief note on spring flowers

This is a good time of year to eat some broccoli raab from the store, because you may well be convinced to plant your own while there’s still time. You may find the seeds sold as broccoli rabe, broccoli raab, or rapini. This is a vigorous grows-like-a-weed kind of vegetable, but it won’t tolerate hot weather, so get it in the ground now. Direct seeding works well as long as the ground is well prepared and you keep it weeded until it’s big enough to compete. Harvest as soon as it shoots to seed; you’ll notice broccoli-like heads which can vary from the size of a nickel to 3 inches across, depending on variety and weather conditions. Harvest while the buds are still tight, before any blooms appear. Just whack off the top 6-8 inches, leaves and all, compost the rest, and you have time to grow another crop in that space. It’s a close relative of the turnip, but instead of the pronounced (some would say extreme) earthiness of turnip leaves, it has a lovely clean flavor with a slight bitterness that makes it the perfect companion for mellow pasta.
Usually I like greens in mixtures, but I prefer this one by itself. My favorite way to cook it is so simple that it isn’t really a recipe, and it’s on the plate within fifteen minutes of the water coming to a boil. The various steps fit in so well with one another that I prefer to write this as a brief kitchen story rather than a recipe. Read it through before beginning, so that the kitchen logic and logistics will be clear.
You will need: half a pound of good dried pasta, a large bunch of broccoli raab, good olive oil, red pepper flakes, a couple of ounces of good ham, Italian sausage, or pancetta (a small handful when chopped into cubes), an anchovy fillet if you like them, and a few ounces of good cheese, either Parmesan or part Parmesan and part Romano. Toasted pine nuts can be added as a bonus of you have any on hand.
Put on a pot of water to boil for the pasta. Don’t forget to salt it.
While the water is coming to a boil, chop up a small chunk of ham, or some good Italian sausage, or some pancetta, or a little slab bacon if it isn’t too smoky. Chop two large or three small cloves of garlic. Throw them in a small hot skillet with some olive oil, probably 2-3 tablespoons. Stir frequently. As soon as the garlic and meat are cooked, put in half a teaspoon of red pepper flakes and, if you like, a chopped rinsed anchovy fillet or a dash of colatura. Add a tablespoon or two of water, just enough to stop the cooking, and take the skillet off the heat. Wash a bunch of broccoli rabe, using a bunch as big as you can hold in two hands, and set it in a strainer to drain a little.
Meanwhile, the water should have come to a boil. Put in half a pound of good dried pasta. I think penne goes especially well with chunky greens. If you like whole wheat pasta, this is an especially good place to use it. Don’t reduce the heat. Keep it at a hard boil until after you add the greens.
While the pasta is boiling, cut the bunch of rapini in cross section across the bunch, slicing about every half inch. Discard the stem ends if they are more than half an inch in diameter. Five minutes after the pasta went in the water, put the chopped rapini in the water to boil with it. Once the water returns to the boil you can turn it down a little, but be sure to maintain a boil, not a simmer. Grate about 2/3 cup of good Parmesan and 1/3 cup of good Romano, or use all Parmesan if that’s what you have. These measurements refer to loosely packed measuring cups. My trip to Florence convinced me that Americans over-sauce and over-cheese their pasta. Personally I don’t meaure grated cheese in any formal way, and prefer to think in terms of two loose, scant handfuls of grated cheese.
When the pasta is ready, pour out into a strainer, return to the pan, toss with a glug of good olive oil, toss in the meat mixture and half the cheese, plate, sprinkle with the rest of the cheese, and toss some toasted pine nuts on top if you like. Eat and savor this splendid green.
By the way, I estimate that a “glug” is about two tablespoons. But in a dish like this, use kitchen sense rather than measurements. How much olive oil do you need in the skillet to keep the meat and garlic from sticking, and how much olive oil do you need to give a light delicious sheen to your pasta and greens? Your eyes are a better guide than a measuring spoon.
My garden is intended as a food garden, but there’s no reason why it can’t be a treat for the senses as well, and nothing lifts my spirits in late winter like bright crocuses blooming away in whatever appalling circumstances the season hands them. I strongly recommend at least a dozen bulbs of the cream-yellow Crocus crysanthus “Cream Beauty.” It’s always the first to bloom for me, and if you put it in the warmest part of your yard it will bloom in February in the Albuquerque area, a visible harbinger that your garden, like you, has survived another winter.

