Posts Tagged ‘arugula’

My Life With Invasives

I’m reading Beyond the War on Invasive Species, an interesting book by Tao Orion that, among other things, recalls some of the horrors that the native plant ecomovement fell into, such as “nuking” large areas repeatedly with Round-Up so that they could eventually be replanted with “pure” native species. The whole issue of how to think about invasives is complicated, and I will not approach it here. But the role of invasives in my own yard is one that I feel able to tackle.  My yard is happily multicultural and can absorb almost any invasive that has a use to me, my livestock, or our local pollinators. Over the years I’ve been surprised by plants that came with warnings about their aggressive nature, but in my yard struggled or even died.

There are lots of invasives here, mostly introduced by me and mostly cherished. To have dandelions, I had to pay good money for seed and then wait impatiently as they took three years to get large and lush and edible. Now they are finally self-seeding a bit and are welcome almost anywhere they appear.

Gojis took a while to settle in but now come up everywhere, which is fine since I like the leaves and young shoots as well as the berries.

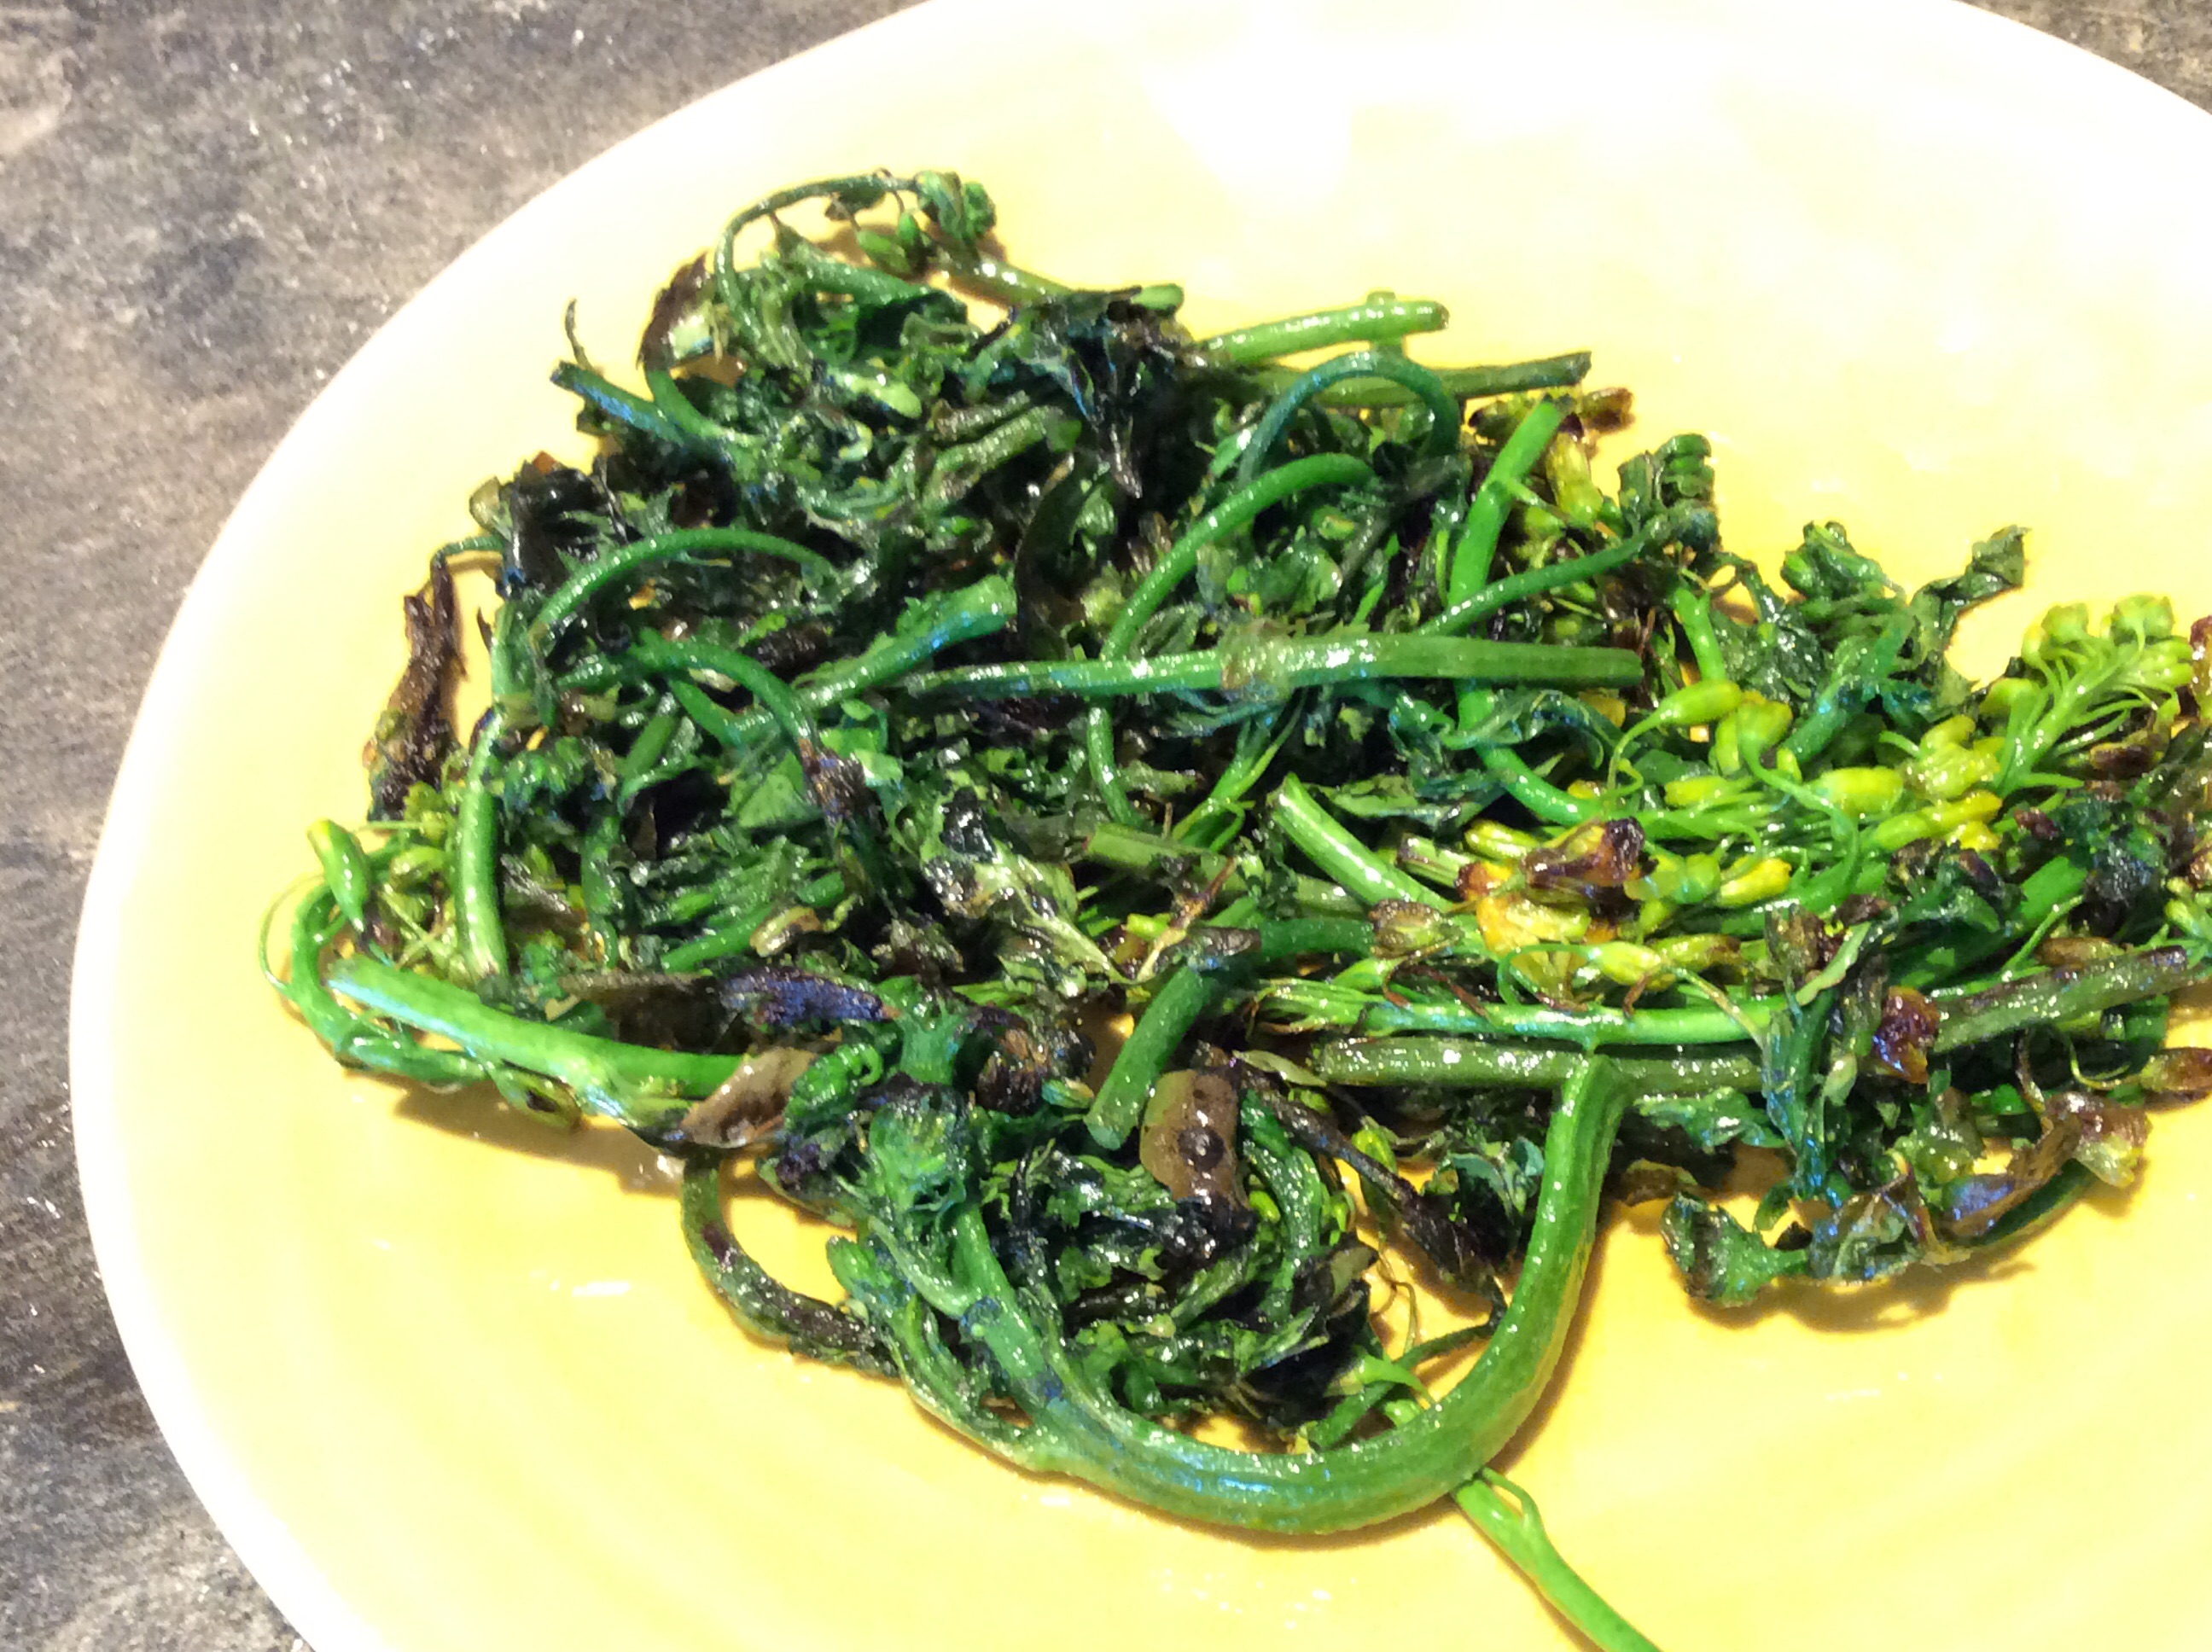
Nettles, shown at the top of this post,  are my favorite spring greens, and it has turned out to be very possible to manage them for a fall crop of greens as well. They aren’t found in my high desert area and I had to buy plants to get them. They are probably my favorite invasive.  The first nettle patch was located in an area that has concrete walkway all around it, to foil its dreams of world domination. I have started a couple of other nettle patches this spring in large containers. I’ll report back on how this works out.

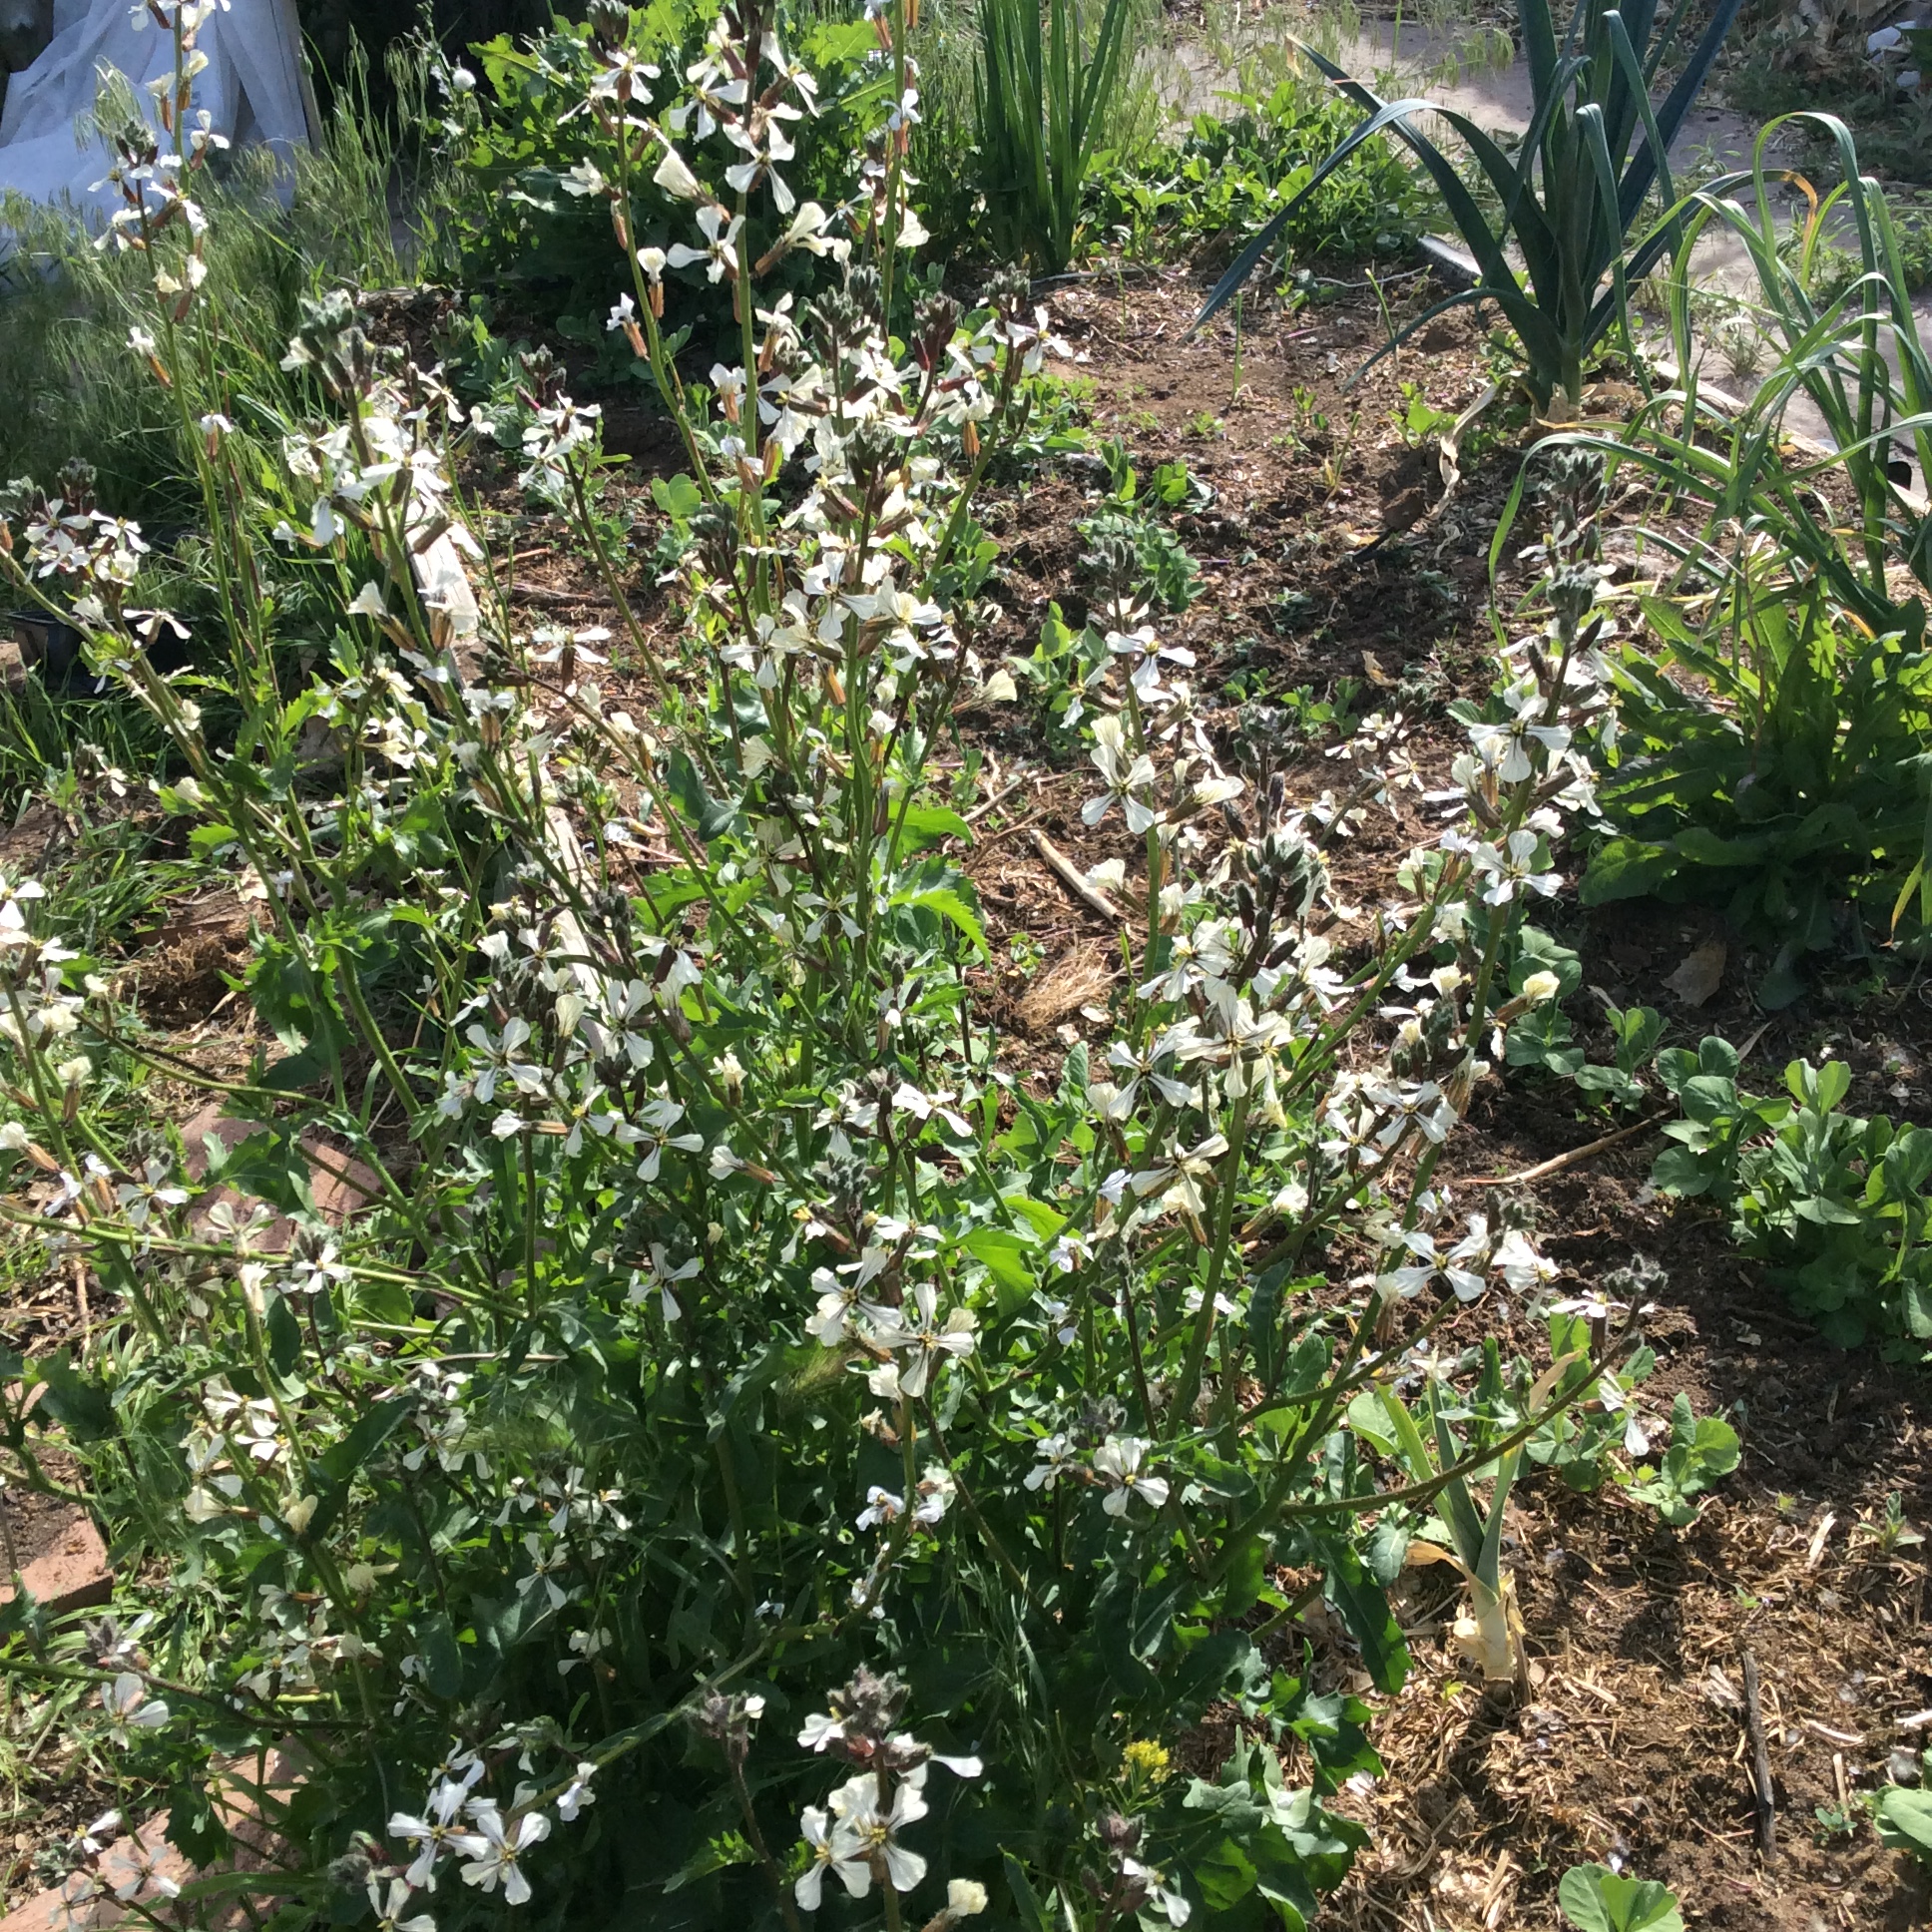
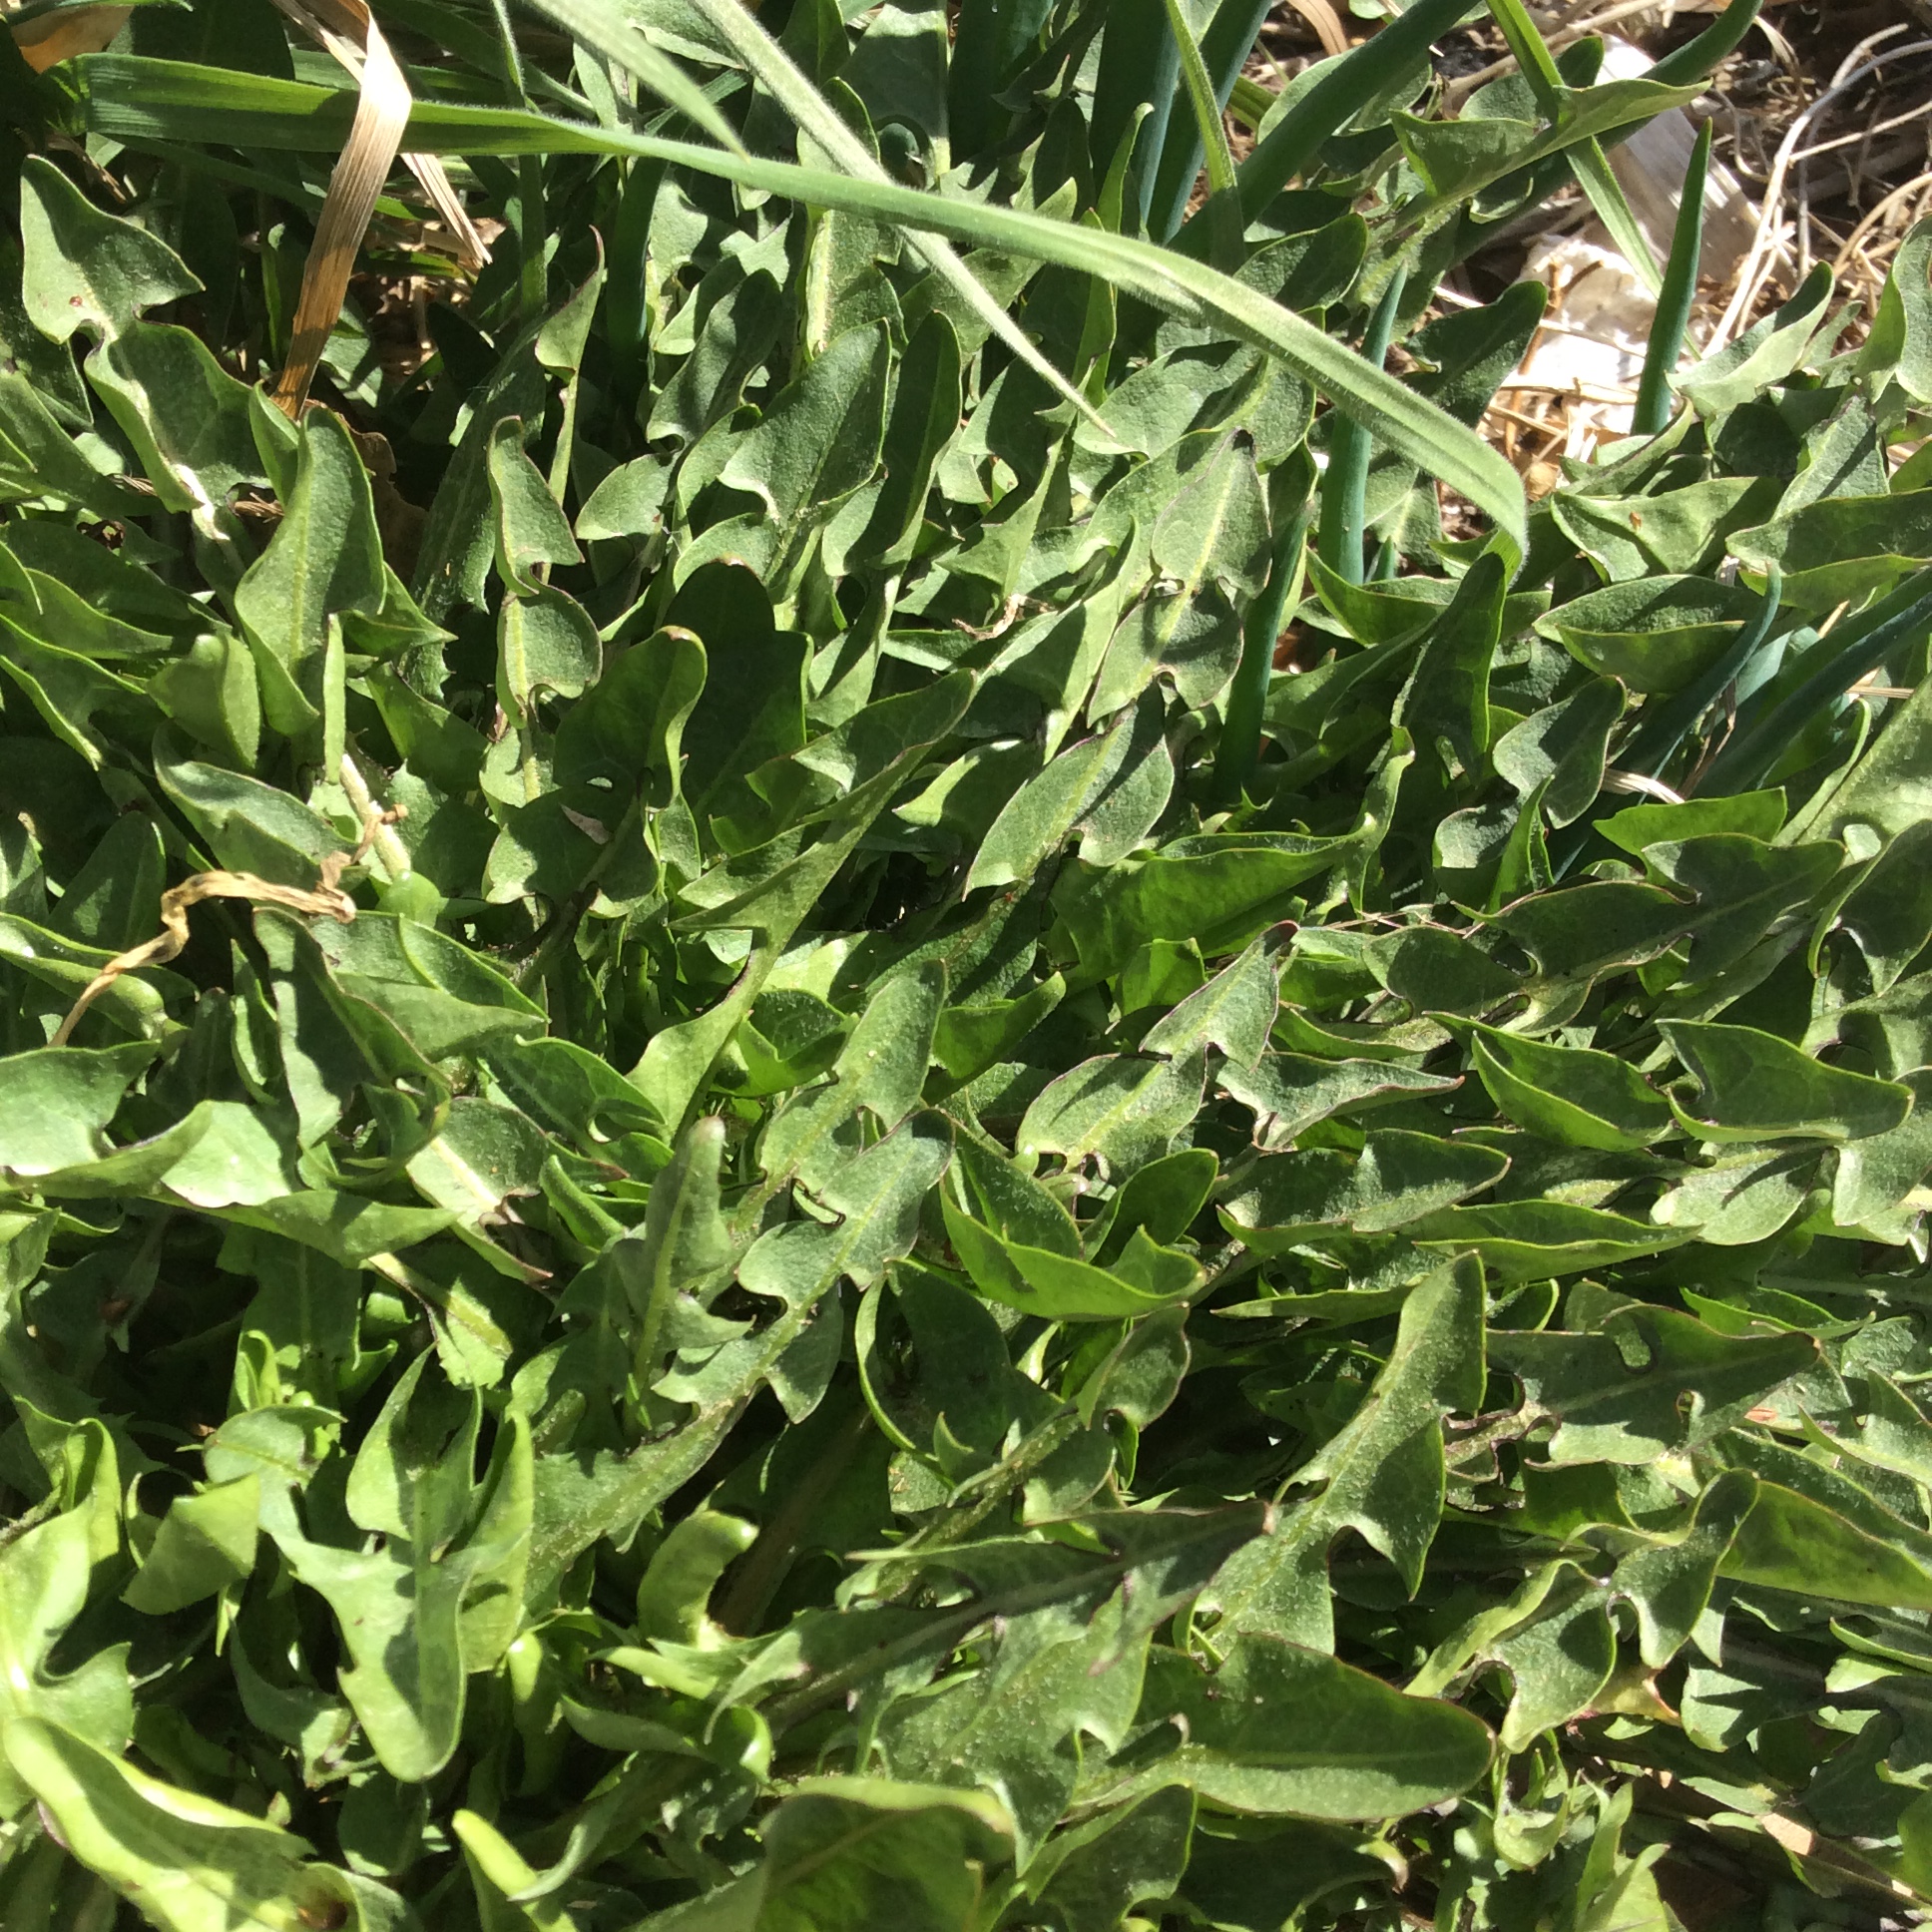
Arugula  comes up everywhere, and is welcome almost everywhere it appears. It is one of my favorite salad greens, and makes a fairly good cooked green as well, best with stronger seasonings like garlic and cayenne. The flowers are very attractive to bees  and open at a time when little else is flowering, so I always let plenty of it go to seed.

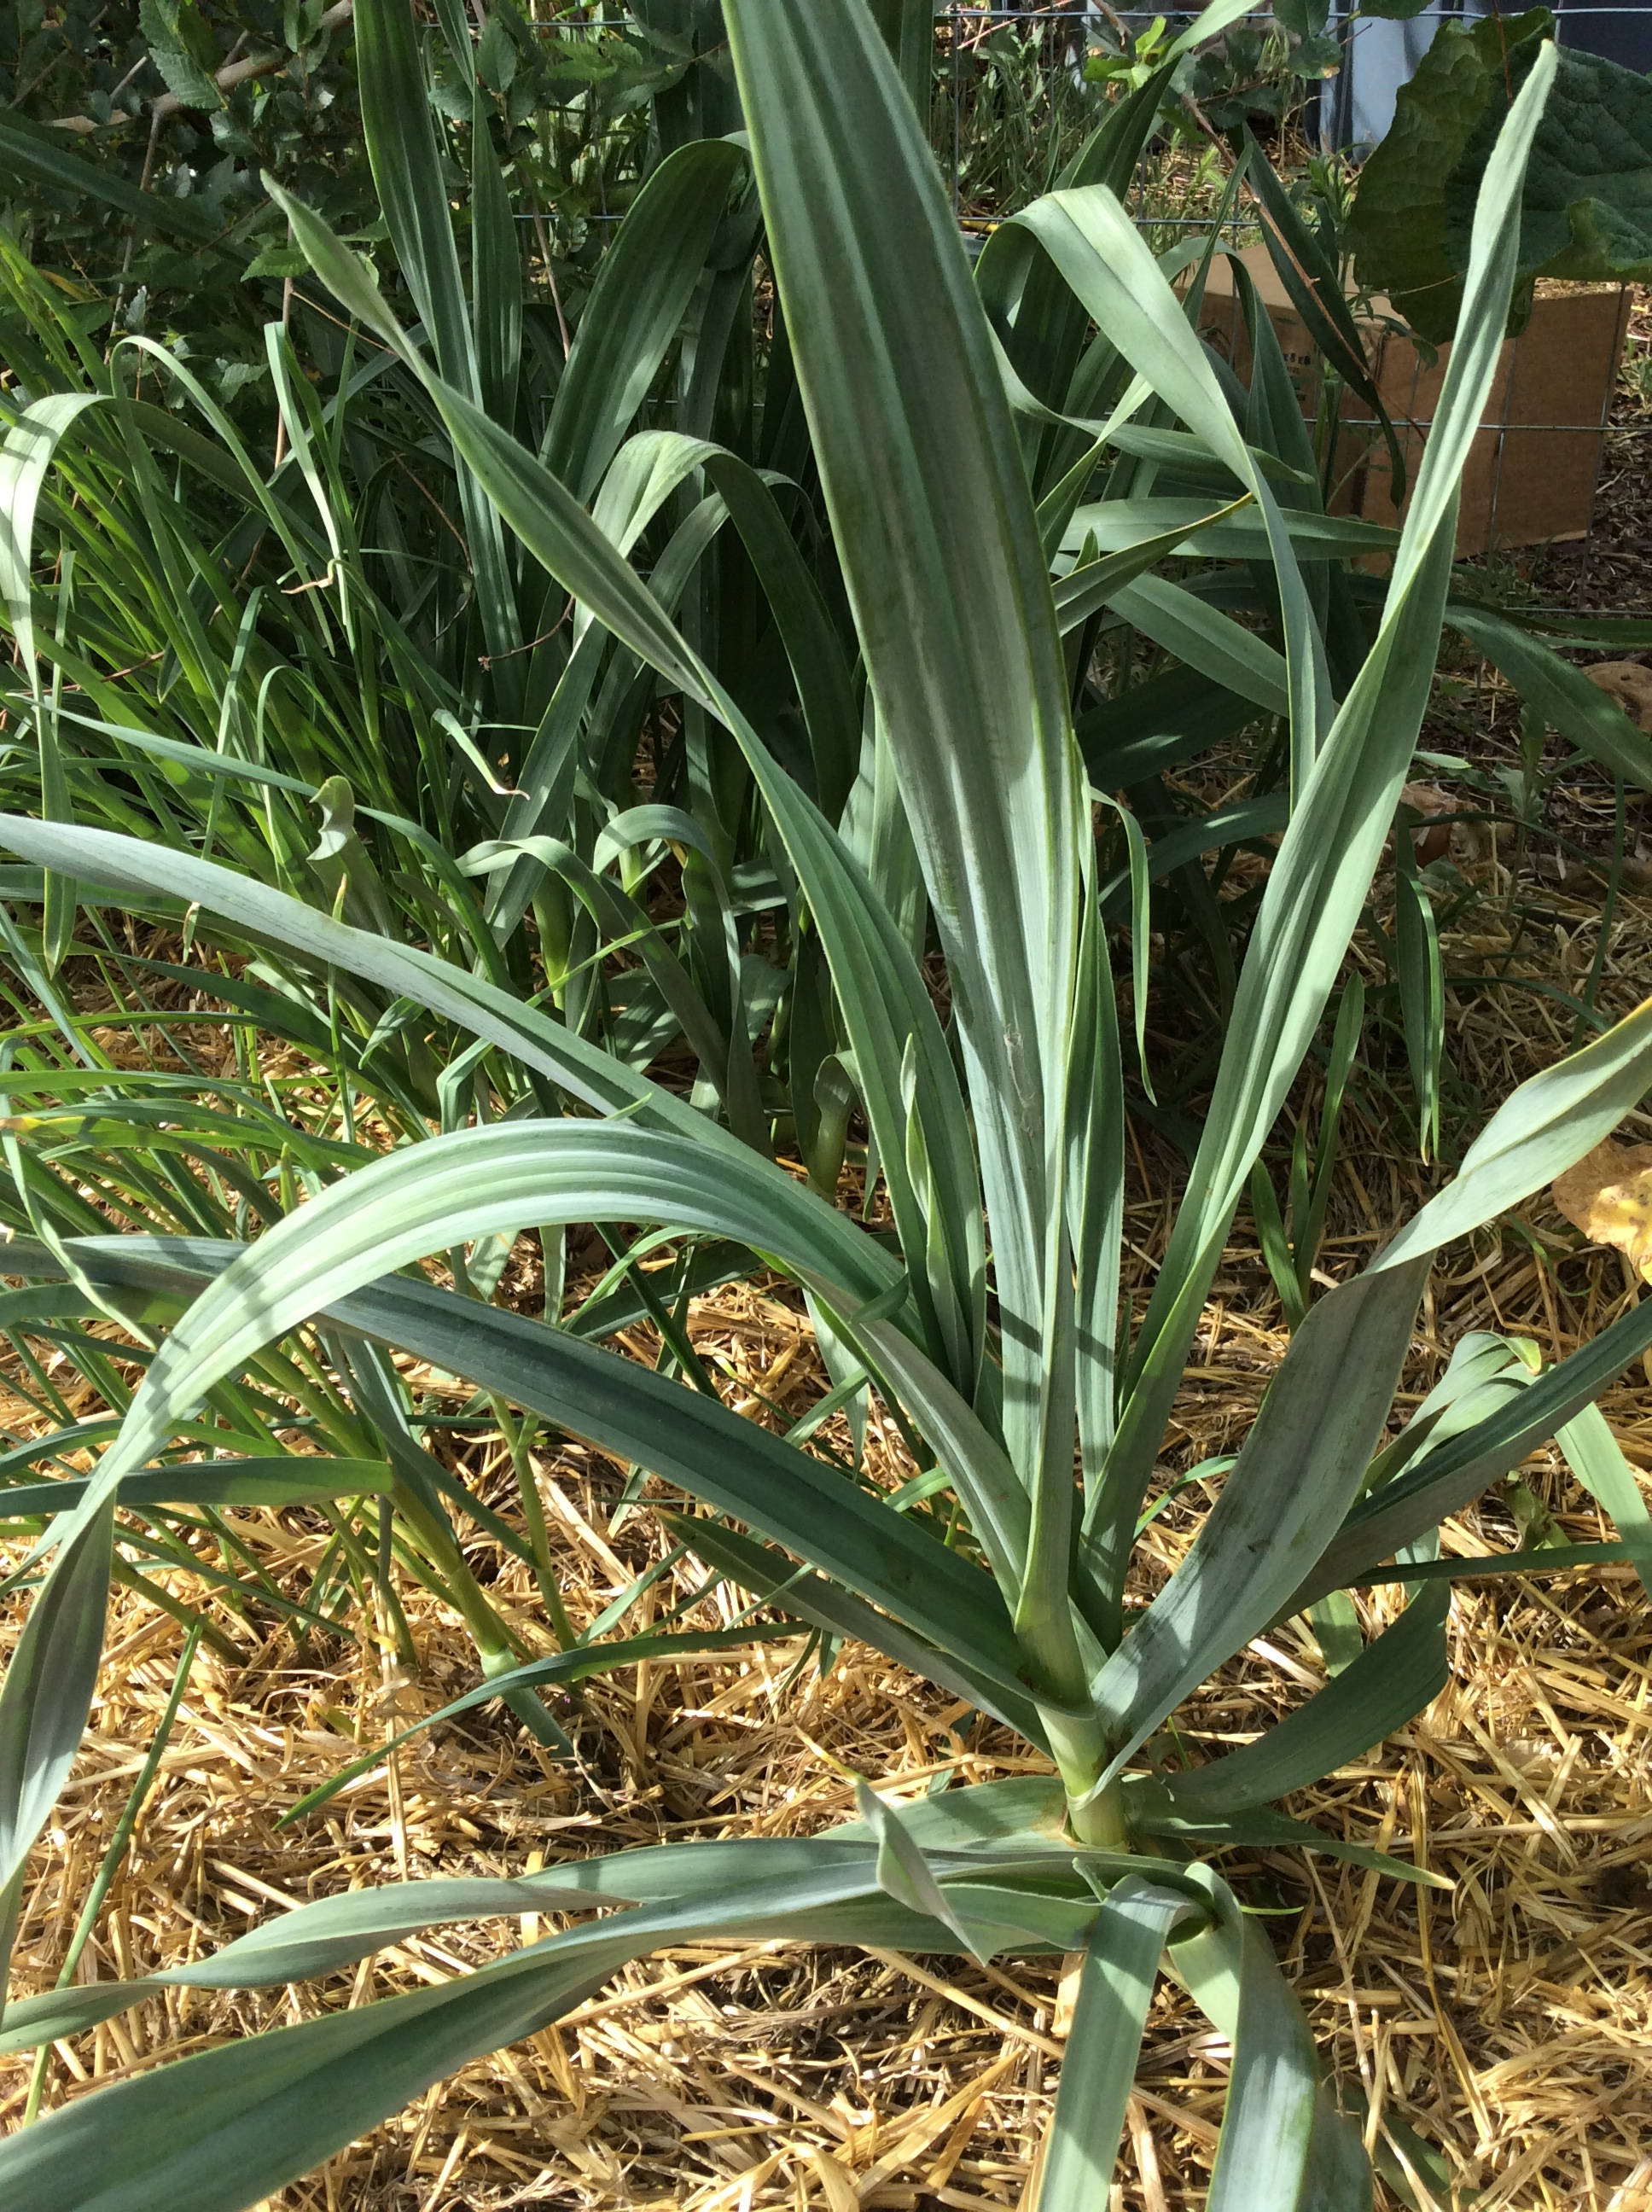
At this point I would have to classify elephant garlic as an invasive, because no matter how much of it I pull up, I always seem to have even more the following year.  When I threw an arm full on top of straw mulch just to get rid of it, it sent roots down  through the mulch and took off as you see above. I don’t mind it, though. It isn’t much use as a bulb and does not compare to true garlic, but I like the early shoots for green garlic, so it does have a use, and the bees enjoy any flowers that I allow to form.

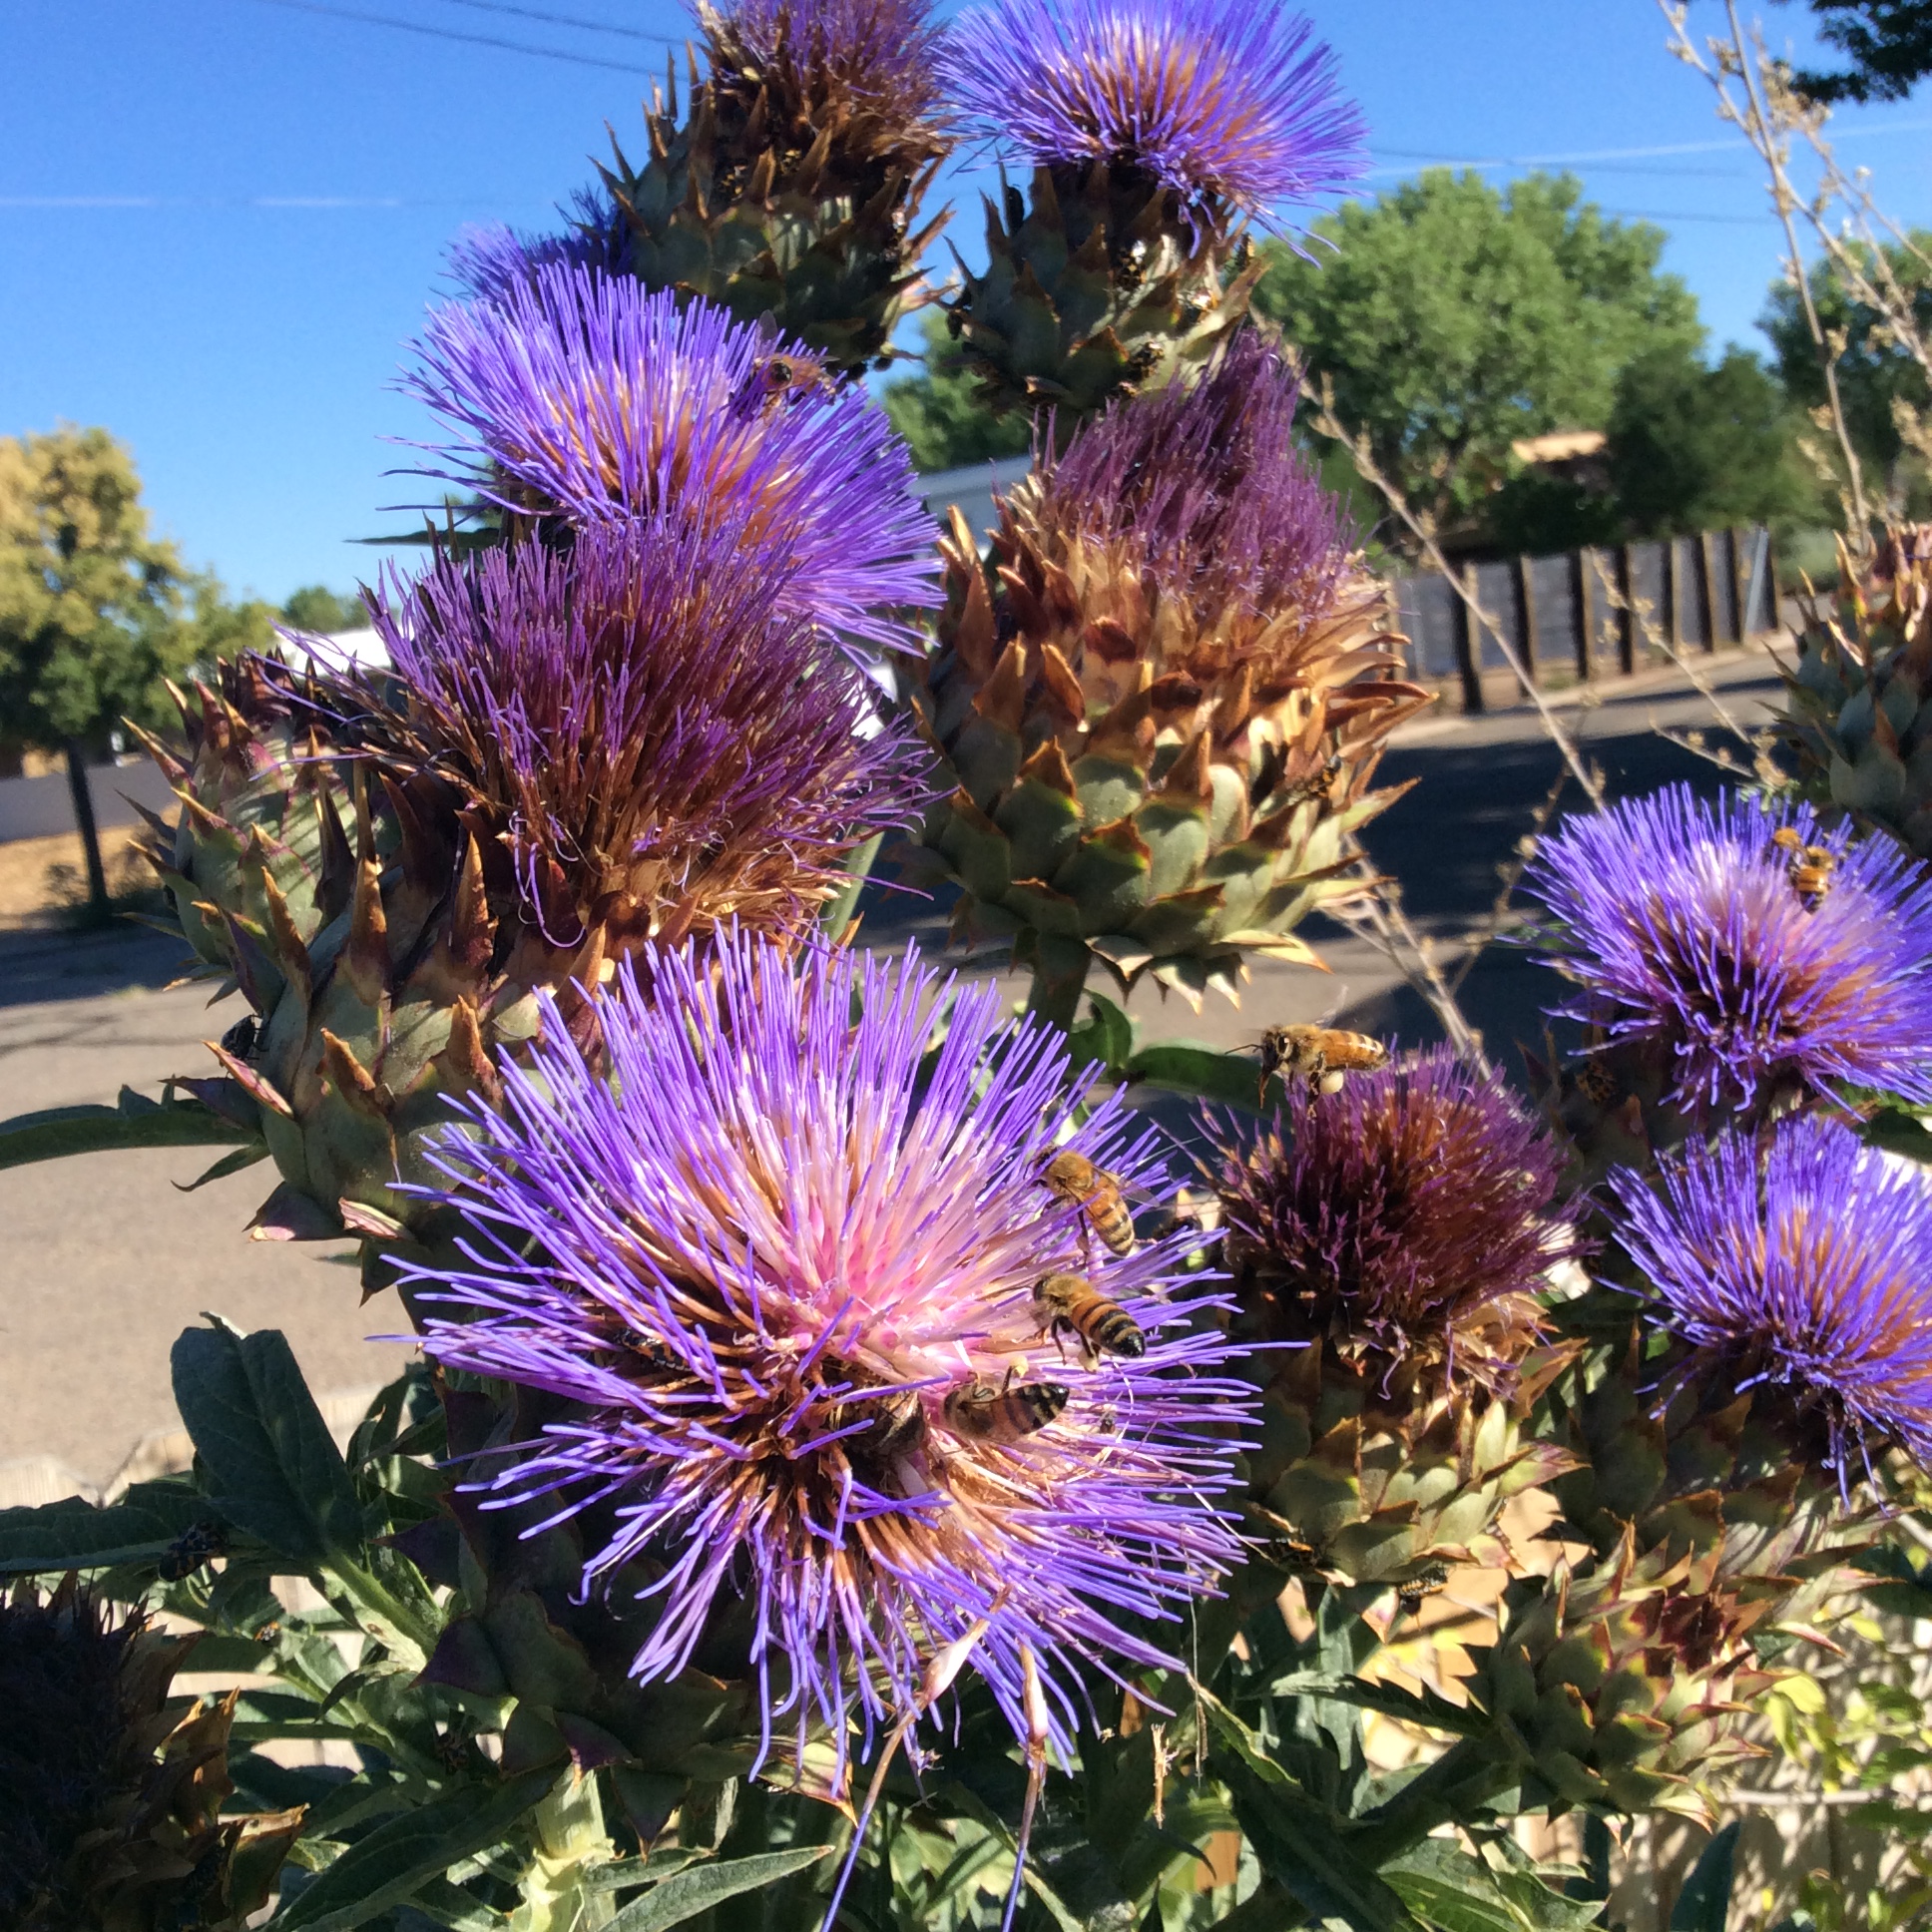
Speaking of attractive to bees, cardoon has become quite an invasive in my yard but one that, as you see above, has its admirers.  I loved cardoons when I ate them in Italy, and brought back seeds from there to make sure that I got the edible kind and not the florist kind, but I have never been able to eat my homegrown cardoons. No matter how carefully blanched, they are inedibly bitter. They do provide one wonderful vegetable, the peeled top of the bloom scape before the buds swell, but that is one small serving per very large plant. I still let them seed themselves around though, because the bees and my goat adore them and even in my desert climate and alkaline soil, they come up in odd corners and require no care or attention whatsoever. The huge jagged silver leaves are strikingly ornamental.  When they come up in the middle of garden beds, I let them reach a good size and then pull them for the goat. I have read that the large parsnip-like root is edible, but when grown in my yard it is as bitter as the leaves, and is a flavor that only a goat could love.

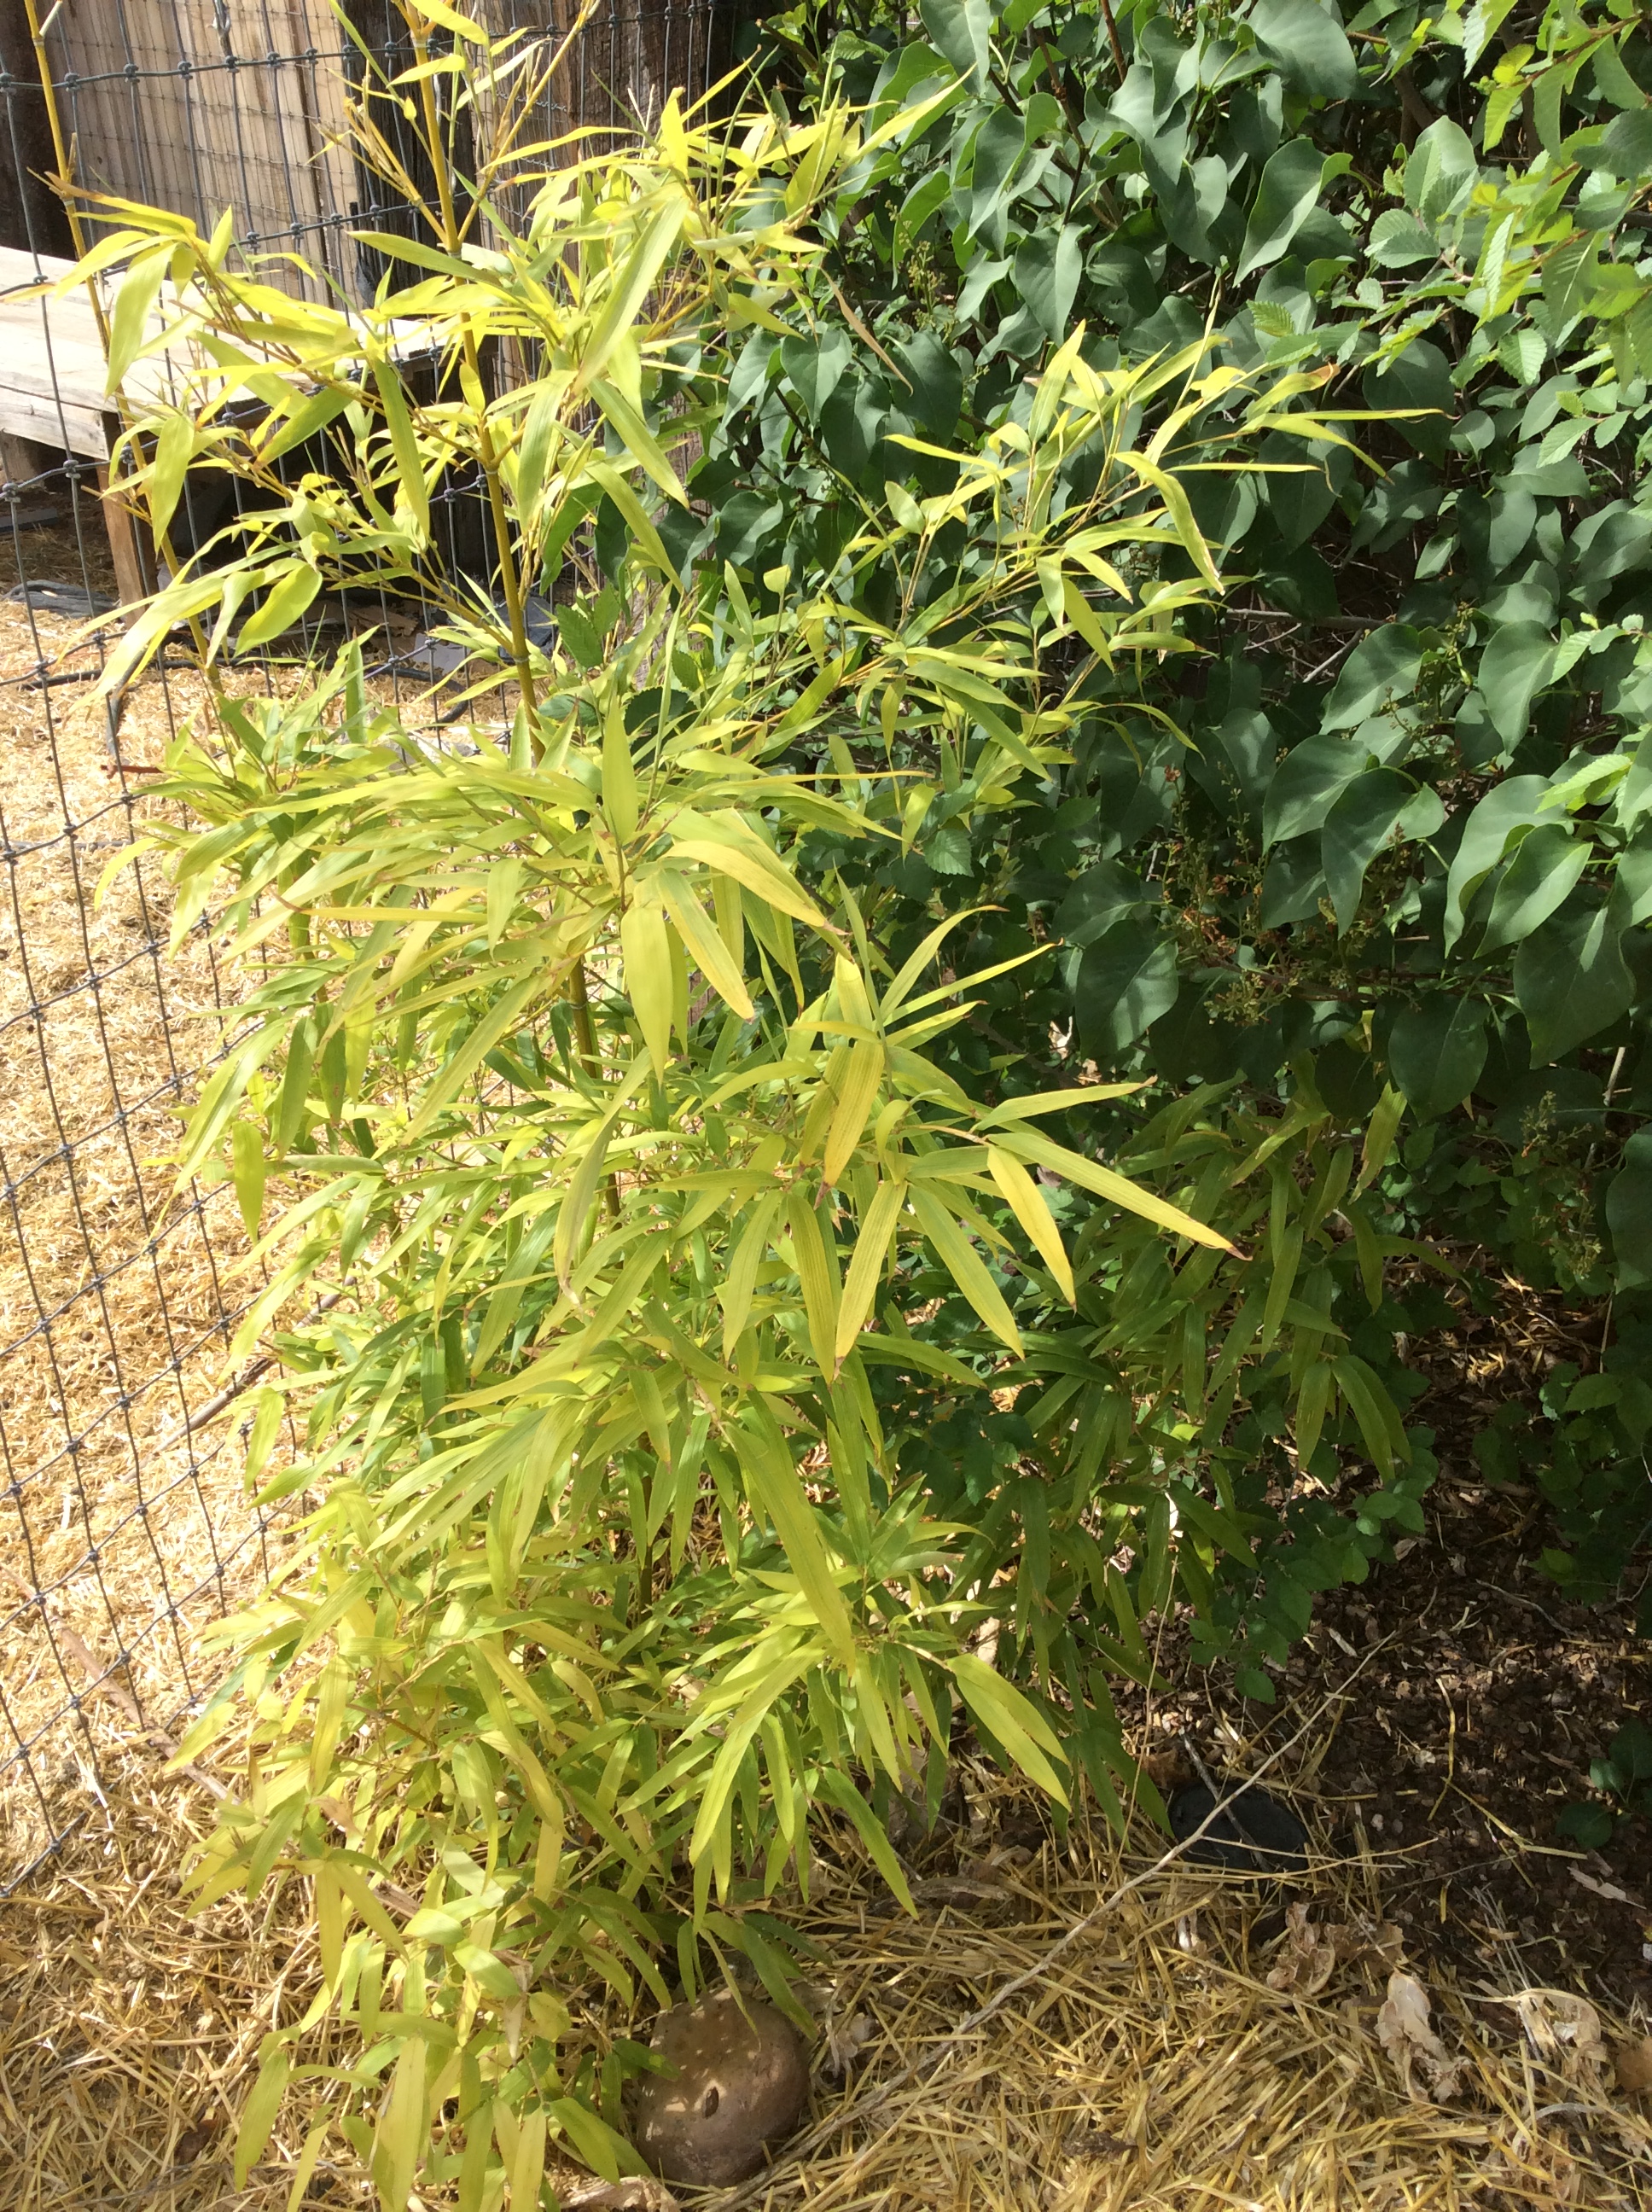
Scrawny little Phyllostachys dulcis “invading.”

I love bamboo shoots and can seldom  find fresh ones locally, so growing them seemed obvious.  I planted  clumping bamboo and the famously invasive running sweet shoot bamboo.  The latter is famous for overrunning its boundaries and forming 30 foot high jungles, so I sited it in a part of the yard up next to the goat paddock, figuring that I could always turn her loose on it if worst came to worst.  Three years later, each plant now has two or three wimpy looking canes about 5 feet high, and I have eaten exactly one bamboo shoot. It was very good, and I was glad to have it,  but I am still waiting for the abundant shoots that I was told would pop up absolutely everywhere.  The aristocratic clumping bamboos took one look at their pedestrian setting and refused to go on living.

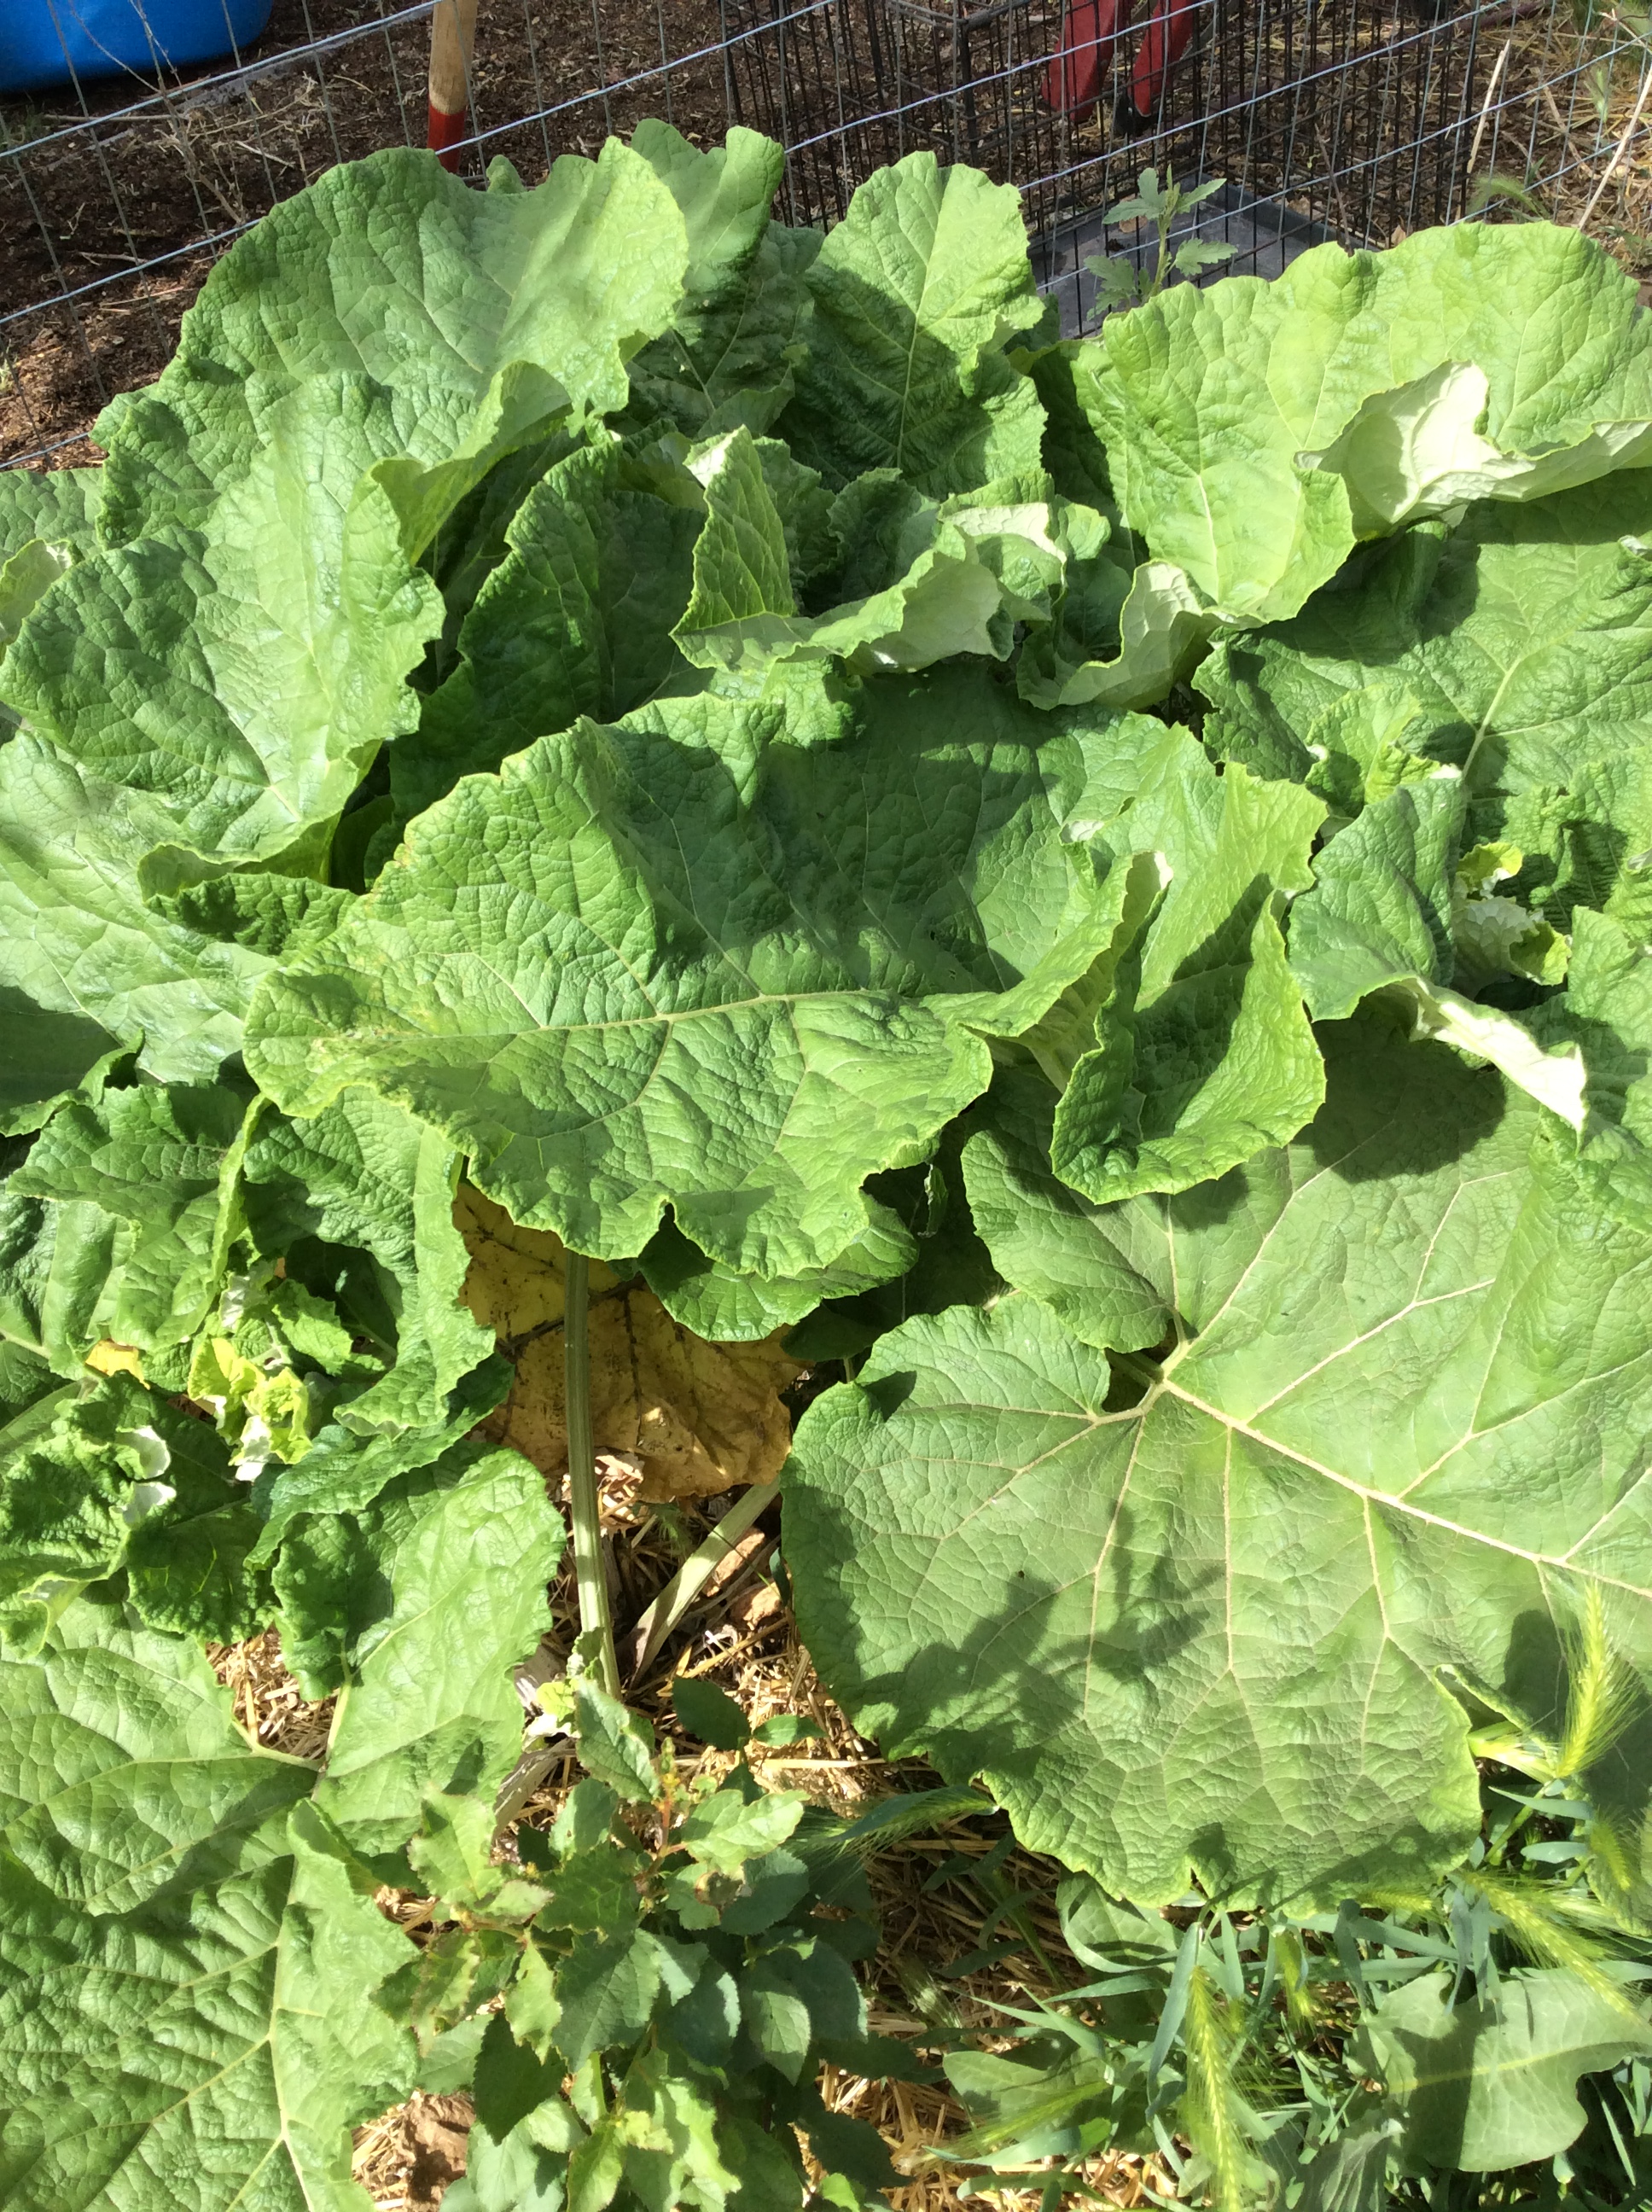
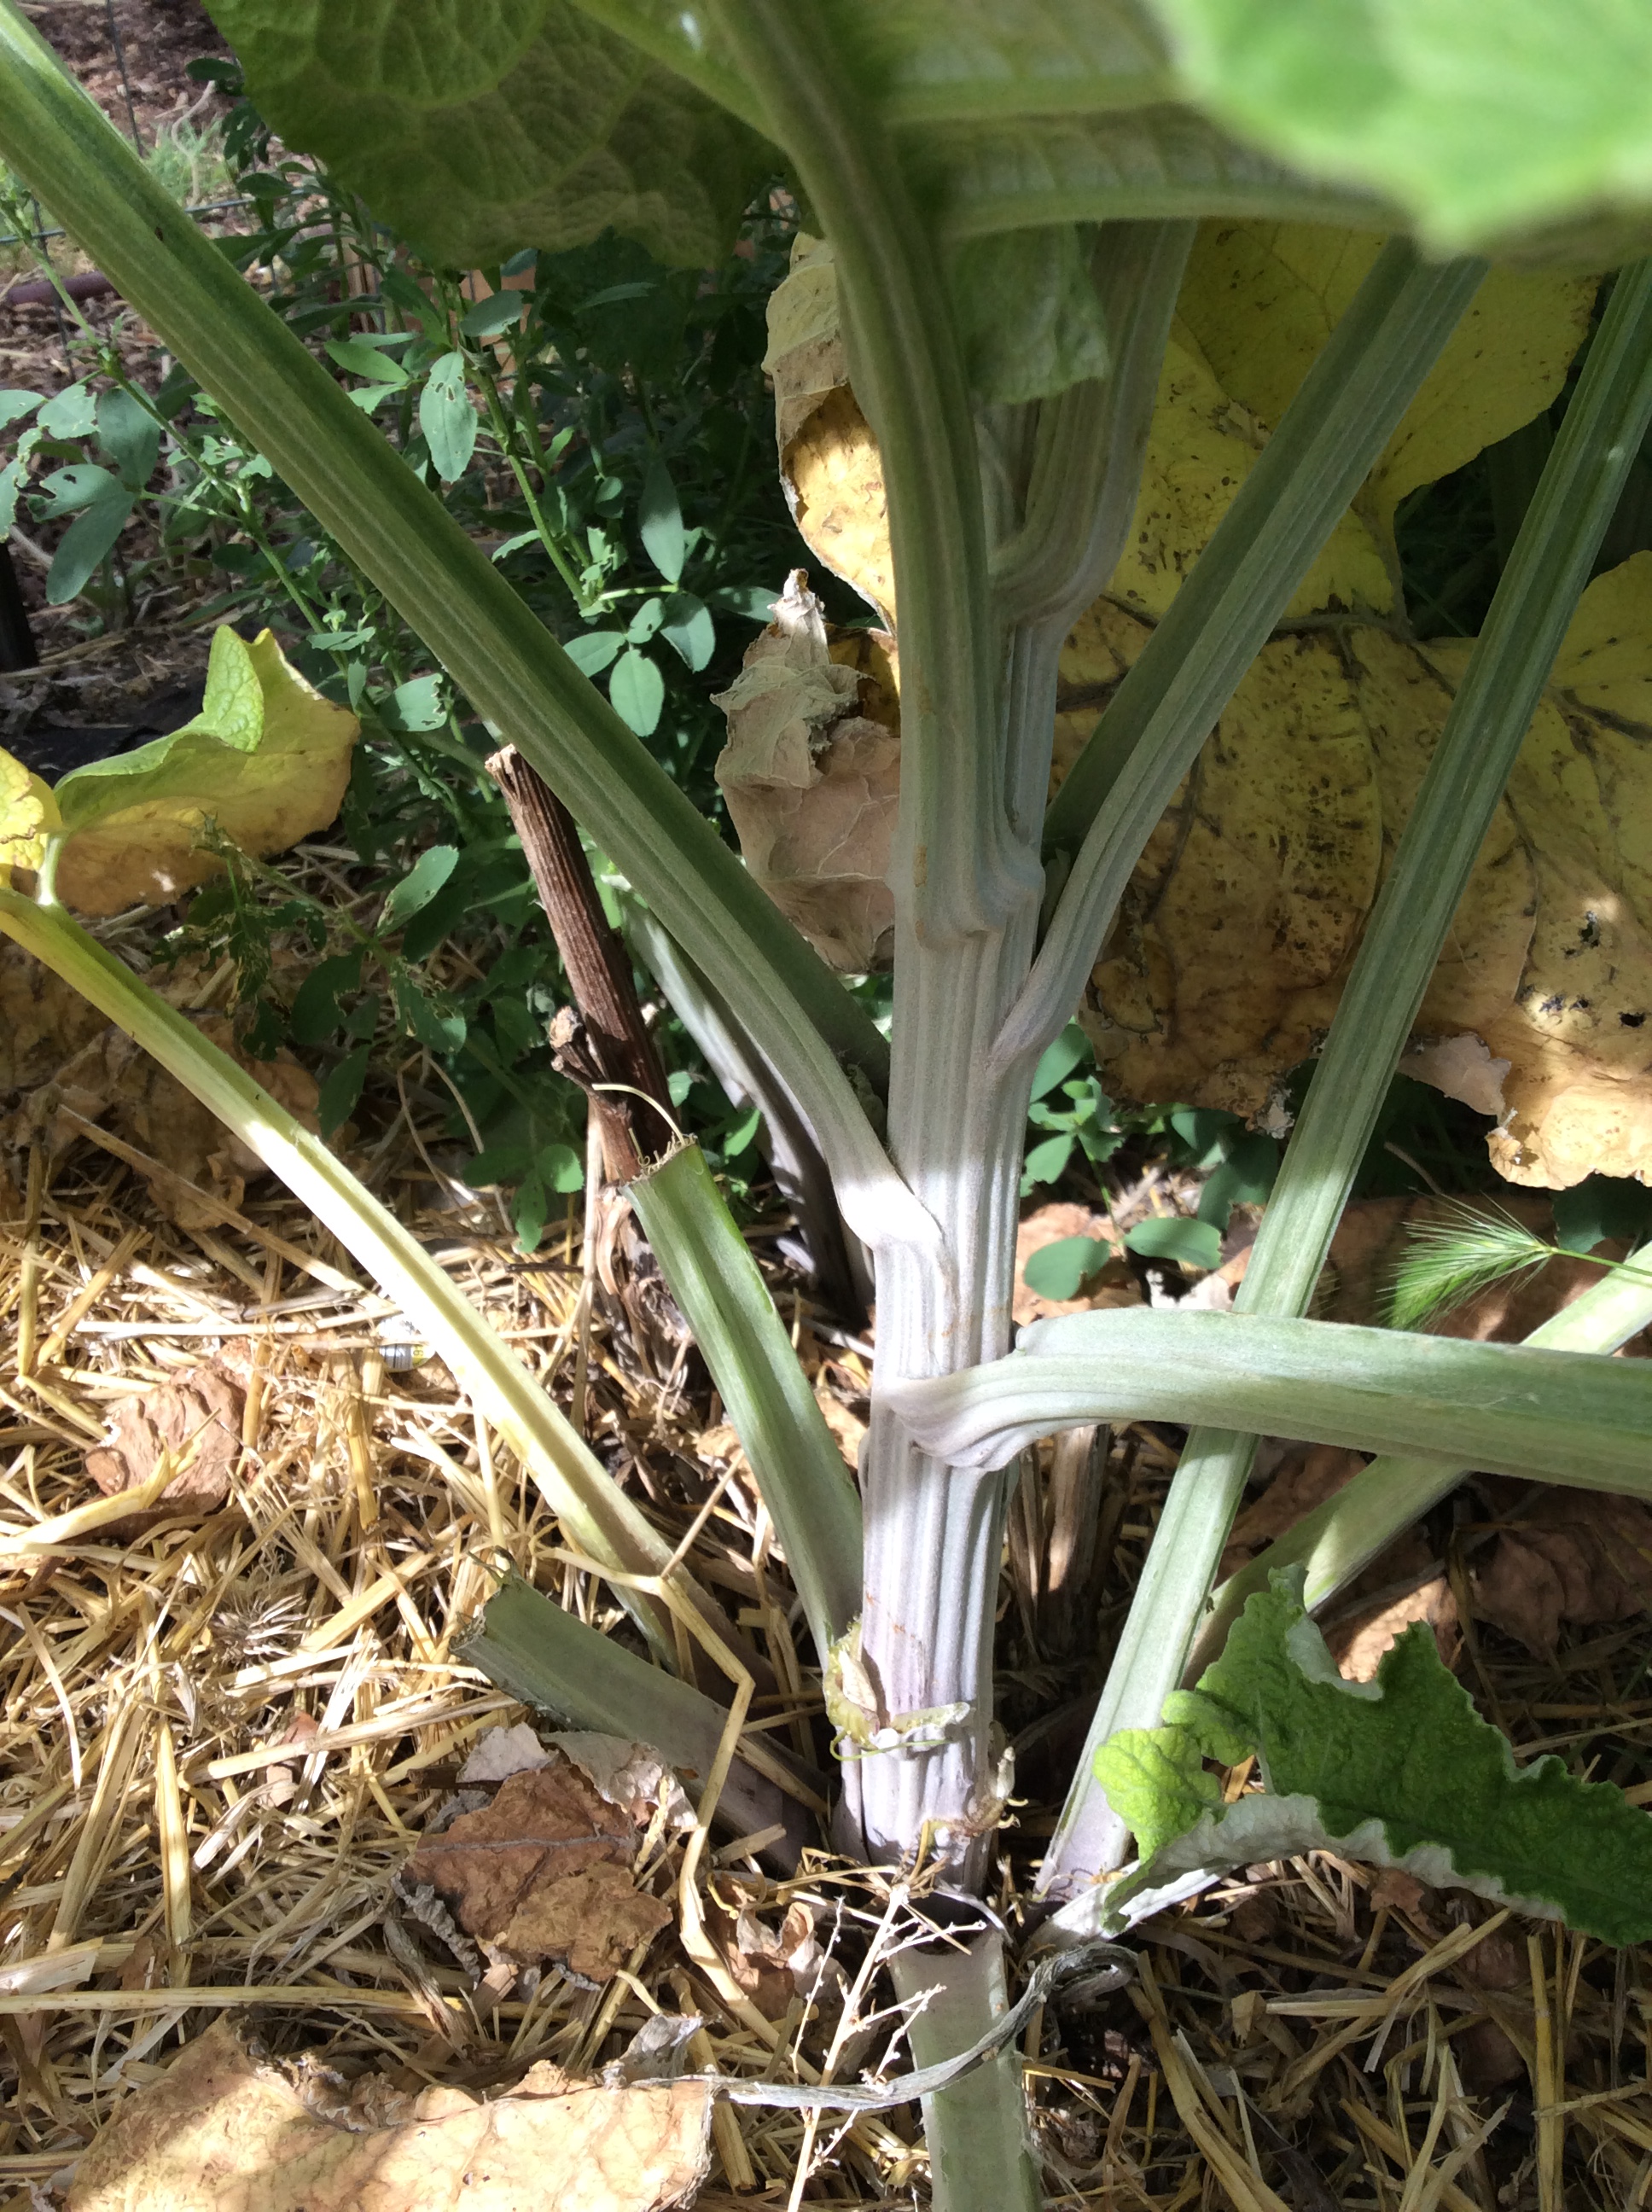
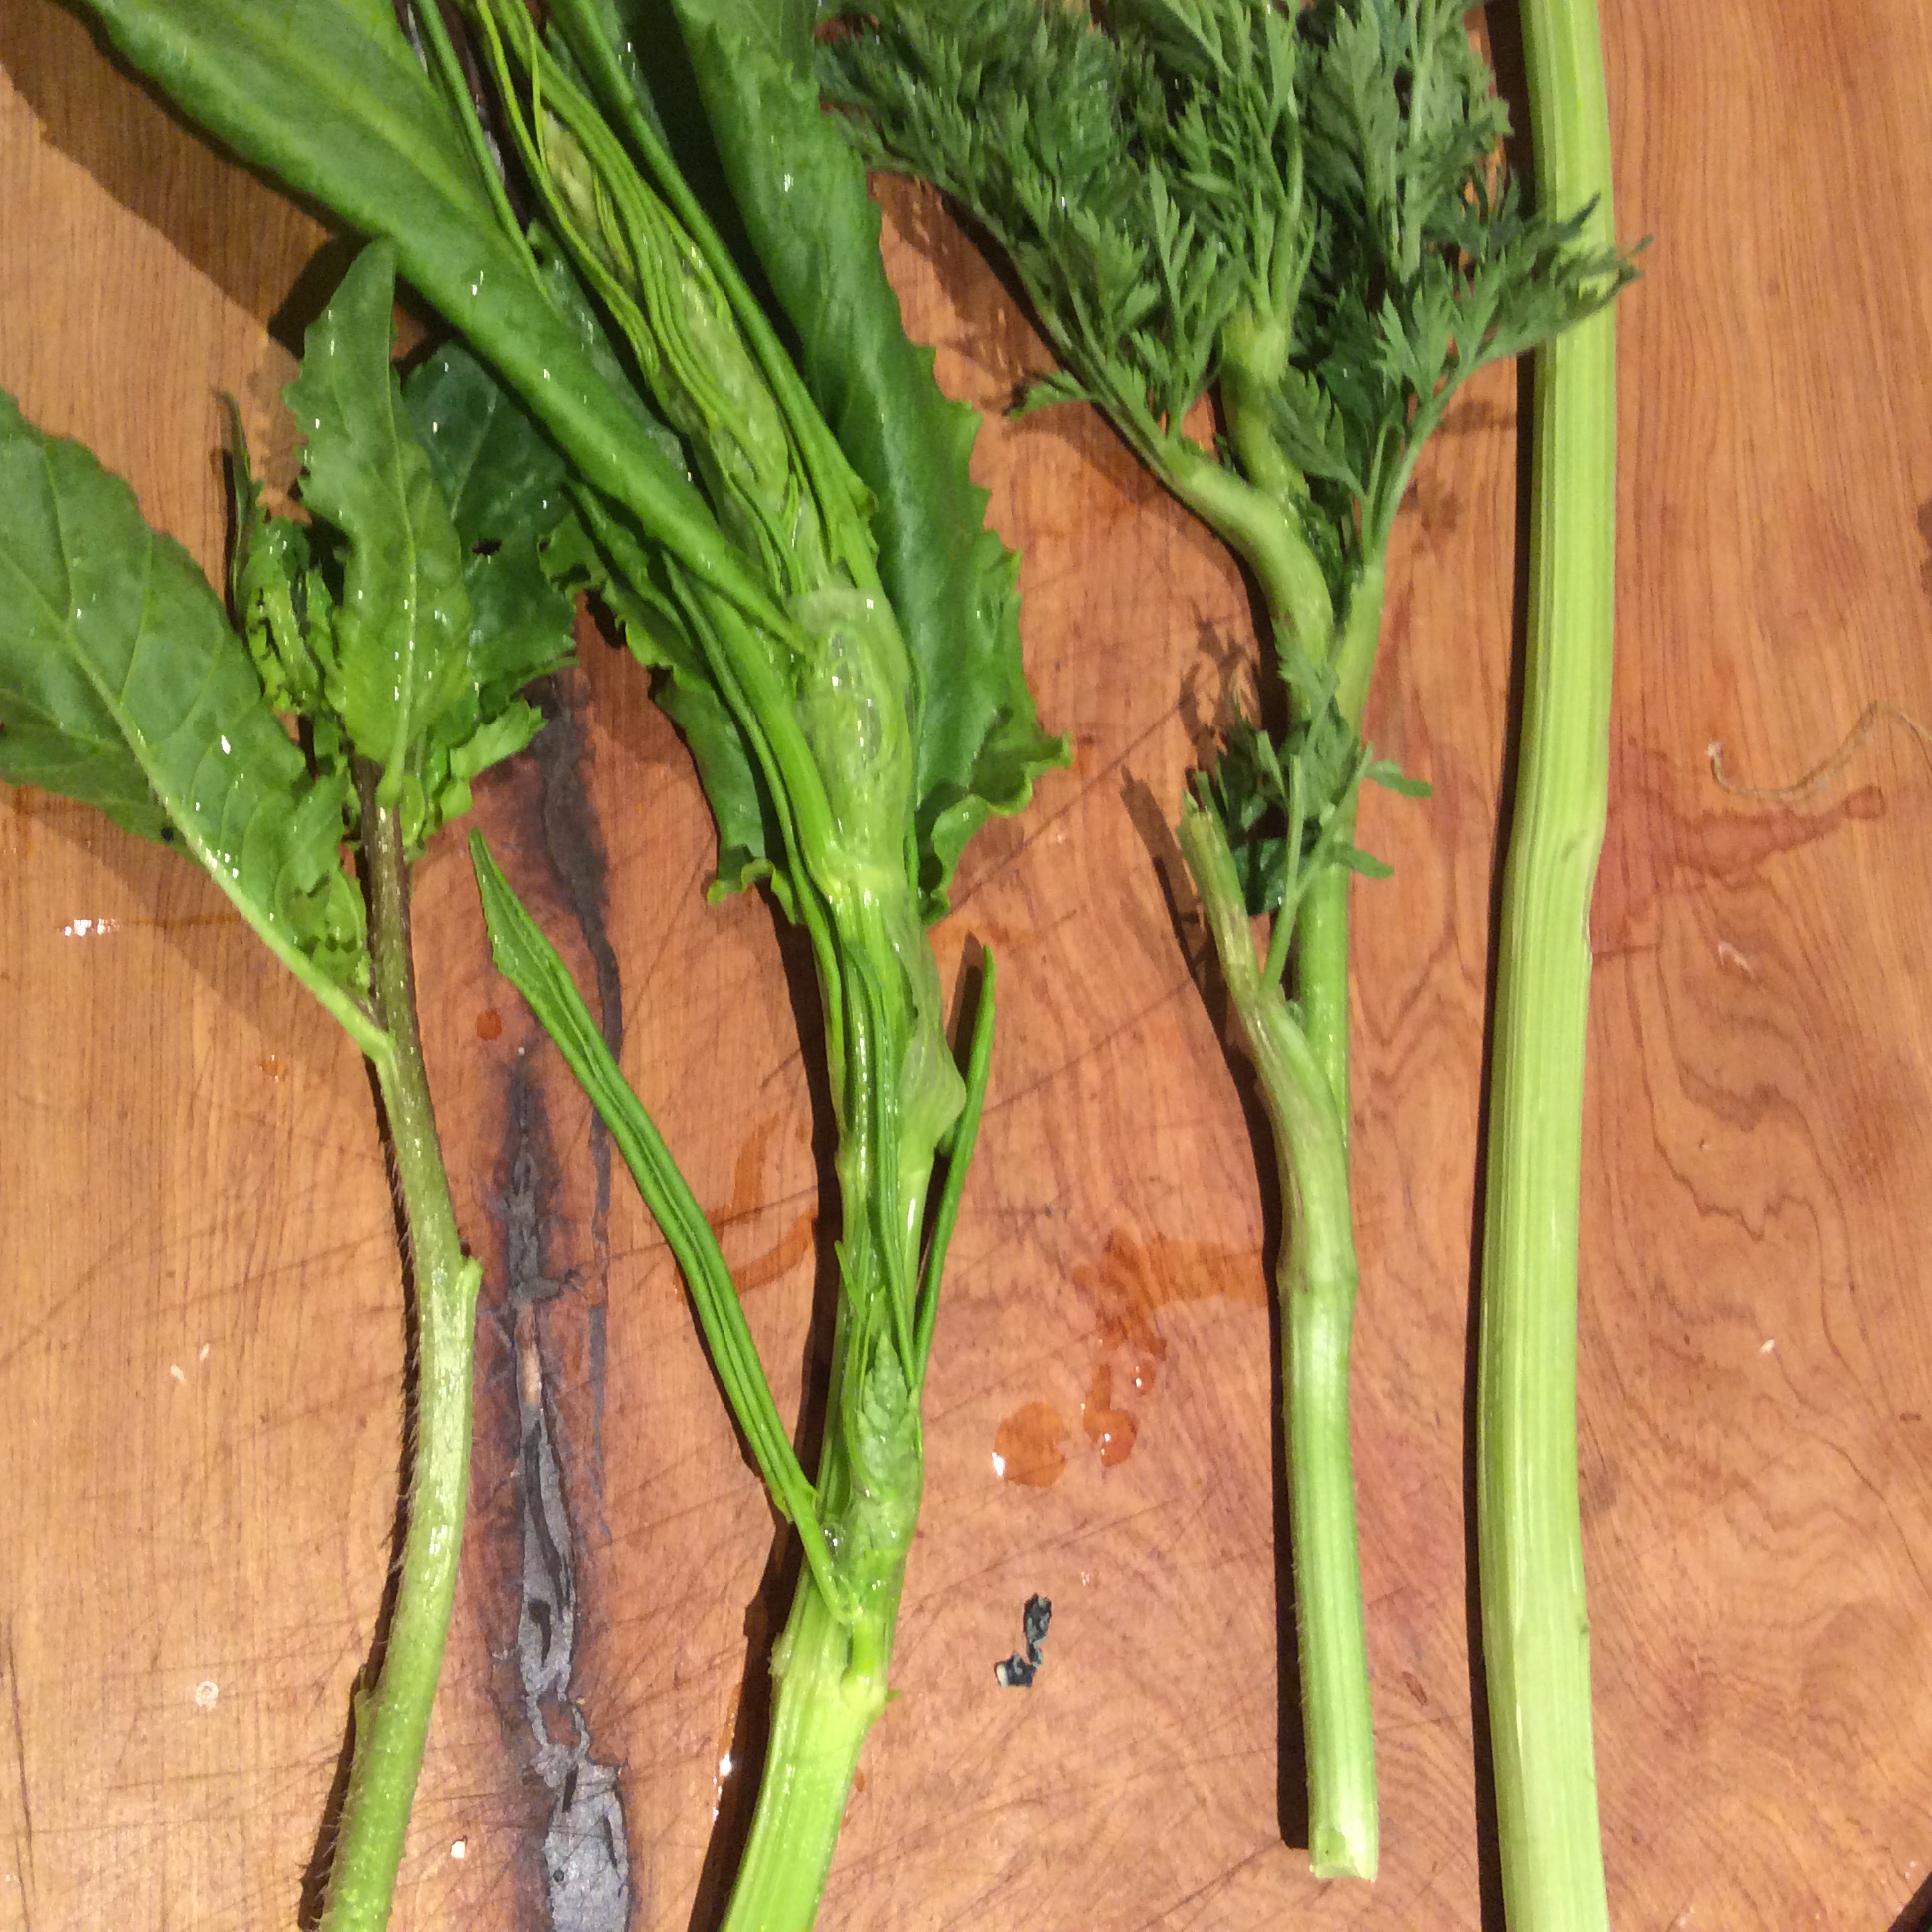
Burdock bloomscape at right stage for peeling and cooking.

Burdock has done a better job of becoming an invasive. I don’t care for the roots that much, and planted it because the peeled bloom scape is a fair vegetable, and I assumed that since I was eating it before the flowers formed, I would be able to keep the plant from reproducing. It fooled me. If you keep cutting off the bloomscape, it forms little short bloomscapes down under the huge leaves where you don’t see them, and seeds itself thickly all around the parent plant.  Dogs wandering through the patch pick up the burrs and plant more elsewhere.  Still, the leaves are a favorite goat treat, and I don’t mind having it around.

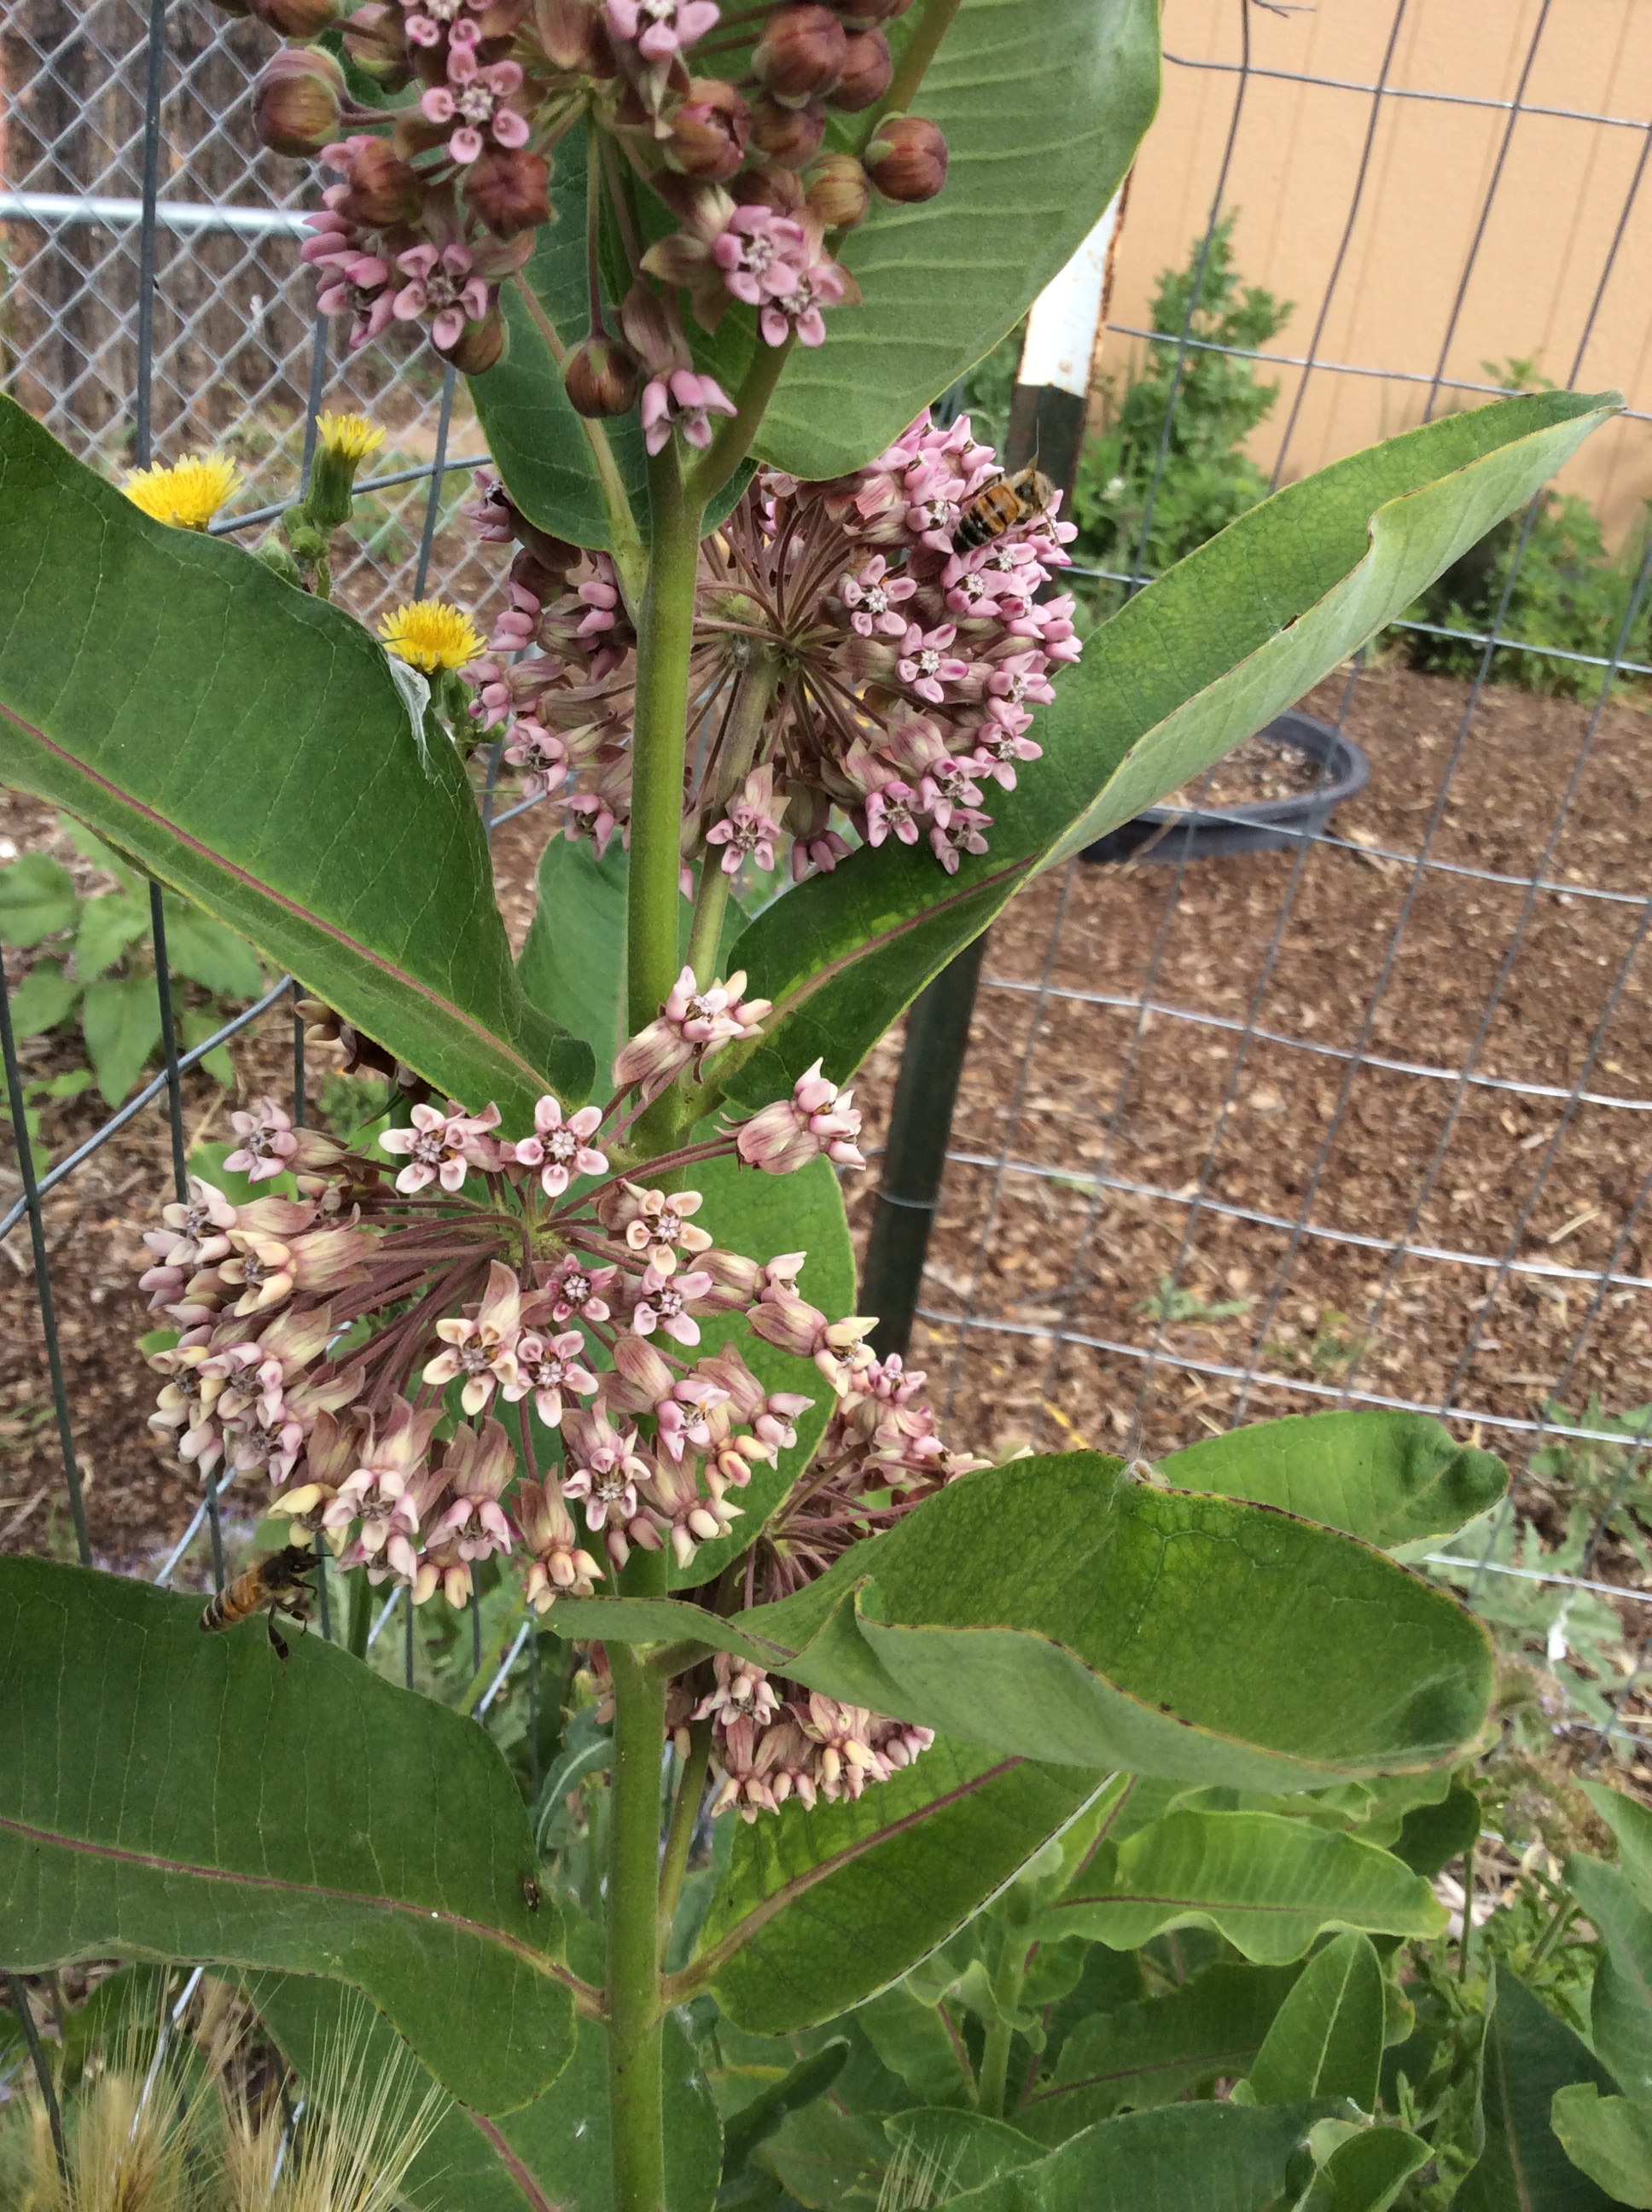
Common milkweed is one of my favorite wild edibles, as well as being a great bee plant and the chosen food of the monarch butterfly larva, and for years I have been trying to get it to become invasive, but in my yard it remains as fussy as orchids.  Ordinarily I run a Darwinian garden and will not make great efforts to keep any plant going when its natural inclination is to die, but I have really gone out of my way for the milkweed, and it has not reciprocated. Finally, this year it is beginning to spread a little bit, but there is still not enough to eat any.

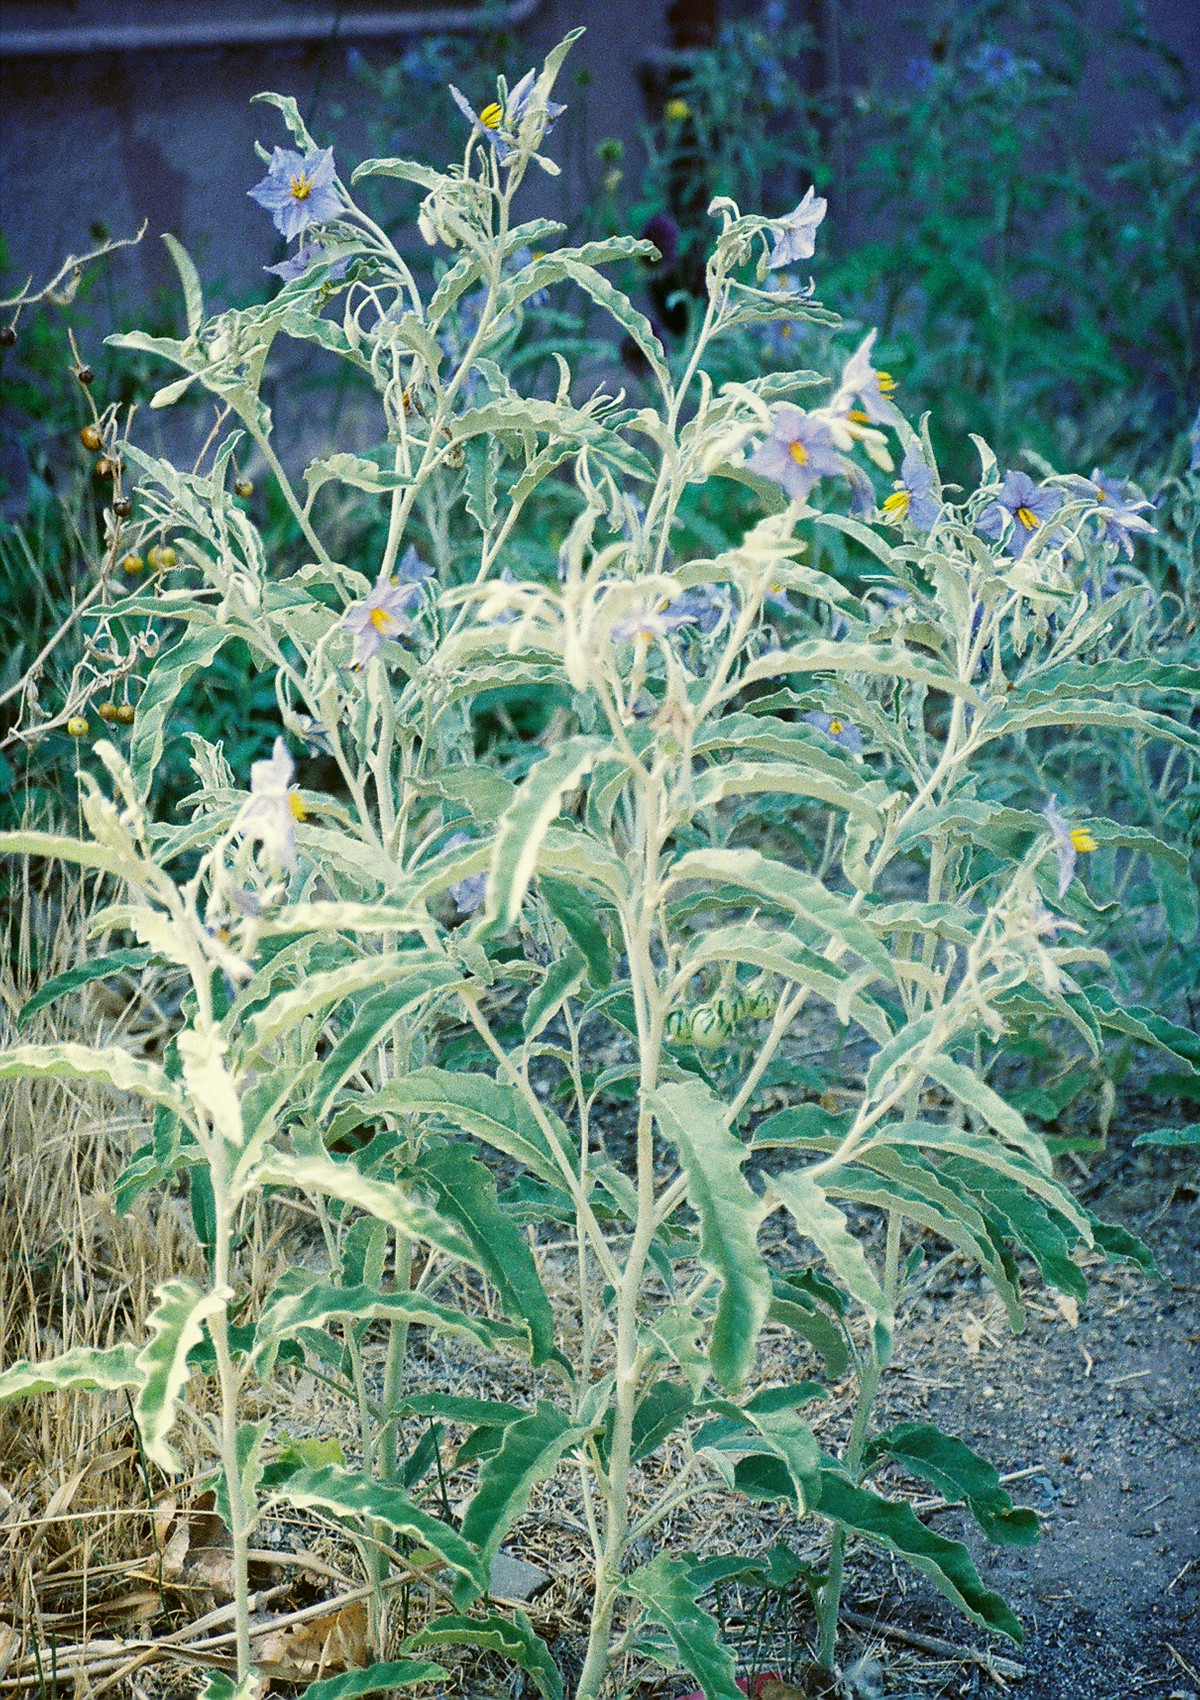
Silver nightshade is the only invasive plant in my area that I truly despise and can find no use for, which is a shame because it’s everywhere. If you think it looks pretty, you haven’t gotten to know it. The roots lie several feet underground and are invulnerable. The plant comes up everywhere, and is covered with small prickles that are not only painful but break off in your skin with any touch and cause irritations that last days. The leaves are poisonous to livestock. There is no argument to be made for its existence except that, unfortunately, it does exist.  It does not seem possible to have less of it. I blush to admit that once, many years ago, I was so infuriated by it that I tried spraying some with Round-up, and I must say that it shriveled up over the next several days in a very satisfying way. Unfortunately, within a few weeks it had rebounded and was growing up happily and thickly from the roots, seeming invigorated by the experience.  So do not bother sacrificing your organic credibility, because it won’t work anyway.  Every now and then I run its scientific name through the medical databases, hoping that somebody somewhere will have found a chemical in it that treats a rare cancer or something like that, so that I will feel differently about its general uselessness. But so far, it remains one of nature’s blights. It seems to be highly aggressive in dry soils and doesn’t compete well in damp areas, so maybe as humus and moisture increase in my soil, it will be less of a problem.

Read the book if you are really interested in a different way of thinking about invasives.

An Assortment of Shoots

image

Last night I decided to try a grand assortment of the shoots found on or near my property right now. All would be oven-roasted in olive oil and salt at 500 degrees except for the garlic shoots, which are getting a bit tough this time of year as they elongate toward making scapes and need gentle stewing in olive oil over low heat for a long time, 25-30 minutes. They were cooked sparately on the stovetop.

The materials that I had to work with included a good-sized bundle of hops shoots, which I have shown many times before, and all of the following:

imageimage

Tender cattail shoots are shown in the upper picture. The one below shows, from left to right:

  1. Annual arugula shoot with buds only just beginning to show.
  2. Dock shoots harvested before any flower buds show.
  3. Carrot shoots from some roots that I didn’t get around to harvesting.
  4. Stalk of a sunflower picked at about 18″ tall and the very fibrous outer layer carefully peeled off.

They were tossed separately in olive oil and a little salt and kept in separate piles on the baking parchment so that we could discern the flavors accurately. All but the arugula were cut in sections an inch long or less to mitigate possible stringiness. I added a couple of chard stems cut in 1/4″ cross sections, after I used the leaves for something else.

image

Roast away in a preheated 500 degree oven, checking frequently and removing each at its preferred stage of doneness, i.e. when it looks roasted but not burned.

Consensus:

I have been writing about green garlic all season, so no need to say anything more except that, as always, they were delicious.

I love cattail shoots but my husband finds them only passable. Probably for solitary dinners in the future.

Love hops shoots with their feral, mildly bitter, “unimproved” flavor. Love them.

Sunflower stalks have a pleasant enough, rather innocuous flavor and nice texture when carefully peeled. There are those on the Internet who claim that they just pluck them and eat them. These people have probably never been near a sunflower. More on this later.

I have not yet found any way that I like chard stems except roasted and  ground into a fairly good baba ghanoush. Eaten alone, there is a touch of dirt in the flavor that doesn’t do it for me.

Dock shoots were amazingly good, with a soft center tasting of lemon with a strain of bitterness. Be sure to cut into sections before cooking to eliminate the stringy factor, and pull large leaves off. Smaller ones can be left in place and are tasty.

The arugula shoot was very slender but a bit stringy anyway. They, too, need to be cut into sections. Delicious though, although they are small and it would be tedious to pick enough for a meal.

Carrot shoots were the real surprise. When roasted in sections they were tender, sweet, and full-flavored with a touch of the terpene scent that makes carrot foliage smell aromatic and carroty. The remaining leaves got brown and crisp during roasting and added textural interest. I liked them so much that I am going to leave the rest of the row of woody second-year carrots in place until they produce shoots. Even when the roots are at this advanced stage my goat loves them, so the roots will not be wasted.

Initially I wanted to taste each type of shoot individually, but I will make a grand mixture in the near future by sorting sections roughly according to size, i.e. thin, medium, or thick. Then I’ll pan-fry them in olive oil in my biggest skillet, putting thick ones in first, then two minutes later mediums, followed by thin bits in another two minutes, then cook until done. Yum.

Look around you and see what’s producing shoots right now. If (and only if) you’re certain that the foliage of that plant is edible, try them out in hot olive oil. I enjoyed goji berry shoots a little earlier in the season, and will be trying wild lettuce and sow thistle within a week or two. Some grapevines produce delicious shoots, although some ( most notably my Concord vine) have so much papery fiber in the leaves and shoots that I consider them inedible; read more here.


The Offbeat “Broccolis:” brocolettas in the spring garden

image
Broccoli is widely touted for its nutritional content and culinary versatility, and my garden beds are full of broccoli-in-waiting, but there is also “broccoli” to be had right now. All the common garden crucifers produce bud clusters when they shoot to seed, and all of them are good to eat when snapped off before the flowers open. Some go to seed the first year, and some have to go through a winter before they bolt. I try to use cover crops that will be edible as greens and also offer me a “second harvest” of bud clusters. Currently I am harvesting bud clusters from arugula, daikon, and the collards that I over-wintered for seed production (they make a huge amount of buds, and a few clusters will never be missed). Arugula is especially good for this purpose, because first you get those exquisite nutty-peppery salad greens, second the top-bud harvest with its wild, unimproved, bitter-edged flavor, then the remaining buds open and are wildly attractive to bees, and finally the remainder of the plant enriches your soil when chopped and dug in, all in the span of a few months. I buy the seed in bulk and cover-crop it whenever a piece of garden bed is going to be empty for a little while. You can also harvest buds from bolted radishes and wintered-over kale, and probably a lot of things that I haven’t tried yet. Be aware that they are tiny, and you need a lot of plants to have enough to cook. I have heard these offbeat buds referred to as “broccolini” or “brocoletta.” I call them brocolettas, because “broccolini” really refers to a form of domestic broccoli with long, small stems.

When I call the flavor “unimproved,” I am referring to the fact that our common domestic vegetables are bred for the mildest flavor possible. The things that I grow and forage for are not. They have very pronounced flavors from their protective phytochemicals, and can stand assertive seasoning. Think garlic, red pepper, thyme, and other strong flavors.

My favorite way of cooking the washed bud clusters is to throw them in a hot pan of very good olive oil with a little washing water still clinging to them, salt them, turn frequently and keep the heat fairly high, and serve them when the green parts are crisp-tender and there are crisp brown areas but no blackened spots, and eat them in their feral glory with some extra olive oil on top and a twist or two of the pepper-mill. They can be a “hot salad” on their own, or complement a flavorful entree. Take that, flavorless baby spinach!

Nose-to-tail vegetable eating stretches over each vegetable’s growing season, in my view, rather than meaning that every single part of the vegetable is edible and choice. Arugula’s leaves and buds are very desirable eating, the flowers are excellent bee forage, and then the remaining plant offers biomass for mulch and compost, or you can let them self-seed first and have your next crop planted. Now that’s multi-purpose.

Vegetable dinners: add an egg! and notes on feeding chickens


Like the British cookbook writer Nigella Lawson, I am both greedy and lazy, so I’m full of timesaving tricks for making real food in a hurry. Now if I also looked like her, that would be nice, but two out of three isn’t bad. One of my favorite time-saving tricks is to make a small batch of yeast dough and stick it in the refrigerator with no clear idea what I’ll use it for. Most recently, I used it to make a variation on a hortapita, filled with mixed greens. Since my chickens have started to lay, I decided to incorporate eggs. This isn’t really a recipe. This is the sort of thing you throw together by instinct on days when you need the comfort of the kitchen but if you think too much more, your brain will break.

If you don’t happen to keep dough hanging around, you can use ready-made pizza dough from the Co-op, but making your own is a cinch. My basic recipe is 2 cups water, 1 teaspoon sugar, 1/2 teaspoon dry yeast, and 2 teaspoons salt. Mix together, knead on a floured surface for five minutes, form into a ball, pop it into an oiled bowl and cover with plastic wrap, and set in the refrigerator for 1-2 days. On the second or third day, take the bowl out before you leave for work and leave it at room temp for the day. When you come home, it will be ready to use for a homemade pizza or hortapita.
Besides the dough, you will need:
about a pound of mixed greens OR a pound of frozen organic spinach and a handful or two of stronger-flavored greens or herbs to give flavor.
an onion and a couple of cloves of garlic
a packed cup of crumbled feta or shredded parmesan or some flavorful but not stinky cheese. Idiazabal, mild cheddar, or mild gouda would all be reasonable. I used Idiazabal because I usually have some around.
3-4 eggs
some olive oil

Preheat the oven to 425.
For the filling, I took a major shortcut and started with a pound of frozen organic spinach. Then I picked some very mature arugula from the yard to give it that wild strong flavor, but since 6 or 7 big leaves will do the trick, the cleaning time was about 5 minutes for the greens. If I didn’t have arugula in my yard, I’d just chop up a small bunch of parsley or the tops of a few green onions for a different but equally “green” flavor. Chop and saute an onion in olive oil, remembering to stir frequently. Between stirs, shred the arugula or whatever you have into chiffonade and put it in a nonmetal mixing bowl with the frozen spinach. Microwave the mixture on high for two minutes. There may still be some frozen chunks of spinach. Ignore them. Squeeze the mixture over the sink, handful by handful, to get out as much moisture as you can, and return the dry greens to the bowl. At this point the onion should be cooked. Add a couple of cloves of chopped garlic, saute until the garlic is cooked, and add to the greens in the bowl. Add the cheese, toss all together with your hands, and taste. It may need some salt, will surely need some freshly ground pepper, and may cry out for a little thyme (to me, most foods cry out for a little thyme, and so there should always be some in a pot somewhere or in the refrigerator.)
On a large baking sheet, smear around some olive oil and dump the dough on top. Pat it out with your hands, using vigorous stroking motions to spread it out into a big oval without tearing it. When it is about 1/4 inch thick and nearly as large as the pan, pile the greens mixture on half of it and make 3 or 4 depressions in the greens. Crack an egg into each depression, salt the eggs lightly, and fold the other half of the dough over the top and pinch the edges together. Smear a little more olive oil over the surface and stick in the hot oven until done, somewhere between 20 and 30 minutes. Eat with the knowledge that a tough day didn’t get you down. A glass of good strong red wine will help give you the wherewithal to face tomorrow. If you have just a little more energy and half a bunch of parsley, pound a clove of garlic, the parsley chopped, and the juice of half a lemon in your faithful big mortar and pestle. When somewhat pulverized, add enough of your best olive oil to make a chunky puree and salt to taste. I love this simple sauce/dressing/relish beside almost any vegetable or egg dish, but it’s especially good for bringing a makeshift hortapita to life. If you don’t have a big mortar and pestle yet, a food processor is okay.

My eggs come out of my back yard now, and I give a fair amount of thought to feeding my chickens. If you want your eggs to be highly nutritious, you have to give the chickens the nutrients to make good eggs. For maximum security from predators my coop is fixed and nonmobile, so I cut grass and clover from the yard daily to supplement the laying mash. All the vegetable trimmings from garden and kitchen prep go to them, too. Any pumpkin or squash “innards” go to them so that they can eat the seeds. The chickens get oystershell for calcium, and they get any nutritious table scraps that would otherwise be wasted. For example, they will happily devour leftover salad, for which there is no other use, and rice or stale bread or bulgur are right up their alley. If I have leftover oatmeal or yogurt, they wolf it down. Now that we’ve had several frosts there aren’t many green things left in the yard, so I give the chickens some flaxseed every day to keep the omega-3 content of their eggs up (this is how the commercial high-omega 3 eggs are produced.) Flaxseed is expensive, so rather than give it to them dry and permit it to be scratched around and wasted, I mix it into yogurt or chopped vegetable scraps to make a slurry that they can eat out of a small dish.
I also feed their own eggshells back to them for calcium, but I never just throw the shells into the coop, because this trains them to eat their own eggs (yes, healthy chickens with lots of room and food will eat their own eggs if they learn how, and once a flock has learned to eat eggs there’s no good way to stop them.) I set the shells on a plate and microwave them for one minute to dry them thoroughly, then let them cool and set them aside in a bag. When I’ve accumulated a dozen or so, I crumble them roughly by hand and then put them in the blender and grind them to a coarse powder. The powder is added to yogurt or leftover oatmeal and stirred in well. The chickens gobble it up and it helps them make strong eggshells.