Lately I have been on a Mexican kick. Not the light, bright, tropical flavors that are so refreshing in the summer, but the darker and earthier ones that are so warming in the winter. In my last post I wrote about the darkest and richest of my home-composed seasoning sauces, and this time I’ll give the recipe for my Colorado sauce. I call it Colorado, the Spanish word for brick-red, because it is that color and to distinguish it from red chile, which is made everywhere in my area with local chiles and is truly bright red. It is quite different from the Oaxacan mole colorado, which is enriched with nuts, seeds, and often fruits or sugar. This one is pure chile.
The selection, toasting, deseeding, soaking, and grinding of chiles can be a prolonged process. I’ve gotten around this by making a base that can be used about 85% of the time as a start, modified as needed with additional chiles and seasonings to suit a particular dish. That way I can make the base once and use it for quick meals.
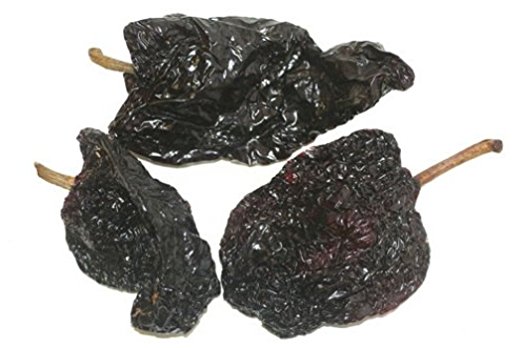
First and foremost, get good chiles. This is not as easy as it sounds. For instance, a lot of places sell dried anchos, but they are generally dried out, brittle, and have lost much of their special flavor. A proper ancho chile is bendable and leathery, has a scent of good pipe tobacco, and when tasted raw has tobacco and raisin notes. In areas with a large Mexican population, you can usually get good ones, but in other areas the chiles often will be dried out, crumbly, and short on flavor. You can order from The Chile Guy and be certain of getting good stock.
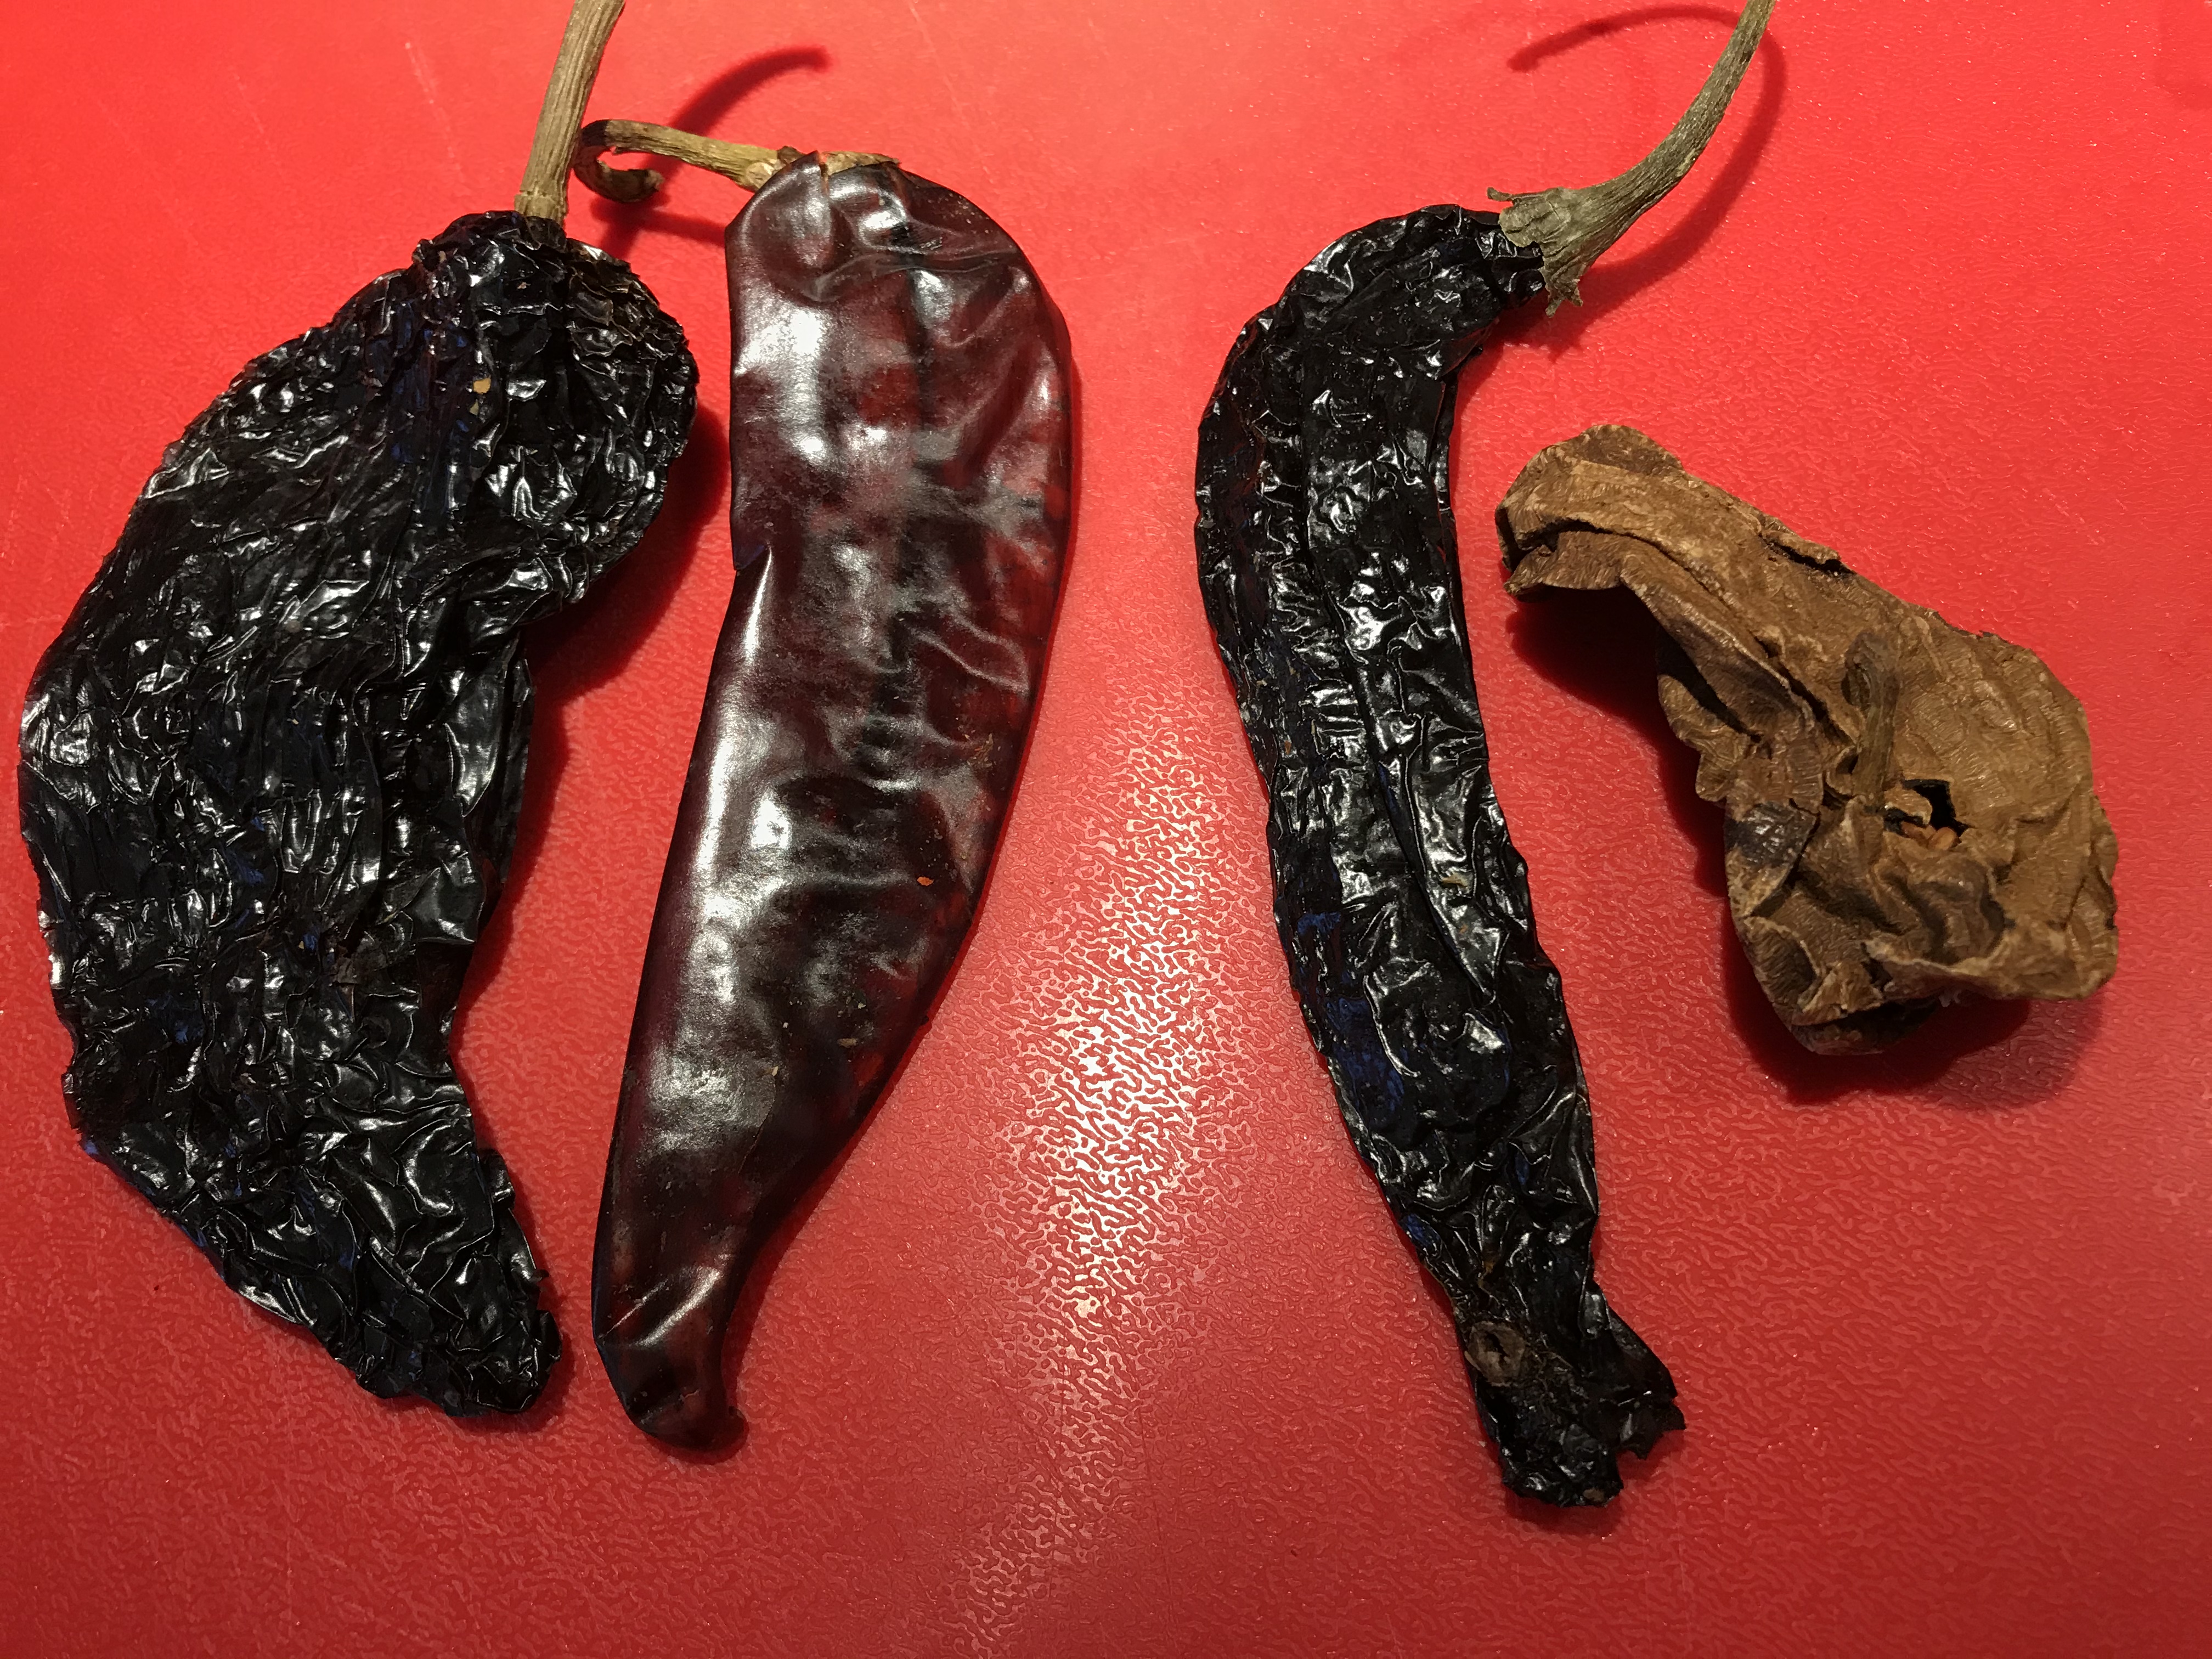
The chiles used here are anchos, guajillos, pasillas negro, and chipotle meco, shown from left to right above.
8 anchos
6 guajillos
5 pasillas negros, often sold just as chiles negros
2 chipotles mecos
1 large onion
4 cloves garlic
1/4 cup home-rendered lard or avocado oil
3 cups chicken broth or water, heated to near boiling
1 14.5 ounce can fire-roasted tomatoes
1/2 teaspoon oregano
With kitchen shears cut the stem ends off all the chiles, slit them down one side, pull out most of the seeds and veins, and flatten out as much as possible. Slice the onion fine, peel and chop the garlic, and heat up 3 cups of water or broth in a bowl.
Heat a comal or iron skillet to medium-hot. Be prepared to work very fast. Put one chile at a time in the skillet, hold down firmly with a metal spatula, and toast about 20-25 seconds, even less if your skillet is really hot. For this recipe, you don’t want them to darken, blister, or burn. As each one is finished, toss it into the hot chicken broth or hot water. As chiles pile up, stir frequently so that they all get soaked. When all are soaking, rinse and dry the skillet. Put 2 tablespoons lard or oil in the skillet over medium heat, add the sliced onion, and sauté slowly with frequent stirring until medium gold. Meanwhile, put the chilies and their soaking liquid and the tomatoes and oregano in the blender and grind to a smooth purée. When the onions are cooked, add the chopped garlic and sauté another few minutes until the garlic is cooked. Pour in the purée from the blender and cook the mixture over medium-low heat until it boils, then turn down to a simmer and continue to cook, stirring frequently, until it is very thick. This may take up to an hour depending on heat, but be very careful not to scorch it. Now taste and add salt.
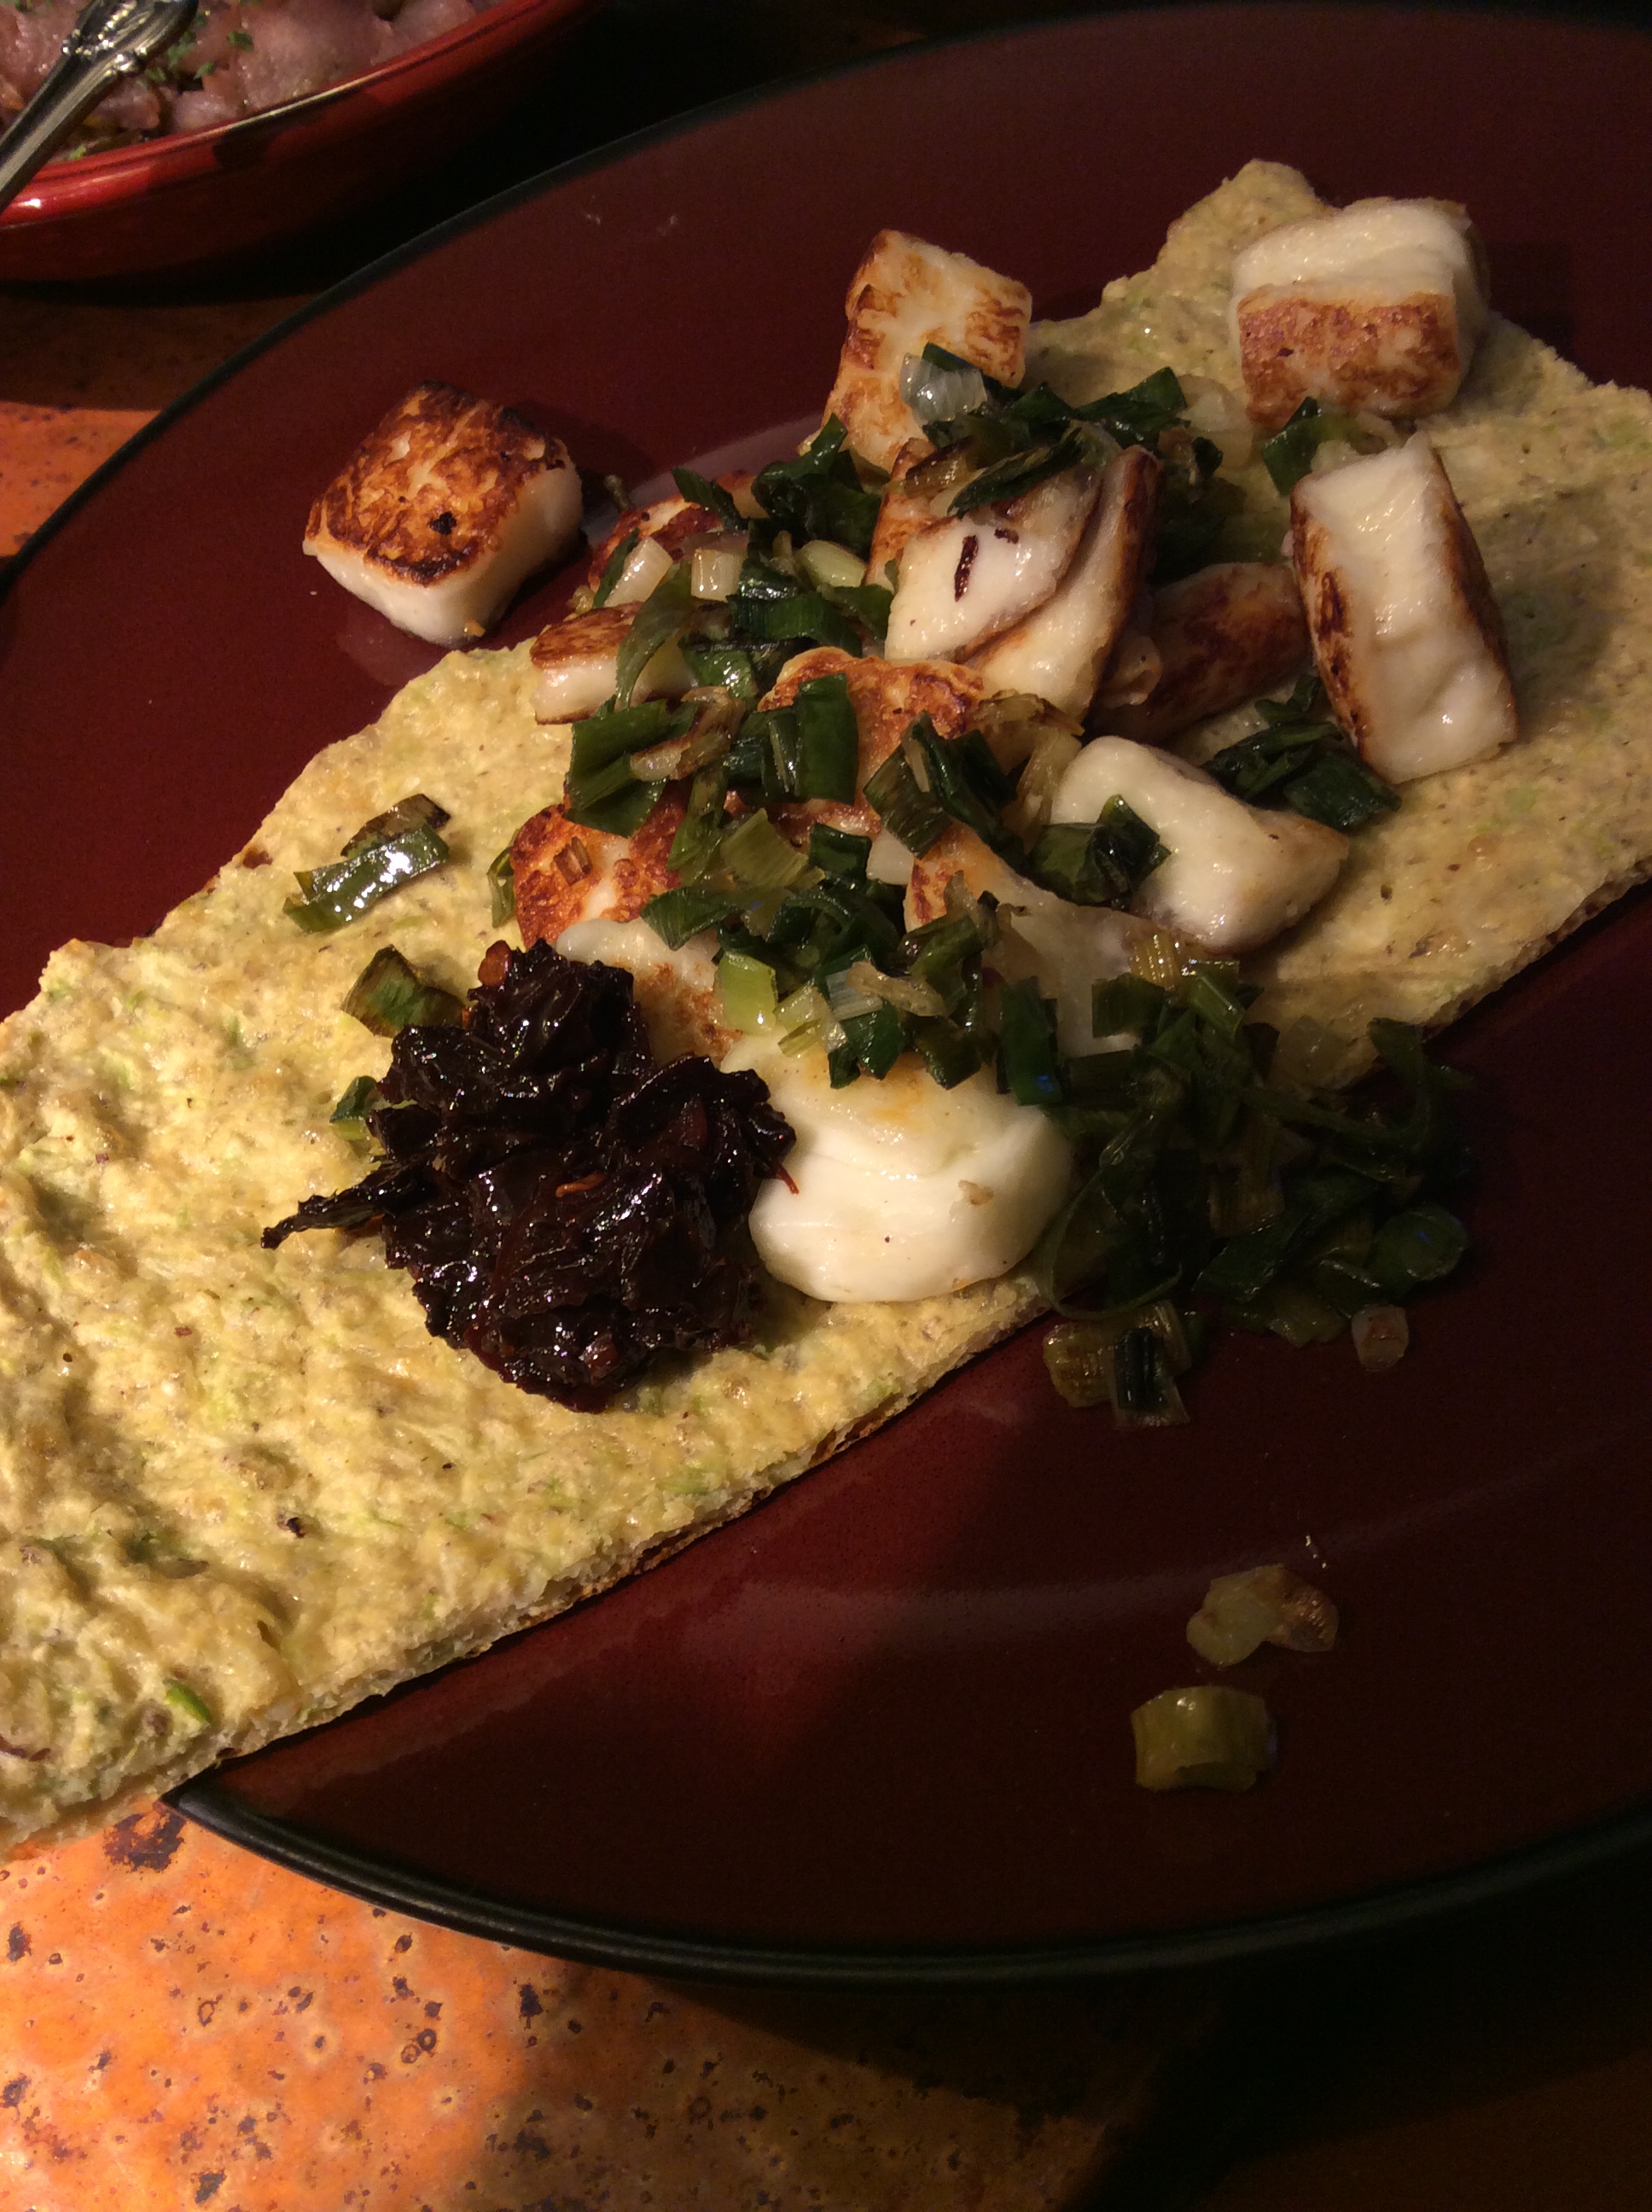
You now have a thick chile concentrate which can be smeared on tortillas or sopes or chalupas or meat or chicken as is, but can also be added to rich broth to make wonderful sauces on very short notice. I keep it in the refrigerator in a jar, but if you don’t think you’ll use it that much, freeze it in large ice cubes and calculate about two cubes per cup of broth for a thin sauce or three cubes for a thicker one. It has a little capsaicin heat but not a lot. It’s my favorite seasoning to add to good cooked hominy corn to make posole, and can be used as is or with a little broth added to reheat leftover meat or poultry to make tacos. If you are fond of Oaxacan mole colorado you may be able to elaborate this base into some version of it, although if that’s your preference I think you’d be better advised just to make mole Colorado paste in the first place.

Don’t underestimate the capacity of chile pastes to bring vegetables to life. Stirred into a stir-fry or as part of a rub for roasted vegetables, they can help old favorites show a new side. I can also imagine a little eaten with tortitas, the wonderful Mexican vegetable fritters that are not much seen in the US. You can read more about them here, and I hope that you will, because Zarela Martinez is a truly interesting food writer. However you use your elixir, just be aware that scorched chiles taste acrid and unpleasant and don’t let this happen when using chile pastes.
The toasting step is vital in bringing out the flavor of the chiles. I always do it on the comal because that’s the way that I originally learned, but many sources recommend oven toasting. I haven’t tried it, but here are directions if you want to experiment: Cook’s Illustrated. In my previous post on Earth and Fire Sauce toasting is replaced by frying in oil, a different and even more complex flavor.