As I mentioned in my last mulberry post, I’m fond of eating very young mulberry leaves in cooked greens mixtures, and recently I was inspired by a post on TC Permaculture to think about mulberry leaf dolmas. I had located a mulberry tree with big and fairly tasty leaves, perfect for dolmas:
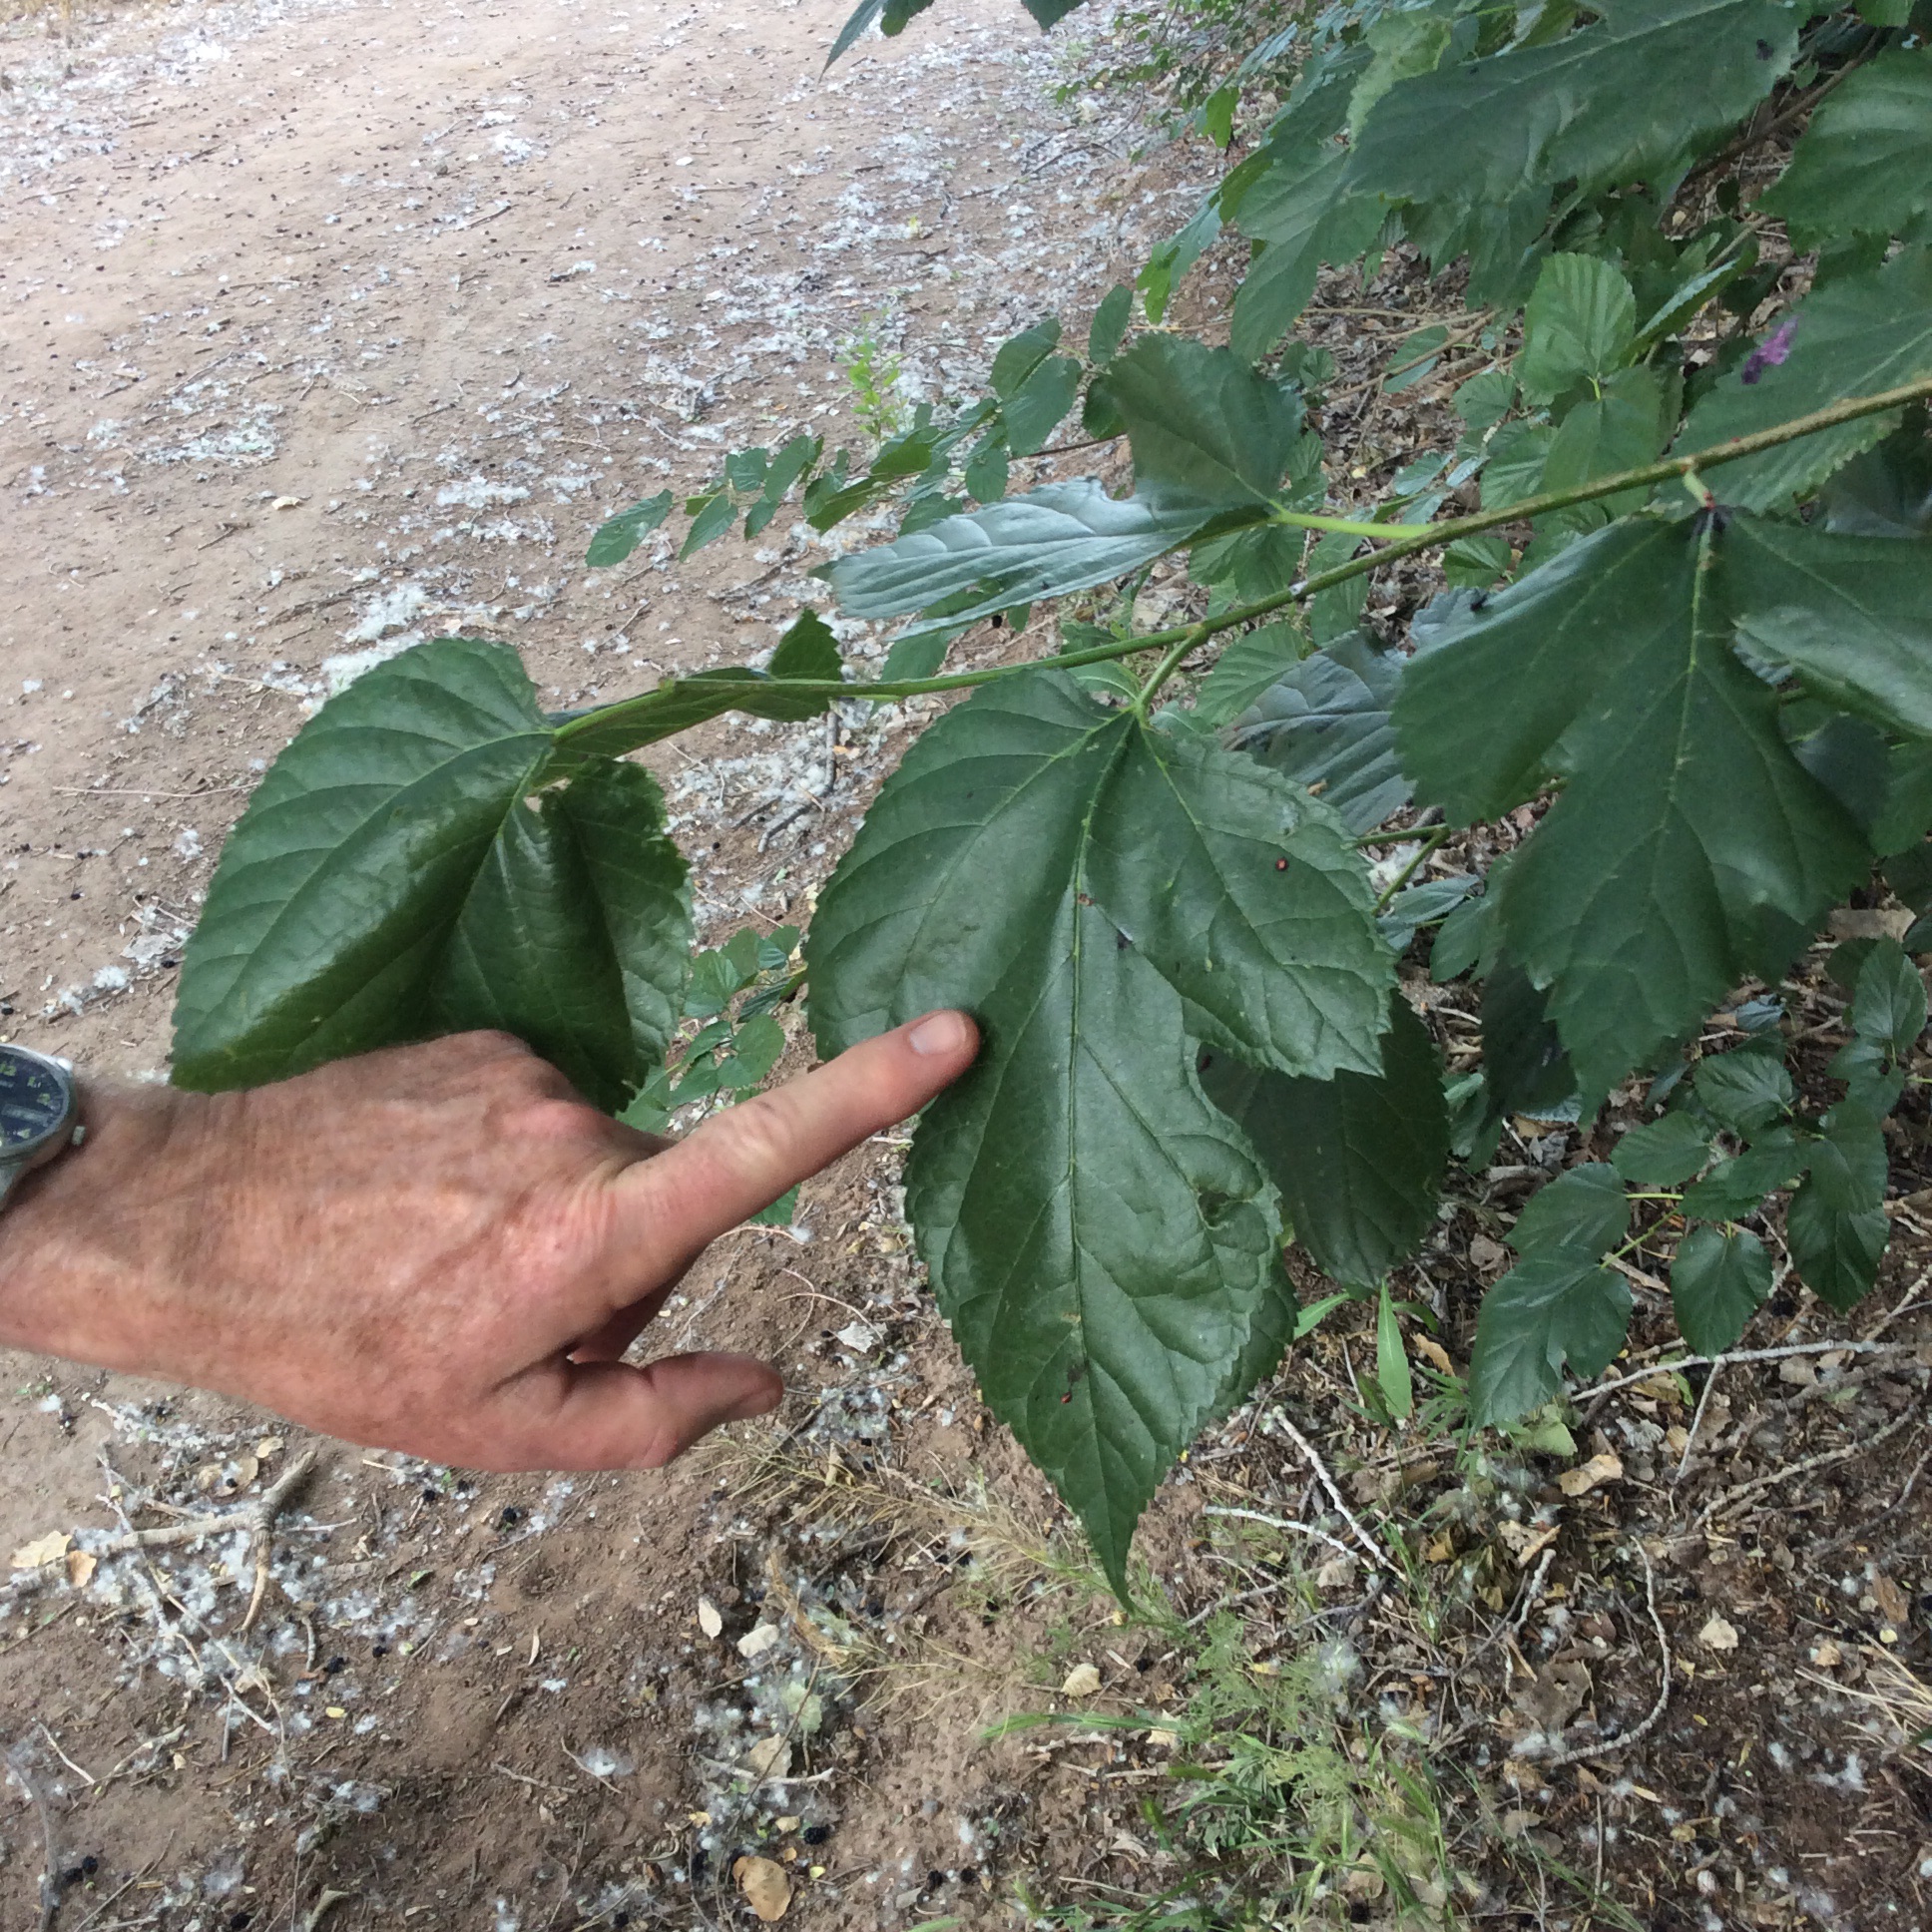
I asked my friend to stick his hand in the picture so that you can see that these leaves are big, over 7 inches long in many cases.
Be aware that if you are going to cook with mulberry leaves, they have to be young and you have to taste them first. Some are quite tasty, some are okay, and some are awful. Chew up a little bit. It will taste raw and green, but if there are acrid awful flavors, don’t go further. Use grape leaves instead in that case.
I foraged a couple of dozen big mulberry leaves, rinsed and blanched them for a minute in boiling water, and set out to make a meat filling. Mine was very improvisational, so I’ll describe it casually. For more specific and concrete recipes, you can google “dolmas” and find hundreds. I wanted to use what was fresh and good in my garden.
I started with a pound of ground beef from our local grassfed beef people. Don’t use beef that’s very lean; it will be dry when cooked. I chopped up three large green onions, greens and whites chopped separately, and four cloves of garlic. I put the white onion parts and the garlic to sauté over medium-low heat in a glug of good olive oil. While they cooked, I chopped a handful of parsley, a large sprig of cutting celery, a few large sprigs of thyme, a large handful of cilantro with stems, and a sprig of sweet marjoram, and mixed them with the chopped onion greens. To the beef I added a heaping teaspoon of salt and a heaping teaspoon of Maras pepper flakes. The Maras pepper was courtesy of a friend who kindly muled it back from Turkey for me, but you can use any mild red pepper flakes, or leave them out. Work the sautéed mixture and the chopped herbs into the beef very well with your hands. Now work in a cup of toasted pine nuts, chopped toasted almonds, or chopped toasted walnuts. Let the mixture rest in the refrigerator an hour or two if possible, or up to overnight, to let the flavors develop.
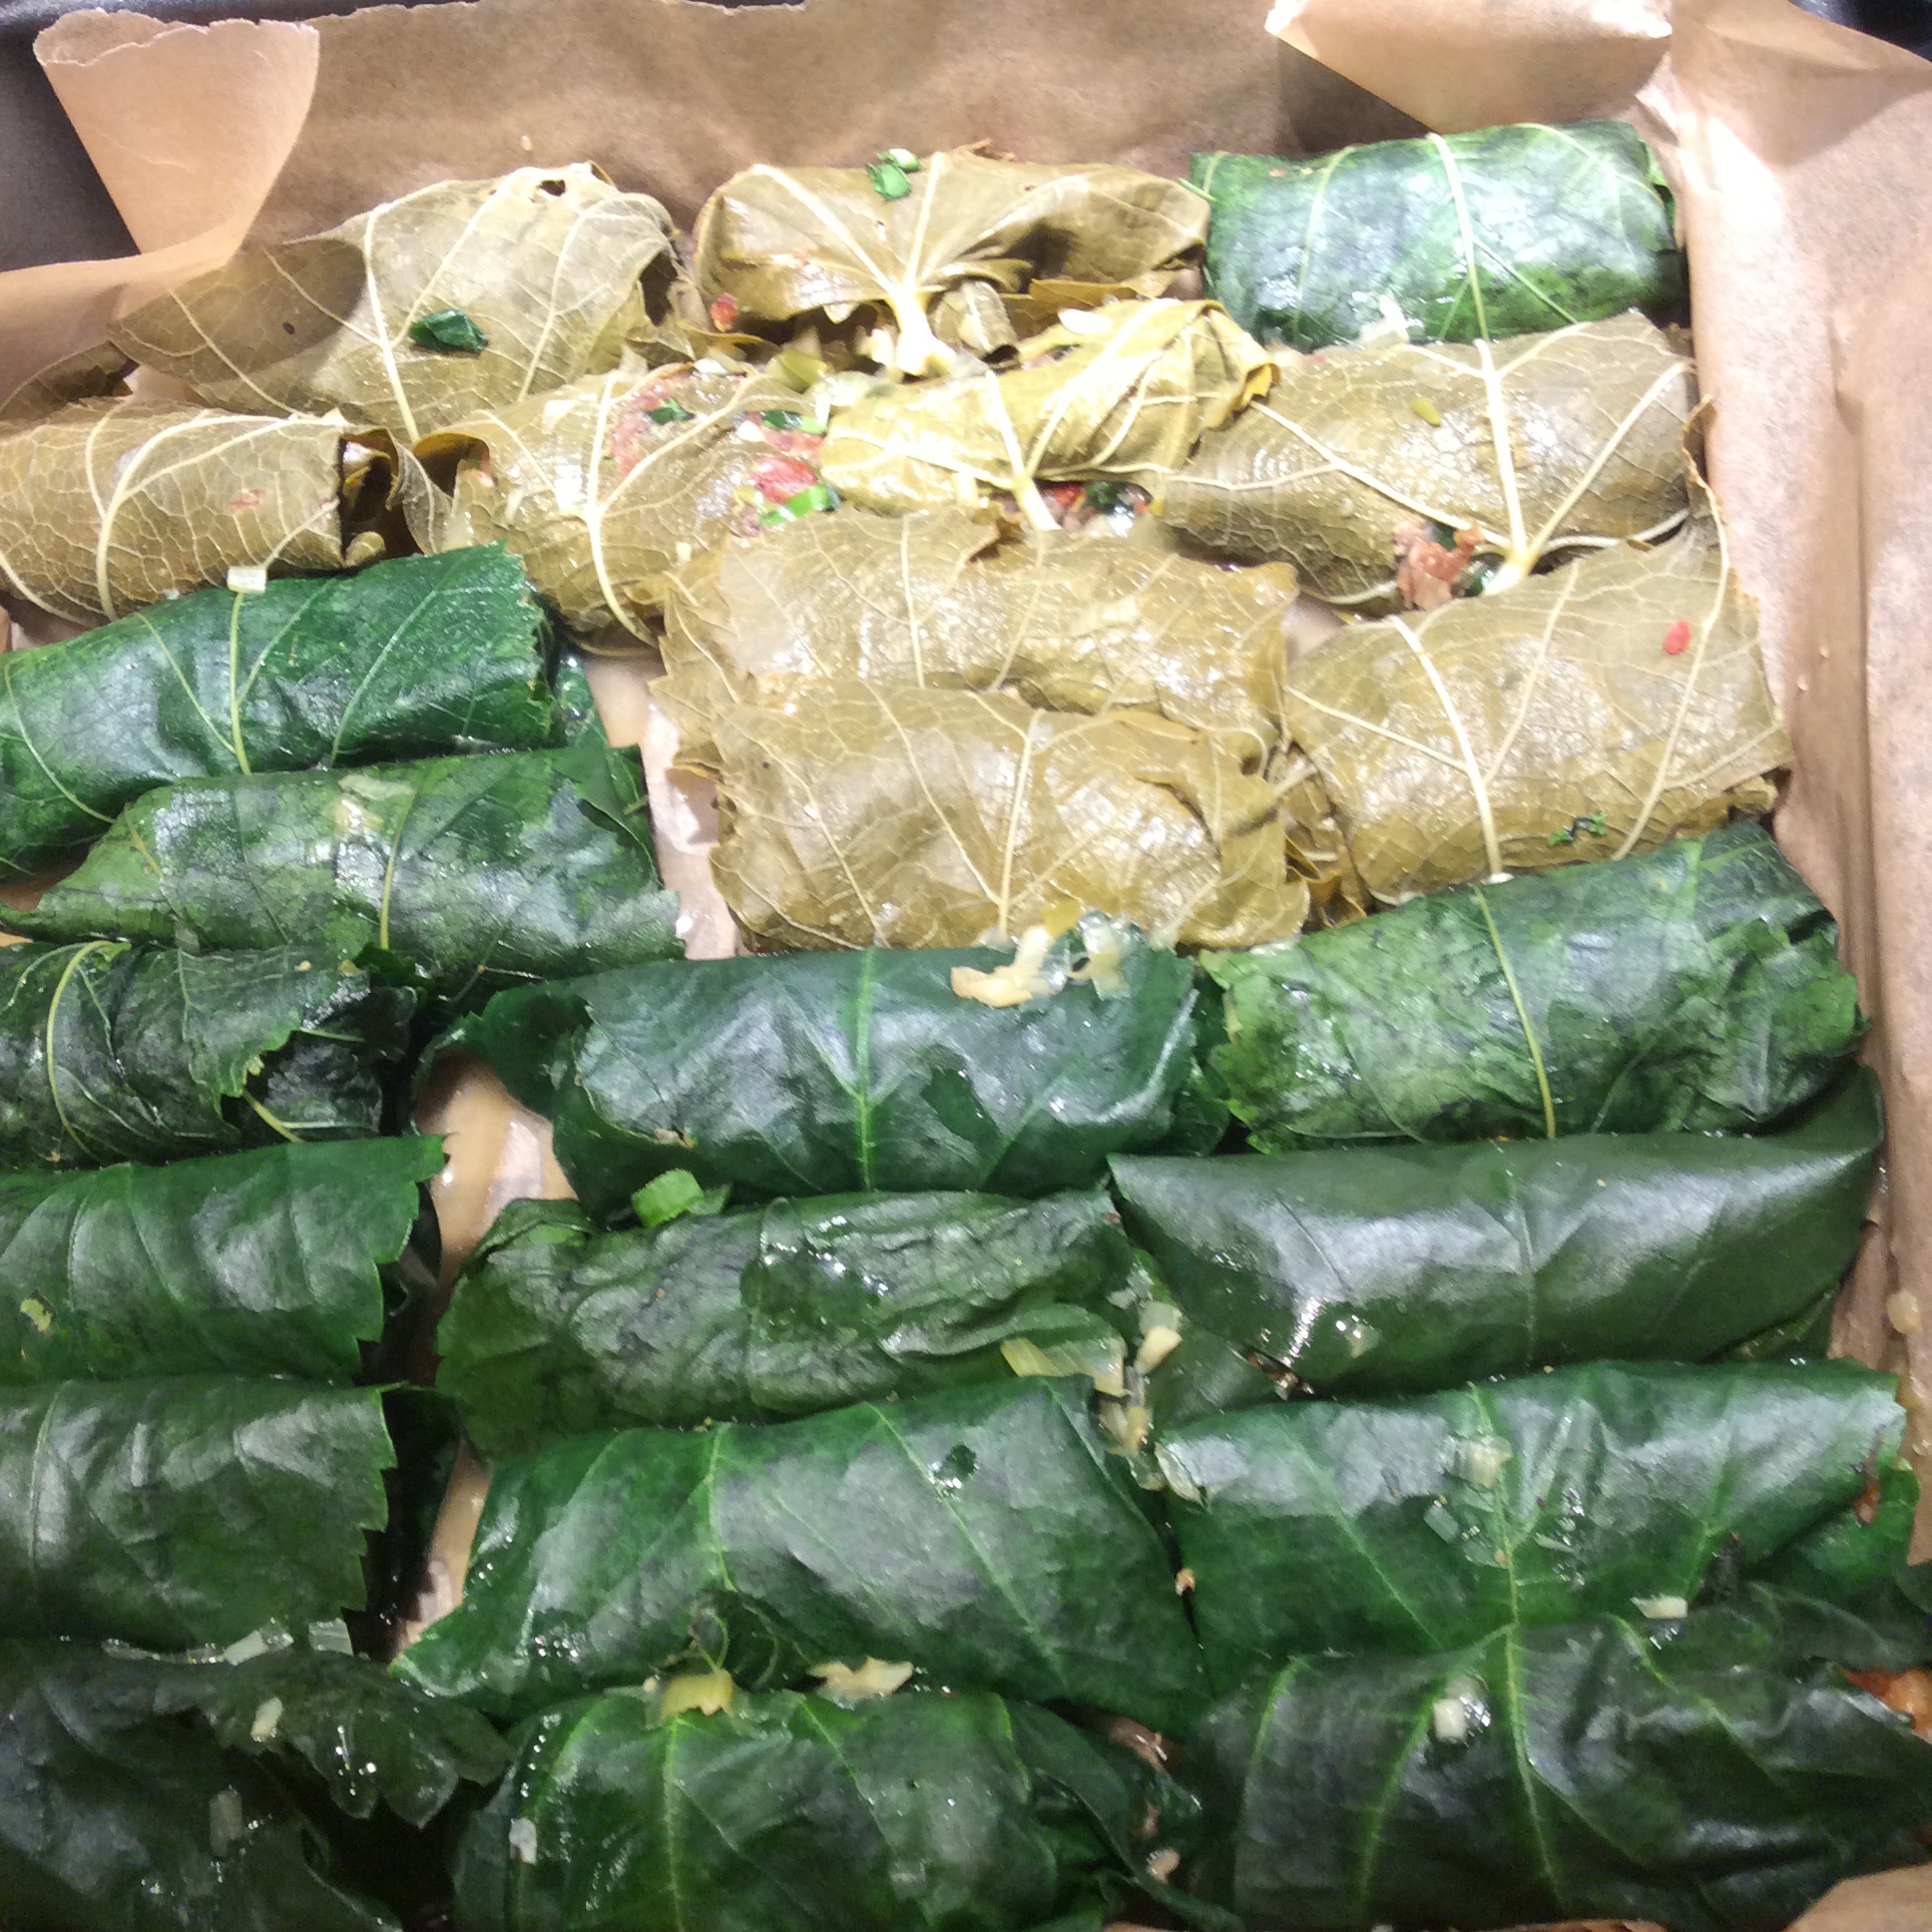
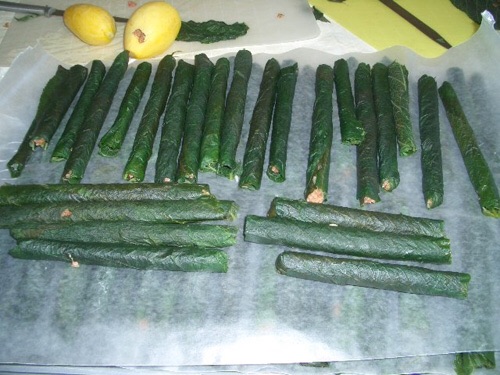
Fill the dolmas; again, there are a thousand visual tutorials online if you are unfamiliar with the process. Fit them tightly into a pan lined with parchment paper. In the photo below you can see some made with grape leaves among the vibrant dark green mulberry dolmas.
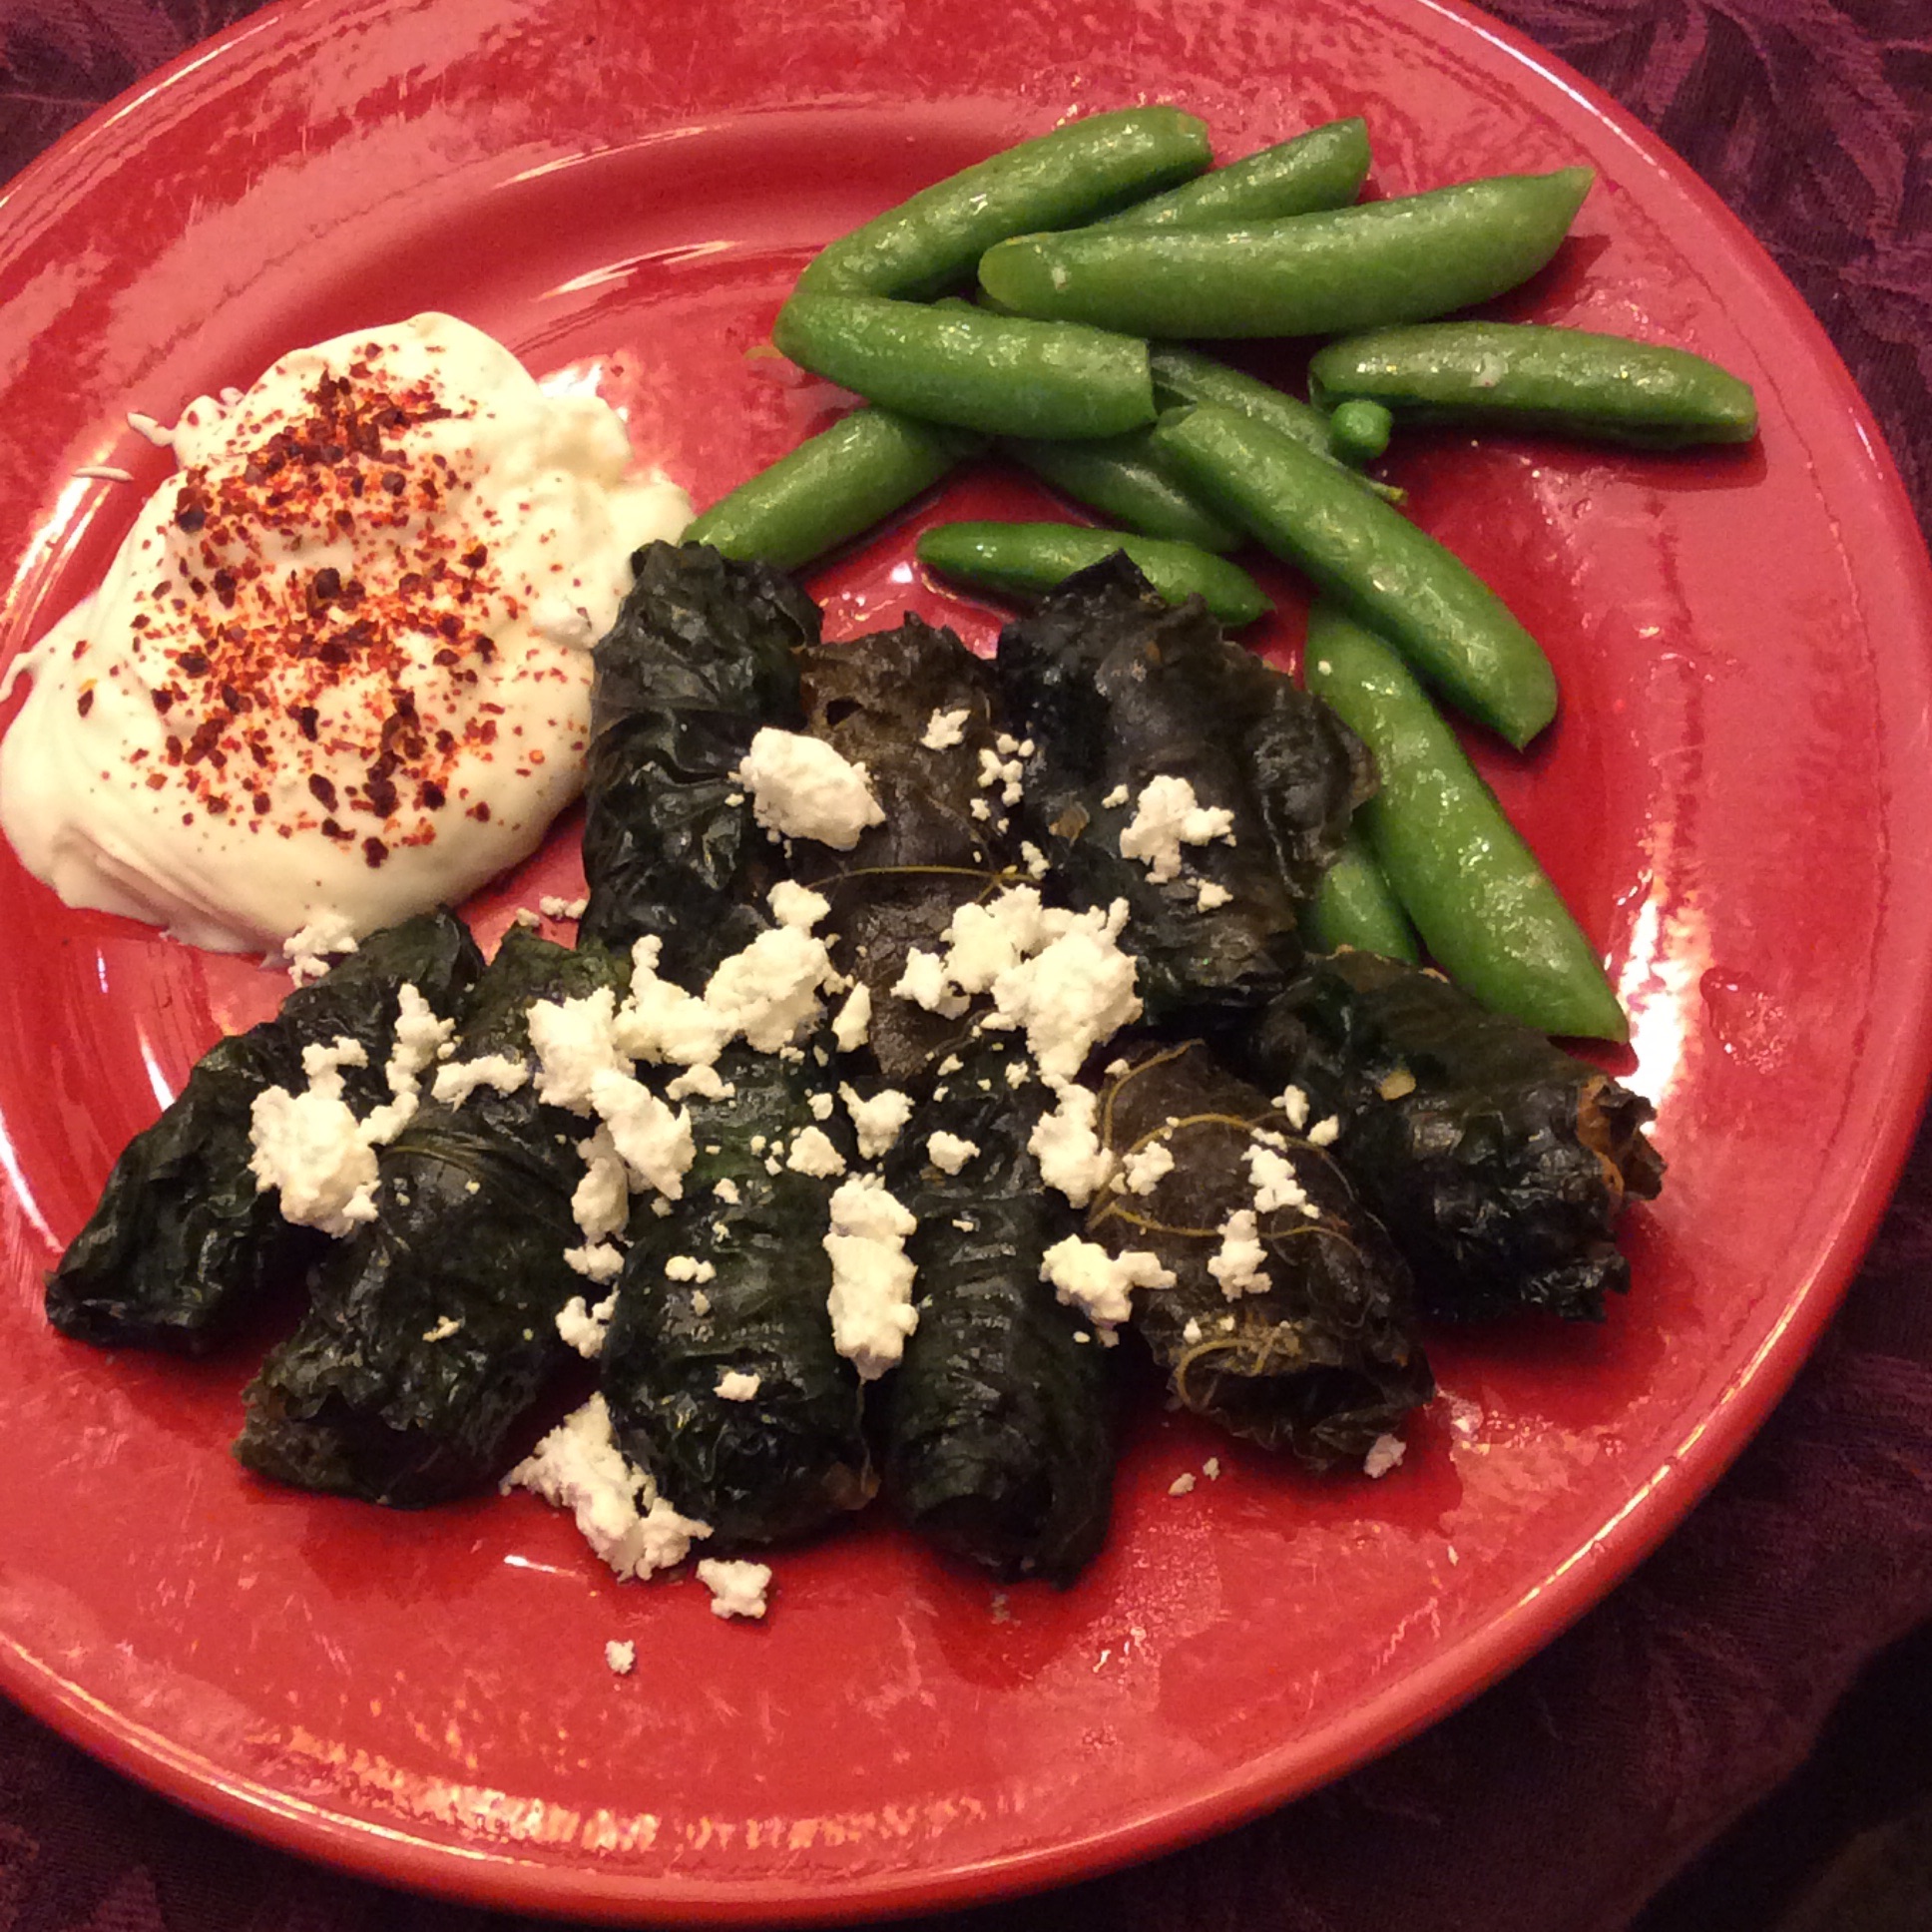
Put about a quarter cup of water in the pan, and cover loosely with foil. Bake at 350 for about 25 minutes. Boil down the pan juices in a little saucepan to make a sauce, if it tastes at all watery right out of the oven, which it probably won’t because of all the herbs. Serve them forth, with well-strained or full-fat Greek yogurt. I like to salt the yogurt to taste. Ornament the yogurt with a drift of pepper flakes or a scattering of paprika if you like. Scatter crumbled feta over the dolmas if that suits your taste.
I don’t add rice to the filling because I’m a ketogenic eater, but if you aren’t, feel free to add rice for a more traditional filling, or you could add bread crumbs for a less dense filling. If you want to take the trouble, you can make an avgolemono sauce or a tomato sauce to go over the dolmas. But do keep the field-and-garden improvisational nature of the thing.
6 Jun
Mulberry Heaven II: Mulberry Leaf Dolmas
4 Jun
Mulberry Heaven
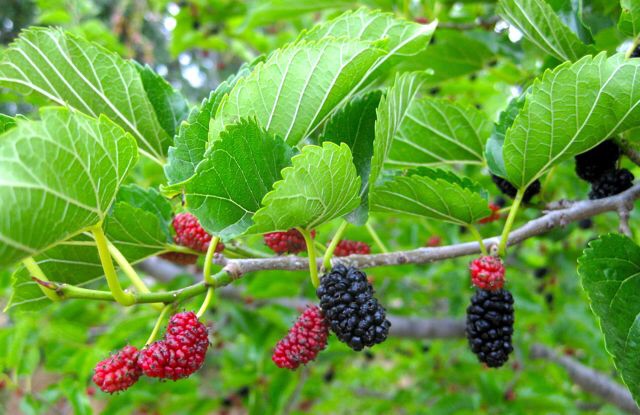
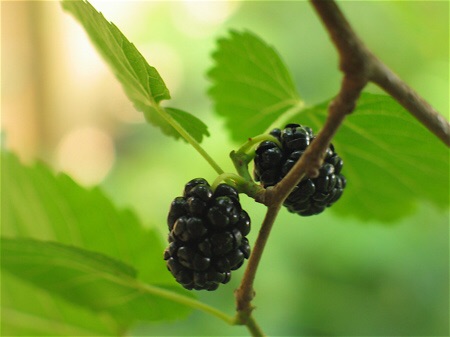
Near my home there is a mulberry tree that has delicious black fruit and low-hanging branches. When the fruit ripens, I throw my ketogenic diet temporarily out the window and go every evening to stand under it, gorging myself, while my dogs eat dropped fruit off the path. This is one of the greatest joys of the summer season. But it isn’t by any means the only use for mulberry trees.
On my own property I don’t have any mulberries big enough to fruit, but I do have two mulberries that I harvest greens from. The leaves of all mulberries are edible when young and tender, but flavor ranges from tasty to nasty. By hanging around a local organic nursery and surreptitiously tasting leaves, I got a couple that had fairly good-tasting leaves. At my last home I had a mulberry with delicious and large leaves, but alas, that tree is no longer mine, and I didn’t try rooting cuttings because I had no clue how hard it would be to replace. But the ones I now have are passable. The trees will rapidly grow tall if you let them, which I don’t. From the time they are 4 feet high I start managing them for leaf harvest by keeping them small. At first this is a matter of a little delicate trimming and weighting some branches so that they grow out nearly parallel to the ground. Later on in their lives, much harder cutting is needed, and by the time that they are 5-7 years old, they need coppicing (cutting off a few feet above the ground) to keep them in check. Coppicing keeps them from producing fruit, and incidentally they also don’t bloom and produce their incredibly allergenic pollen when managed this way. They do produce masses of young tender tips that can be pinched off at the point where they are nonwoody and break easily and cooked as a green, a good green that fills in gaps between cold-weather and hot-weather greens and contains resveratrol as a bonus.
At the point when my coppiced trees start producing more greens than I can use (which is a few years down the road,) I will start harvesting bigger branches for my goat, who thinks that mulberry branches are the food of queens. Mulberry leaves can also be dried to make tea, although I think the resulting tea is pretty insipid stuff and needs other herbs for interest. I would also use “extra” cuttings for mulch and spare biomass.
For more about mulberry trees, see the link below for a terrific and very comprehensive post about mulberries in permaculture. Don’t miss the wonderful pictures of stuffed mulberry leaves! The recipes are available too, and I plan to try this soon.
Temperate Zone Permaculture mulberry post
This image of stuffed mulberry leaves, poached from the Temperate Zone Permaculture post linked in above, looks especially interesting to me. Check out the recipes in that post.

The stigmata of the mulberry fancier. Consider yourself warned.
2 Jun
Green Mayo
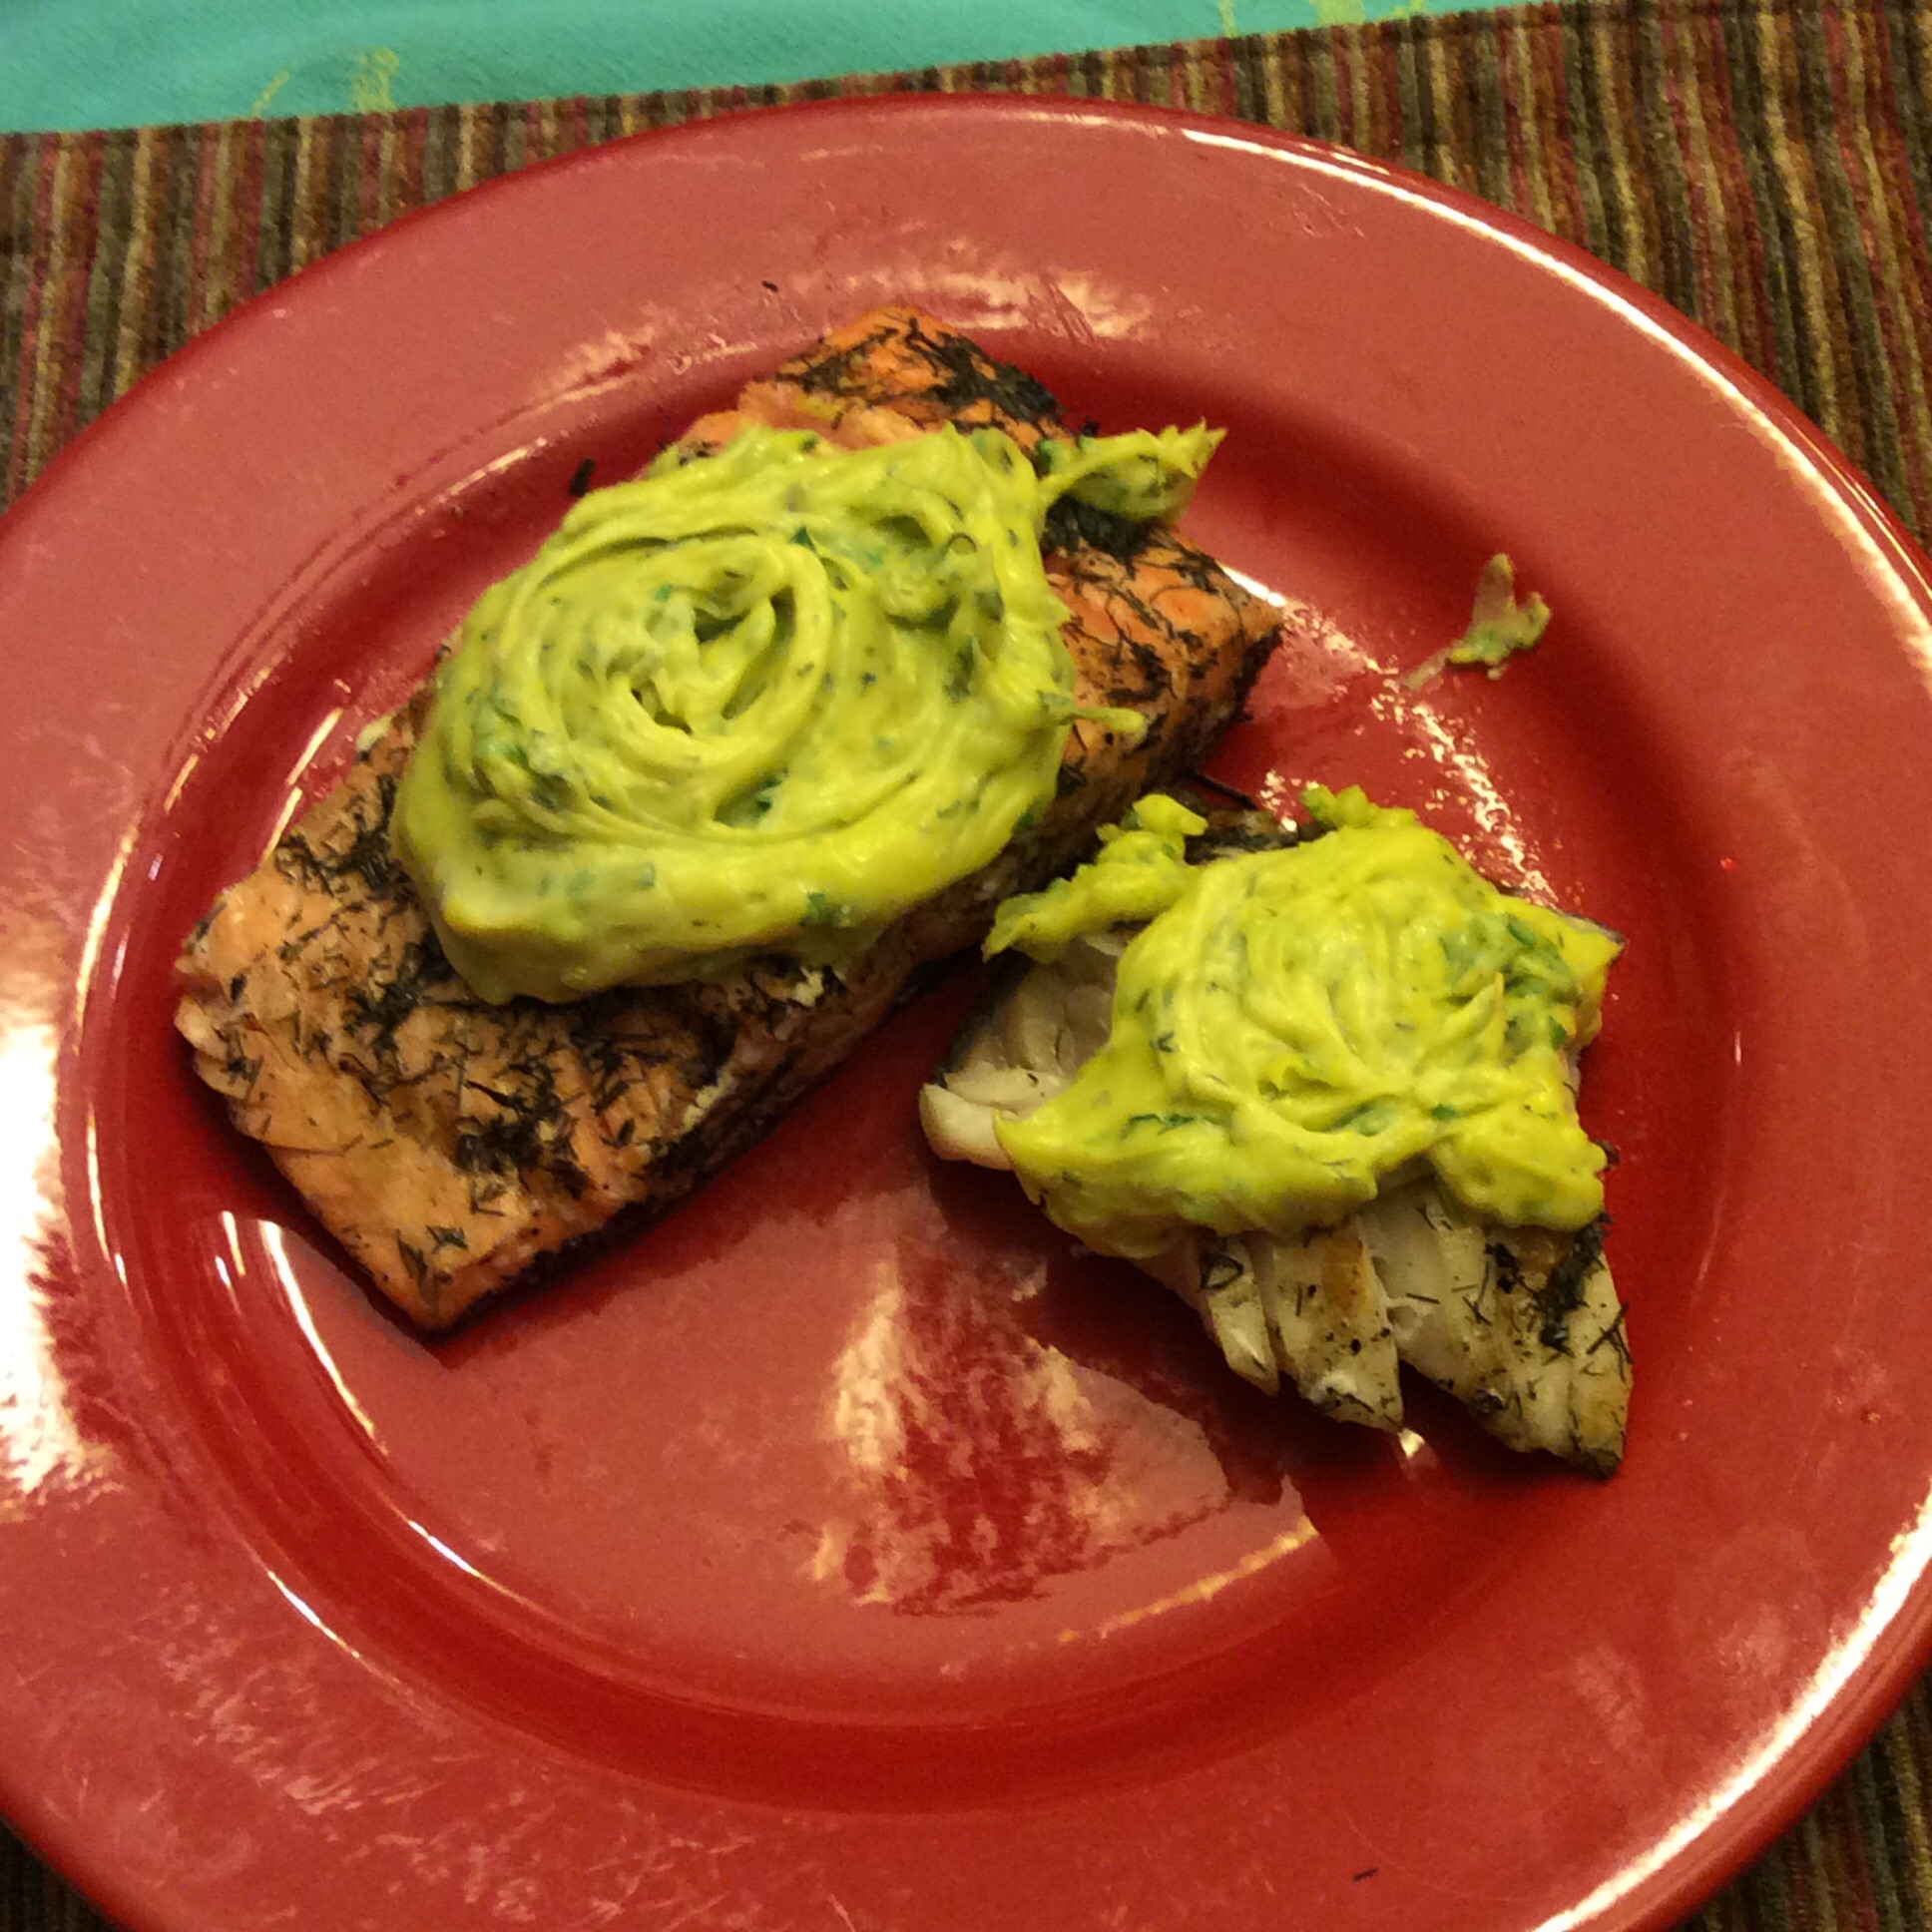
Many of us who eat ketogenic diets refer to homemade mayonnaise as “ketonnaise.” It is one of the luxuries of our very-low-carb style of eating that we can have this beautiful stuff. This time of year, the garden is full of wonderful ways to flavor it, and one of my favorite things to do with it is put a luxurious dollop on top of grilled sockeye salmon, as you see above.
You will have to make your own decision about eating raw eggs. I use my own backyard eggs, and if I am expecting to feed others, I either pasteurize the eggs in my sous-vide cooker or let my visitors make their own choices with full disclosure. Don’t ever feed raw eggs to the elderly, children, immunocompromised people, or the unsuspecting in general.
In my opinion this is best made with a Mini-prep. It gets so thick that stick blenders can’t handle it.
The basic mayo is very simple. Have 1.5 cups of oil ready. I use a light-flavored olive oil or equal parts each of full-flavored olive oil and MCT oil (a fraction of coconut oil that’s liquid at room temp.) Put four egg yolks and a teaspoon of salt in your Mini-Prep food processor. You need a small one so that the mixture reaches the blades. Start the food processor running, and very slowly drizzle in the oil. The Cuisinart Mini-prep has a little runway and hole in the lid for exactly this purpose. You will start to hear the thickening mayonnaise slap against the sides of the bowl. Last thing, put in two teaspoons of fresh lemon juice. When it’s done, turn out into a colorful bowl and put in the refrigerator for now.
Now the fun starts. What do you want it to taste like? For standard use I love a handful of chopped parsley, some tarragon, cutting celery, and a little thyme, a handful of chopped chives, a few large arugula leaves chopped, and the white part of a good-sized stalk of green garlic chopped finely. I usually add a smashed anchovy filet too. A meal that leans Mexican might want lots of cilantro and a little epazote and garlic. Somewhat Southeast Asian? Consider a little green curry paste and a goodly amount of chopped rau ram and a chile, chopped. Add your chosen herbs and fold in well. Taste to correct seasoning. The large amount of oil blunts flavors, and you may need more herbs and salt than you think.
You can put it on broiled meat, chicken, and fish, spoon some on top of grilled shrimp, dip veggie sticks in it, or if you aren’t ketogenic it is superb smeared on chunks of baguette.
Eat happily. This is an occasion for high-class piggery, not portion control. It will last a day in the fridge but, in my view, not more than that. I have read one cook online insist that it will keep safely for over a week when chilled, but I wouldn’t chance it.
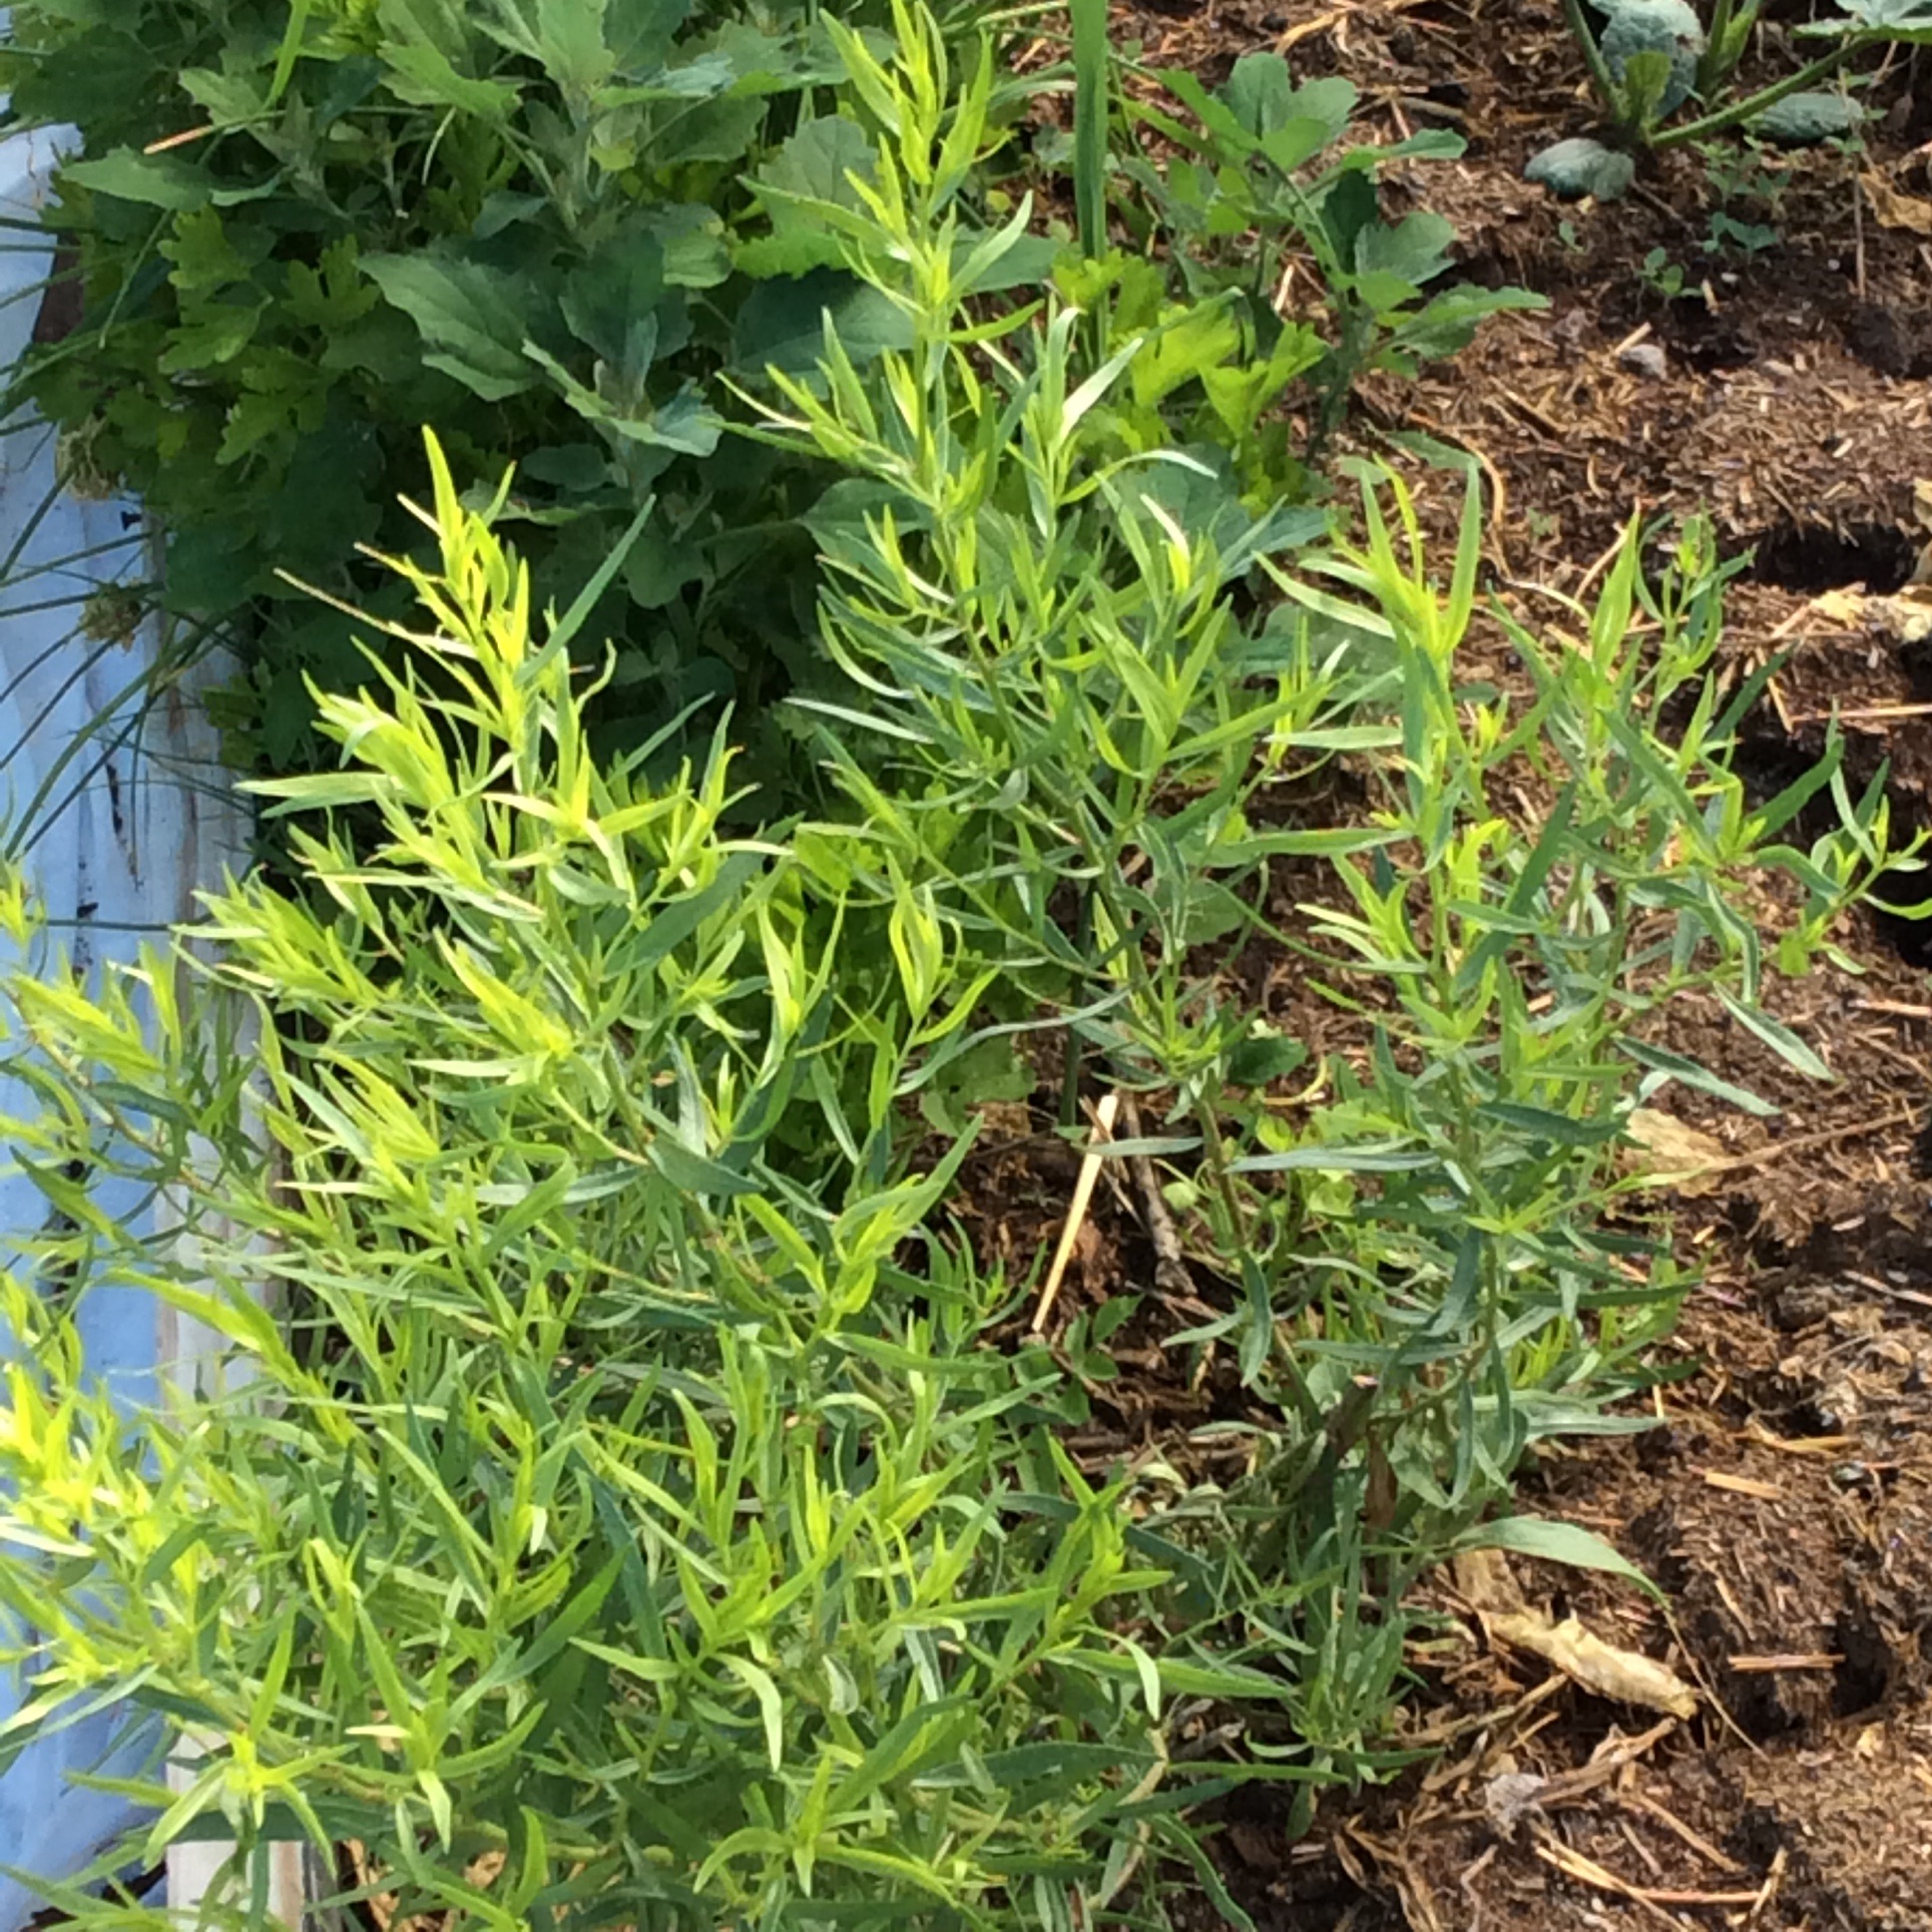
Tarragon goes crazy in late spring so let’s make use of that tender growth.
1 Jun
A Veggie Cookbook Worth Owning

There are a lot of vegetable cookbooks on the market currently,most of them much of a muchness and pretty forgettable as far as I’m concerned, but now and then I come across one that must be bought. I bought this one. Then I bought another copy for a friend. It’s of special interest to anyone who grows their own vegetables or gets a CSA box for a few reasons:
1. The organization is by vegetable type, so if you have leafy greens in the garden you can turn to the leafy greens chapter and consider some cooking options.
2. It offers suggestions for vegetables, or parts of vegetables, that aren’t usually eaten. Broccoli leaves, for example, which are good to eat and highly nutrient-dense ( be careful how many you harvest, though, or your broccoli-bud crop will be significantly reduced.) Ms. Ly’s improvisational kale-stem pesto gives you a flexible way to use up the “nasty bits” of your kale. Tomato leaves are used well as a seasoning, and no, they aren’t poisonous. There are numerous other examples: I am looking forward to trying her chard-stem hummus later in the season. The recipe for pan-charred beans with bean leaf pesto looks like another winner.
3. The recipes that I have tried work and taste good. This does not go without saying. I have come across recipes, especially no-waste recipes, that look lovely in the picture but aren’t really edible. Ms. Ly’s recipes are good.
Oh, and 4. It’s available on Kindle if you need to save space on your cookbook shelves.
I don’t accept review copies of cookbooks. I buy them at my local indie bookstore, paying the same price that you will pay. That’s the only way that I can judge whether the value/ price ratio is really favorable. I think this one is worth the money. Even an old hand in the kitchen will pick up some new ideas for using vegetables.
