Archive for the ‘wild food’ Category

Clove Currants

image

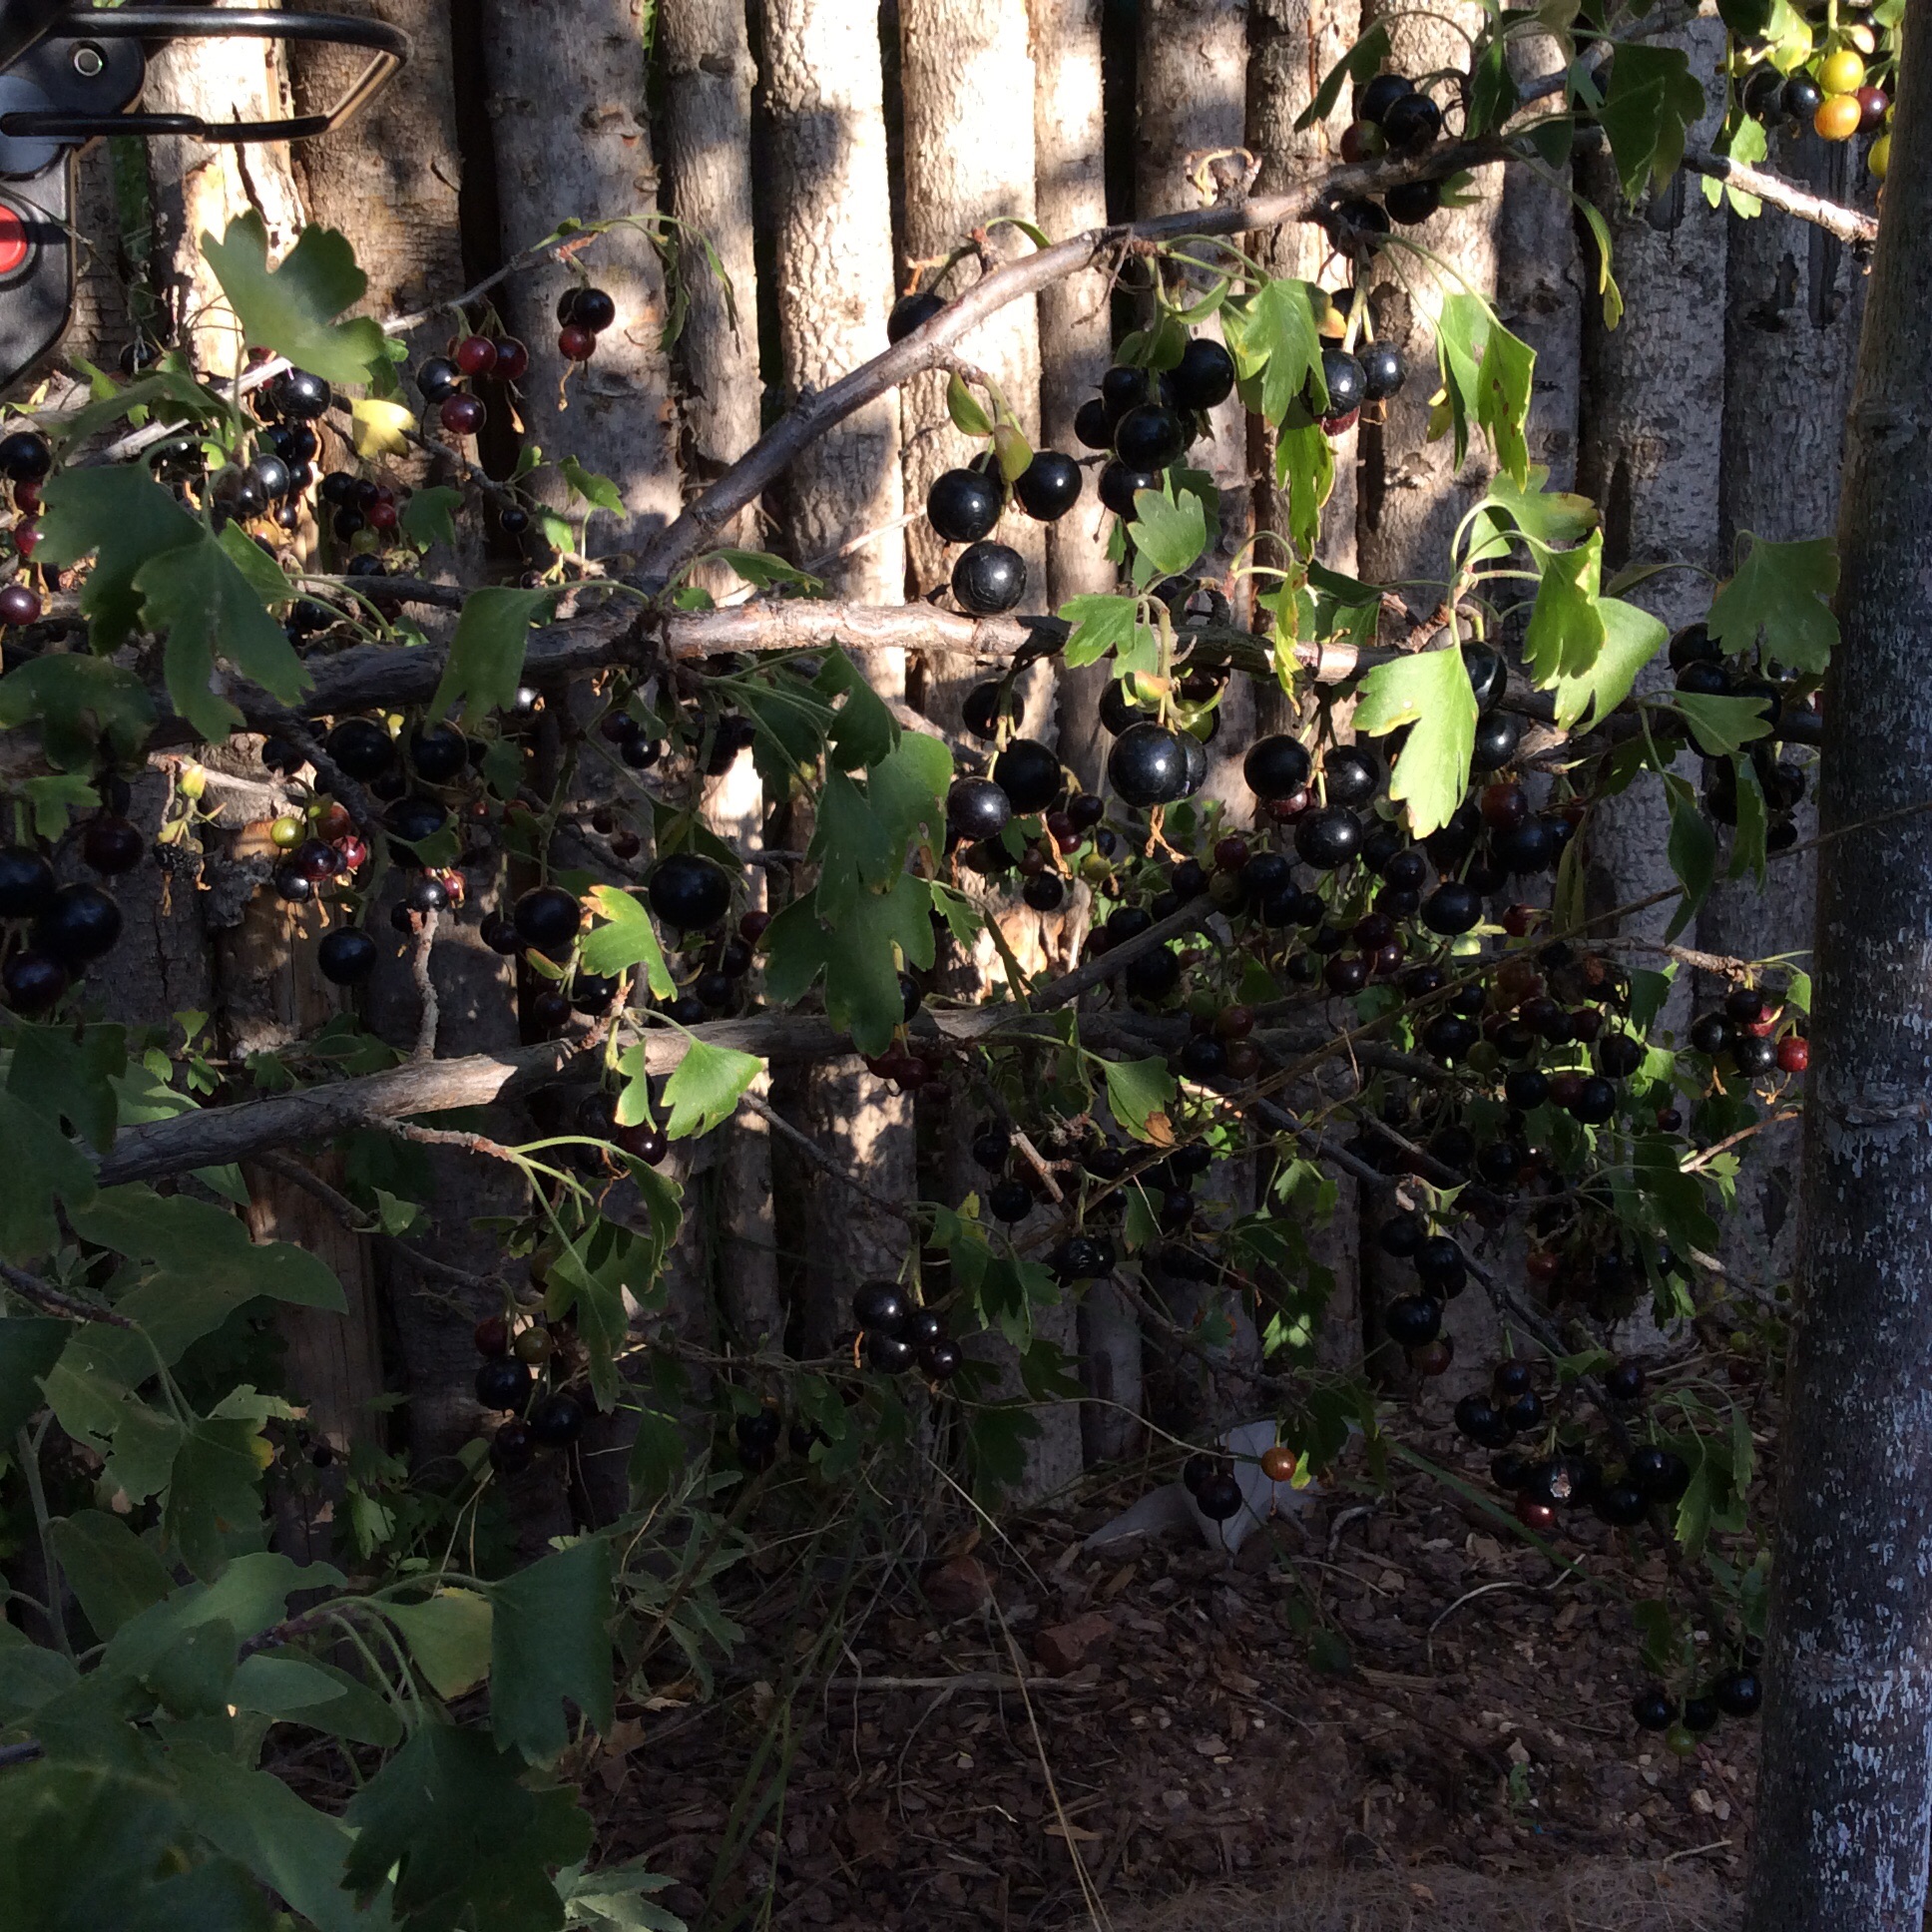
The native clove currant, Ribies odoratum, grows beautifully in my area. It is sturdy, healthy, drought-tolerant, will tolerate some shade, suffers from no bugs or diseases, and is reasonably attractive, especially in spring when covered with thousands of tiny yellow flowers that have a soft pleasant scent. I haven’t found them growing wild in my area but I have a bush that was planted by birds; they grow that easily, and start to bear within three years.  I have several large bushes and would have planted more if not for one major disadvantage: I thought the fruit tasted awful.  The fruits, like most berries, are relatively low-carb for fruits and probably contain a good set of antioxidants, but eating things prescriptively rather than for pleasure is just not my style.

But sometimes plants just have to hang around my yard until I learn to use them well. This year, after living with clove currants for five years, I finally figured out (duh) that the fruits are not ready to eat when they turn black. Don’t grab those first black shiny fruits. Leave them on the bush for another couple of weeks. Taste every few days, and when they taste sweet and spicy (still very tart but with a balance of acid and sweetness) they’re ripe. The fruits actually get a little smaller as they ripen, and some will look a bit wrinkled. Don’t worry. Don’t use any that are dry and shriveled, but a little loss of turgor just intensifies the flavor.

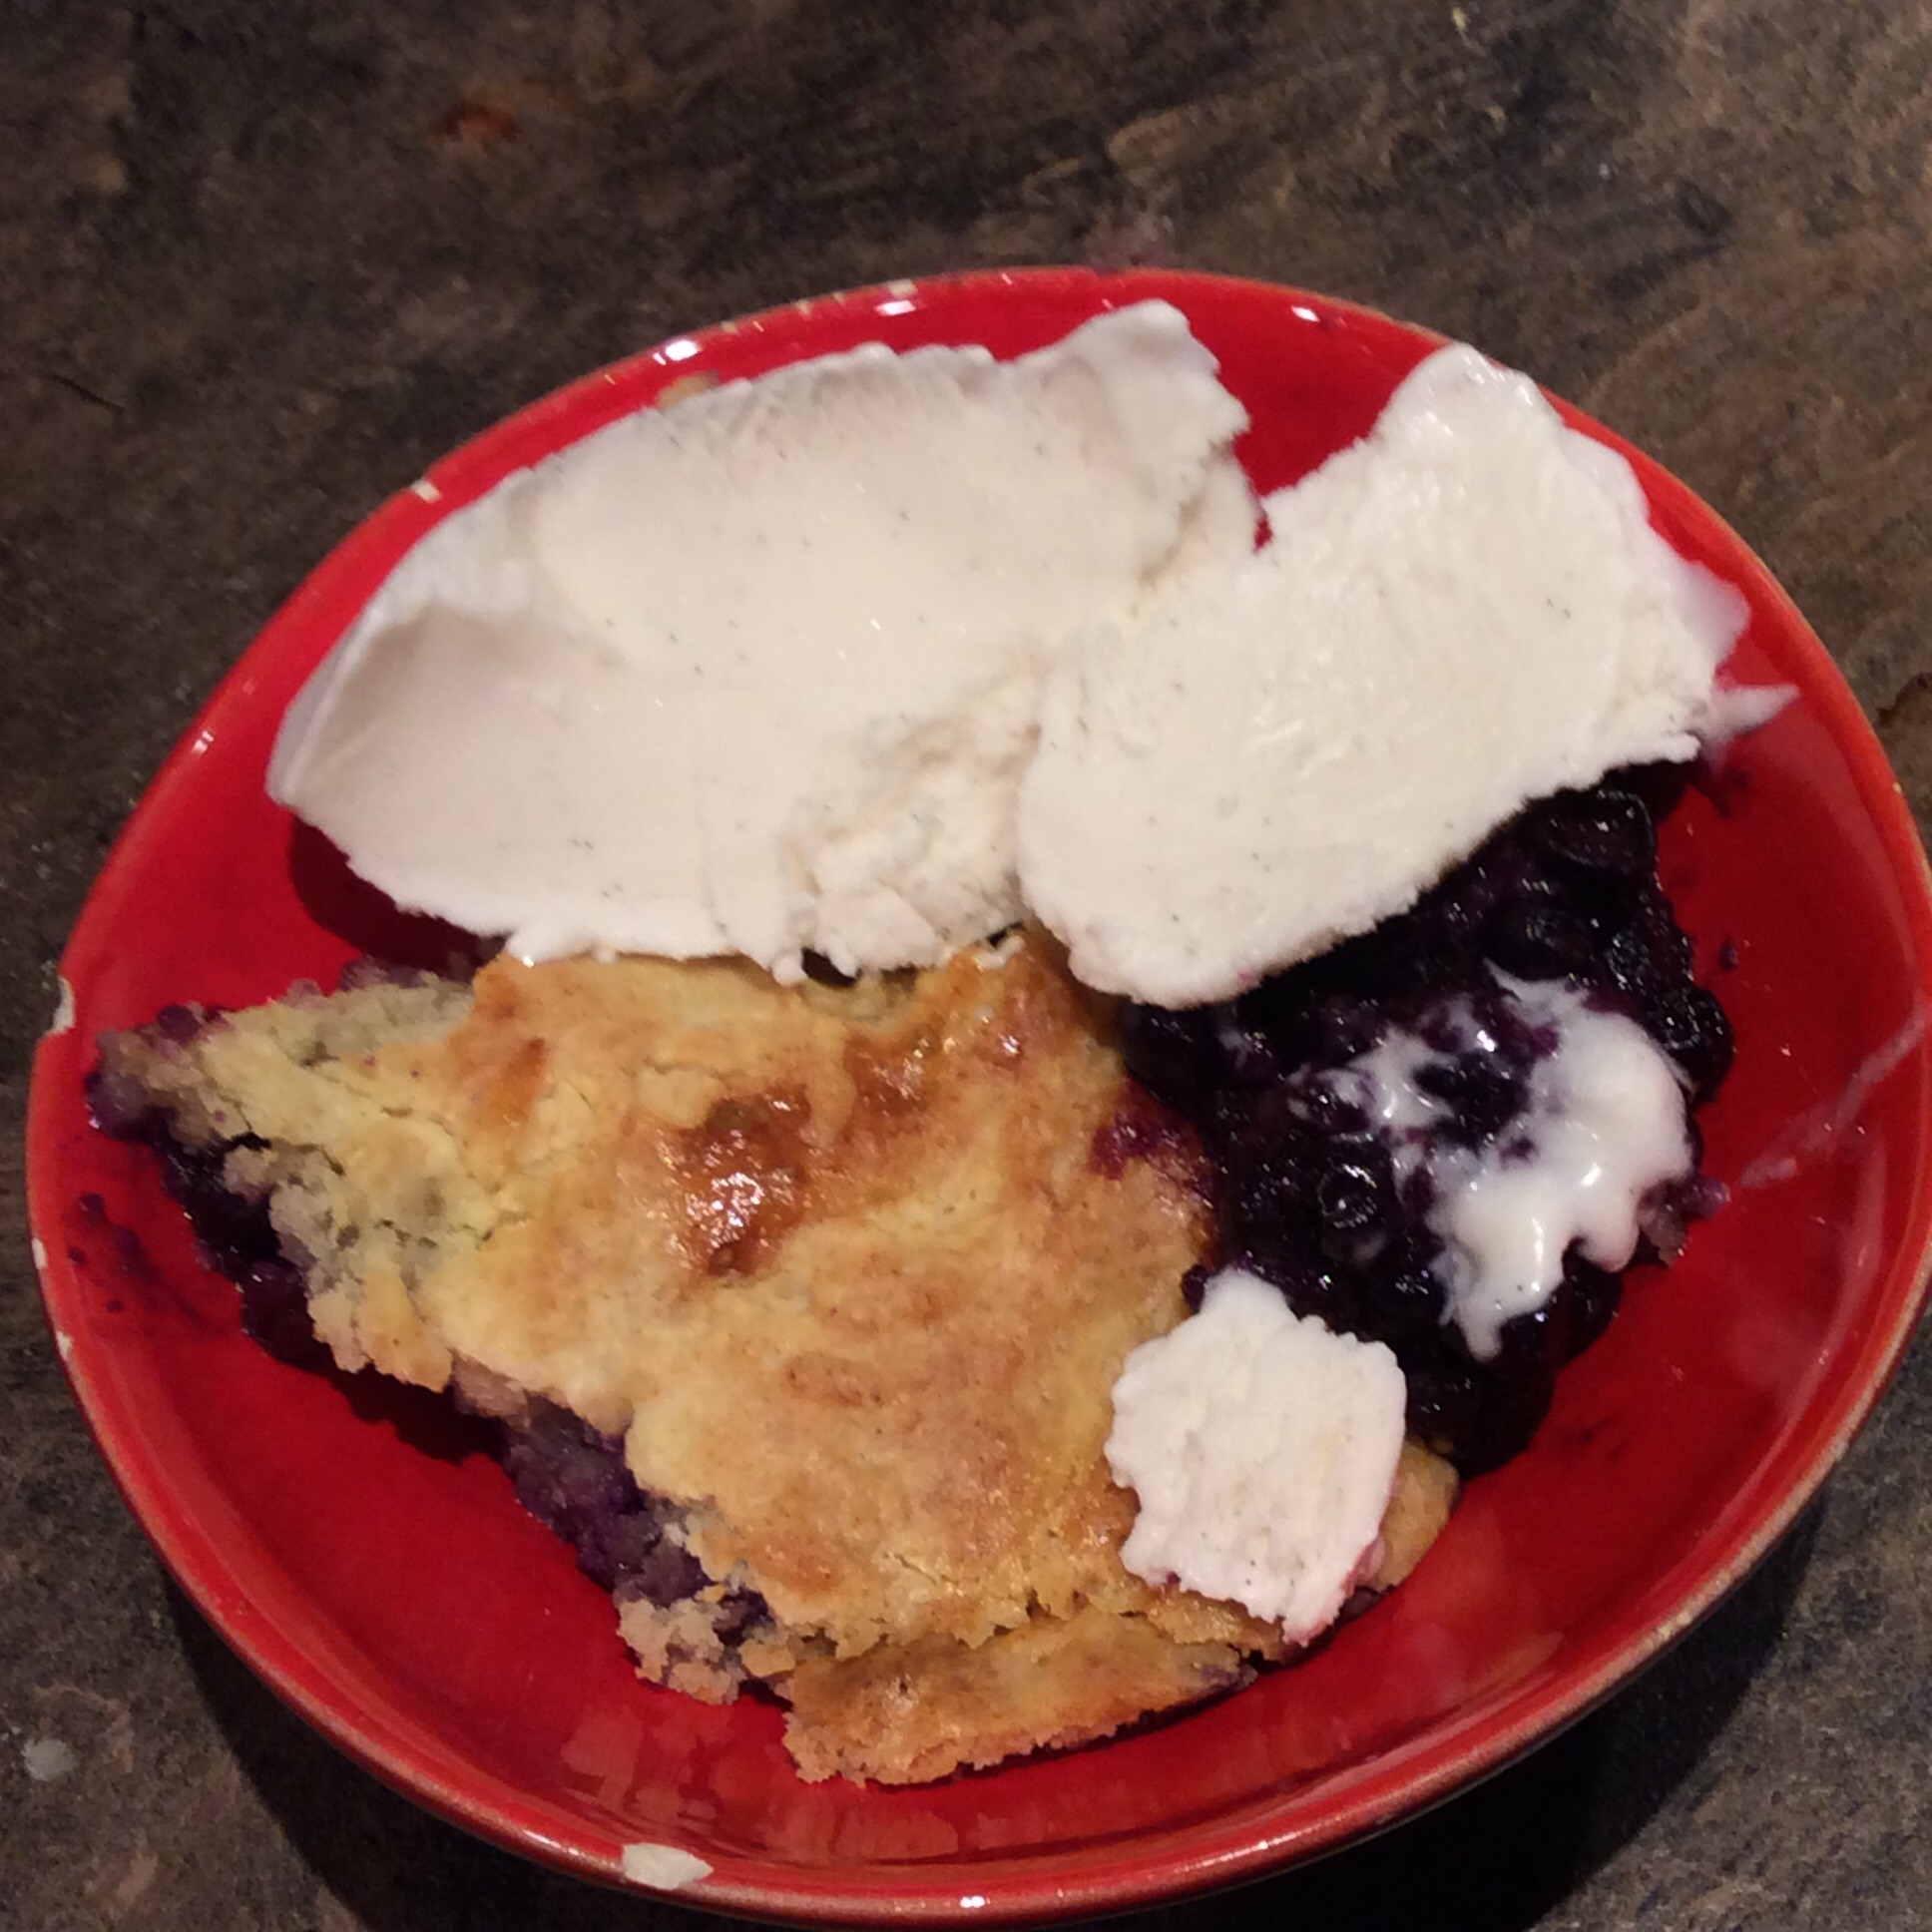
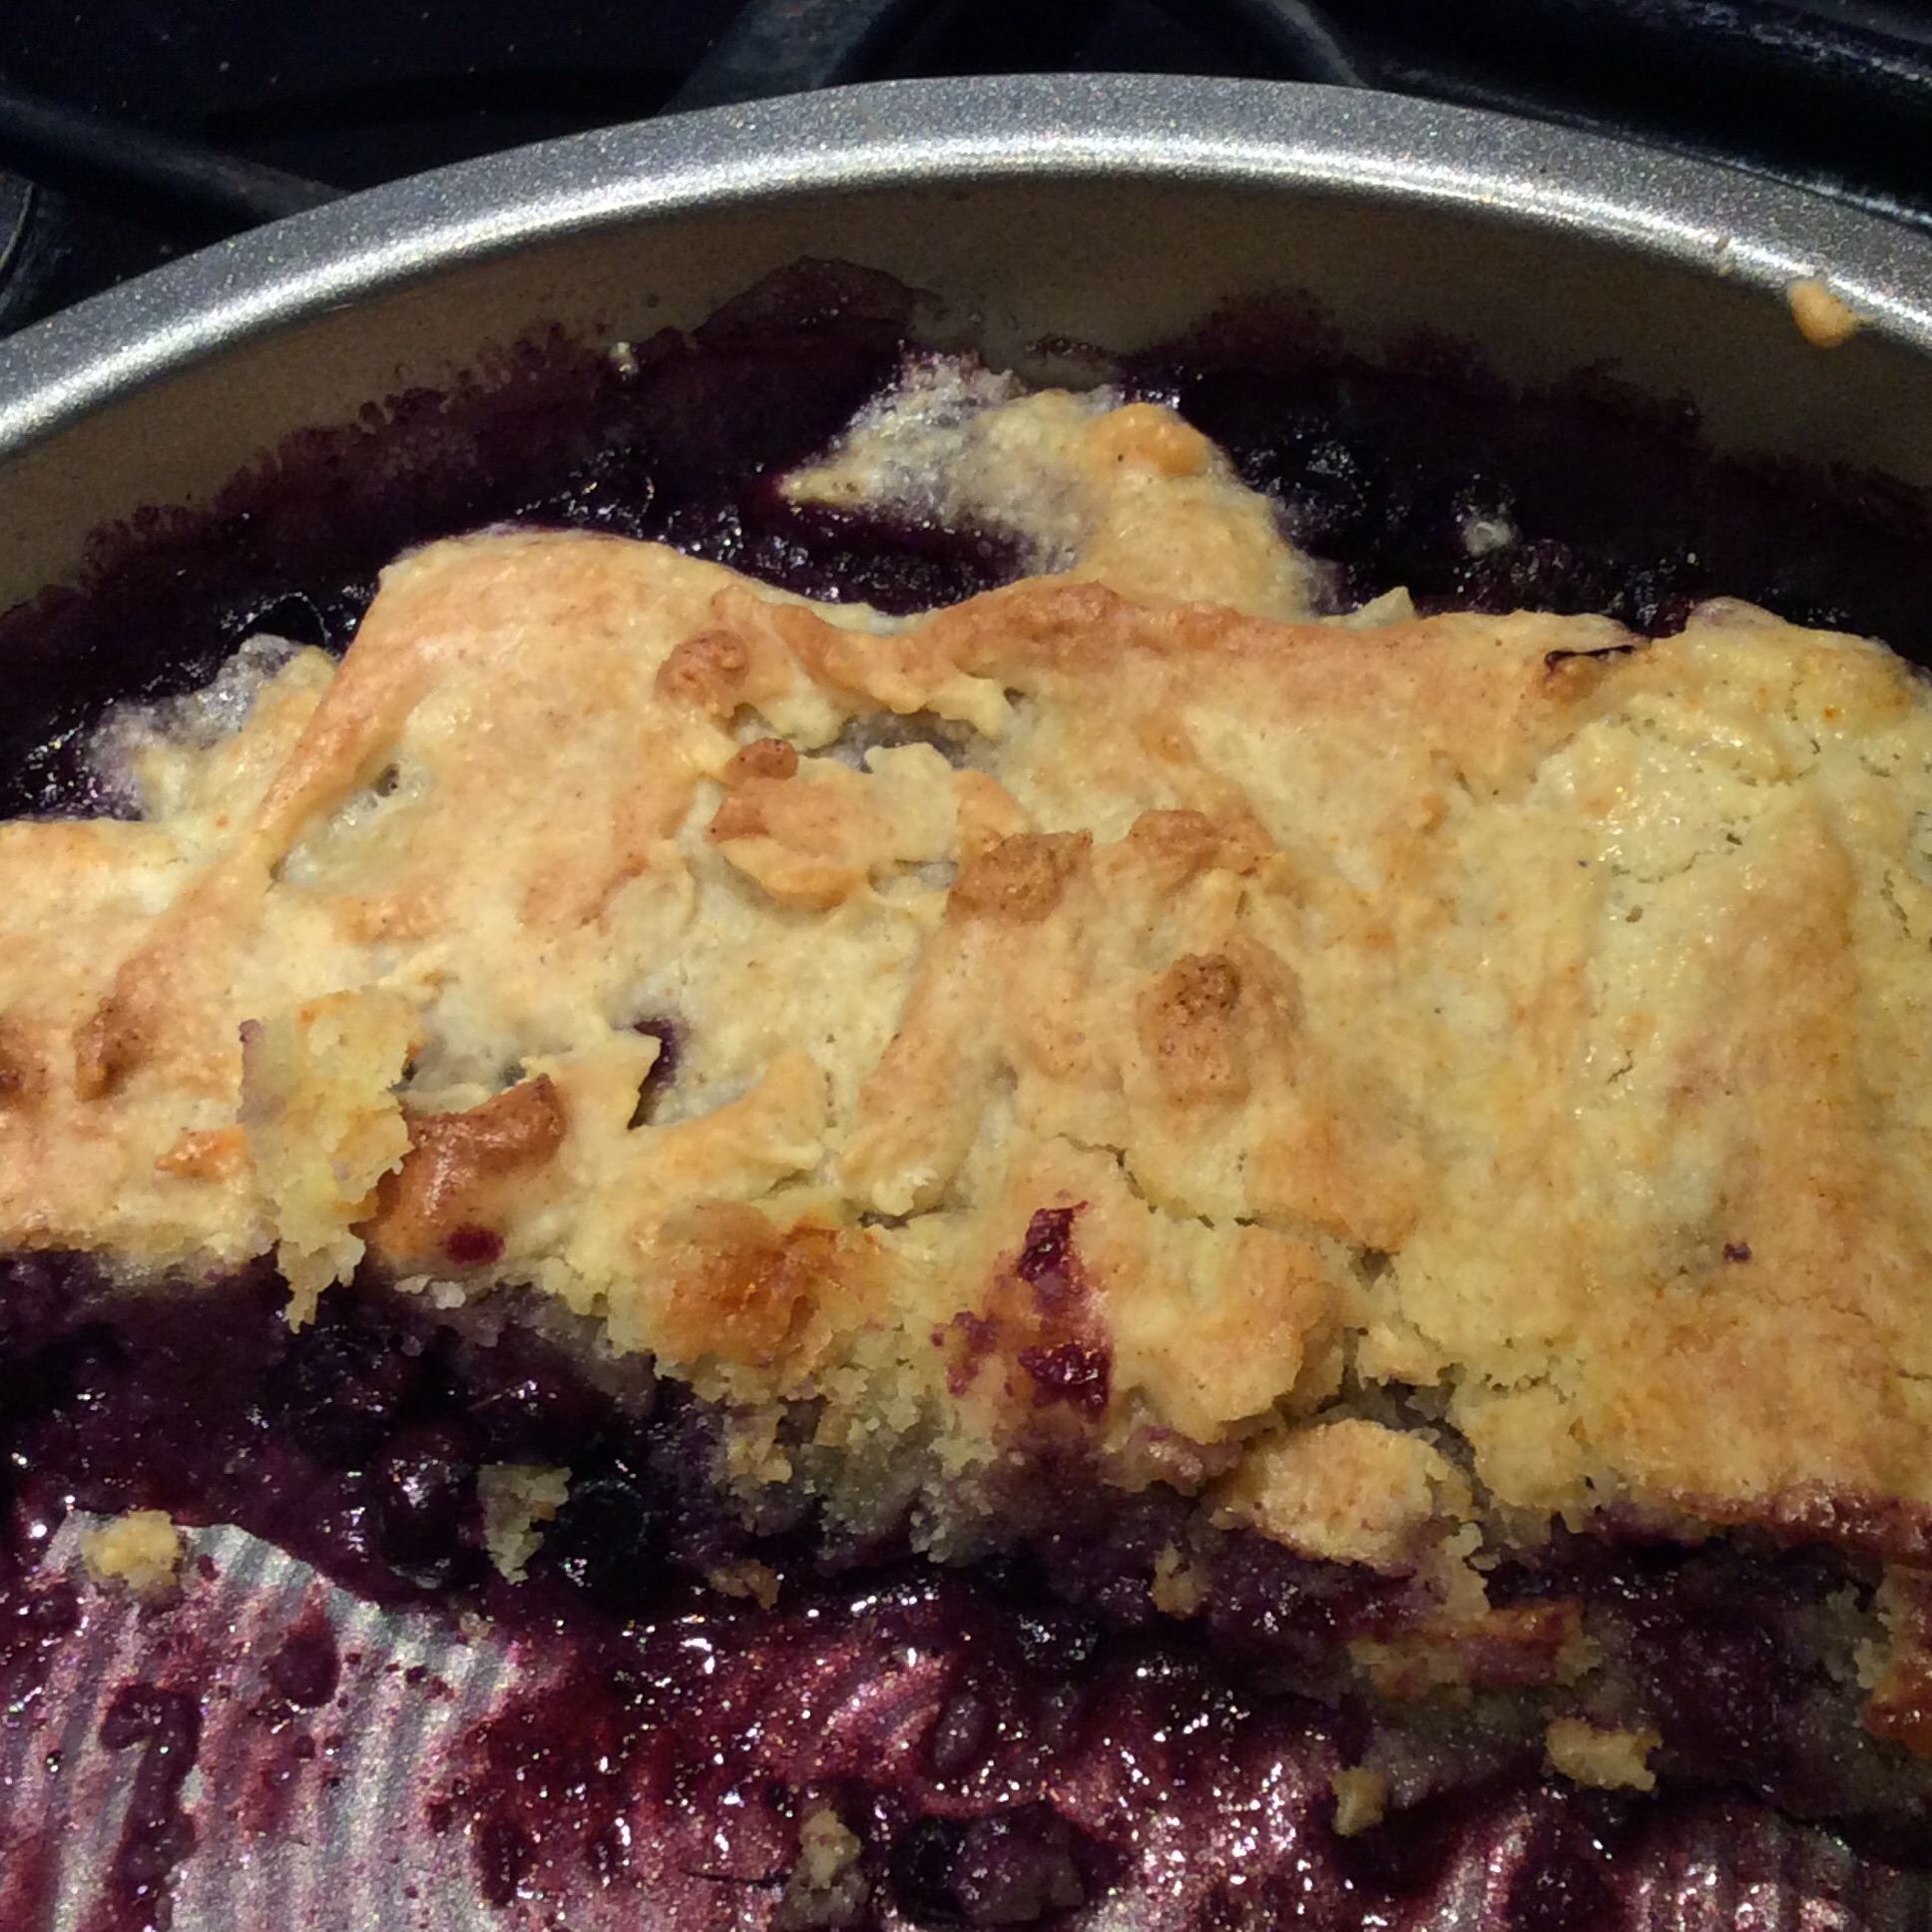
I enjoy eating a handful in the garden when I make my morning rounds, but my favorite use for them is in cobbler. If you are low-carb, use my recipe for red, white, and blue cobbler, using clove currants alone or adding in some frozen wild blueberries to make up the fruit volume if you don’t have enough clove currants. Work the sweeteners into the fruit with your fingers, crushing the fruits a bit as you go. If you eat sugar and flour, just use your own favorite cobbler recipe. Be sure to grate a little fresh nutmeg into the fruit mixture to bring out the spiciness.
image
The fruit clings to the stems and often has a little wiry “tail” clinging to the blossom end which has to be removed, so harvesting them is a bit tedious. I wait until early evening and then sit comfortably under the bushes with a bowl, pulling off stems and tails as I go so that fruits that hit the bowl are ready to use. I eat a few along the way. The laborer is worthy of her hire, after all.

I’ve been thinking of other ways to use them, and I think that they might be good in sauces for meat and game. I can recall reading a British recipe for a blackberry sauce for venison, and along those lines I plan to try using clove currants for a sauce for roasted pork. But right now they are going into cobbler or disappearing straight down my greedy gullet.
image

I also have a couple of bushes of Golden currant, also known as wax currant, but they are slower to bear and I haven’t had enough fruit to experiment with yet. More on that later.


Integrating Your Weeds II: Amaranth

image
Amaranth is the second of my Holy Trinity of super-nutritious edible weeds. It is a creature of hot weather, and in my garden it’s appearing everywhere right now. Like lambs-quarters it will get huge if allowed to, and unless you have limitless room, your job is not to allow it to.
Consult any good wild-foods guide to identify it, and then assess how much of it you have. If your response is “OMG, it’s everywhere!” then don’t worry about propagating it. Your soil has plenty of seeds. If there are only one or two plants, proceed as for lambs-quarters the first season, and you will have amaranth in perpetuity. I have two varieties, one with smooth stems and one that forms small but unpleasant spines at the leaf joints, and I try to keep the spiny kind from ever going to seed.
Pick them when they’re about a foot high and have a nice large umbrella of leaves on top. I have no interest in eating stems, and I pull off the topmost part with all the largest leaves and add the rest of the plant to the mulch, taking care that it’s completely uprooted.
The greens are fairly mild but have a slight touch of the earthy flavor that’s so pronounced in beet greens. When grown in prime soil the flavor verges on meatiness in a delicious way, and my favorite way of cooking the greens adds other meaty umami flavors.
Wash a mixing bowl full of loosely packed leaves well and wilt them in a small amount of water, stirring frequently over fairly high heat until the leaves all look “cooked.” Drain them, saving all the cooking liquid. Return the cooking liquid to the pot and boil hard to concentrate it to a very small amount, maybe a couple of tablespoons (don’t turn your back on the pot or it will scorch.) Pour into a little bowl and save.
Chop 6 big green onions. Make a basic separation between white and green parts, but don’t get obsessive about it. Separately chop 6 big cloves of garlic. Heat about a quarter cup of olive oil in your largest skillet and cook the white parts over medium-high heat, stirring frequently. When they begin to look a little translucent and “cooked,” add the green parts, cook another couple of minutes, add the garlic, lower the heat to medium, and cook a few minutes more. Meanwhile, put the lump of blanched greens on a cutting board and chop fairly finely in both directions.
image
When the garlic looks cooked but has not colored at all, add a handful of pitted chopped oil-cured olives to the sautéed mixture and cook another minute.
image
Add the cooked chopped greens, the tiny amount of cooking liquid, a teaspoon of Spanish smoked paprika or, if you like heat, the same amount of ground chipotle chile. Add a small handful each of chopped parsley and chopped fennel fronds. If not cooking for vegetarians or vegans, add a smashed anchovy fillet or a dash of fish sauce. Cook the mixture over medium-low heat for at least 20 minutes, periodically turning it to get it all completely cooked (a spatula works well.) Taste it, salt to taste, and cook a few more minutes to let the salt blend in. Serve drizzled with good olive oil as a side dish, or fill an omelette with it and add some feta cheese, or bake in phyllo to make a hortapita or little spanakopitas, or do whatever else you fancy with it. Back when I ate bread, I used to love to smear this stuff on slices of grilled baguette and put some grated Parmesan and pine nuts on top. I can remember once baking it in thin bread dough with a raw egg on top, so that when baked in a hot oven the egg came out cooked. You can add cooked chickpeas and bits of cooked meat for a real peasant dinner. It freezes well in vacuum-sealed bags to keep you healthy all winter. When served next to beef or pork, I top each serving with a bit of butter to add to the general animalic savor. I like to have it in the refrigerator for a super-healthy lunch, and it seems to taste best at room temperature.
DSCN0988
December 2009 014
DSCN0747
DSCN0153
Incidentally, the main reason for a poor result is not cooking it long enough. If it tastes grassy, keep going until it tastes good. Undersalting is another problem. Add salt cautiously because of the salty olives, but add enough.
If you don’t have a wild good guide that you like, get John Kallas’s “Edible Wild Plants: Wild Food From Dirt to Plate” and you will be glad you did.

Mulberry Heaven II: Mulberry Leaf Dolmas

As I mentioned in my last mulberry post, I’m fond of eating very young mulberry leaves in cooked greens mixtures, and recently I was inspired by a post on TC Permaculture to think about mulberry leaf dolmas. I had located a mulberry tree with big and fairly tasty leaves, perfect for dolmas:
image
I asked my friend to stick his hand in the picture so that you can see that these leaves are big, over 7 inches long in many cases.
Be aware that if you are going to cook with mulberry leaves, they have to be young and you have to taste them first. Some are quite tasty, some are okay, and some are awful. Chew up a little bit. It will taste raw and green, but if there are acrid awful flavors, don’t go further. Use grape leaves instead in that case.
I foraged a couple of dozen big mulberry leaves, rinsed and blanched them for a minute in boiling water, and set out to make a meat filling. Mine was very improvisational, so I’ll describe it casually. For more specific and concrete recipes, you can google “dolmas” and find hundreds. I wanted to use what was fresh and good in my garden.
I started with a pound of ground beef from our local grassfed beef people. Don’t use beef that’s very lean; it will be dry when cooked. I chopped up three large green onions, greens and whites chopped separately, and four cloves of garlic. I put the white onion parts and the garlic to sauté over medium-low heat in a glug of good olive oil. While they cooked, I chopped a handful of parsley, a large sprig of cutting celery, a few large sprigs of thyme, a large handful of cilantro with stems, and a sprig of sweet marjoram, and mixed them with the chopped onion greens. To the beef I added a heaping teaspoon of salt and a heaping teaspoon of Maras pepper flakes. The Maras pepper was courtesy of a friend who kindly muled it back from Turkey for me, but you can use any mild red pepper flakes, or leave them out. Work the sautéed mixture and the chopped herbs into the beef very well with your hands. Now work in a cup of toasted pine nuts, chopped toasted almonds, or chopped toasted walnuts. Let the mixture rest in the refrigerator an hour or two if possible, or up to overnight, to let the flavors develop.
Fill the dolmas; again, there are a thousand visual tutorials online if you are unfamiliar with the process. Fit them tightly into a pan lined with parchment paper. In the photo below you can see some made with grape leaves among the vibrant dark green mulberry dolmas.
image
Put about a quarter cup of water in the pan, and cover loosely with foil. Bake at 350 for about 25 minutes. Boil down the pan juices in a little saucepan to make a sauce, if it tastes at all watery right out of the oven, which it probably won’t because of all the herbs. Serve them forth, with well-strained or full-fat Greek yogurt. I like to salt the yogurt to taste. Ornament the yogurt with a drift of pepper flakes or a scattering of paprika if you like. Scatter crumbled feta over the dolmas if that suits your taste.
image
I don’t add rice to the filling because I’m a ketogenic eater, but if you aren’t, feel free to add rice for a more traditional filling, or you could add bread crumbs for a less dense filling.  If you want to take the trouble, you can make an avgolemono sauce or a tomato sauce to go over the dolmas. But do keep the field-and-garden improvisational nature of the thing.

Mulberry Heaven

image
Near my home there is a mulberry tree that has delicious black fruit and low-hanging branches. When the fruit ripens, I throw my ketogenic diet temporarily out the window and go every evening to stand under it, gorging myself, while my dogs eat dropped fruit off the path. This is one of the greatest joys of the summer season. But it isn’t by any means the only use for mulberry trees.
On my own property I don’t have any mulberries big enough to fruit, but I do have two mulberries that I harvest greens from. The leaves of all mulberries are edible when young and tender, but flavor ranges from tasty to nasty. By hanging around a local organic nursery and surreptitiously tasting leaves, I got a couple that had fairly good-tasting leaves. At my last home I had a mulberry with delicious and large leaves, but alas, that tree is no longer mine, and I didn’t try rooting cuttings because I had no clue how hard it would be to replace. But the ones I now have are passable. The trees will rapidly grow tall if you let them, which I don’t. From the time they are 4 feet high I start managing them for leaf harvest by keeping them small. At first this is a matter of a little delicate trimming and weighting some branches so that they grow out nearly parallel to the ground. Later on in their lives, much harder cutting is needed, and by the time that they are 5-7 years old, they need coppicing (cutting off a few feet above the ground) to keep them in check. Coppicing keeps them from producing fruit, and incidentally they also don’t bloom and produce their incredibly allergenic pollen when managed this way. They do produce masses of young tender tips that can be pinched off at the point where they are nonwoody and break easily and cooked as a green, a good green that fills in gaps between cold-weather and hot-weather greens and contains resveratrol as a bonus.
image
At the point when my coppiced trees start producing more greens than I can use (which is a few years down the road,) I will start harvesting bigger branches for my goat, who thinks that mulberry branches are the food of queens. Mulberry leaves can also be dried to make tea, although I think the resulting tea is pretty insipid stuff and needs other herbs for interest. I would also use “extra” cuttings for mulch and spare biomass.
For more about mulberry trees, see the link below for a terrific and very comprehensive post about mulberries in permaculture. Don’t miss the wonderful pictures of stuffed mulberry leaves! The recipes are available too, and I plan to try this soon.
Temperate Zone Permaculture mulberry post
image
This image of stuffed mulberry leaves, poached from the Temperate Zone Permaculture post linked in above, looks especially interesting to me. Check out the recipes in that post.
image
The stigmata of the mulberry fancier. Consider yourself warned.