Archive for the ‘greens’ Category

Spring Egg Yolks

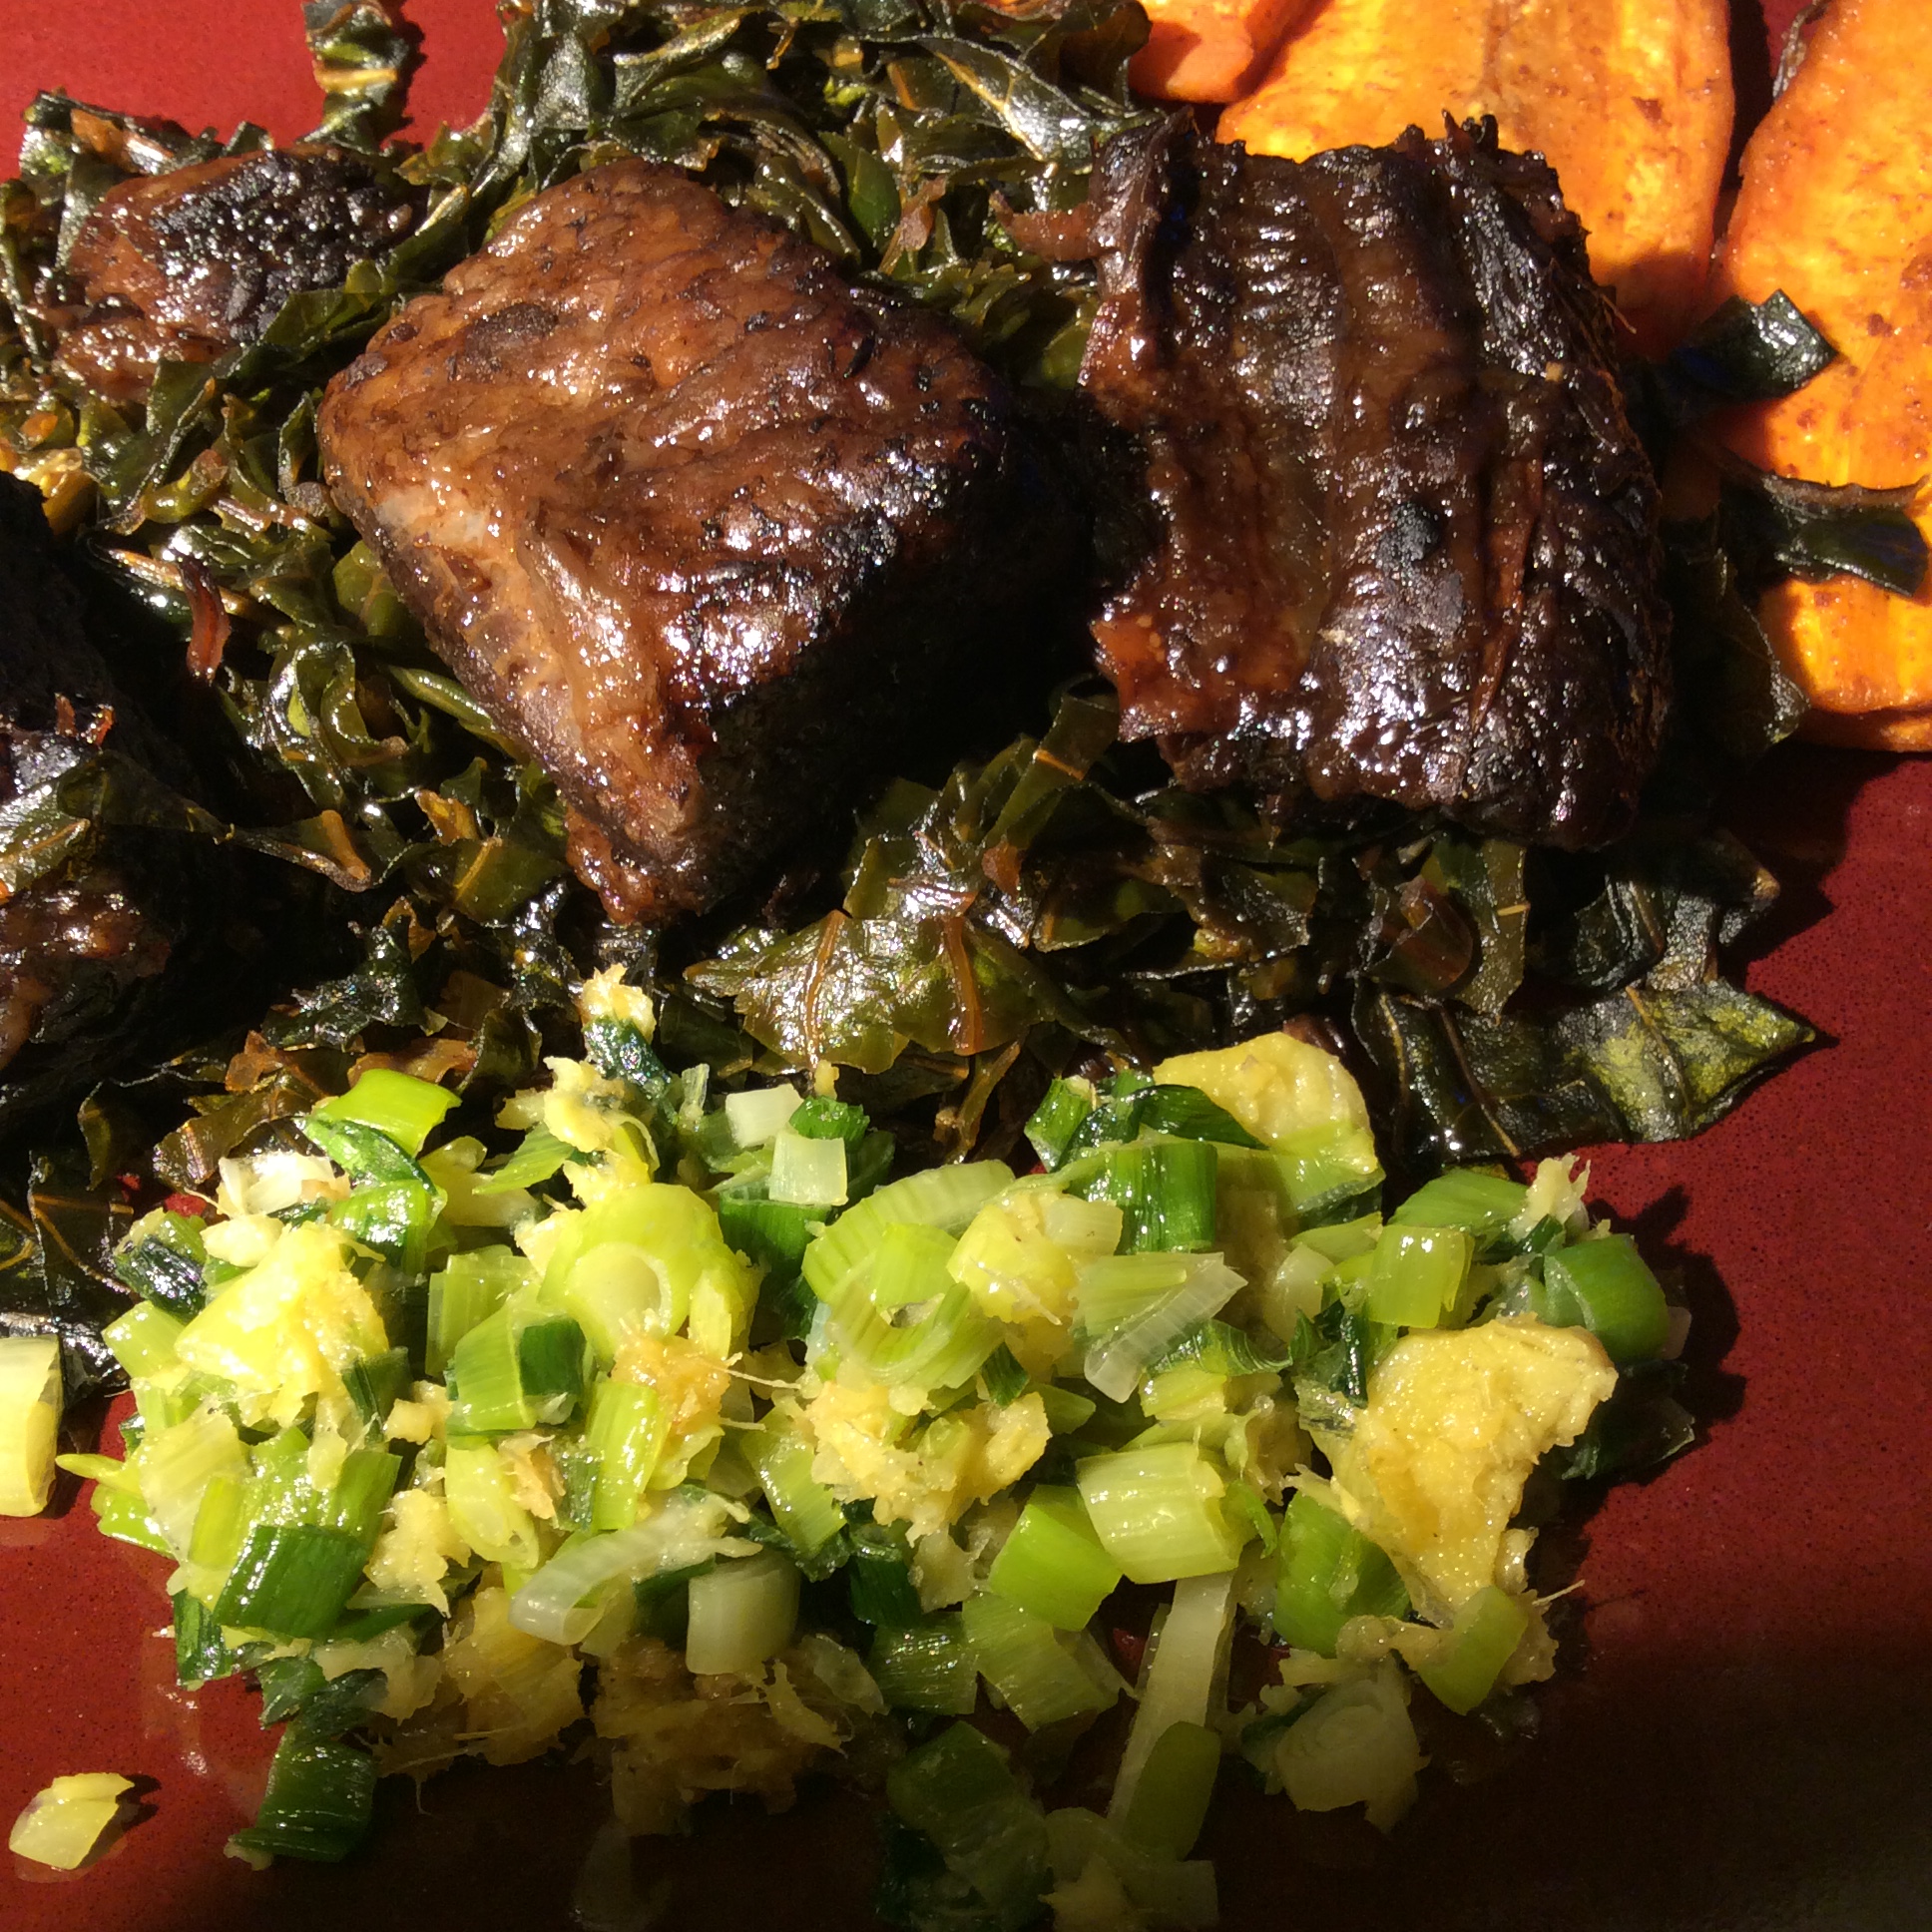
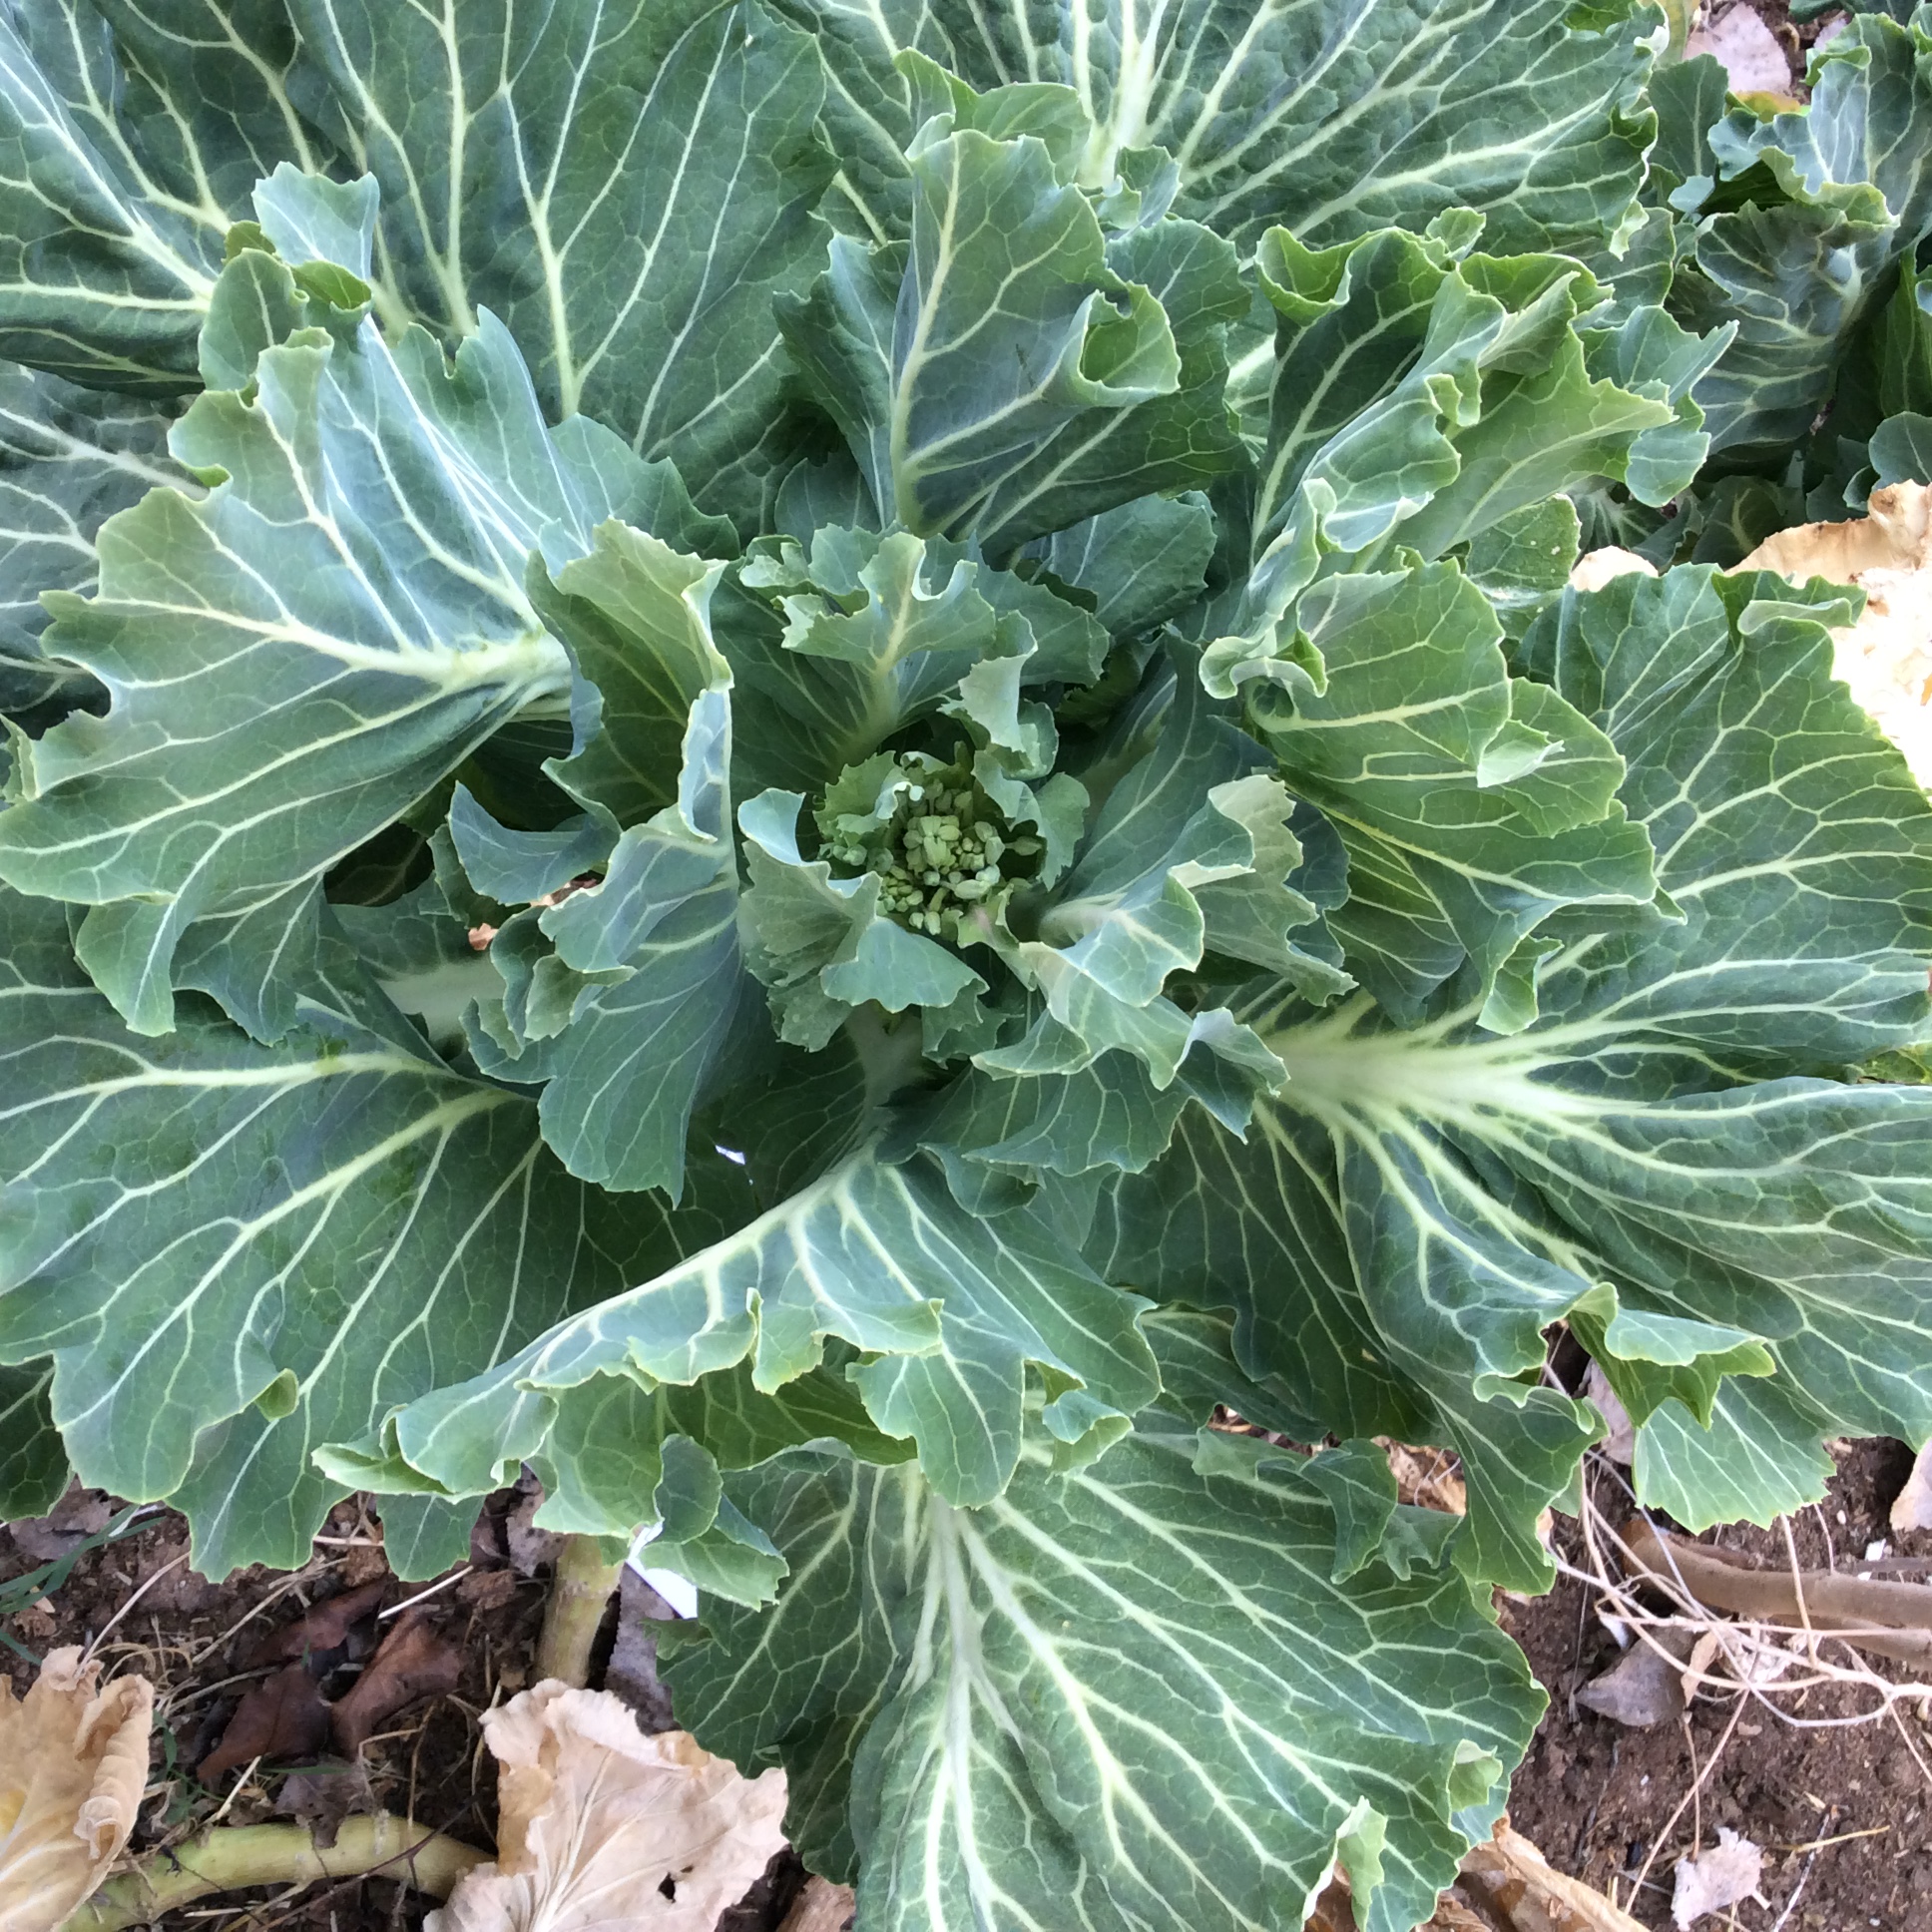
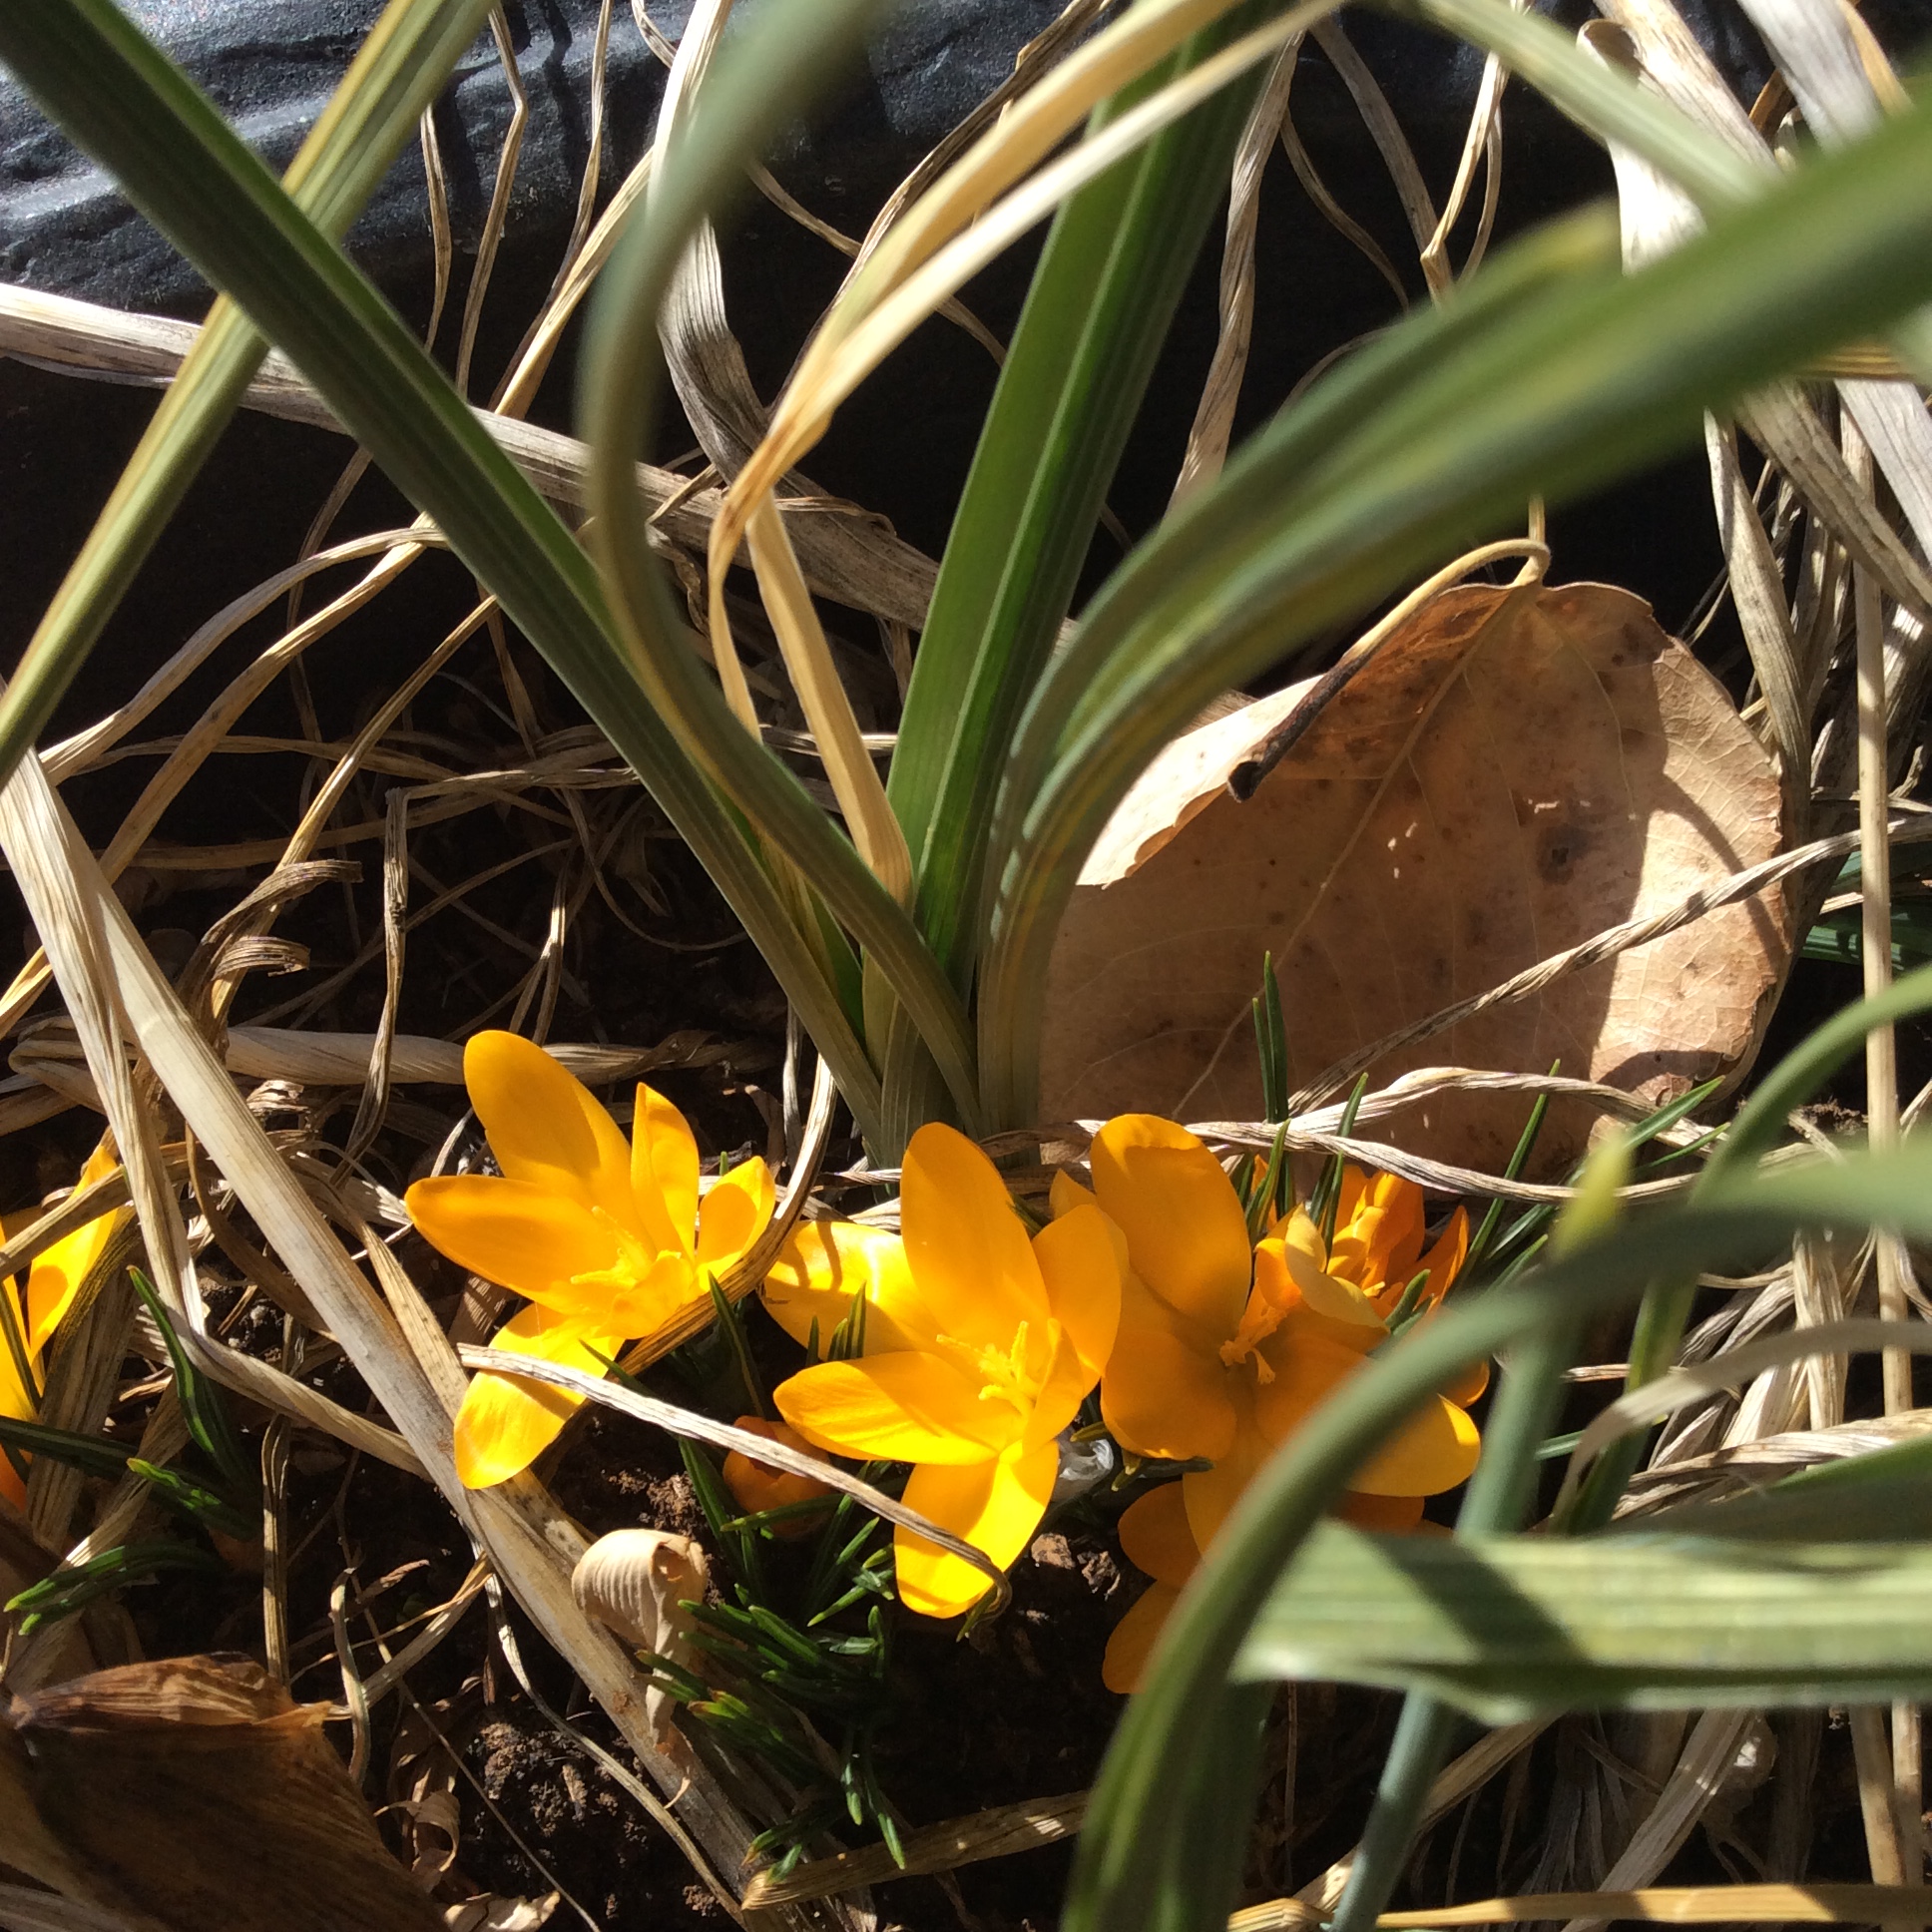
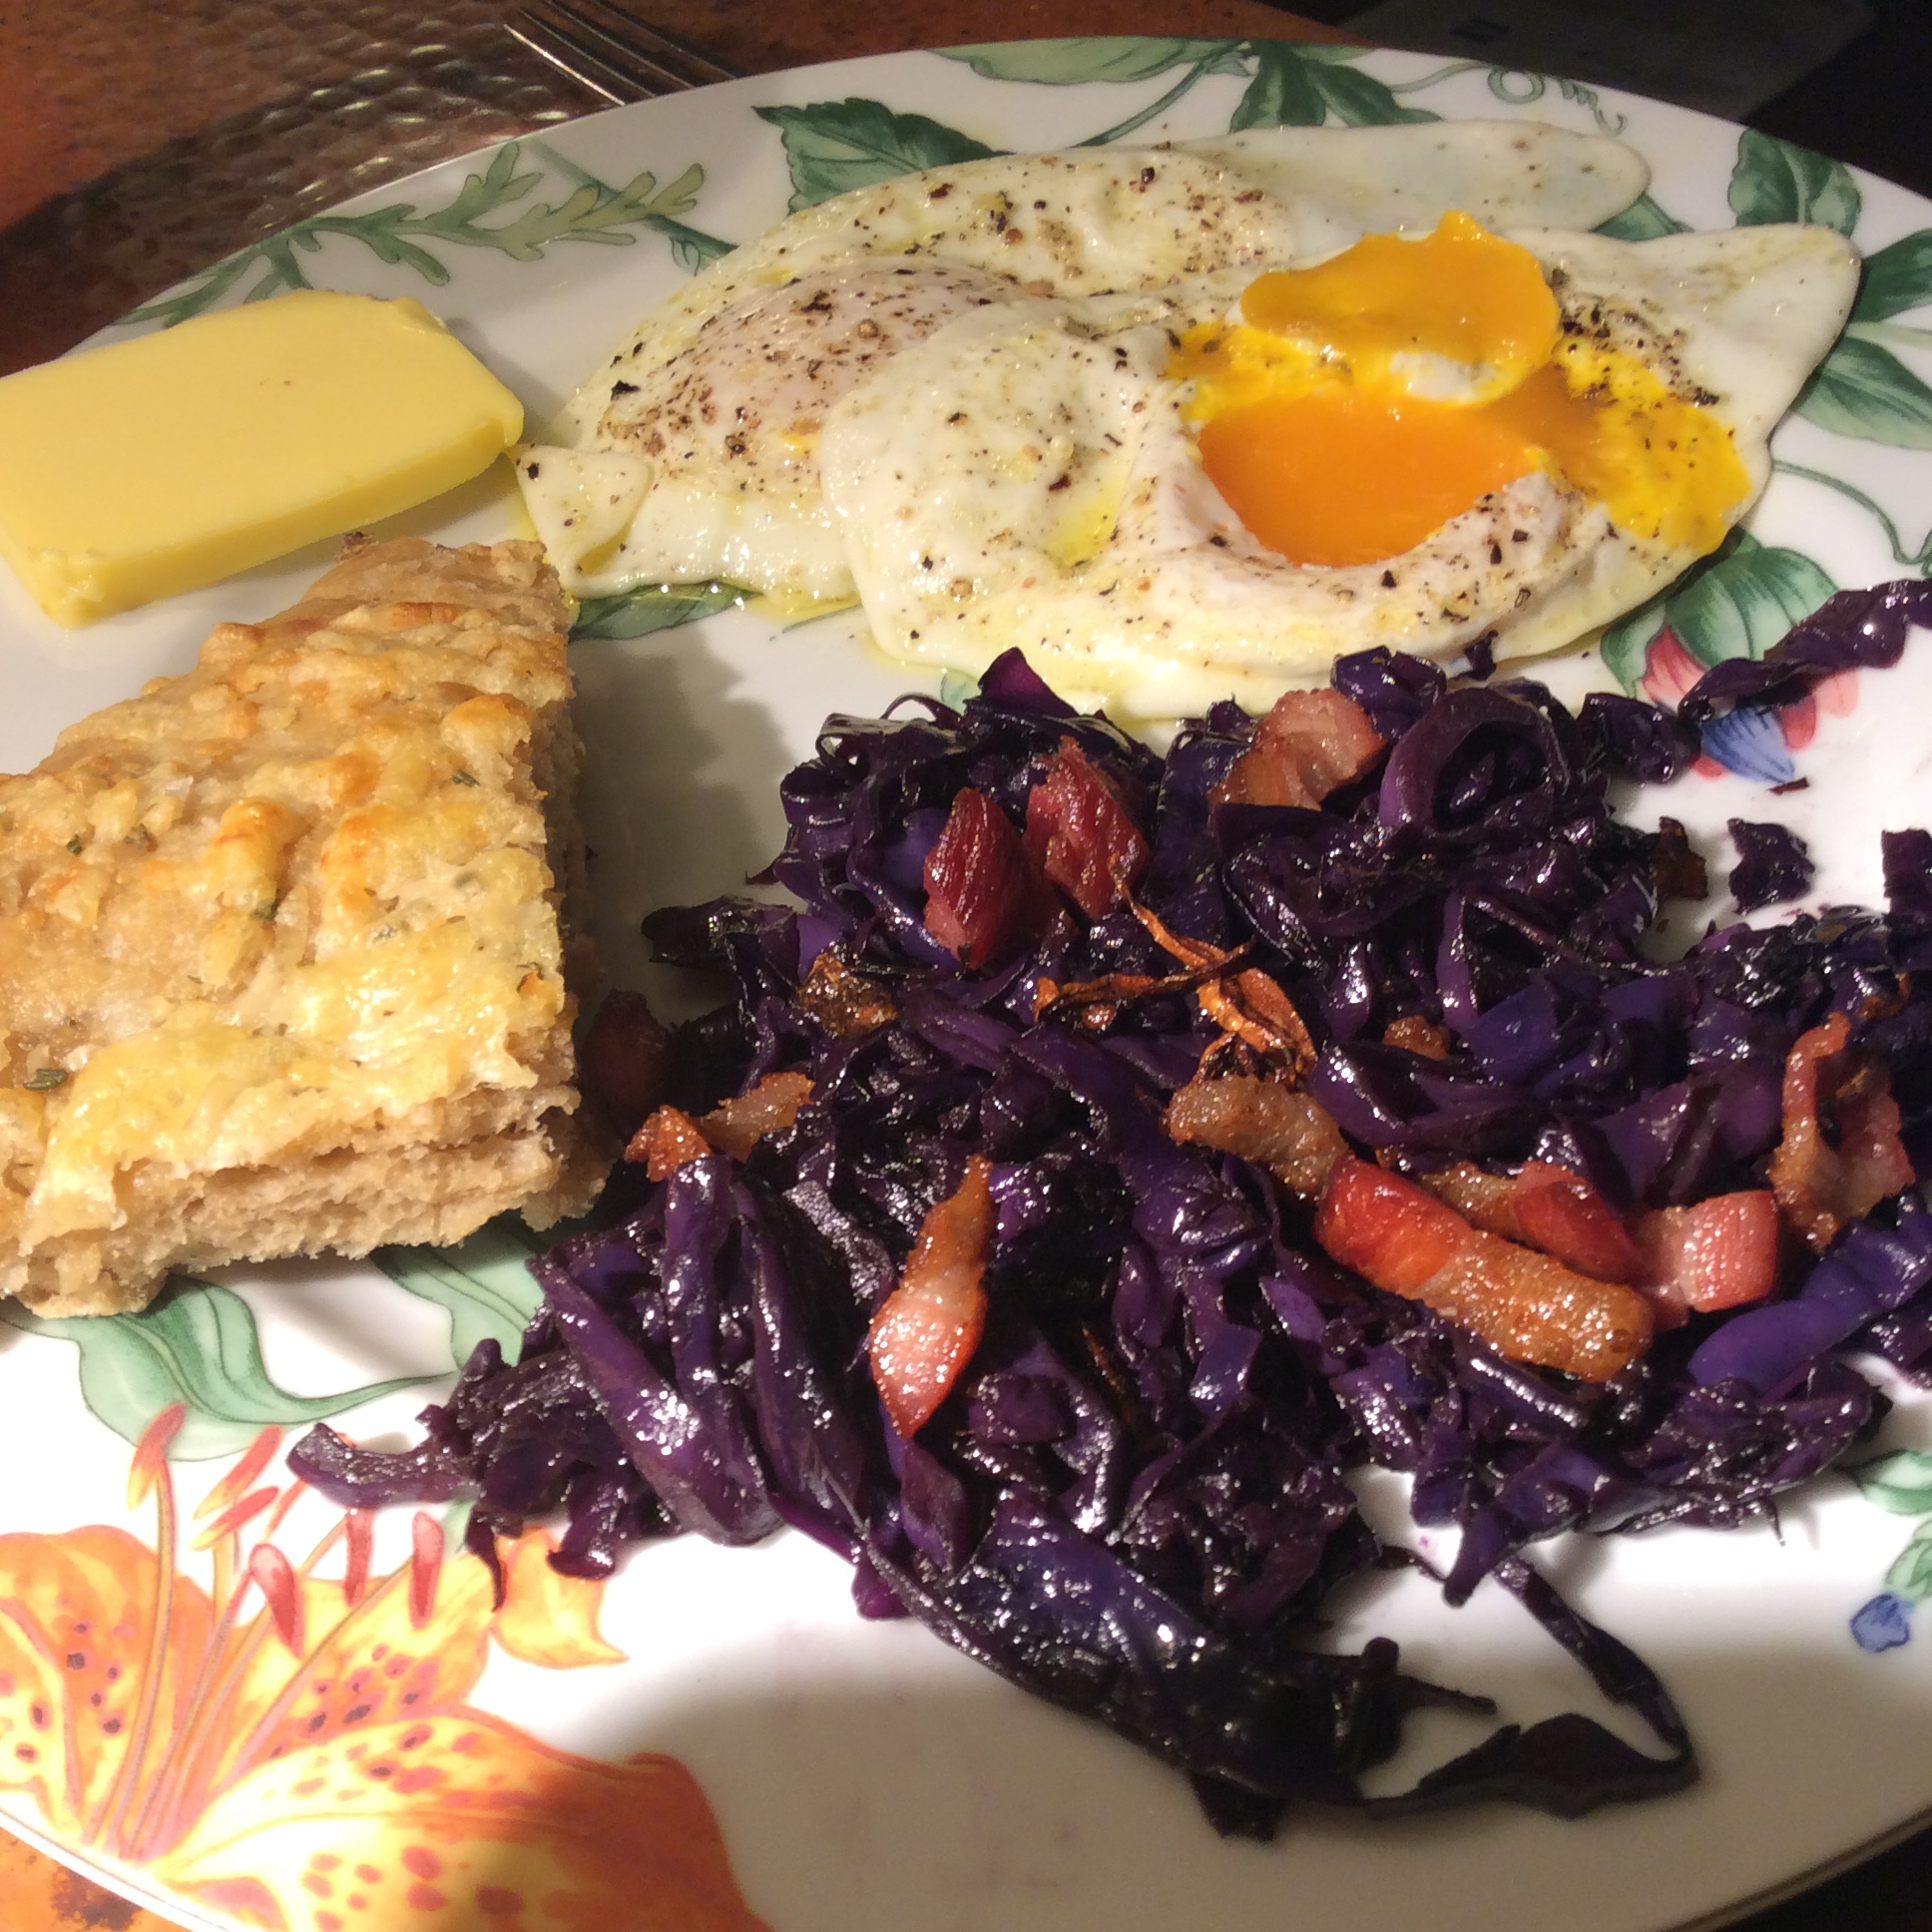
During the longest nights my laying hens take a rest, and if I want eggs I have to buy them at the Co-op. This is probably a good thing, because it keeps me aware that even the best winter eggs from local farmers aren’t as good as the glorious golden-yolked beauties that my hens start to lay in February. Greens and flaxseed make the yolks full of omega-3s  and carotenoids. The effort of keeping enough greens going under frost blankets to supply the chickens as well as my own kitchen really pays off now. Later on in the spring they will lay like crazy and I’ll have eggs to share and I’ll be making profligate dishes like low-carb cheesecake, which involves 16 egg yolks. But when the first tiny golden crocus crysanthus blooms in February, I begin to get the first few treasured eggs, with yolks of the same gold as the crocuses. For now, I get a couple of eggs a day and every one is cherished. Even low-carb bread becomes something wonderful when dipped into a rich creamy fried egg yolk. As far as I’m concerned, top-notch fried eggs go with everything, and I love a plate of cooked veggies and fried eggs for dinner. A fried egg or two makes any plate of vegetables into dinner.  But there are tons of other possibilities.

In celebration of earliest spring, I took a look at what other bloggers have done with eggs. Here’s a brief round-up.

First, I can’t resist pointing out one of my own favorite old posts.

https://albuquerqueurbanhomestead.com/2016/11/18/eggs-in-a-hurry/


Hank Shaw is one of the most wonderful foragers and foodies that I know of. As soon as I have more eggs, I plan to salt-cure some yolks by his method and grate them over greens.

https://honest-food.net/salt-cured-egg-yolks/

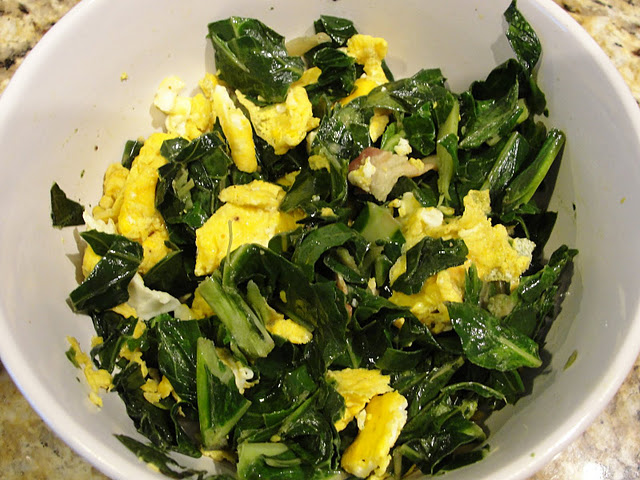
The wonderfully herbal green buttered eggs from The Nourished Caveman are a go-to recipe for me, and I vary the greens according to availability and mood.

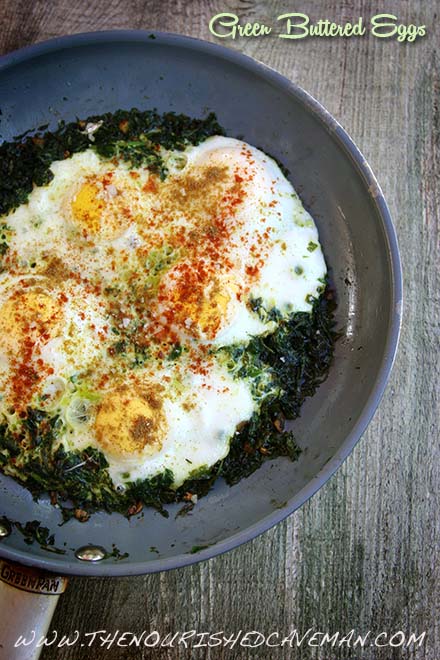
https://thenourishedcaveman.com/green-buttered-eggs/

This one will never come out of my kitchen, because I can’t stand sardines in any form. But it is so nutrient-rich that you should have a look at it.

https://thenourishedcaveman.com/nutrient-dense-fishermans-eggs/

Crispy fried eggs are wonderful for making a salad into a meal.

https://nomnompaleo.com/post/104615214153/sunnyside-salad-crispy-fried-eggs-on-greens

And Martha Stewart adds mushrooms to an eggs and greens skillet.

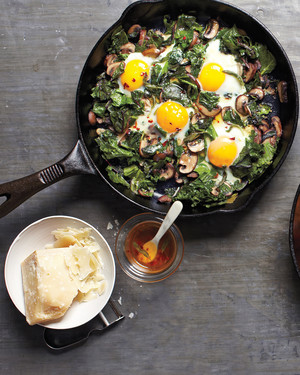
https://www.marthastewart.com/852125/fried-eggs-greens-and-mushrooms

Or scramble your eggs a bit on the hard-cooked side and toss them into greens or salads as an ingredient.


Red-cooked Winter Greens

Any regular reader of my blog knows my nutritional obsession: nobody really eats enough leafy greens, including me. But I do make regular efforts to correct this.

In my last post  I wrote about grassfed short ribs red-cooked in Chinese fashion, and tonight I wanted that soft succulent meat again  but with a strong vegetable component, not the pure meatfest that I had last time. I am also conducting an ongoing experiment to see what greens can produce in winter in my garden with no protection. This sounds simple, given that I am down in zone seven and vegetables like kale are famous for holding all winter up in zones four and five, but it’s a little more complicated than that. Our desert winters are not as cold as further north, but they are absolutely dry with no protective snow cover and have occasional windstorms that will wipe the moisture out of almost anything but a cactus. Kale is invariably withered by early December. I have been trying to breed my own desert-hardy greens but have learned this year that collards, the common green of my southern Louisiana childhood,  are remarkably cold-tolerant and resist drying out better than anything else. I picked the last plant today, and the lower leaves are a little desiccated but the whole upper half of the plant is still in excellent condition.

I still had a cup of Master Sauce left over from cooking the short ribs. This is not the very concentrated sauce  that was used to finish the ribs, but the original cooking liquid. If you don’t have any Master Sauce, combine a cup of water or preferably good broth, a full “star” of star anise, a teaspoon of five-spice powder, a smashed cloves of garlic, a tablespoon of sugar or the equivalent in artificial sweetener of your choice, and a few “coin” slices of fresh ginger. Bring  to a boil in your smallest saucepan, simmer 15 minutes, remove the solid star anise and garlic and ginger, and use. If you have a cup of this juice in a jar in your refrigerator, you are ready to red-cook veggies at any time. Just use within a week. You may like it a little more or less sweet. Suit yourself.

All I did with the collards was wash them, remove the tough center ribs, slice them about a quarter inch wide, bring the master sauce to a boil, and drop the leaves in. I would estimate that there were 8 to 10 whole leaves and maybe about 2 quarts very loosely packed when they were sliced up. This would be the equivalent of one bunch of supermarket collard greens.

Bring the Master Sauce to a boil and throw in the greens. Stir frequently and watch

I cooked over medium-high heat for a bit over fifteen minutes, stirring very frequently toward the end, until the greens were fairly soft and the liquid almost gone.  At this point they are dark and very intensely flavored and delicious. If you want them a brighter color but a little less flavorful, you can stop at the stage above, before the greens start to darken,  but be aware that they are definitely somewhat tougher  at this bright green stage.  Some people like the extra chewiness, but most do not, and often your thick-leaved winter greens will be better accepted by others if they are cooked a little more. In fact, as I keep saying, this is true of greens in general. Cook them until they taste good, and don’t stop sooner.  As long as you are using the cooking liquid, or in this case evaporating away most of it, there is little nutrient loss, and the greens will taste better so that you eat more of them, and also will probably suit your GI tract better.  In the picture below, you can see the finished dark greens underneath the short rib meat. What you can’t see is that there is quite a pile of them, and really only several bites of meat.    Add ginger and green onion relish, or not, as you choose.  But the greens are serving as the bulk of the meal, and you avoid any use of starches, and you will be full for hours and hours afterwards because of all the soluble fiber in the greens. I added a couple of roasted carrot slices for more color, and of course for flavor.

Incidentally, if any greens are left over, they are delicious the next day and can be just brought to room temperature and eaten as a sort of cooked salad.

Snacking Greens

Probably everybody has made kale chips, the delectable snack made by oiling and seasoning pieces of curly kale and baking them at 375 or 400 until they are crisp. They are delicate, and not much good for dipping in anything, but they are quite wonderful by themselves. Recently I was making a batch and began to wonder about using some of my other available greens. Ultimately I used both green and scarlet curly kale,  carrot leaves, and torn sections of collard leaf because that was what was left in the garden.  The leaves were washed, allowed to drain, and 12 mid ribs removed from the larger leaves. In the case of the small carrot leaves, the stem was snapped off just below the lowest leaflet. I drizzle them with olive oil and seasoned with salt, finally grated Parmesan, nutritional yeast flakes, and a sprinkling of roasted ground garlic. If you want an exact recipe, there are dozens on the Internet. This is something you can do in a very improvisational way as long as you don’t oversalt.

Lesson learned:  don’t put them all on the tray at the same time, no matter how pretty it looks. The three greens finished at very different times.  Collards needed the least time, and despite several experiments I never did get them quite right. They go from olive-green and ready to eat to brown and burnt-tasting  in under a minute. Also, they don’t cook very evenly despite your best efforts, so ultimately what I ended up doing was just picking out the brown leaves, which taste burnt, and throwing them away. I still think there are real possibilities here but I did not get them to work as a satisfactory chip.

The carrot leaves were astoundingly good, with a perfect delicate crunch and a mild flavor. Even the stems had a good texture, lost their toughness, and tasted just fine.  I wish I had discovered this earlier in the year when I had more carrot leaves. But this is a good reason to keep a blog, or a written record of some kind, because if you don’t you end up “discovering” the same things every few years.  I am recording it so that I won’t have to discover this again. It’s a handy thing to know if you buy carrots with the leaves on. Remove the leaves as soon as possible before storing in the refrigerator, because they seem to go limp more quickly if still attached to the roots.

Curly kale was delicious, as it always is when baked this way.  I just love the stuff, and have no idea how large a bowl of kale chips I could eat, but I guarantee that it would be a big one.  If you live in a snowy climate, it is very likely that you can keep curly kale in good shape through much of the winner in your garden. Here in the high desert it does not get all that cold but we don’t have any snow cover and we have a lot of drying winds,  so by this time of year the curly kale that is growing uncovered looks pretty tattered. Also, for reasons I don’t know, there is an invasion of aphids in early December, and they are hard to wash off. But this year I did plant a row of curly kale and put frost blankets over it in early November, and that row is looking great and has no aphids.  So I have at least a few more batches of homegrown kale chips coming.

Incidentally, if you are cooking a meal and have the oven at 375 or so for something else, a few kale leaves out of the garden in a little pan make a great cook’s treat to tide you over until the meal is ready.

Green Slaw, and notes on salt-curing greens

Right now my garden is full of savoy cabbage and collards, the cold-hardiest greens around, and I’m trying to eat them in as many forms as possible. There are no greens more nutritious, and after a few hard frosts the texture is excellent. One way I really love to eat them is salt-wilted or salt-cured, which makes them more tender and gives them a velvety texture. The slaw shown above was designed to go with Mexican flavors and makes use of cilantro stems, which are often wasted but shouldn’t be. They have pure cilantro flavor and, unlike the leaves, will stand up to marinating or cooking.

For two people, I used one giant outer leaf of savoy cabbage and cut the midrib out. I then rolled the leaf halves up and cut them into thin strips less that 1/4” wide. Half a red onion was cut into very thin slices. The cabbage and onion strips were put in a bowl and salted generously. I didn’t measure the salt, but the idea is to use somewhat more than you might sprinkle on at the table, not to drench them with salt. Half a teaspoon for this small salad would probably do it.  Then- this step is important- I massaged the salt in with my fingertips for about a minute. The bowl was then put aside for half an hour. Meanwhile, I chopped a small clove of garlic finely and cut a handful of cilantro stems in fine cross section, as well as getting the chicken breasts and sauce ready. While the chicken breast was cooking, I squeezed out the greens to get rid of excess liquid. Then I tossed in the cilantro stems and garlic, squeezed the juice of half a lime over the leaves, tossed with couple of tablespoons of good olive oil, and finished with a few grinds of black pepper and a generous sprinkle of ground toasted cumin. The most important final step is to taste and consider the seasoning before serving. It may need additional salt, since much was lost when the liquid was squeezed out. And after considering the flavor balance, I ended up tossing in a light sprinkle of stevia, probably equivalent to about half a teaspoon of sugar.

This basic technique can be taken in many other directions. For a more Chinese take, leave out the cumin, use rice vinegar instead of lime juice, and add some grated ginger with the garlic and finish with a final drizzle of roasted sesame oil.  A sweeter take that can accompany Korean food or barbecue with equal facility can be achieved by tossing the wilted veggies, garlic, and cilantro stems with quasi-Korean sauce.  (Incidentally, when making that sauce, remember that oligofructose is not an essential ingredient and, if you aren’t low-carb, you can just use a smaller amount of sugar.) If pursuing an Asian flavor, use a neutral oil like macadamia oil rather than olive oil.  Rather than cilantro stems, you can use finely chopped parsley stems or a handful of finely sliced celery. You might want to salt-wilt the celery with the cabbage and onions if you use it, to make the texture blend in more harmoniously. You can dress the wilted veggies with wine vinegar or tarragon vinegar, add some finely chopped fresh thyme, and finish with a very good olive oil to have the slaw accompany more traditional western flavors. Parsley stems, lemon juice, oregano, and a final sprinkle of feta on top makes it more Greek, which is where I learned the salt-wilting technique in the first place. You can of course use part of a cabbage head rather than outer leaves, and red cabbage turns a lovely scarlet when salt-wilted and dressed with something acidic.  The point is that salt-wilting is a way to make thick cabbagey leafy greens more tender and chewable so that they can readily be eaten raw, and then you can take the flavor in any direction you want.  If you absolutely don’t have time for the salt-wilting step, you could try just massaging the finely sliced veggies with your fingers for an extra couple of minutes, and depending on your greens, this may soften the texture enough to make them very tasty, although the plush texture achieved by salt-curing won’t be there.  And if you don’t want to serve it as part of your meal, a small portion from half a large leaf or  so made in the kitchen while you do other things is a great cook’s treat  to eat while you work and prevent overeating later on.

I never tire of harping on the fact that leafy greens form the basis of the Cretan diet, the diet that nourished some of the healthiest and longest- lived people in the world. Also, they are full of soluble and insoluble fiber and very filling, so you have half the chicken breast left over to eat the next day, providing economies of time and money in addition to the health benefits.There is a meme going around that says

“How do you reset your body back to its factory settings?

It’s kale, isn’t it?

Please don’t say it’s kale”

Substitute “leafy greens” for “kale” and this becomes fairly accurate, and can be made delicious. If you grow your own greens, it’s also dirt-cheap. So there just isn’t a downside.