Archive for the ‘front yard gardening’ Category

Green Alliums Madeleine

img_5210

In my home state of Louisiana there is a popular dish called Spinach Madeleine. It combines spinach, bacon, onions and garlic, flour, cream, and (no kidding) Kraft Jalapeño Cheese Rolls, back when those existed. True Louisiana cooks now use Velveeta Mexican cheese instead. It’s really delicious, a testimonial to the Cajun ability to bring gastronomic harmony out of any degree of chaos. I use a mild grass-fed cheddar instead. I never tire of this dish, which made the River Road Cookbook go viral back before the Internet existed.

Recently I found myself interested in the lovely warm flavor of sautéed green onions and green garlic, as well as being interested by their high health benefits, and decided to try giving them the Madeleine treatment. My freezer is full of sautéed green alliums, so this was a quickie dish for me, made with equal parts of sautéed green onion and green garlic. If you’re starting from scratch, you will need about 10 ounces of spinach and three standard bunches of green onions, chopped in 1/4 inch slices and sautéed in 1/3 cup of olive oil until tender.

Other ingredients:

1/4 lb bacon

1 clove garlic, chopped

1 tablespoon flour or porcini flour

1/3 cup cream

2 cups grated mild cheddar, preferably grass-fed

1/2 teaspoon ground chipotle chile (optional)

1  pinch (no more) grocery-store chili powder

Cut  the bacon in strips or lardons and fry brown in their own fat over medium heat. When done, add the chopped garlic to the pan, stir a minute, and add the flour or porcini flour and stir for 1-2 minutes. Add the green onion mixture and cook over medium heat until heated through. Stir in the cheese and seasonings and stir just until the cheese is melted. Turn into a buttered baking dish. Top with buttered bread crumbs if you like them. Bake at 350 for about 25 minutes, and brown the crumbs just a touch if you used them. Yum.

If you want a look at the original recipe, it can be found here: http://www.jfolse.com/recipes/vegetables/sidedish45.htm

The Greens of Winter: Soup Base

img_5098

Earlier this week I walked through my frost-killed garden to see what was left. For the most part I don’t make any special effort to protect my garden in the fall because after a long summer I’m ready to move on to the things I do in the winter, so the pickings were slim, but I found lots of chicory, dandelion, chard, broccoli leaves, alfalfa tips, celery, and kale, along with green garlic and green onions, and some of the herbs were still in fine shape. I decided to make soup, and since I had a lot more greens than I remembered planting, it occurred to me to make a soup base that could sit in the freezer, ready at any time to be turned into soup in a hurry. To the garden ingredients I added a large onion and a largish handful of sun-dried tomatoes from earlier in the summer. You could also use a jar of dried tomatoes in oil, drained.  The celery was used from base to leaf tip. I used roughly equal volumes of all the greens types, about the equivalent of a medium-sized supermarket bunch of each.

The onion was sliced thinly and sautéed very slowly in olive oil while I washed and prepared the greens. I was aiming for a rich caramel color, which meant low heat and frequent stirring, which is no extra trouble if you’re in the kitchen anyway. I used my wok because I knew that the volume of sliced greens would be considerable. First the green garlic and green onions were cleaned, finely slivered, and held separately, then everything else was washed and midribs removed and cut in cross section into roughly 1/2″ slices.

img_5084

When the onion was a nice toffee color I added the chopped green alliums, cooked about another five minutes, then added the other greens and some more olive oil along with about a teaspoon of salt. Don’t stint on the olive oil. You want sautéed flavor, not steamed flavor.  The heat was turned up to medium and the whole mass stirred and turned with a wide wooden spoon about every five minutes to keep it cooking evenly. As soon as the greens were in the pan I ground the sun dried tomatoes into small powdery chunks in the blender and added them to the wok. They rehydrated well enough in the moisture from the leaves.  Keep cooking until the greens are soft when chewed.

When you have a darkened dense mass of soft greens, put the whole business in the food processor and grind to the finest paste that you can achieve. Taste. You want it on the salty side, because that helps with preservation and it’s going to be diluted later. Add more salt if needed. I prefer to use fish sauce rather than salt to season at this point because it adds a wonderful rich savor. I used about a tablespoon. Don’t use this if you might be serving vegetarians.

img_5085

Now cool your soup paste and pack it into one-cup containers, each of which makes about a quart of finished soup. Coat the top with olive oil, push lids on tightly, and freeze.

img_5091

When ready to use, put a quart of any kind of salt-free or low-salt broth you like in a saucepan, add a cup of soup paste, and simmer until thawed. Correct the texture with a stick blender if it needs smoothing out. Taste for seasoning and adjust in any way you like. The caramelized onions, deeply sautéed greens, and fish sauce gave a meaty-umami flavor to the potful I made for lunch today, so I salted to taste and added a swirl of fat from my homemade bacon and a generous sprinkling of thyme leaves, a meaty-umami herb if ever there was one. Yum. With toasted buttered slices of my low-carb fake-o cornbread, it made a perfect light healthy Thanksgiving brunch to lead into the excesses to come at dinner.

This basic formula can be varied endlessly according to what you like and have available. If you serve vegans at your table, using some miso rather than fish sauce and good olive oil for the final swirl with water or vegetable broth as the liquid would suit their needs while fully satisfying the omnivores. If you don’t like the brownish color, leave the tomatoes out and it will be more green. Pan-grilled small oyster or other mushrooms would make a good garnish. A fried or poached egg adds tremendous heft to soup if you want a richer meal, or some bacon lardons fried crisp would satisfy any ardent carnivore with a minimum of actual meat. You can add cow or coconut cream for a cream soup (try a toss of chopped fresh tarragon for the final garnish,) or some leftover tomato sauce for interesting tartness, or finish it with a handful of good freshly grated Parmesan along with olive oil and let the cheese dissolve in the hot soup. For a more Cretan effect, use crumbled feta and olive oil on top.  There are a hundred possibilities and you can get any of them from freezer to table in well under 20 minutes. Serve any kind of bready stuff that suits your diet alongside, and you and your table mates will be full. I say that a quart of soup is two servings, but I understand that normal people can serve three or four with a quart. Know your family’s tastes.

In my opinion the celery is necessary rather than optional, and I strongly advise including at least a small portion of bitter greens (dandelion and chicory in this case.) When making mixed greens, I’ve often noticed that a savory-meaty element is lost if I don’t include some bitter greens. The proportion is small and the final product isn’t bitter and is enjoyed be people who don’t like strong greens in other contexts. Besides, they’re so damn good for you.

img_4891

img_4892

img_4888

My Years with Cardoons

img_5066

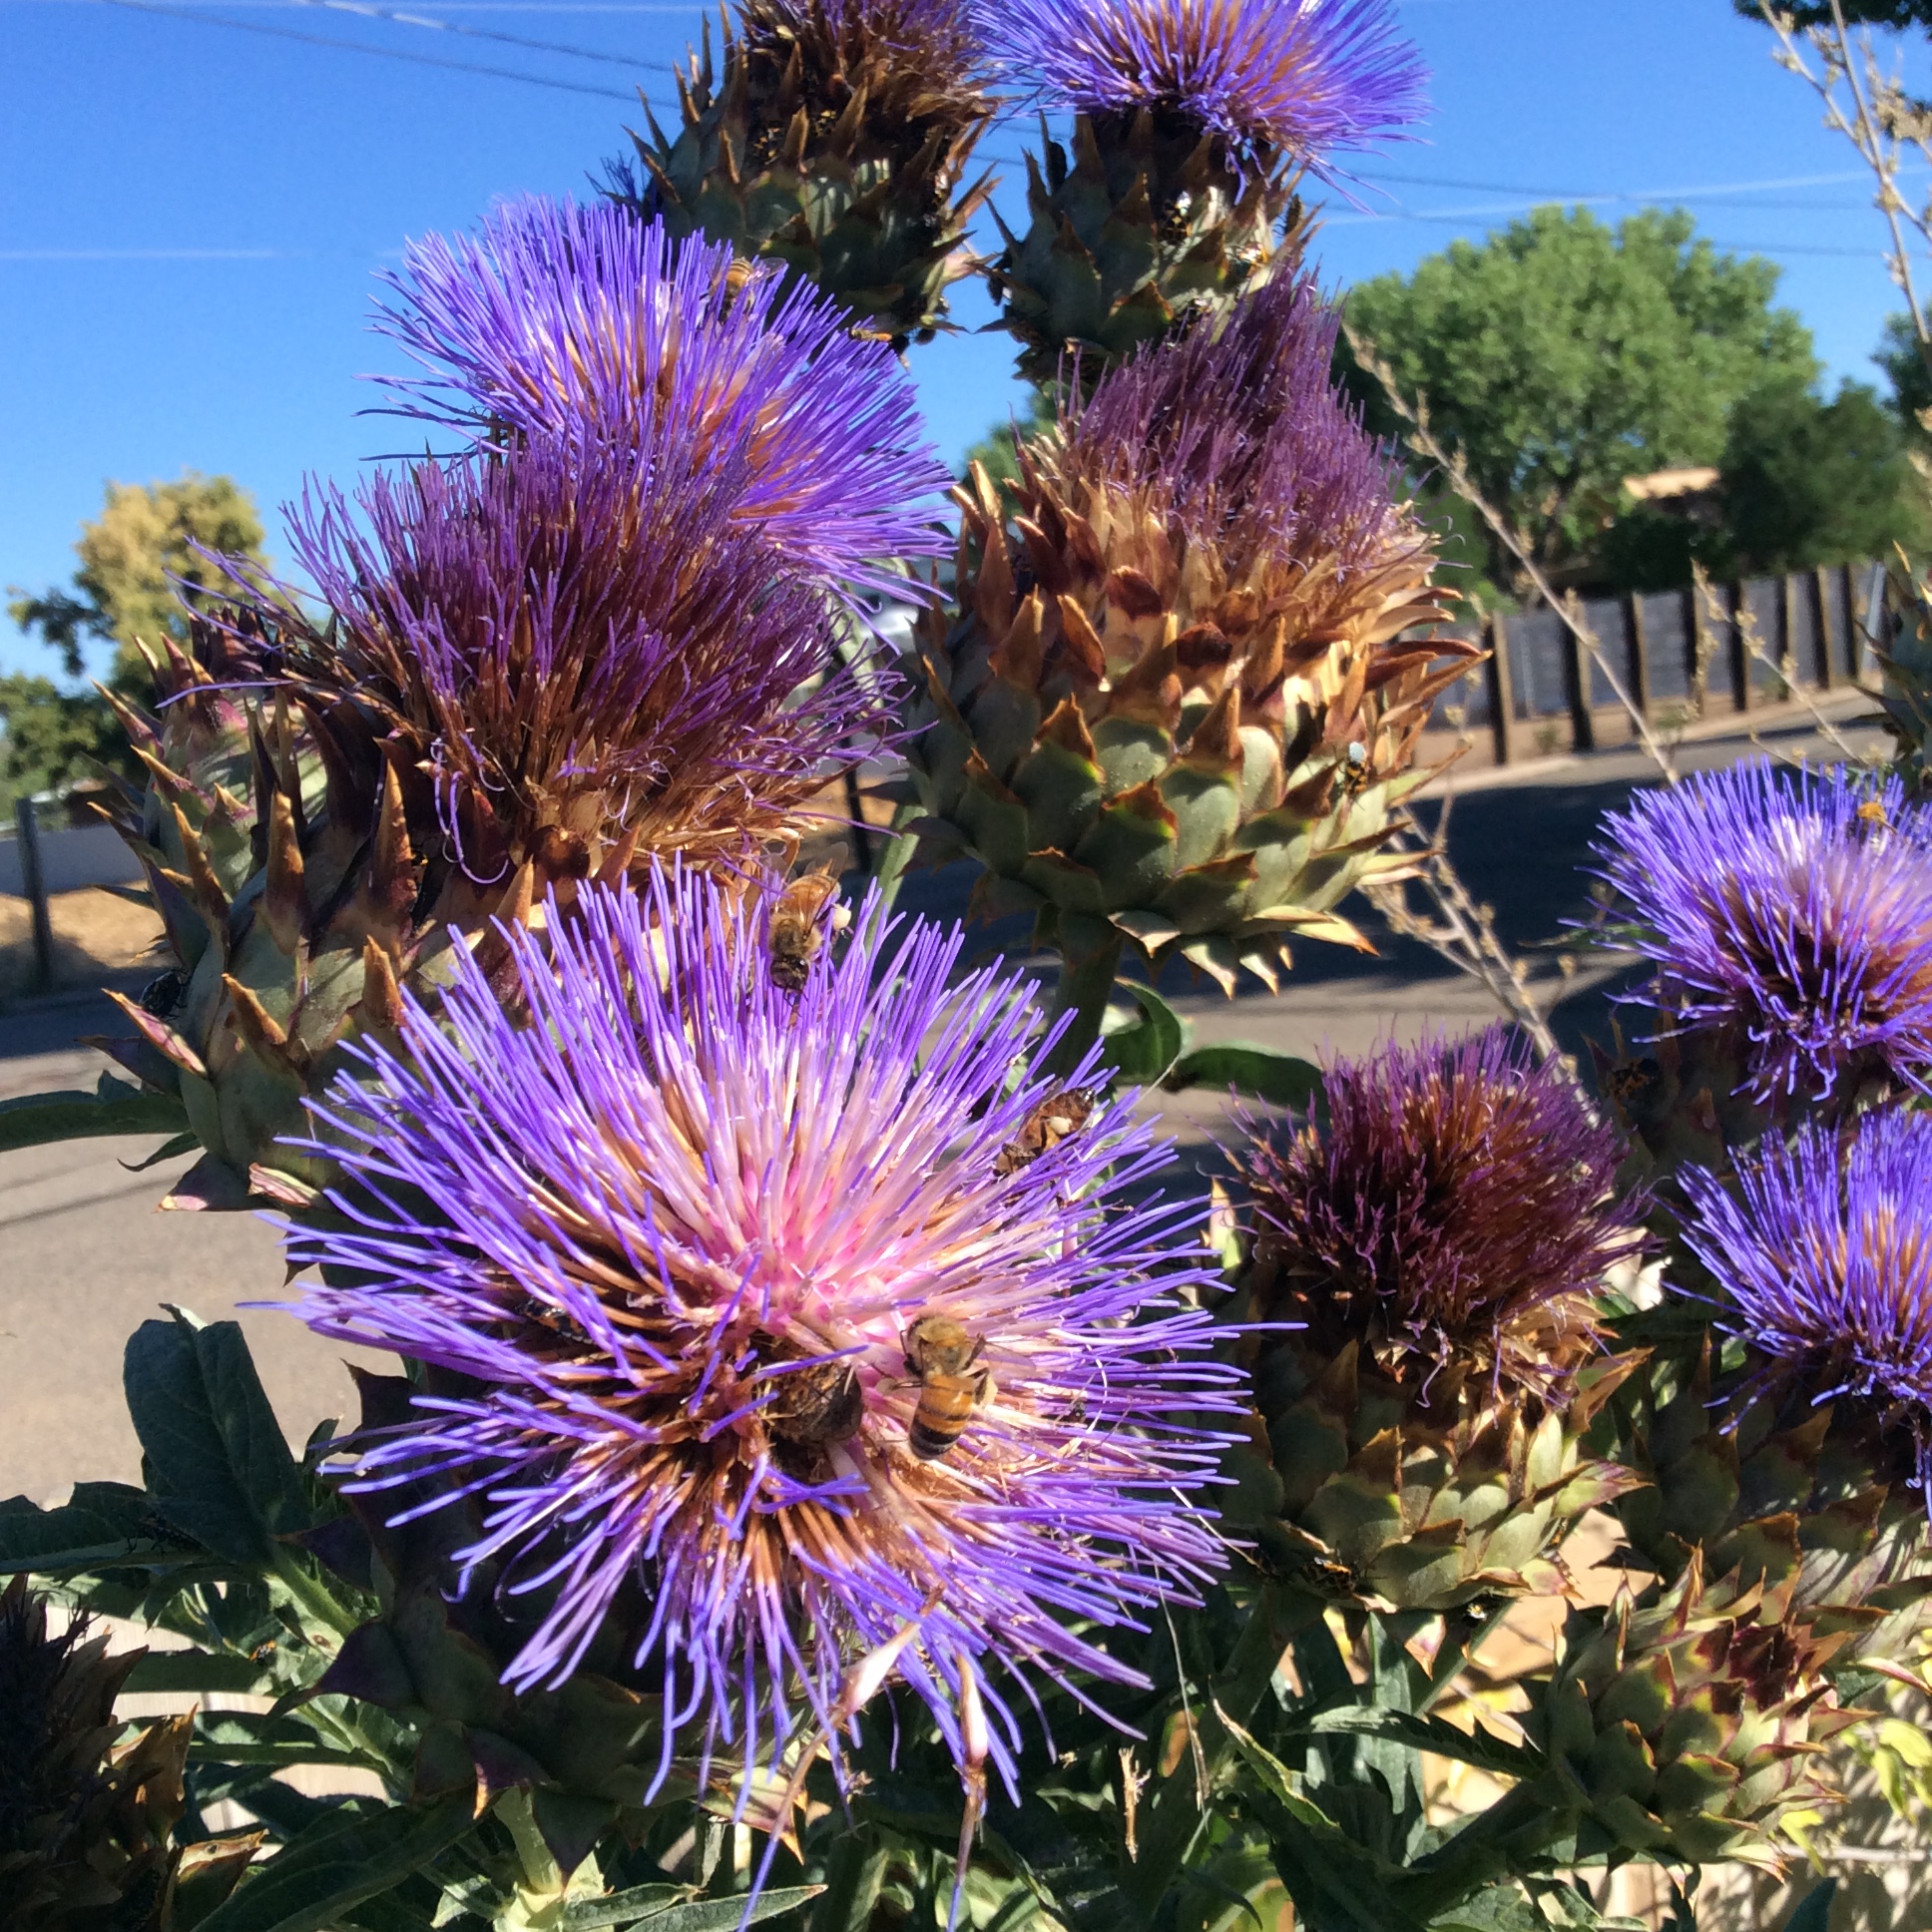
It took me a long time to learn to eat cardoons. My own cardoons, at least. I first found them in the market while honeymooning in Italy, and there they are neatly blanched, trimmed, and ready for the pot. I loved them, and ordered seeds from Italy as soon as I got home. They grow robustly in my desert climate and alkaline soil, and they are very ornamental. I had them for years before I successfully cooked them, and they were wonderful bee fodder all that time, blooming in the blasting-hot late summer when few other flowers are available to our pollinators. I tried to cook them without the tedious step of blanching the plants, and would say that this just doesn’t work.

image

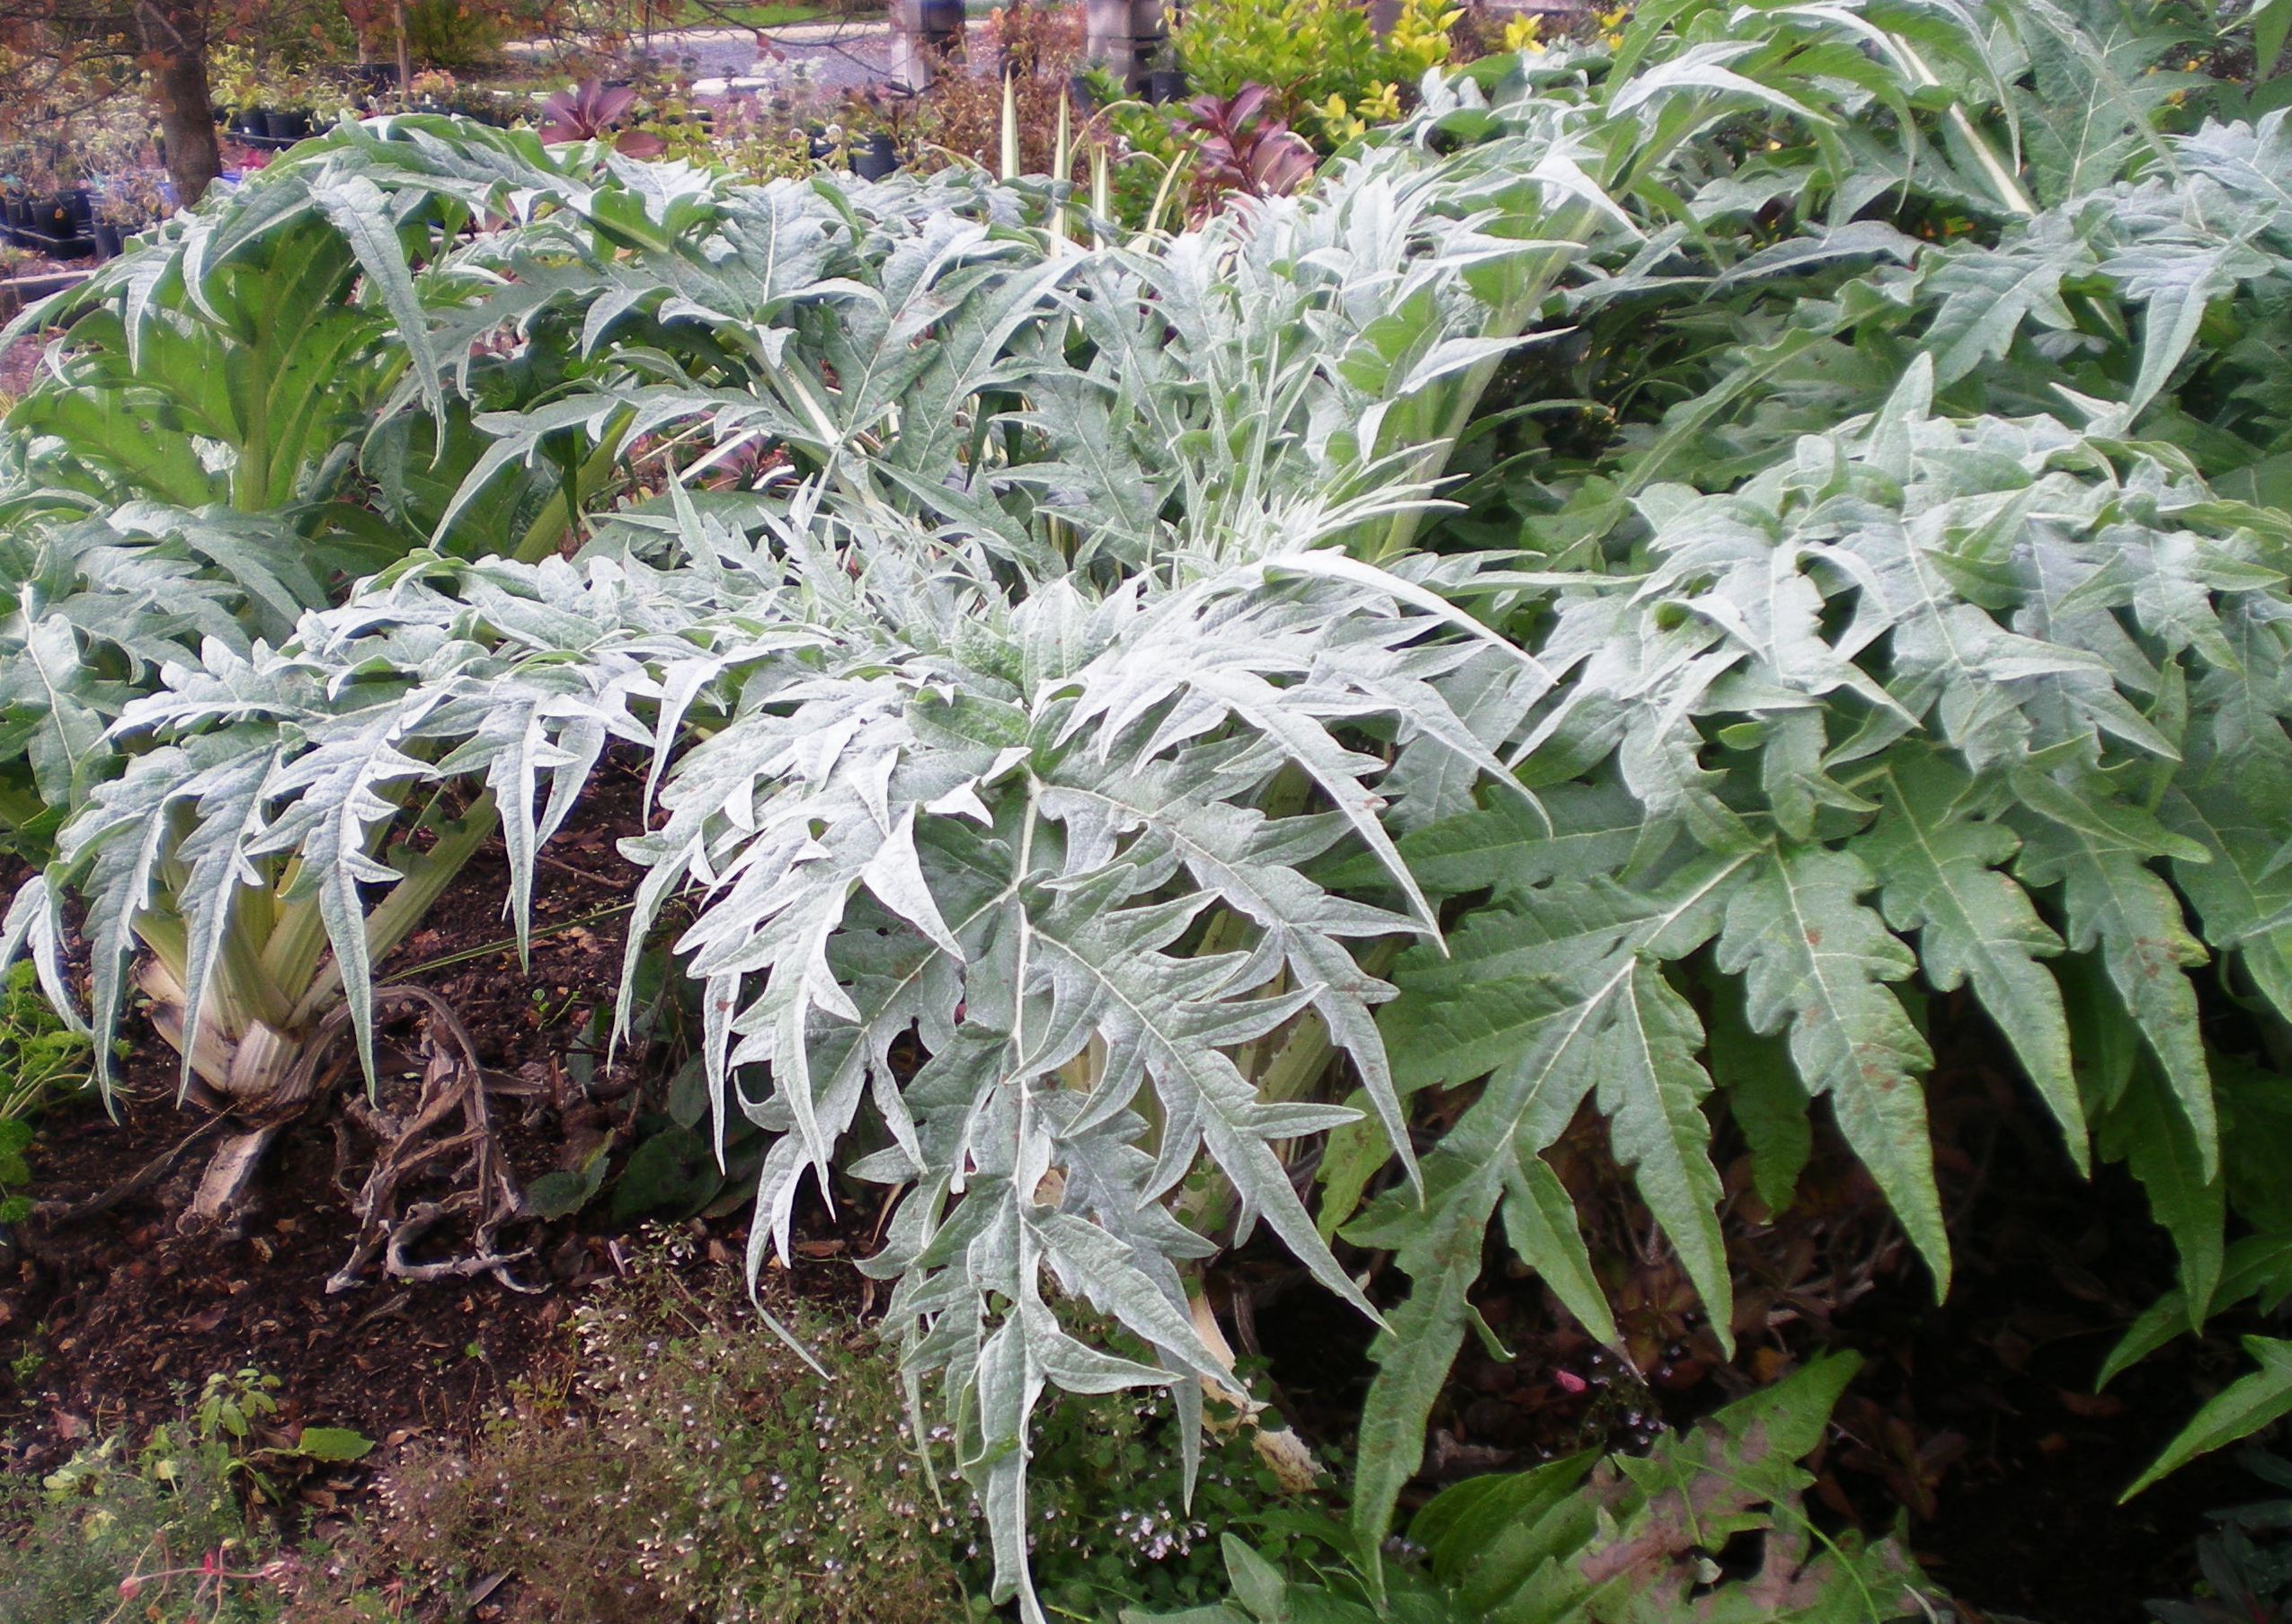
They die back unattractively after flowering, but then sprout again from the ground up. The foliage is silvery, full, and stunning in November. Unfortunately this is also the time when they’re best for eating, so mine aren’t exactly ornamental right now.

Before eating, blanch the stalks for a couple of weeks. I covered mine with some landscape cloth I had around, which is black and fuzzy and nearly lightproof while letting air and water through. You could also wrap your bundled plant in a couple of layers of corrugated cardboard, tieing it on carefully to exclude light from the stalks.

When blanched, use a sharp knife to cut the whole center out of the plant. Wear gloves, because cardoons are thistles and have nasty bristles down the edges of the leaf stalks and at the leaf margins. Cut off the leaves, leaving a bundle of stalks, and pull off any outer stalks that look ragged. My goat adores the leaves and trimmings, and since the leaves are intensely bitter, this is the best use for them.

img_5060

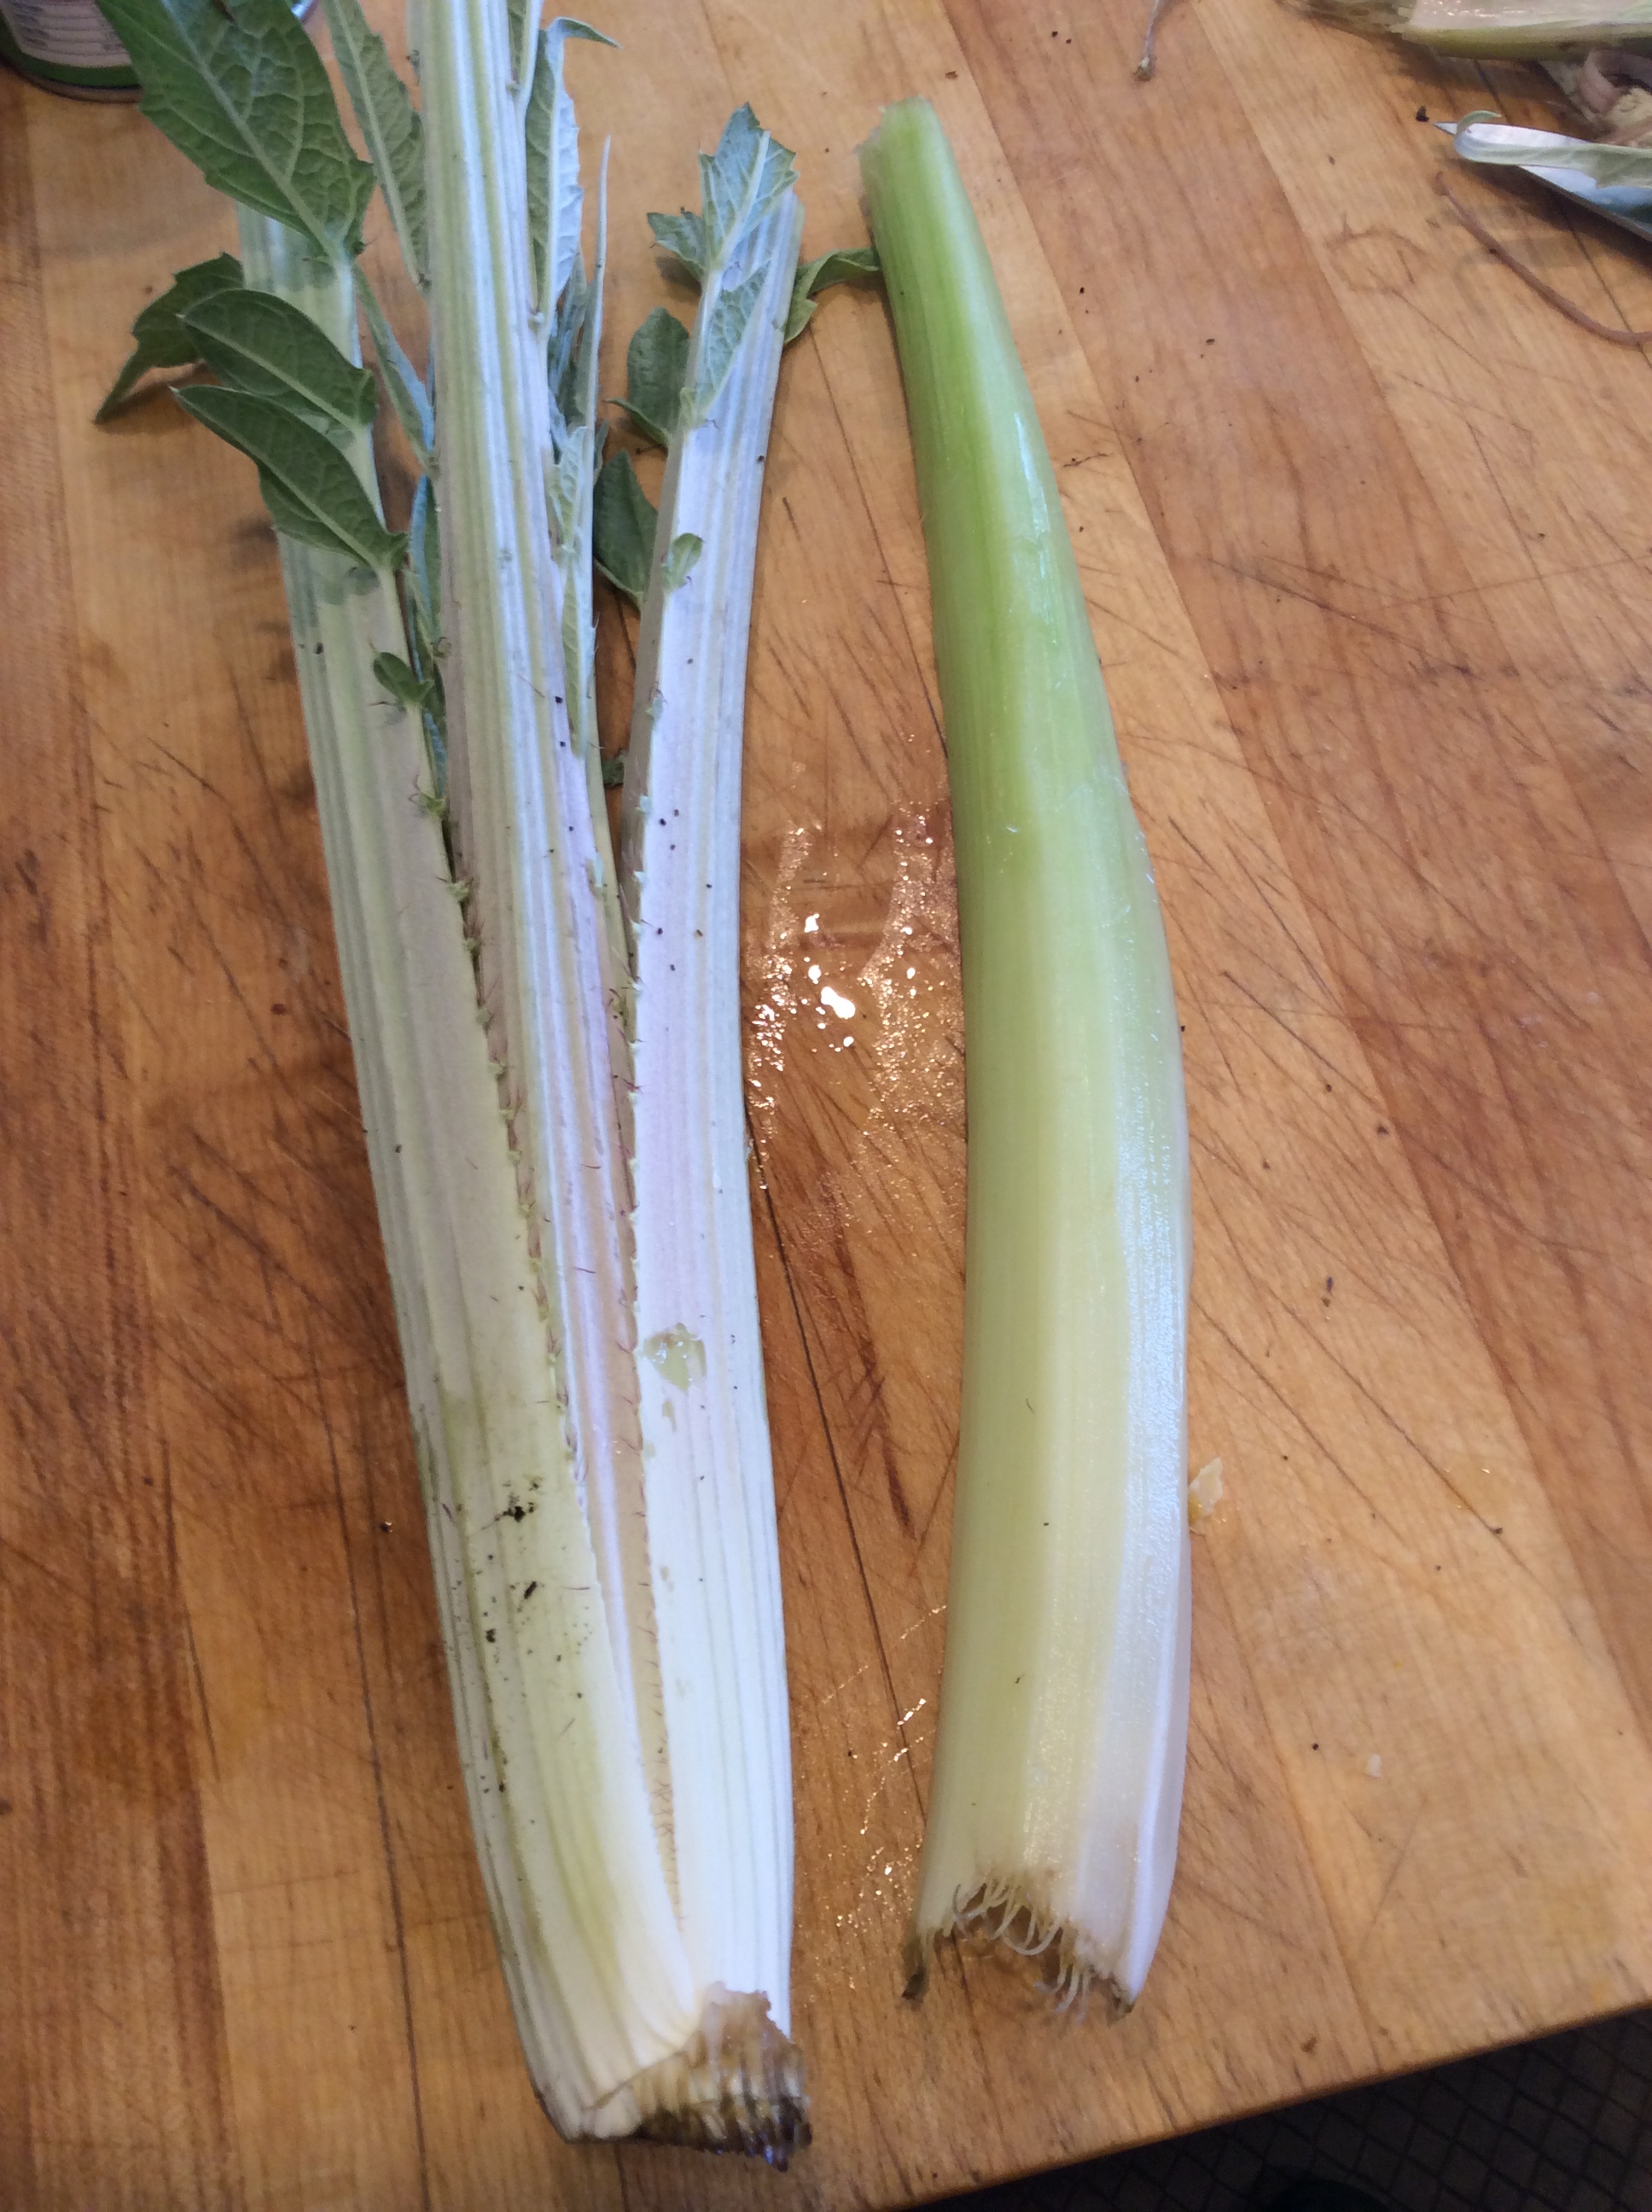
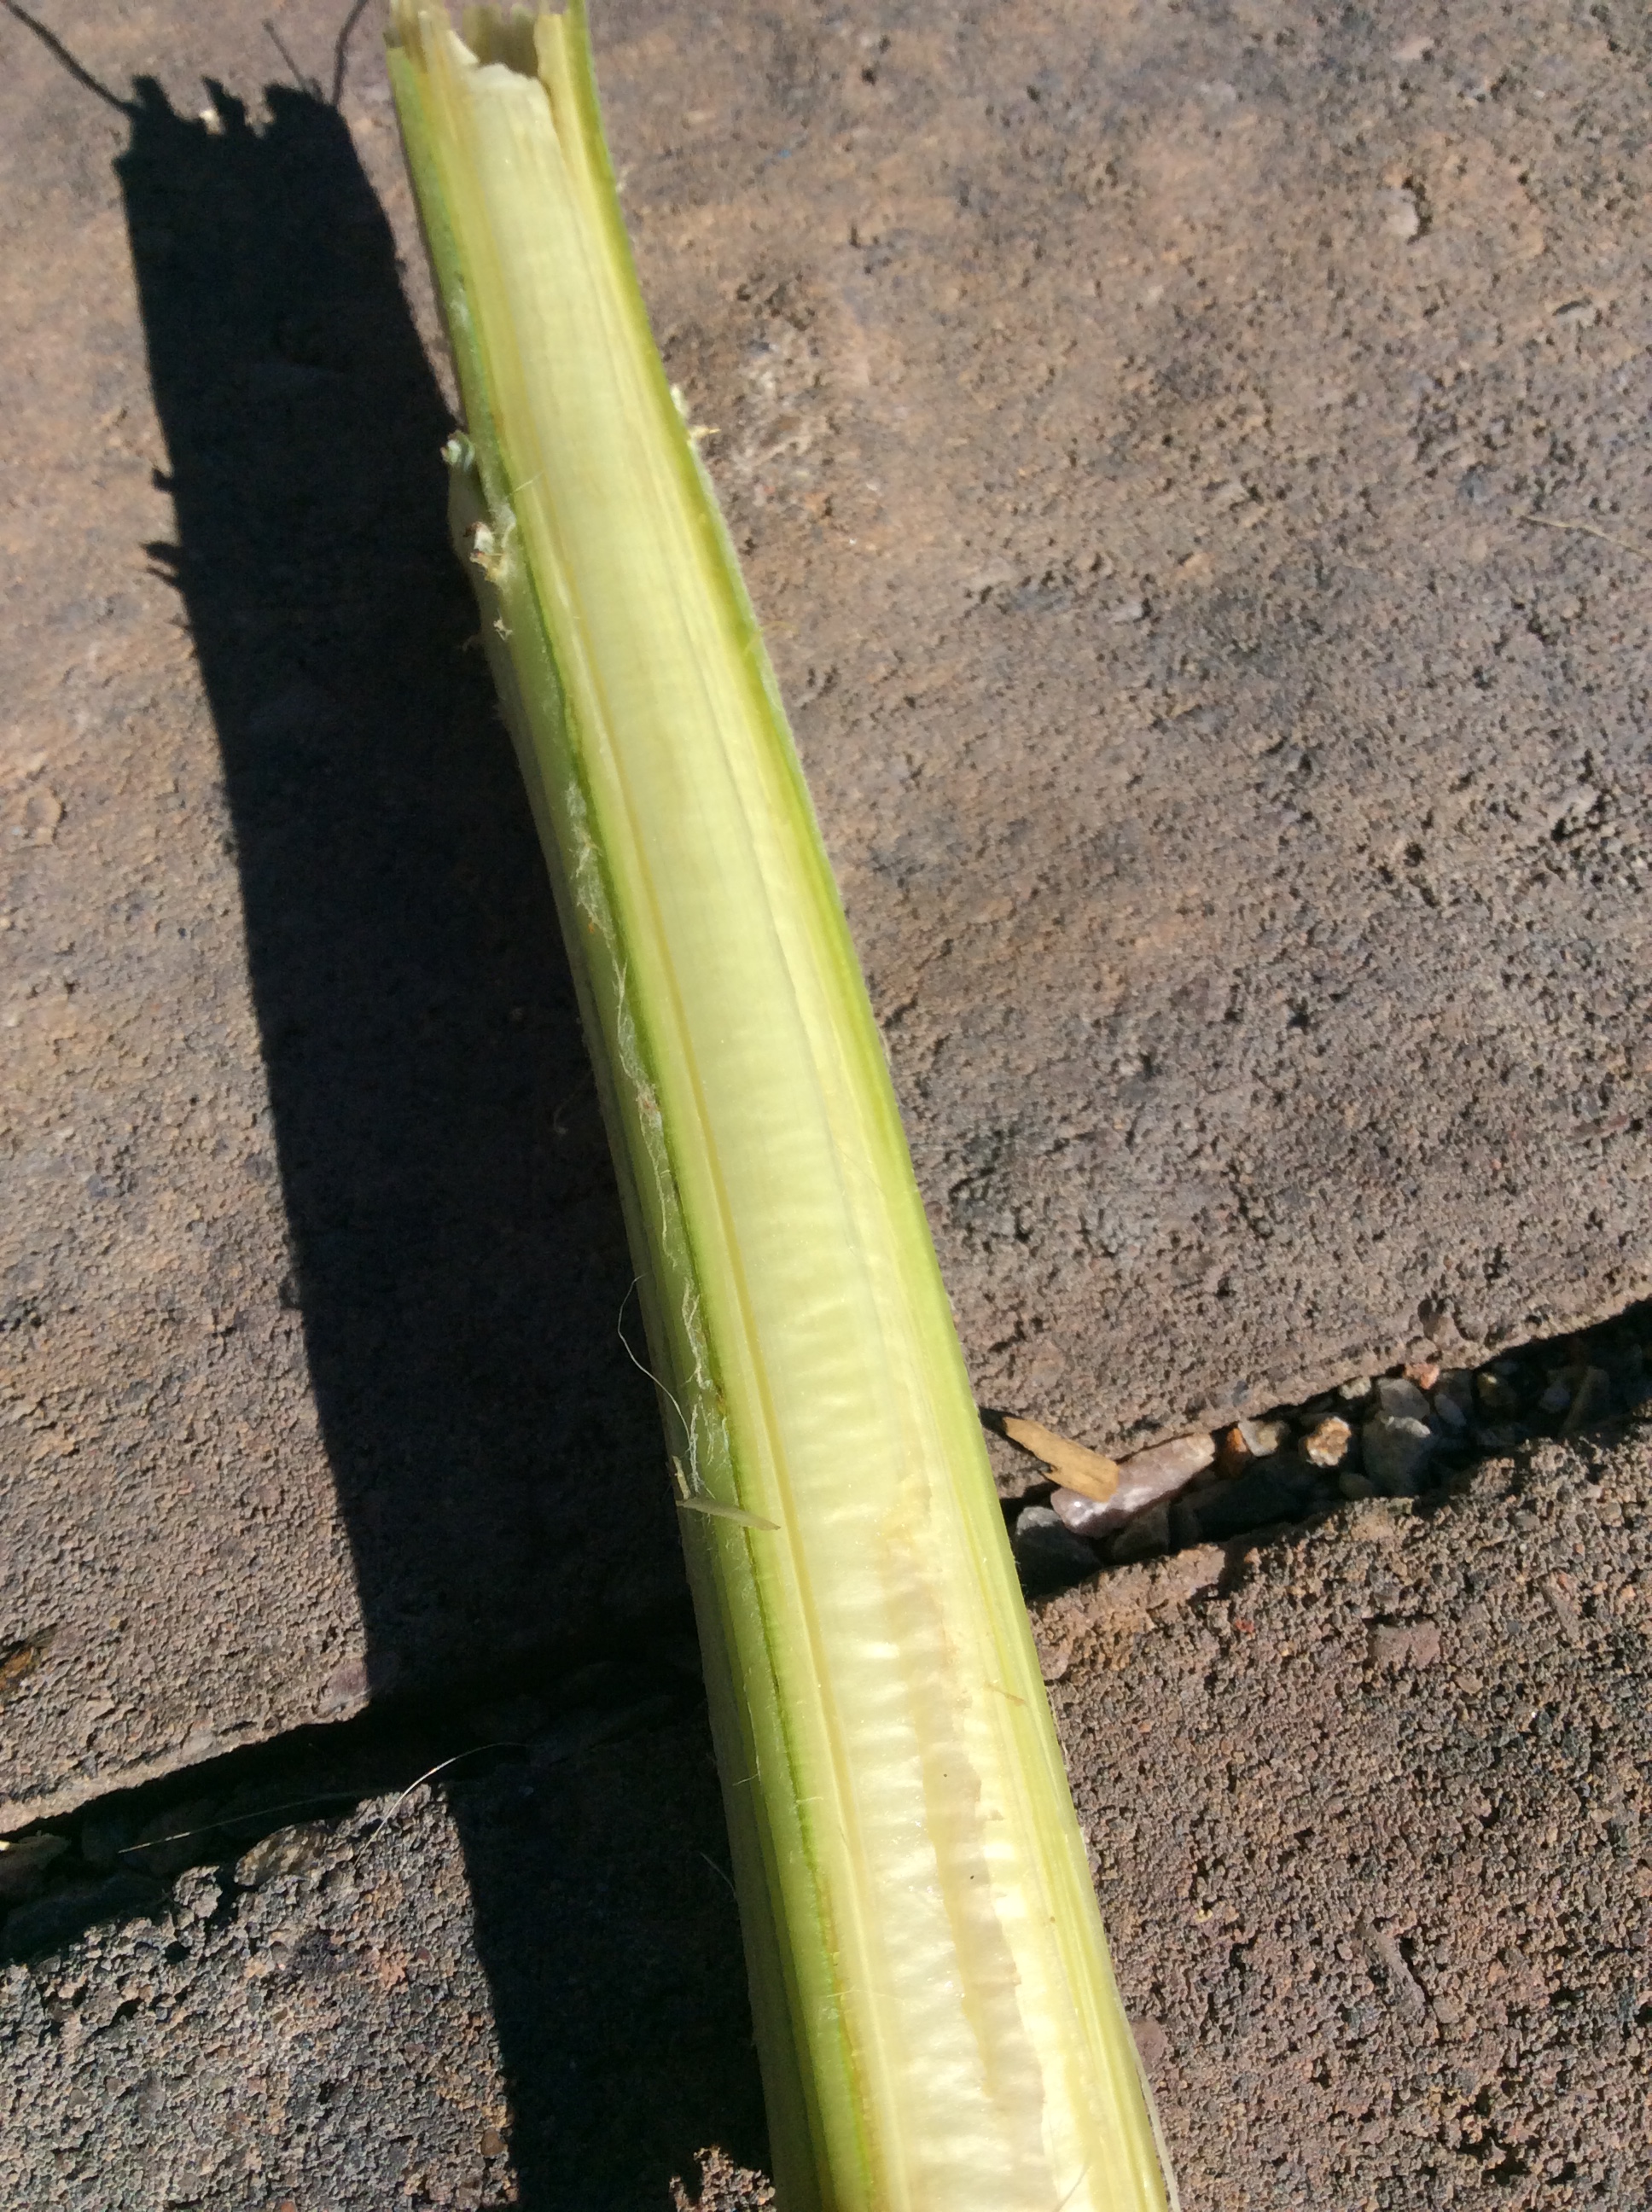
Separate the leaf stalks, wash well, and use a vegetable peeler to skim off the outer margin on each edge, where the bristles are. Now use the peeler to skin off the tough stringy part on the convex outer surface of each stem.  When you are done, they will look like the peeled stalk on the right above. The innermost stalks are tender and fairly stringless and just need the base trimmed and the row of bristles on each edge skinned off. Be sure you pull off the leaves from the center stalks, because even though they are very blanched and not bitter, they are tough even after cooking. Cut off the stalks at the point that they start to look corrugated and use everything below that.

img_5061

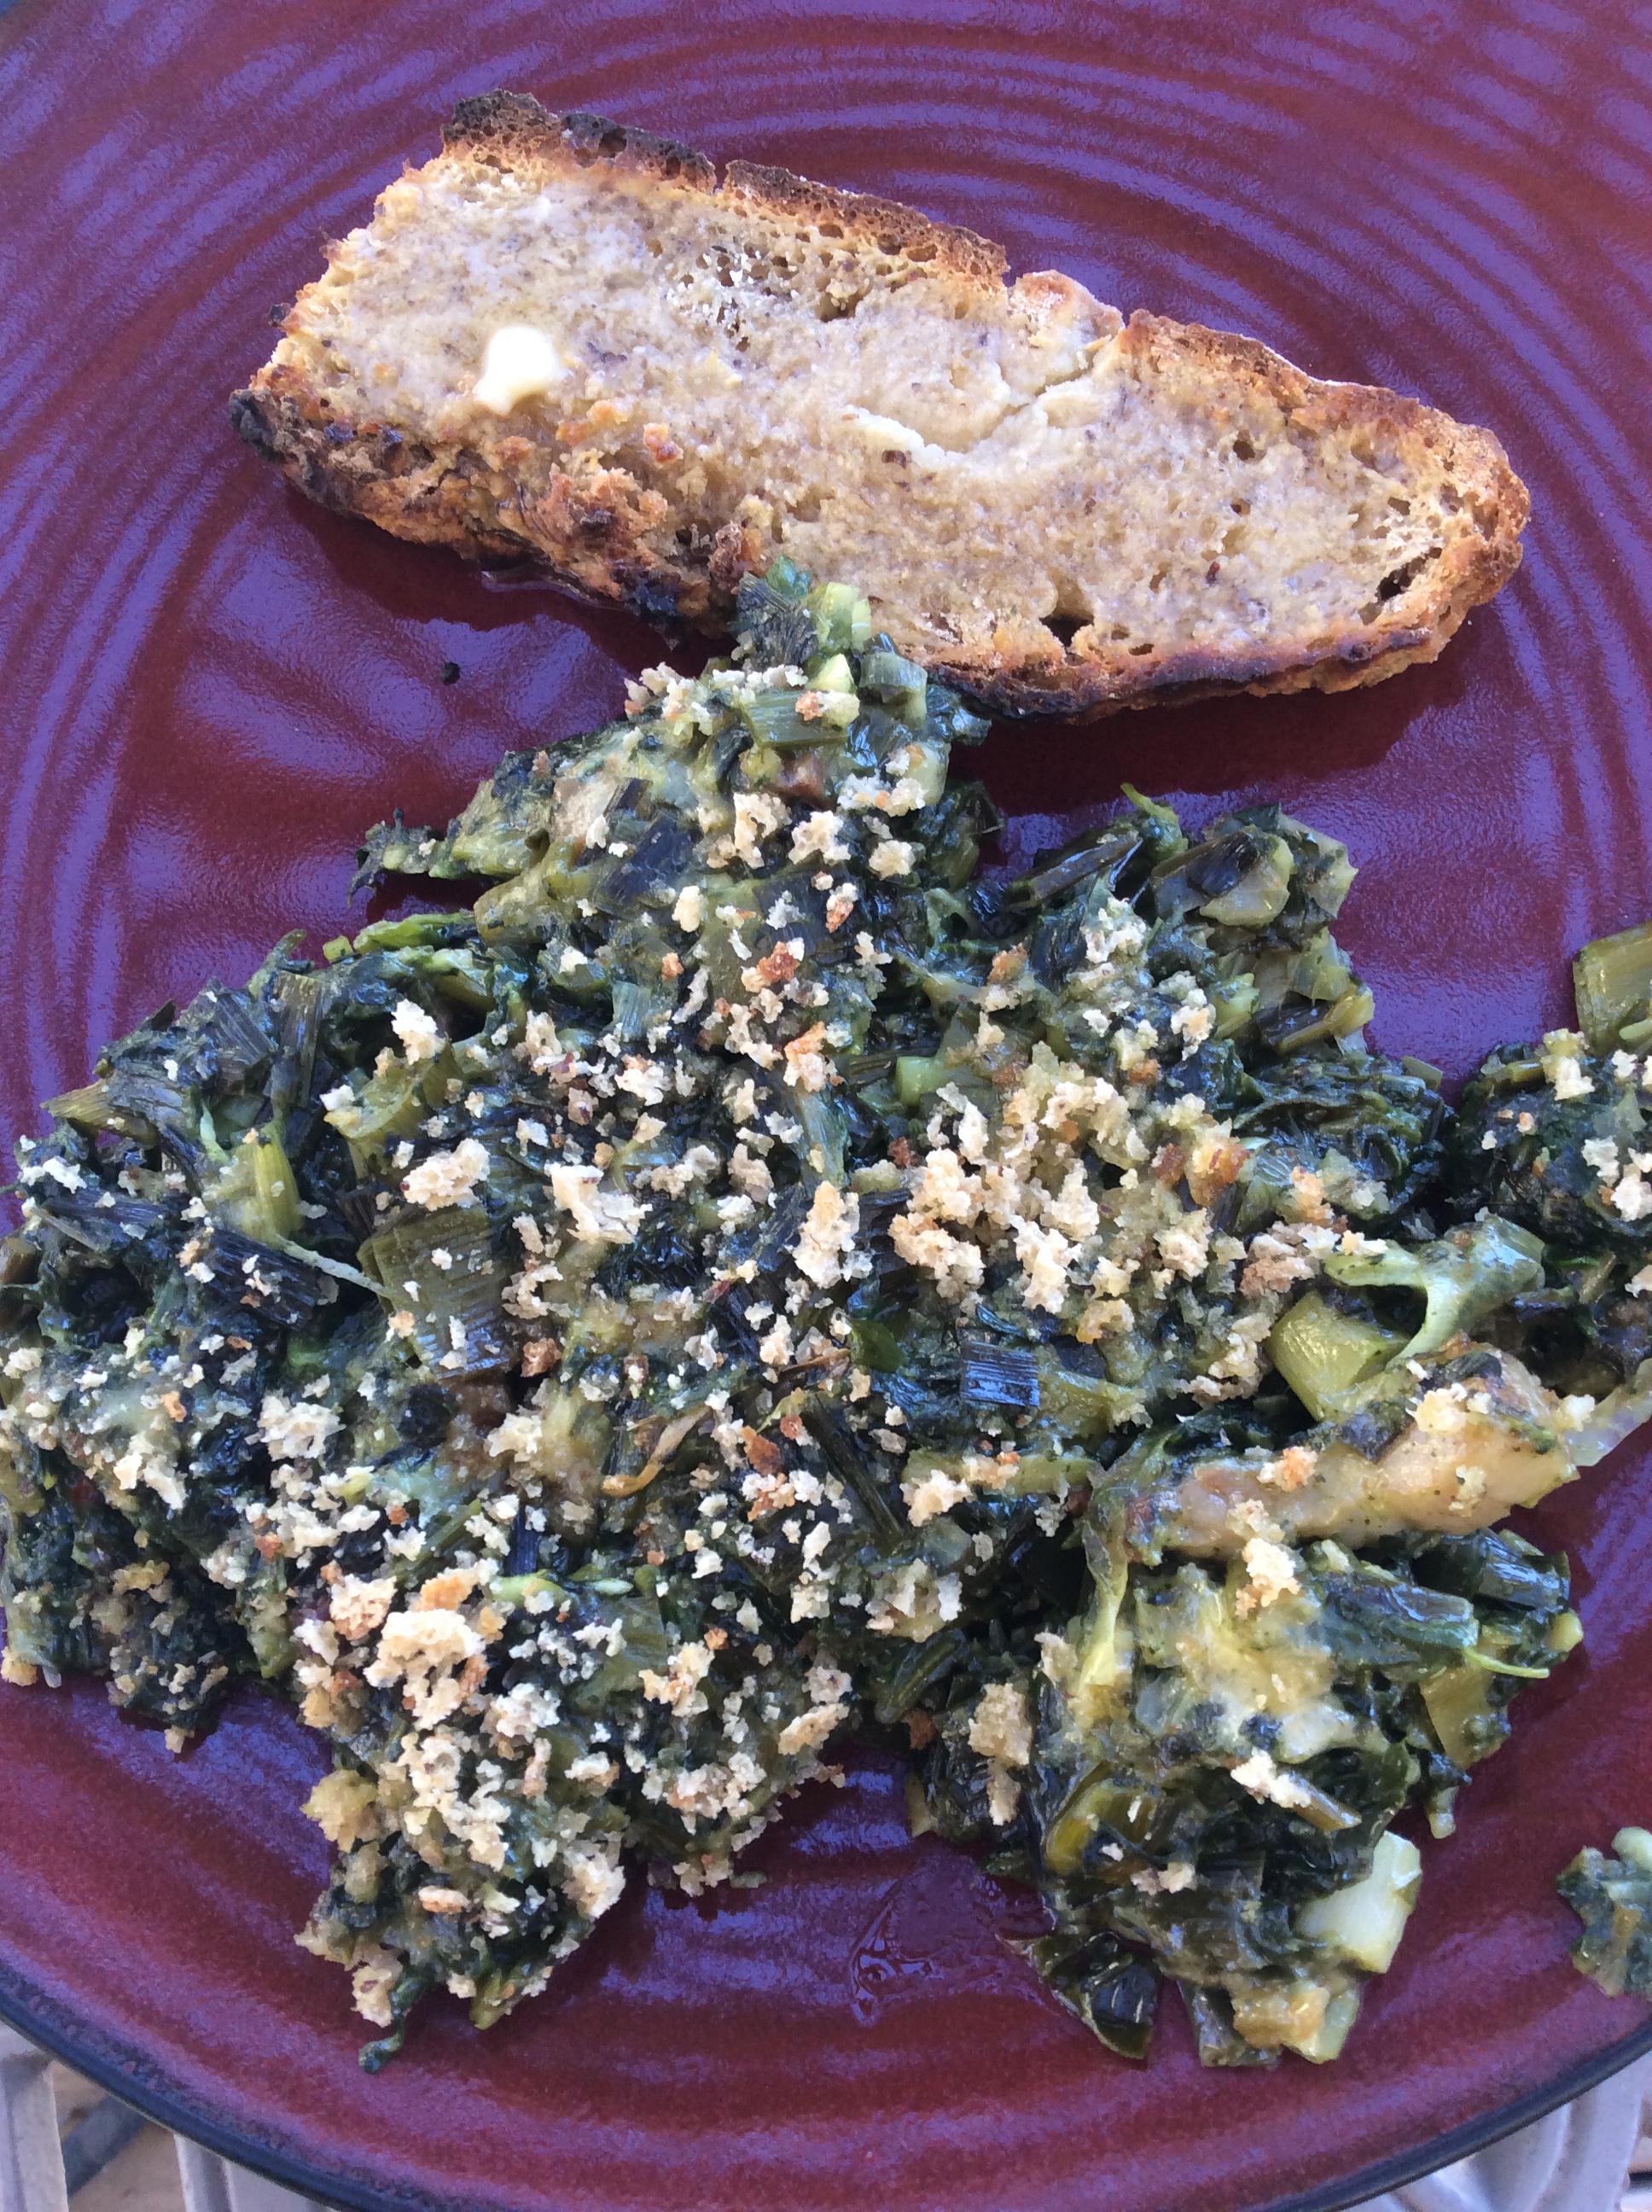
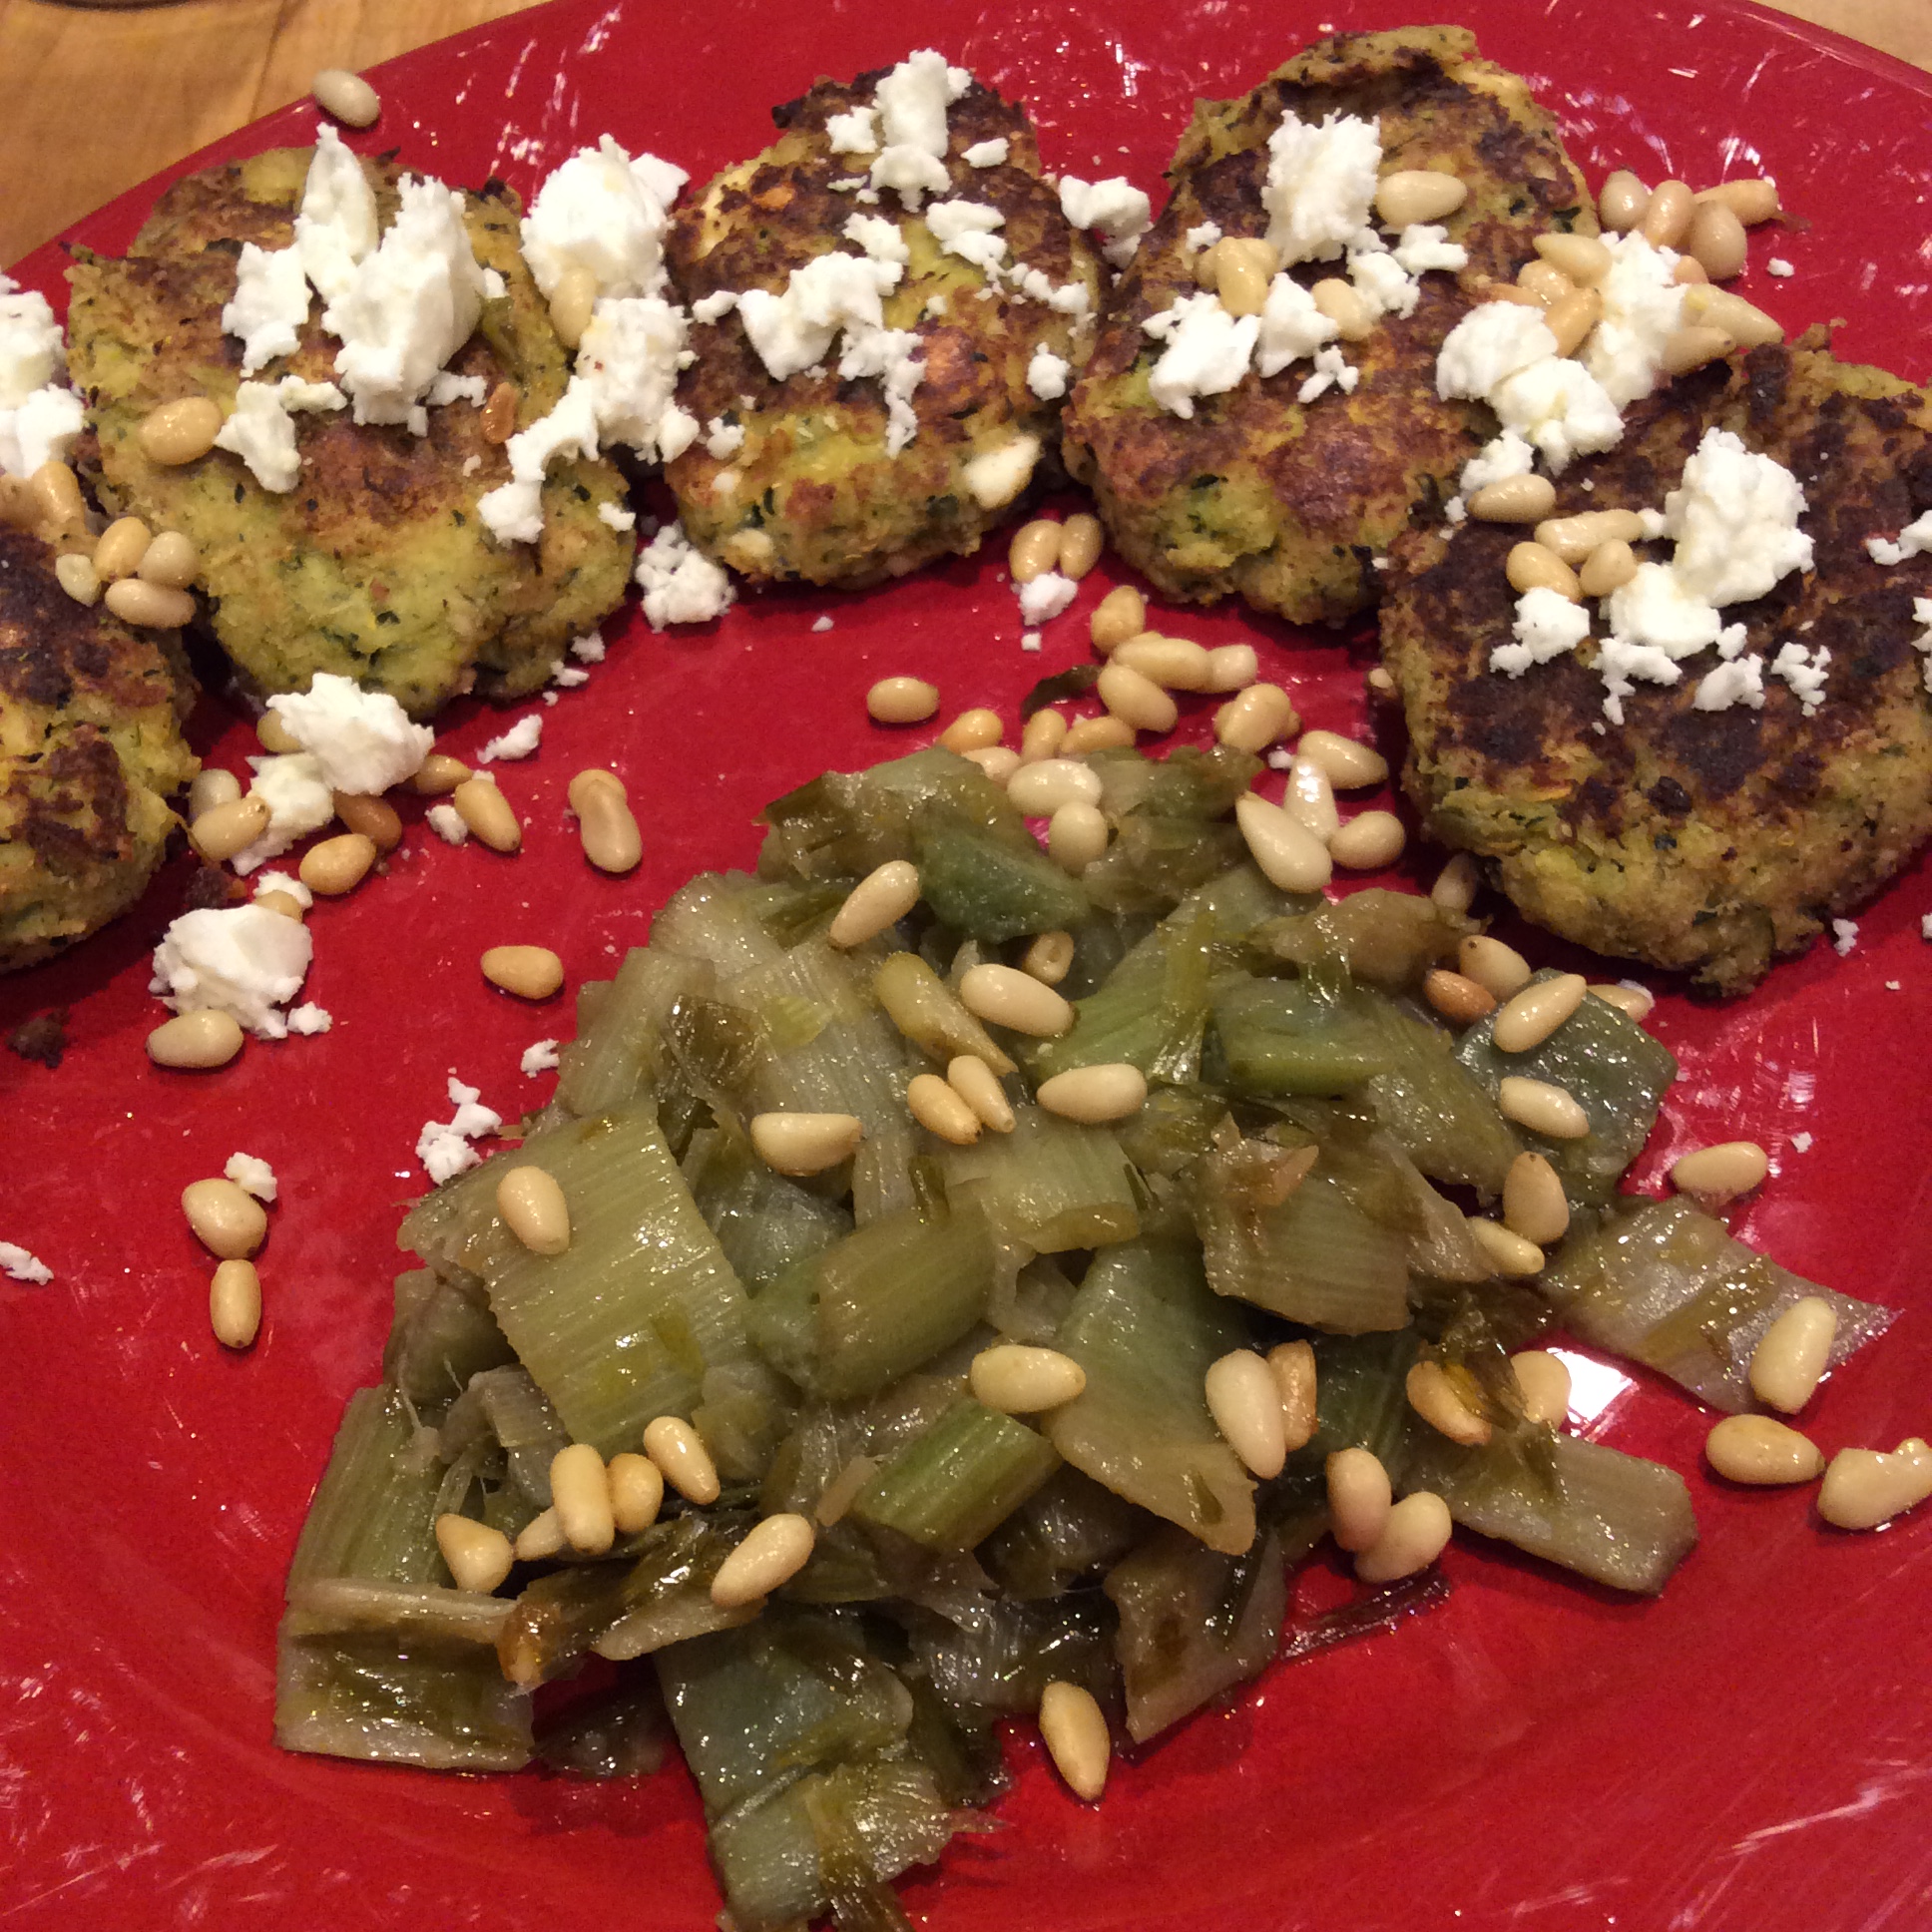
Cut the stalks in half-inch cross sections  and blanch in boiling salted water for about two minutes, then drain well and either continue cooking as you desire or refrigerate them for later.  They have a flavor rather similar to artichokes, so I gave them a bagna cauda treatment by sautéing them for about five minutes in plenty of good olive oil with a chopped clove of garlic and half a mashed anchovy fillet and a final garnish of roasted pine nuts.  Their own flavor is subtle, so don’t get too heavy handed with the seasonings.

img_5063

I think they are awfully tasty. The bad news is that one large plant, with a fair amount of preparation, makes two generous servings.  But given that they are drought tolerant, attractive, and truly carefree perennials, I don’t mind putting in some effort in the kitchen.  As for the low yield aspect, I will just work on growing more of them.

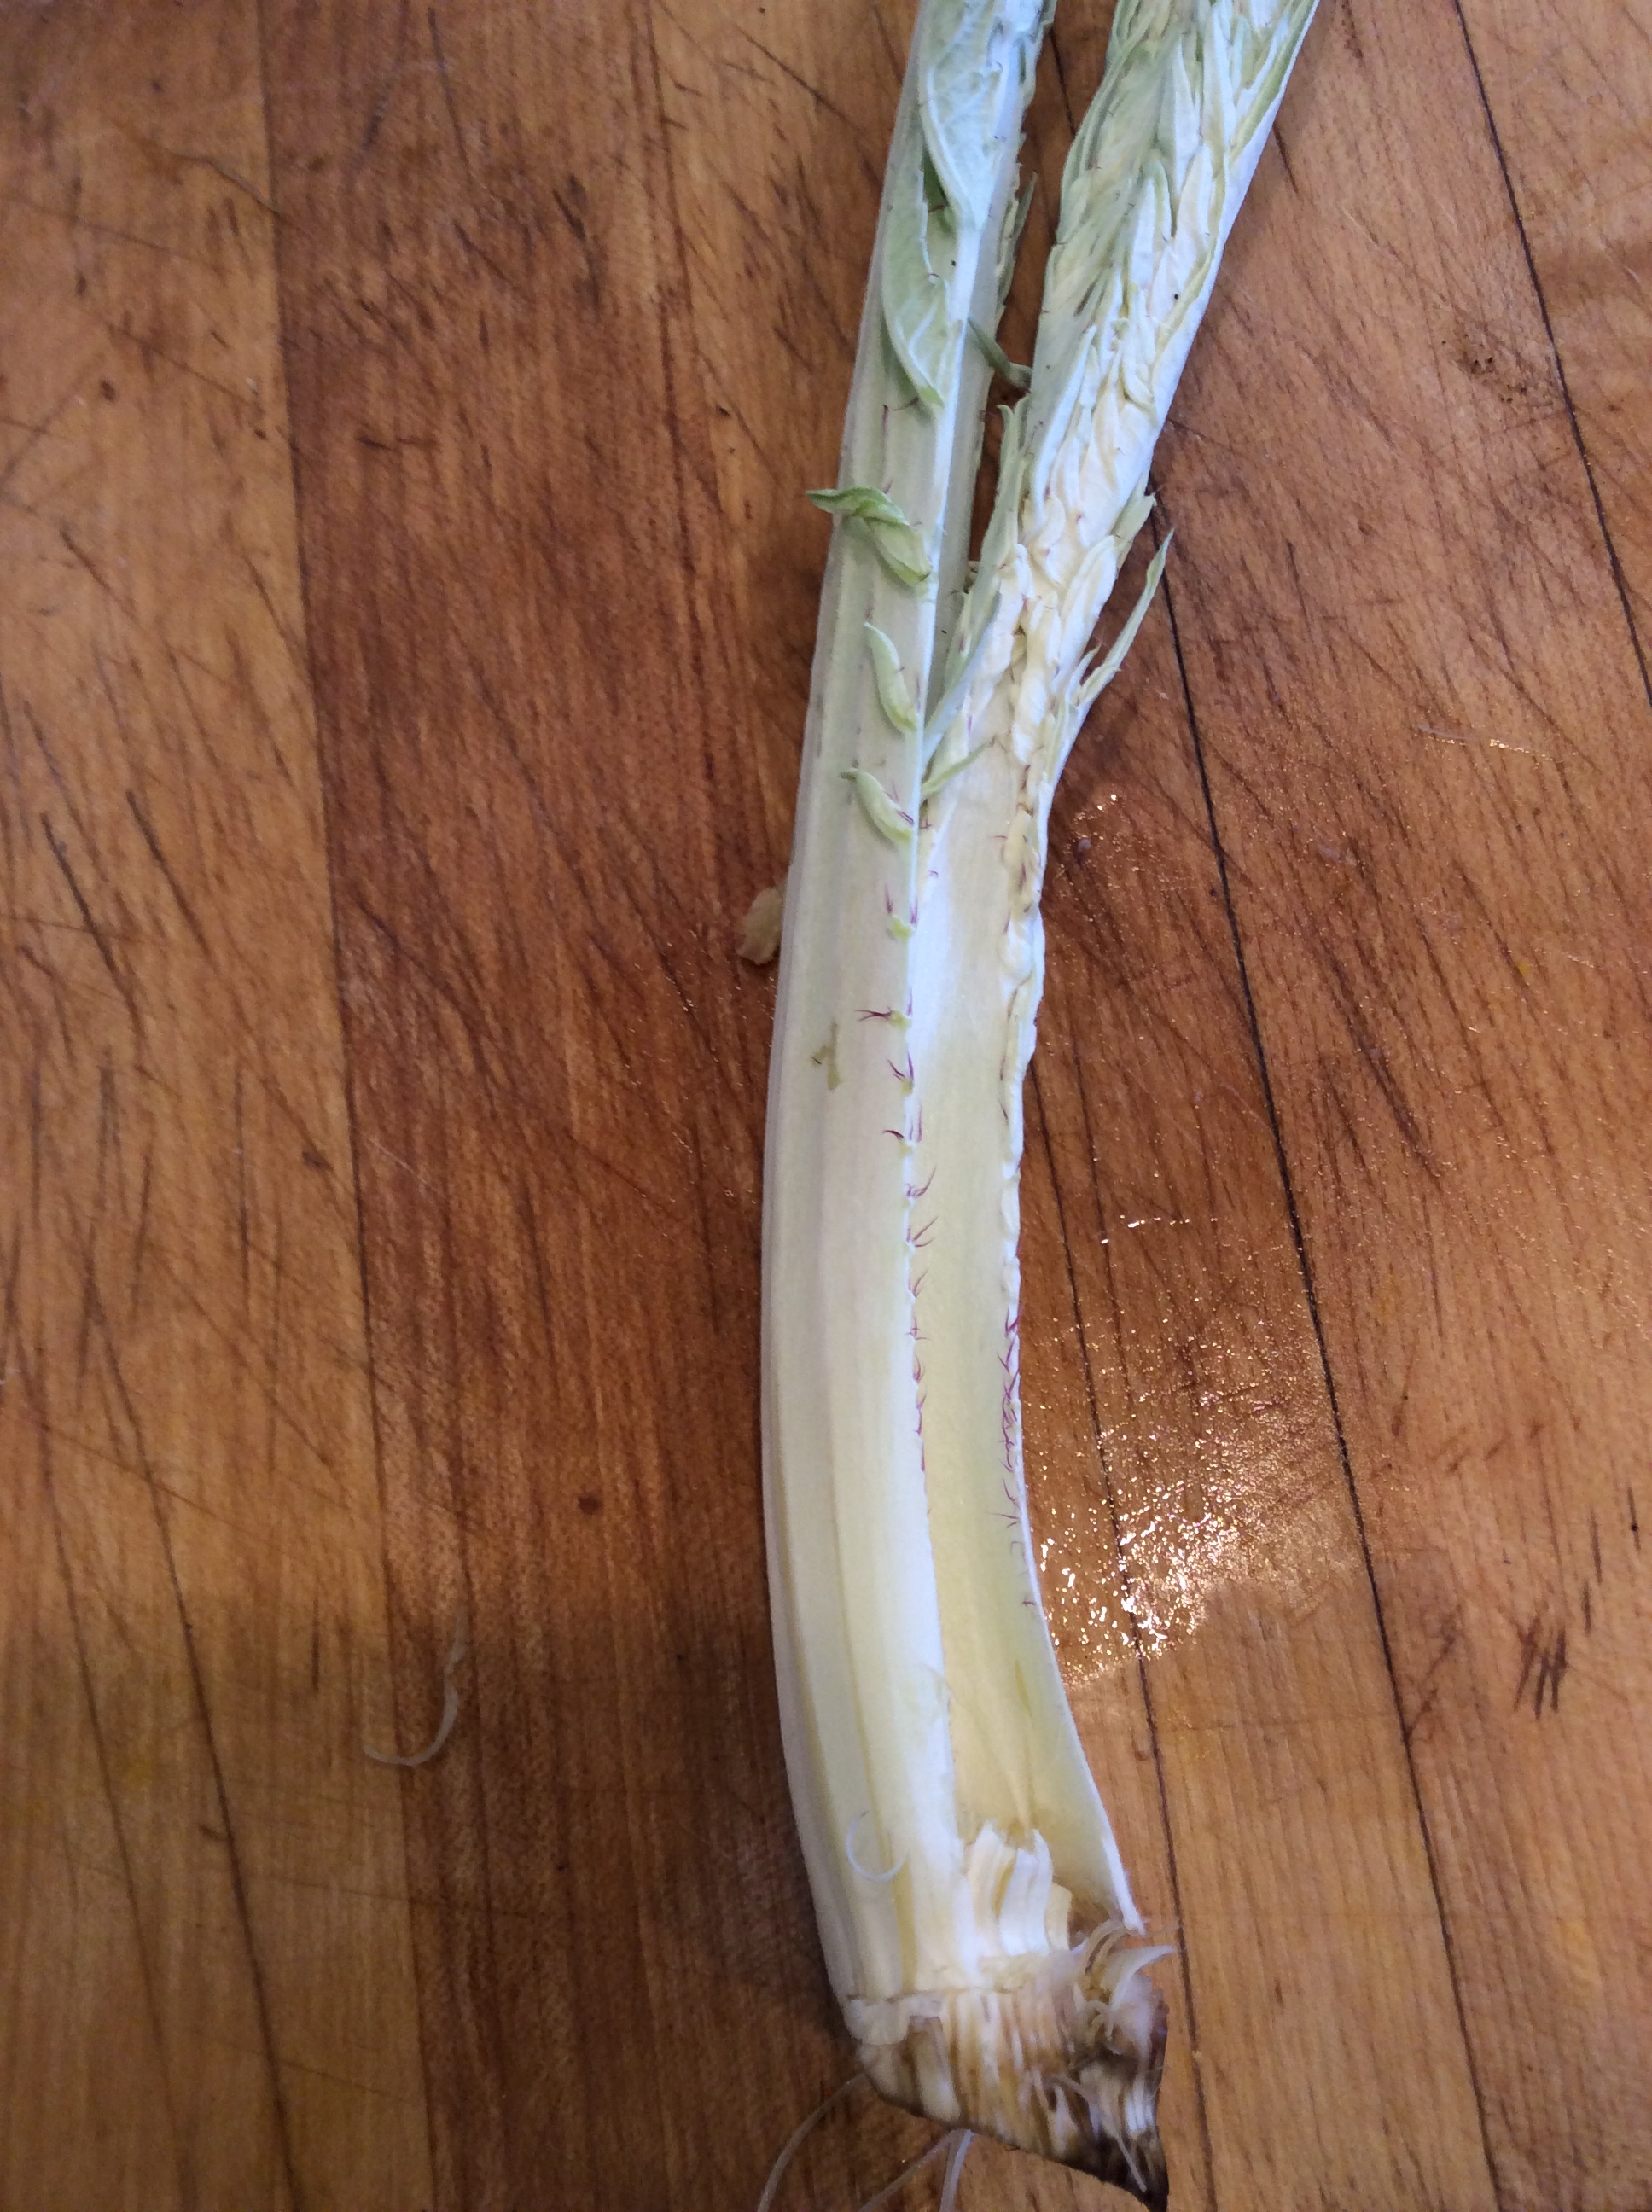
Incidentally, before they flowered last summer, I picked a flower stalk when it had lengthened to about 3 feet but before the buds started to swell. I peeled the thick tough skin off the stalk, cut it in sections about an inch long, and sautéed it in olive oil with some salt until cooked through and fairly tender.  The upper 8 to 10 inches of the stalk, when treated this way, made a delicious vegetable with a crisp texture and a pronounced artichoke flavor.  The other 2+ feet of the stock were not usable because, even when the outer tough skin is peeled away, fibers have developed in the pith itself.  But if you have a lot of cardoons and can afford to pick several stalks, this makes one really delicious vegetable. Otherwise treat the top of one stalk as a Cook’s Treat and cook it in your smallest skillet and eat it standing up in the kitchen, gloating quietly to yourself.

image


Superfruit Sauce

img_4763

A couple of years ago I started my low-carb fruit project, aimed at growing maximum antioxidants with minimum carbohydrates.  This summer my plantings started to bear. Here are a few observations:

1. A good Italian plum tree is abundant beyond rational imagination. In season the branches are weighed down with thick ropes of plums and its overblown beauty warms your heart at sight. Make sure you have plans for the fruit. Prune plums are not low-carb at all but have plenty of soluble fiber in a delicious form, so I eat some.

2. Goji berries are my worst garden invader so far. They seem to behave better in other parts of the country, but they love my alkaline desert soil and go wild. Everywhere I look, yards from the parent plant, eager offspring are poking up among the broccoli and muscling aside the beans. The plants are rather thin, though, and don’t block any appreciable amount of sunlight, so I am happy to have them. But if your nature and aesthetic are more meticulous than mine, better plan to use a root barrier. The shoots, gathered when they still snap cleanly, were one of my favorite perennial vegetables this year. The flavor of the fruit is nothing to write home about, but I enjoy them in savory dishes or mixed with other berries.

3. Clove currants, when left on the bush for a couple of weeks after they turn black, are delicious. Eat them before that and you’ll wonder why you wasted space on them.

4. Goumi berries are very well suited to alkaline soil and tolerate heat well. They smell heavenly when they bloom in May, with a far-reaching honeyed sweetness that is free of the grape Koolaid note that can be overbearing in their close relative the Russian olive.  Again, once they turn red, start tasting every few days, and don’t harvest until they taste good. It’s very worthwhile to buy the expensive named varieties. I didn’t, and my wild-type berries are so tiny that harvesting is very slow and tedious. I’ll be planting some selected varieties next spring.

I had relatively small amounts of all the berry types this spring, so I decided to mix them together and add plums to make a sauce base for producing my own hot sauces and chutneys. Other than stoning the plums, I didn’t do any other prep. I threw roughly equal quantities of the four types of fruit in a stockpot, added good red wine to just cover the fruit, and simmered slowly until the fruits were soft. I think it was about 90 minutes. Then I put the mixture through a food mill to remove any woody seeds that the goumis had contributed and to smoothe and thicken the mixture.

img_4765

Add salt to taste. Now you have an antioxidant-rich purée that can go in a number of directions. Cooked down a little further until it thickens up, and sweetened to taste with sugar or your favorite artificial sweetener, it makes a tart local substitute for cranberry sauce. Cooked a bit with sweetener and chopped garlic and ginger, it makes a delicious Asian sauce for garnishing pork, dipping dumplings, or just as a table sauce. Make hot sauce by pureeing a can of chipotles en adobo in the blender and adding to the superfruit base by spoonfuls until you get the heat level that you want. Sweeten or not; I like some sweet with my heat. My favorite use is superfruit chutney: to a cup of base add a couple of teaspoons of mustard seed lightly toasted in a dry skillet, a teaspoon of garam  masala, a small onion and a clove of garlic finely chopped, and a small piece of ginger grated. Crumble in a dried chile or two if you like heat.  Salt a little less than you think is optimal. Simmer together, adding a little water if necessary, until the alliums are cooked and soft. Taste, adjust seasoning and salt, and cool. Serve with nearly anything Indian.

img_4258

I froze some superfruit base in cartons to use this winter. It could also be canned, although I would suggest pressure canning for safety.