Archive for the ‘farmers market’ Category

The Greens of Winter: Soup Base

img_5098

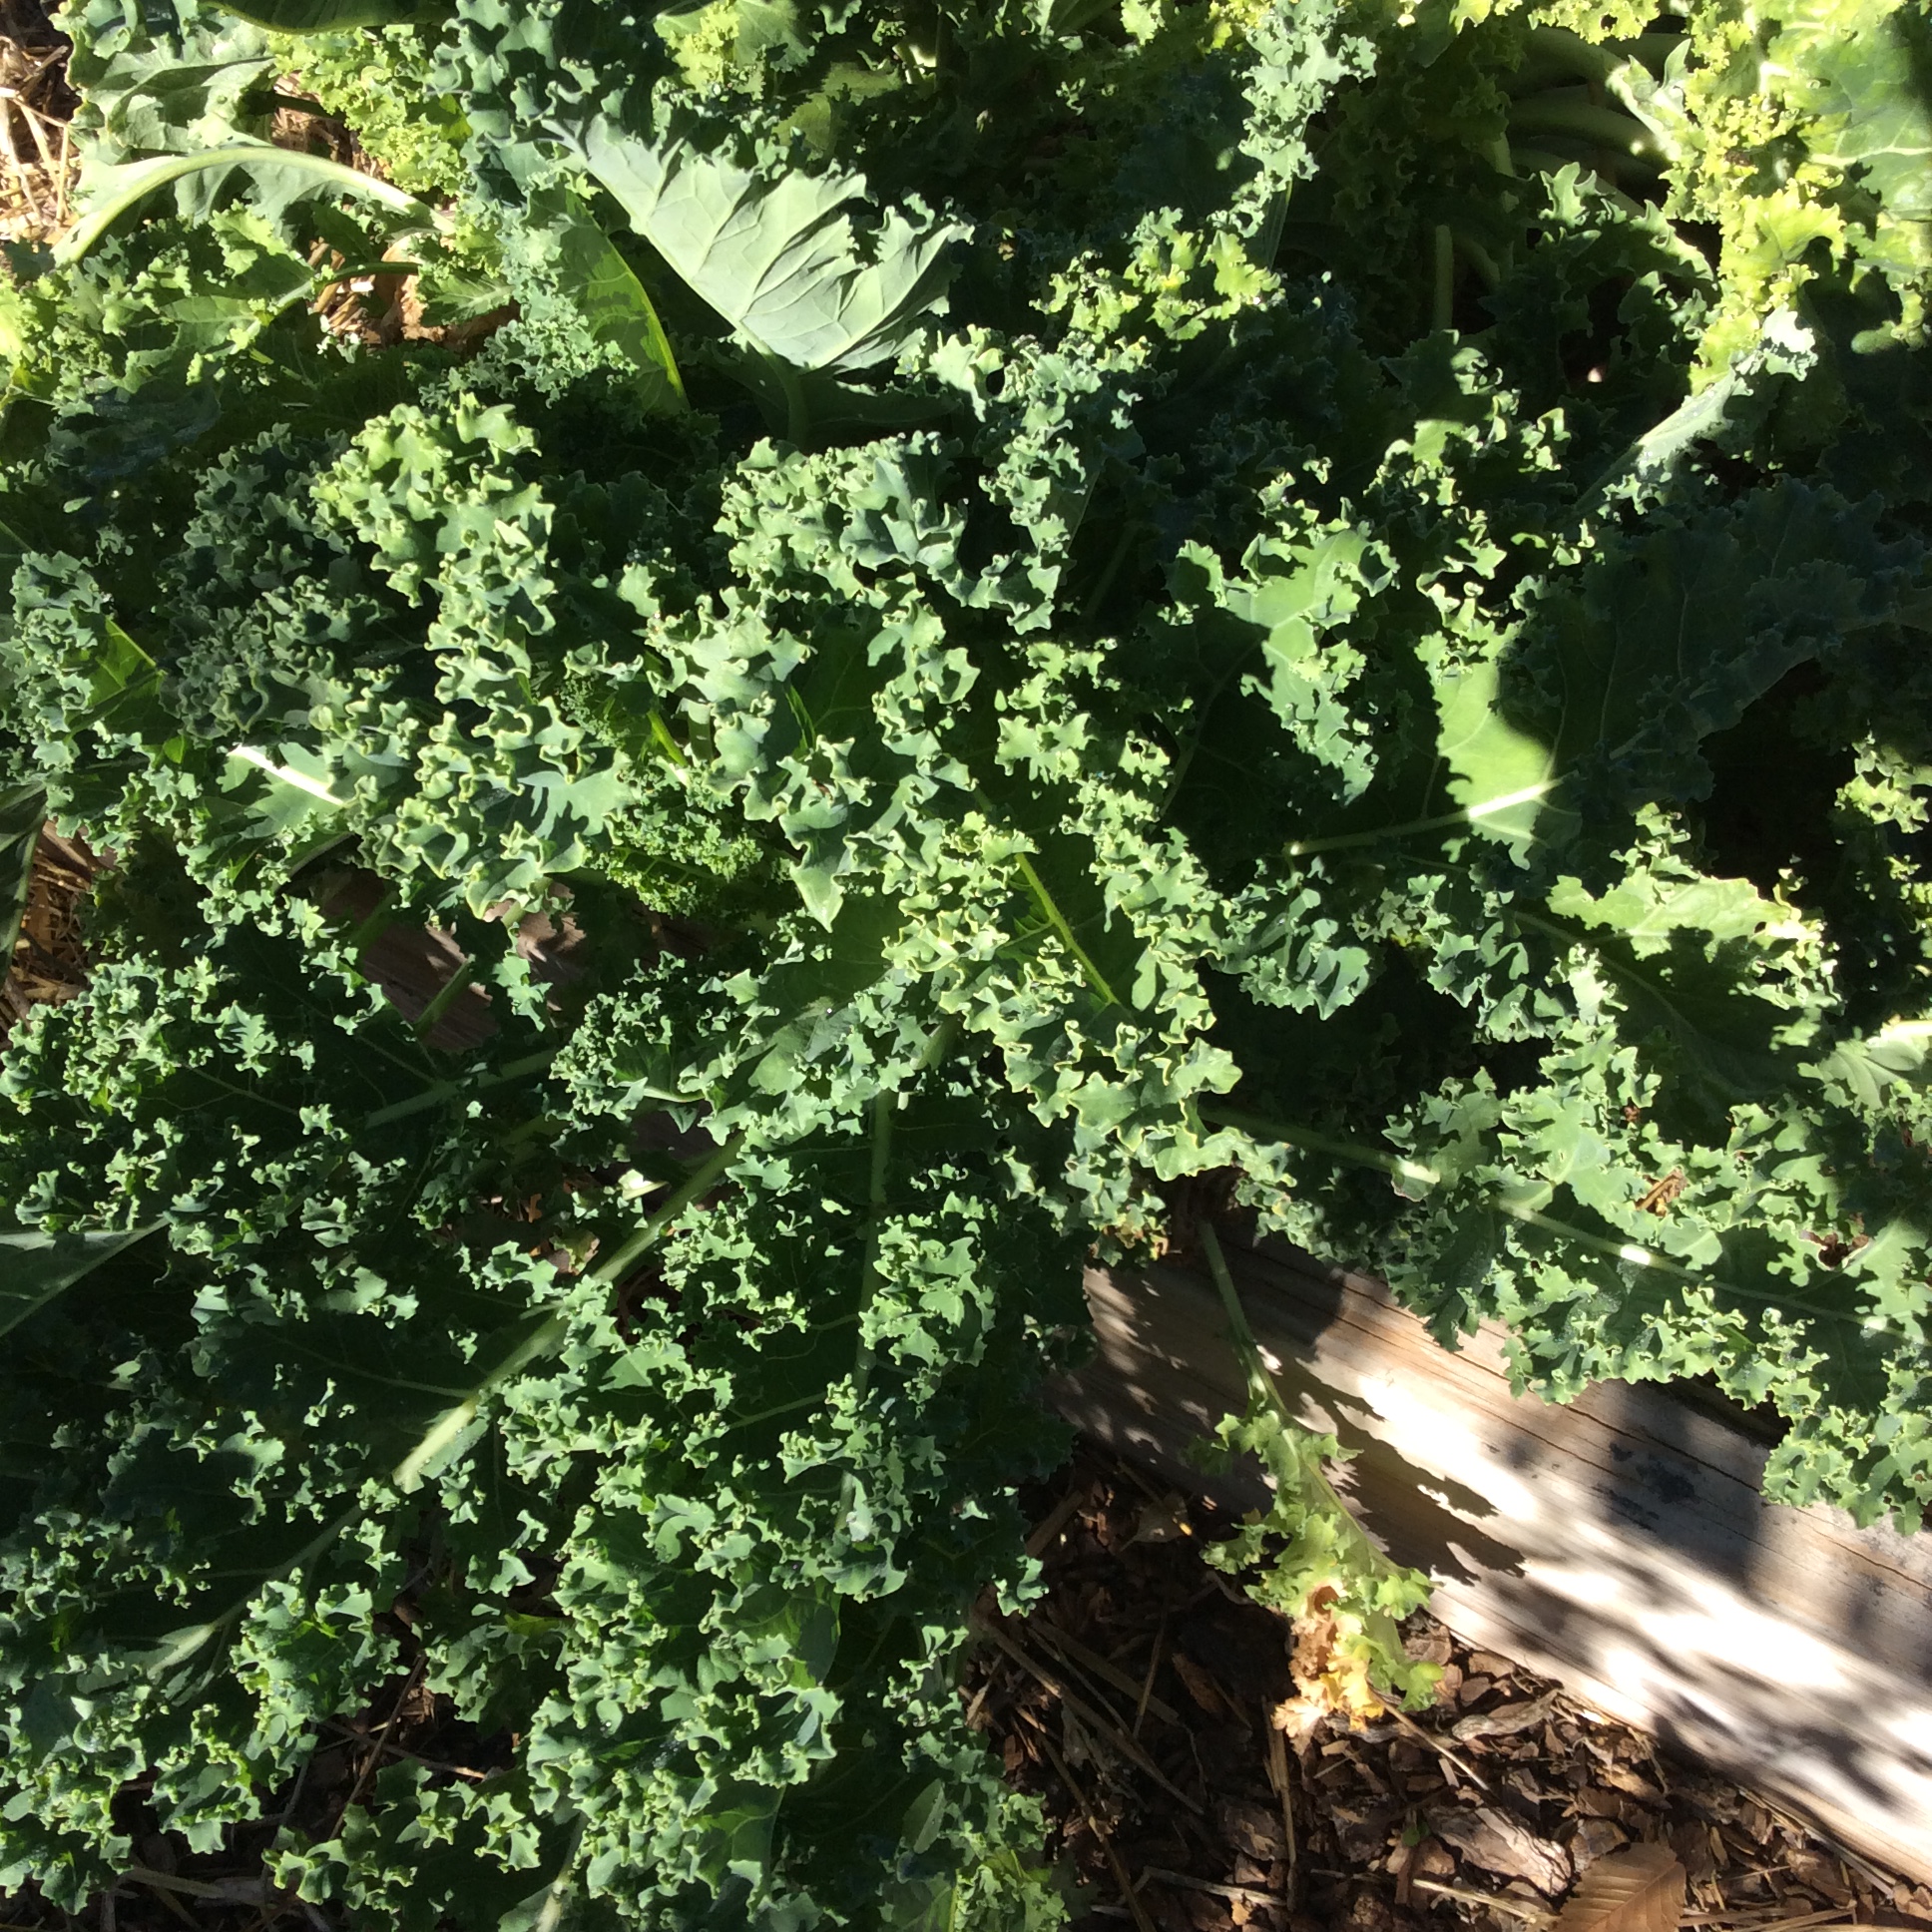
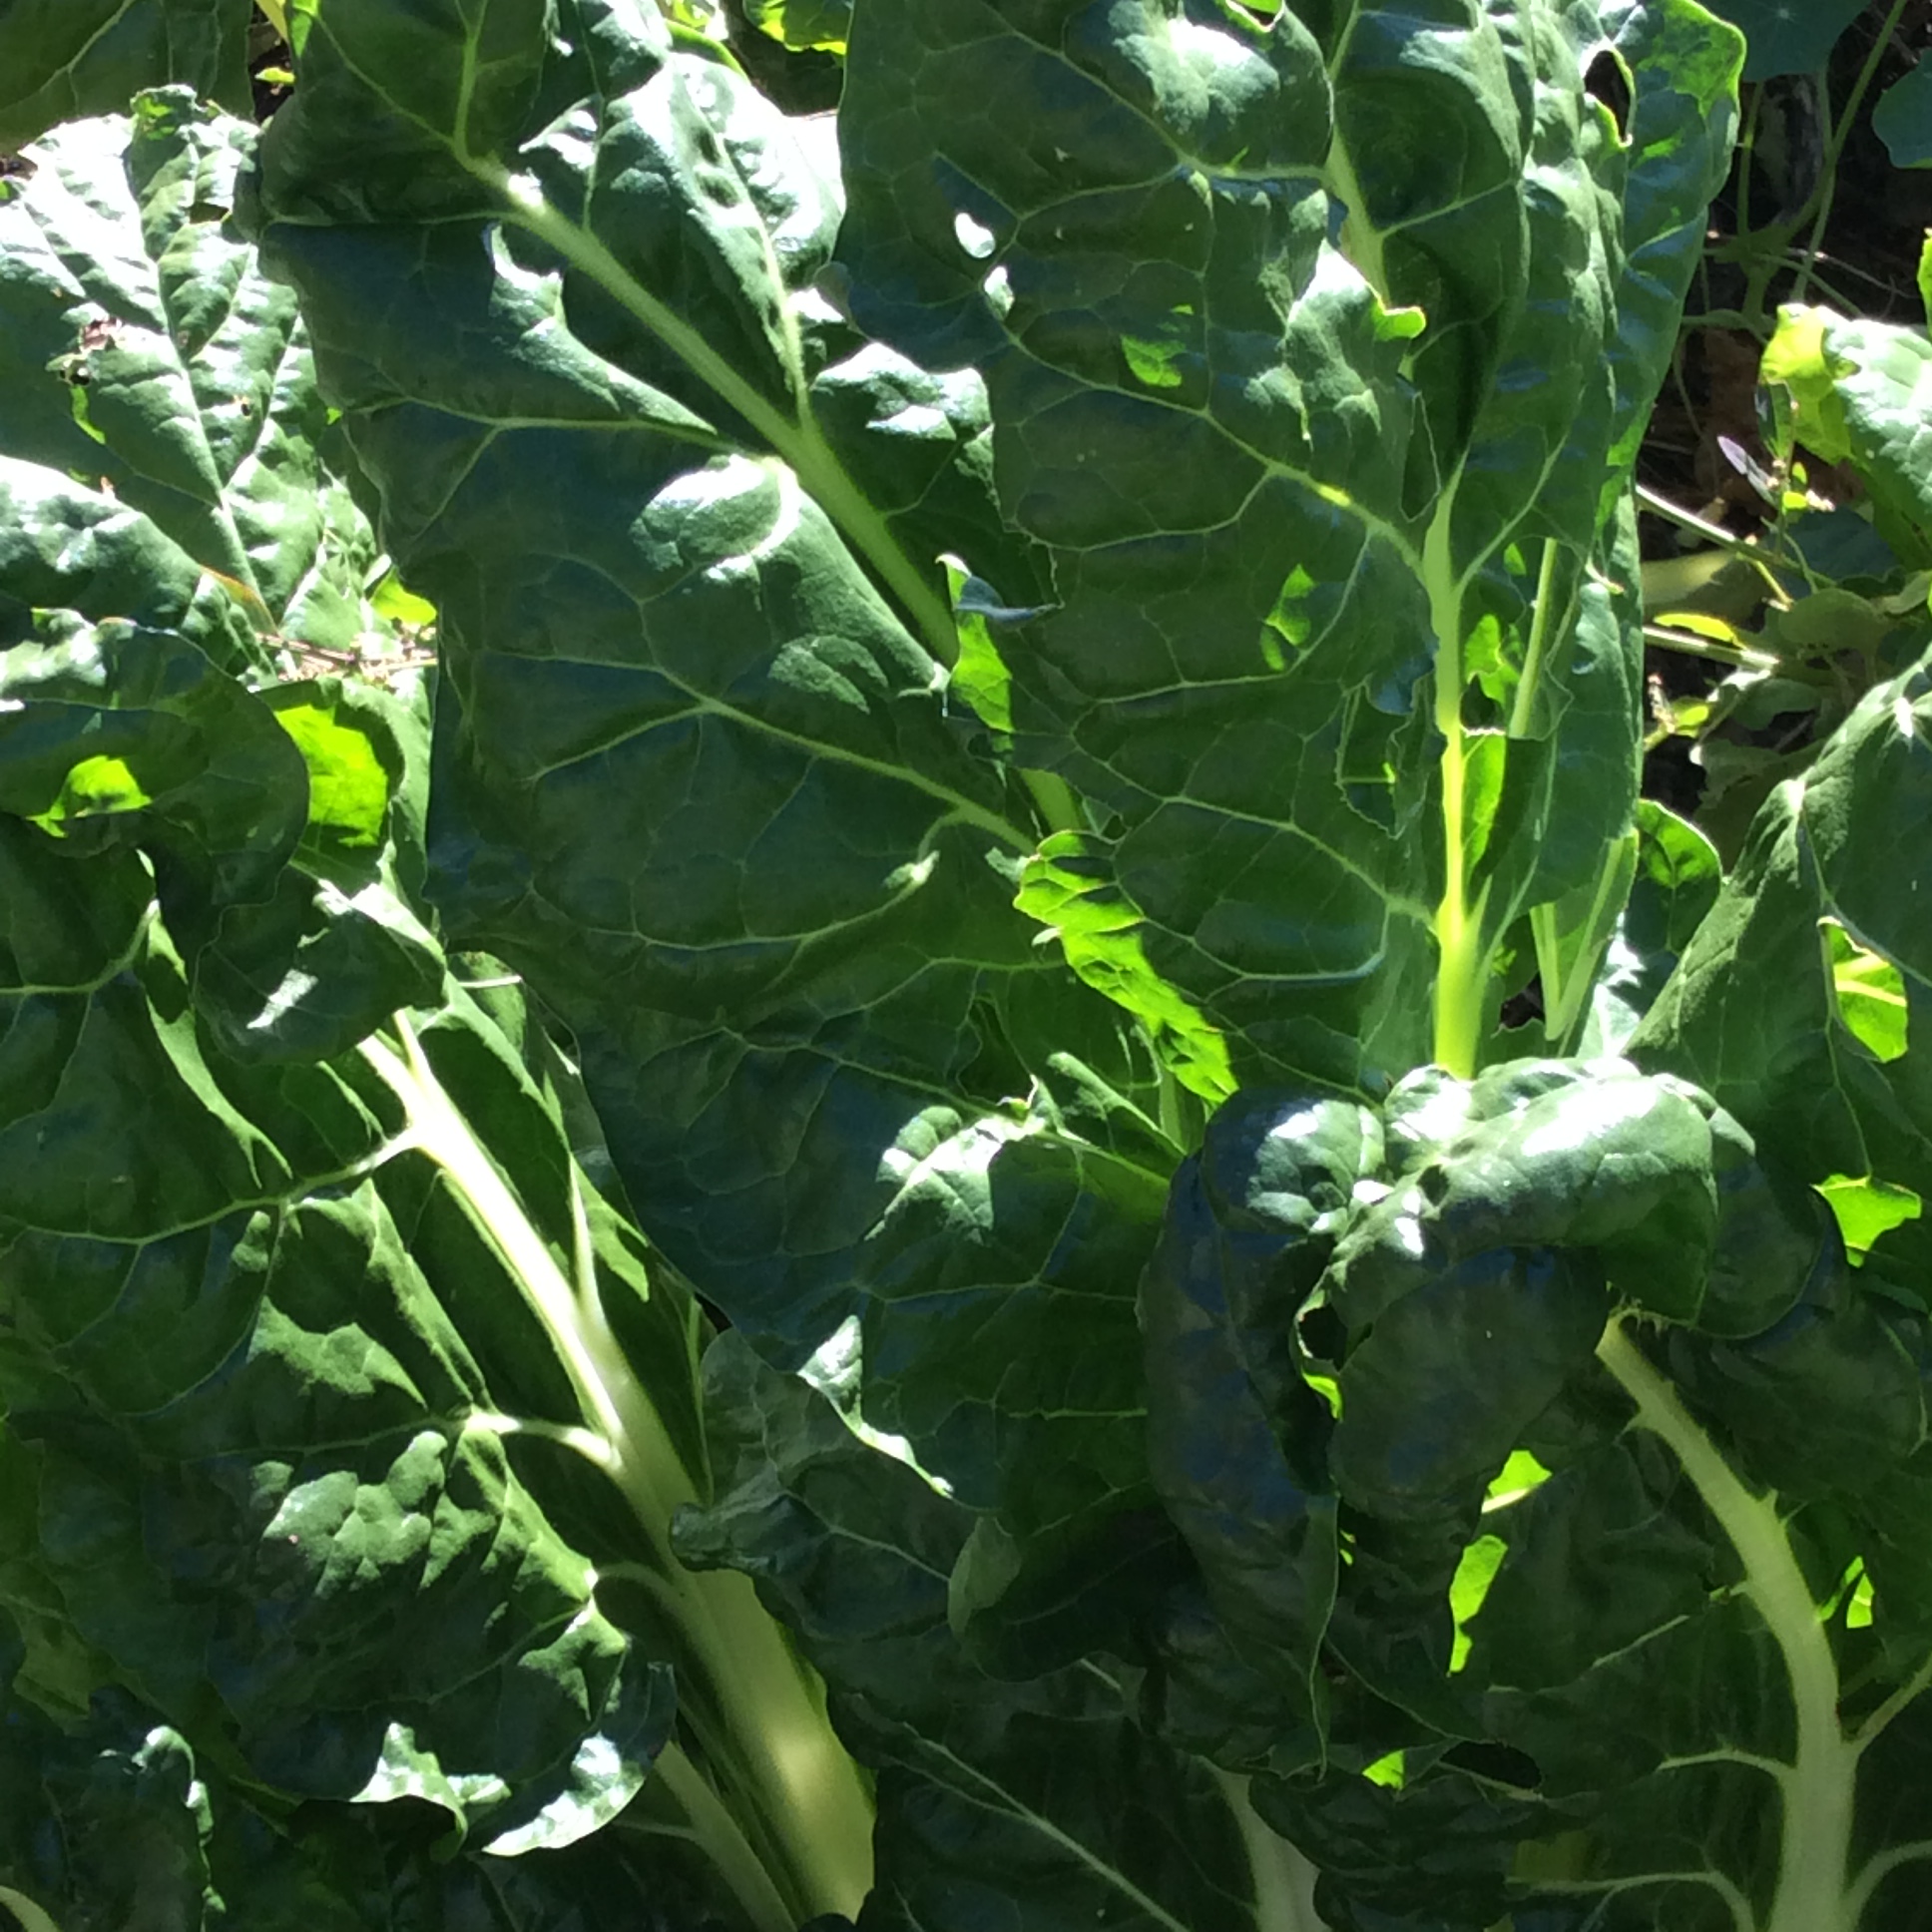
Earlier this week I walked through my frost-killed garden to see what was left. For the most part I don’t make any special effort to protect my garden in the fall because after a long summer I’m ready to move on to the things I do in the winter, so the pickings were slim, but I found lots of chicory, dandelion, chard, broccoli leaves, alfalfa tips, celery, and kale, along with green garlic and green onions, and some of the herbs were still in fine shape. I decided to make soup, and since I had a lot more greens than I remembered planting, it occurred to me to make a soup base that could sit in the freezer, ready at any time to be turned into soup in a hurry. To the garden ingredients I added a large onion and a largish handful of sun-dried tomatoes from earlier in the summer. You could also use a jar of dried tomatoes in oil, drained.  The celery was used from base to leaf tip. I used roughly equal volumes of all the greens types, about the equivalent of a medium-sized supermarket bunch of each.

The onion was sliced thinly and sautéed very slowly in olive oil while I washed and prepared the greens. I was aiming for a rich caramel color, which meant low heat and frequent stirring, which is no extra trouble if you’re in the kitchen anyway. I used my wok because I knew that the volume of sliced greens would be considerable. First the green garlic and green onions were cleaned, finely slivered, and held separately, then everything else was washed and midribs removed and cut in cross section into roughly 1/2″ slices.

img_5084

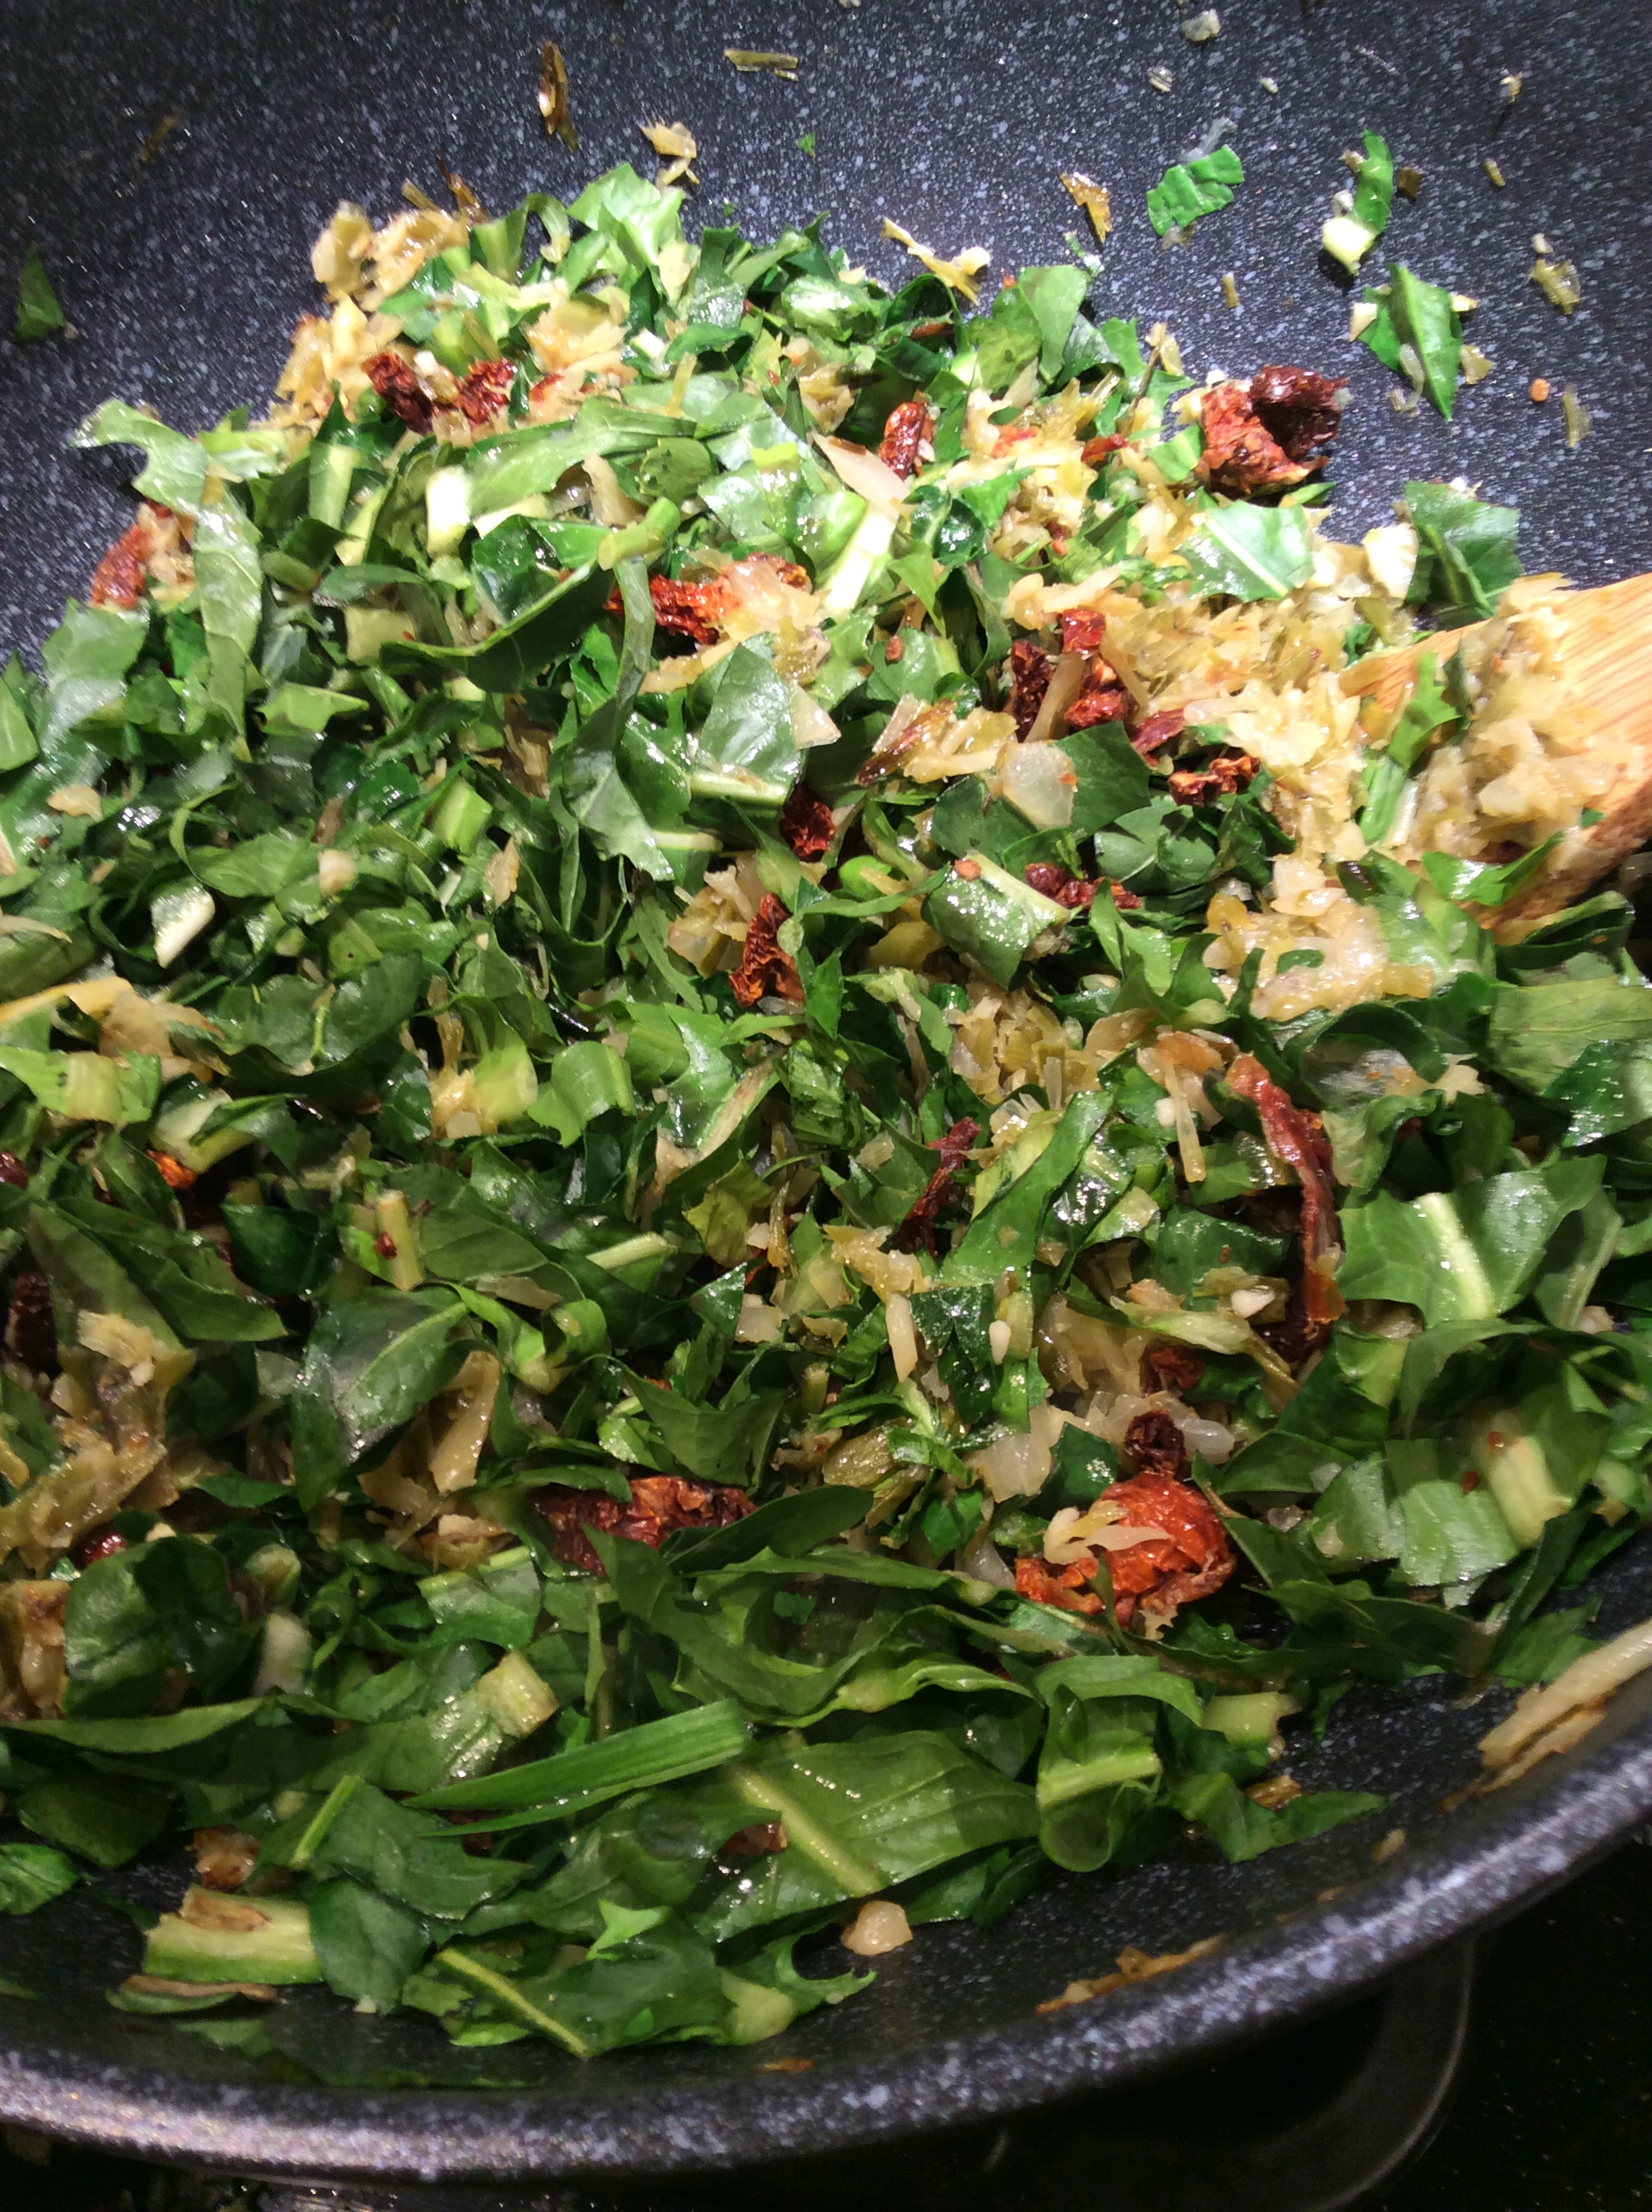
When the onion was a nice toffee color I added the chopped green alliums, cooked about another five minutes, then added the other greens and some more olive oil along with about a teaspoon of salt. Don’t stint on the olive oil. You want sautéed flavor, not steamed flavor.  The heat was turned up to medium and the whole mass stirred and turned with a wide wooden spoon about every five minutes to keep it cooking evenly. As soon as the greens were in the pan I ground the sun dried tomatoes into small powdery chunks in the blender and added them to the wok. They rehydrated well enough in the moisture from the leaves.  Keep cooking until the greens are soft when chewed.

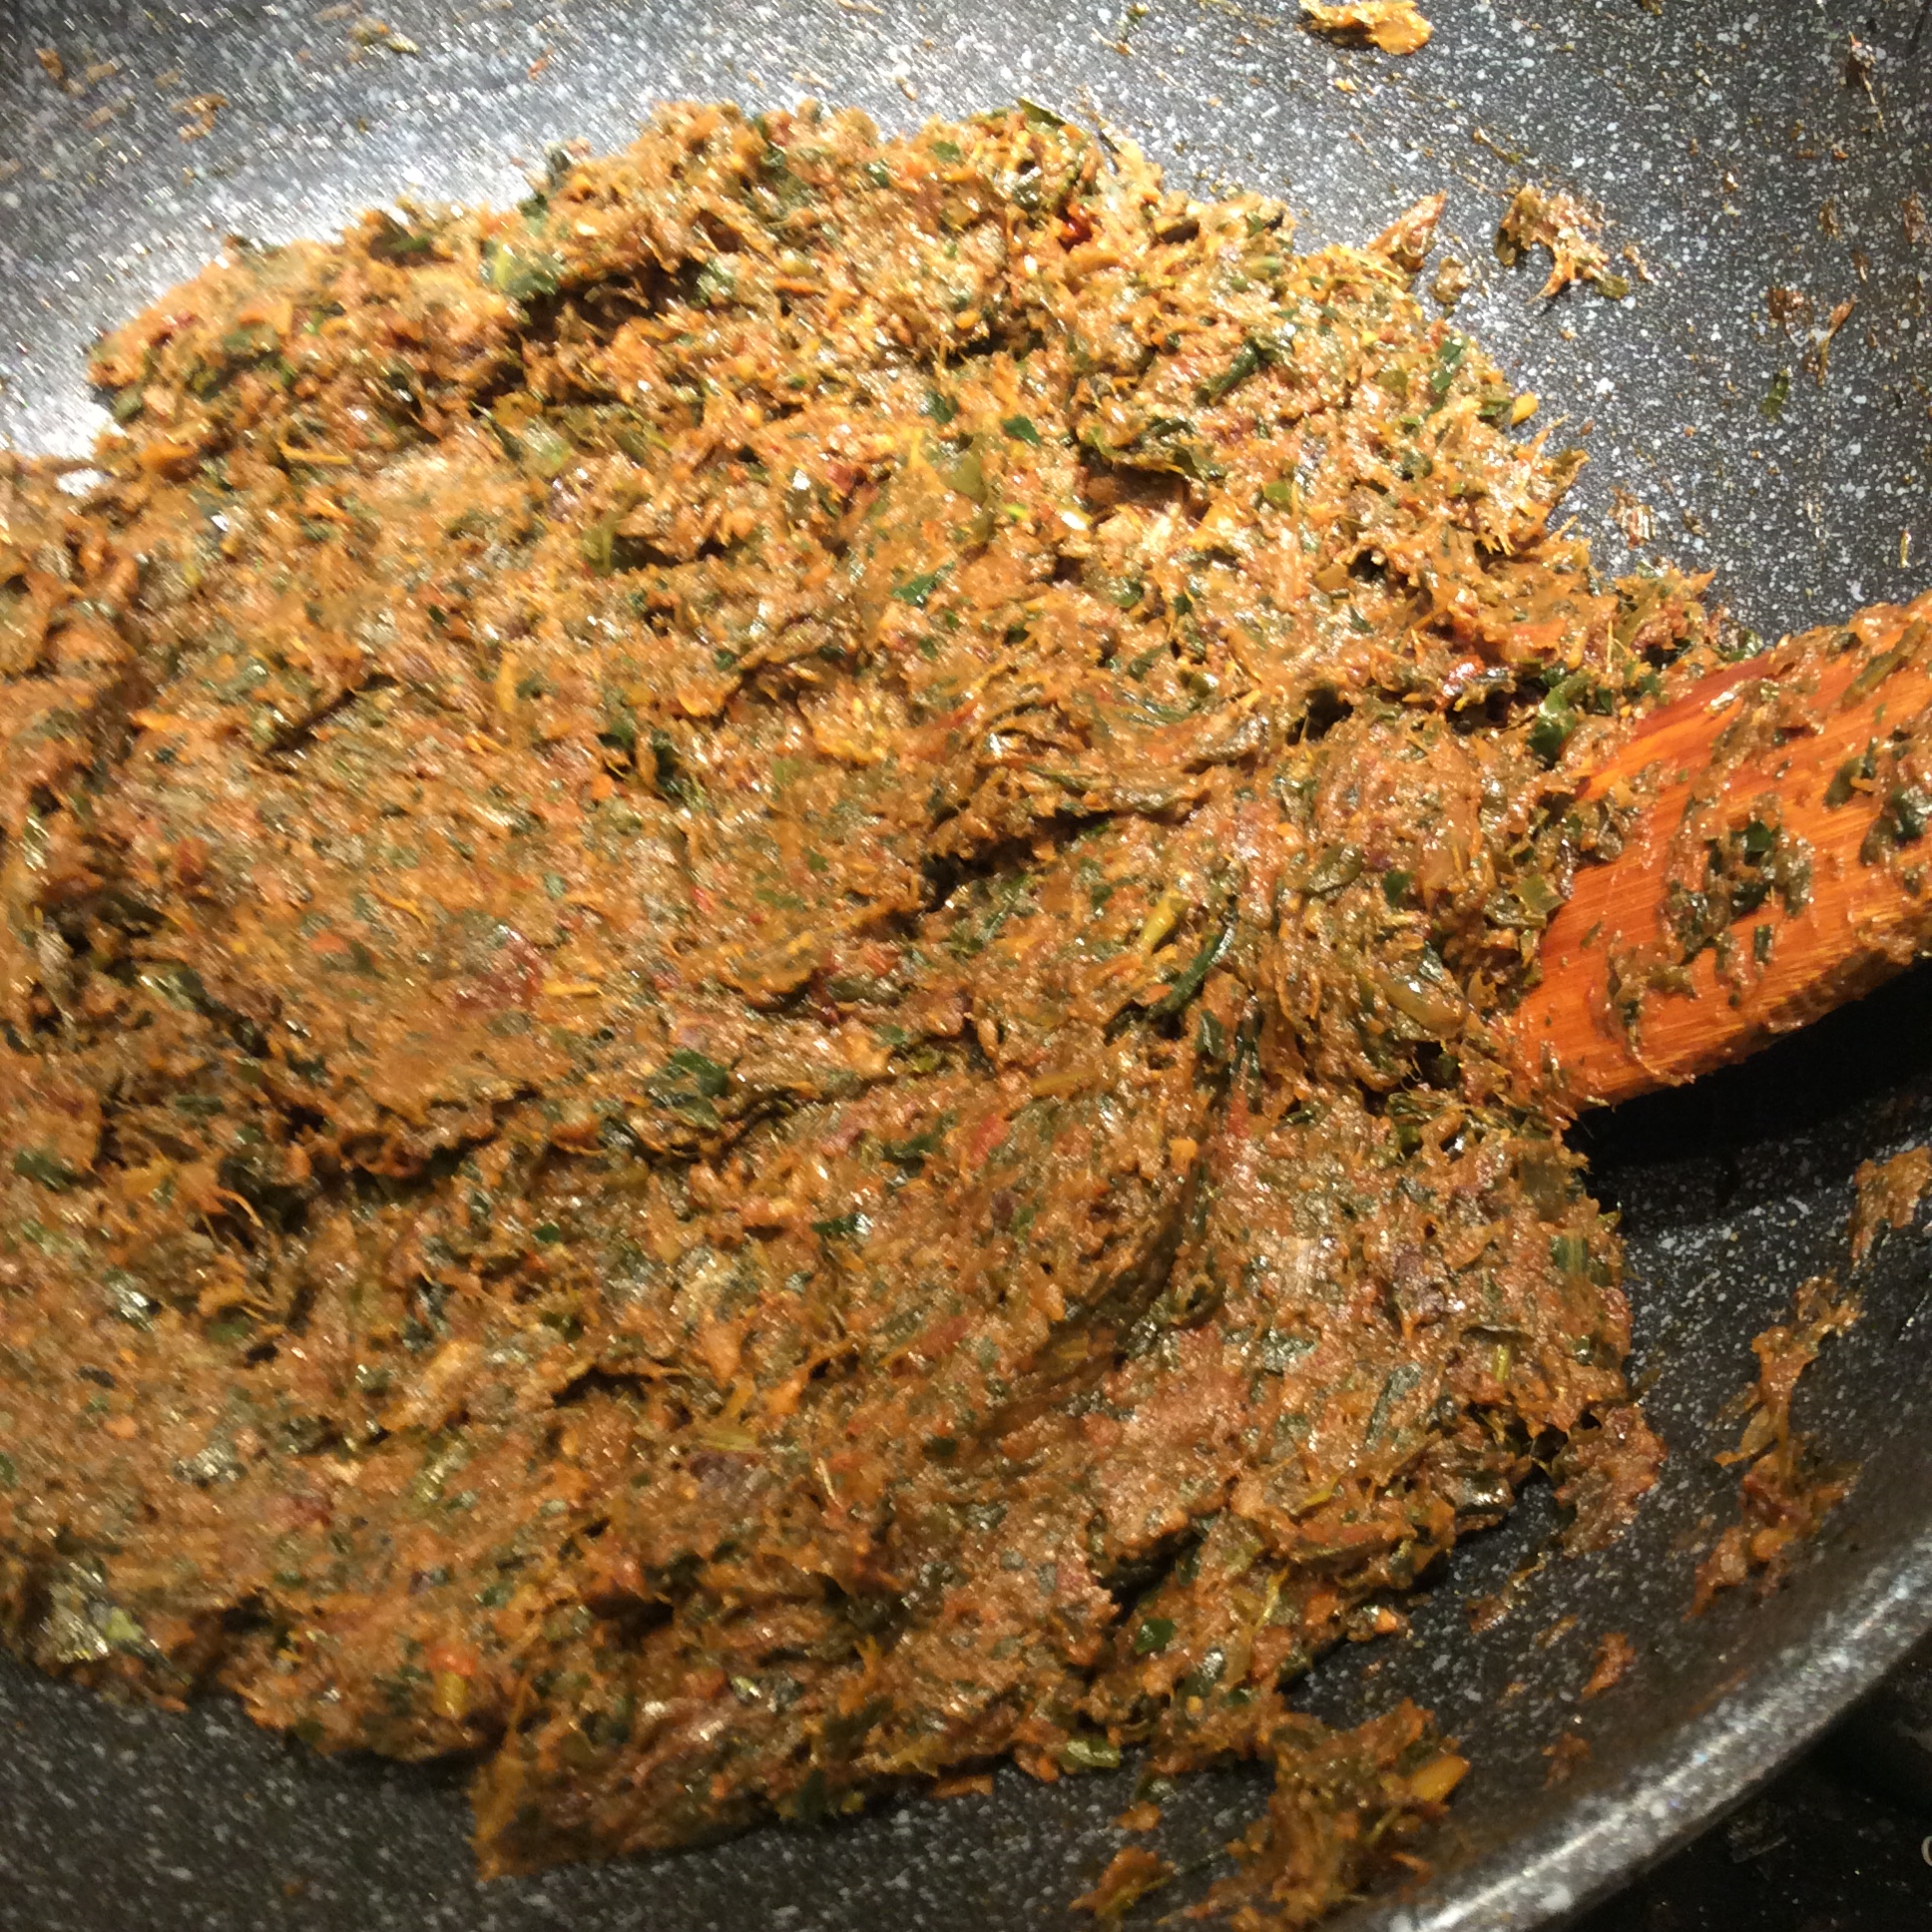
When you have a darkened dense mass of soft greens, put the whole business in the food processor and grind to the finest paste that you can achieve. Taste. You want it on the salty side, because that helps with preservation and it’s going to be diluted later. Add more salt if needed. I prefer to use fish sauce rather than salt to season at this point because it adds a wonderful rich savor. I used about a tablespoon. Don’t use this if you might be serving vegetarians.

img_5085

Now cool your soup paste and pack it into one-cup containers, each of which makes about a quart of finished soup. Coat the top with olive oil, push lids on tightly, and freeze.

img_5091

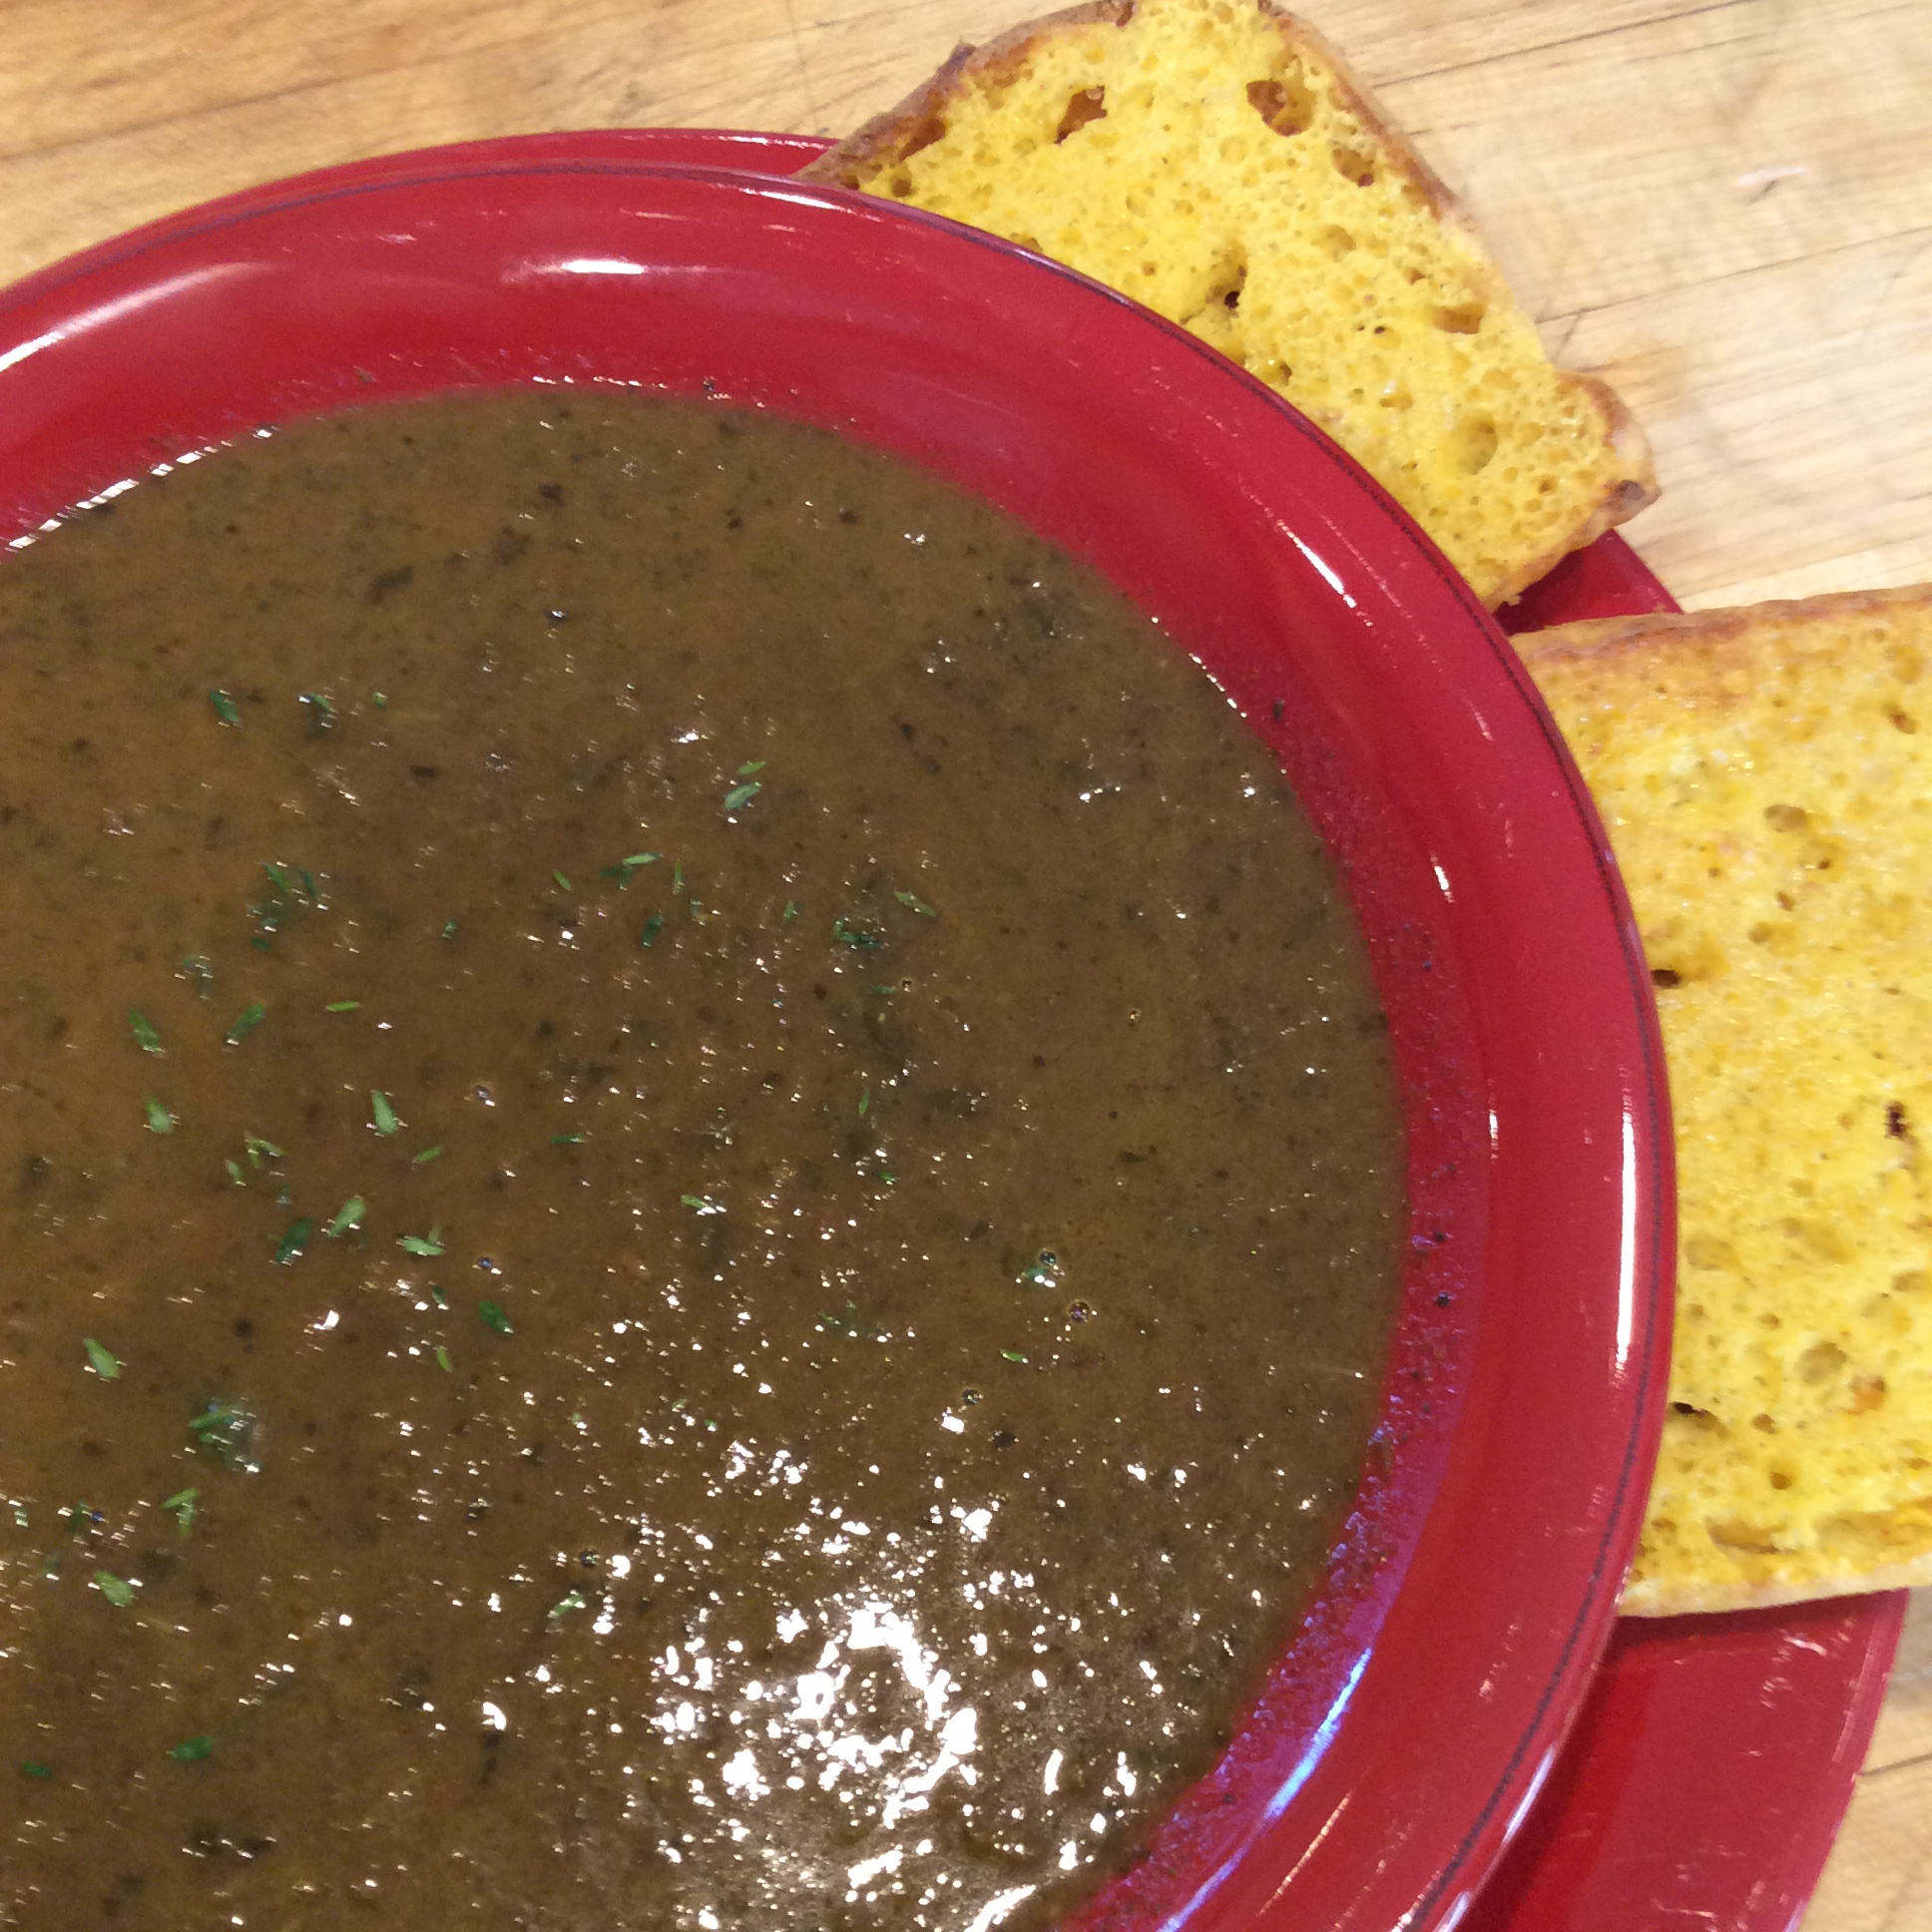
When ready to use, put a quart of any kind of salt-free or low-salt broth you like in a saucepan, add a cup of soup paste, and simmer until thawed. Correct the texture with a stick blender if it needs smoothing out. Taste for seasoning and adjust in any way you like. The caramelized onions, deeply sautéed greens, and fish sauce gave a meaty-umami flavor to the potful I made for lunch today, so I salted to taste and added a swirl of fat from my homemade bacon and a generous sprinkling of thyme leaves, a meaty-umami herb if ever there was one. Yum. With toasted buttered slices of my low-carb fake-o cornbread, it made a perfect light healthy Thanksgiving brunch to lead into the excesses to come at dinner.

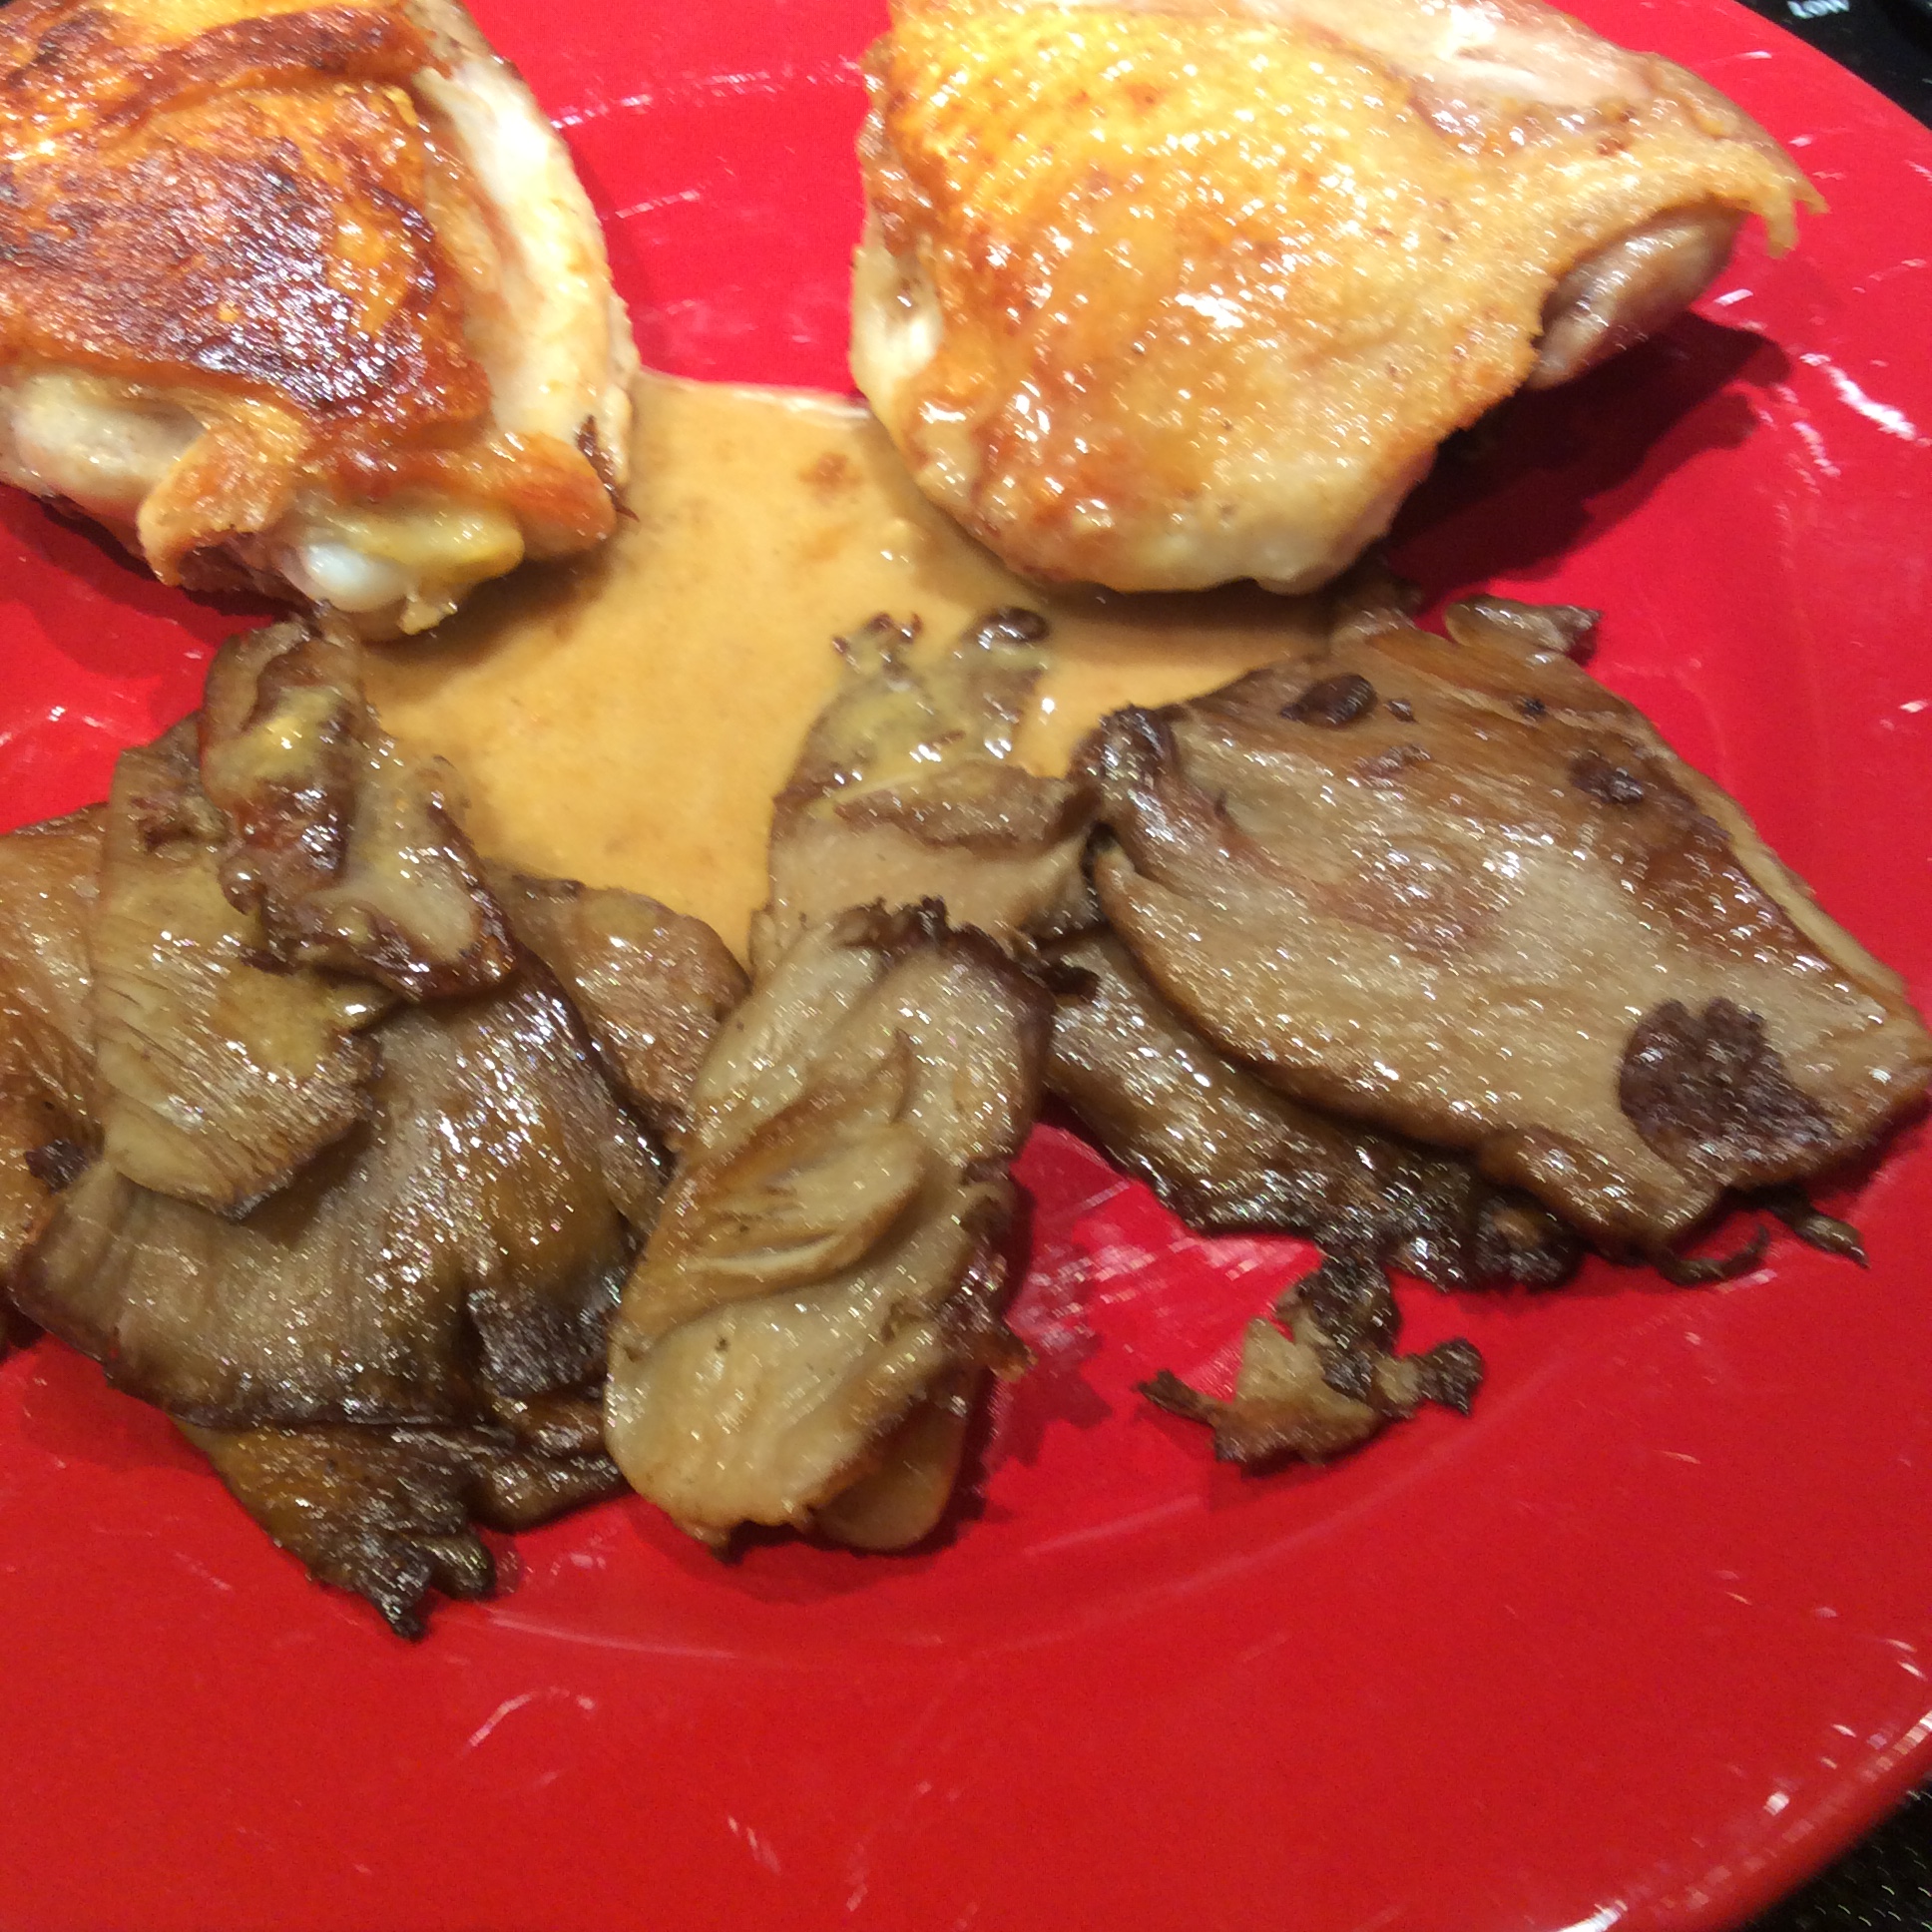
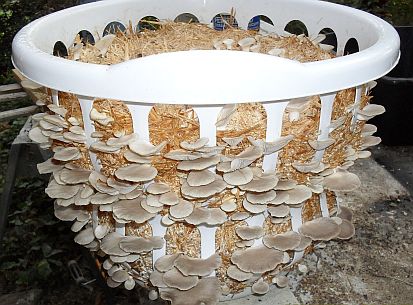
This basic formula can be varied endlessly according to what you like and have available. If you serve vegans at your table, using some miso rather than fish sauce and good olive oil for the final swirl with water or vegetable broth as the liquid would suit their needs while fully satisfying the omnivores. If you don’t like the brownish color, leave the tomatoes out and it will be more green. Pan-grilled small oyster or other mushrooms would make a good garnish. A fried or poached egg adds tremendous heft to soup if you want a richer meal, or some bacon lardons fried crisp would satisfy any ardent carnivore with a minimum of actual meat. You can add cow or coconut cream for a cream soup (try a toss of chopped fresh tarragon for the final garnish,) or some leftover tomato sauce for interesting tartness, or finish it with a handful of good freshly grated Parmesan along with olive oil and let the cheese dissolve in the hot soup. For a more Cretan effect, use crumbled feta and olive oil on top.  There are a hundred possibilities and you can get any of them from freezer to table in well under 20 minutes. Serve any kind of bready stuff that suits your diet alongside, and you and your table mates will be full. I say that a quart of soup is two servings, but I understand that normal people can serve three or four with a quart. Know your family’s tastes.

In my opinion the celery is necessary rather than optional, and I strongly advise including at least a small portion of bitter greens (dandelion and chicory in this case.) When making mixed greens, I’ve often noticed that a savory-meaty element is lost if I don’t include some bitter greens. The proportion is small and the final product isn’t bitter and is enjoyed be people who don’t like strong greens in other contexts. Besides, they’re so damn good for you.

img_4891

img_4892

img_4888

Eggs: Great Healthy Food in a Hurry

img_5076

Lately I’ve been thinking about the miraculous nature of backyard chickens. They are lovely to see, fun to hear, and all their waking hours they convert stuff you can’t eat into stuff that you can. I can’t keep mine loose because we have a large tribe of local coyotes, but every time I walk by their roofed yard and hear the pleasures and squabbles of chicken life, I feel better. Chickens fit easily into nearly every backyard and enrich soil, nutrition, and QOL.

Then there are the eggs. I feed my chickens a ton of fresh alfalfa and other green stuff in the summer. This time of year, their diet includes dandelions, mustard leaves, kale, and grass. The yolks are a glorious deep yellow and they are very delicious. I’m fond of eating them hard-boiled for snacks, often just shucked out of their shells while still warm and eaten with salt and pepper. Sometimes I want something a little more elaborate but not much, and that’s where an egg salad sandwich tastes just right. It can be made in less time than it takes to read about it if you keep some hard boiled eggs in the refrigerator. You will also need bread, mayonnaise, and some herbs.

My sandwich is a display of what eggs can do, because the base is a low-carb flatbread based on eggs and flaxseed and the mayonnaise is my homemade type. But you can use Hellman’s and any bread of your choice.
Egg salad can be elaborated with all sorts of stuff in it, or it can be a couple of tablespoons of mayonnaise with a small handful of suitable herbs snipped in; I used tarragon, green onion, and garlic chives in about equal quantities. Slice in two hard boiled eggs, stir and mash, and spread on the bread. I think it isn’t real egg salad without a lavish sprinkle of powdered chipotle chile on top, but use paprika instead if you prefer.

So my real point is, find a source of great eggs and eat them. Even the best eggs cost, at most, about 50 cents each, and they will make you healthier and simplify your life. If you hard-boil a dozen at a time, they are always waiting to be converted into egg salad, or other types of salad, or deviled. Asian salads with lots of herbs, some lime and fish sauce in the dressing, and a sprinkle of peanuts are especially good.  I love them sliced on top of a Thai jungle curry, or as the center of an Indian dish made by forming a large meatball of spiced meat around a hard-boiled egg and frying it. I can recall making a Mexican dish twenty years ago that involved soft corn tortillas filled with a green toasted pumpkin seed pipian and sliced hard-boiled eggs. I can even imagine making the basic egg salad above and plopping spoonfuls of it on very good crackers with some chopped kalameta olives or even caviar on top, as an easy and delicious appetizer.

If you need more ideas, there is a marvelous cookbook by Michael Ruhlman simply called “Egg” that every eager cook should read.

img_4855
img_4848
img_4867
image
DSCN0884

img_5077

The Oyster of the Woods

image
There is nothing more interesting than mushrooms. Really. An independent kingdom of organisms, they have much in common with animals and their interactions with plants are complex and often beneficial. For a wonderful read about mushrooms and their biological role, check out Paul Stamets’s Mycelium Running, and you will be wonderstruck at the hypheal hijinks going on all around you.
They are extremely easy to grow for everyone but me.  I am convinced that mushrooms have a very important role to play in a functioning urban homestead, even here in the high desert.  So far, however, I have been unable to make that work out in practice.  I have tried spreading the spawn among existing plantings under heavy straw mulches, and putting the spawn in piles of hard wood chips, and so far have not had any significant success, due to lack of consistent moisture, lack of shade, dry air, and insufficient attention.  I have harvested a few mushrooms, but nothing to write home about.  That is why the below images below are borrowed, to show how easily it can be done in moister climates than mine.
image

image

image

image
.
Since I have finally accepted that it’s going to take more focus than just throwing some spawn around, my next attempt will be to insert plug spawn into damp hay bales in the dense shade of my black locust tree. I have also cut down a small Siberian elm recently and have a few pieces of suitable fresh log to try drilling plug spawn into. Next August I will harvest them, or not.
Meanwhile, many farmers’ markets have a mushroom farmer or two, and oysters can be found in our river bosque here and in many woods and forests if you are a knowledgable forager and know exactly what you are picking. Mushroom foraging is not for you unless you are prepared to study it seriously and know all your local toxics. No margin for error here.
However you get hold of them, good oyster mushrooms are just delicious. I love their earthy-almondy aroma and their meaty texture. I like them best simply pan-fried with a little macadamia oil and salt, but roasting them with a bit of butter and soy is awfully good, and so is grilling them rubbed with olive oil. The addition of a little chicken glacé early in the cooking stage so that it can cook into the caps suits their meaty flavor.
For preserving, I roast them with macadamia oil and salt just to the point that they are cooked through, cool them, bag, and freeze. When wanted, they can be thawed and pan-grilled until they get some lovely brown crunchy bits. I dehydrate the clean stems as long as they’re not buggy and grind them into oyster flour to thicken mushroom sauces and soups. I admit that I also open my little bag of oyster flour just to inhale deeply and recall the woods where I found them.
Yesterday I found that I had tossed more caps with macadamia oil and salt than would fit in my roasting pans, and stuck the surplus in the dehydrator. They emerged as delicious crunchy lightly browned Oyster Crackers. Yum. I will make more of those. A small pan-grilled cap on an Oyster Cracker would make a wonderful cook’s treat. In fact, a couple of them with nothing on top made a great cook’s treat…

Real Bacon

image

I am firmly opposed to factory farming of animals, especially in the case of pigs, and only want to eat meat from animals that were treated decently and fed well. Pork like this is hard to find, but recently I came into a large fortune: a slab of pork belly from a farmer who runs a great small pig operation. Naturally I decided to make Real Bacon.

As it turns out, making bacon is child’s play. There are a lot of ways to approach the curing step, but I chose brine because it’s so simple. Dissolve a cup of salt in each gallon of cold water, and make enough gallons to cover the pork belly completely in a vessel that will fit in your refrigerator. If you want, you can buy curing salt that contains nitrates to preserve red color in the meat, but I don’t see much point in this when you are going to fry the meat brown anyway. Put a plate on top of the meat to keep it totally submerged, cover the vessel, and refrigerate for a week.

7 days or so later, take the meat out, dry the surface, and set it on a rack in the refrigerator to dry more thoroughly overnight. Cold-smoke by your favorite method. We have a smoker, but it you don’t, there are all sorts of contraptions that let you cold-smoke on your grill or even on the stovetop if the piece of meat is small enough. Just be sure that the temp can be kept under 150 degrees at all times.  I used a combination of cherry and pecan chips. Applewood is also delicious on pork. I don’t recommend mesquite, which is just too strong. Smoke a couple of hours. Monitor the internal temp of the meat. If it reaches close to 120 at the thickest part, stop. Cool the meat, cut it into pieces of a suitable size for your household, and fry it or freeze it.

image

Our lunch today was generous slabs of real bacon, eggs from my hens fried in bacon fat, green chile, and a garnish of avocado sprinkled with chipotle. After a lunch like this, we are full until 8 or 9pm. A snack in the late evening is plenty. This is real food.

There are all kinds of ways to get creative with the formula. Dry-salt with herbs, add other ingredients to the brine, whatever. There are lots of good cookbooks on charcuterie, so read one if you’re interested. But I’m glad that for my first try, I stuck to simple brine, rich smoke, and real pig .

image