Archive for the ‘cooking’ Category

Living in Interesting Times: Spring Greens

This is a very strange time for everyone. As a healthcare provider, I know how much there is to worry about. I know that not everyone can isolate themselves from exposure, and not everyone has the luxury (and it is a luxury) of the money and space to store some crisis supplies. Not everyone has the luxury of a job right now, by a long shot. If you do, appreciate what you have and help others if you possibly can.

At this as at other tough times, I find myself thinking back to growing up in Louisiana. In hurricane country people were used to regular interruptions of basic services and kept on hand what they needed to get through 2-3 weeks. They helped each other and they followed the hurricane directives. So respect the restrictions we operate under right now and do the best you can not to be part of the problem.

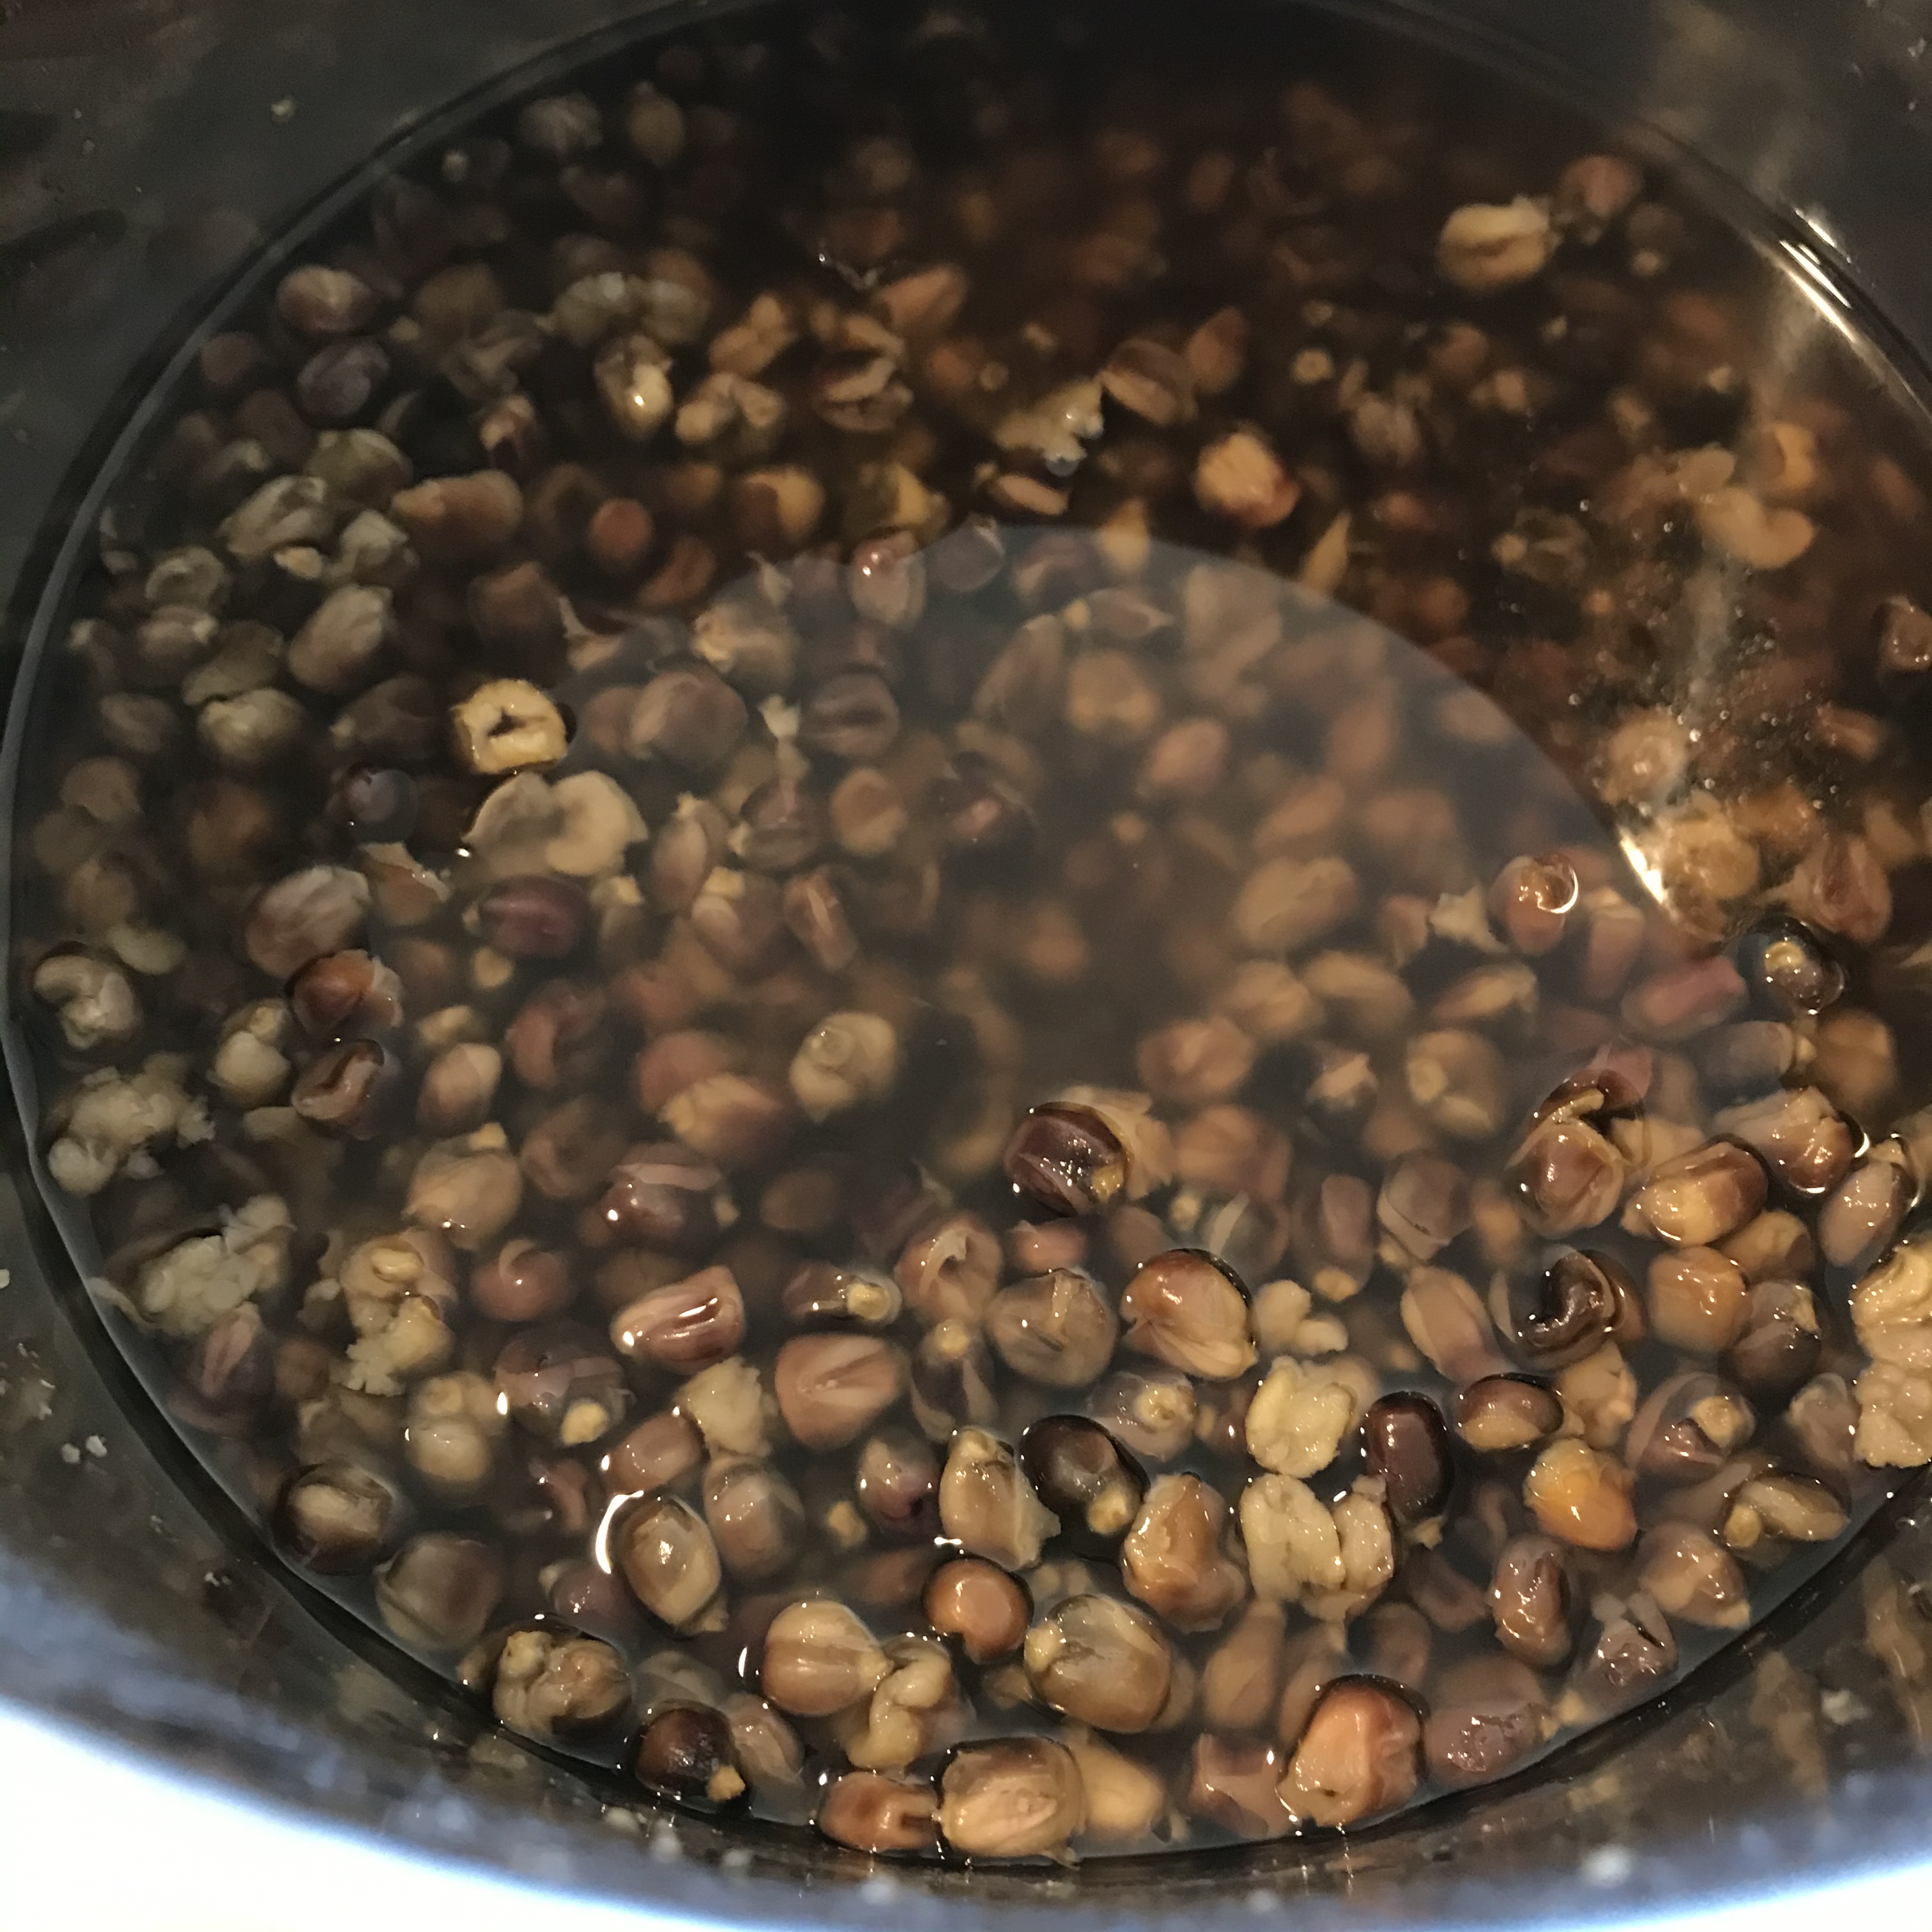
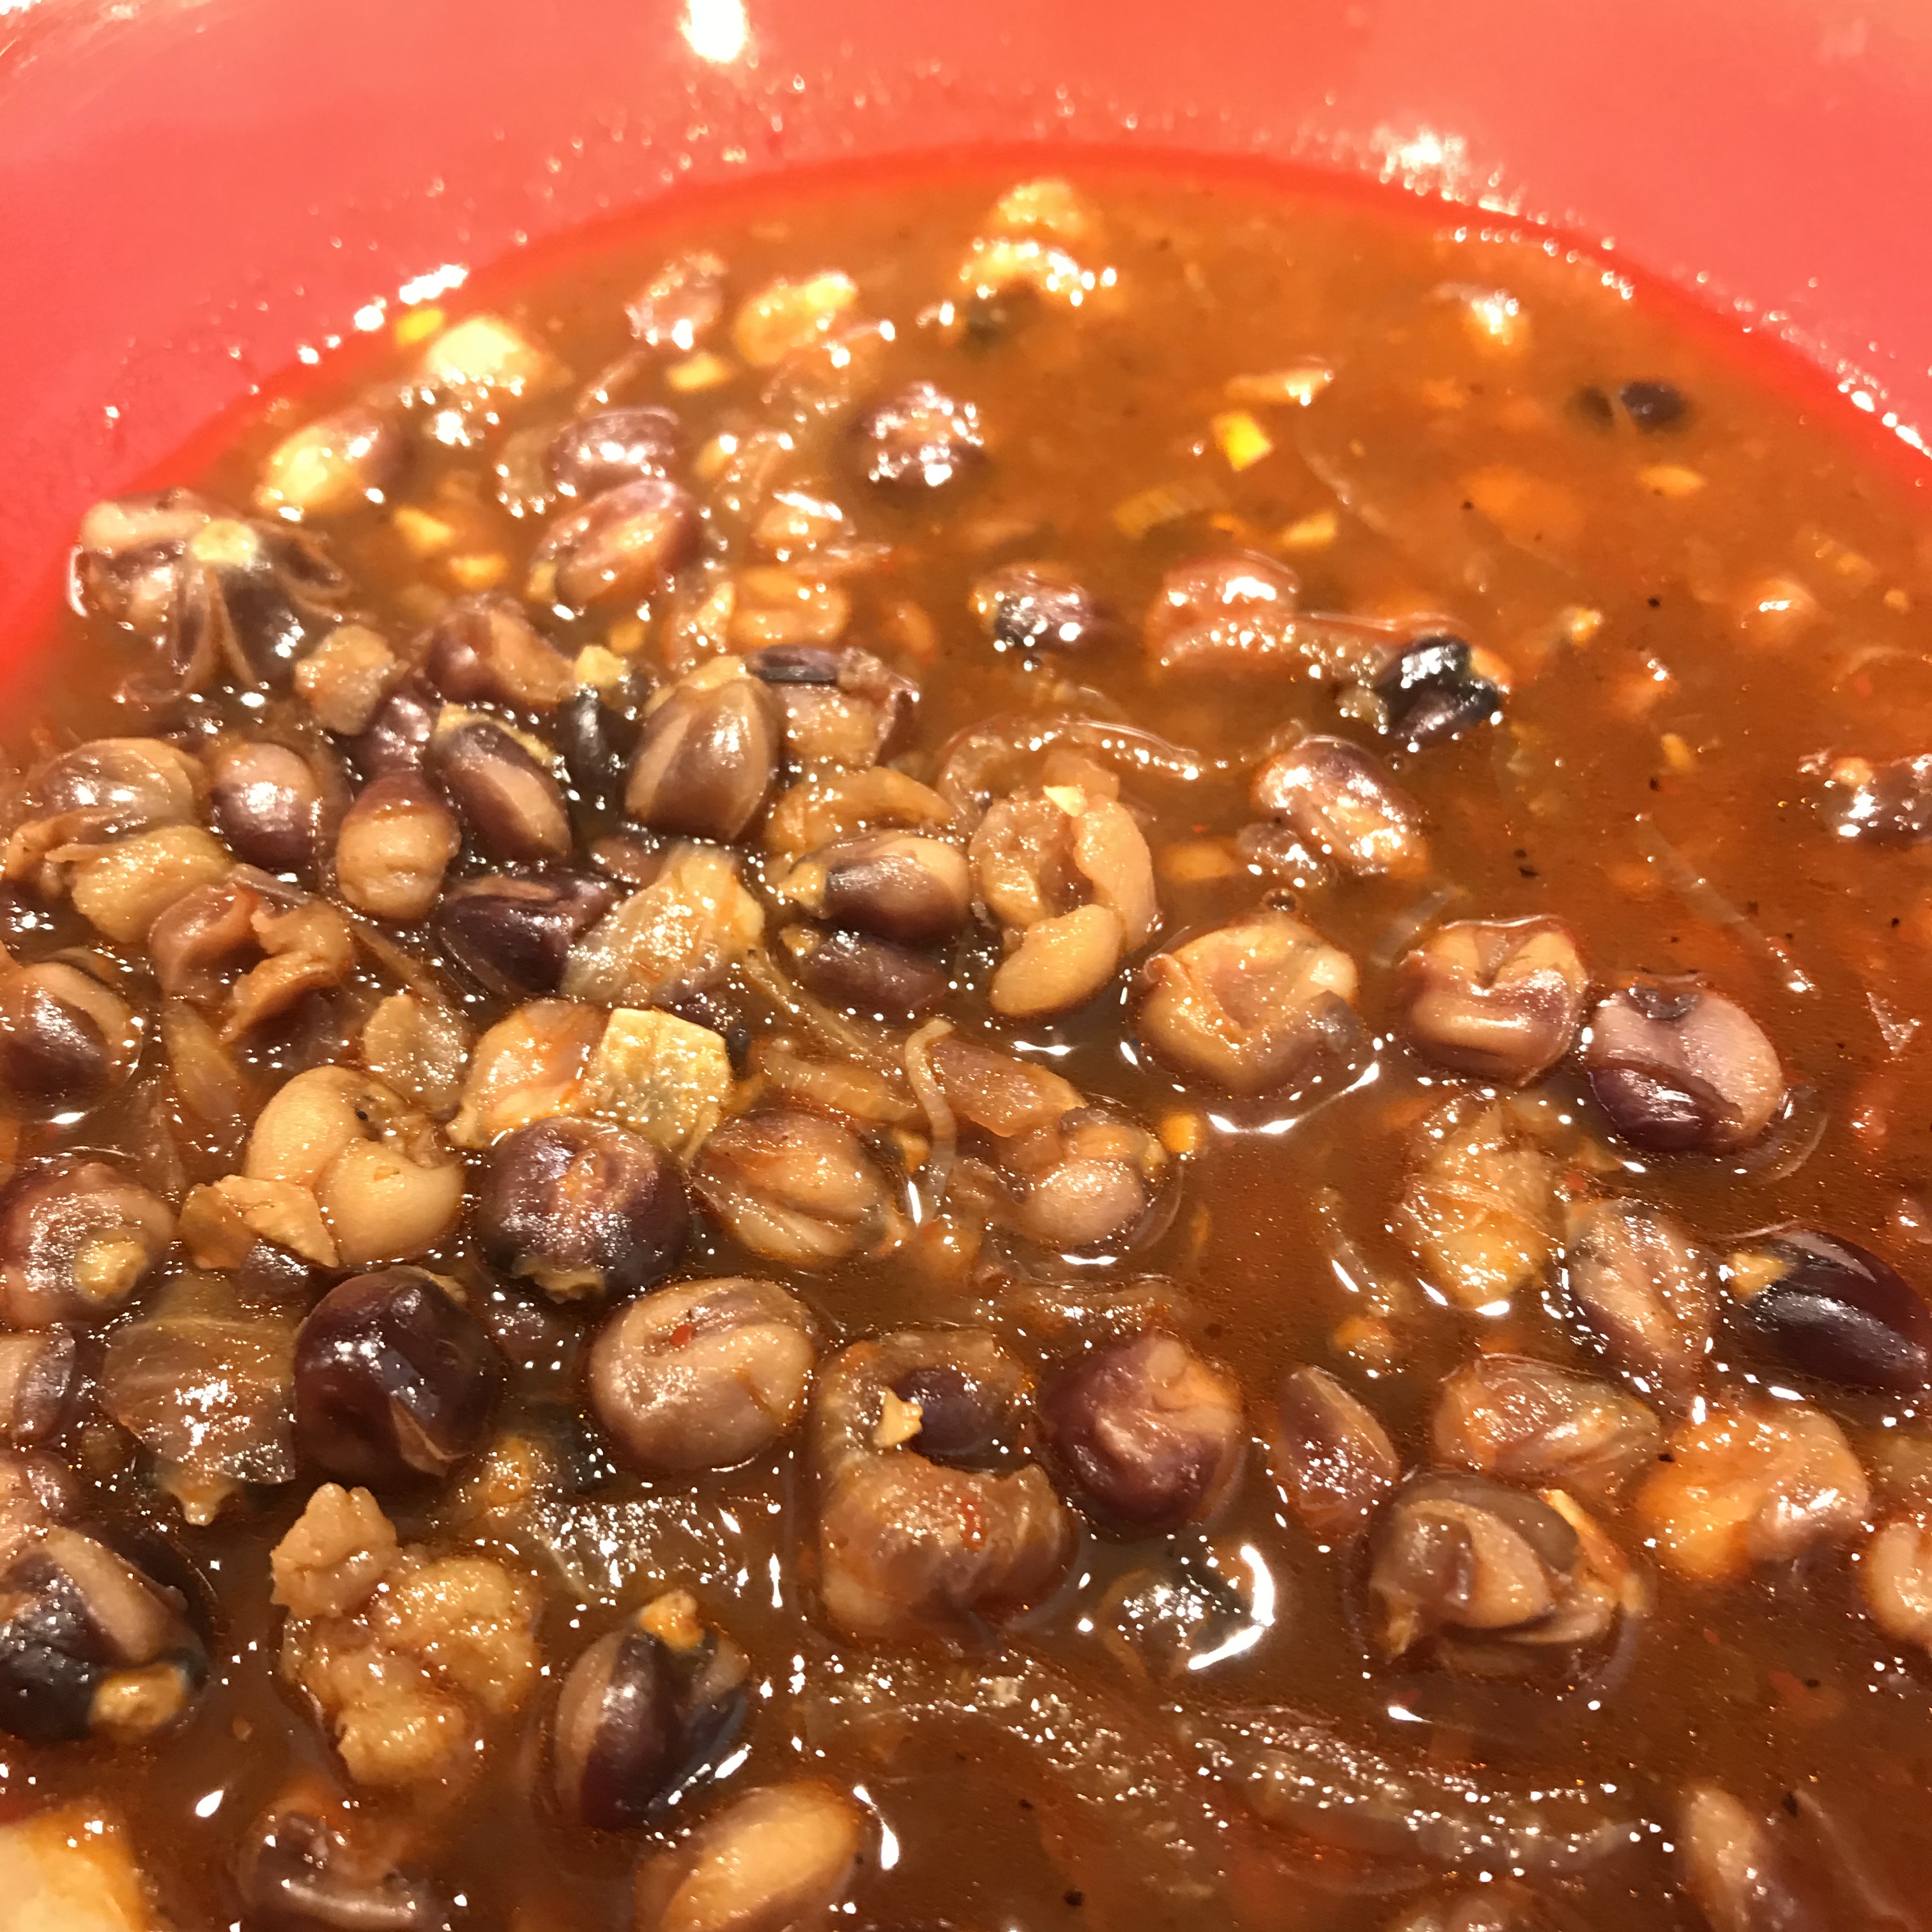
Narrowing this down to the garden, there is nothing as comforting as being able to get some food from your own yard. There’s an egg shortage, but my chickens are laying, supplying us and a few colleagues and neighbors with at least some eggs. Rice and beans and seasonings are in the pantry, and if you always keep herbs in the garden and a few ham hocks in the freezer, you have the means to make things taste good.
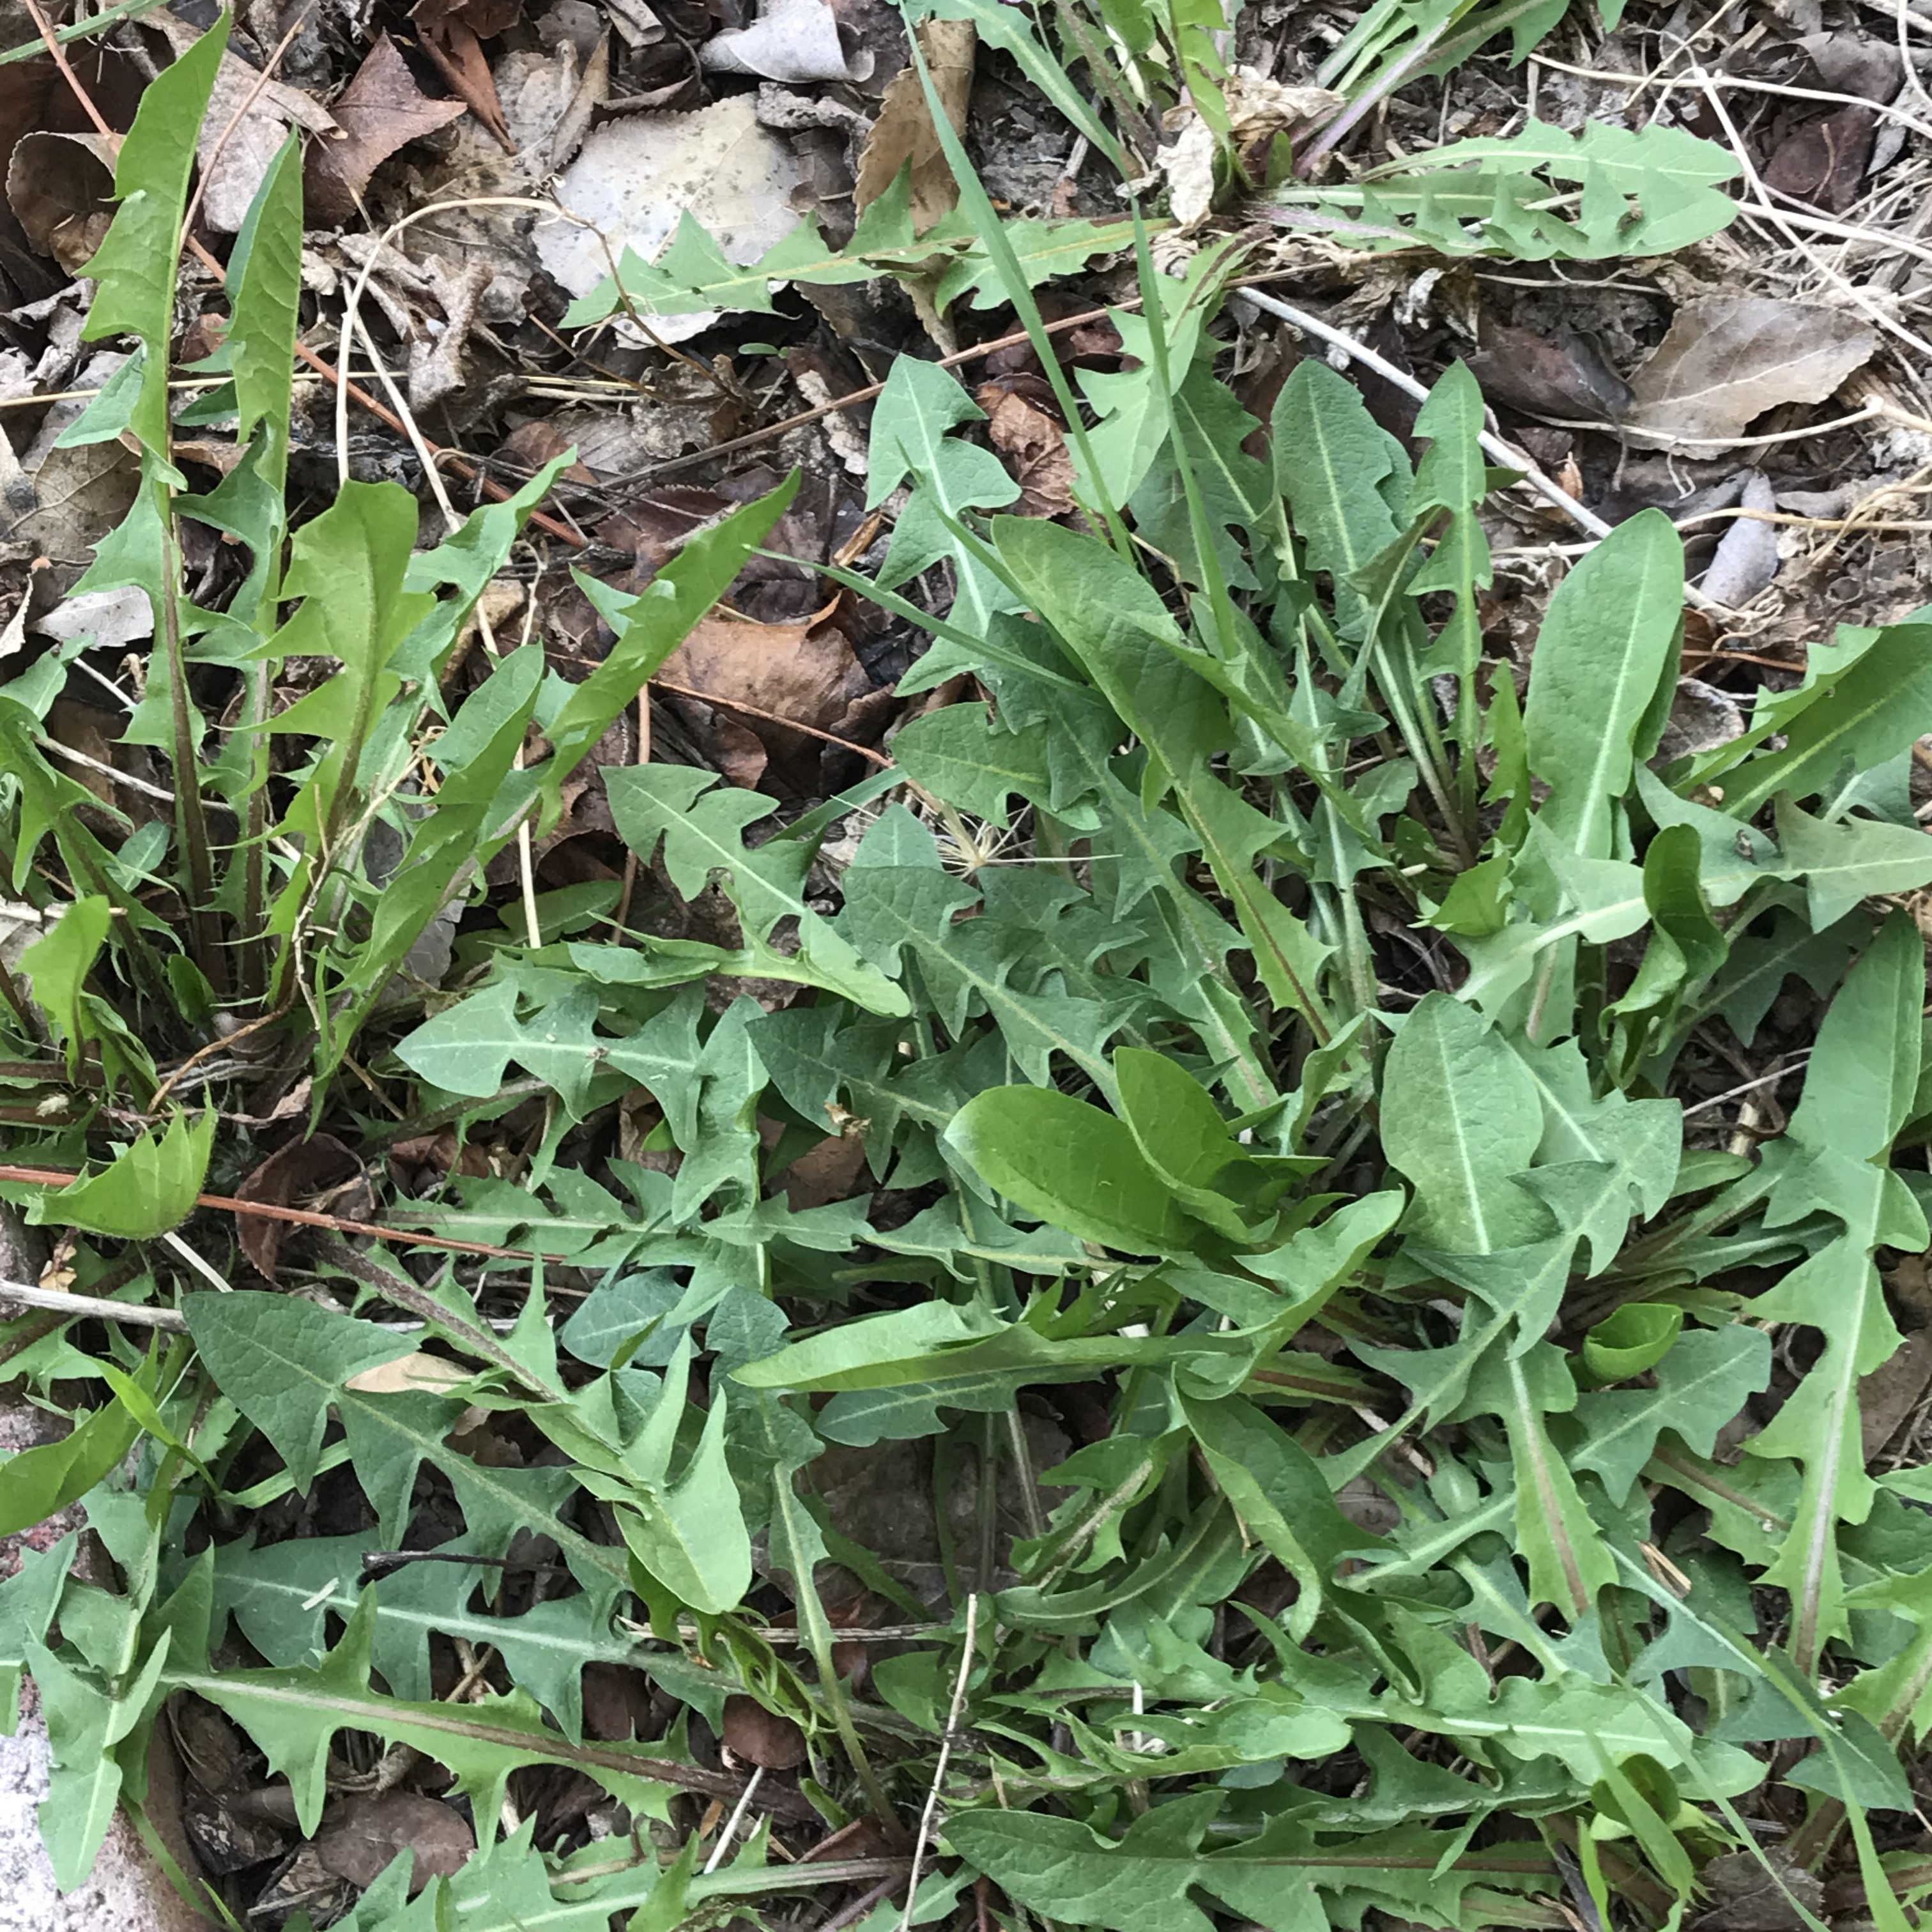
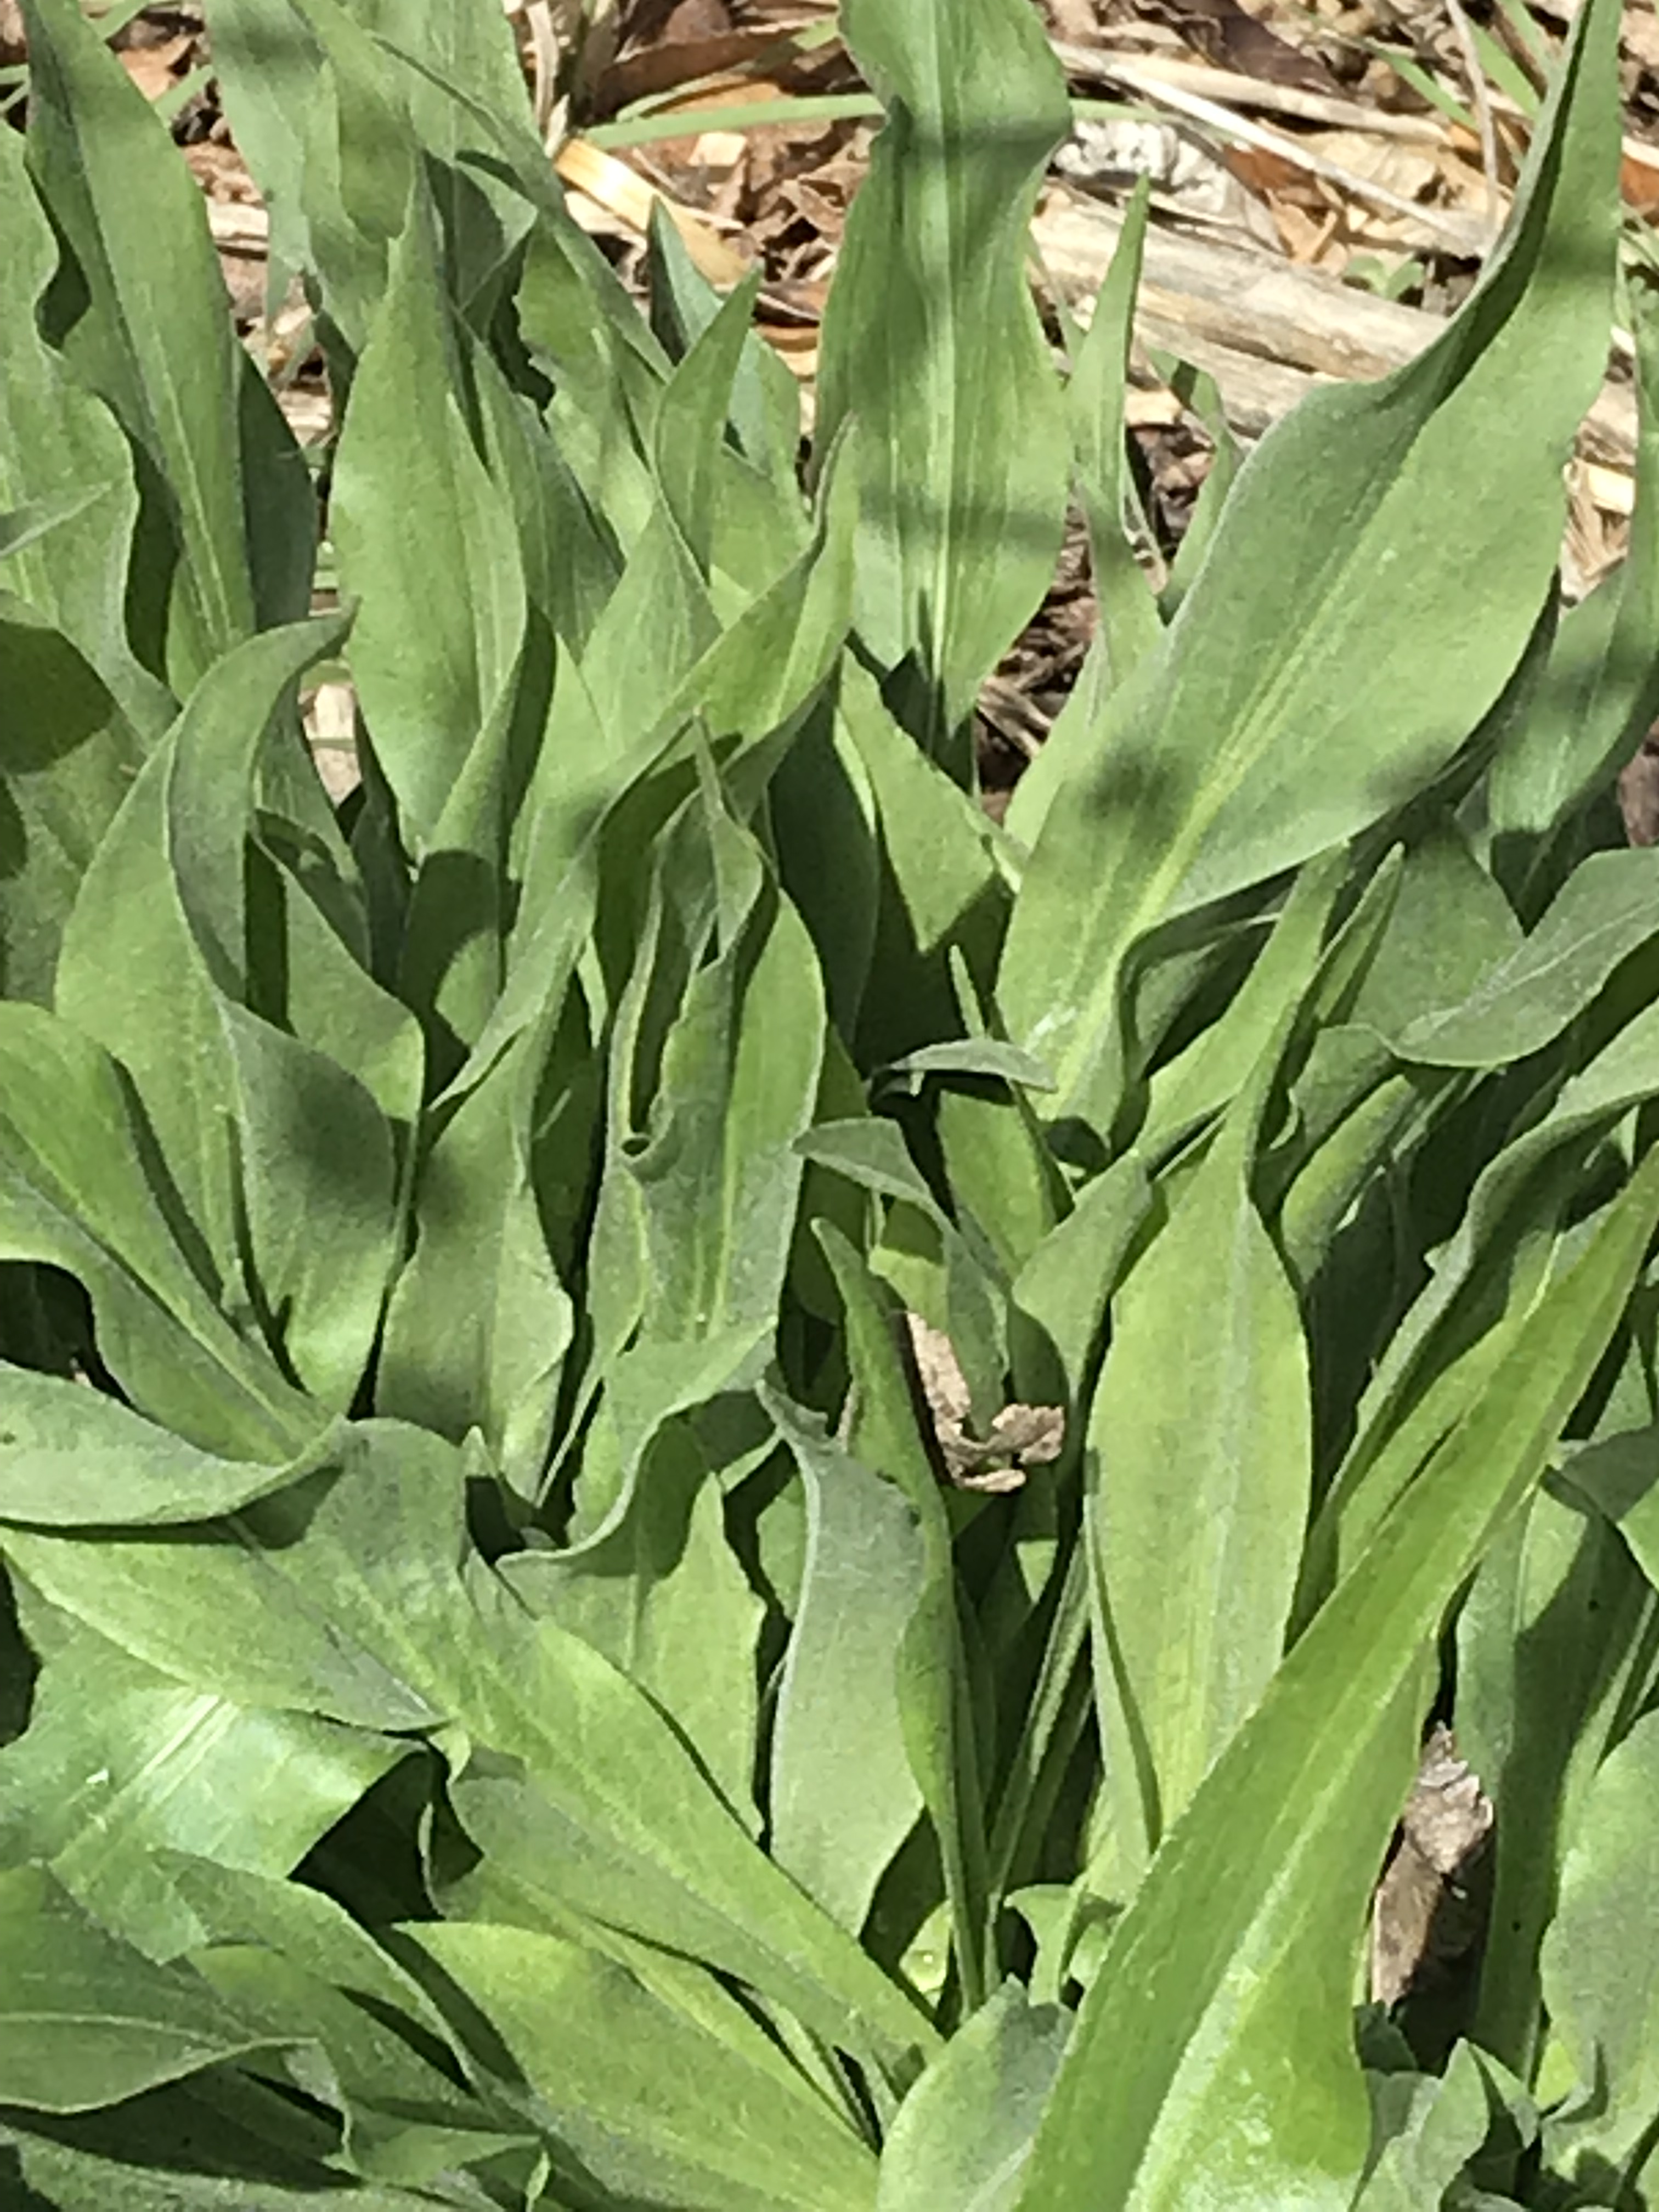
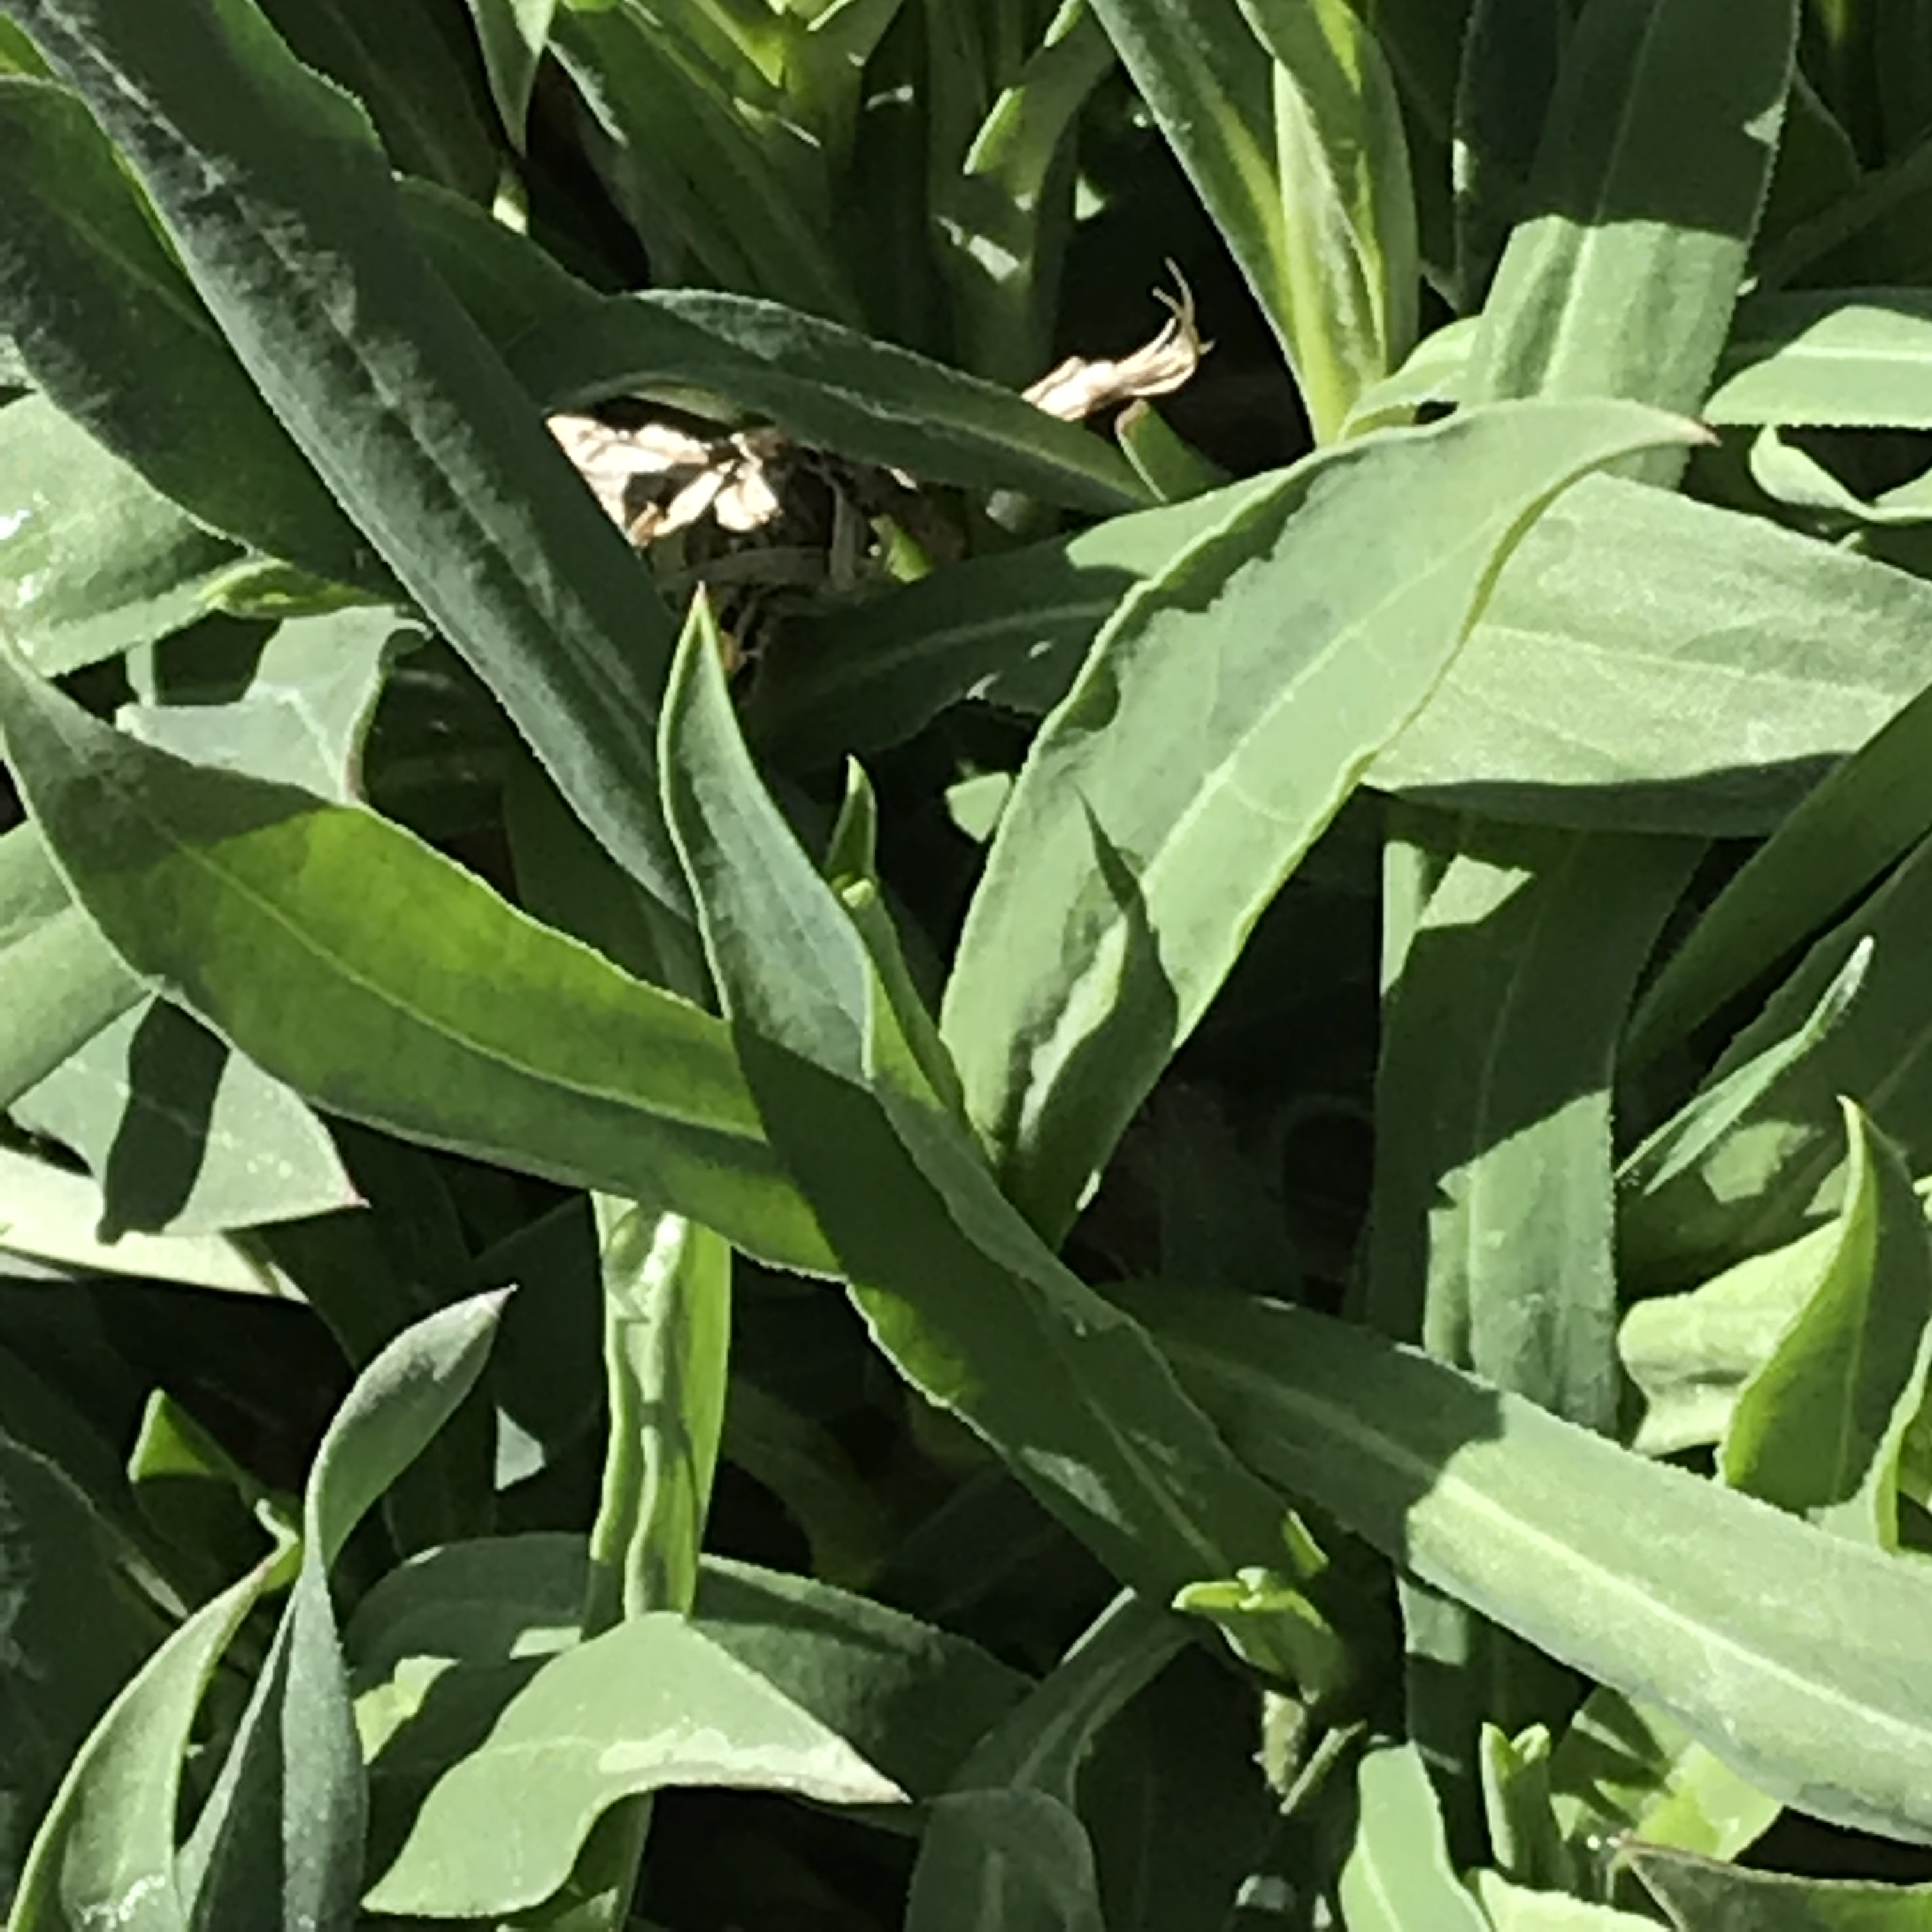
This is a great time to learn to use your weeds if you haven’t already. I actually had to buy seeds to have dandelions, but once you have them they are faithful kitchen friends every spring. If you don’t care for bitter greens, mix them with milder greens like nettles, scorzonera, bladder campion, and salsify, all growing lustily in my yard right now and all perfectly delicious when cooked. If you don’t know these unstoppable weeds, learn about them and plant them now or learn where they grow. Then spring will be a time of abundance, regardless of what’s going on in the greater world, and the less need you have for outside groceries, the more there are for someone else. Seal and freeze the extra to eat another time. If you have a patch of Egyptian or other perennial onions, you’ll always have seasoning on hand, and a handful of chopped oil-cured olives adds delicious umami.


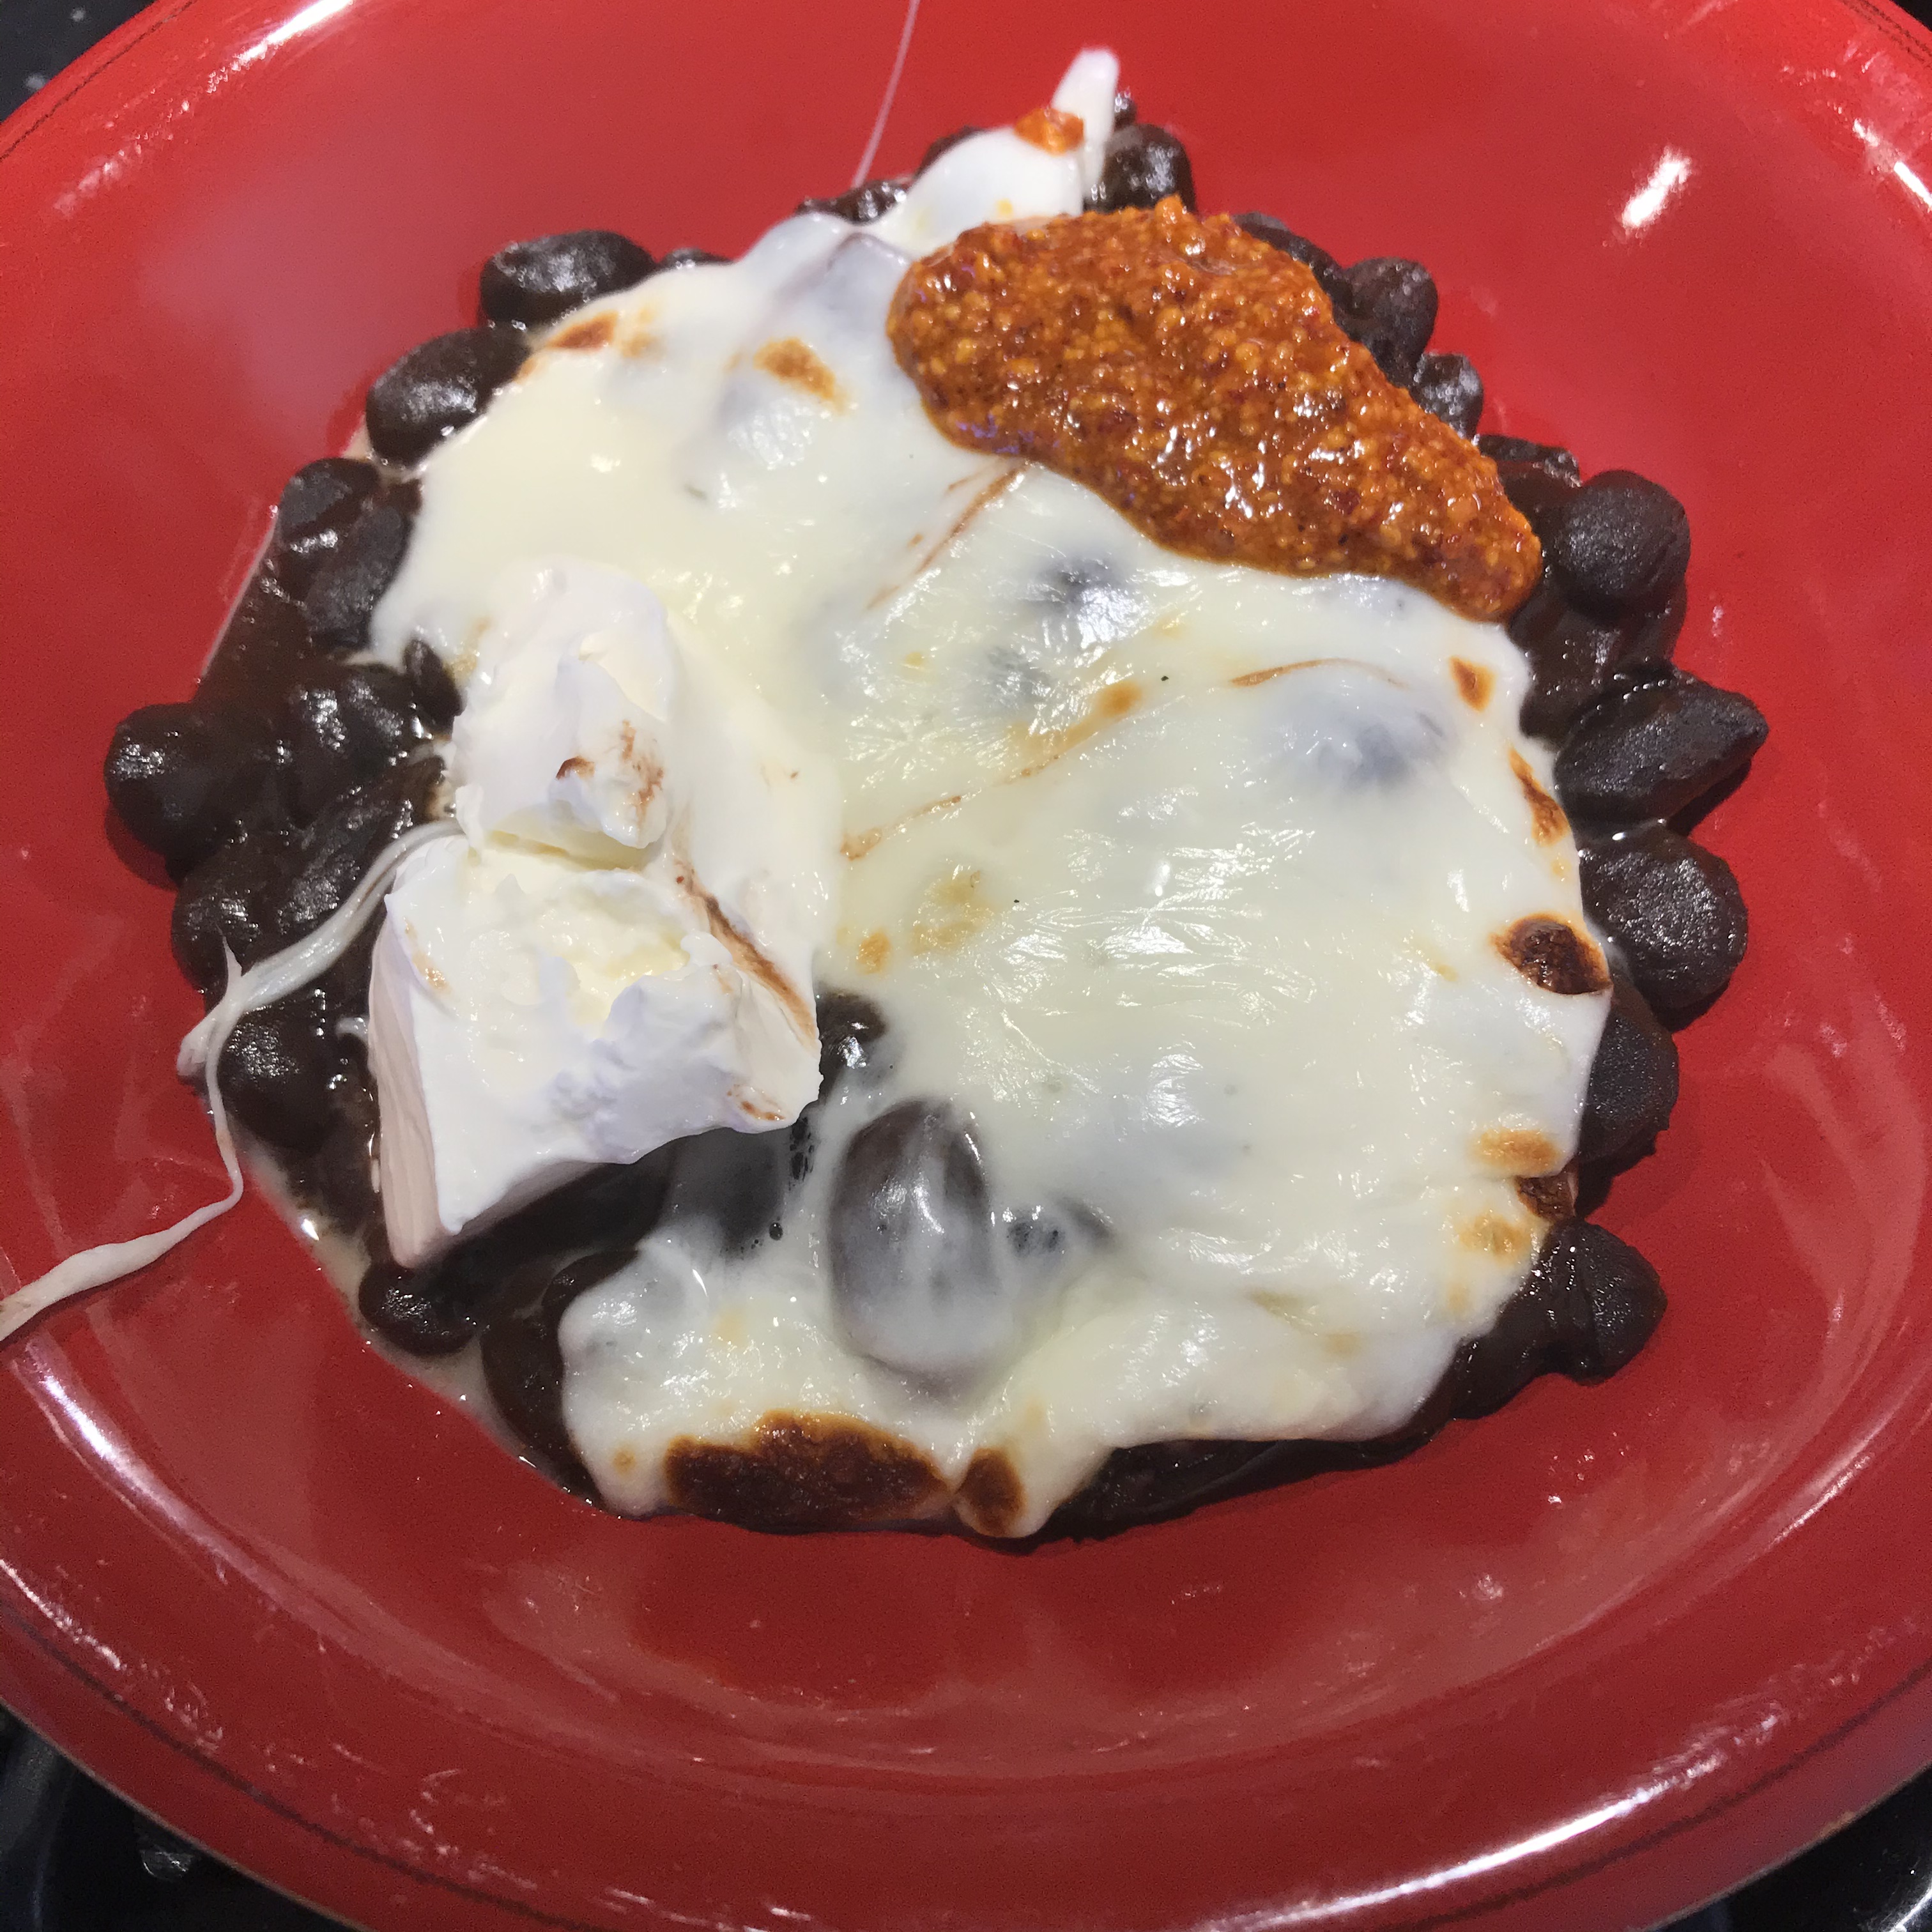
Mixed cooked greens in the refrigerator can be eaten in tortillas with cheese, used to top rice with some butter and meat juices, or (most deliciously, in my view) spread on toasted sourdough bread and topped with fluffy grated flakes of good Parmesan.
After that will come the meaty delicious leaves from last year’s chard plants, mulberry sprigs, hops shoots, and who knows what all. This may be the year that I finally try cooking the newest Siberian elm leaves, instead of feeding them all to the animals. I’ll comb my foraging and permaculture books for other things I haven’t tried yet.

The reason to do all this is not that there is no food in stores. There’s lots of food, with strange exceptions currently caused by hoarding more than any actual lack of supply. The reason is to take yourself out of the hoarding mentality and into a frame of mind to nourish yourself well and realize that you will act responsibly and do as well as you can. Life is uncertain and COVID-19 even more so. Everyone is at risk right now, but if we are staying home responsibly when not working and minimizing risk to ourselves and others we’ll feel better. If we feel that we can get things for elderly friends and relatives so that they can isolate more effectively, we’ll feel better. And staying home to garden, tend animals, and forage in the yard feels a lot better than sitting around watching television.

The Winter Kitchen: Pipian Verde


My recent Mexican cooking binge began with darker richer flavors but a spell of warmer weather got me thinking about pipian verde, which is complex but fresher and more spring-like in flavor. I became determined to develop a paste for it so that I could have it on short notice.  Pipian verde is a highly variable sauce based on herbs and thickened with ground seeds, often pumpkin seeds. It’s simpler than the more complicated mole verde but can be surprisingly similar to it. When I first ate it in Oaxaca more than a decade ago it had a flavor that I have not come across before, and which I later identified as hoja santa. This is a fascinating large perennial which grows well in warmer parts of our country, and in fact I noticed it growing wild near San Antonio, but my mountain area is too cold for it. The dried leaves are readily available but are a pale shadow of the taste of the fresh leaves, which resembles authentic sarsaparilla. Ebay came to the rescue, and I found a seller who sent me eight of the large leaves impeccably wrapped up in damp paper towels so that they arrived in perfect condition. There are as many pipian verde recipes as there are cooks in Mexico, so I can’t say that yours has to contain the special leaf, just that mine does. I also think that fresh epazote is necessary, and it’s available at my local Mexican grocery. Again, don’t use dried.
This makes a lot of seasoning paste. It’s concentrated and will be diluted in the final dish. It freezes well. You’ll need a blender.

My ingredients (study some recipes online and your ingredients may vary):

5 fresh poblano peppers

2 fresh jalapeño chiles, only if your poblanos are mild or you love fire

1 cup raw pumpkin seeds

9 medium-sized tomatillos

1 medium onion, peeled and sliced

5 cloves garlic, peeled and chopped

stems (just cut the washed bunch in half vertically) of one bunch cilantro, chopped

1 cup steamed spinach or other mild greens (I used foraged lambsquarters)

1 fresh hoja santa  leaf about 8” long

1 bunch fresh epazote, about 1/2 cup chopped

1/2 teaspoon dried oregano

1/4 cup home-rendered lard or avocado oil

Roast the poblanos (and jalapeños if using) under the broiler, turning frequently, until blistered all over.

Use tongs to transfer into a plastic bag, wrap in towels, let “sweat” for about 20 minutes, then peel off the skins, remove and discard stems, veins, and seeds, and set the peeled flesh aside.

The tomatillos can be roasted under the broiler until cooked through (requires close attention) or cooked in a heavy saucepan over medium heat, turning frequently, until they have a few dark spots. Then add enough water to prevent burning and cook until soft. Set aside.

Toast the raw pumpkin seeds in a heavy skillet over medium heat, stirring continuously, until they swell and darken a bit but don’t let them brown, which ruins the flavor. As soon as they’re ready, pour them out of the hot skillet into a bowl to cool.

Chop up the various fresh leaves and stems into small pieces, crumble the oregano a bit, chop the steamed spinach or similar if not already chopped.

Put the cooled pumpkin seeds in the blender and blend to the fine-crumbs stage but don’t let them turn to butter. Add all other ingredients except the lard or oil and blend, adding a little water if needed to keep the blades turning. I like to keep some texture in mine.

Now, the final step that makes everything meld. Heat a large saucepan or a wok with the lard (more authentic) or oil (more readily obtainable) over high heat and pour in the seasoning paste to “sear.” Careful, it spatters furiously. Cook over high heat, stirring and scraping constantly, for a few minutes until the entire potful is boiling hard. Turn off the heat and (cautiously) taste and add salt to taste. Let cool, and package in suitably sized containers for refrigeration or freezing.

Now it can be used to sauce pork, chicken, or fish, diluting to the right consistency with good broth appropriate to the meat or seafood and adjusting the salt as needed. Roasted salted pumpkin seeds and/or some fresh cilantro leaves make a good garnish.  It’s great in a soft taco or sope  with a slice of fresh panela cheese and a crumbling of the far more intense cotija cheese on top.  My favorite use for it is shown at the top of this post: pan-grill some very good shrimp with salt and garlic, add a cup of pipian paste and 1/2 cup of shrimp broth per pound of shrimp and cook briefly until the sauce comes together, adjust seasoning as needed but keep the sauce very thick, and serve with an endless supply of good hot fresh tortillas.


For lunch in 10 minutes, use pipian verde paste diluted half and half with broth, bring to a boil to thicken, and adjust seasoning. Heat tortillas. Scramble two or three eggs with a little salt to taste until fairly firm. Cover a plate with the sauce, heap the eggs in the middle, sprinkle with chopped cilantro and a handful of roasted salted pumpkin seeds (darker squash seeds here,) and add a red dash of salsa macha. Eat with soft tortillas. Yum.

About those tortillas: in general I stick to a low carbohydrate diet, but when in a Mexican phase I don’t. Simple as that. Without rice, beans, and the endlessly creative uses of masa, it isn’t real Mexican food as far as I’m concerned. So I watch my portion sizes, eat one main meal a day and some light snacks, and try not to stay in a Mexican phase for too long. But it’s worth it.

The Winter Kitchen: Salsa Macha

When I’m on a Mexican cooking binge I have to make some condiments to serve with meals and Salsa Macha is among my favorites. I love the name, which could be translated roughly as “bold sassy woman sauce,“ and I love the flavor, which manages to be very hot and very delicious. This one is for fire-loving palates. When most Americans hear “salsa” they think immediately of the tomato-based pico de gallo, but in fact there is a huge range of salsas and table condiments in Mexico and, as far as I can tell, most of them are delicious.

Among published recipes there are infinite variations, and my preference is for the simplest version, which I learned from the writing of Zarela Martinez more than a decade ago and have been making with only slight alteration ever since. You will need both a spice grinder and a mini food processor. The blender doesn’t work, since too much oil would be needed to keep the blades turning.

1 ounce chiles de Arbol, about 25

1 cup roasted peanuts

2 cloves garlic

1 teaspoon cider vinegar

salt and mild olive oil as needed

Snip the stem end off each chile and shake out all the seeds you can. Discard the seeds. Put the chiles in a small saucepan over the lowest heat and cook somewhere between 20 and 30 minutes, stirring and shaking occasionally. When you start, notice the sound they make when you stir them, because your best indication that they are done is when the sound becomes higher pitched and somehow drier. They will be a couple of shades darker and a little smoother and glossier than when you started, and more brittle if you squeeze one between your fingers. Be careful not to scorch them.

At the same time, put a small skillet over low heat, put the garlic cloves still in their skins in the skillet, and turn them occasionally while the chiles cook. When the skins are browned in spots, take them out of the skillet. The important thing is that the cloves inside be a bit cooked and no longer raw-tasting. At times when I have leftover roasted garlic or garlic confit in the refrigerator I often use that, using several cloves instead of two to compensate for the milder flavor.

Grind the chiles in the spice grinder to a fine powder. Put the powder in the mini prep and add the peanuts. Process until the mixture looks like coarse crumbs.

Peel the cooked garlic cloves, add them, and process to the fine-crumb stage. Sprinkle in the teaspoon of vinegar and add olive oil to taste. I add the oil a tablespoon or two at a time, processing briefly between additions, and add only enough to coat the “crumbs” and bring the salsa together. Many commercial versions are swimming in oil, which doesn’t appeal to me, but suit yourself. Now taste and salt as needed. I can’t guess at a quantity because it depends how much salt was on your peanuts, but this is a condiment and in my opinion it should lean salty, to balance the heat.

It’s great on a grilled tortilla as a snack or cook’s treat, and good as a table condiment with any dish that isn’t too delicate in flavor. I’ve enjoyed it with shrimp rubbed with chipotle and garlic and grilled. It would be good with simply cooked and salted earthy greens. Today I dished up simply cooked black beans from Rancho Gordo, grilled some asadero on top, and dolloped  some creme fraiche and salsa macha on the side. Simple, filling, and interesting to eat.


The Winter Kitchen: Posole


During the growing season I’m generally too busy planting, tending, and processing to fool around much with ingredients from elsewhere. In winter, there’s more leeway. I’m giving myself more personal leeway with food choices, too: I no longer stick to strict keto. So there’s lots of room for play.
Posole, a stew based on hominy corn, is a traditional Christmas dish in my area, but is usually based on canned hominy to get around the lengthy and tedious nixtamalization and cooking involved. But I was ordering beans from Rancho Gordo, was curious about their heirloom blue hominy corn, and decided to try it. “Hominy corn” means that the nixtamalizing, soaking the corn in a calcium hydroxide solution and rubbing the outer carp off, is finished. I soaked 12 ounces of the kernels in cold water to cover overnight, then put the corn and soaking water in my Instant Pot, added enough water to stand 1” above the kernels,  added salt, and cooked under pressure for 30 minutes.

When I was able to open the pot and taste, the result surprised me. Although the only ingredients were the corn, water, and salt, the broth tasted so rich and meaty that I sipped a cup of it as I worked. Many kernels looked whole and I thought I had undercooked them, but when tasted they were perfect, with chewy-but-tender consistency. I could happily have eaten them plain, but I set out elaborating.

I kept it easy and quick. After all, the whole point of doing some cooking ahead is to have a quick good meal when you need one. I sliced a large onion and sautéed it slowly in a few tablespoons of bacon fat until golden throughout, then added a generous quarter cup of the colorado seasoning paste that I wrote about recently and about a cup of canned fire-roasted tomatoes. The corn and its cooking liquid were added and the whole pot simmered for 20 minutes. Then it was time to dish out in cheery red bowls.

I added a generous handful of grated mild cheddar on top of each bowl as shown at the top of this post, but I have to add that it was extremely good without the cheese, and by using oil instead of bacon fat to sauté the onion and water instead of broth in the seasoning paste, you could have a vegan dish that would pass muster with the meat-eaters  at the table.