Archive for the ‘cooking’ Category

Real Bacon

image

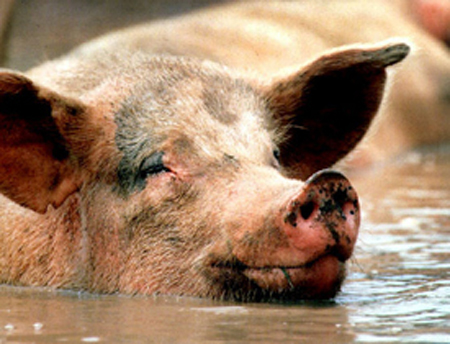
I am firmly opposed to factory farming of animals, especially in the case of pigs, and only want to eat meat from animals that were treated decently and fed well. Pork like this is hard to find, but recently I came into a large fortune: a slab of pork belly from a farmer who runs a great small pig operation. Naturally I decided to make Real Bacon.

As it turns out, making bacon is child’s play. There are a lot of ways to approach the curing step, but I chose brine because it’s so simple. Dissolve a cup of salt in each gallon of cold water, and make enough gallons to cover the pork belly completely in a vessel that will fit in your refrigerator. If you want, you can buy curing salt that contains nitrates to preserve red color in the meat, but I don’t see much point in this when you are going to fry the meat brown anyway. Put a plate on top of the meat to keep it totally submerged, cover the vessel, and refrigerate for a week.

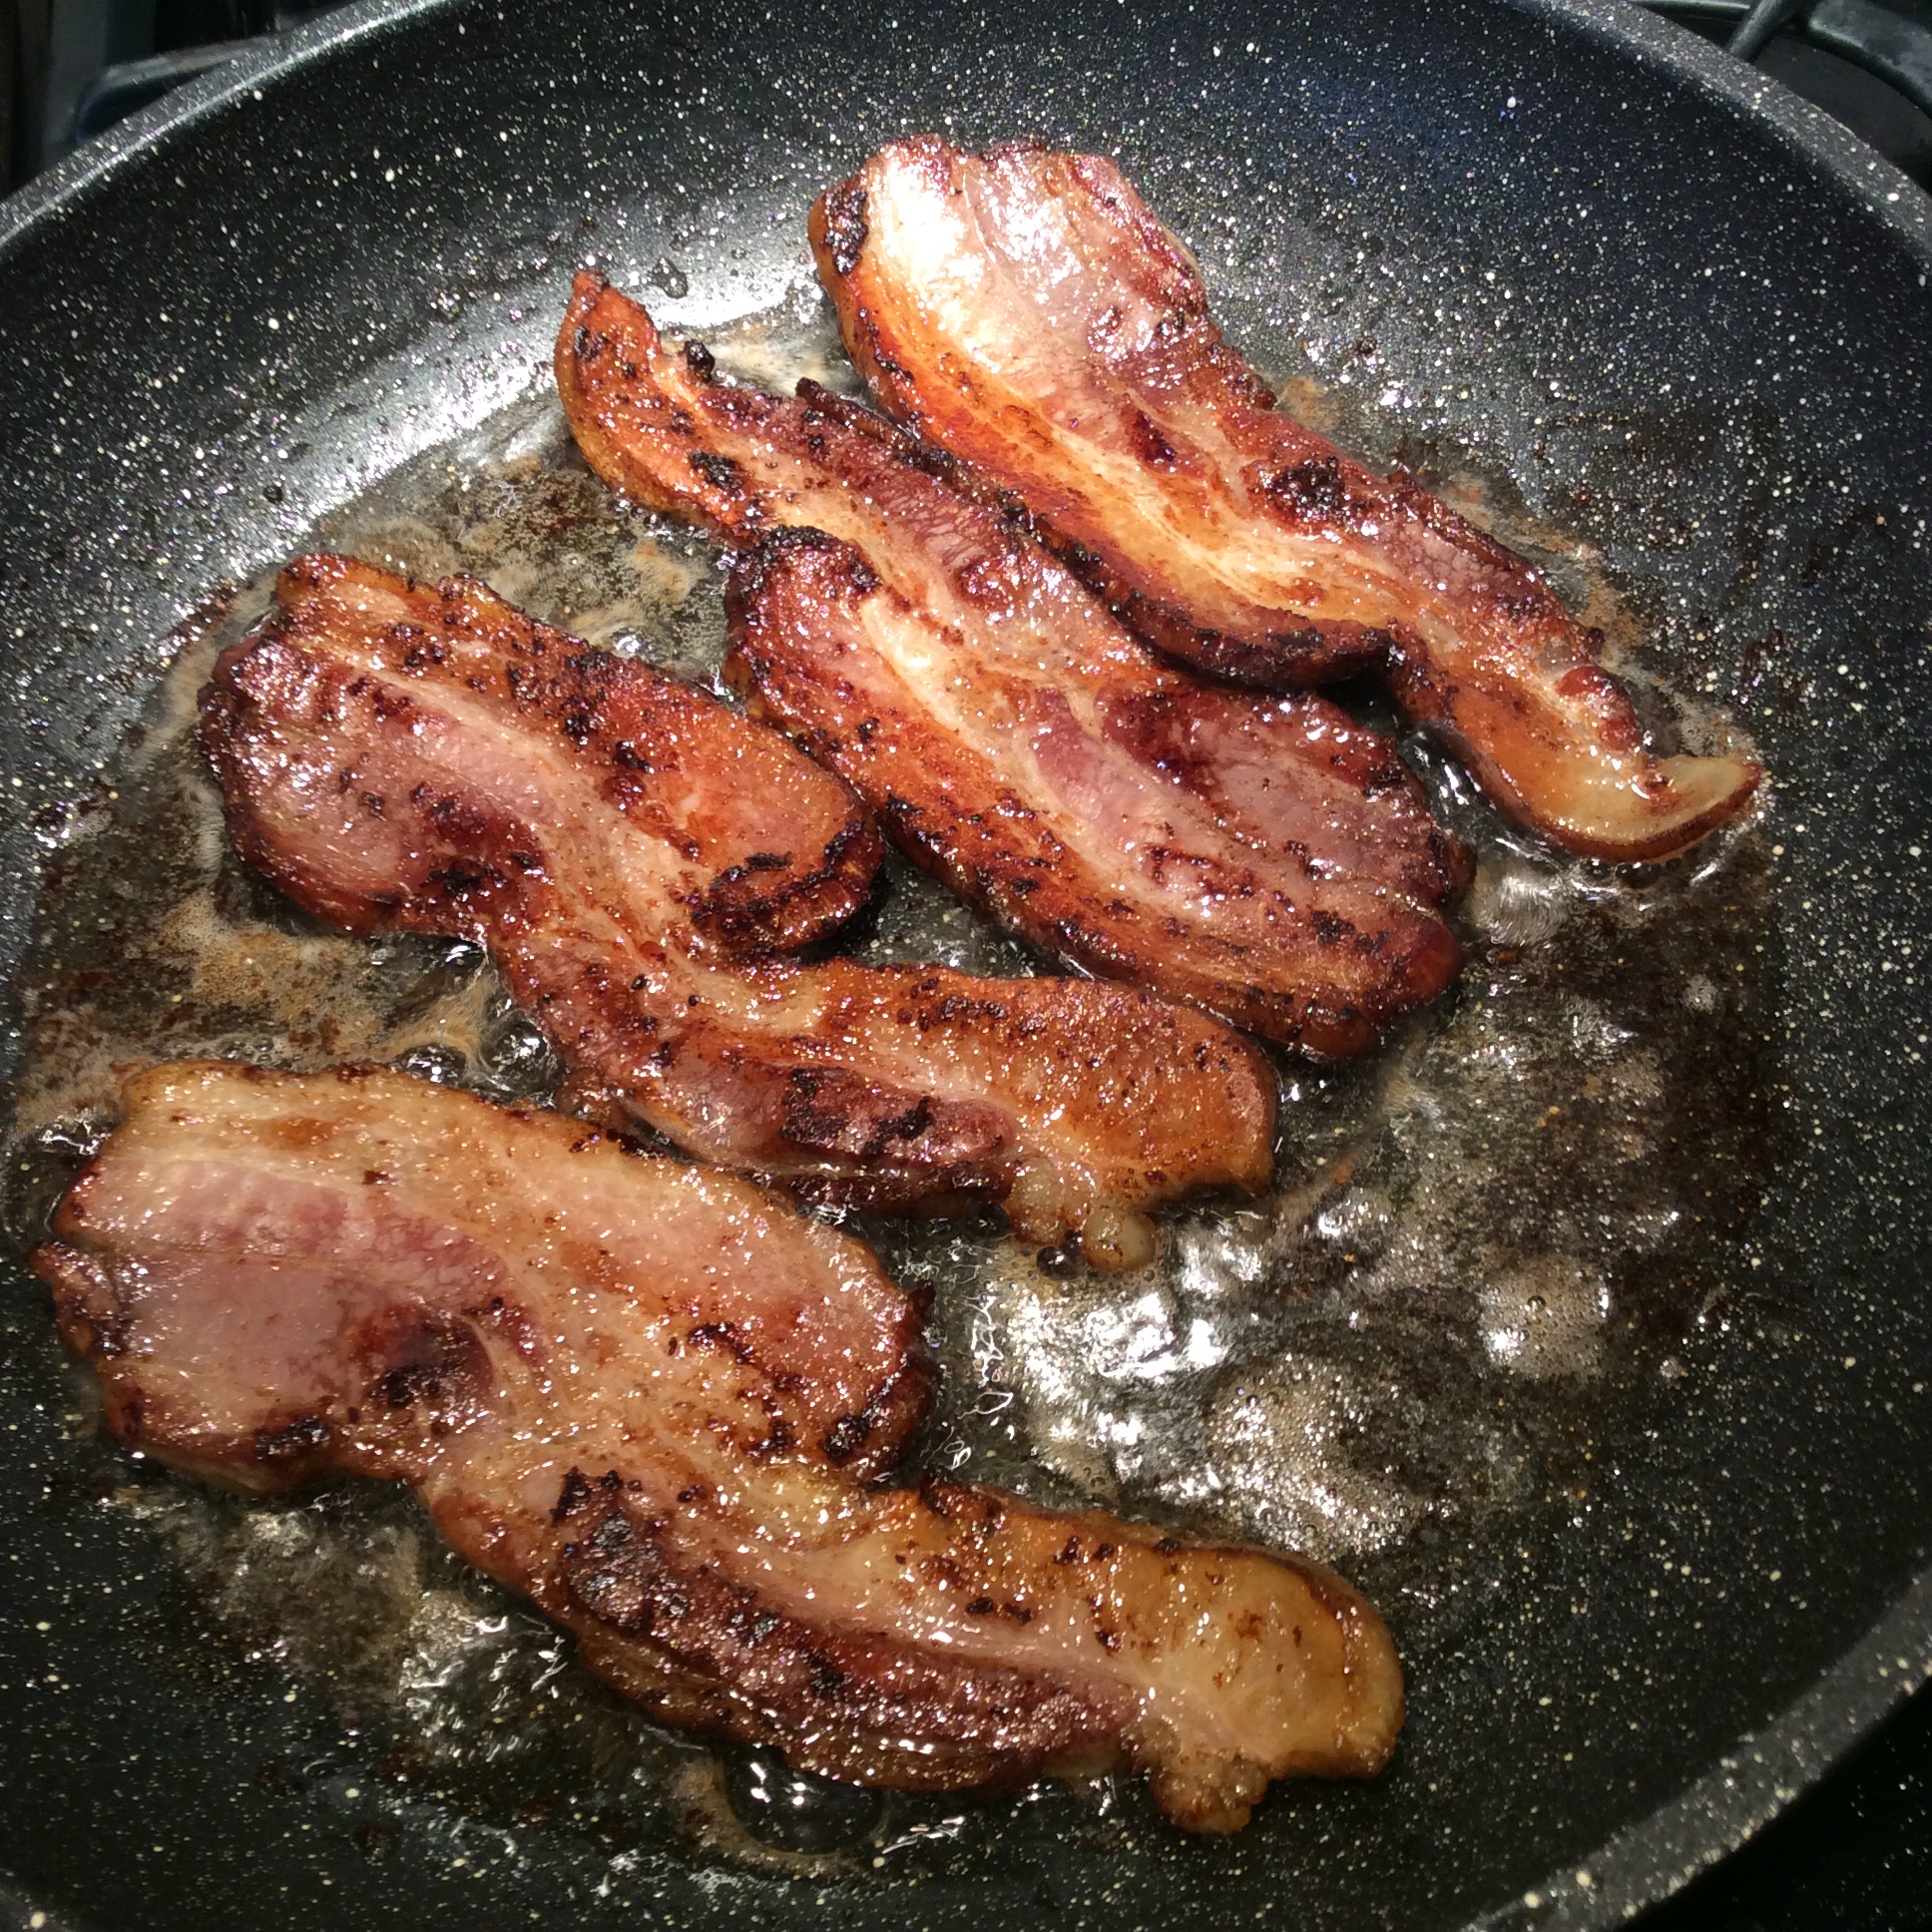
7 days or so later, take the meat out, dry the surface, and set it on a rack in the refrigerator to dry more thoroughly overnight. Cold-smoke by your favorite method. We have a smoker, but it you don’t, there are all sorts of contraptions that let you cold-smoke on your grill or even on the stovetop if the piece of meat is small enough. Just be sure that the temp can be kept under 150 degrees at all times.  I used a combination of cherry and pecan chips. Applewood is also delicious on pork. I don’t recommend mesquite, which is just too strong. Smoke a couple of hours. Monitor the internal temp of the meat. If it reaches close to 120 at the thickest part, stop. Cool the meat, cut it into pieces of a suitable size for your household, and fry it or freeze it.

image

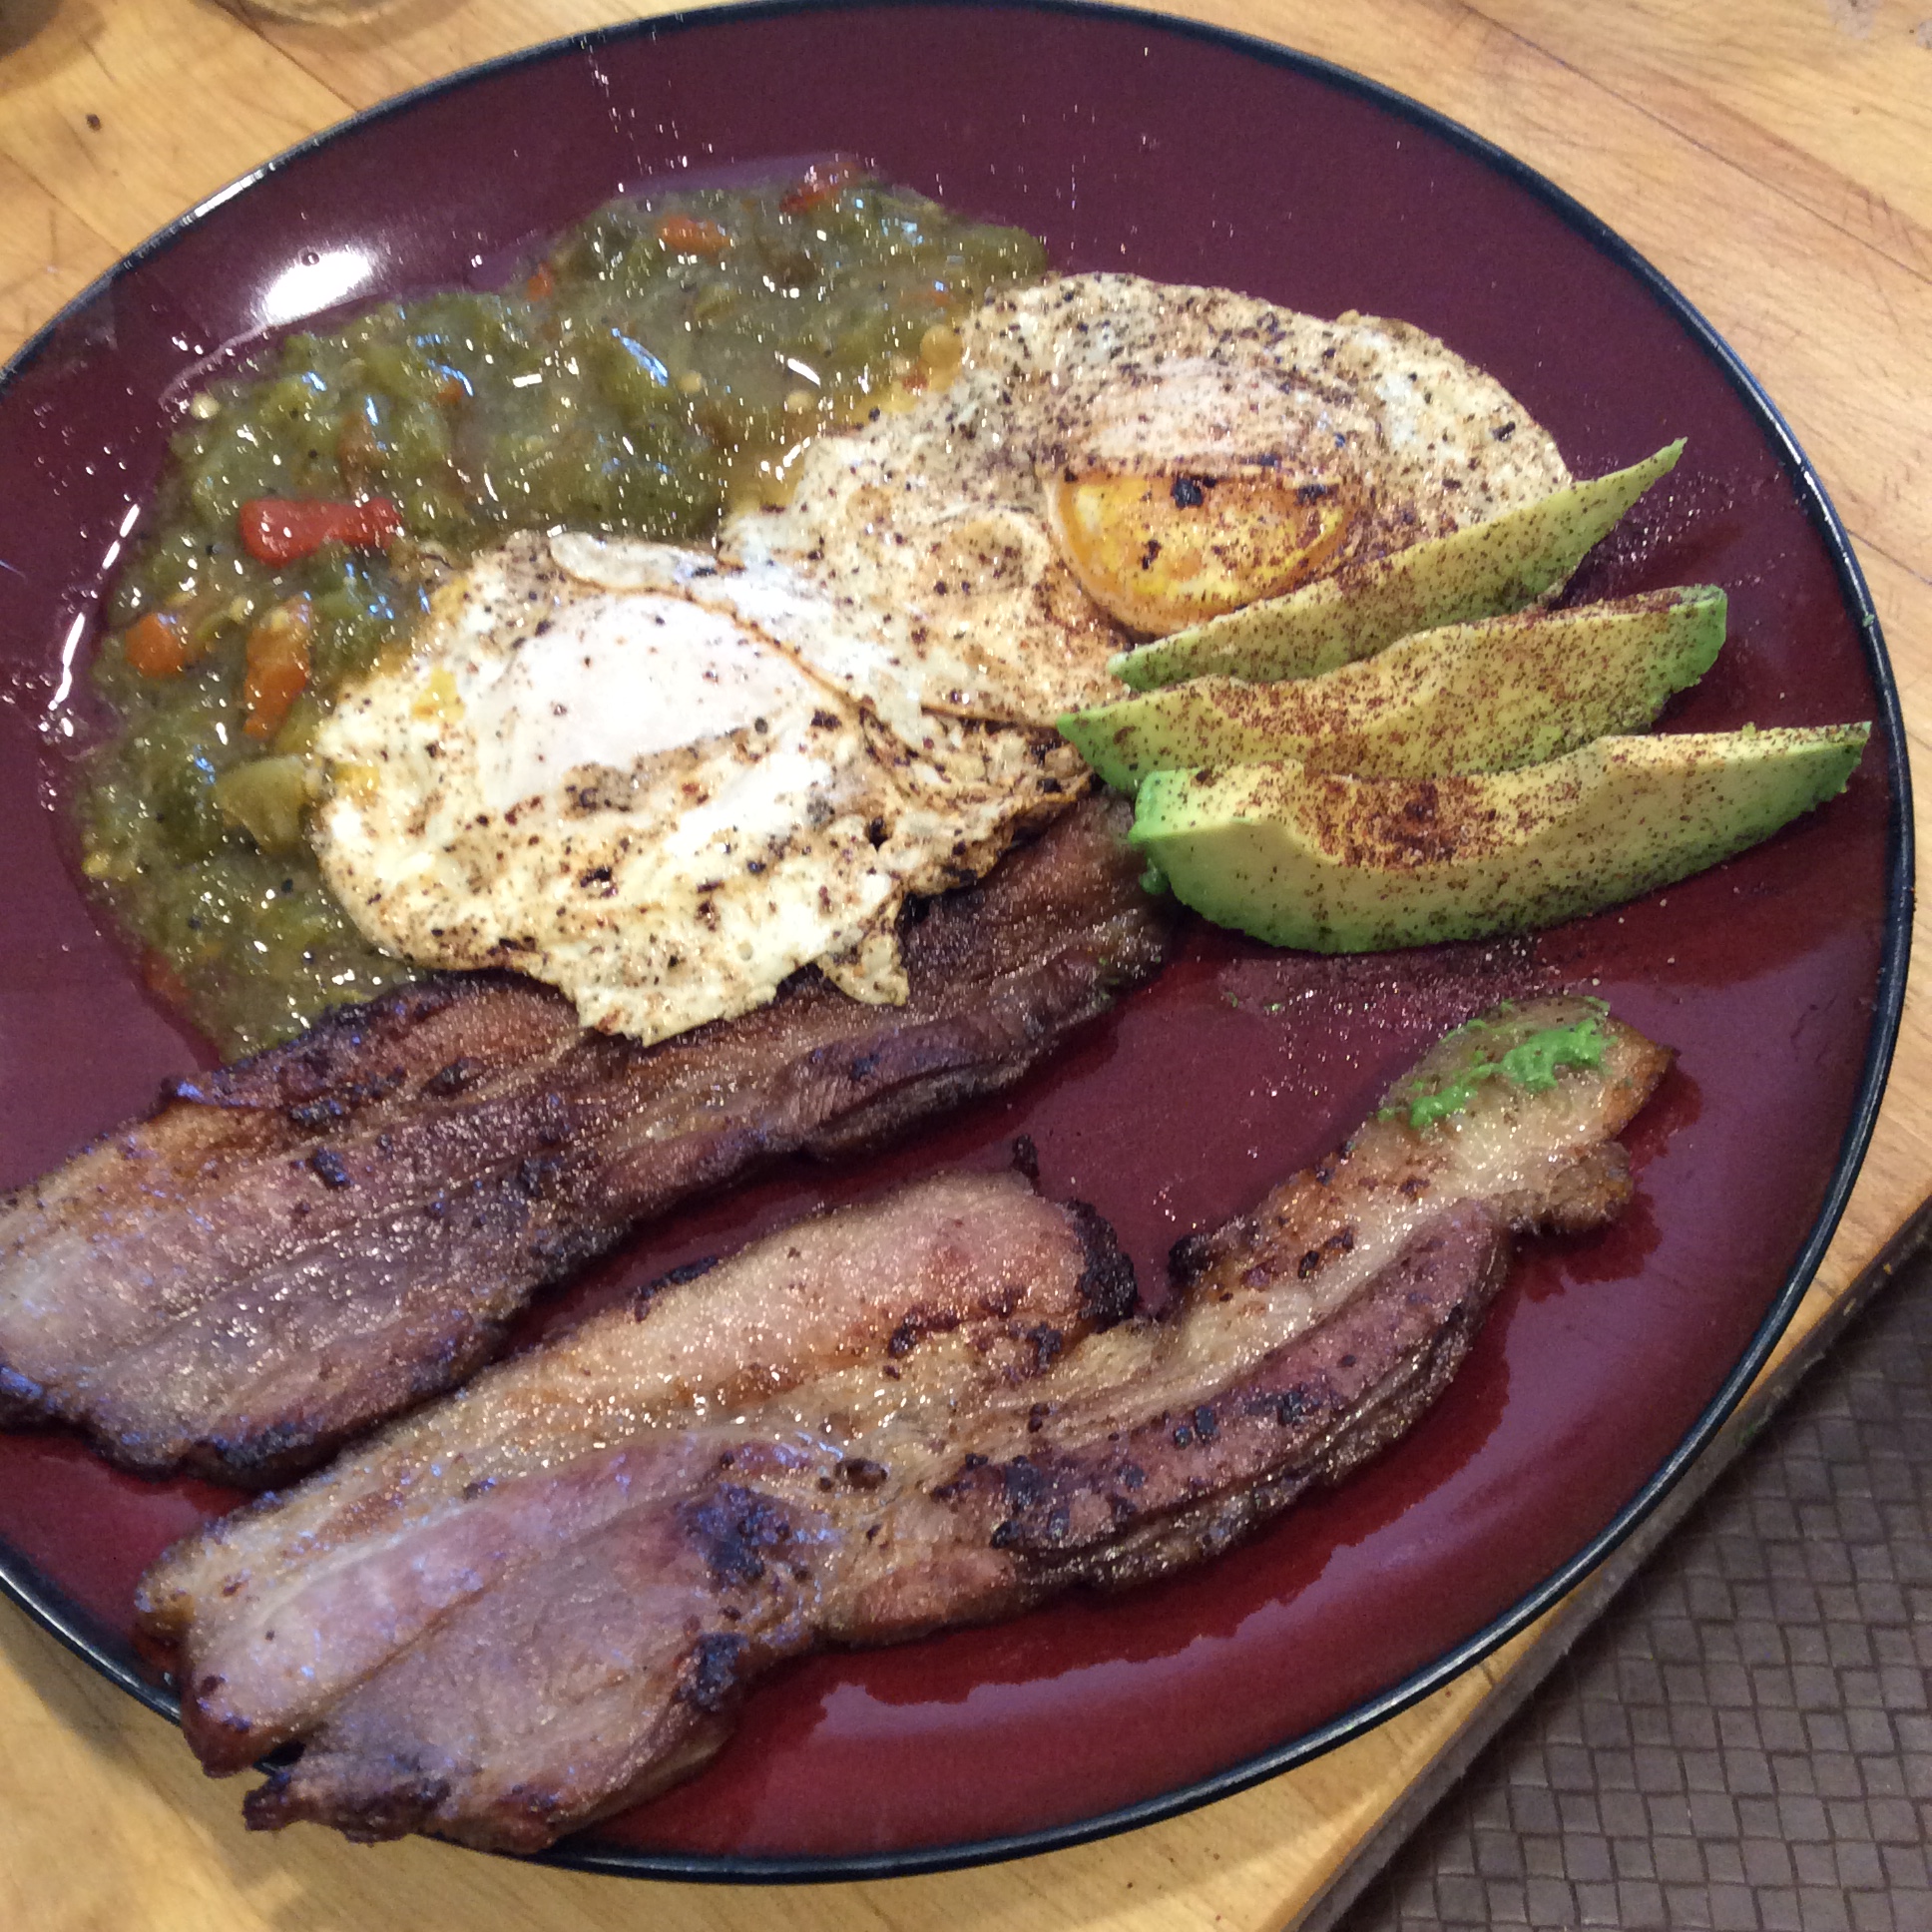
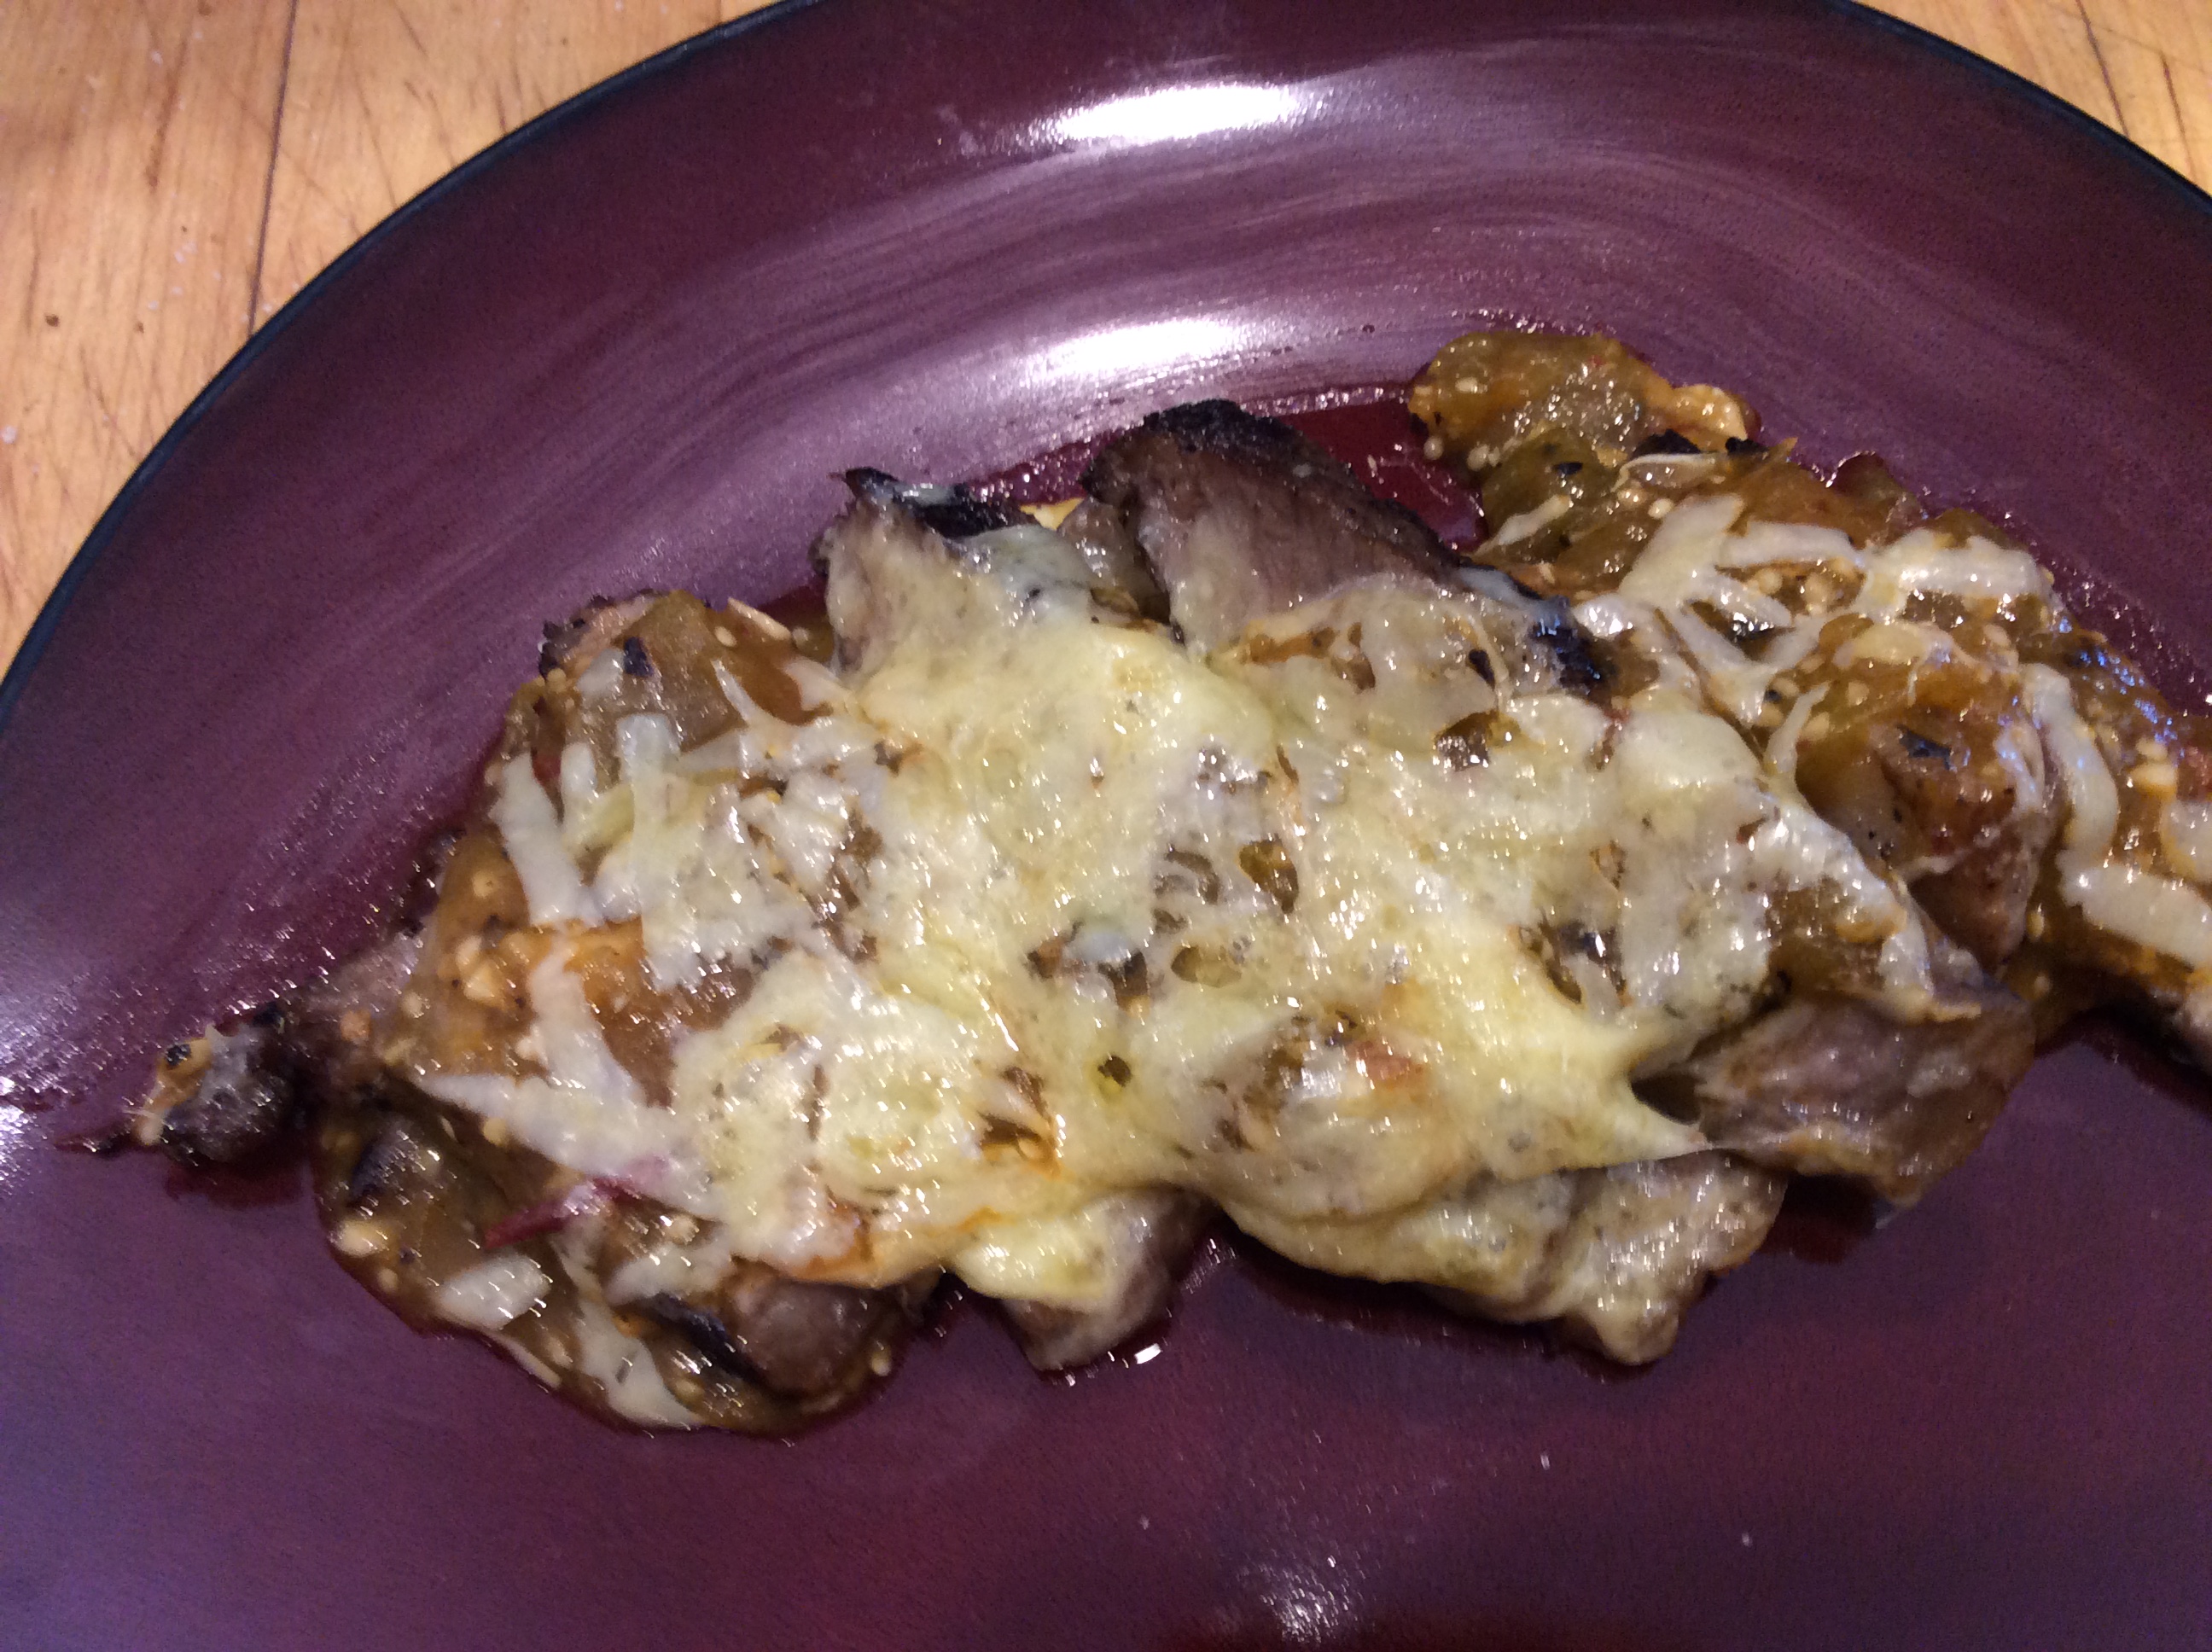
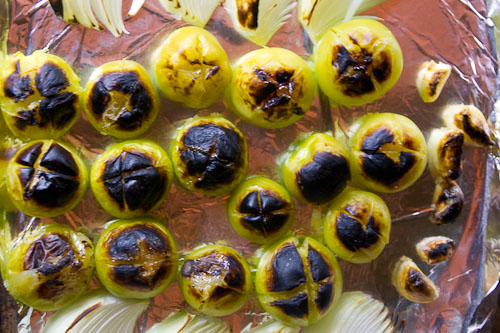
Our lunch today was generous slabs of real bacon, eggs from my hens fried in bacon fat, green chile, and a garnish of avocado sprinkled with chipotle. After a lunch like this, we are full until 8 or 9pm. A snack in the late evening is plenty. This is real food.

There are all kinds of ways to get creative with the formula. Dry-salt with herbs, add other ingredients to the brine, whatever. There are lots of good cookbooks on charcuterie, so read one if you’re interested. But I’m glad that for my first try, I stuck to simple brine, rich smoke, and real pig .

image


Tomatillos, Salsa, and the Summer Garden

image

The flavor of tomatillos  is one of the wonderful flavors of summer. This is their glory time, when the plants I have stuck into odd corners have tangled themselves throughout the rest of the bed and are making fruits, almost hidden, which are a fascinating mixture of sweet, tangy, and tart when roasted. Right now tomatillos are ripening  in their husks and I can make one of my favorite salsas. This is an old Rick Bayless recipe, modified only slightly, and couldn’t be easier or more full of flavor. Start with about 30 large tomatillos (mine were about 2 inches in diameter) or maybe 50 smaller ones. Remove husks, rinse, and set in a single layer on a baking tray covered with aluminum foil.   Put five cloves of garlic on the baking sheet off to one side where they won’t burn, still in their skins. Broil under high heat until they look cooked on the top and have black spots, turn them over, and broil until that side is cooked.

Image borrowed from no recipes.com

Image borrowed from no recipes.com

Cool a little, skin the garlic cloves, and put the tomatillos and their juices and the garlic in the food processor.  Add at least two canned chilies chipotle in adobo and their associated juice, more if you like it hot. I like 4 large chipotles in this quantity of sauce.  Grind to the degree that you prefer. I like a chunky texture.

image

Now, I add the quintessentially Mexican step of frying the salsa.  In my largest skillet I heat 2 tablespoons of chosen fat, in this case fat from my homemade bacon. When the fat is hot, pour in the pureed salsa. It should sizzle furiously.  Fry it over high heat for a couple of minutes, until it has thickened to the degree that you want.  Salt to taste, and it is ready to use. The frying step smooths and blends the flavors in a delicious way. It’s good hot on grilled or smoked meat, gratineed with cheese, room temp with chips, or any way you like to eat salsa. I especially like the tangy-smoky flavor on grilled vegetables or mixed into cooked greens just before serving, or on top of them with a good sprinkling of Cotija or queso fresco. At the top of the page you see my lunch today, a little piece of leftover steak sliced and broiled with salsa and smoked cheddar on top, a fitting reward for the very minimal labor of making the salsa.

Incidentally, in the past I have grown several different kinds of tomatillos including the small purple ones that are supposed to have a more pronounced flavor, and at least under my growing conditions they all tasted pretty much the same. The small ones  are more tedious to pick and involve a great deal more labor in preparation per unit of finished salsa, and so I grow the biggest ones I can find.

The Semi-Permaculture Kitchen

image
Recently I read a cookbook which I am not going to name because I was quite disappointed in it but can’t stand to pan such clearly goodhearted efforts. So I will only say that it is from my favorite publisher and has the word “permaculture” in the title. The recipes are perfectly good vegetable based recipes, similar to those in many, many other good cookbooks on the market. My disappointment is this: it concentrates on the usual annual vegetables that everybody grows, with occasional vague mentions of foraged greens or wild mushrooms, and seems to me to have very little to do with permaculture. So, uh, why call it that?
So today I’m going to indulge myself and make a plea to all potential authors, and talk about what a real permaculture cookbook would offer, with great hope that somebody knows of one or will sit down and write one. I am a semi-permaculturist at best, and even so some very strange produce indeed comes through my kitchen. Some examples: nettles, bladder campion, hops shoots, green garlic, blackberry shoots, cattails, unripe as well as ripe apples and plums, Goumi berries, clove currants, wax currants, linden leaves, mulberry leaves and unripe fruit as well as ripe berries, rau ram, ginger and turmeric leaves, radish pods, chicory leaves and roots, burdock stalks, milkweed, daylilies, hosta shoots, groundnuts (Apios americana, not peanuts,) goji shoots and berries, canna leaves and bulbs, quinces, salsify, and scorzonera as well as the more usual veggies and fruits. Bamboo shoots and the Japanese perennial vegetables Fuki and Udo should be ready to harvest in the next year or two. All these things grow well in semiwild tangles that can be managed with little or no soil disturbance after the initial planting. I would love to read a cookbook about foods like this. I would love to read knowledgable descriptions of their flavor and texture profiles and how they change through the season, how other cultures have used them, and how to make them respected at the modern table. That, to me, would be a real permaculture cookbook. I know that all over the world there are committed permaculturists working with these plants and eating them. I do hope that somebody will put it all in print. I’m hoping for a cookbook as weird and thoroughly wonderful as Baudar’s The New Wildcrafted Cuisine but devoted to the daily surprises, wild and cultivated and in-between, that can be offered by a single piece of land.

While I wait for this book to be brought to my attention, or written, I hope that you will comment with something unusual that you’ve eaten recently and what you thought of it.
image

image

image

image

Ricotta, the Easiest Cheese

image

One day when I have loads of leisure and energy, I plan  to get really serious about cheesemaking.   However, if you have a dairy animal or any other source of good milk, there are times when you have milk on hand but no spare time to do anything fancy with it. On those occasions, make ricotta  right away while your milk is fresh. All you need is milk, a large stainless steel pot, a stirring spoon, a strainer, fine cheesecloth, and lemon juice or vinegar. Any child old enough to use the stove at all can make ricotta with a little supervision. Determine approximately how much milk you have and put it in the pot over medium-high heat.  Milk scorches easily, and it should be stirred frequently so that it doesn’t burn on the bottom of the pot.  As soon as the milk foams and is coming to a boil, remove it from the heat and add 2 tablespoons of lemon juice or vinegar per quart of milk.  I don’t recommend cider vinegar or other strong flavored vinegars, and although I prefer lemon juice, I sometimes use rice vinegar, which does not give any off flavor to the cheese.  Stir the acid in and let the pot sit for 5 to 10 minutes. Meanwhile, line the strainer with a few layers of cheesecloth and set it over a bowl it can drain  into, or in the sink, and when the milk in the pot has definitely separated,  pour gently into the cheesecloth lined strainer. Let drain a few hours. Squeeze it a bit in the cheesecloth to get excess whey out,  salt if desired, chill, and eat.  The only reason for the milk not separating is that it wasn’t heated hot enough. If this should happen, heat again, stirring continually, until it separates. But that should not happen if you brought it to a boil in the first place.

The whey is useful and still contains a lot of nutrients.  It would be a shame to waste it. I feed it to my chickens, and they enjoy it.

When I mention cheesecloth I am talking about the real thing, specifically marketed for cheesemaking, and you can get it at New England Cheesemaking Supply along with a variety of other entrancing supplies and gadgets.

Besides just eating the ricotta itself with herbs stirred in, or sweetened and topped with fruit, it makes a good basis for a lot of other delicious meals.  I especially like it as a fill-in for stuffed vegetables. To make the zucchini above, get some good sized zucchini about 10 inches long. Cut them in half and hollow them out into boats.  Sprinkle very liberally with salt and put them in a bowl to drain for at least half an hour. This step is important. Meanwhile, preheat the oven to 450.  When ready to cook the zucchini, dry them off thoroughly with a kitchen towel. Rub with a little olive oil on the inside, put on a parchment lined baking sheet, and put them in the oven until they are fairly tender, which is about 25 minutes for me.

Meanwhile make the filling. Blanch about 2 quarts loosely packed of mixed greens; I used amaranth and lambsquarters. Drain and press the greens dry. Chop them thoroughly.  Chop one onion and two cloves of garlic and sauté them in a quarter cup of olive oil until they are thoroughly cooked but not colored very much. Stir in the chopped greens, and cook all together at least 10 minutes.  Turn the greens mixture into a bowl and mix in a heaping cup of goat ricotta (or any well-drained ricotta) and a cup of grated Parmesan cheese  or crumbled feta. Toss in a handful of chopped herbs. I used about 2 tablespoons of sweet marjoram, a scant tablespoon of winter savory, and a heaping teaspoon of fresh thyme.  Now start tasting the mixture and add salt until you feel the seasoning is perfect.  I like to add a good squeeze of fresh lemon juice at this point as well. Add more herbs if they seem indicated. Once you have the seasoning the way you want it, mix in two raw egg yolks. Pile the mixture  into the cooked zucchini canoes, top with pinenuts and more grated Parmesan, and bake at 400 until they are thoroughly done and the top is just starting to brown.  I like to serve them cooled off a bit, drizzled with a bit of extremely good olive oil.

image