The tart or pie cherry is a pretty yard tree all season, and gorgeous in full fruit, with the glowing colors of a Russian enamel. This year my pie cherry tree bore heavily for the first time, and after making a new supply of tart cherry liqueur (no sugar this time,) I made a few cherry cobblers.
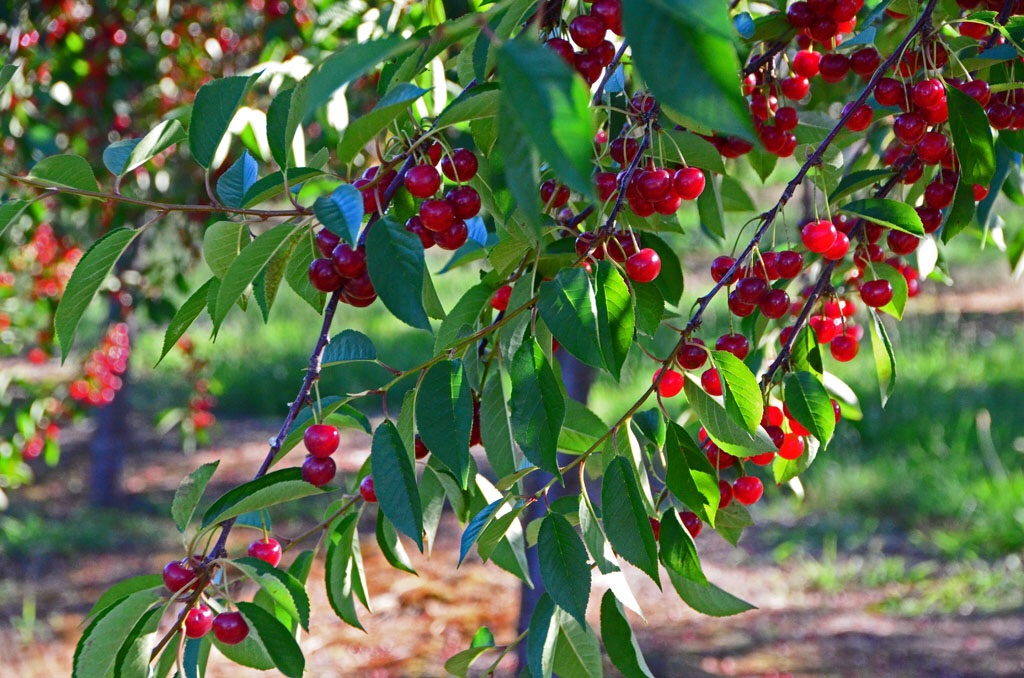
First, catch your cherries. They need to be the bright lacquer-red pie type, not the darker sweet cherries, which will turn a rather dreadful color if you try to cook them.
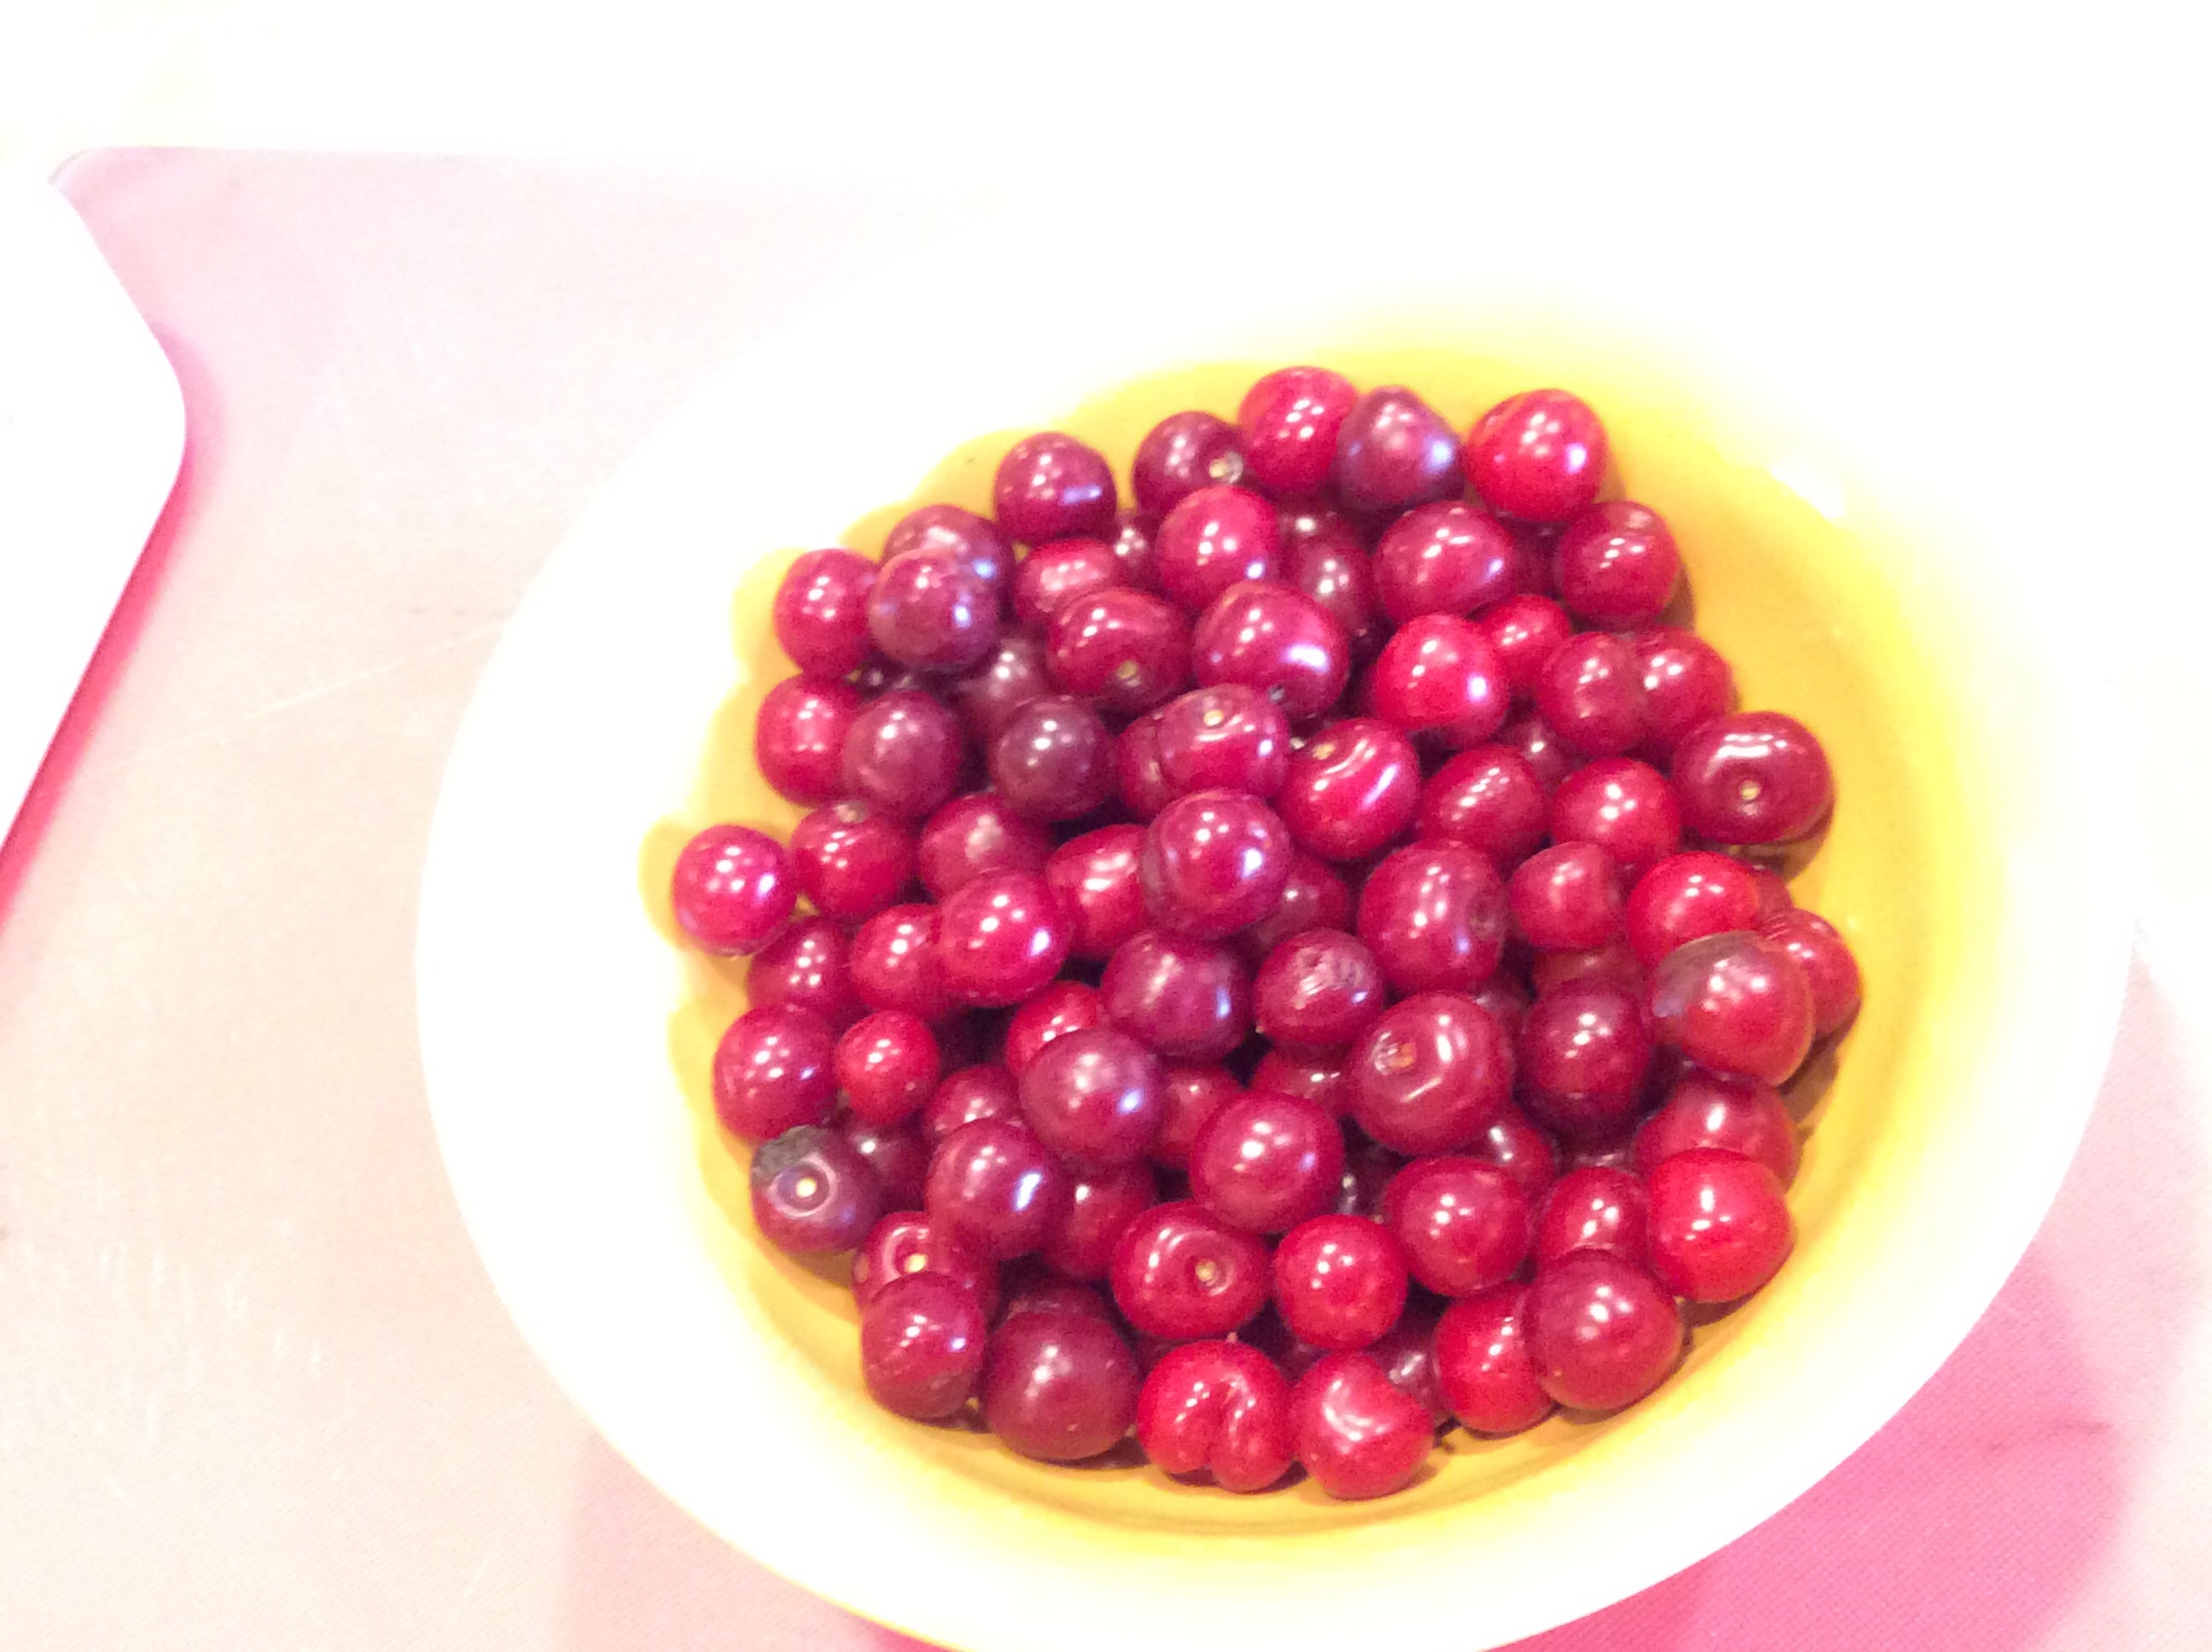
Next, pit enough of them to make 1 1/2 cups of pitted cherries. This will serve 2 gluttons or four normal people. I have a pitting device from OXO that pits four at a time, but it’s still tedious work. Be certain to run your clean fingers through the pitted cherries several times to find any pits that you missed, so that no teeth are cracked later.

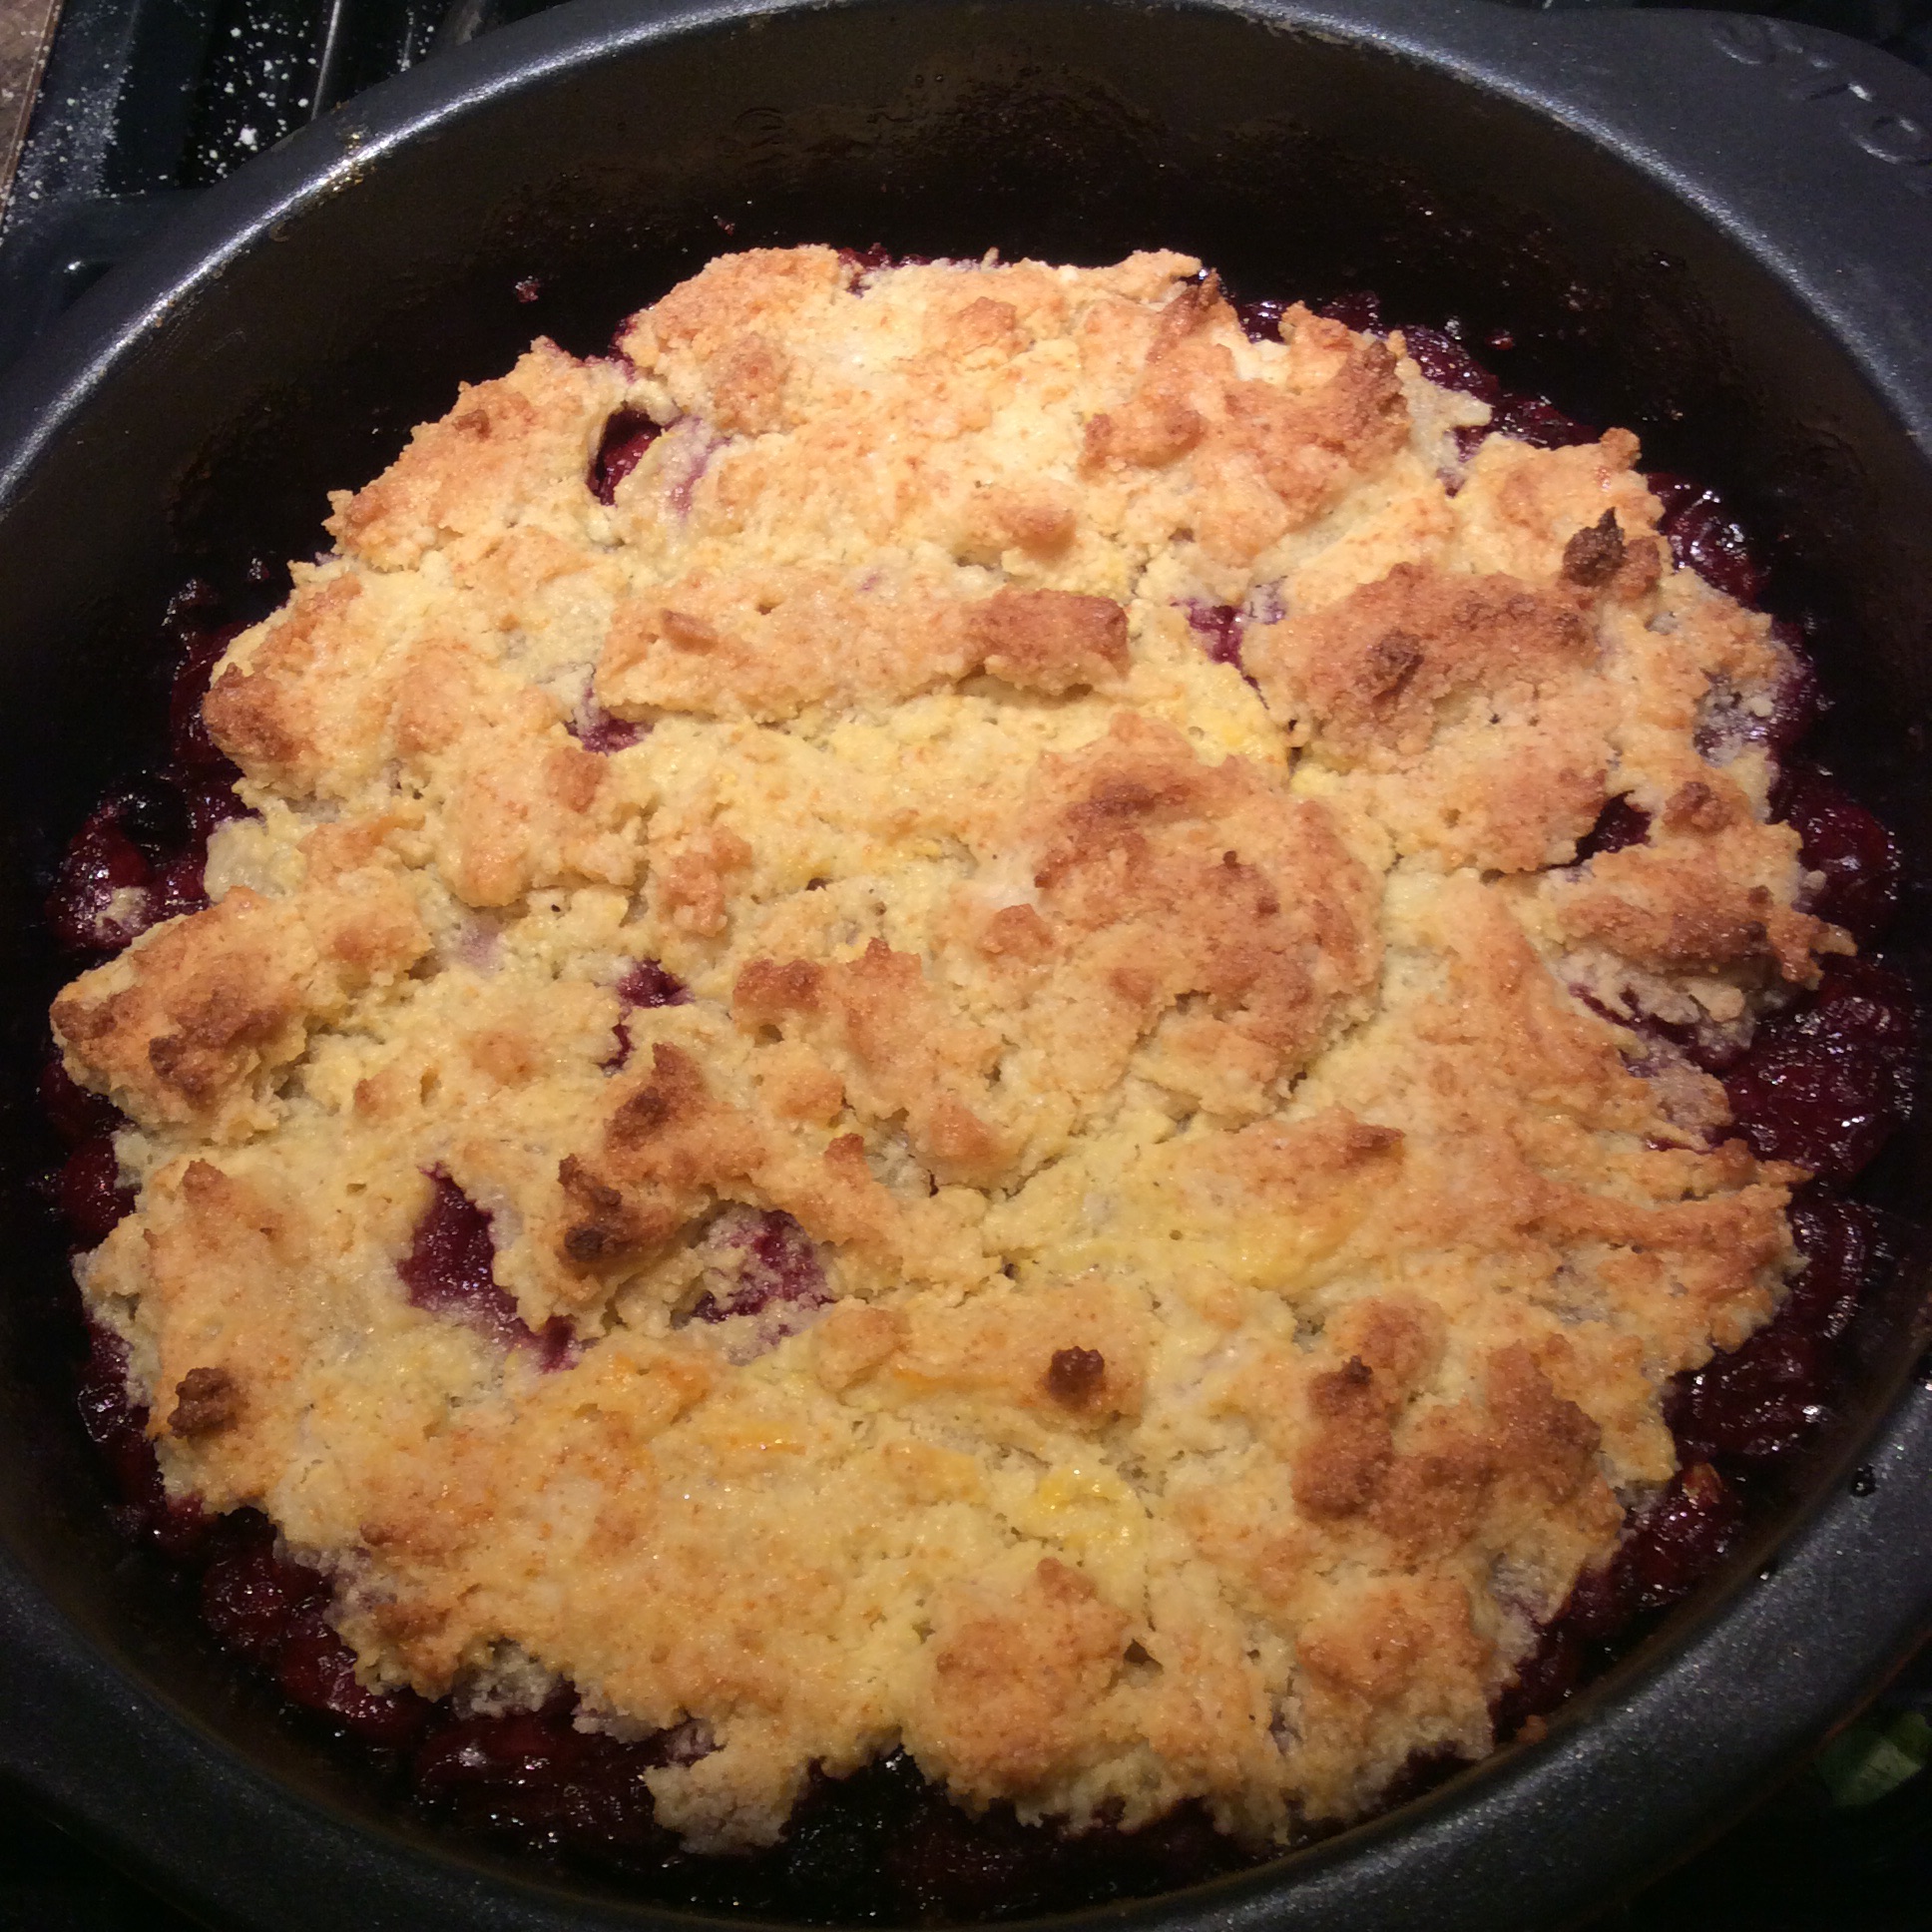
If you eat sugar, it’s very simple from here on. Add a handful of wild blueberries or (from my yard) fully ripe clove currants or serviceberries for the blue element, sweeten to taste, and make your favorite biscuit dough but sweeten it a little more than usual. Put the cherries and berries in a buttered 7 inch tart pan, top with artistic globs of the biscuit dough, and bake at 375 until the dough is done and browning attractively. If you eat low-carb it’s a little more complicated but not much. Sweeten the cherry mixture to taste with half erythritol and half Sweet Perfection oligofructose, working the sweeteners in with your fingers so that they don’t cake, and add a teaspoon of vanilla extract. Make the topping as follows:
1 1/2 cups almond flour
1/2 teaspoon salt
1/2 teaspoon baking powder
1/4 cup of Swerve sweetener confectioners type
1/3 cup Sweet Perfection oligofructose
1/4 cup butter, cold
2 egg yolks
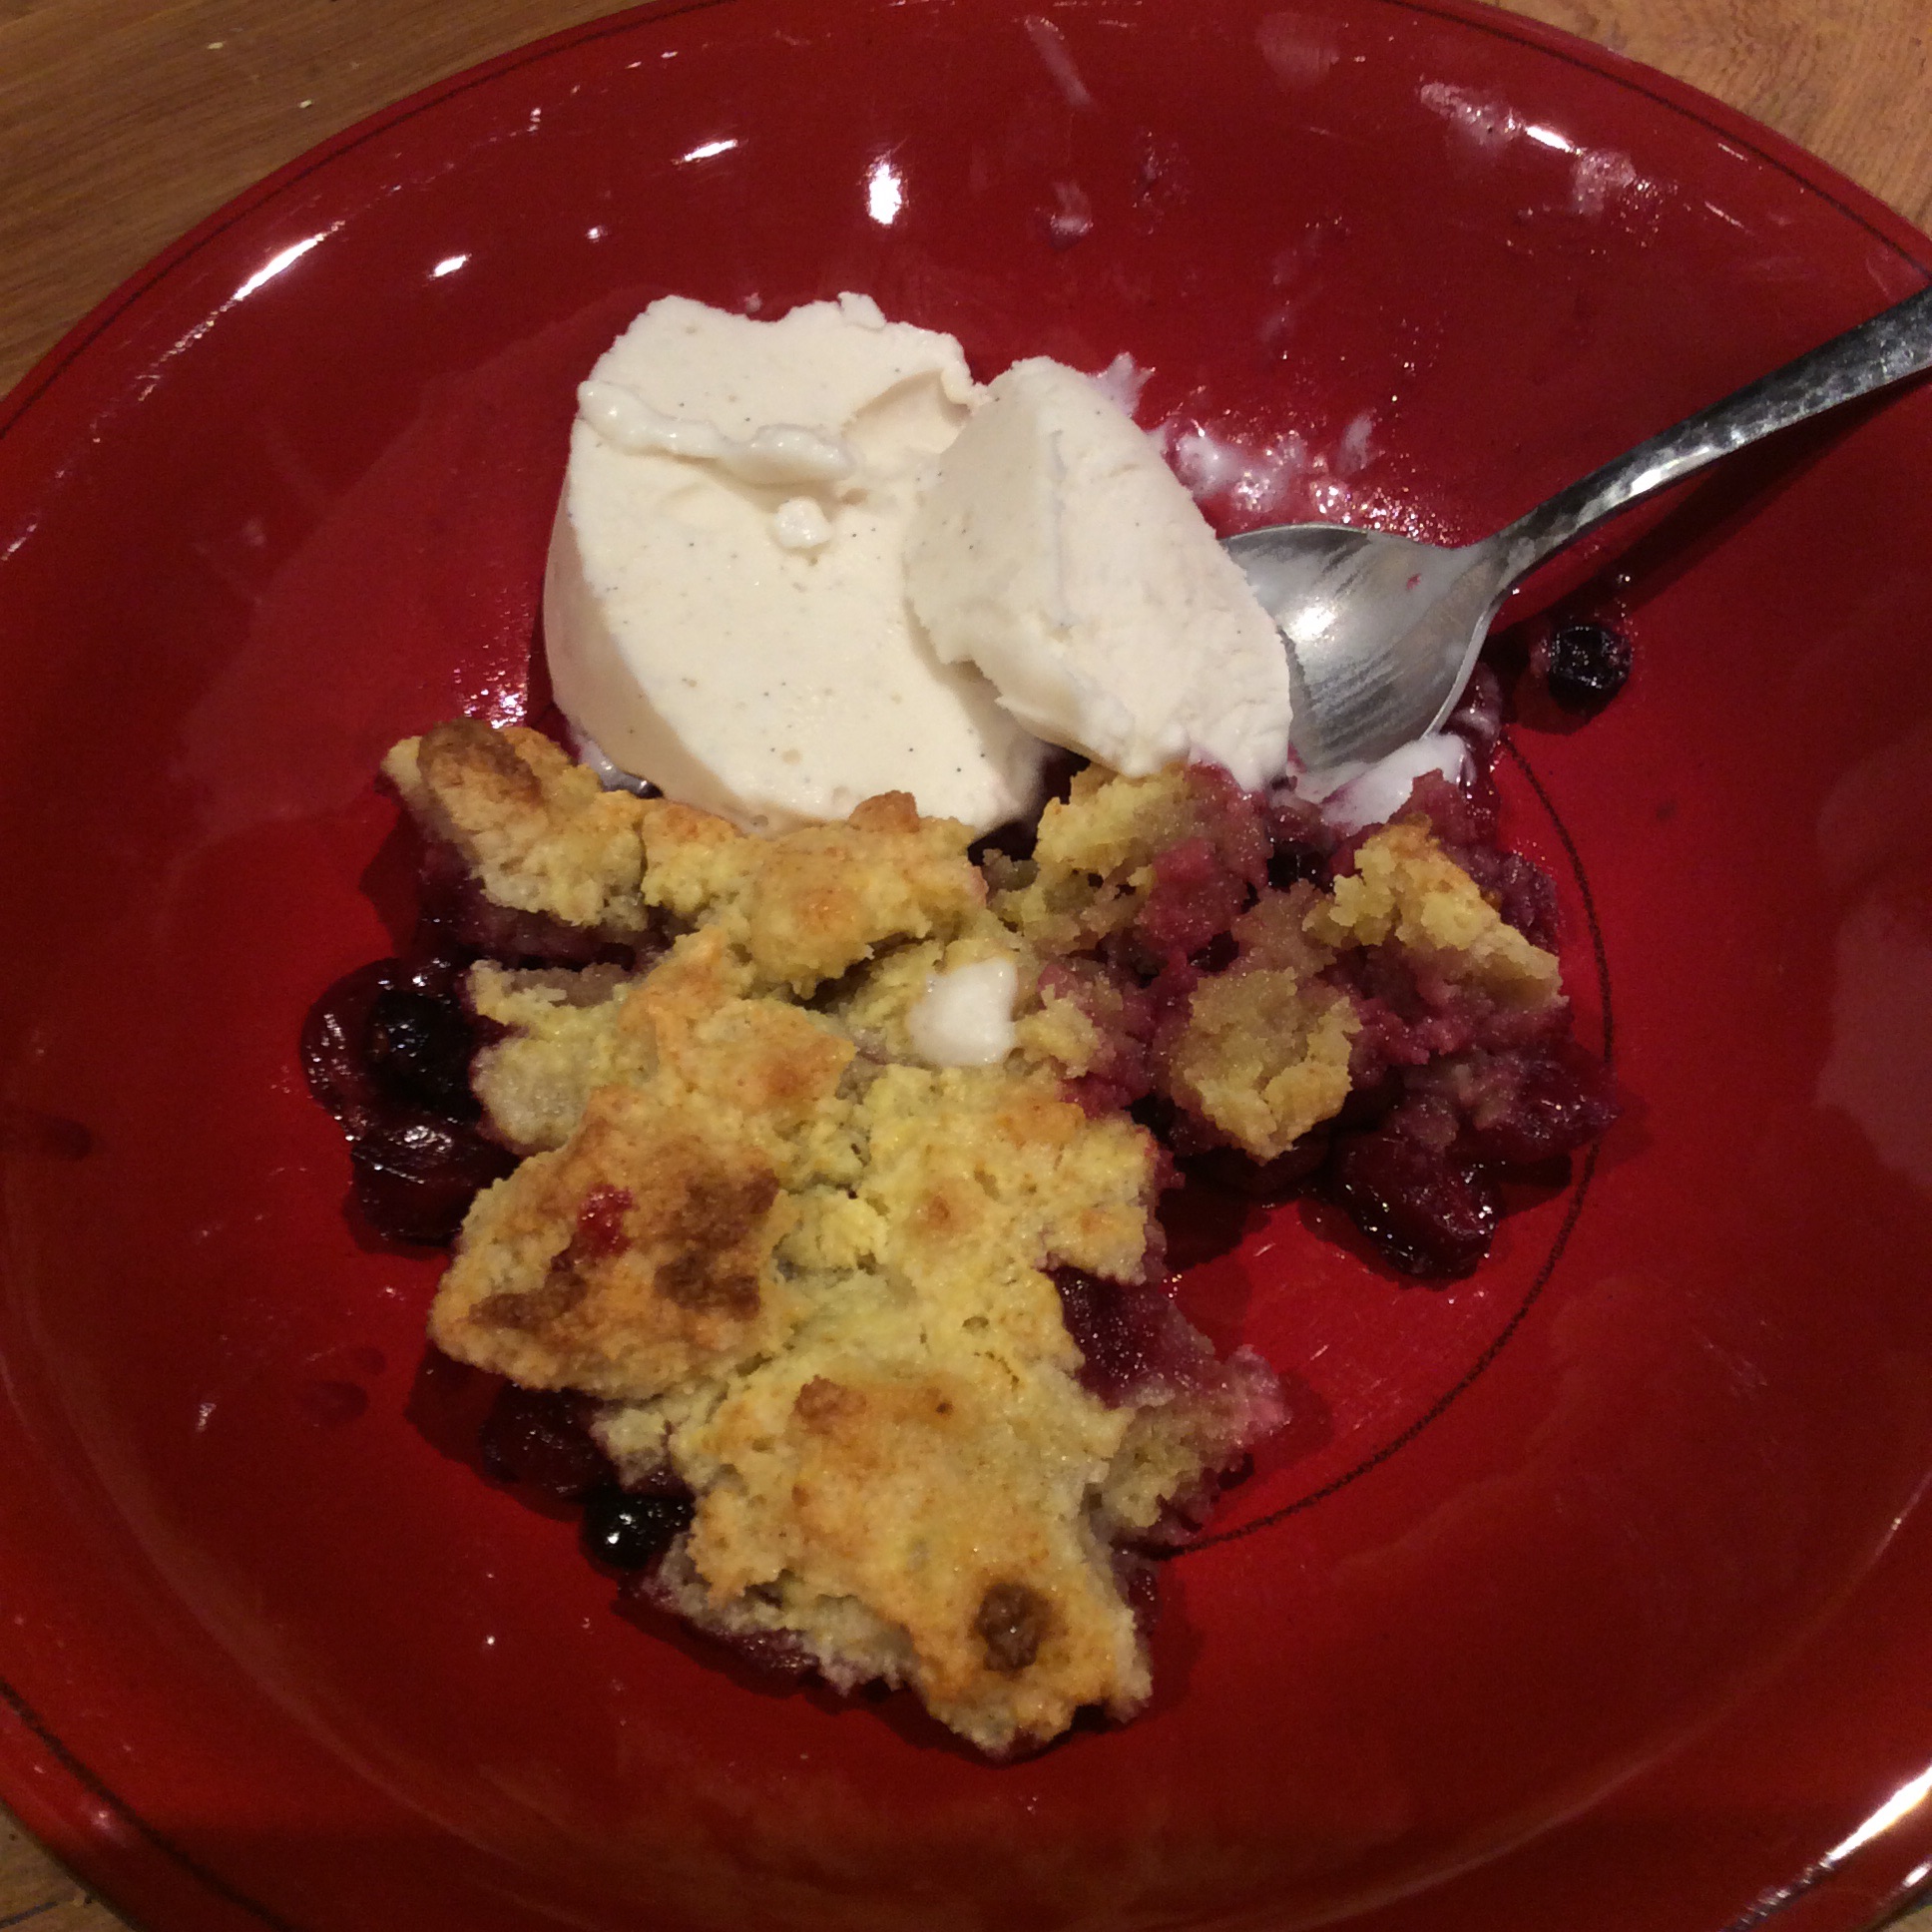
Combine all the dry ingredients in a bowl and stir well with a fork. Work in the butter, cutting it in with the fork until the largest remaining butter pieces are the size of baby peas. Add the egg yolks, working them in with a fork until the mixture is fairly well amalgamated. Drop on top of the cherry mixture in the small buttered tart pan, pat it out just a bit with your fingertips (it will be sticky and messy,) and bake at 375 until the dough is cooked through and coloring. This dough doesn’t brown evenly as sugar-containing doughs do, and you have to watch carefully so that it doesn’t burn. Serve hot with low-carb
vanilla ice cream.
Happy Independence Day!
The gorgeous image of a cherry branch second from the top was on a Google page and I can’t find an attribution for it. If anyone knows who the photographer is, please let me know so that I can give credit.
4 Jul
Red, White, and Blue Cobbler
3 Jul
The Solar Impulse II has landed in Hawaii!

No garden talk today, because it’s a major day in aviation history and also in the history of clean energy. The Solar Impulse II, a zero-fuel solar-powered plane, landed successfully after flying from Japan to Hawaii, by far the longest and most dangerous leg of its trip around the world. The pilot for this part of the trip, Andre Borschberg, has now shattered all previous records for long-distance solo flight by a large margin, and did it in an entirely solar-powered craft. This means that he flew day and night for 5 days and nights, never sleeping more than 20 minutes at a time. Think about it.
For more, check out their reports at Solar Impulse.
30 Jun
Mushrooms and the Food Garden
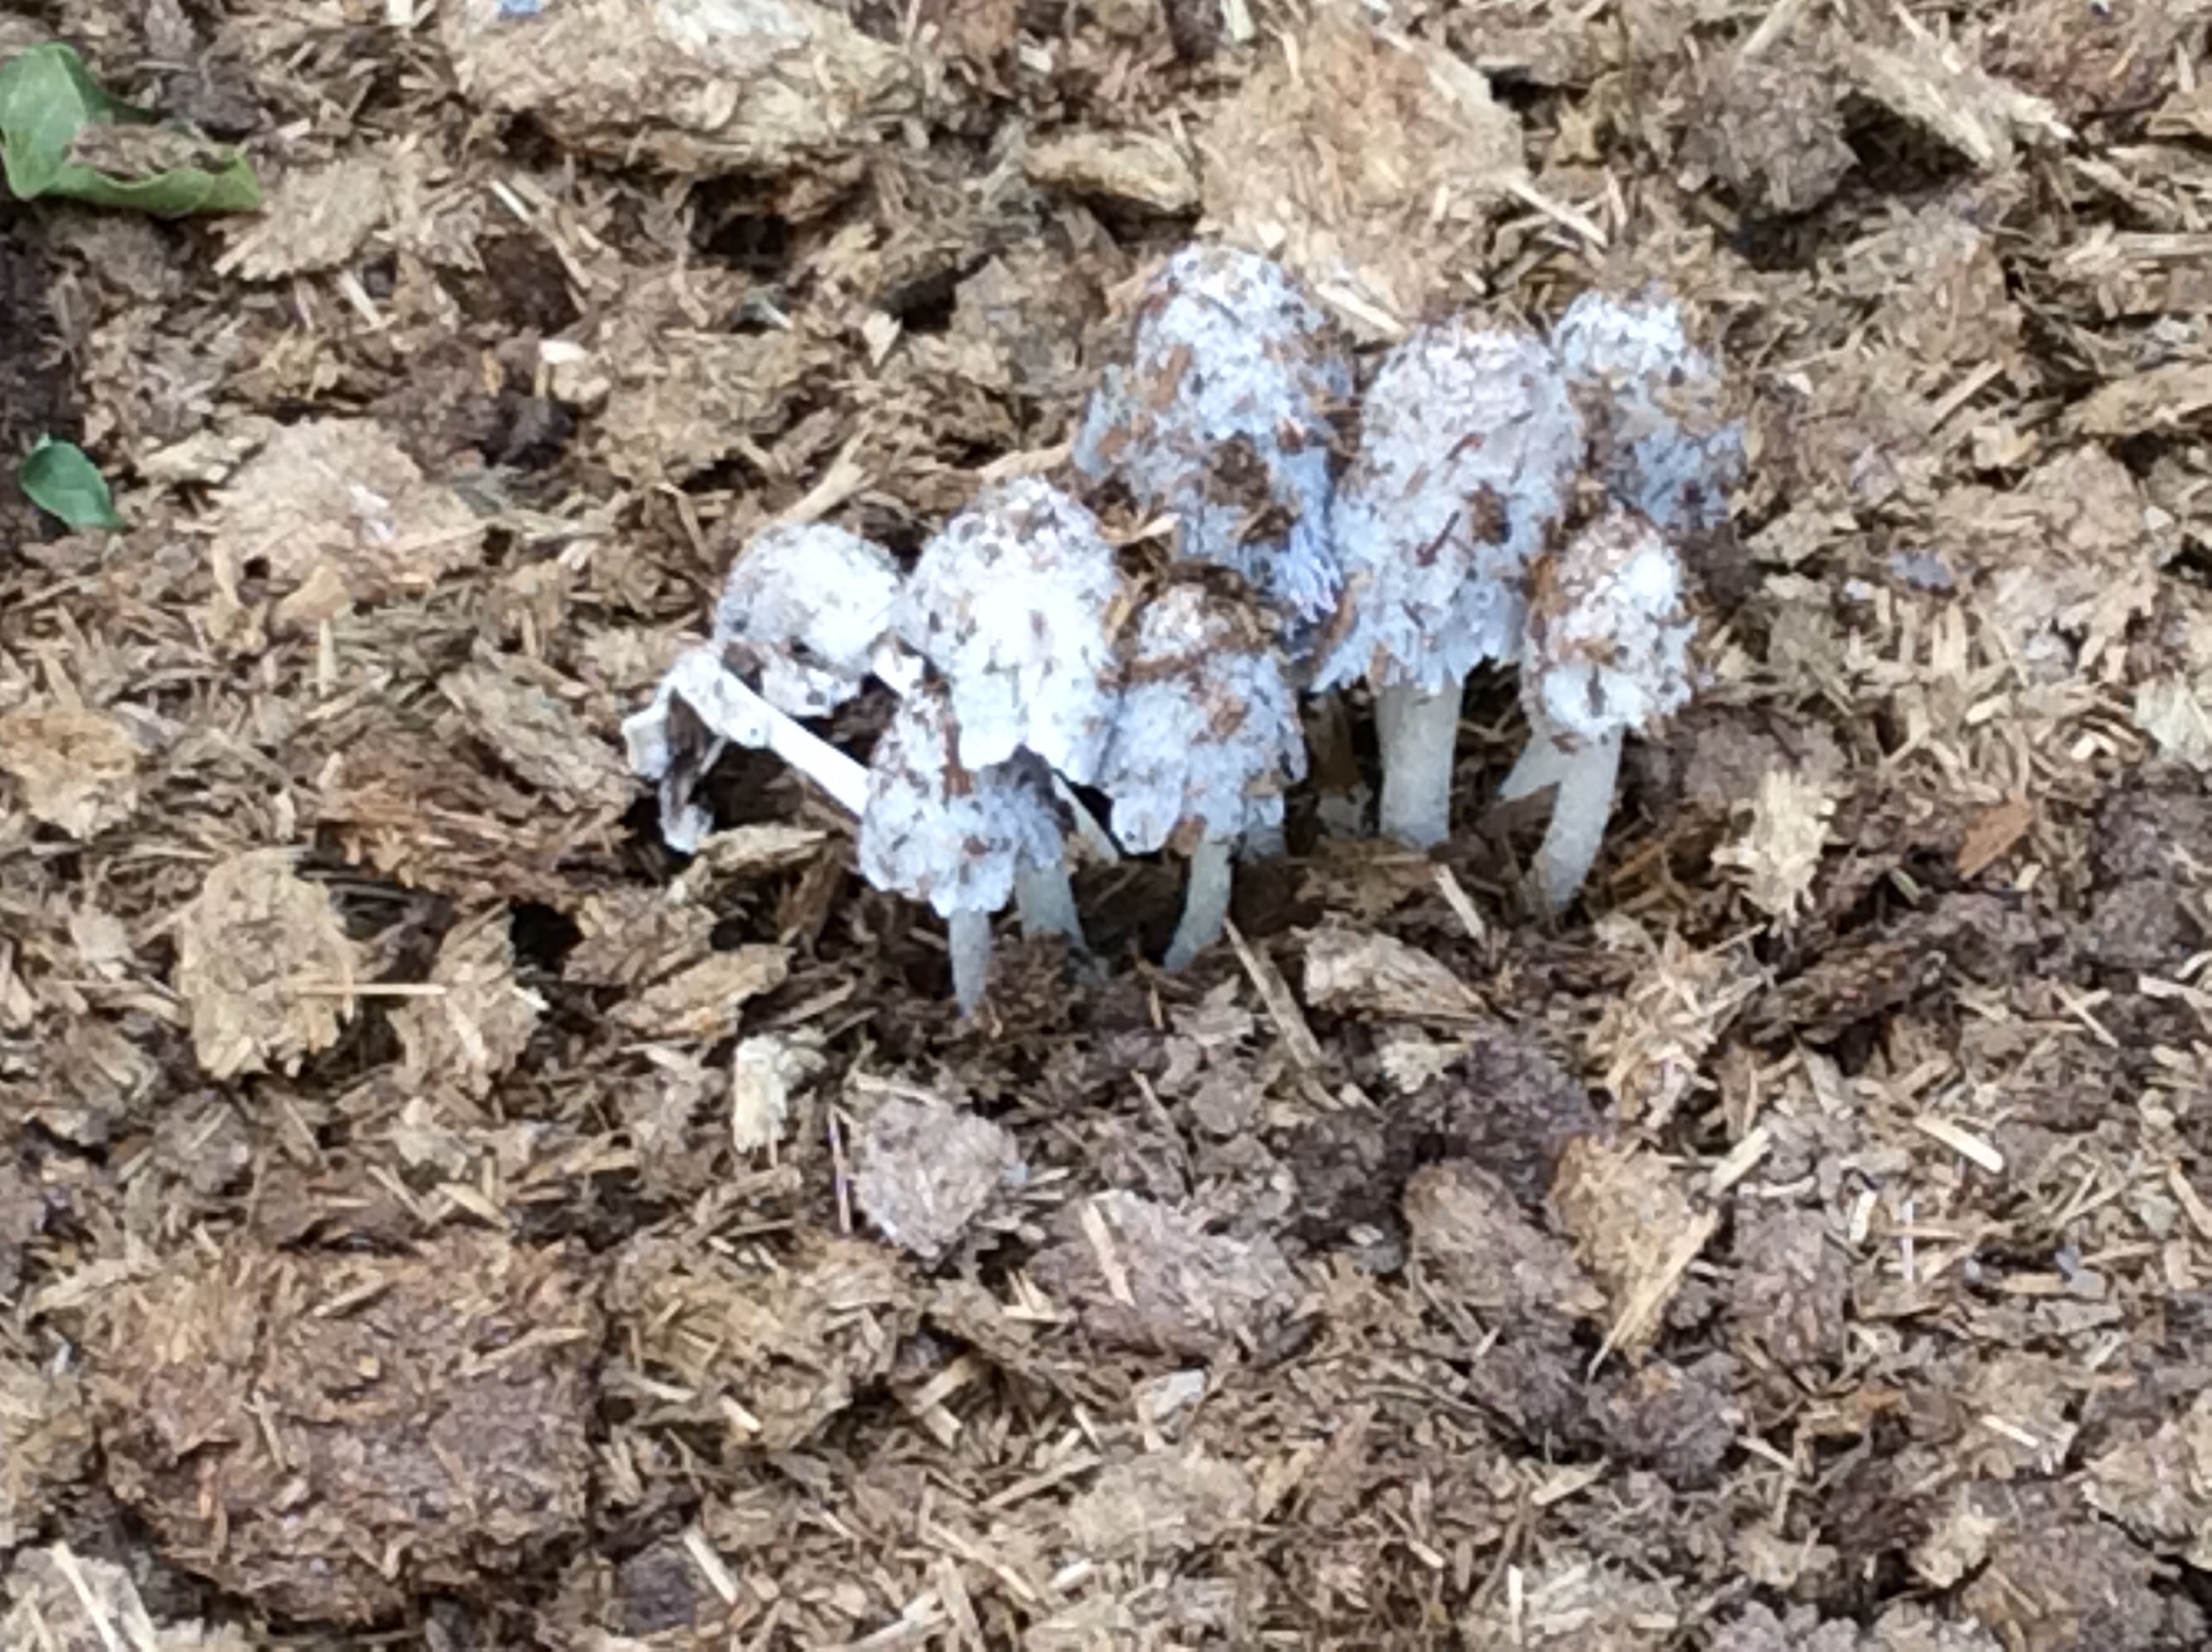
Spotting these mushrooms on top of a pile of decomposing horse manure this morning reminded me to encourage everyone to read Paul Stamets’s book Mycelium Running if they haven’t already read it. It’s a marvelous book about the activities of the entrancing kingdom of fungi, and incidentally it’s a good read. There is no effective way to understand an ecosystem without understanding what the fungi within it are doing. I use them as an indicator when planting into manure: I spread feed bags and other sources of thick paper on an area that I want to reclaim, pile up manure from my neighbor’s horses a minimum of a foot thick, flatten the top of the pile and wet it down thoroughly, and then wait, wetting it again every few days. When I see mushrooms in the early morning before our desert sun burns them away, I can plant large seeds like winter squash into the pile with every expectation that they will grow.
29 Jun
Integrating Your Weeds II: Amaranth

Amaranth is the second of my Holy Trinity of super-nutritious edible weeds. It is a creature of hot weather, and in my garden it’s appearing everywhere right now. Like lambs-quarters it will get huge if allowed to, and unless you have limitless room, your job is not to allow it to.
Consult any good wild-foods guide to identify it, and then assess how much of it you have. If your response is “OMG, it’s everywhere!” then don’t worry about propagating it. Your soil has plenty of seeds. If there are only one or two plants, proceed as for lambs-quarters the first season, and you will have amaranth in perpetuity. I have two varieties, one with smooth stems and one that forms small but unpleasant spines at the leaf joints, and I try to keep the spiny kind from ever going to seed.
Pick them when they’re about a foot high and have a nice large umbrella of leaves on top. I have no interest in eating stems, and I pull off the topmost part with all the largest leaves and add the rest of the plant to the mulch, taking care that it’s completely uprooted.
The greens are fairly mild but have a slight touch of the earthy flavor that’s so pronounced in beet greens. When grown in prime soil the flavor verges on meatiness in a delicious way, and my favorite way of cooking the greens adds other meaty umami flavors.
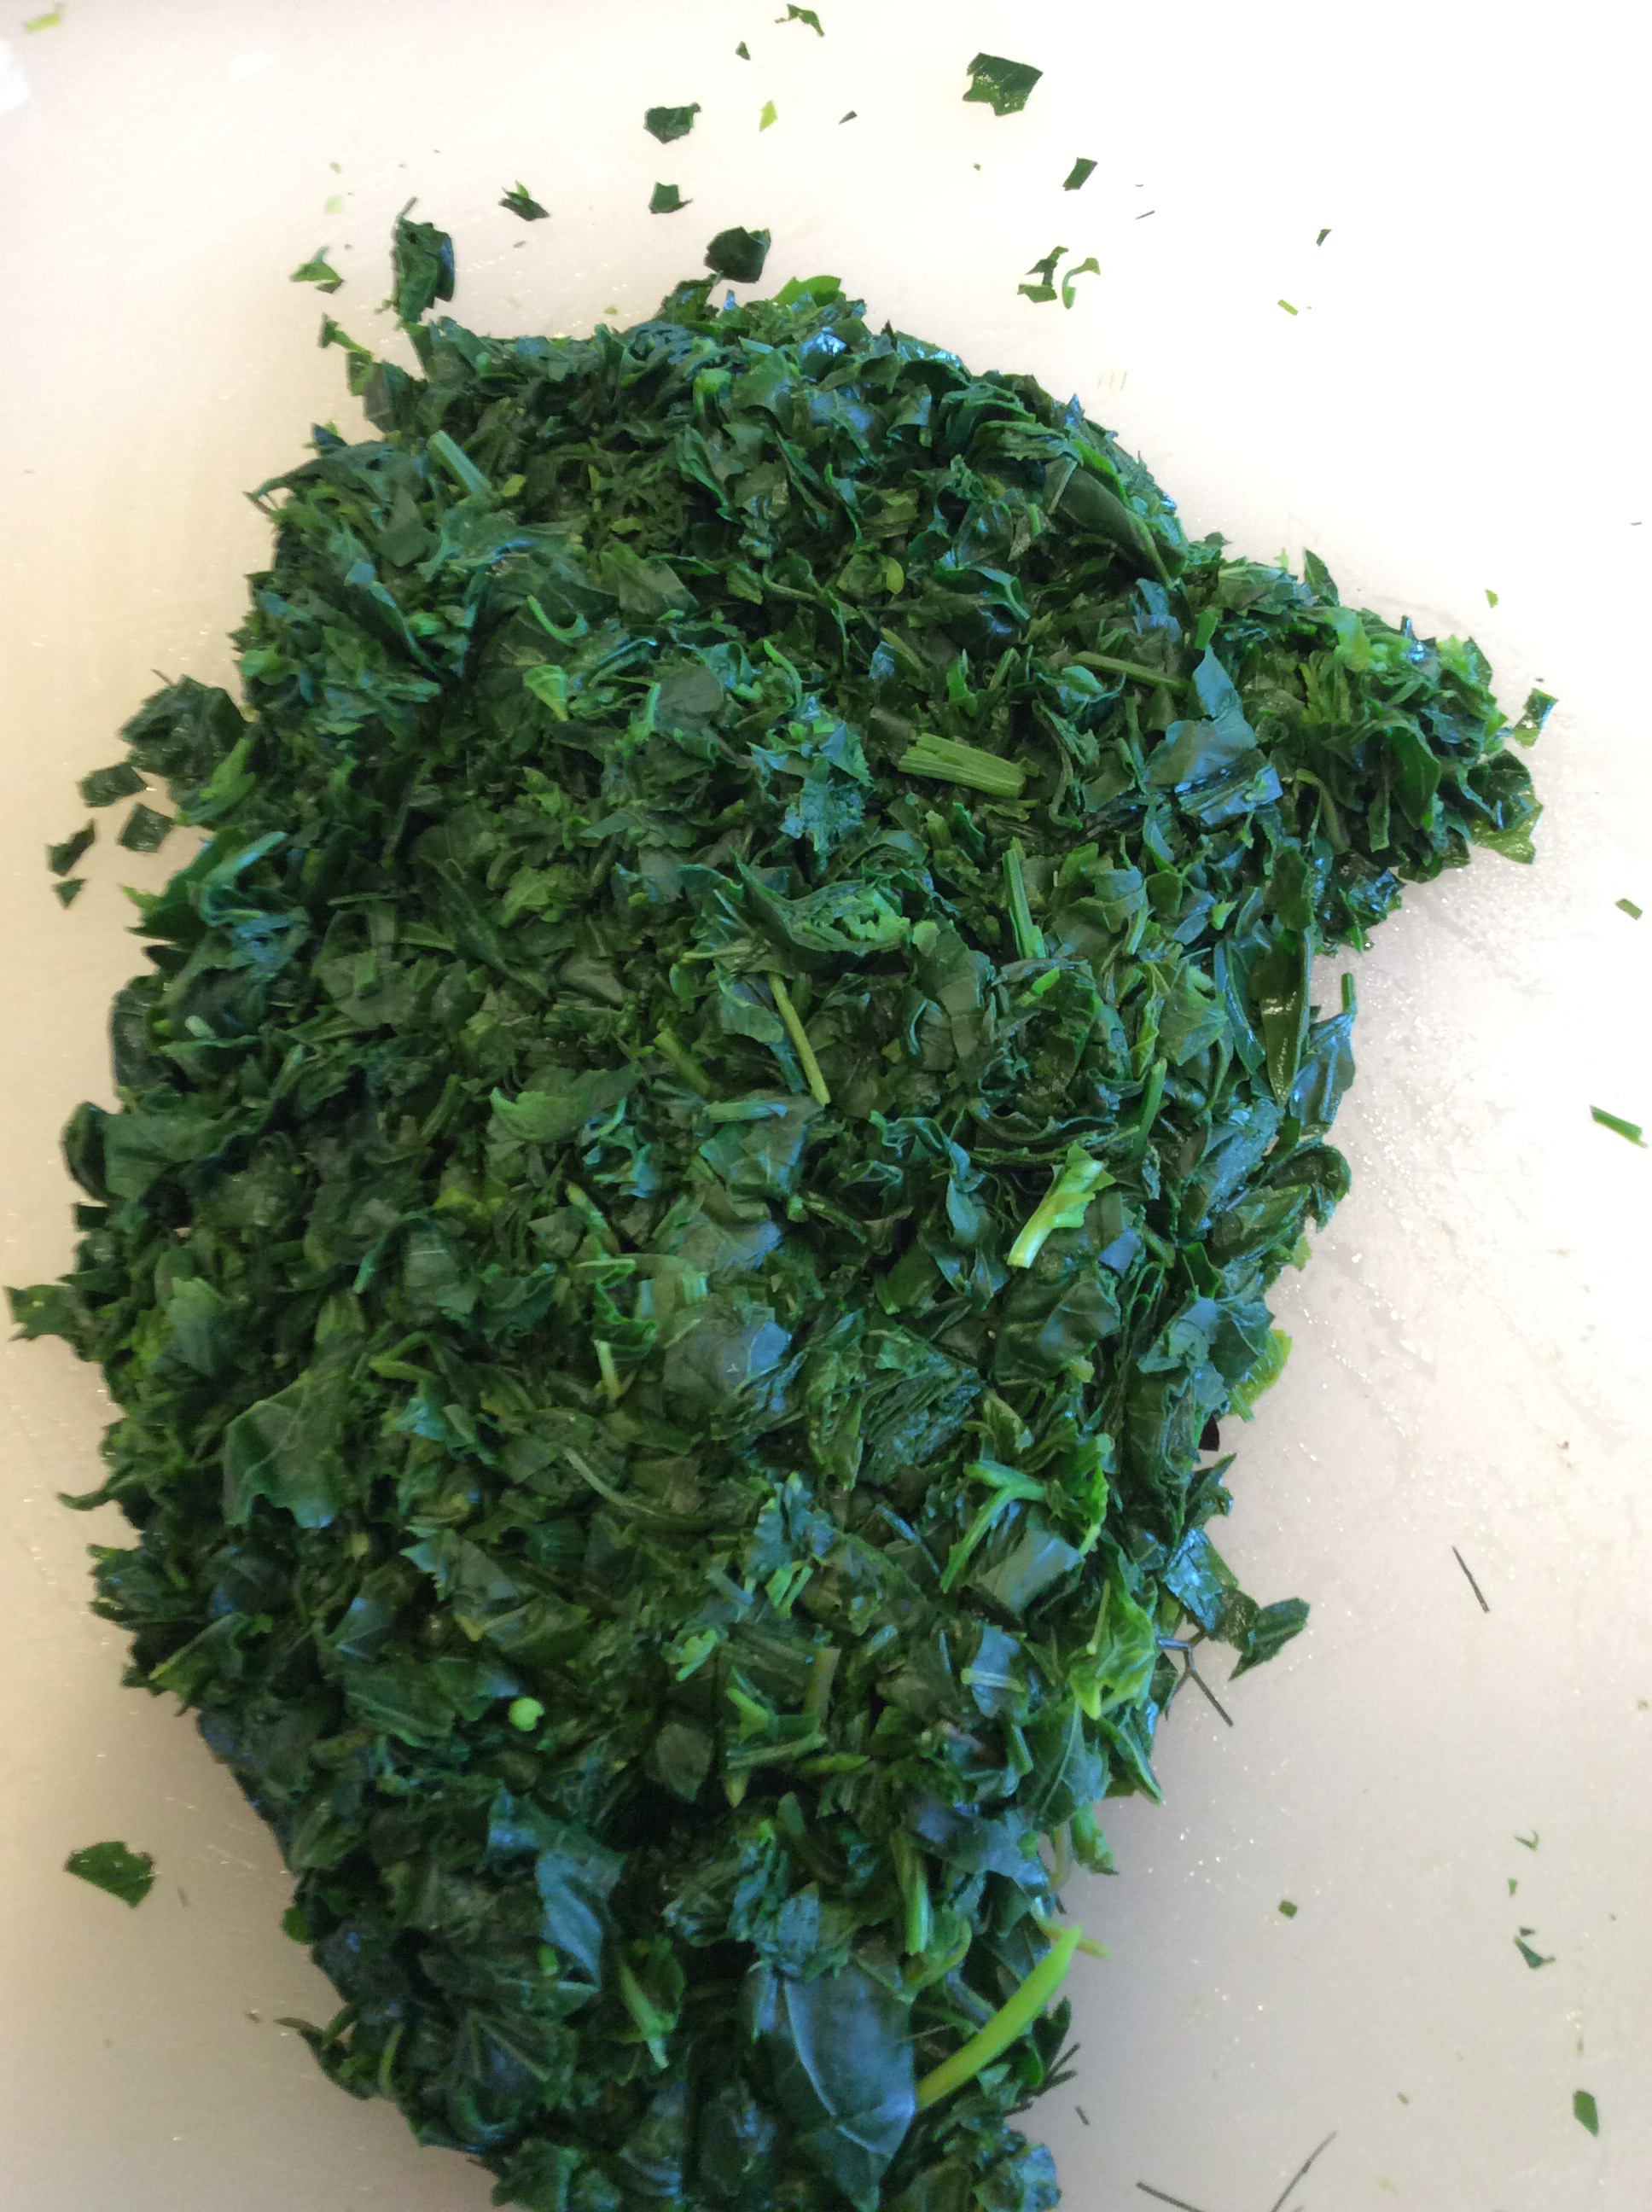
Wash a mixing bowl full of loosely packed leaves well and wilt them in a small amount of water, stirring frequently over fairly high heat until the leaves all look “cooked.” Drain them, saving all the cooking liquid. Return the cooking liquid to the pot and boil hard to concentrate it to a very small amount, maybe a couple of tablespoons (don’t turn your back on the pot or it will scorch.) Pour into a little bowl and save.
Chop 6 big green onions. Make a basic separation between white and green parts, but don’t get obsessive about it. Separately chop 6 big cloves of garlic. Heat about a quarter cup of olive oil in your largest skillet and cook the white parts over medium-high heat, stirring frequently. When they begin to look a little translucent and “cooked,” add the green parts, cook another couple of minutes, add the garlic, lower the heat to medium, and cook a few minutes more. Meanwhile, put the lump of blanched greens on a cutting board and chop fairly finely in both directions.
When the garlic looks cooked but has not colored at all, add a handful of pitted chopped oil-cured olives to the sautéed mixture and cook another minute.
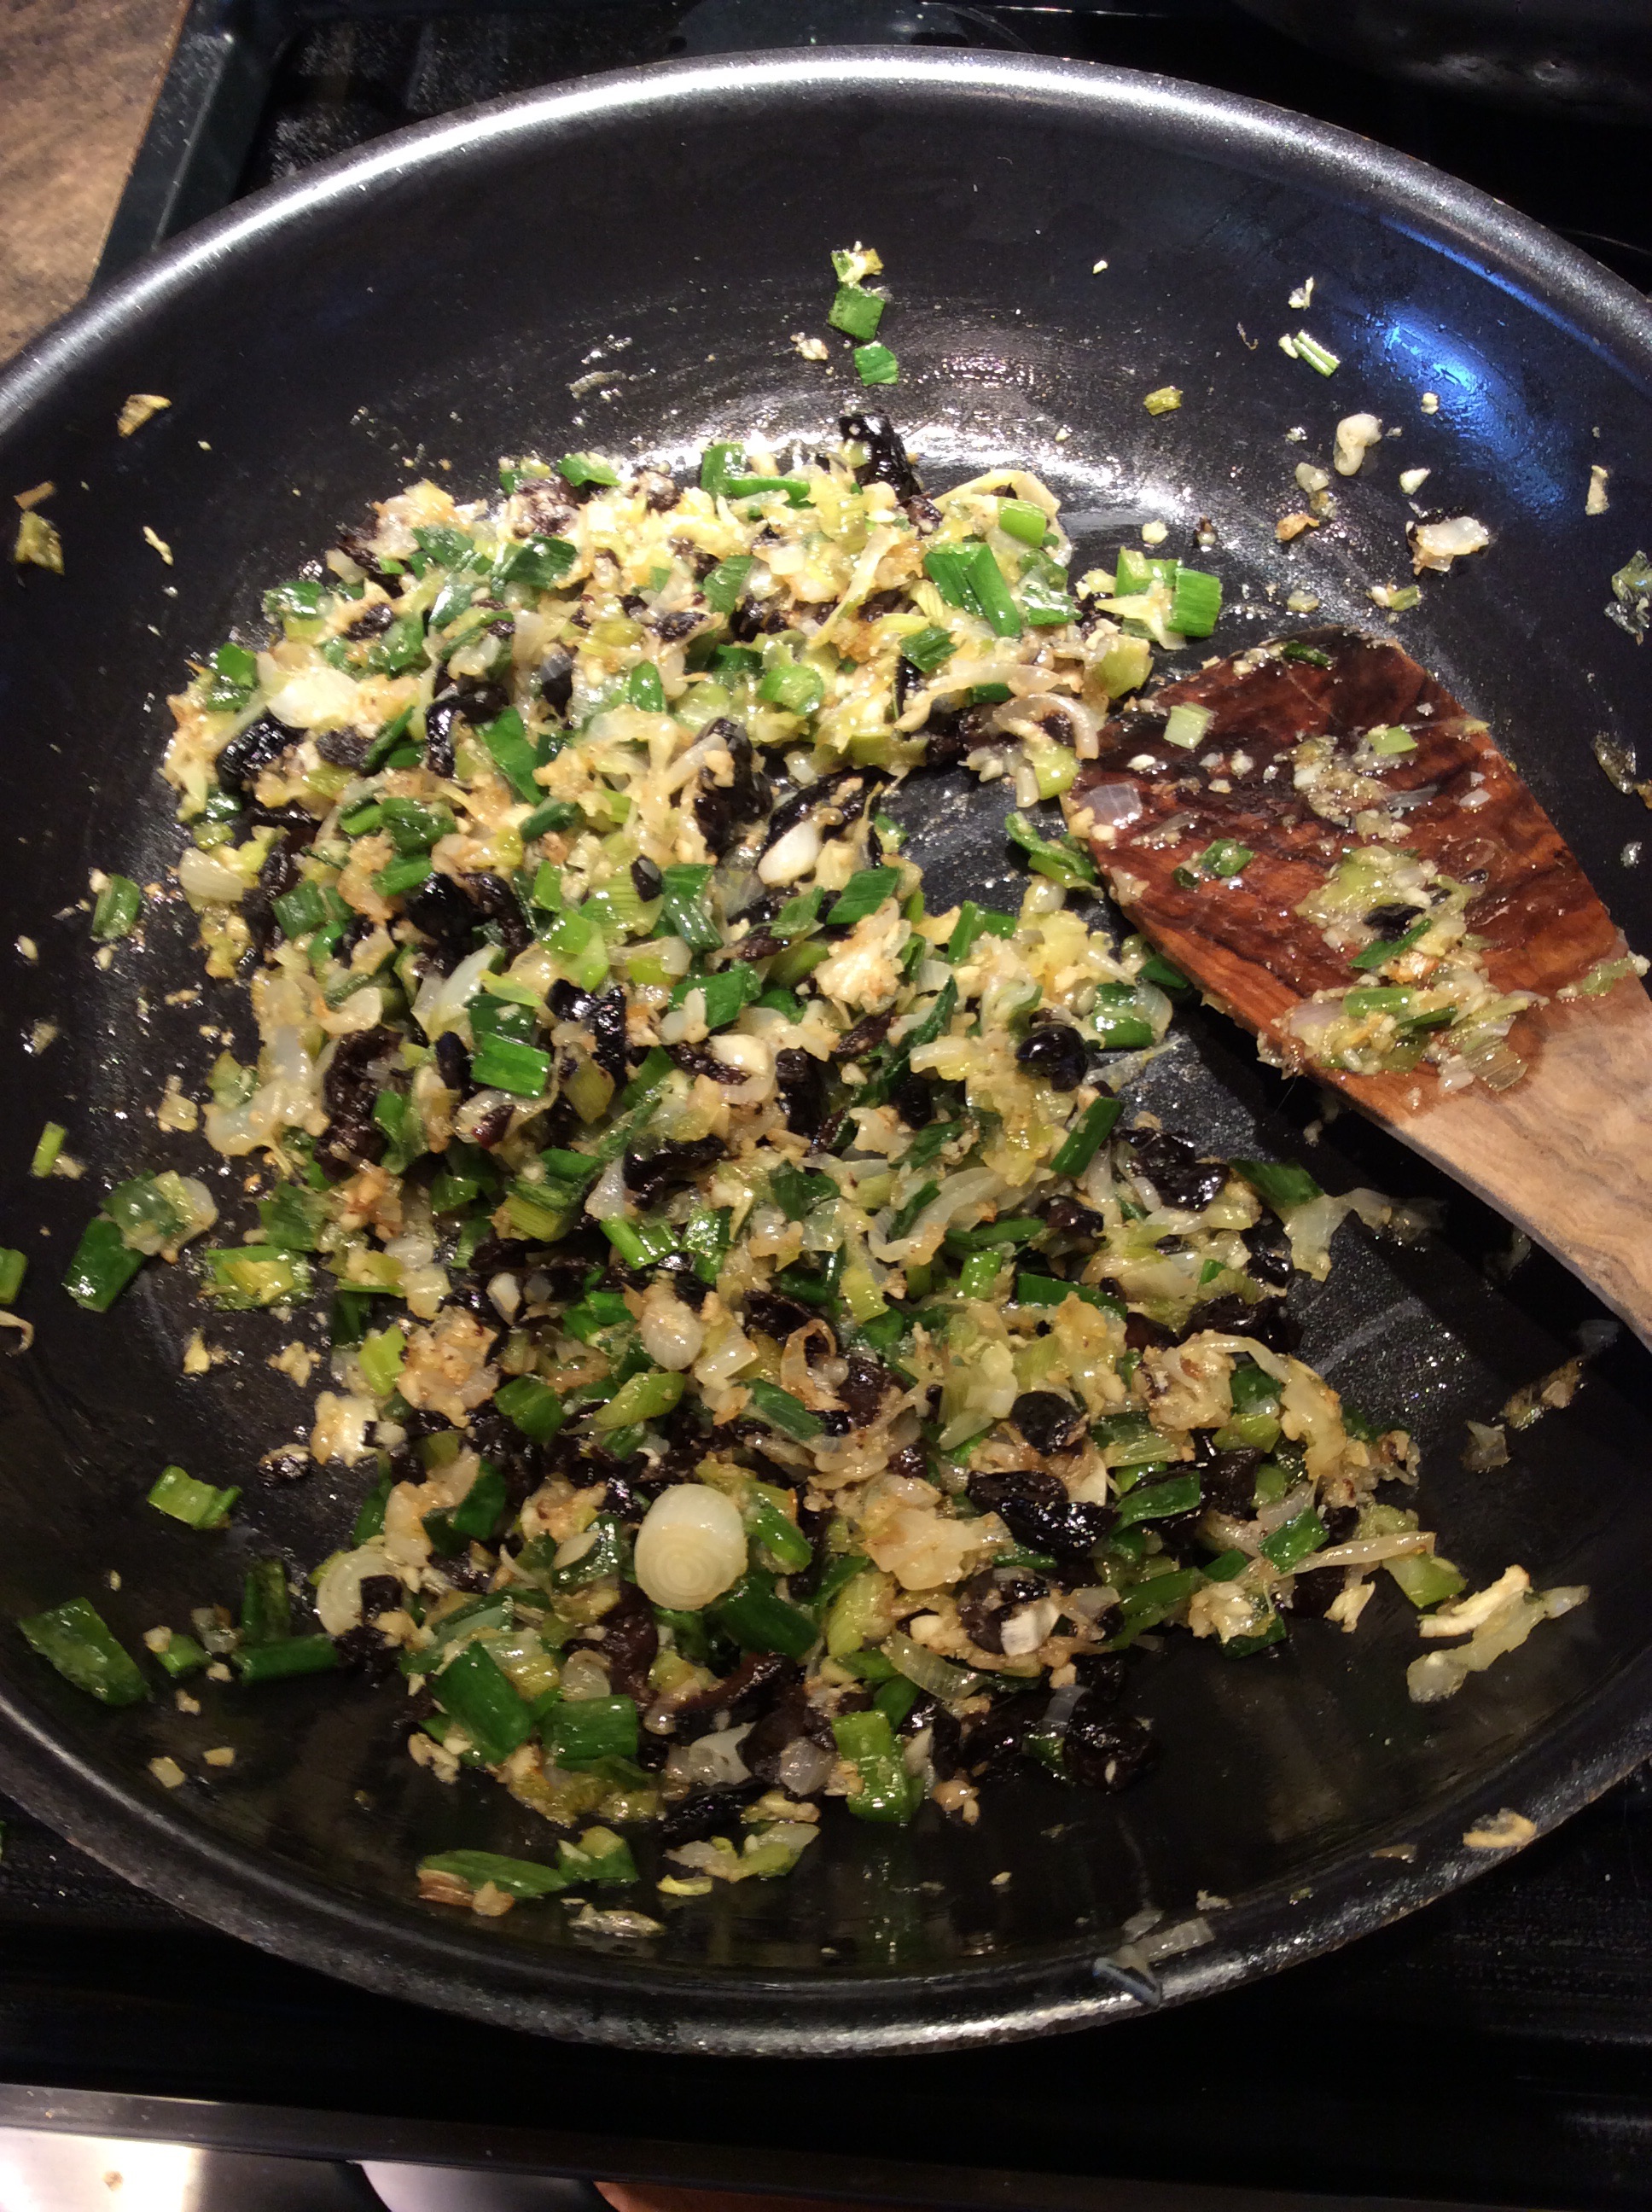
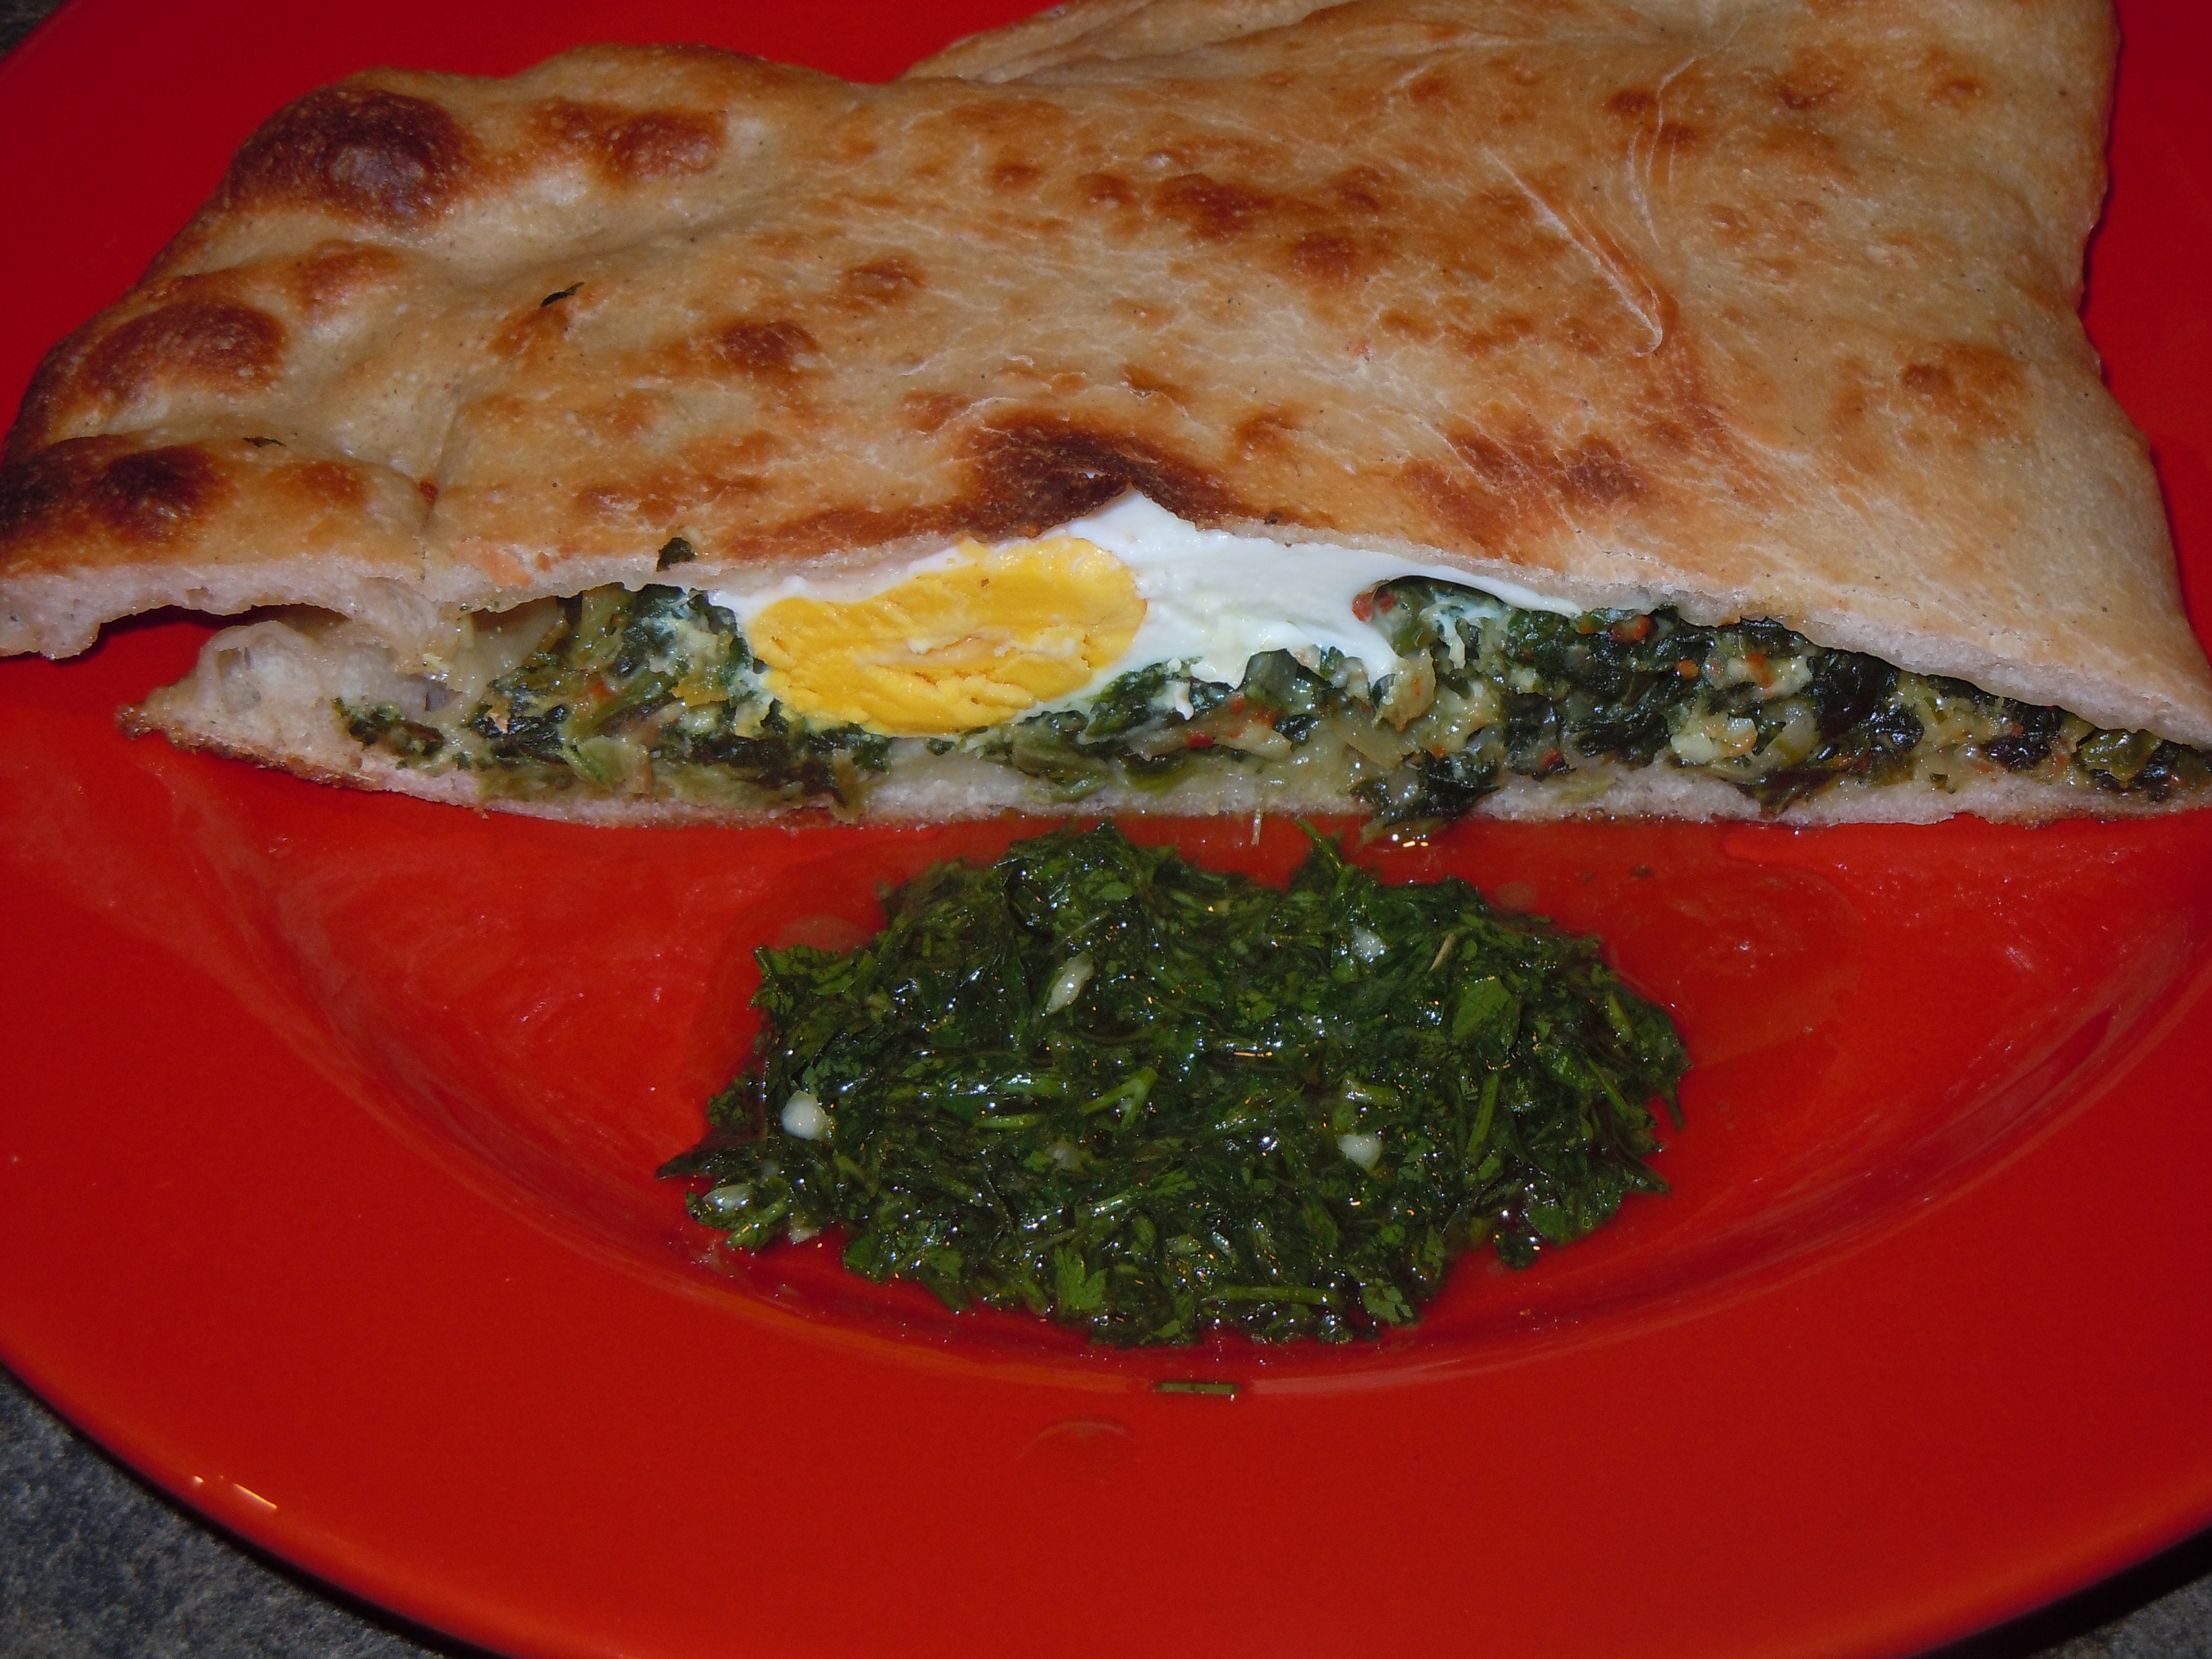
Add the cooked chopped greens, the tiny amount of cooking liquid, a teaspoon of Spanish smoked paprika or, if you like heat, the same amount of ground chipotle chile. Add a small handful each of chopped parsley and chopped fennel fronds. If not cooking for vegetarians or vegans, add a smashed anchovy fillet or a dash of fish sauce. Cook the mixture over medium-low heat for at least 20 minutes, periodically turning it to get it all completely cooked (a spatula works well.) Taste it, salt to taste, and cook a few more minutes to let the salt blend in. Serve drizzled with good olive oil as a side dish, or fill an omelette with it and add some feta cheese, or bake in phyllo to make a hortapita or little spanakopitas, or do whatever else you fancy with it. Back when I ate bread, I used to love to smear this stuff on slices of grilled baguette and put some grated Parmesan and pine nuts on top. I can remember once baking it in thin bread dough with a raw egg on top, so that when baked in a hot oven the egg came out cooked. You can add cooked chickpeas and bits of cooked meat for a real peasant dinner. It freezes well in vacuum-sealed bags to keep you healthy all winter. When served next to beef or pork, I top each serving with a bit of butter to add to the general animalic savor. I like to have it in the refrigerator for a super-healthy lunch, and it seems to taste best at room temperature.


Incidentally, the main reason for a poor result is not cooking it long enough. If it tastes grassy, keep going until it tastes good. Undersalting is another problem. Add salt cautiously because of the salty olives, but add enough.
If you don’t have a wild good guide that you like, get John Kallas’s “Edible Wild Plants: Wild Food From Dirt to Plate” and you will be glad you did.
