Archive for the ‘urban homesteading’ Category

A Quickie on Soil, and notes on quixotic planting

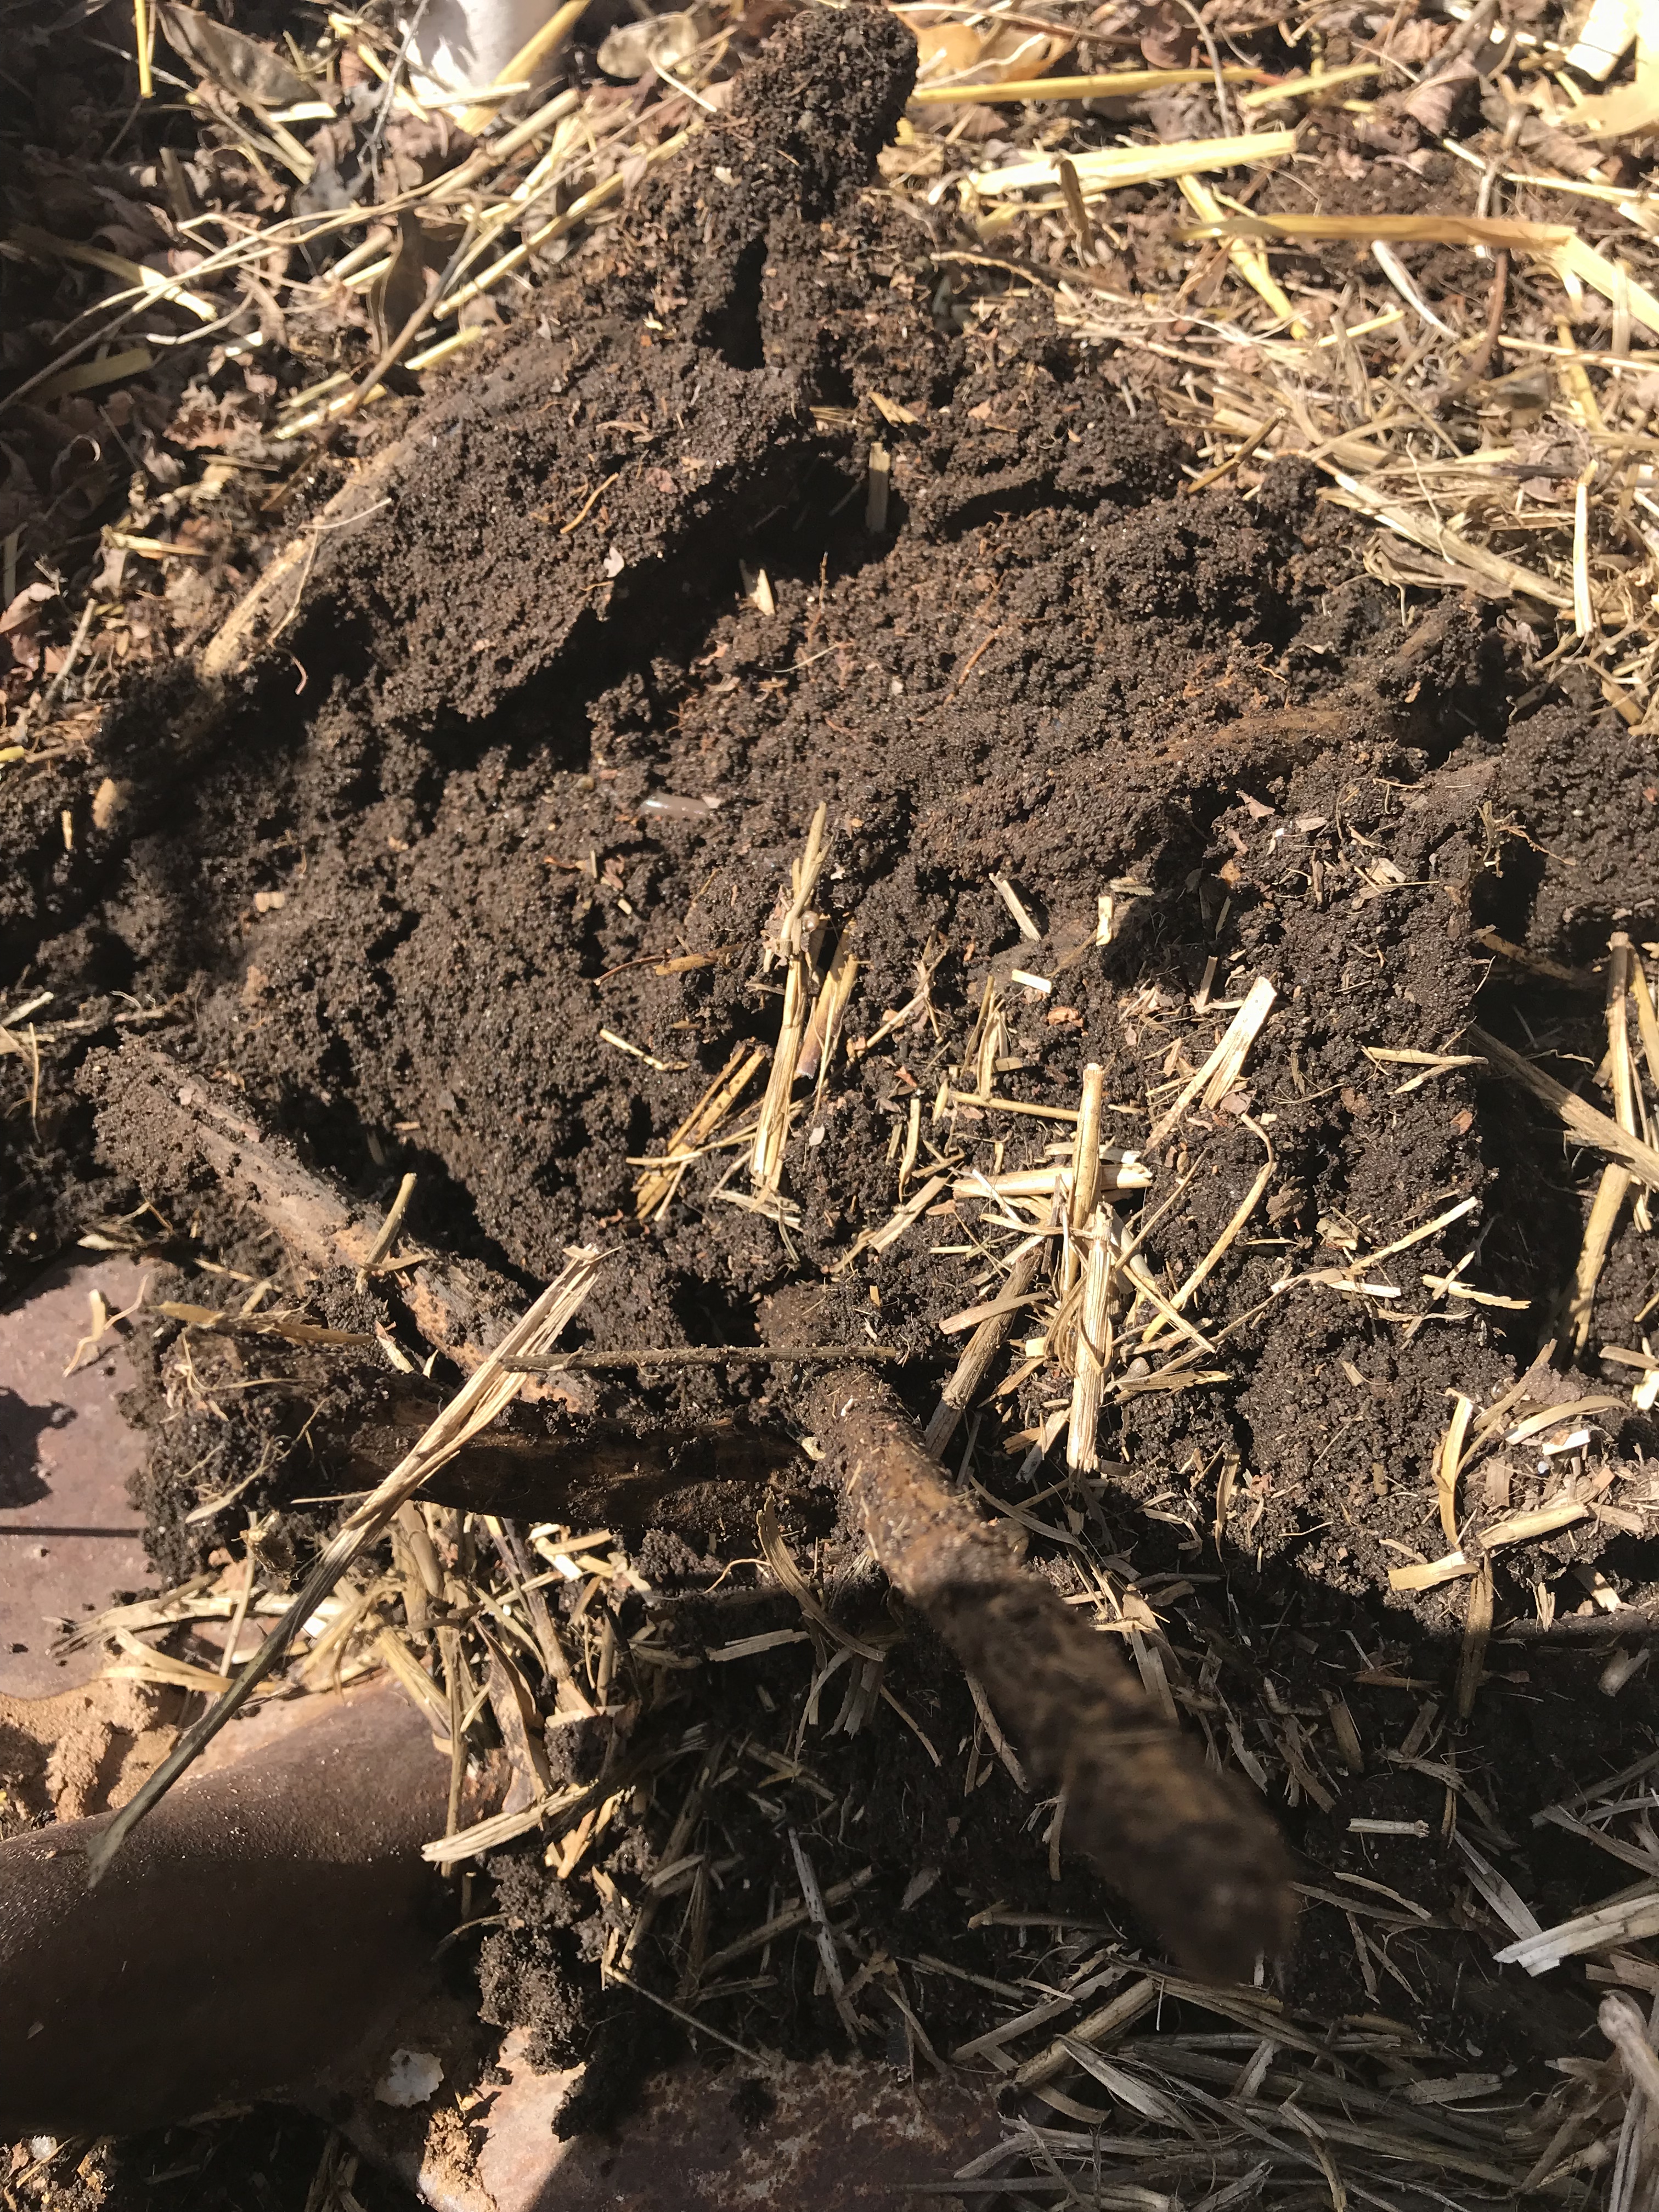
In the area of my property called the Perennial Paddock,  I have been doing a deep mulch for about six years, undisturbed except for topping it up with straw and pulling some of the worst perennial weeds.  When I can hire help to dig the waste alfalfa and manure out of the animal paddock, it goes on this mulch. The result, to my intense delight, is that where previously I had compacted clay and tumbleweed, now I have dark black soil about 12 inches deep.  This area has allowed me to observe that if you have time for the soil to build itself, and keep an endless supply of mulch to spread as needed, you do not really need to do any other soil amendment. You also don’t need to correct pH or any of the other maneuvers commonly recommended for soil improvement.  The year that I started mulching this area I invested in a bag of Thorvin kelp meal and spread that around, and since then all I have added is the straw and animal bedding. Lots of it. More than seems to make any sense when it’s dry and fluffy, but it will pack down to a surprisingly thin layer and have to be topped up a few times a season.

The first thing I ever planted here, way back before it was mulched, was a black locust tree. The little twig is now about 40 feet high, and when it is covered with blossoms in April, the entire tree swarms with bees.  It provides shade, and I think its  widespreading roots are part of what has broken up the soil so thoroughly.  In other areas of my yard I have actually had to break up hard packed areas with a pick, but in this paddock the locust tree has done all the hard work for me.

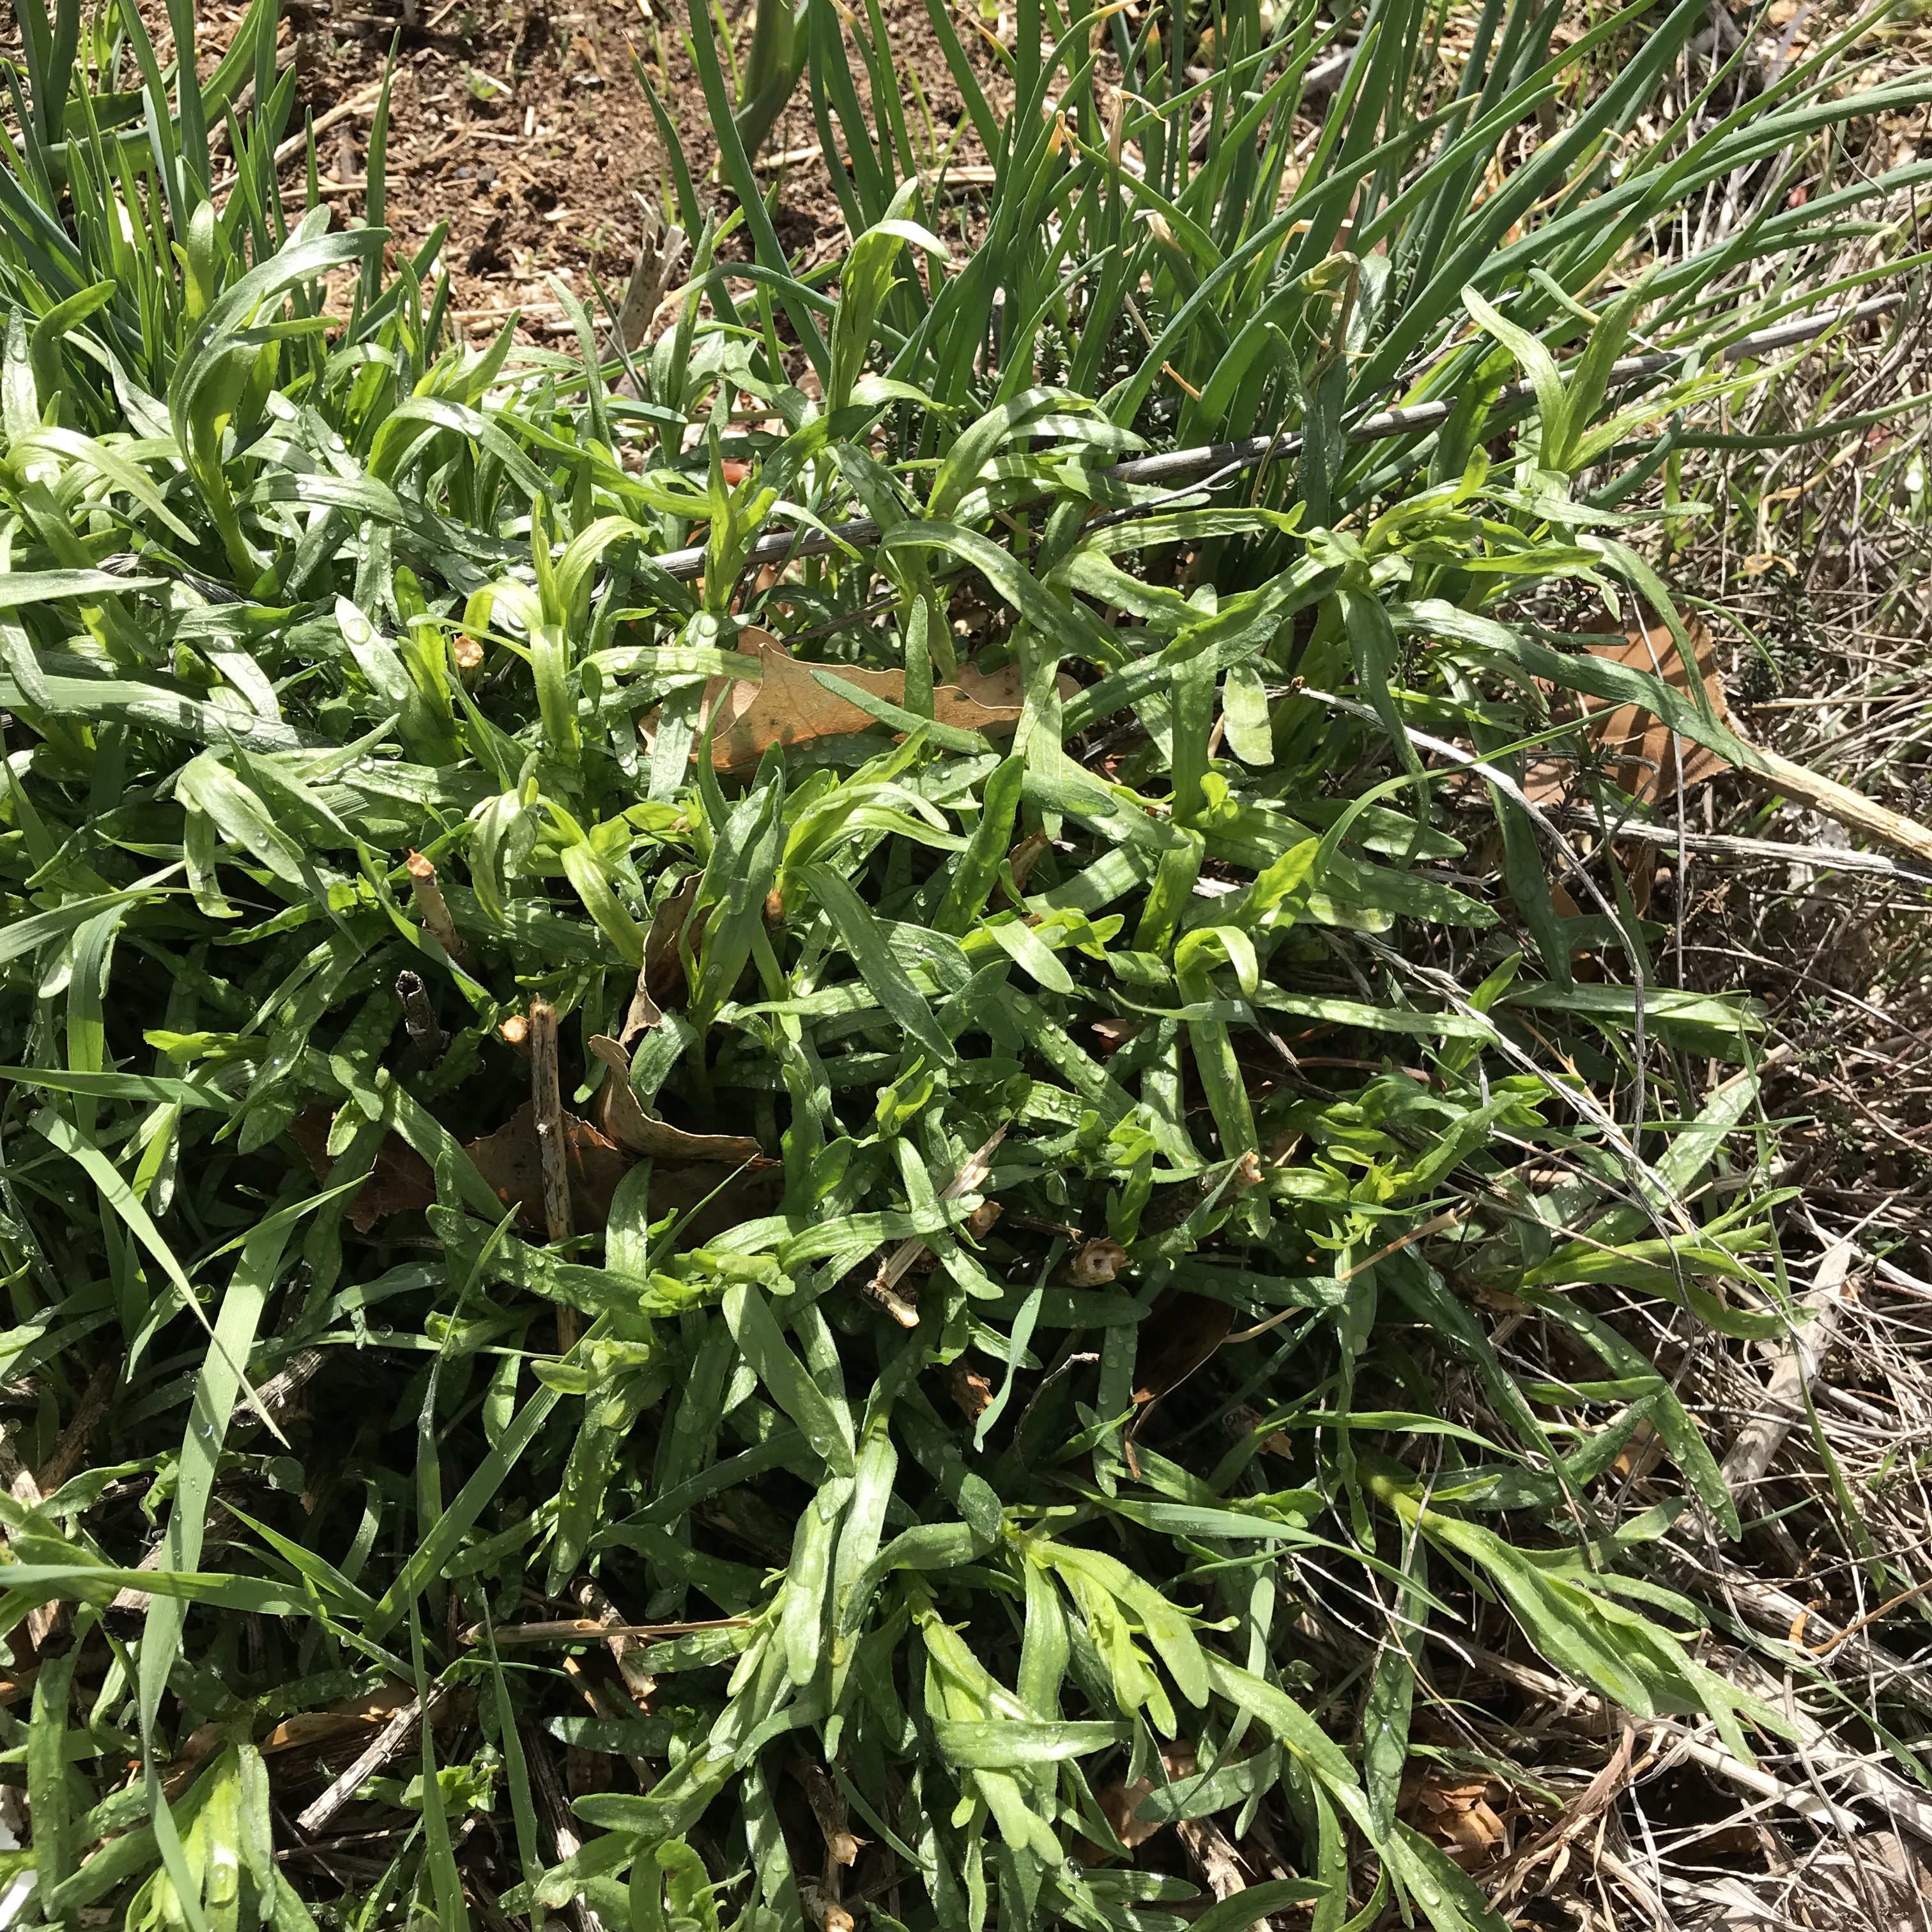
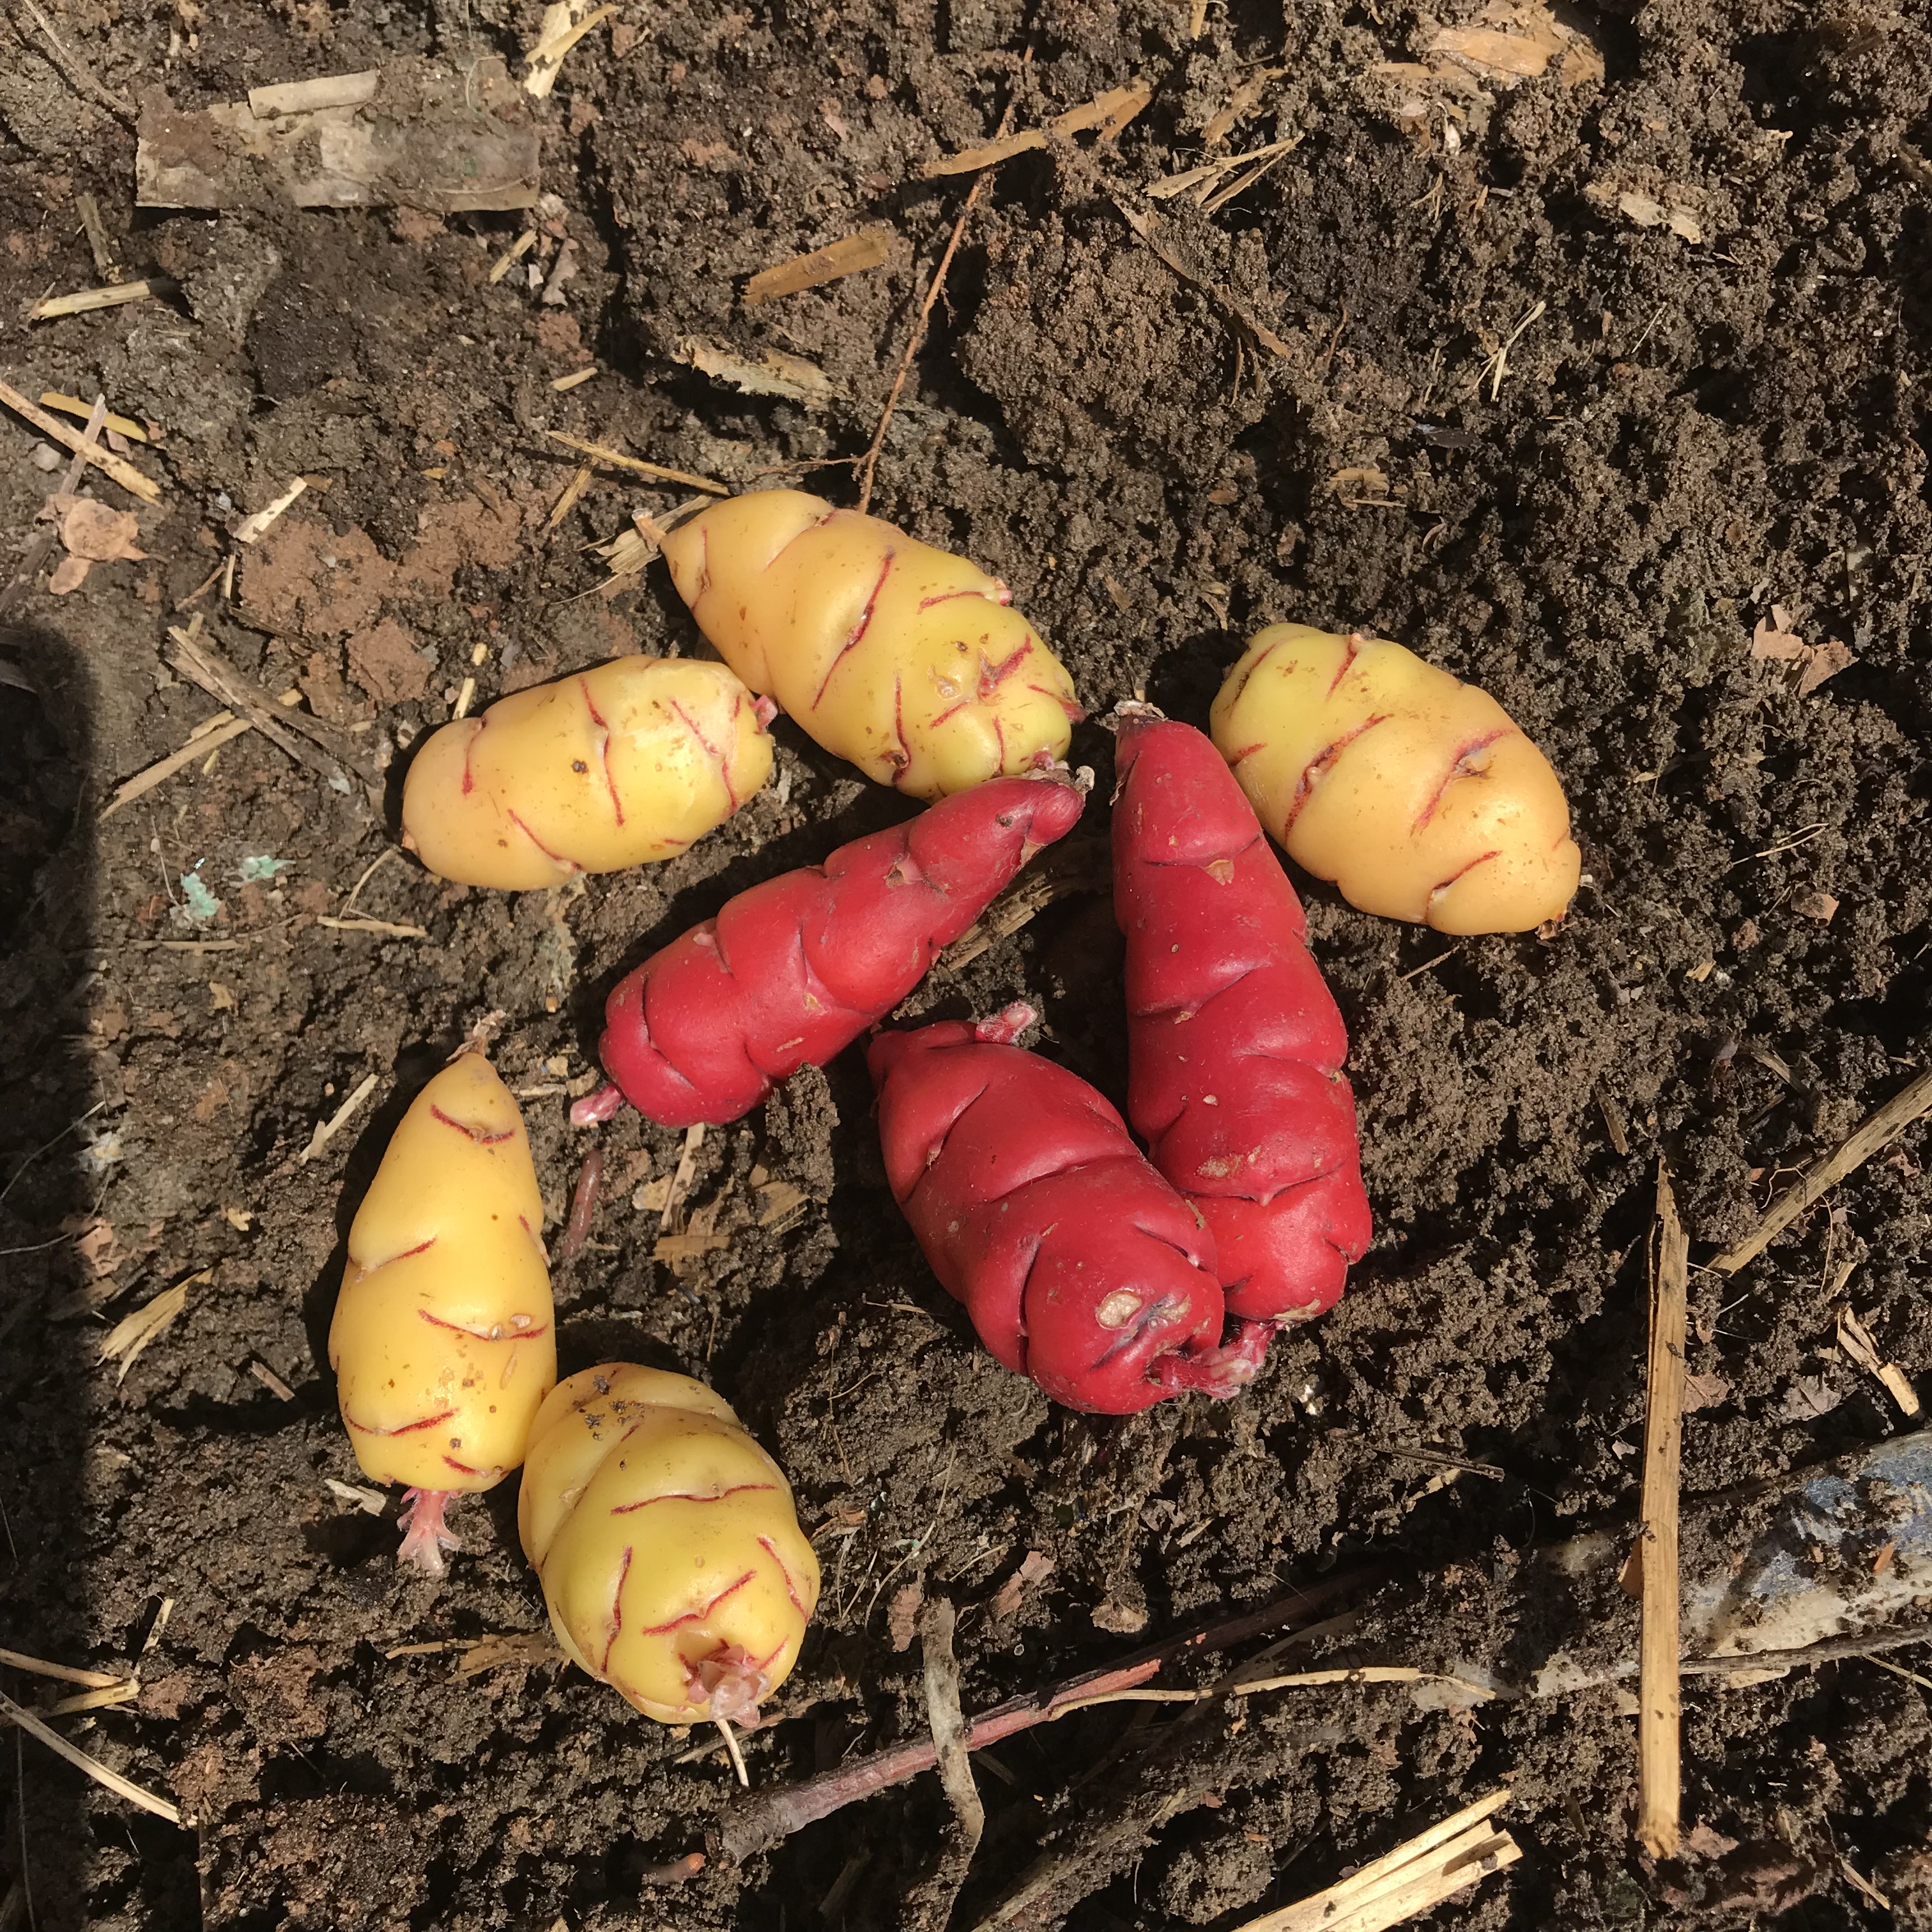
Now it is the matriarch of a wildly varied colony of perennials, and because of the soil quality and moisture level, this is also the place where I experiment with difficult plants. Oca, for example.  This member of the oxalis family is a sharp-tasting tuber available in a wild variety of colors.  It is native to the high Andes, and a sensible person would realize that it does not want to live in my flat baking high desert area with its  brutal summers.  But it is so pretty that I can never resist buying 15 or 20 tubers and experimenting.  So far I have tried them in a garden bed and in a berry row. In both locations, they grew until about July, then withered and died back, and the tubers that they produced were about the size of a pea or smaller rather than 1-2 inches long as they should be.

This year I ordered my usual optimistic packet of tubers, and decided to plant them almost directly in the shade of the black locust tree, in the deep cool soil that now exists there.

It will occur to the reasonable  economist that at this point I have spent a total of about $70 on tubers, and have not yet reaped any return.  But no garden is entirely reasonable.  If I were only going to grow things that “pencil out,“ I would do fine to just let my entire property come up in lambsquarters, which cost nothing to plant and give an effortless harvest of nutritious greens.  But I feel that I would be worse off for having missed the joyous expectation of putting beautiful little earth-jewels in the ground and hoping for them to multiply.  If I get enough to harvest, I don’t even know if I will like them, since I have never had a chance to taste them. But I’m not sure how much it matters. Hope is the point.

I get my oca tubers from Cultivariable, a fascinating source for little known Andean food plants.  They are usually sold out of the choicest selections by late February, so bookmark them for a look next winter.  I have read that oca foliage is also edible, so this might be a nose to tail perennial, but I don’t know yet.

Permaculture Salad

It occurred to me this morning that my lettuce won’t be ready for weeks but there’s no problem at all in filling the daily salad bowl. After years of practicing semi-permaculture  and using the results in the kitchen I have strong opinions about salad greens, so I thought it might be worthwhile to go through the ones that I use most.

Major greens: these make up the bulk of the salad.

The picture above is blue mustard, one of my very favorites. It makes up about half of the bulk of any salad in our household this time of year.  I wrote about it at more length in my previous post, so what I will say here is that it is a recent invader in my area.  It first showed up along the ditch banks about four years ago, and now it is a common “weed“ in my yard.  I have no idea where it came from, but I’m glad it’s here.  Get it young, before you notice the tiny blue blooms, and I usually harvest with scissors, cutting about 2 inches off the top of the thick clumps.

The second bulk green right now is scorzonera.  I have written about it elsewhere, so all I will say here is that although it is often grown for the root, I find the root not worth the trouble, but the spring leaves are mild,crunchy, tender, and excellent to make up the majority of the salad mix.  The bloomscapes that come up a little later, harvested before the buds swell too much, are among my very favorite vegetables, so at this stage I harvest individual leaves to make sure I don’t hurt any potential scapes. Take the wider upper half of the leaf,  and leave the long stringy stem bit where it is.

it takes a few years for scorzonera to establish and make nice full clumps. I advise against cutting it at all the first or second year.

My third bulk green right now is bladder campion.  It took me a few years to get this one established, but now it is a thriving weed and comes up everywhere. The roots are deep and tenacious, so be sure to pull the roots out if you do want to get rid of it.  I pull it out of my raised beds but let it romp away everywhere else. Cut off the top 2” and discard any bare stems.   During the summer it is weedy and flops all over other plants, to their detriment, so you have to whack at it a bit. But it is always my first green of spring and the last one of fall,  so I would never want to be without it. I have heard the taste of the young sprigs described as “exactly like green peas.” I beg to differ. They do have a hint of green-pea flavor but they aren’t sweet and do have an undertone of faint bitterness. I find them delicious, and they are mild enough to go with anything else.

Minor greens:delicious when used in smaller quantities.

Sow thistle has thick leaves with an intensely green flavor. In some soils I’m told that it’s bitter at all stages, but in my yard it’s mild when young. I don’t have much of it, but enjoy what I have.

Arugula has been allowed to self-seed in my yard for so long that it’s now a common weed. I throw leaves in the rosette stage into salad, and any that get past me produce small white flowers that bees adore.

Alfalfa is nobody’s idea of an edible, apparently, but I like a couple of sprigs per serving. I pinch off the top rosette when the first shoots are about 4” high. Only the first growth of early spring is suitable for this use, and no stems.

Oxeye daisy delights the bees when it blooms, and the earliest spring shoots delight me in salads. They are tender, sprightly, and vaguely sorrel-like in flavor. I would eat a lot more of them if I had more. I’m putting in a larger patch this spring.

I use dandelions in limited amounts, maybe 10% of the total salad, but I miss them when they aren’t there. Once or twice a season I eat a big salad of pure dandy greens with a garlicky dressing and a side of bacon, but I don’t often have the materials available. Believe it or not, dandelions aren’t common in my area, and the eight plants that I have were started from seed and fussed over like orchids. I let them go to seed, and hope that eventually my yard will be colonized and I can eat dandy salads whenever I crave them.

Pea greens are a delicious tender green that really does taste like green peas. I plant my peas very thickly, almost touching in the furrow, and then harvest about half for spring salads, leaving the rest to grow and bear.

Seasonings: these have more distinctive flavors. Don’t be too timid with them though, because the dressing is going to mute them quite a bit.

I grow the sorrel variety called “Perpetual,” which doesn’t go to seed. It has the zingy lemony taste of garden sorrel but has thicker, more tender leaves and is a much smaller, less robust plant. I definitely need more plants of this one.

I grow parsley in a semi-permaculture fashion. Planted in spring, I use it all summer and leave it in place in winter. The following spring I get lovely bunches of early leaves to chop over salad and other stuff, and then it shoots to seed and reseeds itself.

This photo has three of my favorites. To the right are perennial green onions, which I have written about so much that here I’ll just remind you to sliver some into salads. In the center are young shoots of bronze fennel. Later in the year I would chop them up, but at this stage they’re so mild that I just cut each small leaf in 2-3 pieces. To the left is the first spring growth of Angelica archangelica, which I haven’t used until this year. The first tender leaves of spring have strong notes of celery and juniper. I tear them into pieces about an inch across. When they start to get tough, the stems chopped in thin cross-section will give a similar effect.

The earliest shoots of French Tarragon add a lovely anise flavor. I pull the new sprigs into individual leaves and toss them in whole.

I have heard people say that each dish or salad should contain only one herb, so as not to “muddy” the flavors. I couldn’t disagree more, and have seldom made a spring salad that didn’t contain at least three. Chopped finely the flavors can muddle up and become undistinguished, but left in large distinct pieces as I use them, they are vivid and impressionistic on the tongue.


Fermentation VII: Umami Sauce

At the beginning of the year I like to look back on what worked last year and what is still with me. My major category of experiments this fall and winter was fermentation, and this rich dark meaty sauce paste which incorporates multiple fermented ingredients is one of the clear winners. I try to keep some in the fridge at all times because it’s really useful stuff.

The foundation is black garlic.  I have come to love black garlic with passionate intensity, and have also had to sadly admit that my own homemade version is not nearly as good as what I can get commercially.  I think the difference is the evenness of heat that can be kept in a commercial fermentation chamber, and a rigged rice cooker or slow cooker just doesn’t work as well.  One day, no doubt, I will find a safe way to build a fermentation chamber that holds 140°. In the meantime, I buy it from the sources mentioned in my black garlic post.

To make the sauce paste pound three of the large Korean style single cloves of garlic or the peeled cloves from one head of regular black garlic with a generous pinch of salt in a mortar and pestle. This supposes that you have one of the big Thai ones meant for ingredients, not the tiny things meant for spices. Keep pounding until the paste is smooth. Pound in a tablespoon of butter, avocado oil, or olive oil. When this is smoothly incorporated, pound in a couple of tablespoons of of lacto-fermented cremini mushrooms and their juice (read more here.) When the paste is smooth again, stir in a tease of colatura or Red Boat fish sauce (I use t teaspoons,) a tablespoon of good red wine vinegar and one tablespoon of your own best balsamic-type vinegar (I use my Concord-must vinegar) or high-quality commercial balsamic vinegar (no grocery-store stuff.) Taste for salt and for acid balance, and adjust as needed. You can double or triple the recipe as long as your mortar is big enough.

Now you have a number of possibilities. The paste can be used as is, making sure it’s brought to room temp if you used butter, and can be stirred into soup or eggs or spread on buttered toast or grilled polenta for a tasty side. A spoonful lends distinction to a mug of hot sipping broth. A fewspoonfools are really good tossed into greens at the last minute of cooking. Just don’t be timid with it. The flavors are rich but surprisingly understated. It keeps in the refrigerator for at least a week if tightly covered.


It can be thinned to a more sauce-like consistency with a little broth or a little more oil and poured over hot or cold sliced meat.

My favorite elaboration is, when pounding in the butter, to keep pounding in more, up to four or five tablespoons instead of just one. If you pound enough this creates a smooth mousse, into which the rest of the ingredients can be stirred. It’s superb as steak butter, wonderful on sourdough bread, great spread on a thick slice of Manchego cheese, and I can easily imagine it dolloped  over a plate of hot pan-grilled shrimp. I think it would be great as a topping for broiled salmon, and can imagine it lending a deep meaty flavor to roasted or grilled vegetables.

It has become one of the things that I have to have around, and I’m always thrilled when I find things like that.

Happy 2019!

Fermentation VI: Lacto-fermentation

I can’t say enough about how The Noma Guide to Fermentation is livening up my kitchen experiments, but I was fairly sure that I wouldn’t care much for ordinary lacto-fermentation. All fermented pickles and sauerkraut are made by this method, and with the exception of kimchi I’ve never really taken to any of them. But then I bought a couple of pounds of organic cremini mushrooms because they were on sale cheap and I’m a sucker for a bargain, and had to figure out something to do with them. I tried slicing them, tossing with 4% of their weight in salt, and packing into quart mason jars under pickle weights. I set them aside loosely covered, and when I next paid attention to them a week later the mushrooms had shrunk down by half and the jars were filled with fluid. I sniffed the contents, and was surprised at the strong mushroom aroma. I tasted the fluid and it was salty and had a full mushroom flavor. So I started to experiment.

This soup also contains other recent and past experiments.  If there is one thing that I want readers of my blog to do, it is play with their food. Taste, and if the tastes go well together, it doesn’t matter  whether you ever saw a recipe quite like it before.  The flavor of mushrooms and black garlic seem made for each other, and I wanted to try the combination out. I put about a cup of dried porcini slices in hot water to soak. While they soaked, I started the cooking with two cloves of fresh garlic finely minced and eight peeled cloves of black garlic chopped very coarsely. I melted a couple of tablespoons of butter in a saucepan, and added the two garlic types and three slices of bacon sliced 1/4” wide. I sautéed these ingredients slowly over medium heat until the fresh garlic was cooked but not yet coloring, and added a quart of very good chicken broth, the soaked porcinis and their strained soaking water, half a cup of the fermented creminis and their fluid, and a tablespoon of dry sherry and two teaspoons of Red Boat fish sauce. This mixture was brought to a slow boil, and turned down to a simmer for 20 minutes. Meanwhile I peeled another eight cloves of black garlic and pounded them to a smooth paste with a good pinch of salt. When smooth, I pounded in a tablespoon of fermented mushroom liquid, a tablespoon of boiled-down kombucha,  and a tablespoon of red wine vinegar. When the soup was served, a good dollop of this paste was put in each bowl, to be stirred in by the diner. Of course you could just add it to the soup in the pot, but the pleasure of smelling the rich, complex fragrance as the paste melts into the soup would then be lost to all but the cook.

Be aware that lacto-fermentation only preserves food up to a point. After a week fermenting on the counter, the cremini juice is at peak flavor in my opinion. If left at room temp it may go on to develop musty off-flavors. In my kitchen, at the one-week point it goes in the fridge.

I always use quart wide-mouth mason jars for lacto-fermenting. There are wonderful crocks made especially for the purpose, but I don’t want that much of any one product, so I stick with my jars. Good pickle weights will simplify your lacto-fermenting and help prevent mold. Good weights are glass, solid and heavy, smooth on the bottom, and have a handle on top so that you can get hold of them. Cheaper weights are often hollow on the bottom, creating an airspace that invites mold, and aren’t heavy enough to keep the fermenting veggies submerged. Good ones can be bought here or from other sources. I have one hand-thrown stoneware pickle weight that I love, and have also used smooth rounded rocks of the right size after putting them through the dishwasher. This last is unscientific and probably unsanitary but I bet our ancestors did it too.