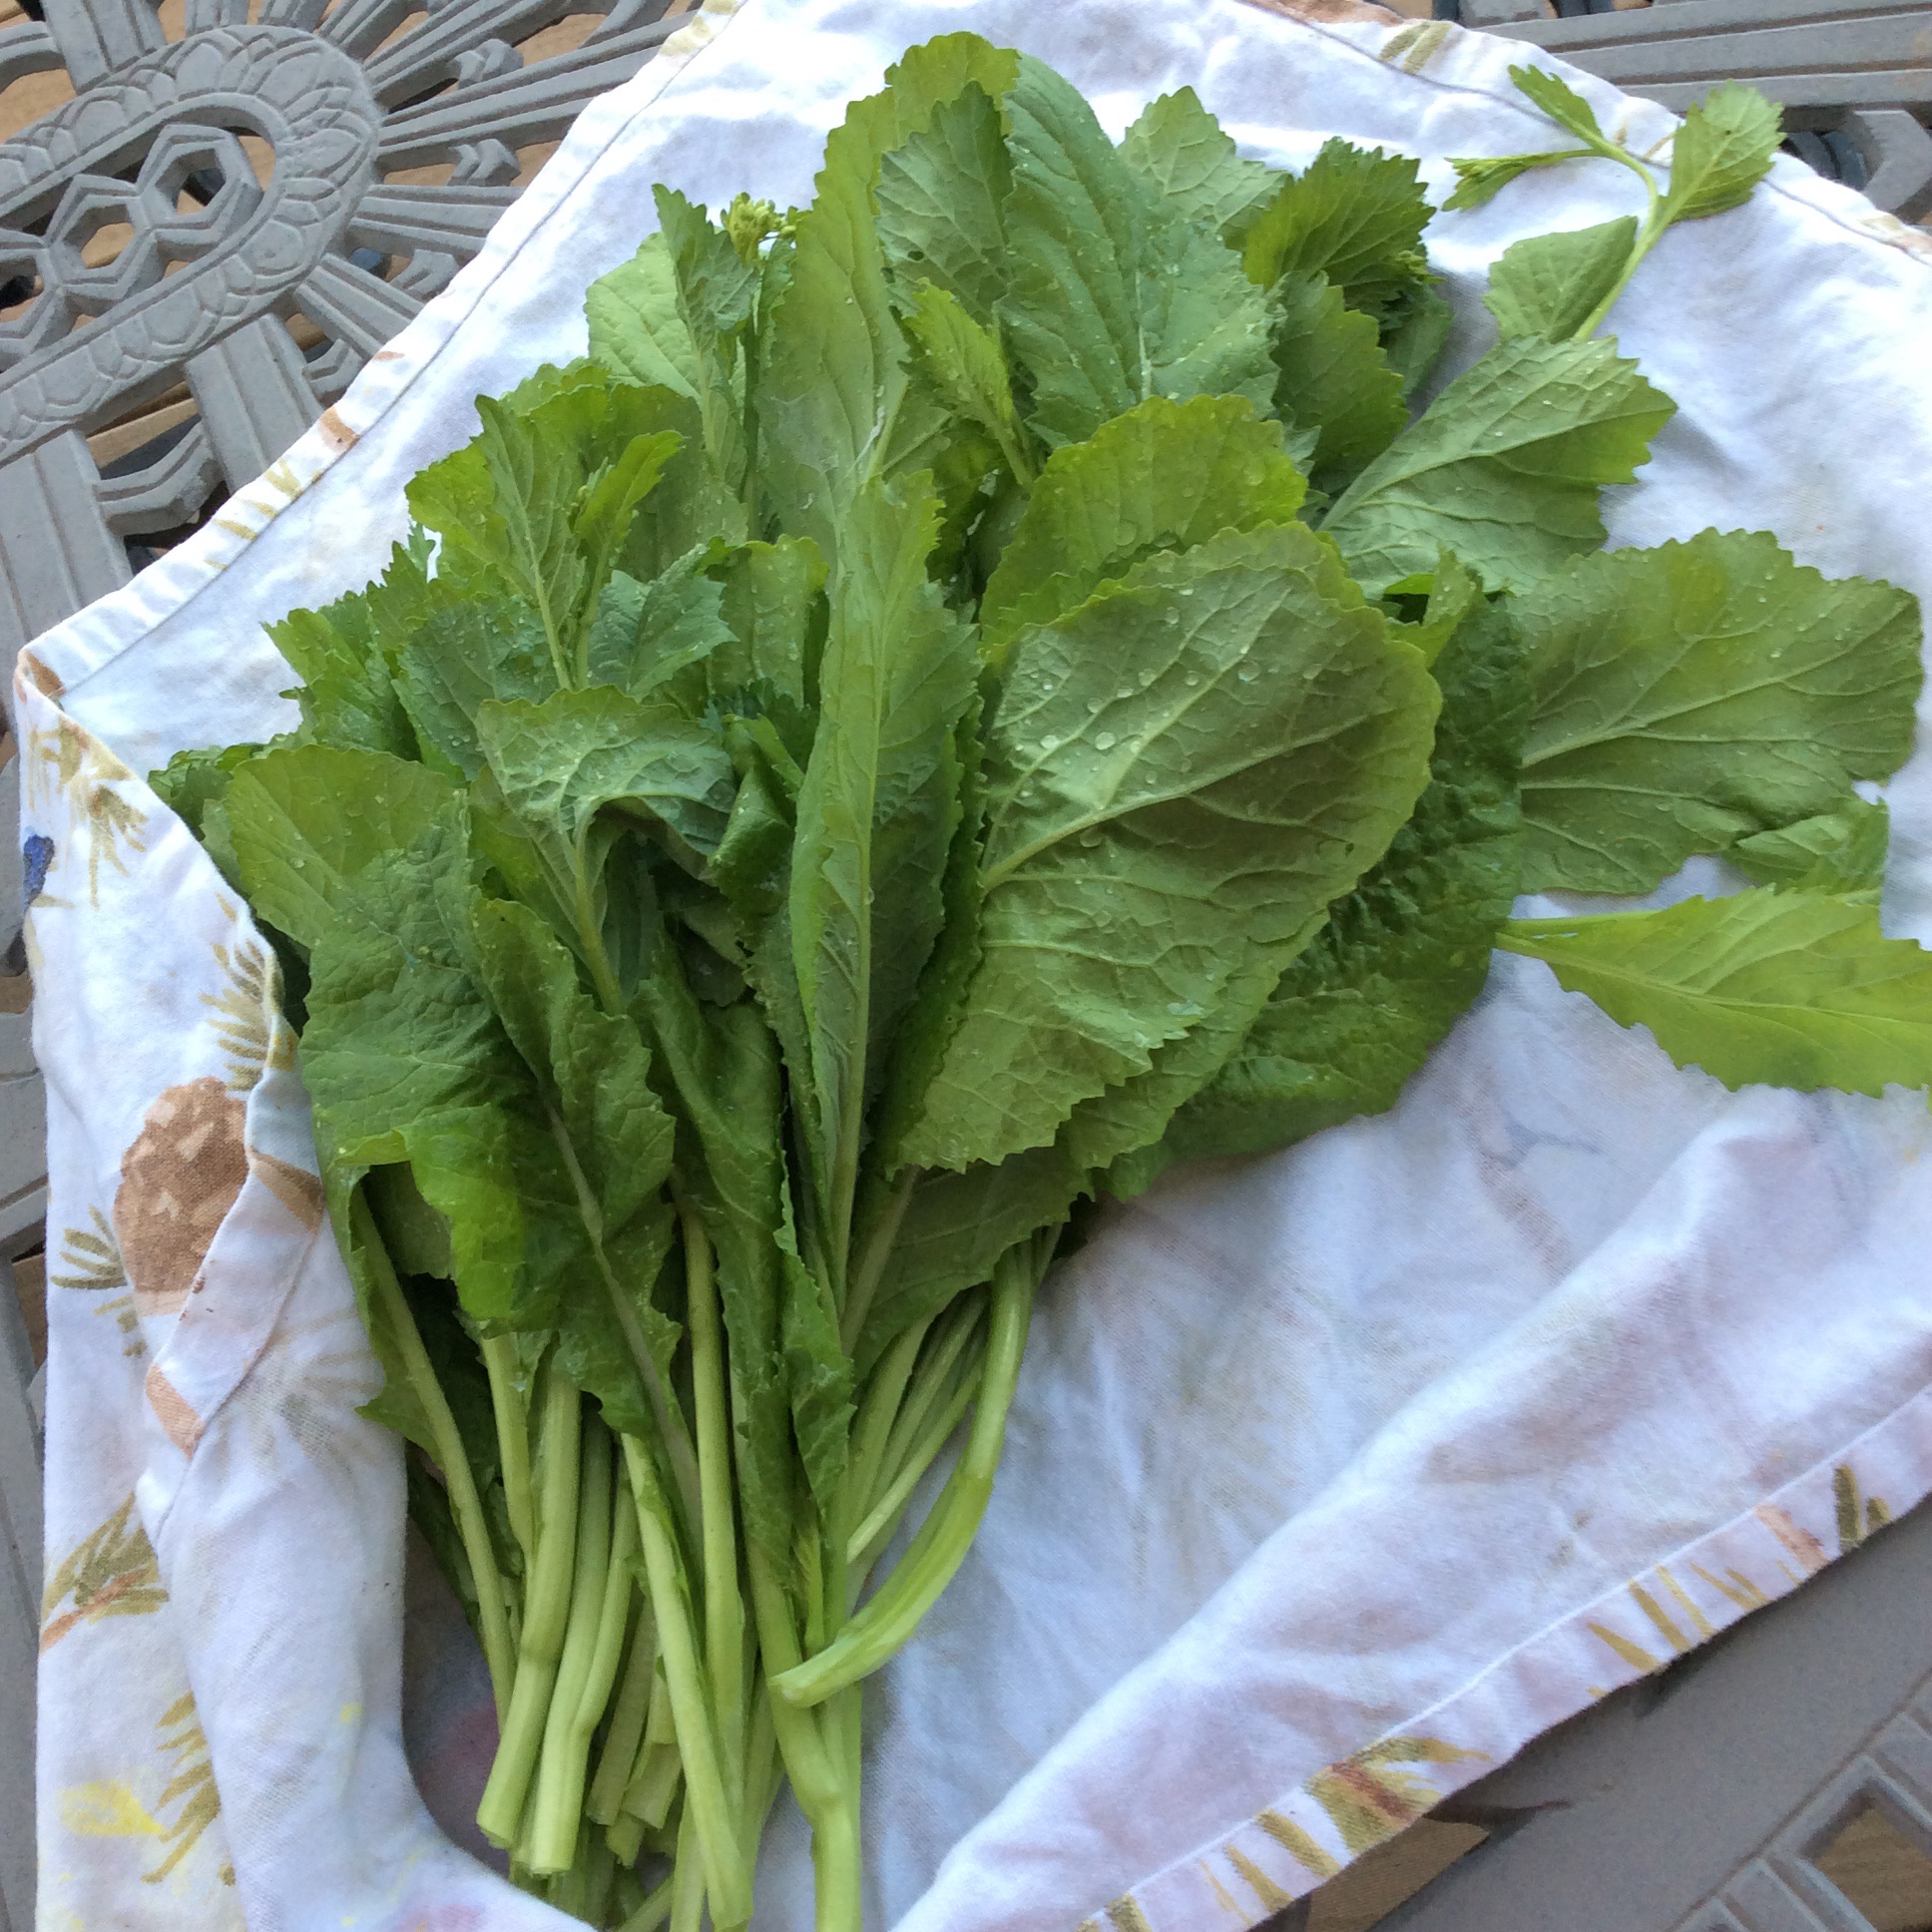
I hear people talk about how difficult they find it to cook vegetables for themselves. I’m on my own tonight, so I decided to try it. I started with a bunch of mustard from an area where I’d sown mustard greens thickly as a quick cover crop. The greens were thinned to 2″ apart in the seedling stage, and now are about a month old and maybe 8″ high. I grabbed a handful and pulled them out by the roots. Then, still holding the stems together as a bunch in my left hand, I used my right hand to snap the roots off of each stem at the point where they snapped rather than bending, taking the lower yellowed leaves away with the roots, and put the roots aside on the mulch and avoided dirtying the leaves. It’s important to break the stems where they snap. If they bend almost double instead, they have acquired more fiber than you can chew. Then I took the rootless mustards inside and washed them quickly. They grew upright due to the crowding, and that keeps them clean and saves washing. This entire process took five minutes, plus another minute to snap off two young tender garlic scapes and rinse them.
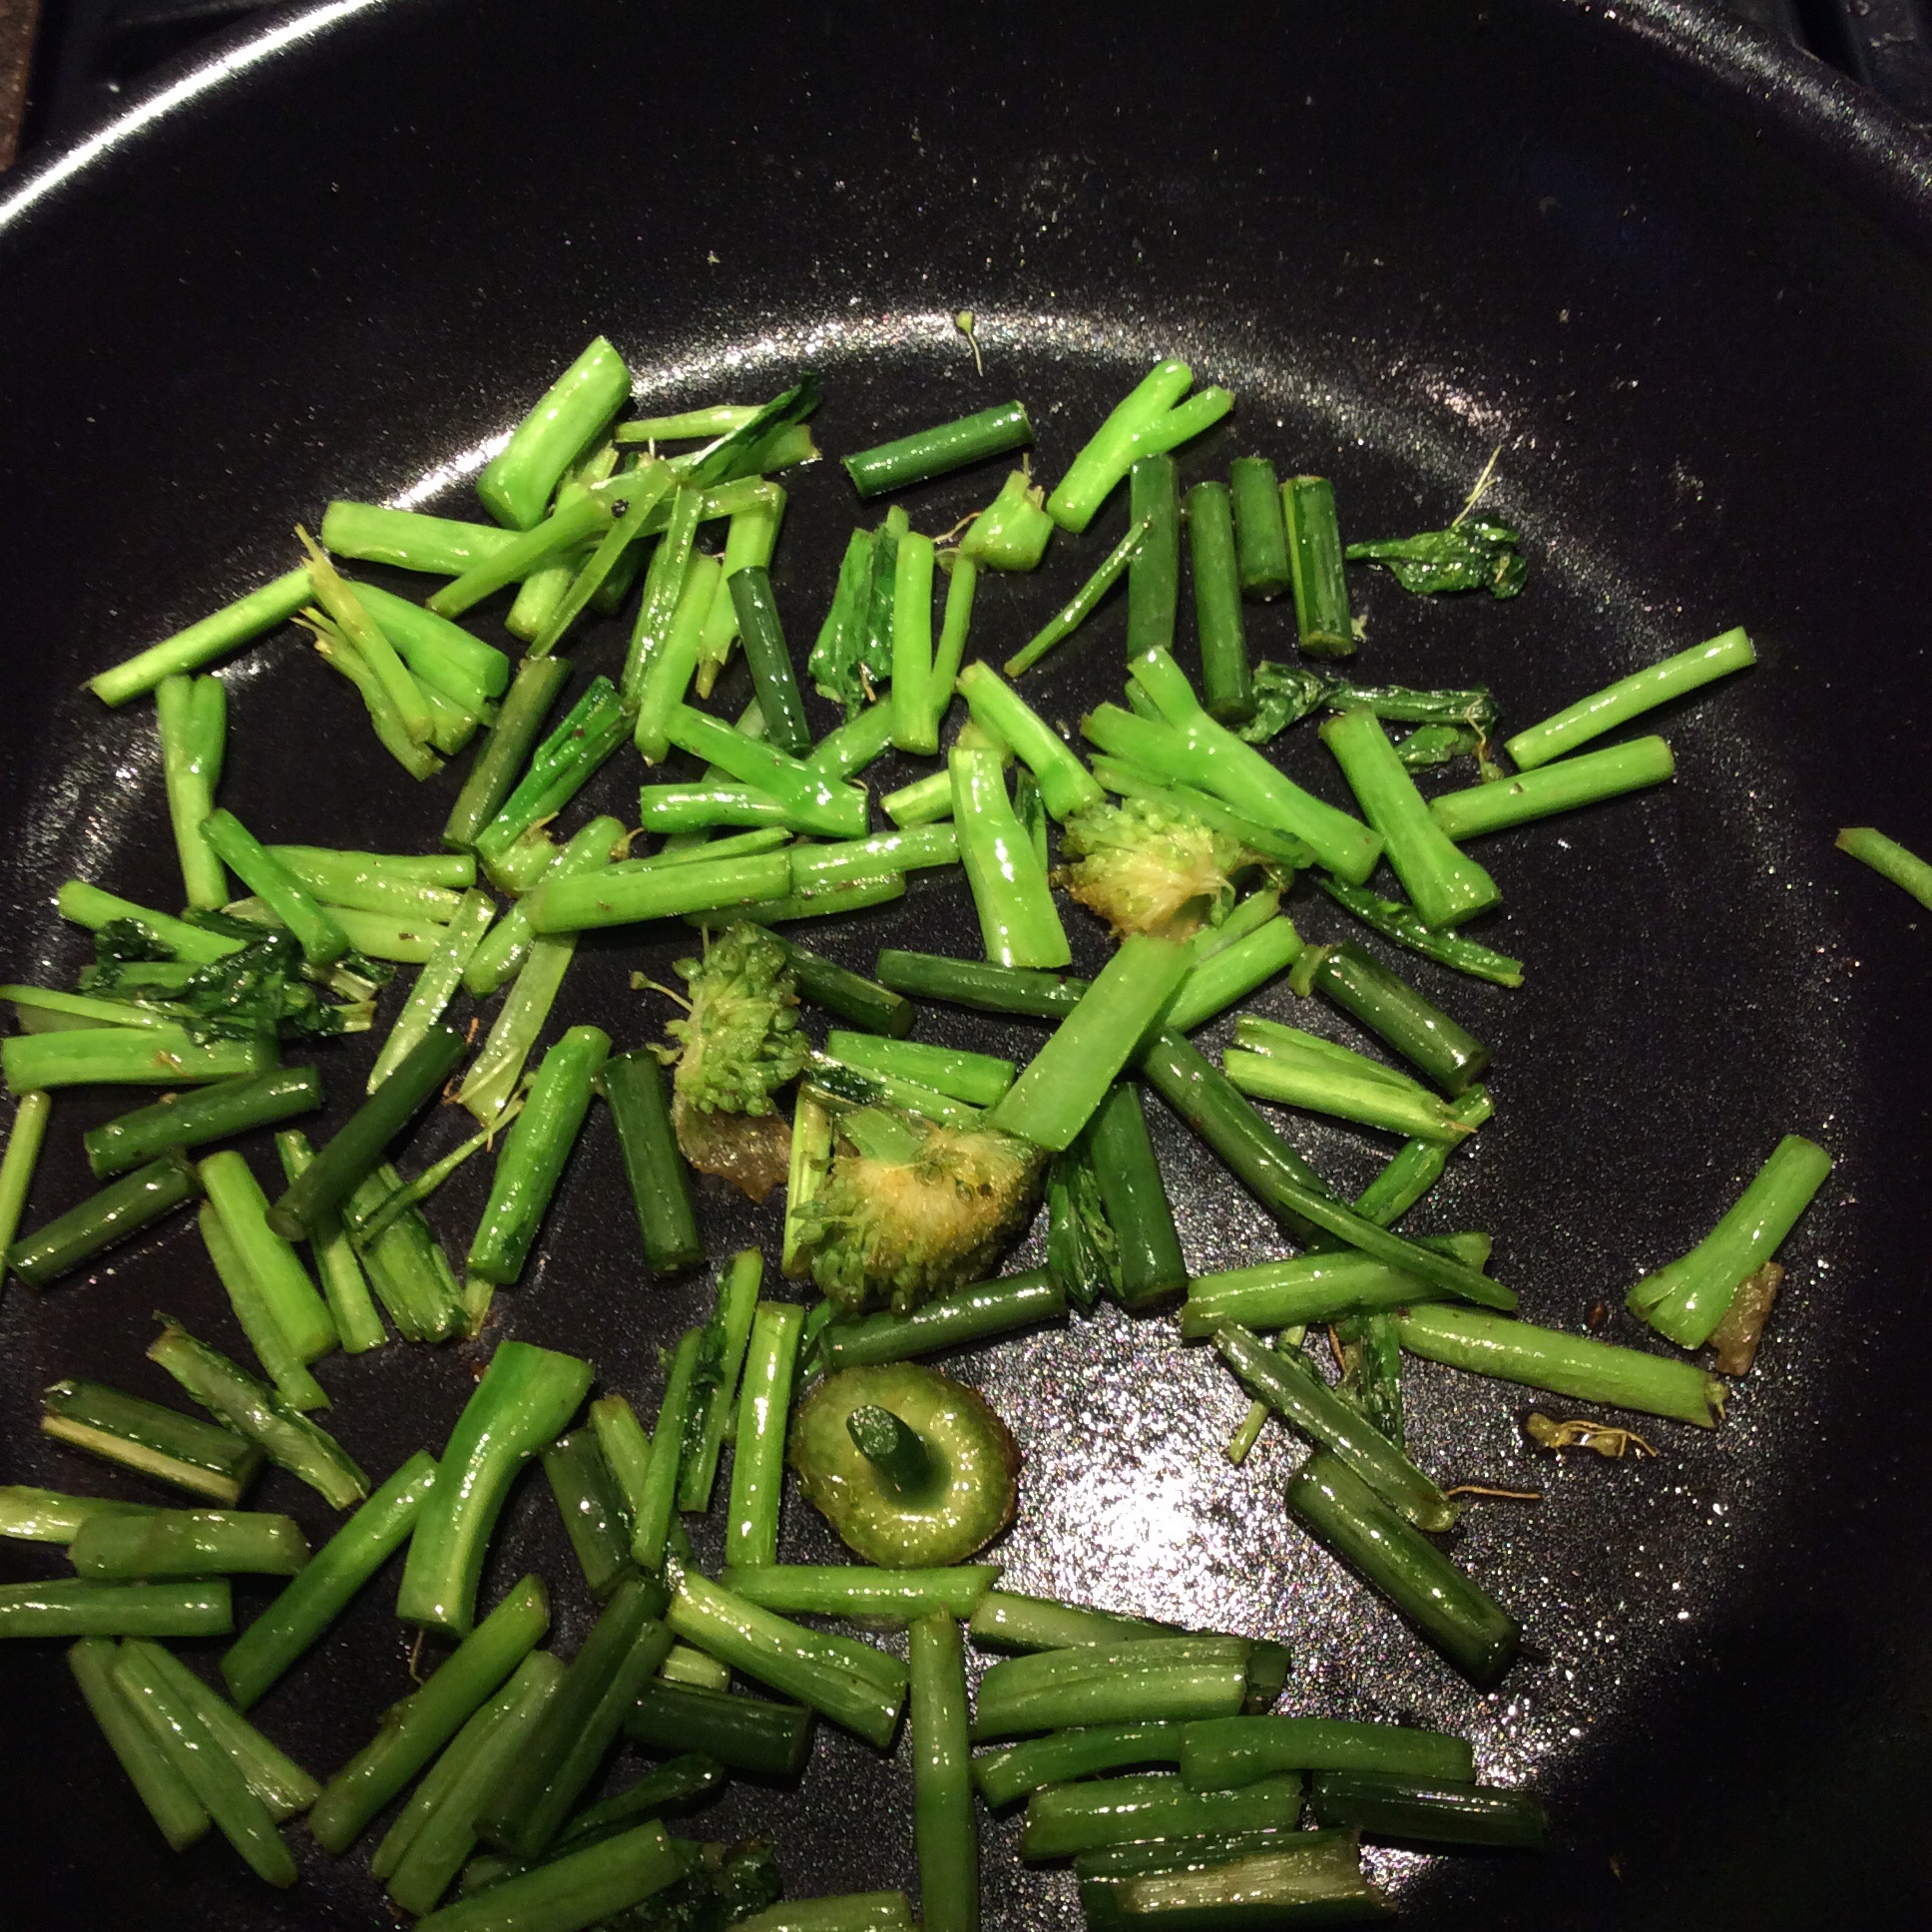
Then I heated my skillet over fairly high heat, and while it was heating I cut the garlic scapes crosswise into 1″ lengths. When it was hot, I put in a couple of tablespoons of olive oil and tossed in the garlic scapes. I put in the cut-up bud sheath from the top of the scape too, but I ended up picking it out later because it was too large and tough. No issues, you are alone and there are no mistakes. While they sizzled, I cut the mustard bunch crosswise into 1″ sections.
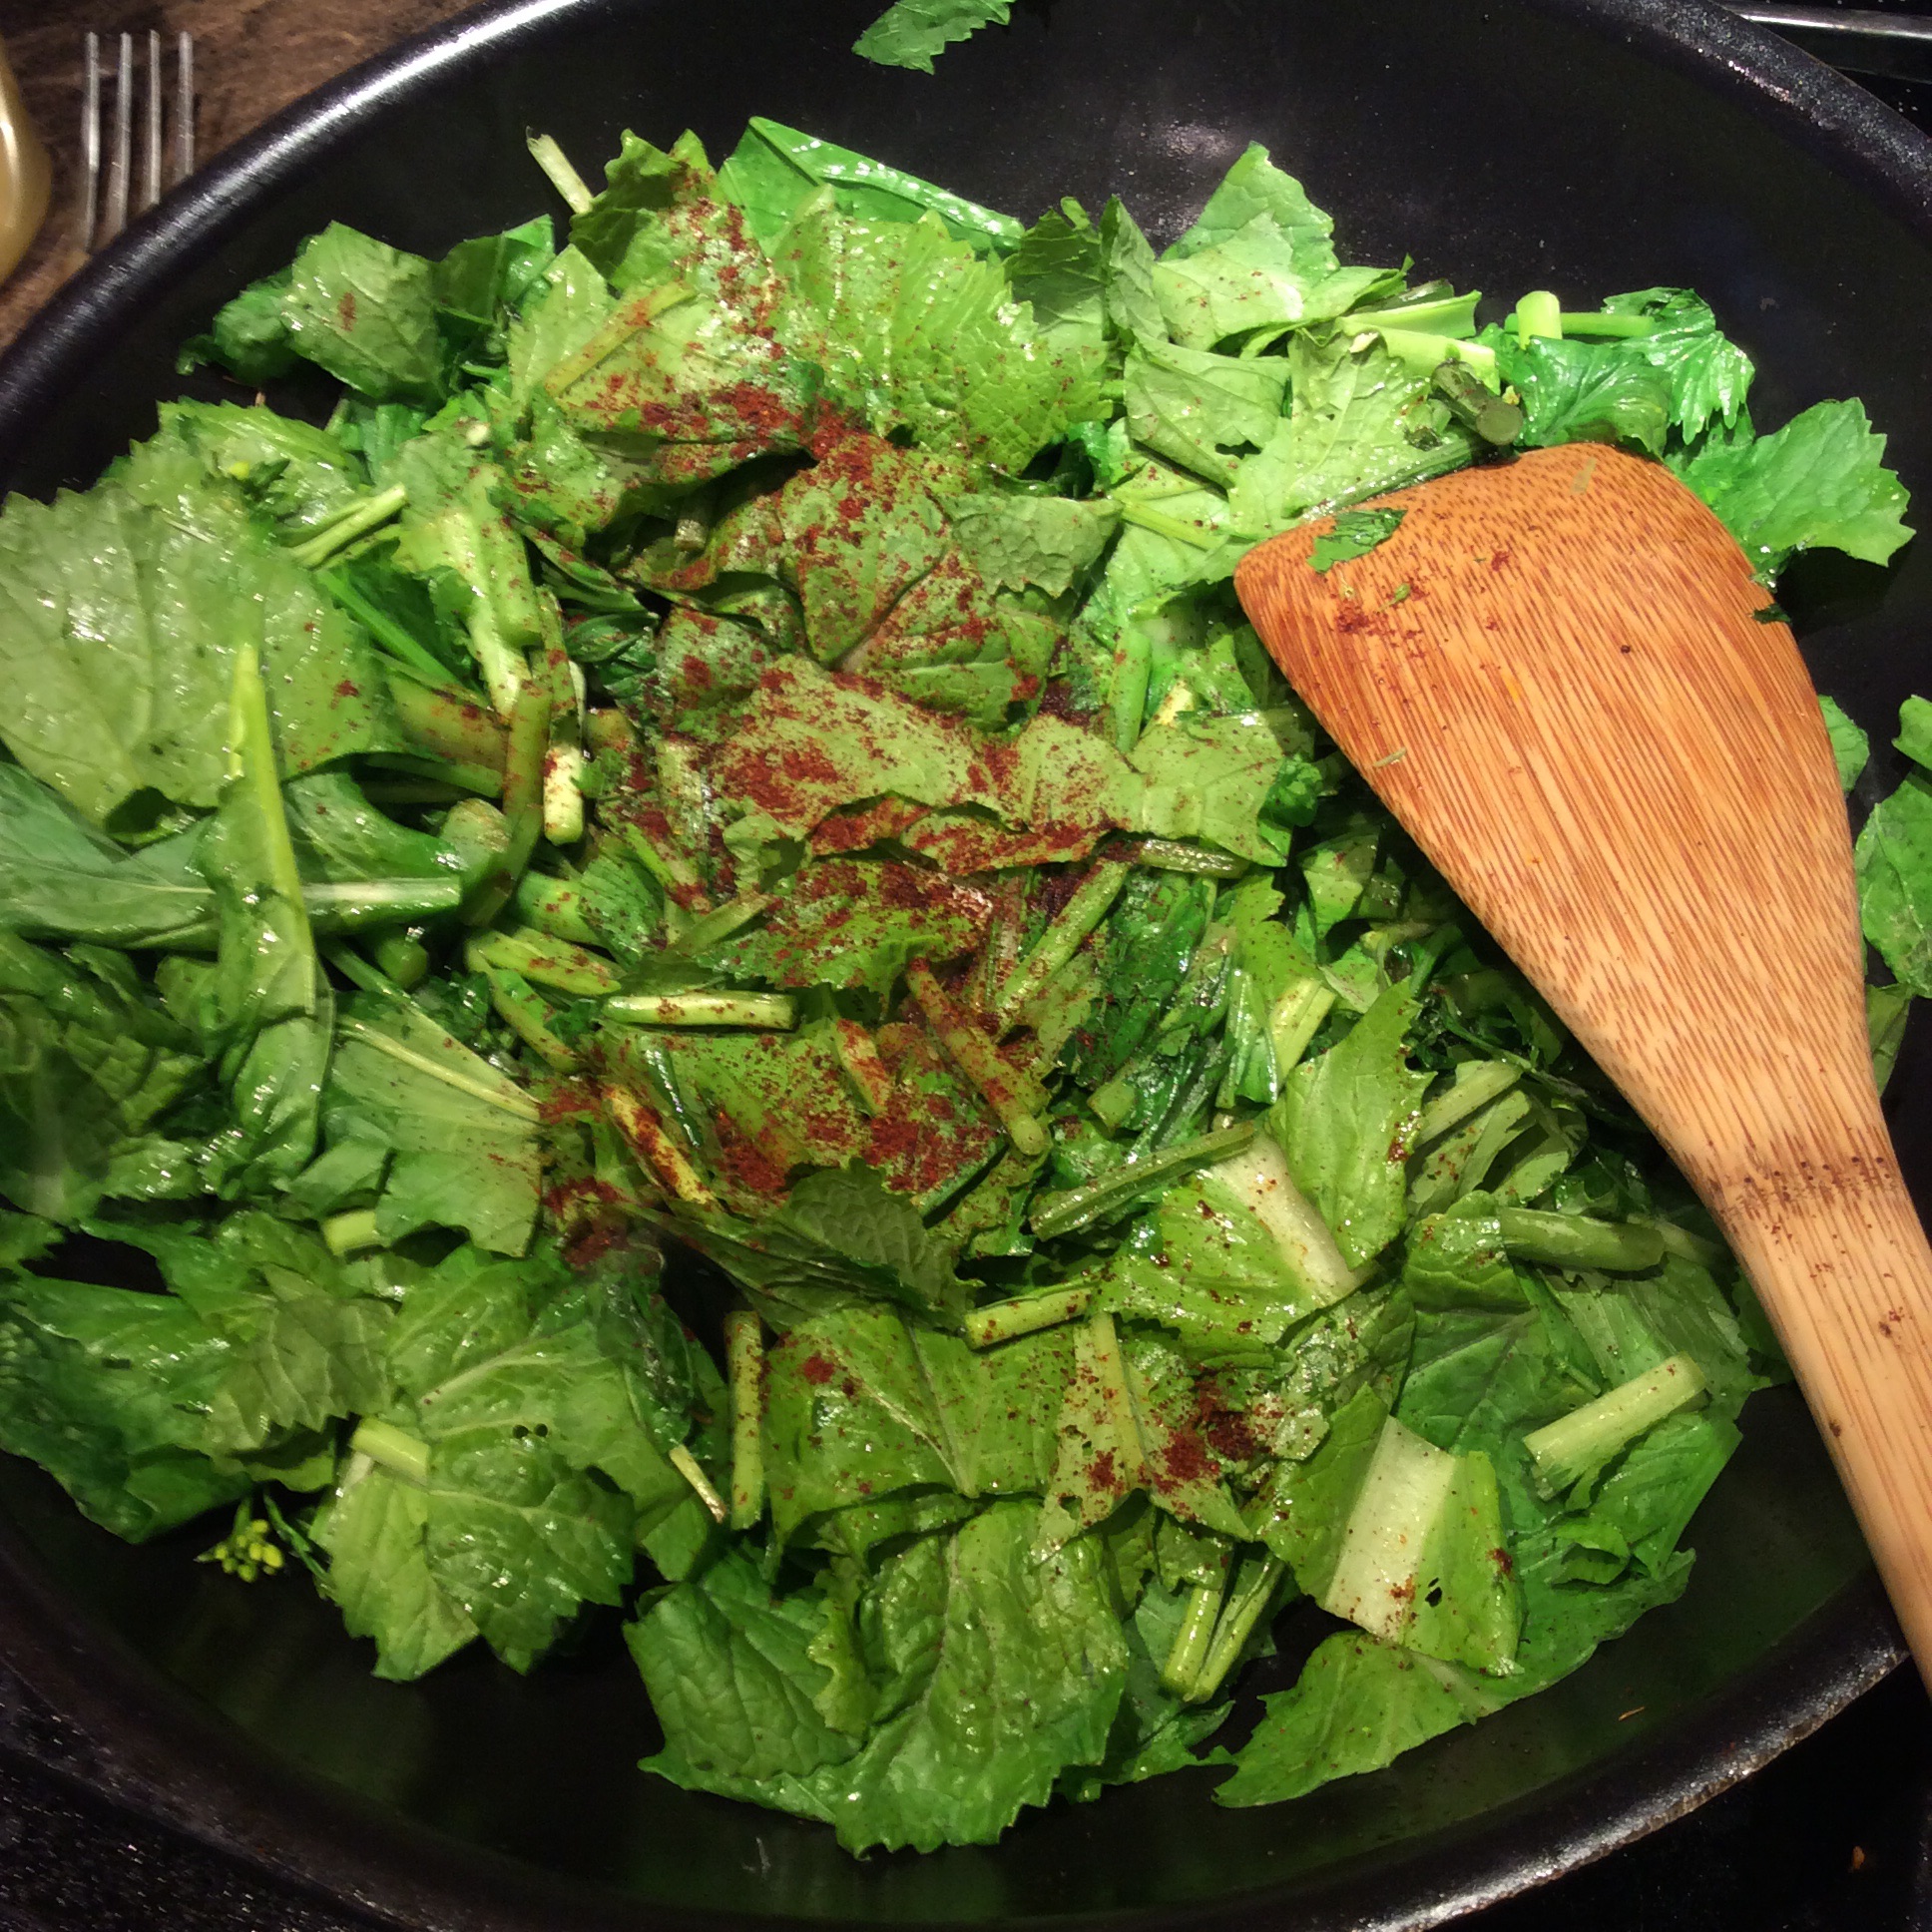
After the scapes had cooked about three minutes, I added the stem ends of the mustard, cooked a couple of minutes, and then added the rest of the cut-up mustard and a large pinch of salt, stirred and fried a few minutes, and added a heaping quarter teaspoon of ground chipotle chile. If you don’t care for heat, Spanish smoked paprika would work well. Keep tossing every minute or so.
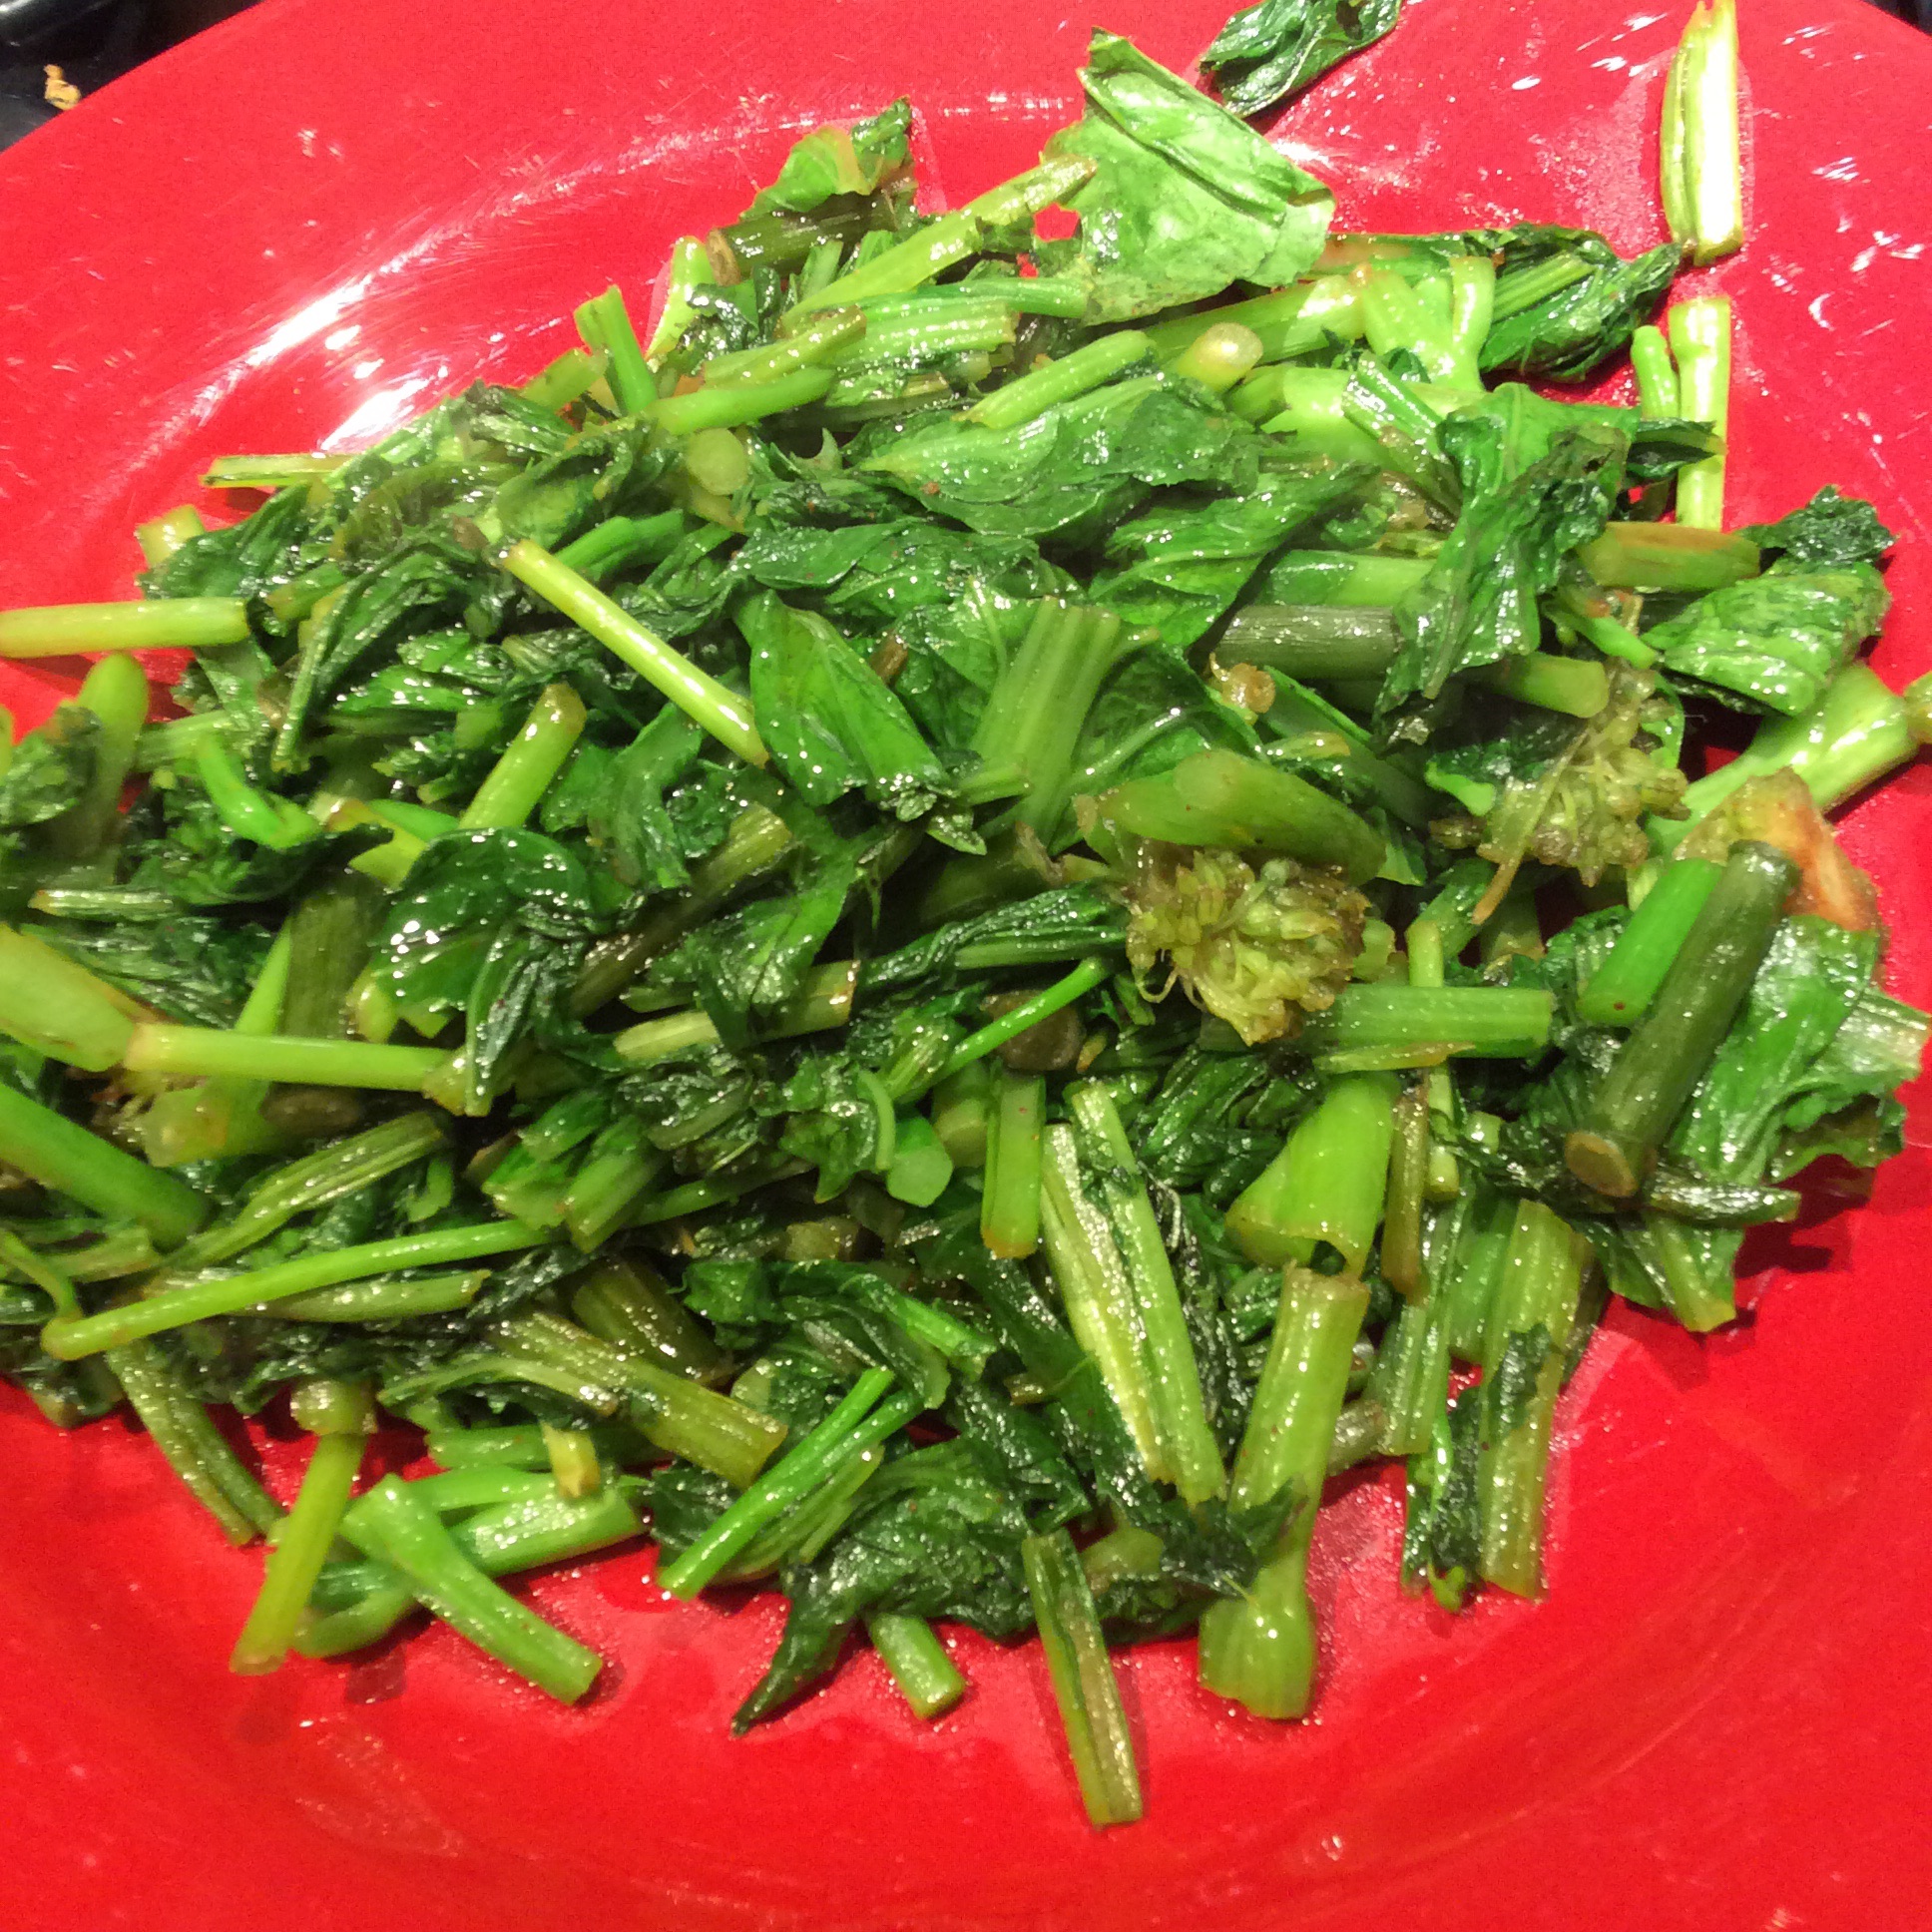
Just before they were done, I added a good dash of Red Boat fish sauce, which is easily obtainable at Asian markets or online and is the closest substitute for Italian colatura. Stir another minute, check doneness by eating a leaf section and a stem section, and keep cooking until it tastes good. Keep the heat fairly high but not hot enough to brown the leaves. When done to your taste, plate it. I think everything tastes better on red plates.
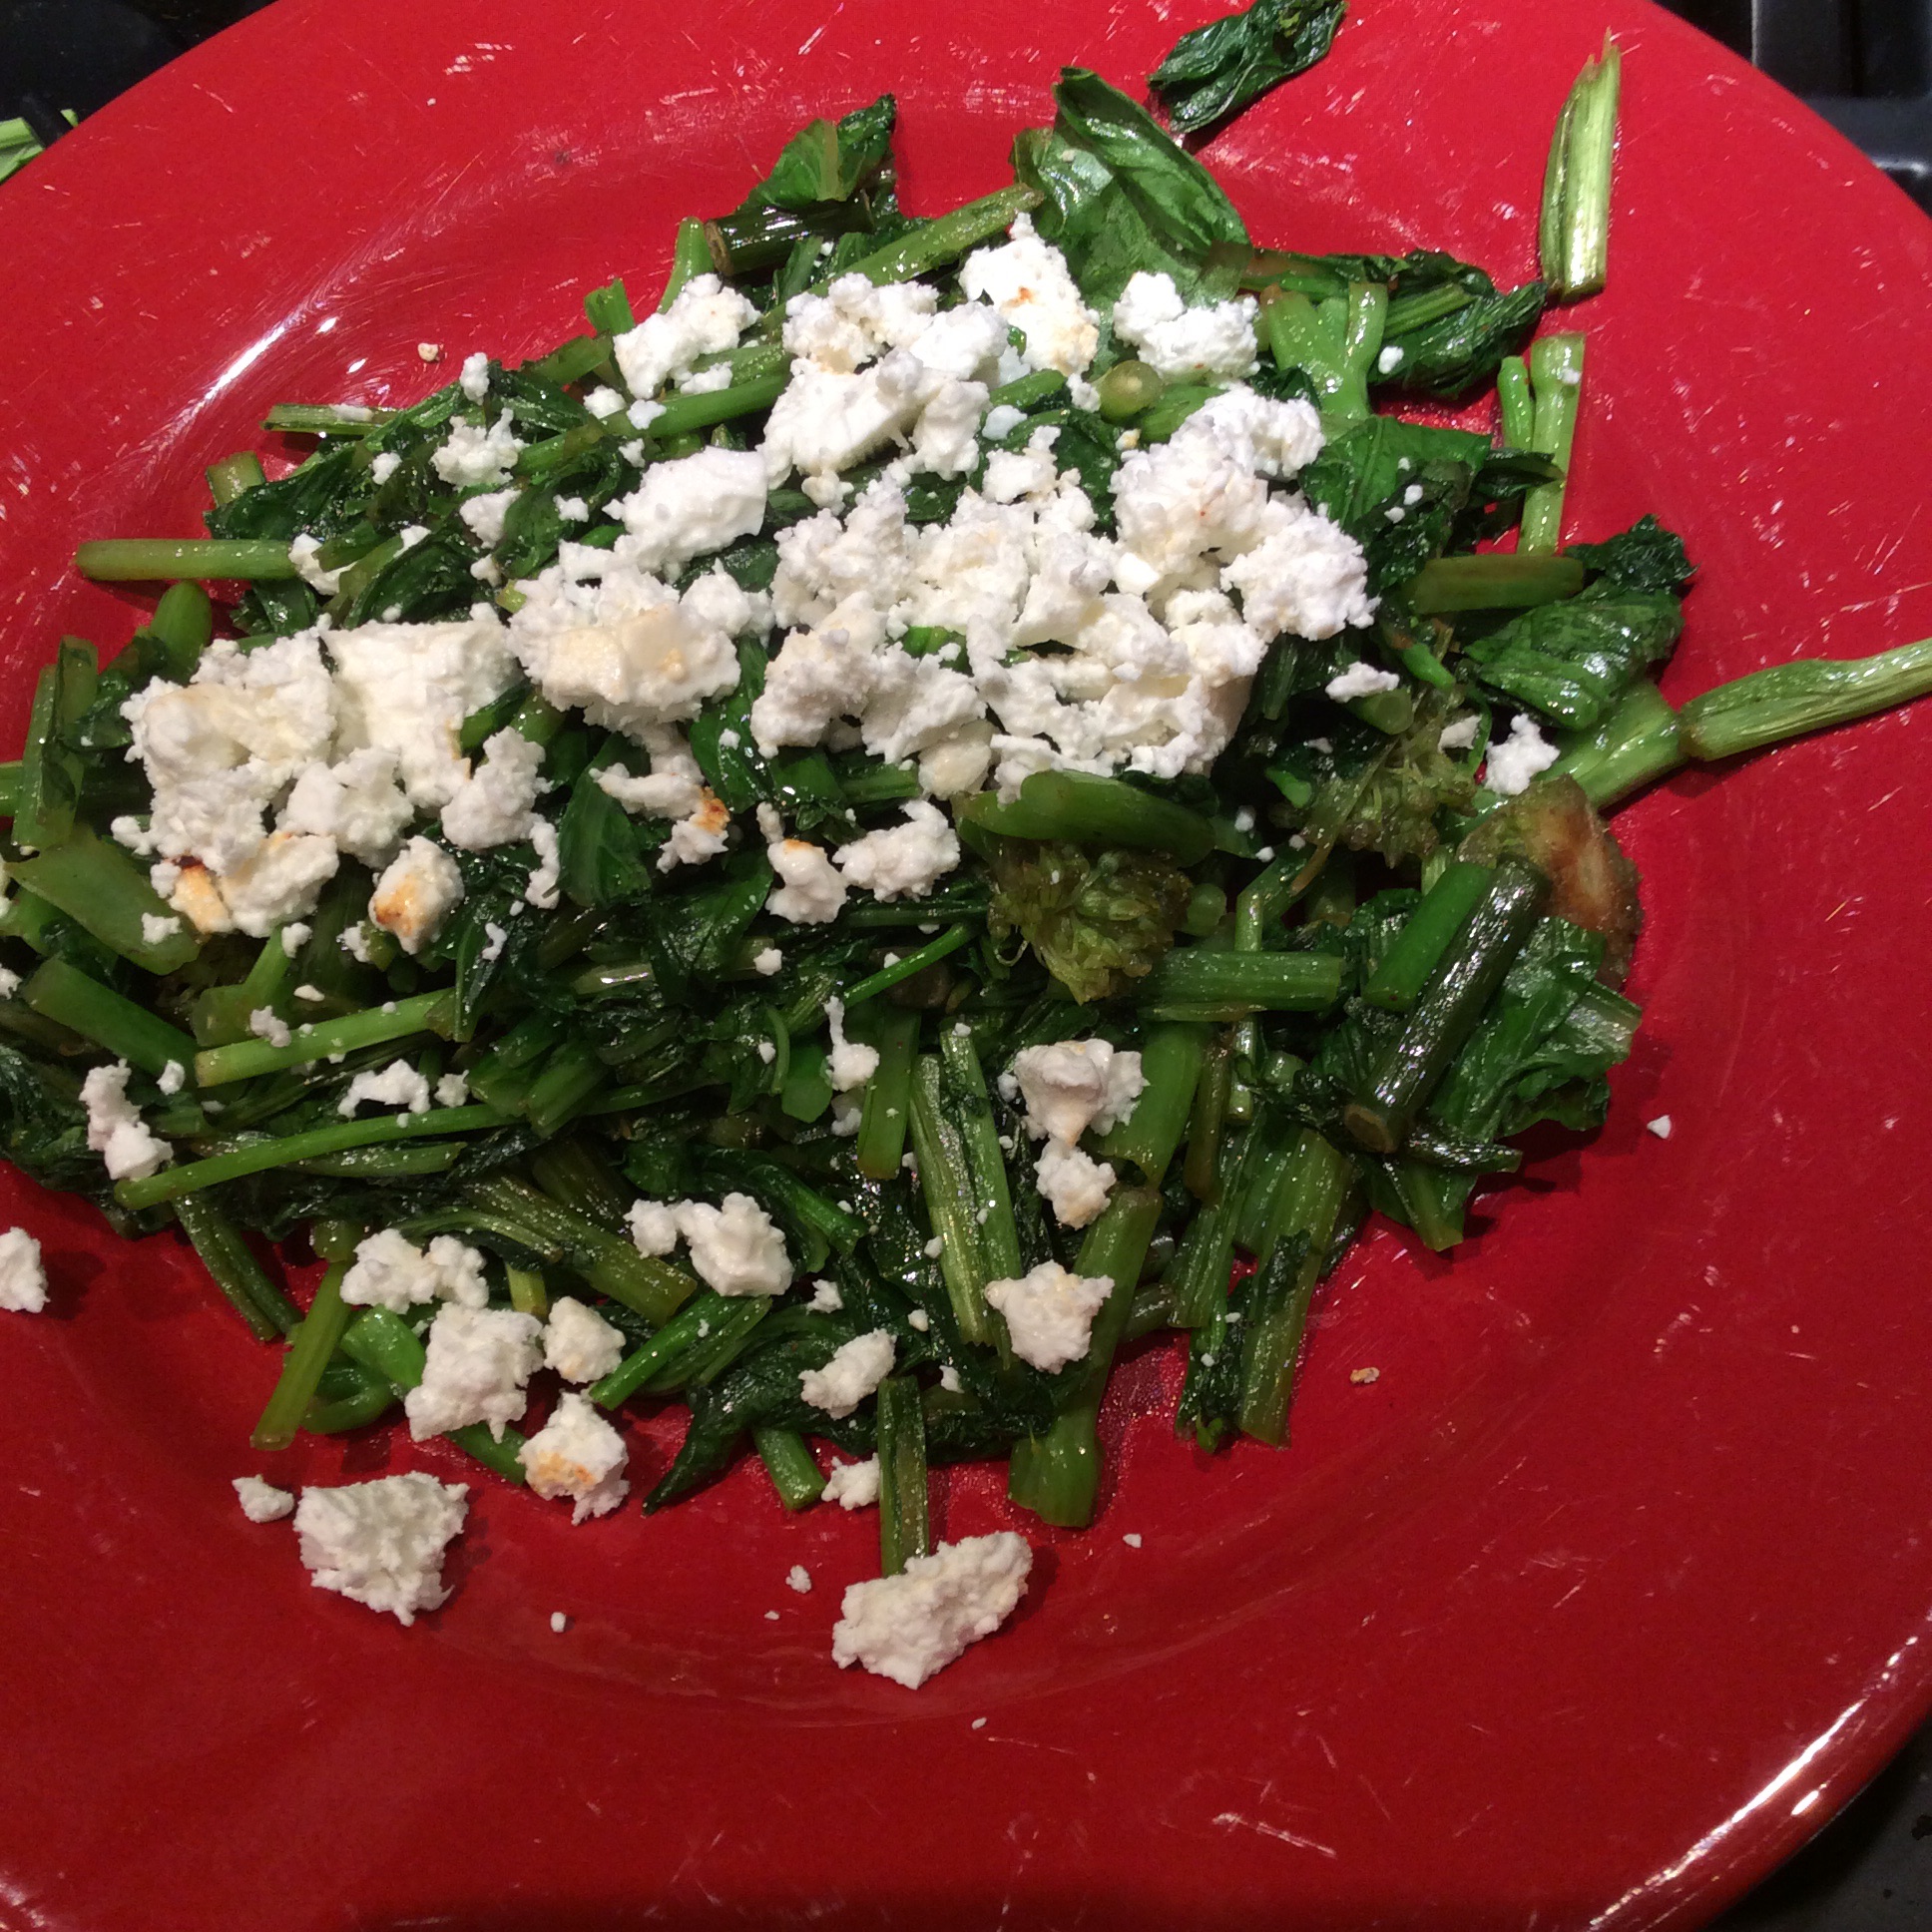
Then I looked in the refrigerator for a cheesy protein component. I suddenly went all Greek and crumbled some wonderful locally made goat feta over the top. If not using feta, check the salt. If really hungry, top the greens and feta or other cheese with a fried egg.
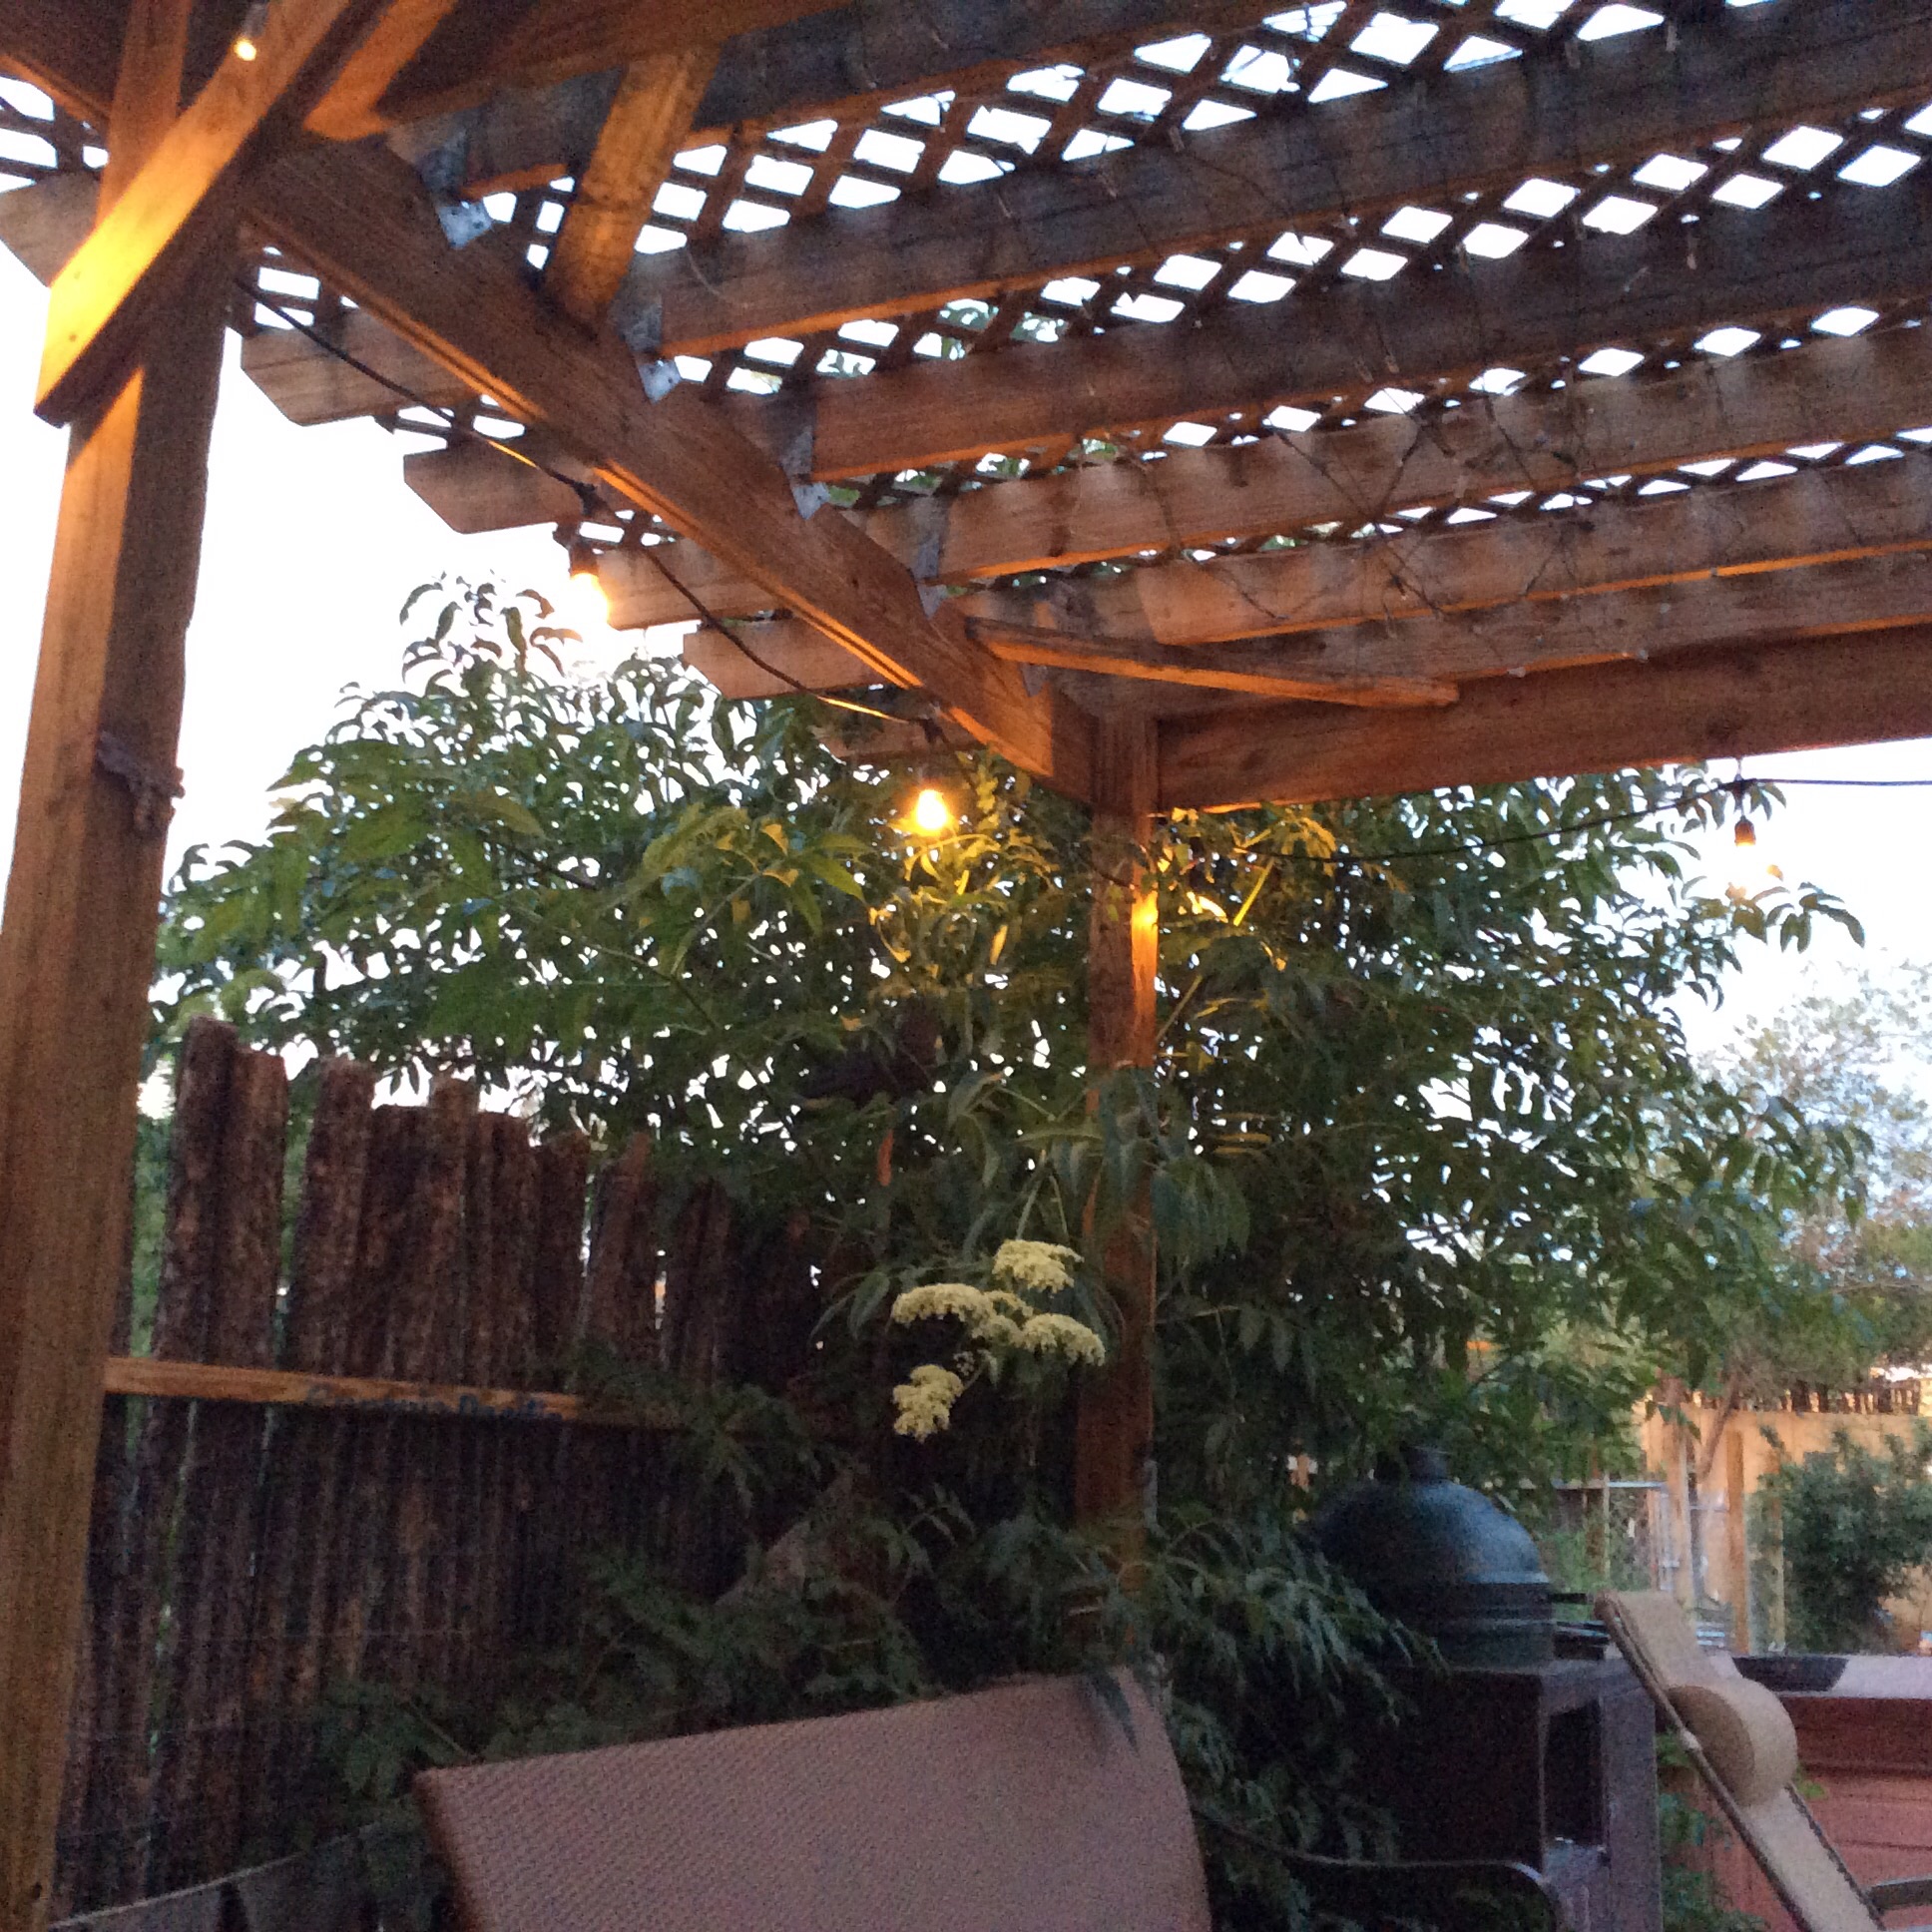
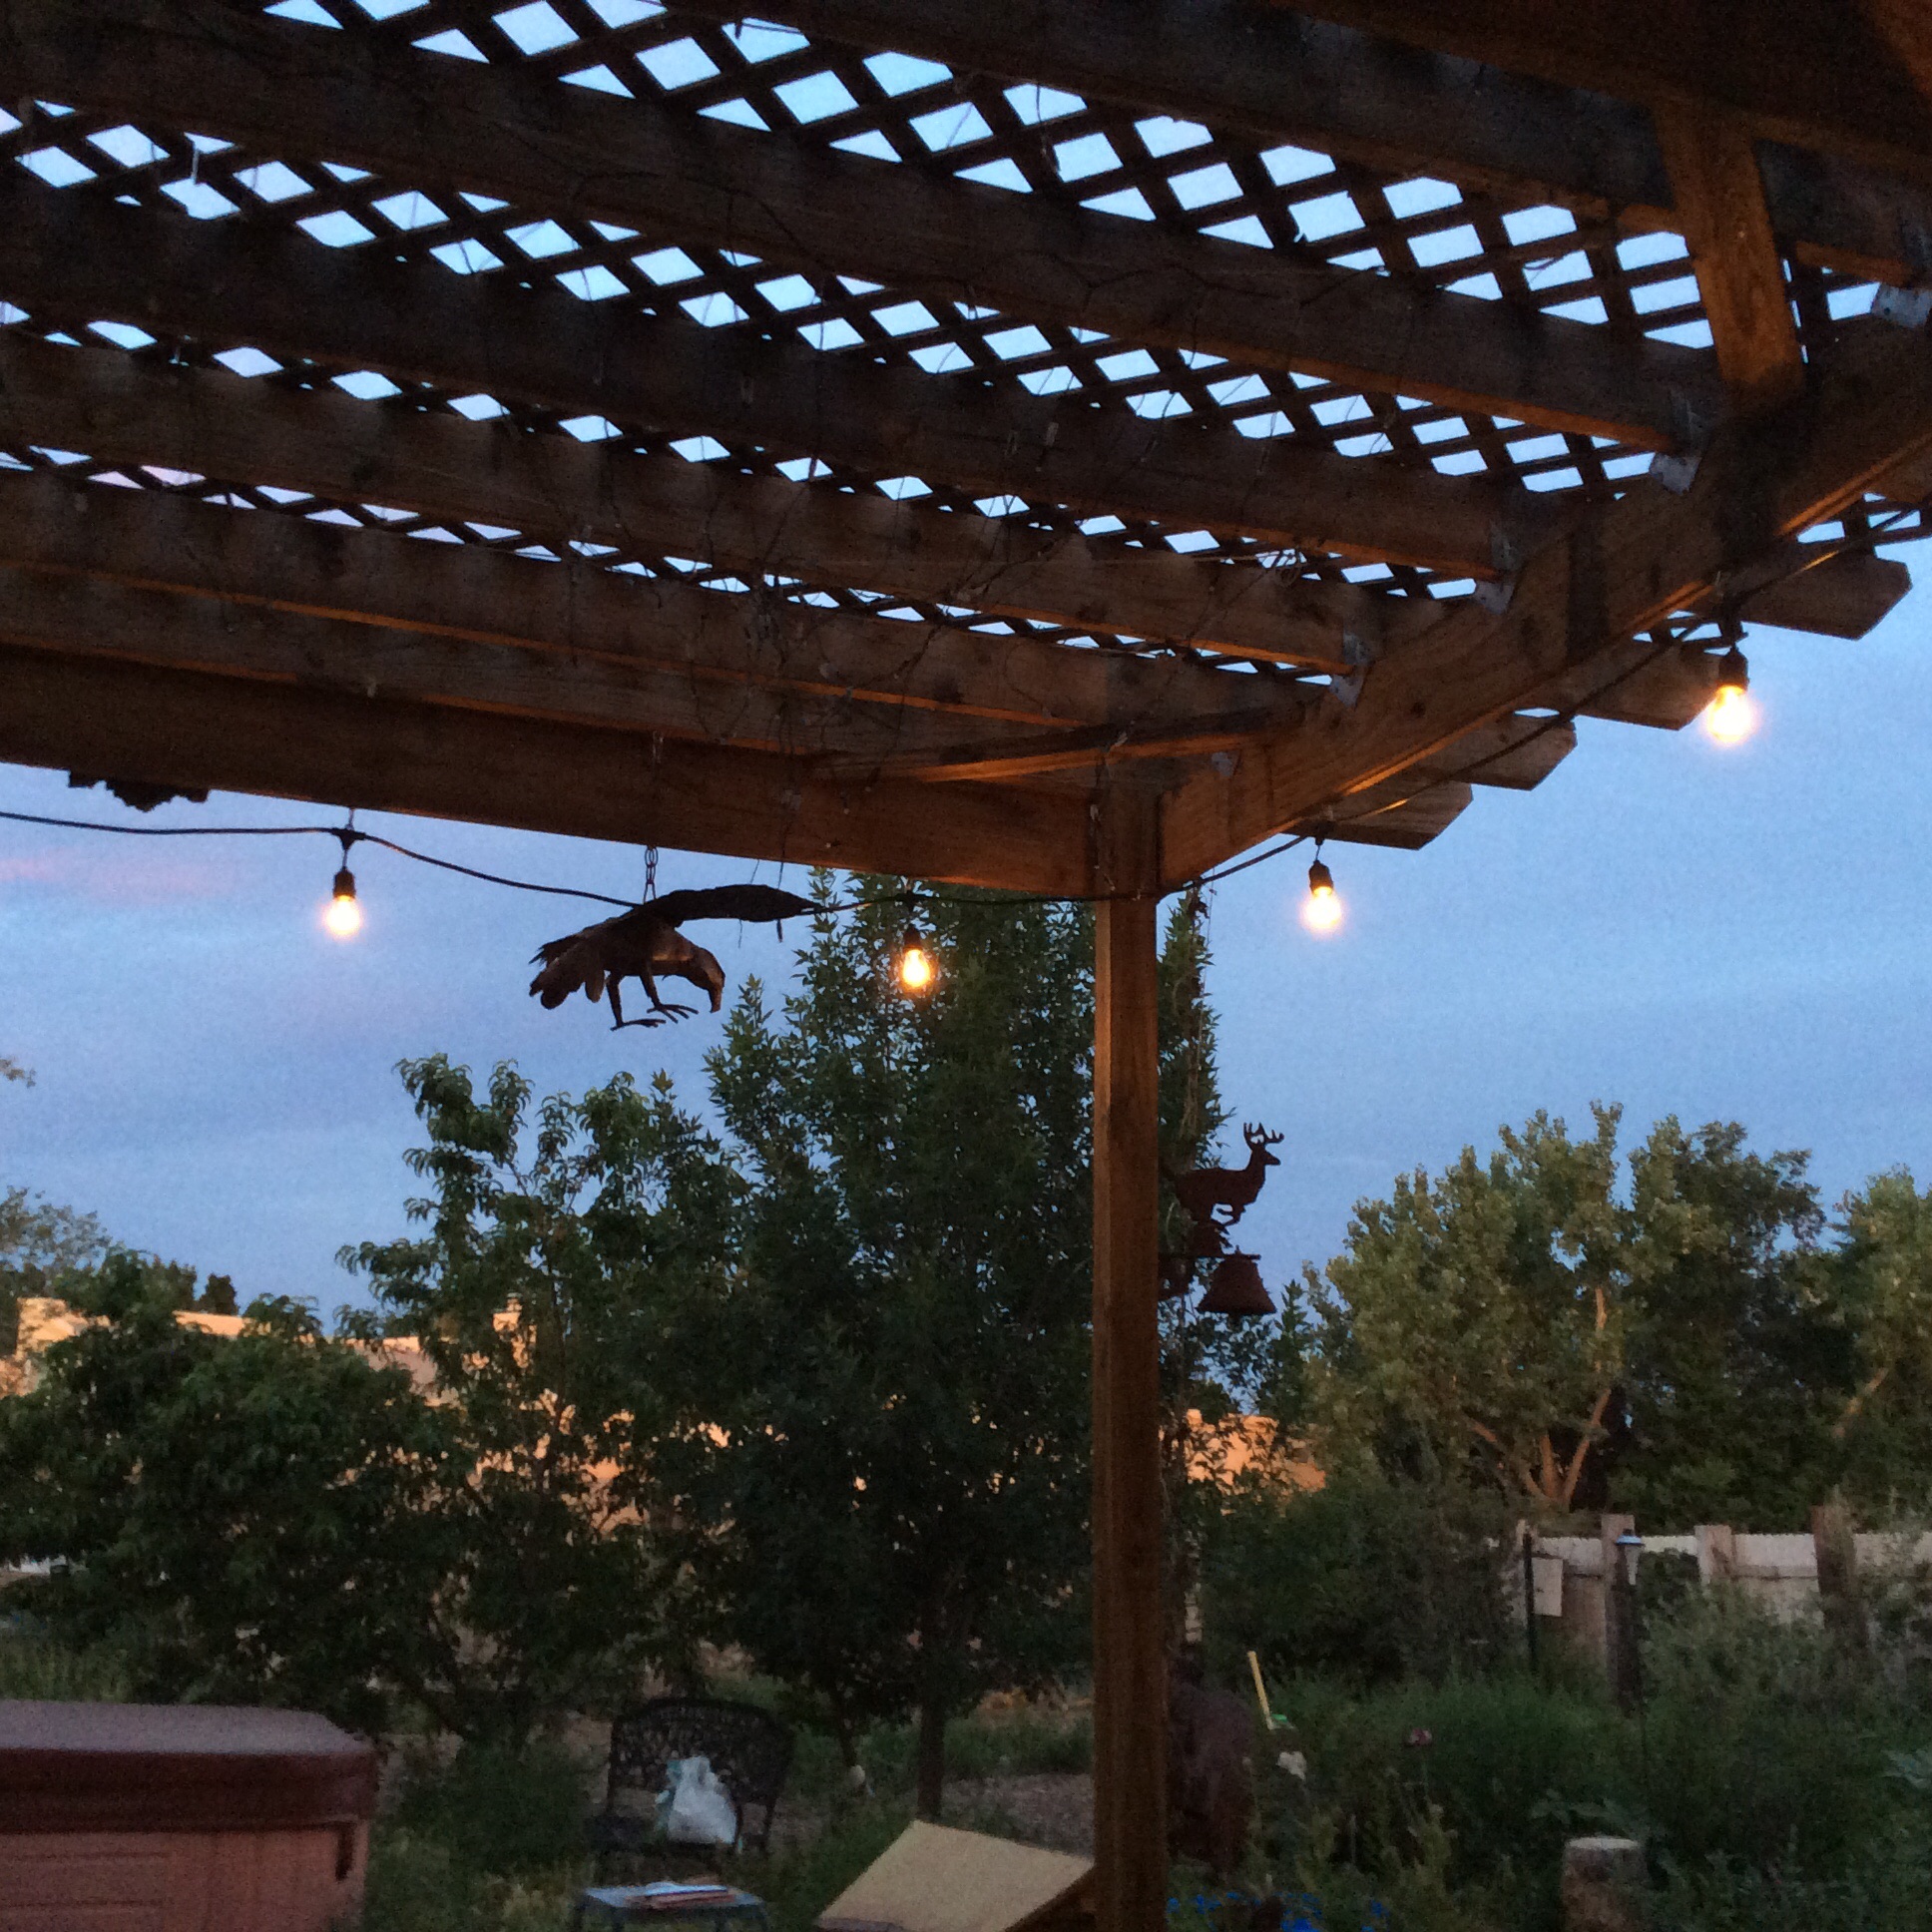
Eat in solitary splendor. You are doing a good thing for your body and it tastes good. How cool is that? So eat on the patio under the romantic lights.
Have a little dark chocolate for dessert, because life is short.
Archive for the ‘urban homesteading’ Category
9 Jun
Vegetables for One
8 Jun
Mulberry Heaven III: a minor use
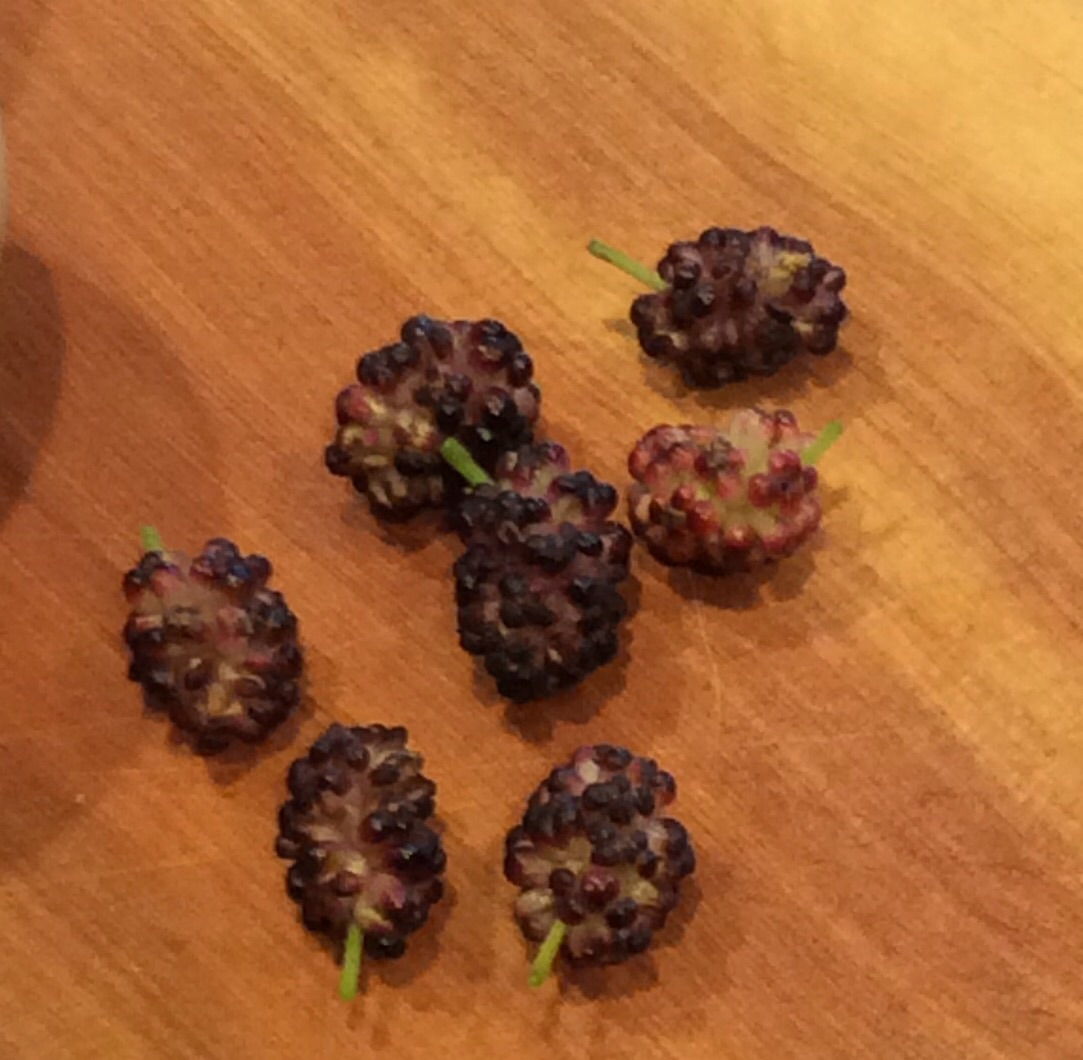
I’m an occasional fan of Persian cooking. Kukus, the seasoned egg cakes that can best be compared to frittatas, are a wonderful way to eat without fuss. Herb kukus are a special favorite of mine in the spring, when herbs are fresh and abundant, and to my taste they need barberries for the best flavor. Usually I resort to dried ones, but while having my mulberry-fest this afternoon I ate one that was only half ripe, and noticed that it was a little sweet, a lot tart, rather vegetal, and quite like a barberry. So I will pick some in this stage, with plenty of white still showing, and freeze them to throw in dolma filling or a kuku when the mood takes me.
As you get to know your plants and your land, they will drop some lovely unexpected gifts in your lap.
6 Jun
Mulberry Heaven II: Mulberry Leaf Dolmas
As I mentioned in my last mulberry post, I’m fond of eating very young mulberry leaves in cooked greens mixtures, and recently I was inspired by a post on TC Permaculture to think about mulberry leaf dolmas. I had located a mulberry tree with big and fairly tasty leaves, perfect for dolmas:
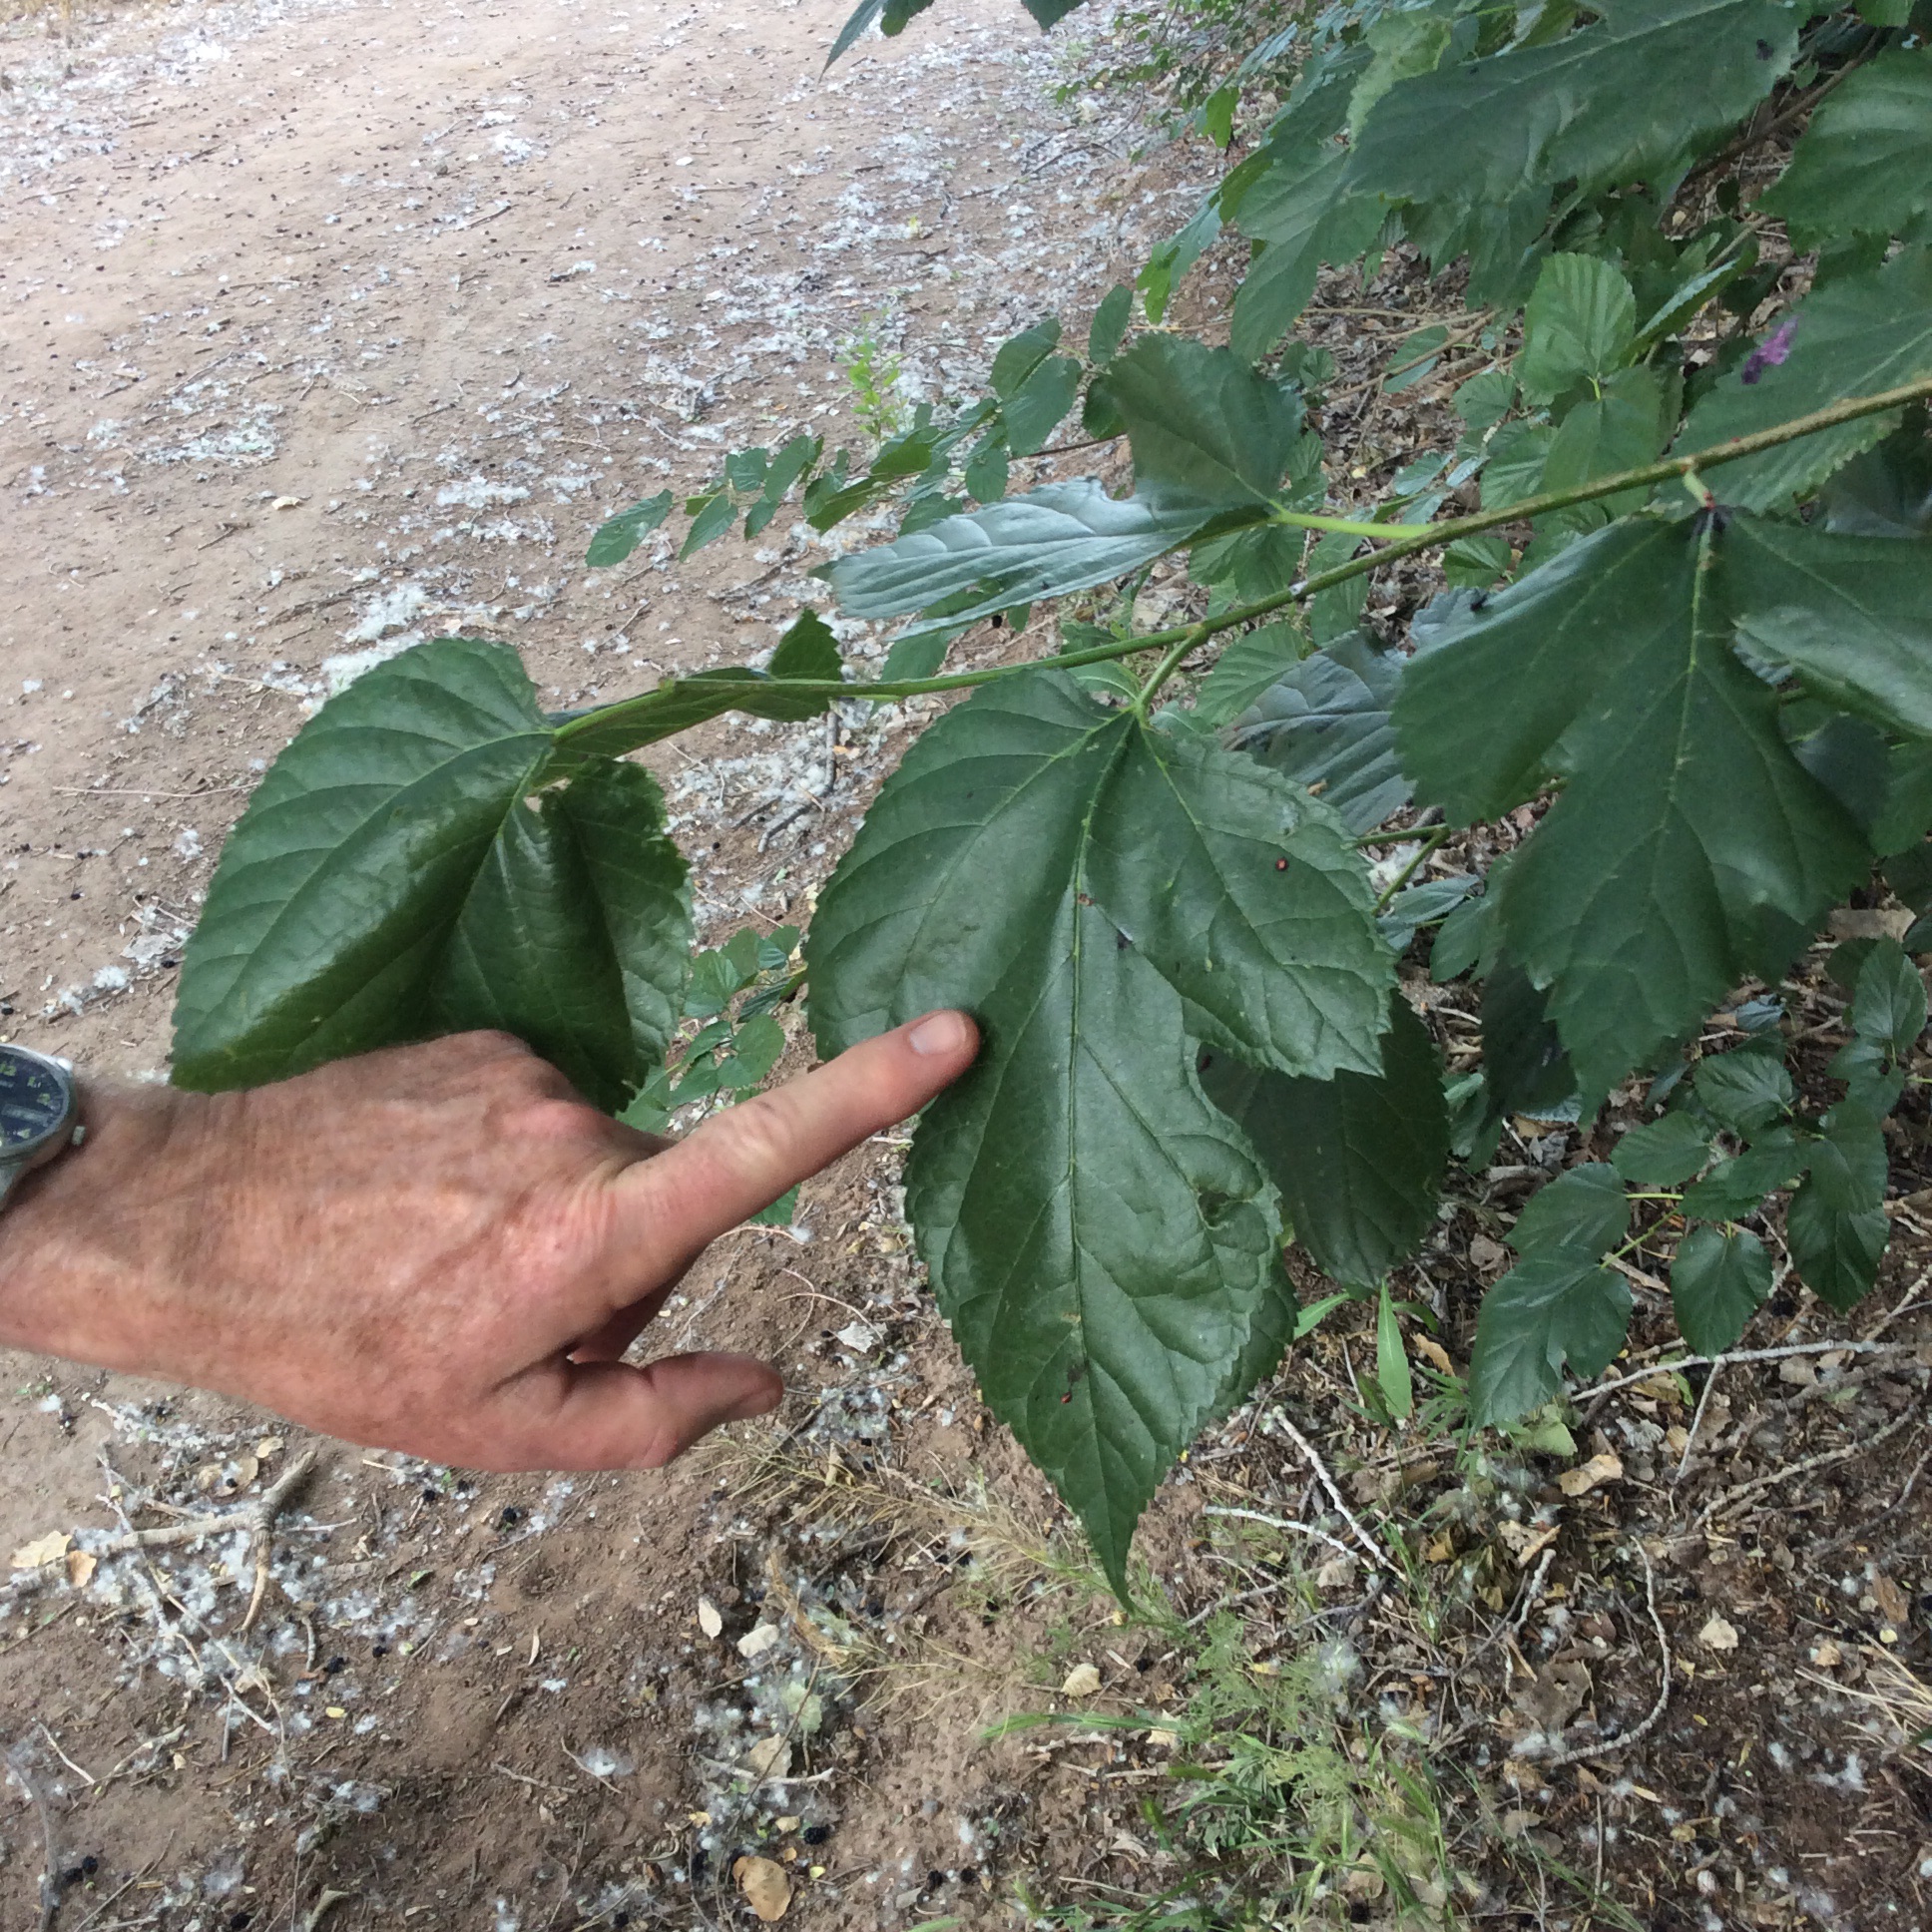
I asked my friend to stick his hand in the picture so that you can see that these leaves are big, over 7 inches long in many cases.
Be aware that if you are going to cook with mulberry leaves, they have to be young and you have to taste them first. Some are quite tasty, some are okay, and some are awful. Chew up a little bit. It will taste raw and green, but if there are acrid awful flavors, don’t go further. Use grape leaves instead in that case.
I foraged a couple of dozen big mulberry leaves, rinsed and blanched them for a minute in boiling water, and set out to make a meat filling. Mine was very improvisational, so I’ll describe it casually. For more specific and concrete recipes, you can google “dolmas” and find hundreds. I wanted to use what was fresh and good in my garden.
I started with a pound of ground beef from our local grassfed beef people. Don’t use beef that’s very lean; it will be dry when cooked. I chopped up three large green onions, greens and whites chopped separately, and four cloves of garlic. I put the white onion parts and the garlic to sauté over medium-low heat in a glug of good olive oil. While they cooked, I chopped a handful of parsley, a large sprig of cutting celery, a few large sprigs of thyme, a large handful of cilantro with stems, and a sprig of sweet marjoram, and mixed them with the chopped onion greens. To the beef I added a heaping teaspoon of salt and a heaping teaspoon of Maras pepper flakes. The Maras pepper was courtesy of a friend who kindly muled it back from Turkey for me, but you can use any mild red pepper flakes, or leave them out. Work the sautéed mixture and the chopped herbs into the beef very well with your hands. Now work in a cup of toasted pine nuts, chopped toasted almonds, or chopped toasted walnuts. Let the mixture rest in the refrigerator an hour or two if possible, or up to overnight, to let the flavors develop.
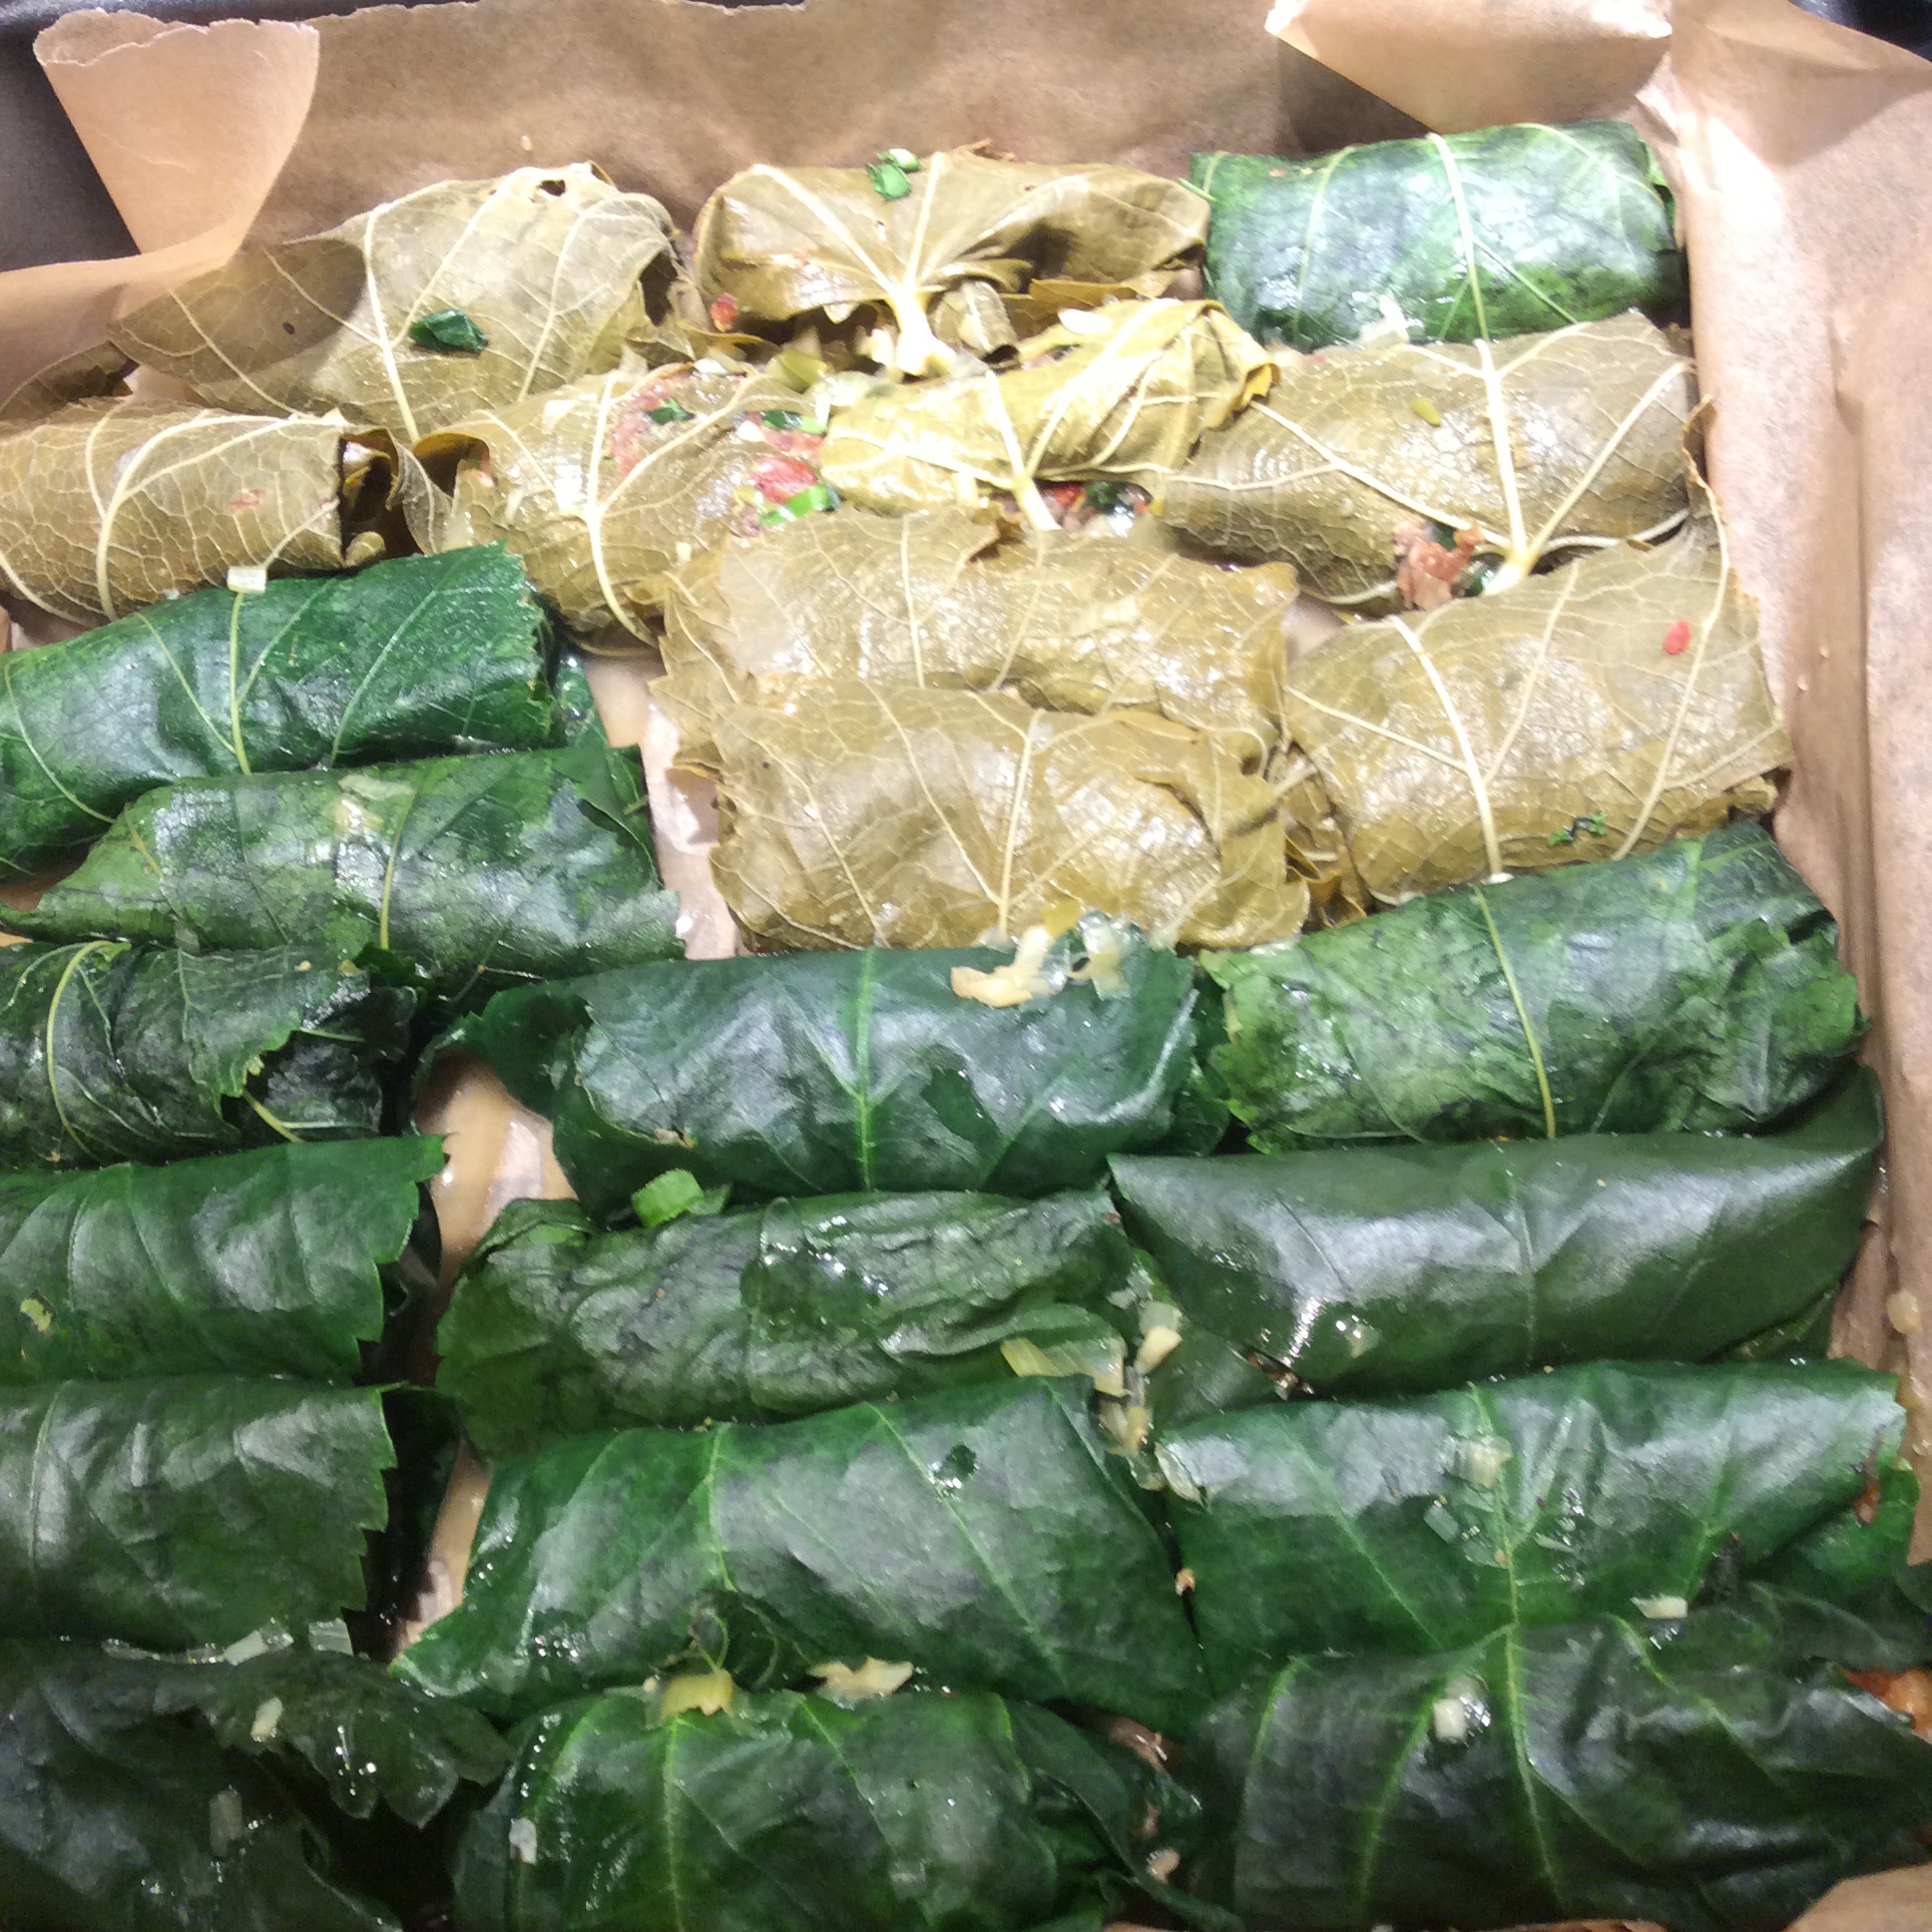
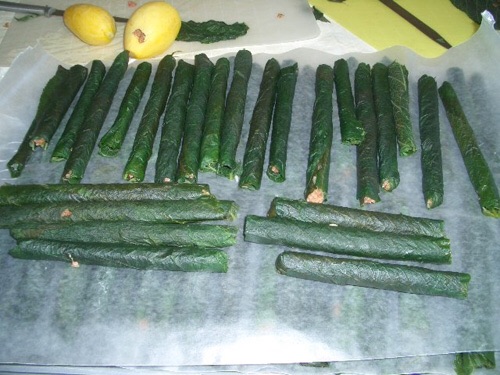
Fill the dolmas; again, there are a thousand visual tutorials online if you are unfamiliar with the process. Fit them tightly into a pan lined with parchment paper. In the photo below you can see some made with grape leaves among the vibrant dark green mulberry dolmas.
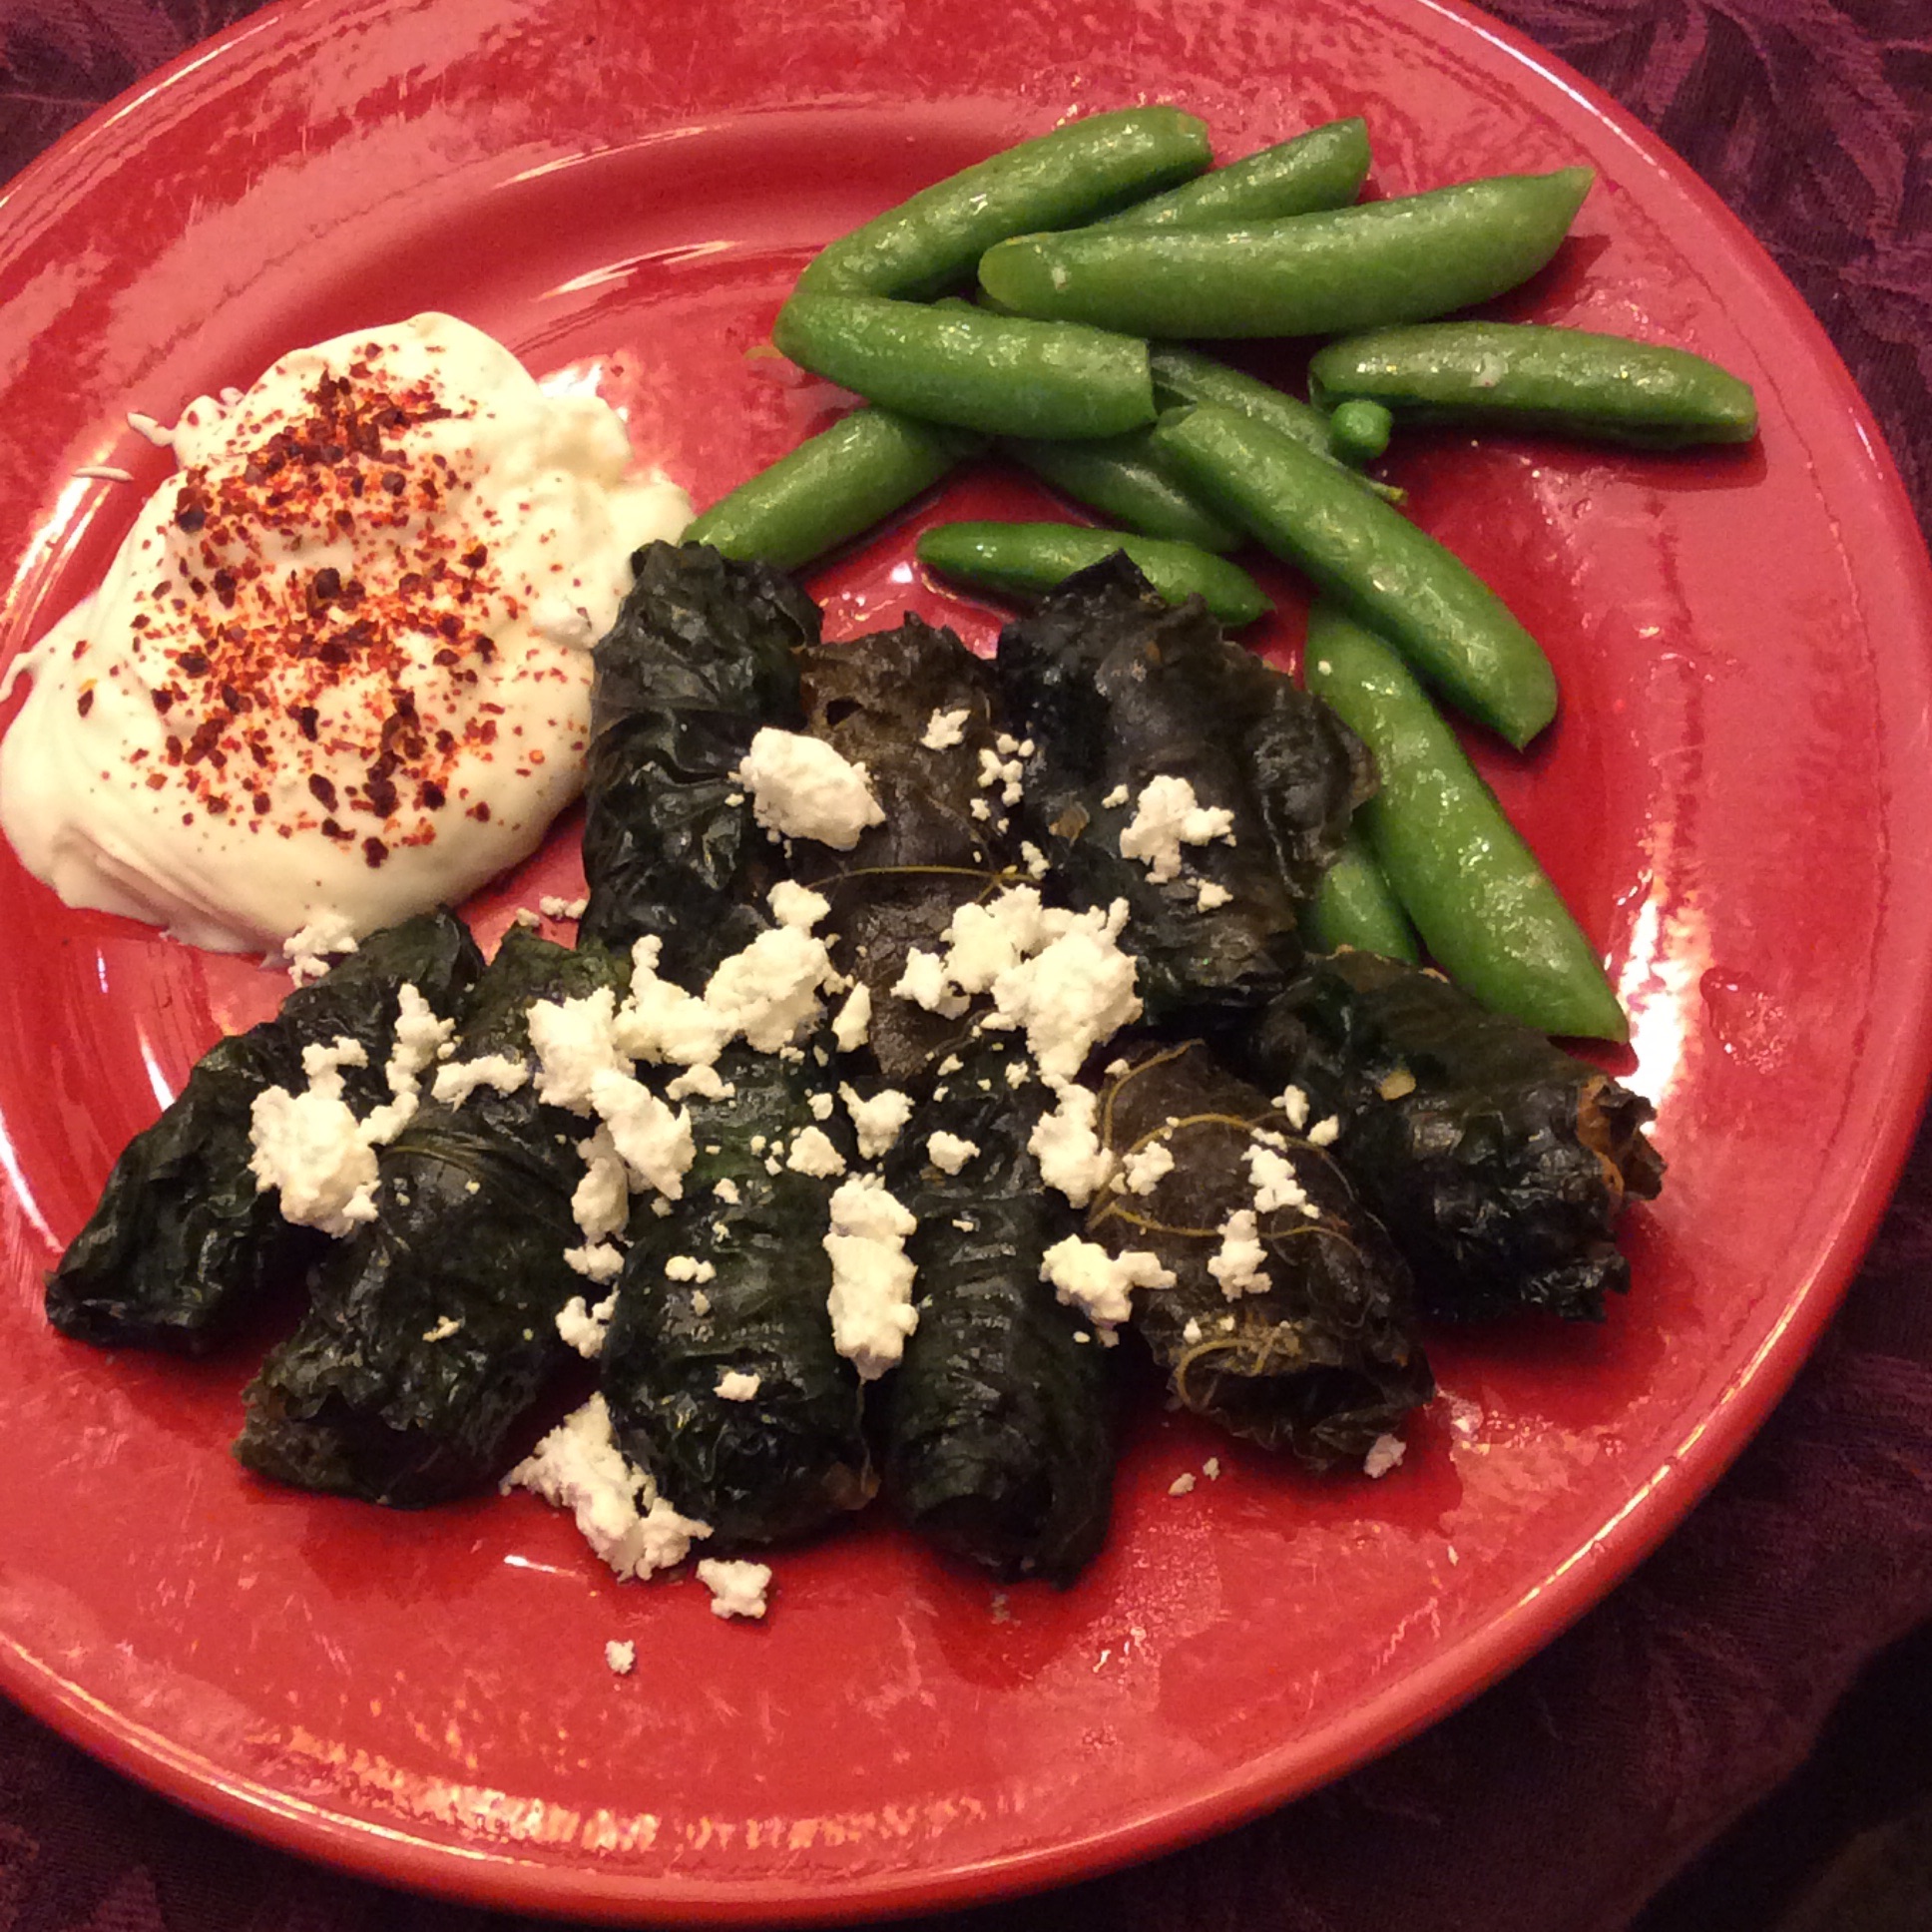
Put about a quarter cup of water in the pan, and cover loosely with foil. Bake at 350 for about 25 minutes. Boil down the pan juices in a little saucepan to make a sauce, if it tastes at all watery right out of the oven, which it probably won’t because of all the herbs. Serve them forth, with well-strained or full-fat Greek yogurt. I like to salt the yogurt to taste. Ornament the yogurt with a drift of pepper flakes or a scattering of paprika if you like. Scatter crumbled feta over the dolmas if that suits your taste.
I don’t add rice to the filling because I’m a ketogenic eater, but if you aren’t, feel free to add rice for a more traditional filling, or you could add bread crumbs for a less dense filling. If you want to take the trouble, you can make an avgolemono sauce or a tomato sauce to go over the dolmas. But do keep the field-and-garden improvisational nature of the thing.
4 Jun
Mulberry Heaven
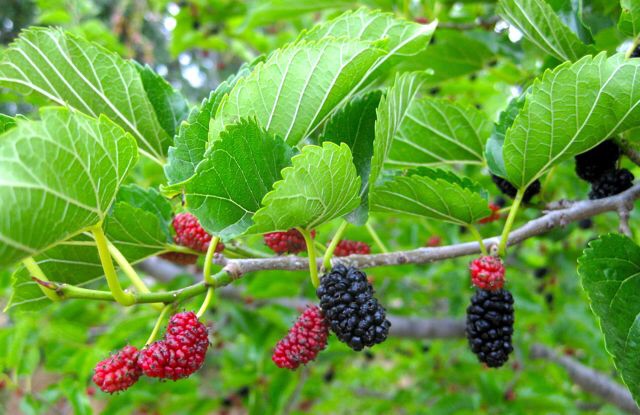
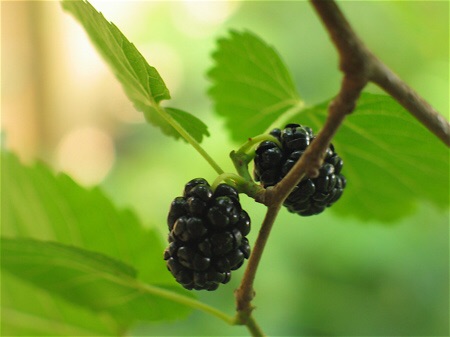
Near my home there is a mulberry tree that has delicious black fruit and low-hanging branches. When the fruit ripens, I throw my ketogenic diet temporarily out the window and go every evening to stand under it, gorging myself, while my dogs eat dropped fruit off the path. This is one of the greatest joys of the summer season. But it isn’t by any means the only use for mulberry trees.
On my own property I don’t have any mulberries big enough to fruit, but I do have two mulberries that I harvest greens from. The leaves of all mulberries are edible when young and tender, but flavor ranges from tasty to nasty. By hanging around a local organic nursery and surreptitiously tasting leaves, I got a couple that had fairly good-tasting leaves. At my last home I had a mulberry with delicious and large leaves, but alas, that tree is no longer mine, and I didn’t try rooting cuttings because I had no clue how hard it would be to replace. But the ones I now have are passable. The trees will rapidly grow tall if you let them, which I don’t. From the time they are 4 feet high I start managing them for leaf harvest by keeping them small. At first this is a matter of a little delicate trimming and weighting some branches so that they grow out nearly parallel to the ground. Later on in their lives, much harder cutting is needed, and by the time that they are 5-7 years old, they need coppicing (cutting off a few feet above the ground) to keep them in check. Coppicing keeps them from producing fruit, and incidentally they also don’t bloom and produce their incredibly allergenic pollen when managed this way. They do produce masses of young tender tips that can be pinched off at the point where they are nonwoody and break easily and cooked as a green, a good green that fills in gaps between cold-weather and hot-weather greens and contains resveratrol as a bonus.
At the point when my coppiced trees start producing more greens than I can use (which is a few years down the road,) I will start harvesting bigger branches for my goat, who thinks that mulberry branches are the food of queens. Mulberry leaves can also be dried to make tea, although I think the resulting tea is pretty insipid stuff and needs other herbs for interest. I would also use “extra” cuttings for mulch and spare biomass.
For more about mulberry trees, see the link below for a terrific and very comprehensive post about mulberries in permaculture. Don’t miss the wonderful pictures of stuffed mulberry leaves! The recipes are available too, and I plan to try this soon.
Temperate Zone Permaculture mulberry post
This image of stuffed mulberry leaves, poached from the Temperate Zone Permaculture post linked in above, looks especially interesting to me. Check out the recipes in that post.

The stigmata of the mulberry fancier. Consider yourself warned.
