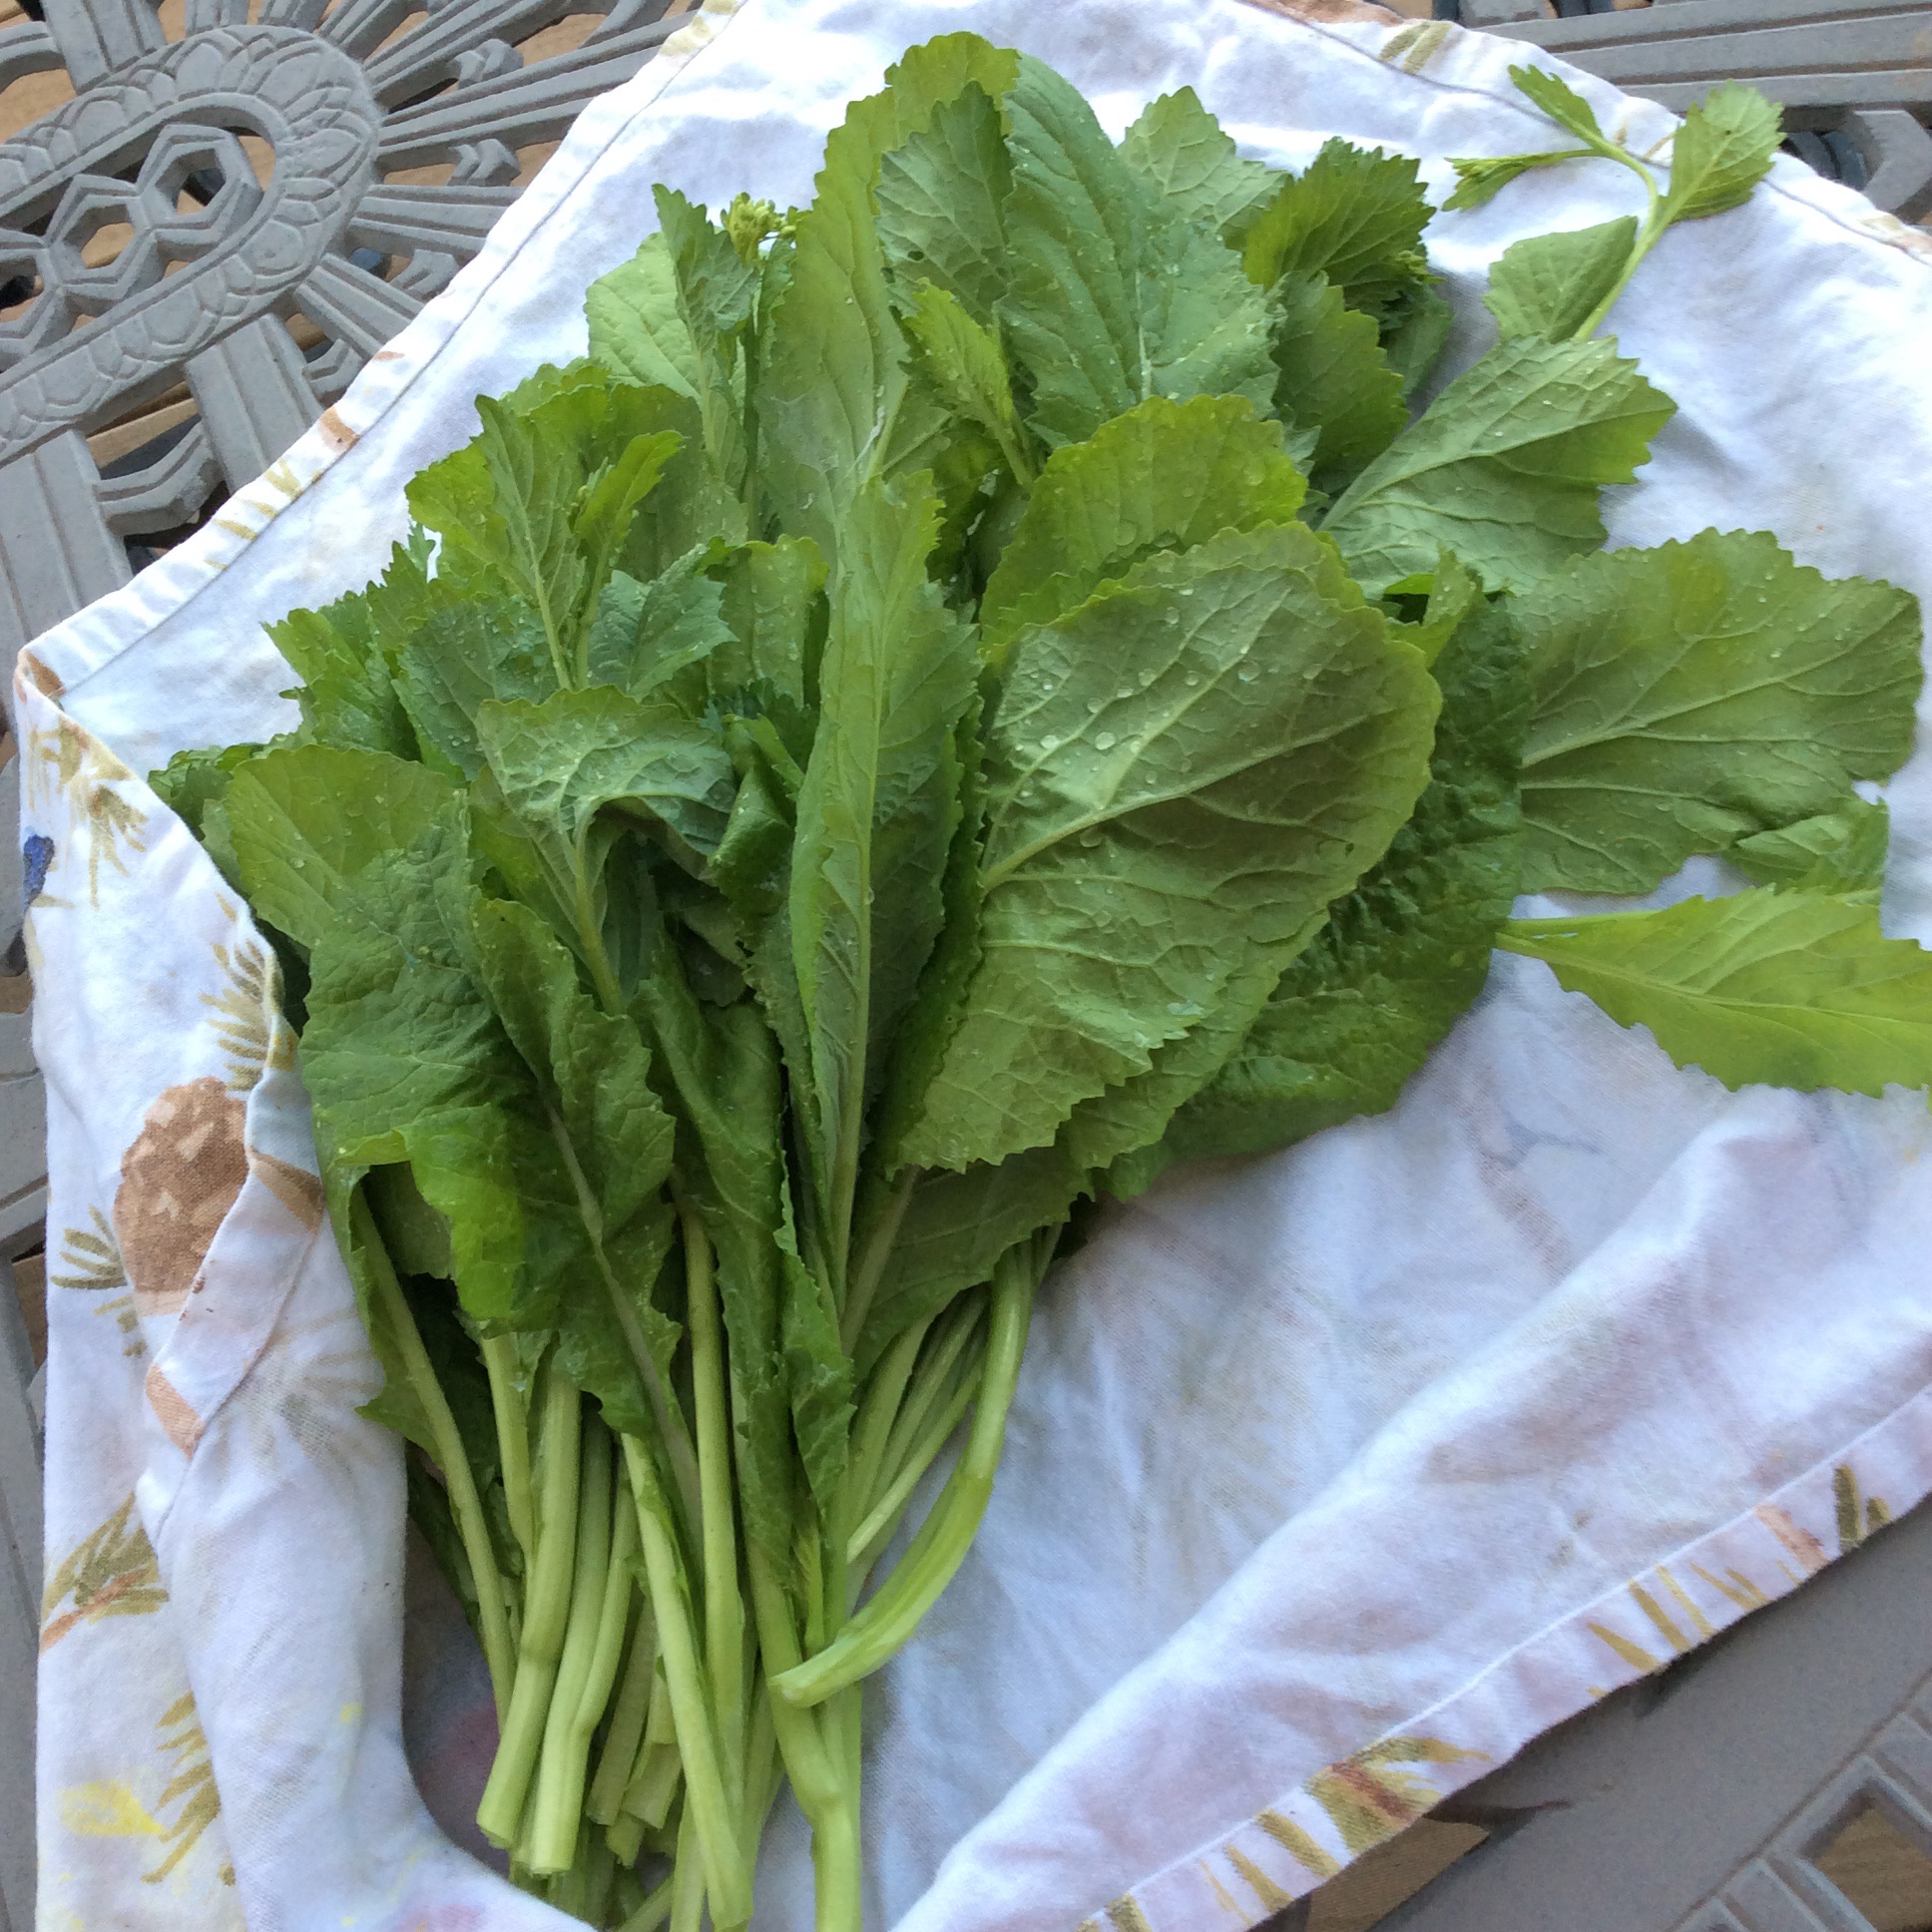
I hear people talk about how difficult they find it to cook vegetables for themselves. I’m on my own tonight, so I decided to try it. I started with a bunch of mustard from an area where I’d sown mustard greens thickly as a quick cover crop. The greens were thinned to 2″ apart in the seedling stage, and now are about a month old and maybe 8″ high. I grabbed a handful and pulled them out by the roots. Then, still holding the stems together as a bunch in my left hand, I used my right hand to snap the roots off of each stem at the point where they snapped rather than bending, taking the lower yellowed leaves away with the roots, and put the roots aside on the mulch and avoided dirtying the leaves. It’s important to break the stems where they snap. If they bend almost double instead, they have acquired more fiber than you can chew. Then I took the rootless mustards inside and washed them quickly. They grew upright due to the crowding, and that keeps them clean and saves washing. This entire process took five minutes, plus another minute to snap off two young tender garlic scapes and rinse them.
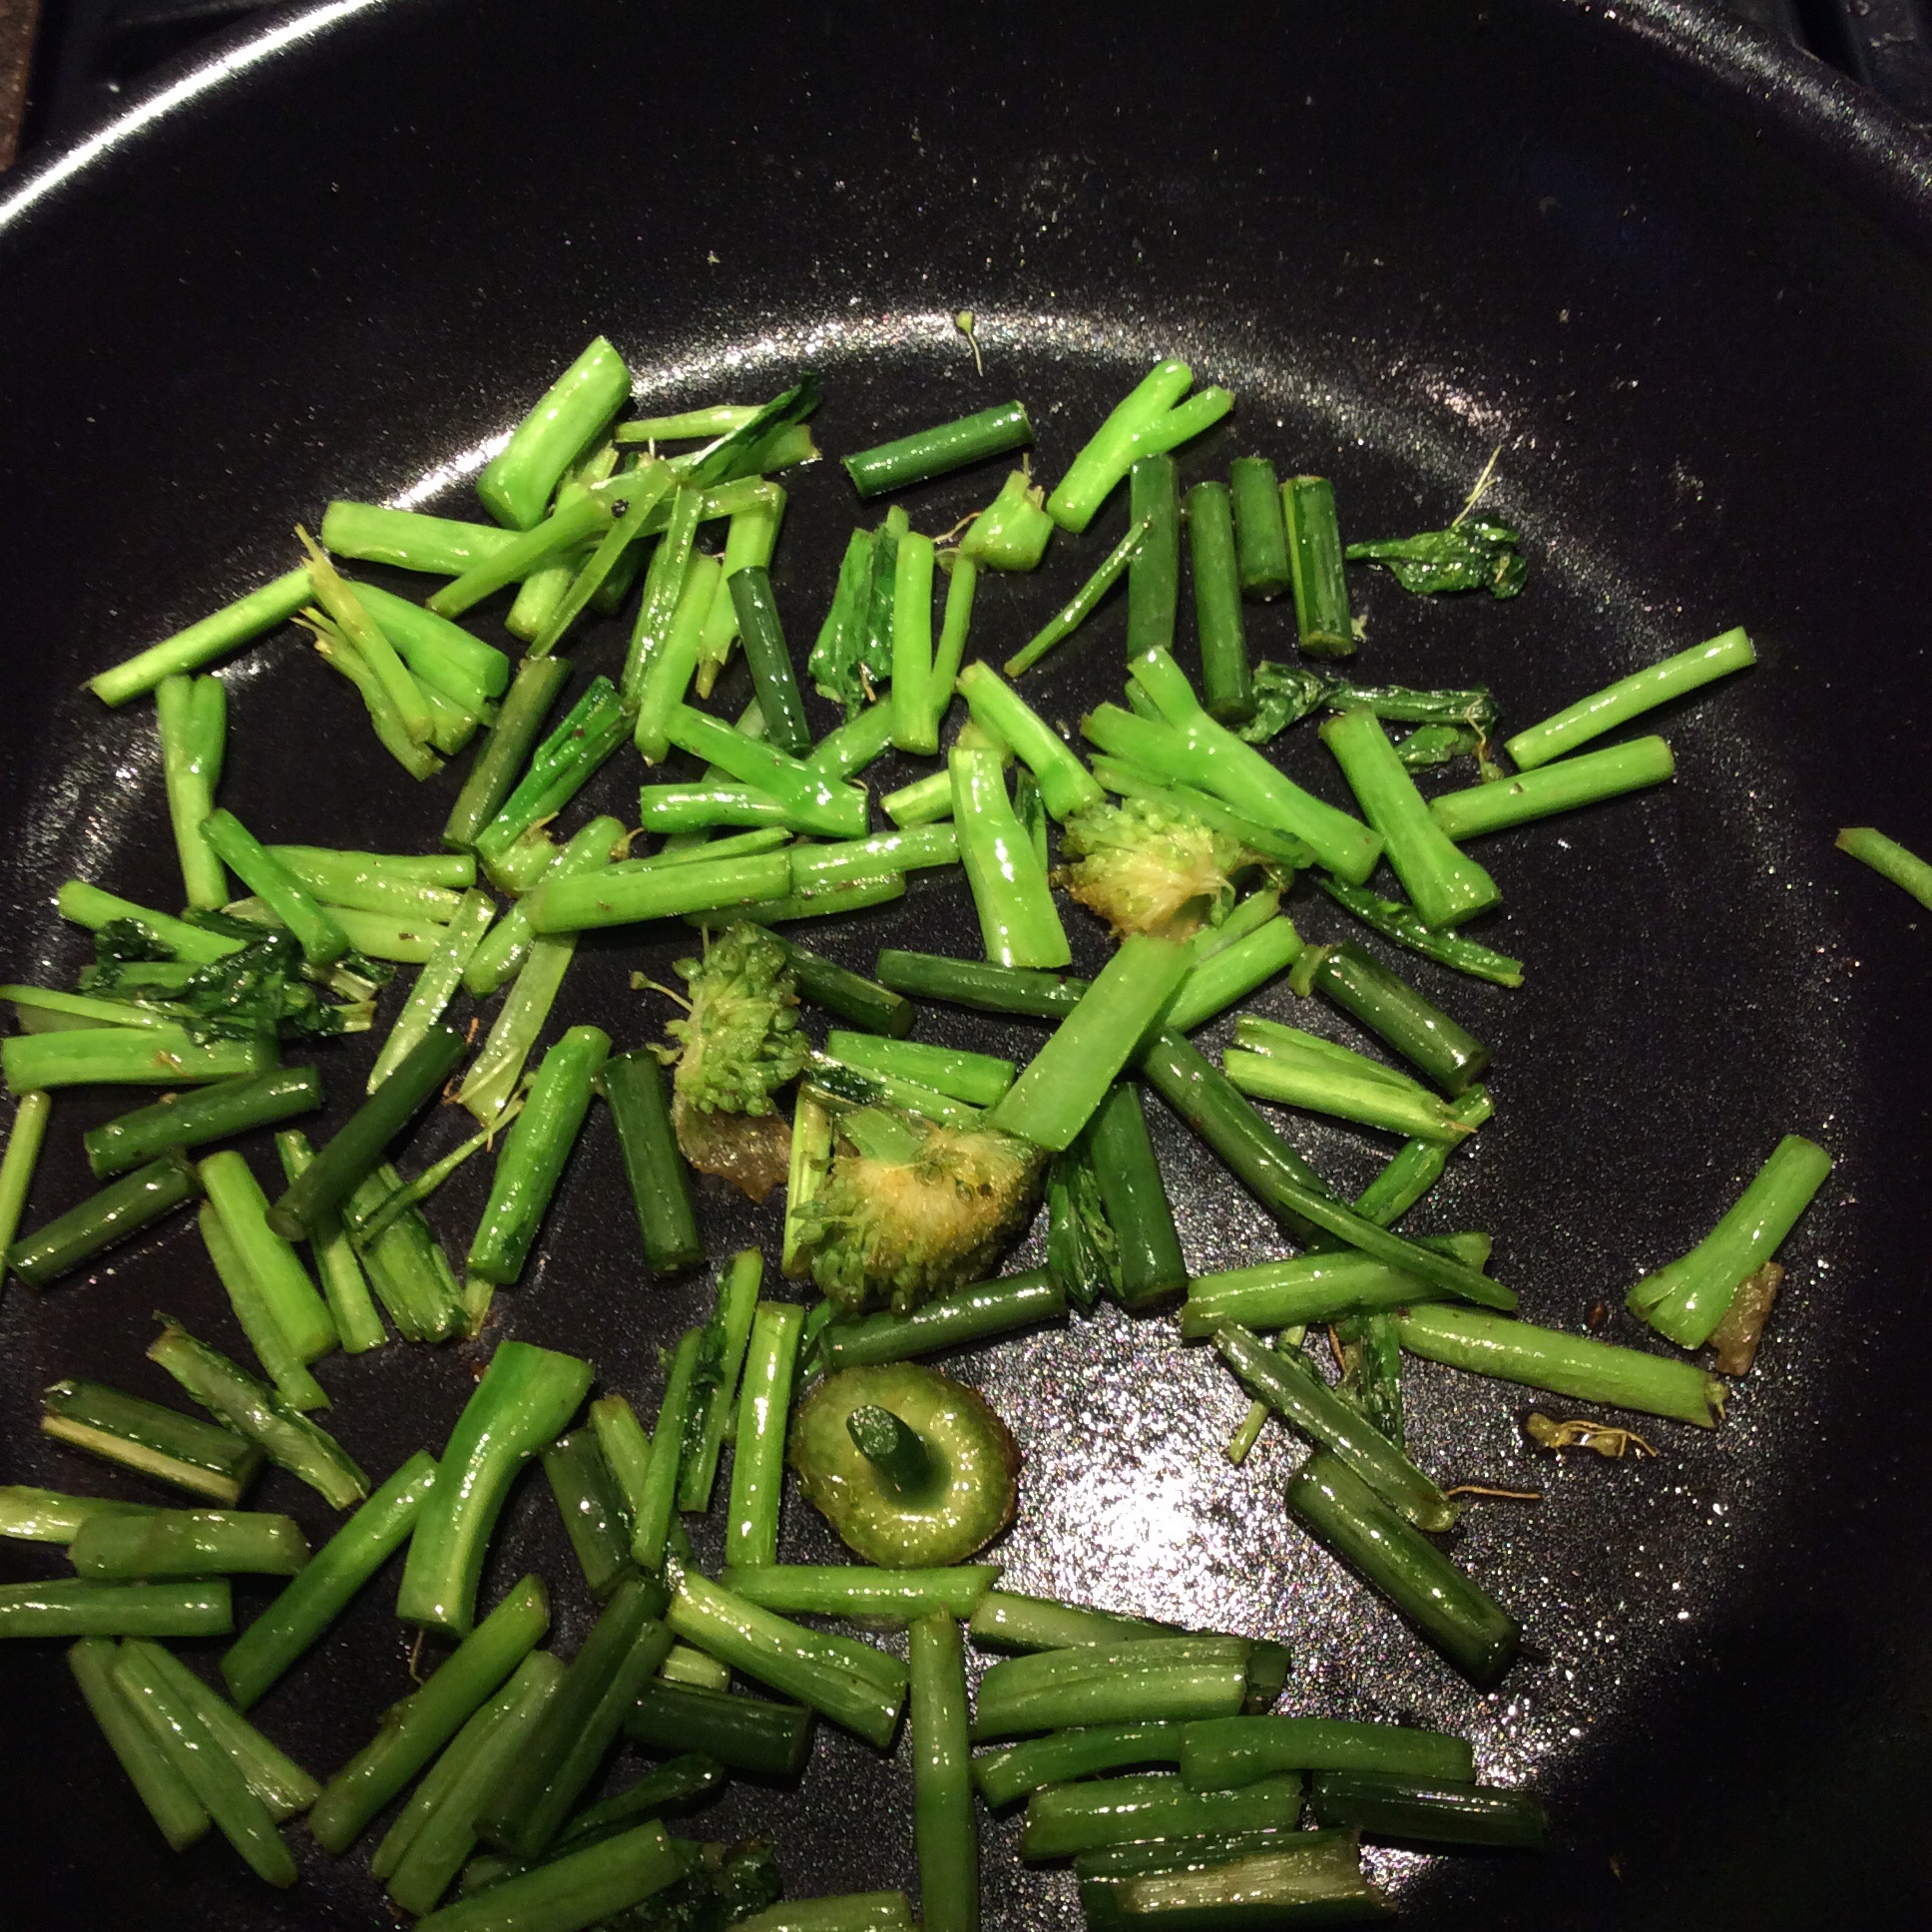
Then I heated my skillet over fairly high heat, and while it was heating I cut the garlic scapes crosswise into 1″ lengths. When it was hot, I put in a couple of tablespoons of olive oil and tossed in the garlic scapes. I put in the cut-up bud sheath from the top of the scape too, but I ended up picking it out later because it was too large and tough. No issues, you are alone and there are no mistakes. While they sizzled, I cut the mustard bunch crosswise into 1″ sections.
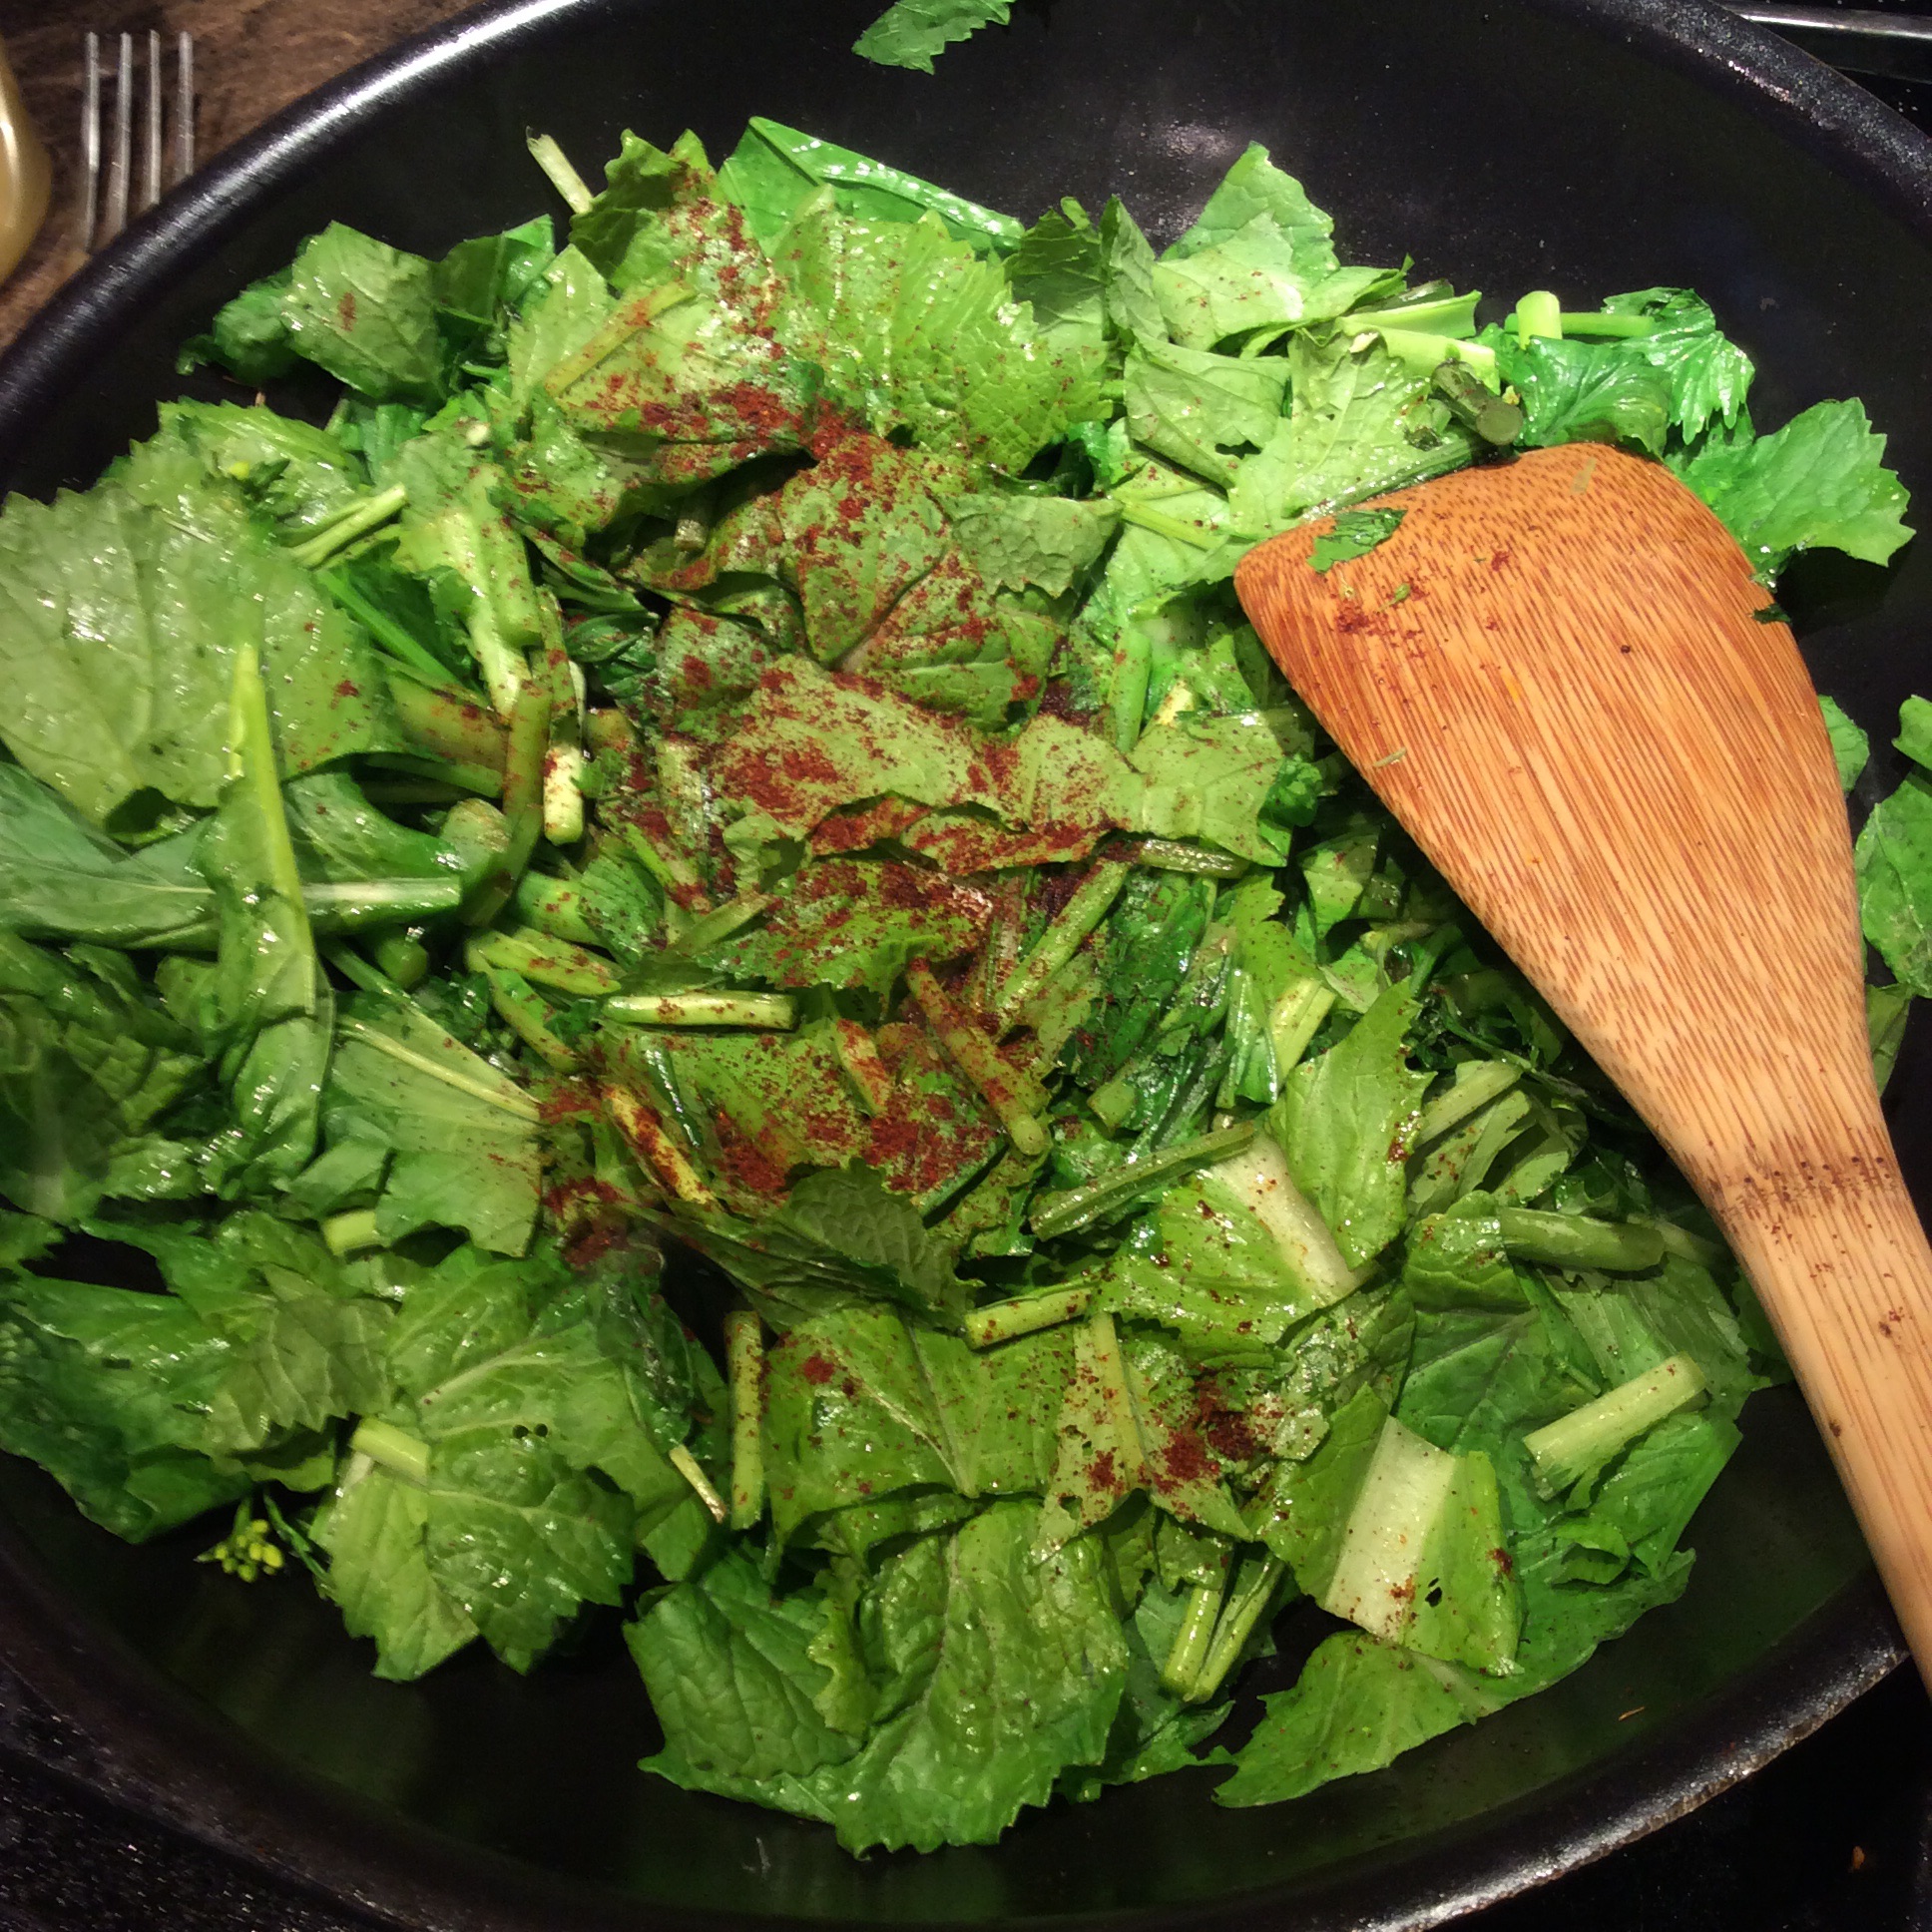
After the scapes had cooked about three minutes, I added the stem ends of the mustard, cooked a couple of minutes, and then added the rest of the cut-up mustard and a large pinch of salt, stirred and fried a few minutes, and added a heaping quarter teaspoon of ground chipotle chile. If you don’t care for heat, Spanish smoked paprika would work well. Keep tossing every minute or so.
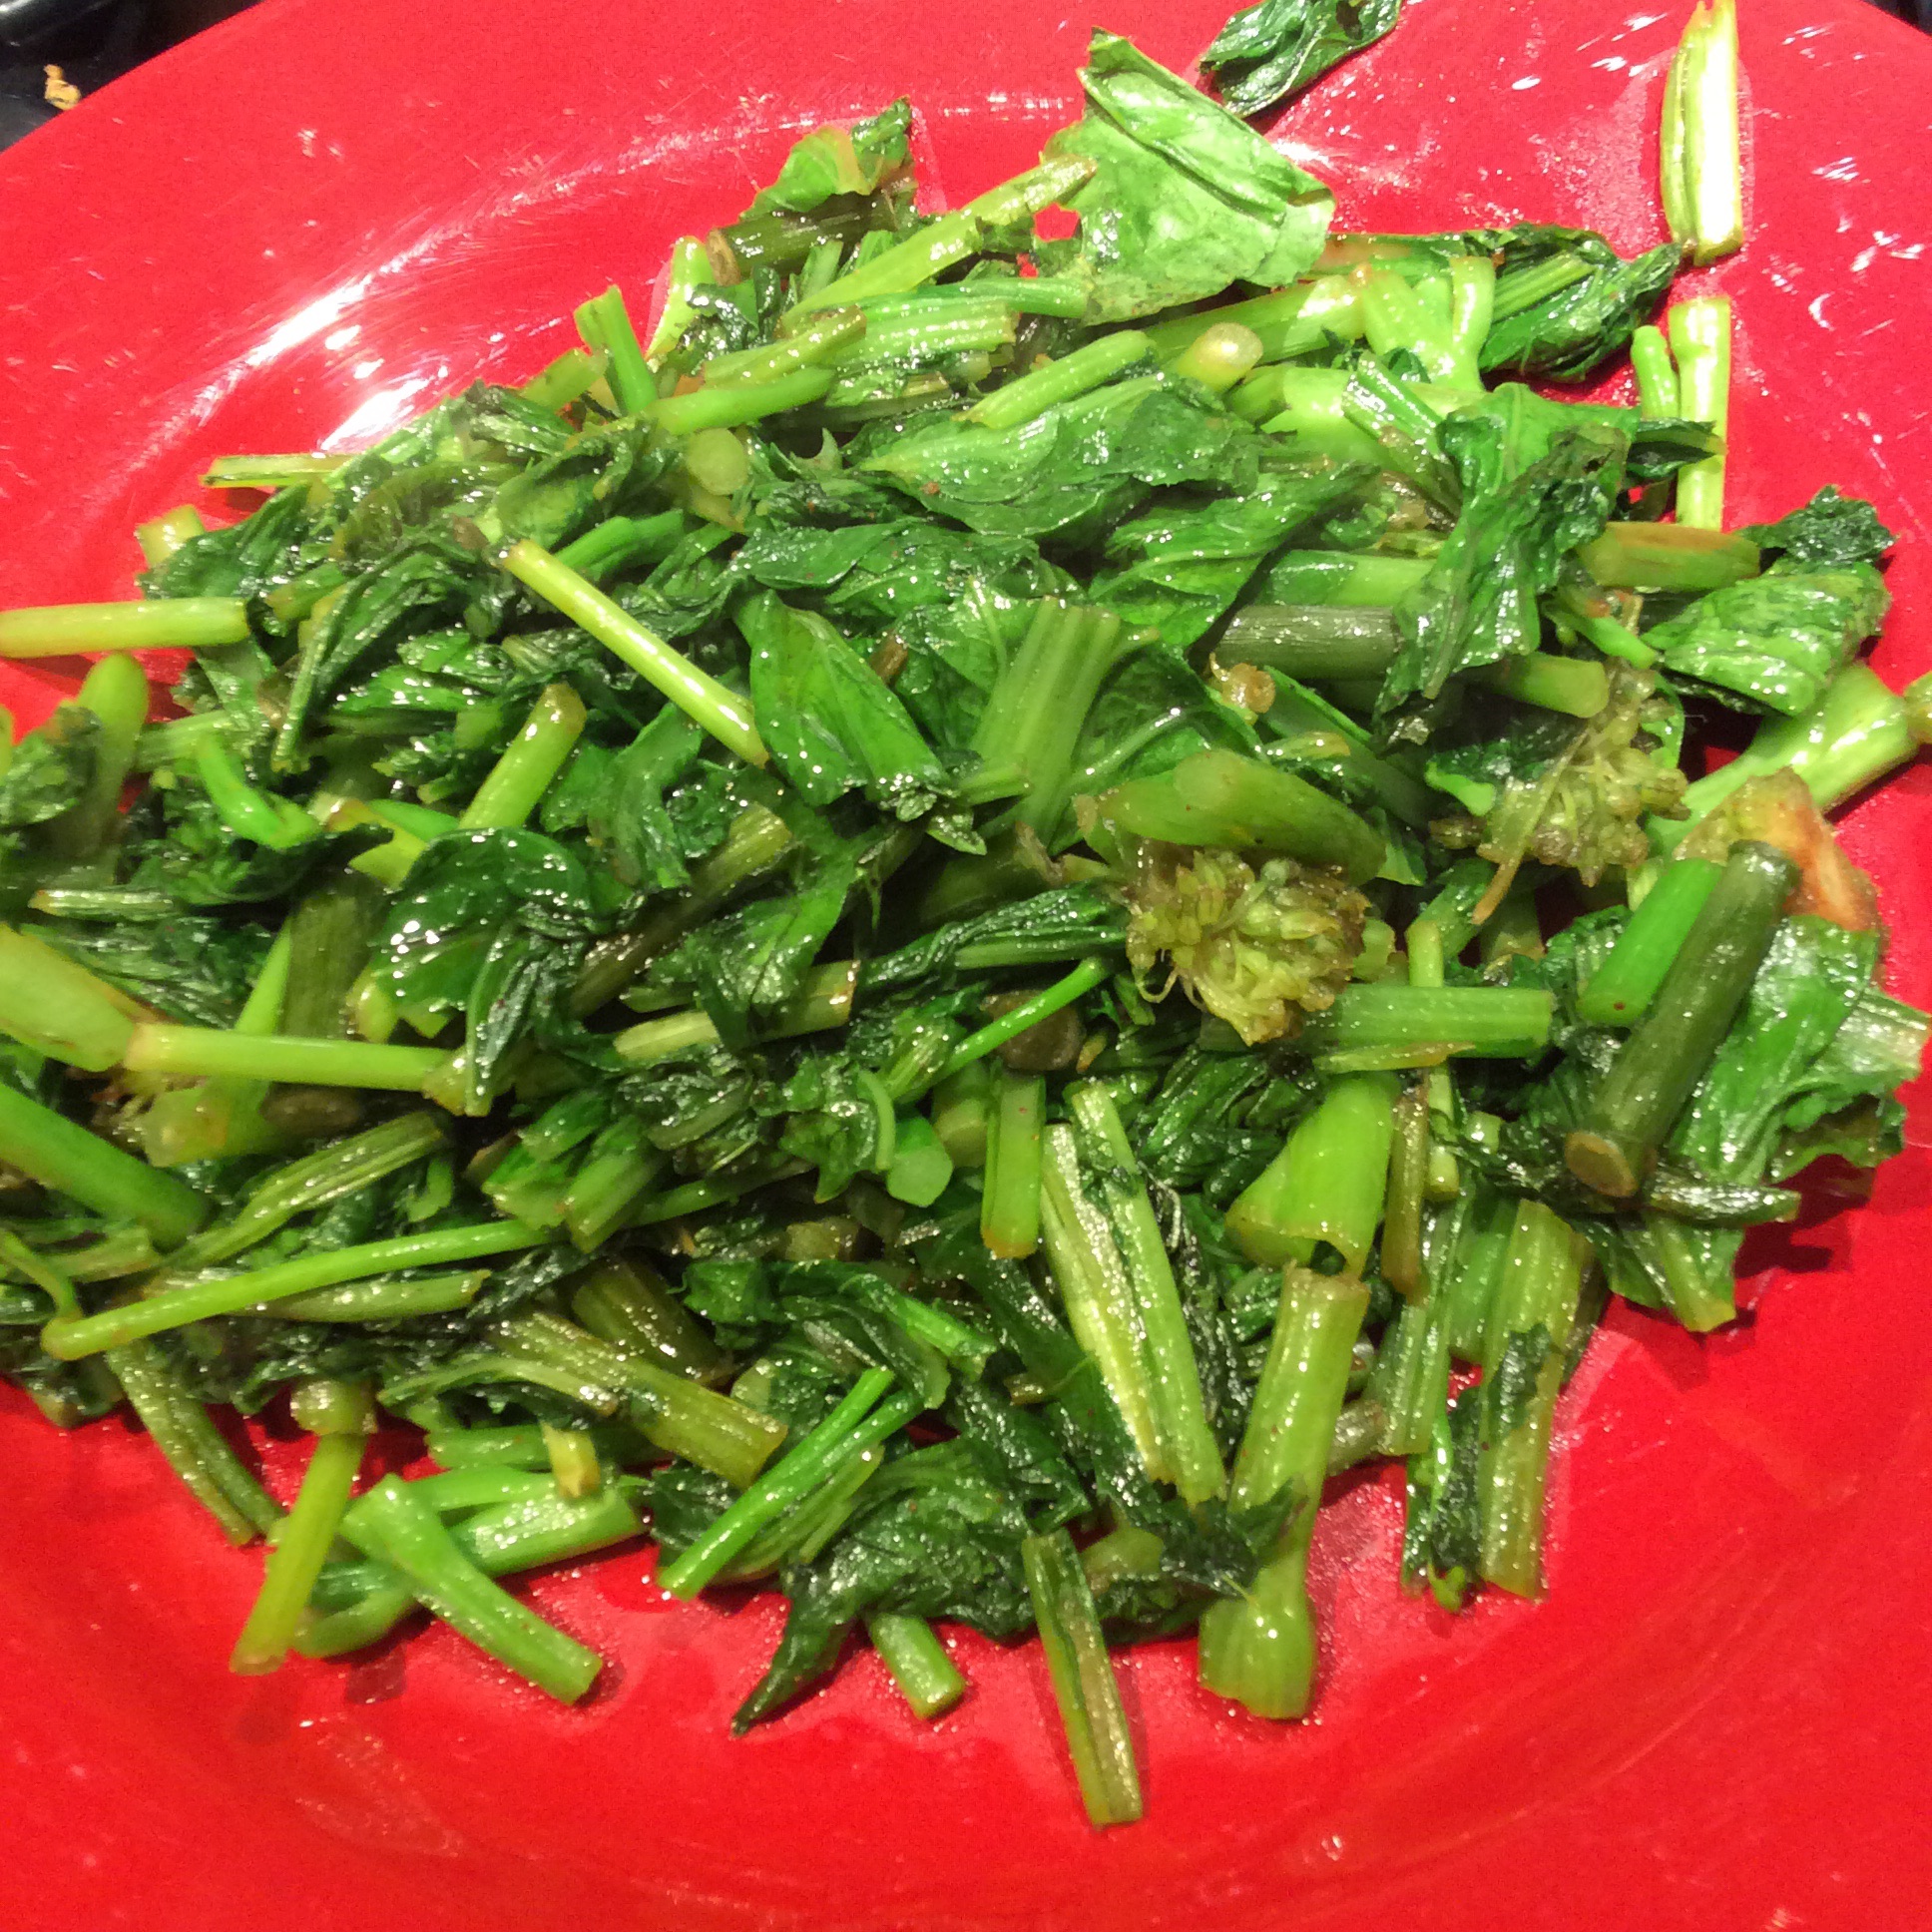
Just before they were done, I added a good dash of Red Boat fish sauce, which is easily obtainable at Asian markets or online and is the closest substitute for Italian colatura. Stir another minute, check doneness by eating a leaf section and a stem section, and keep cooking until it tastes good. Keep the heat fairly high but not hot enough to brown the leaves. When done to your taste, plate it. I think everything tastes better on red plates.
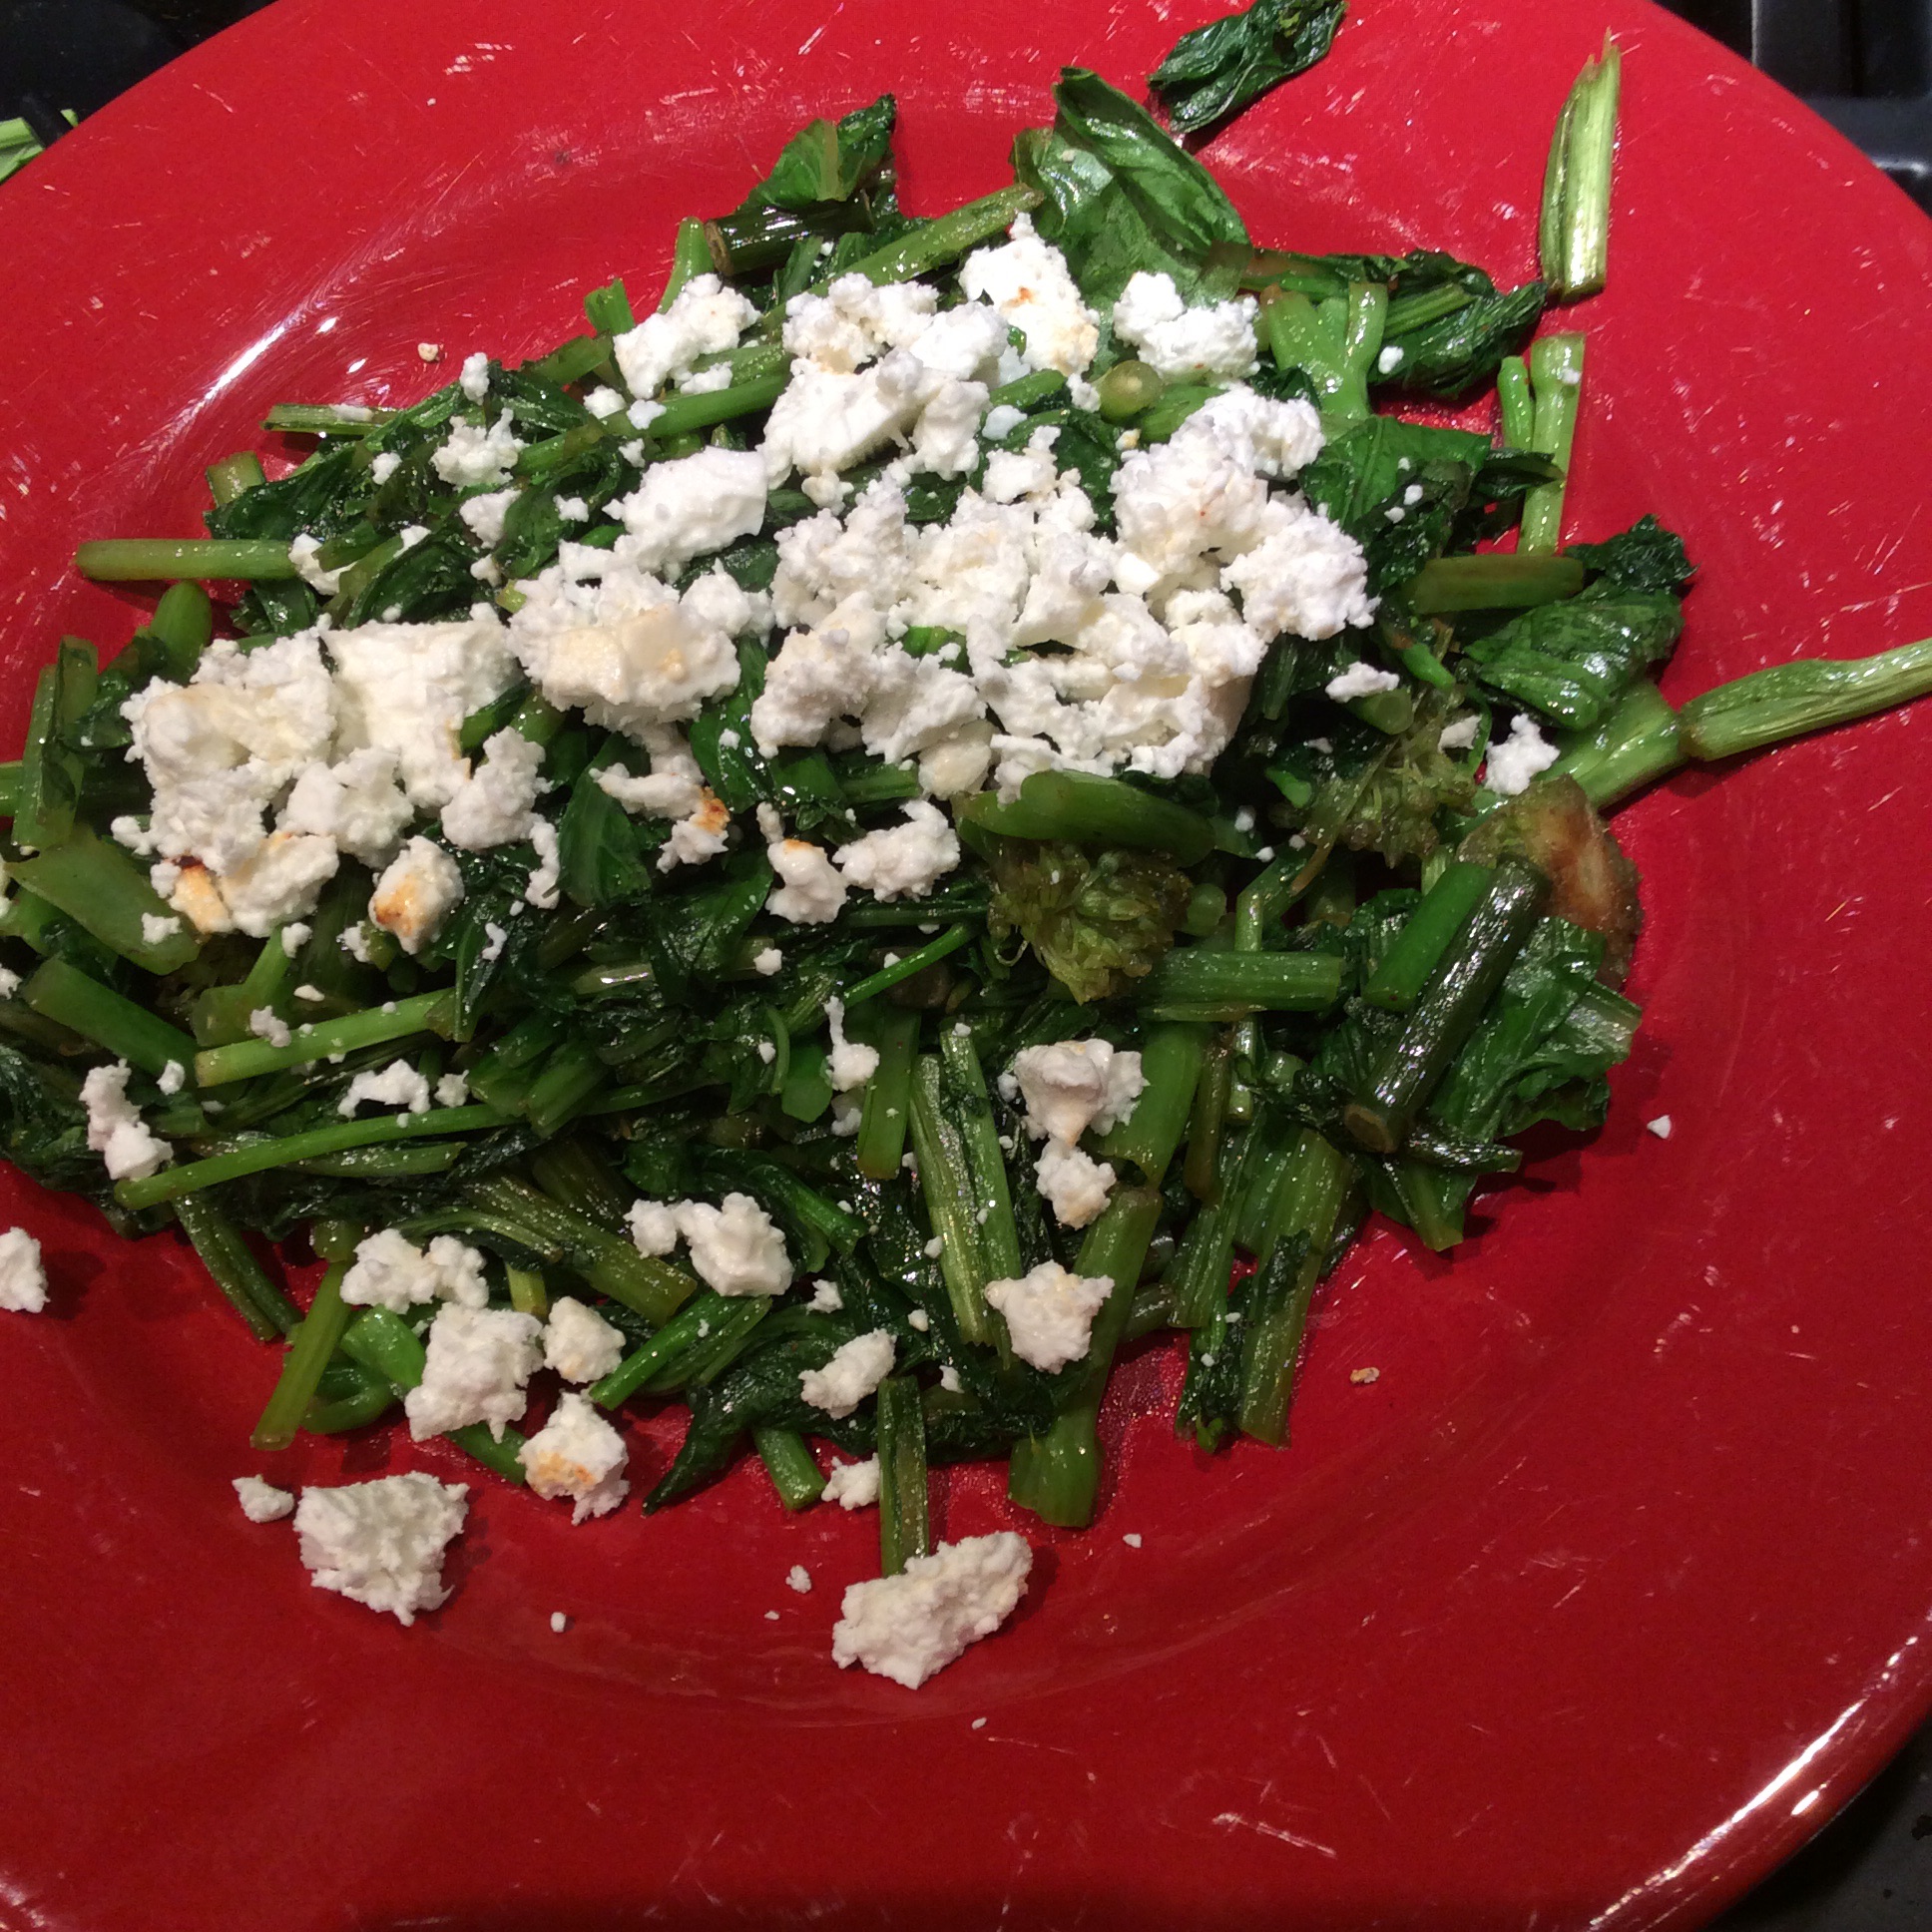
Then I looked in the refrigerator for a cheesy protein component. I suddenly went all Greek and crumbled some wonderful locally made goat feta over the top. If not using feta, check the salt. If really hungry, top the greens and feta or other cheese with a fried egg.
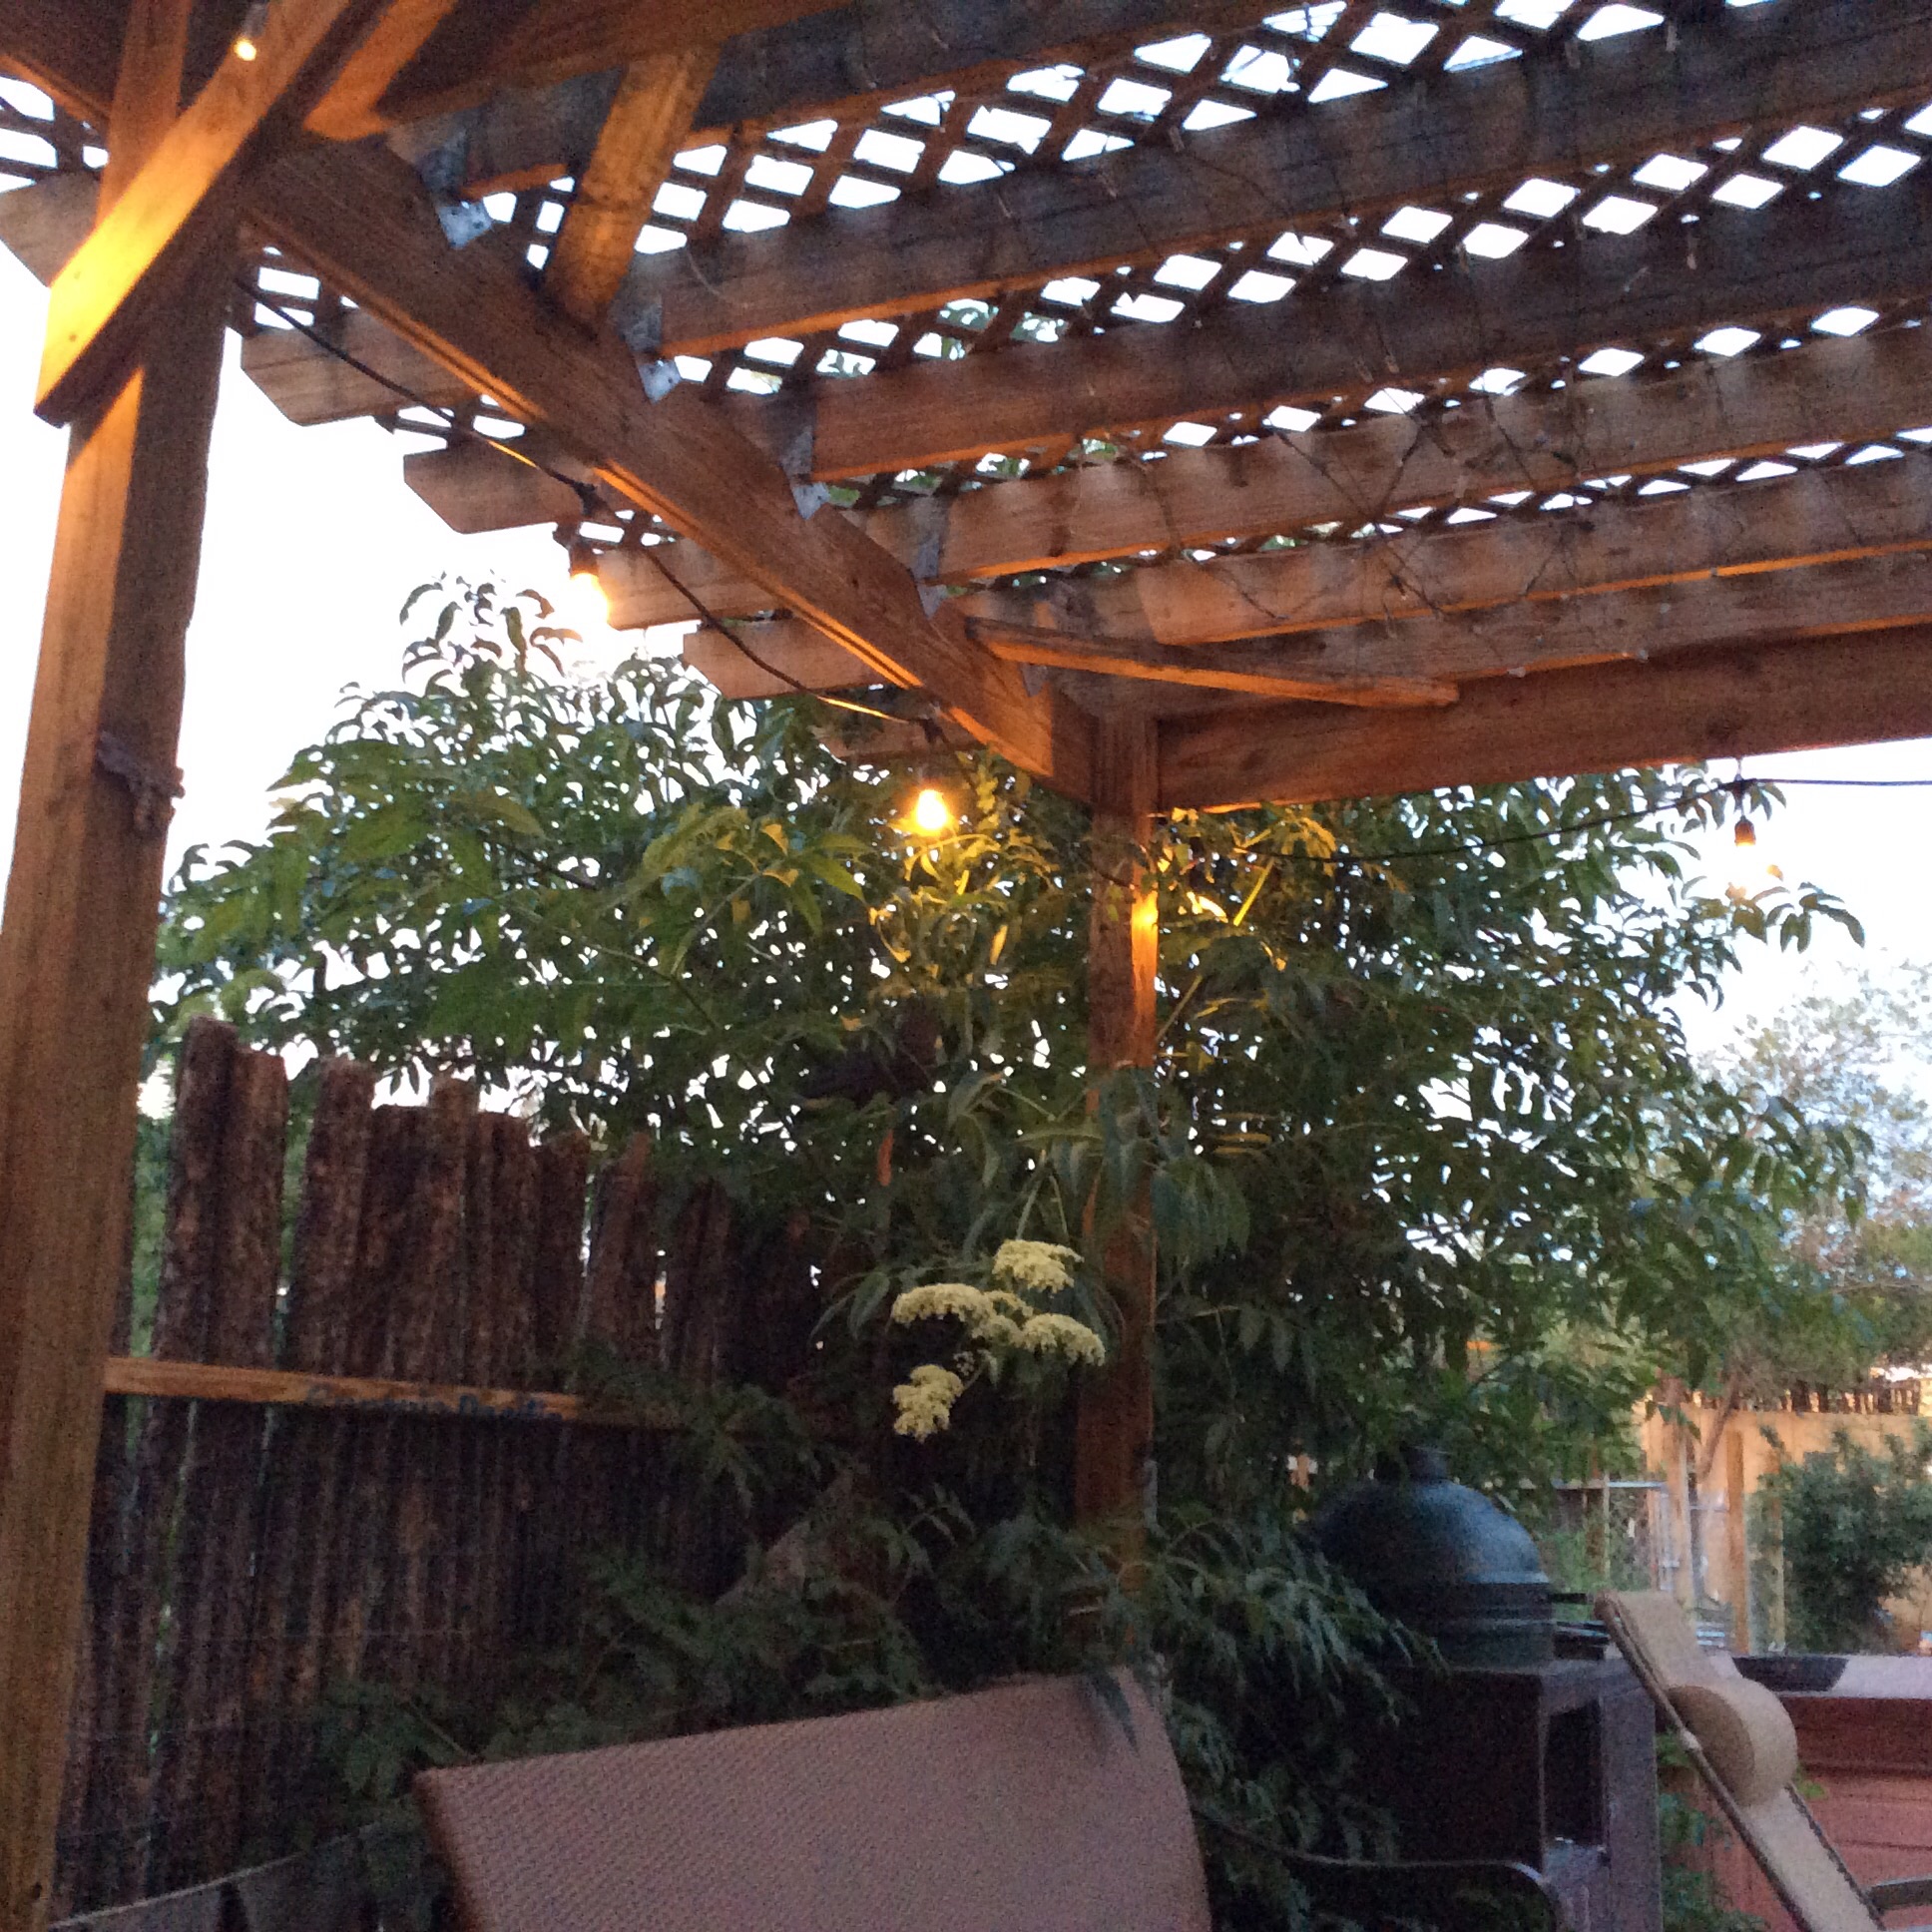
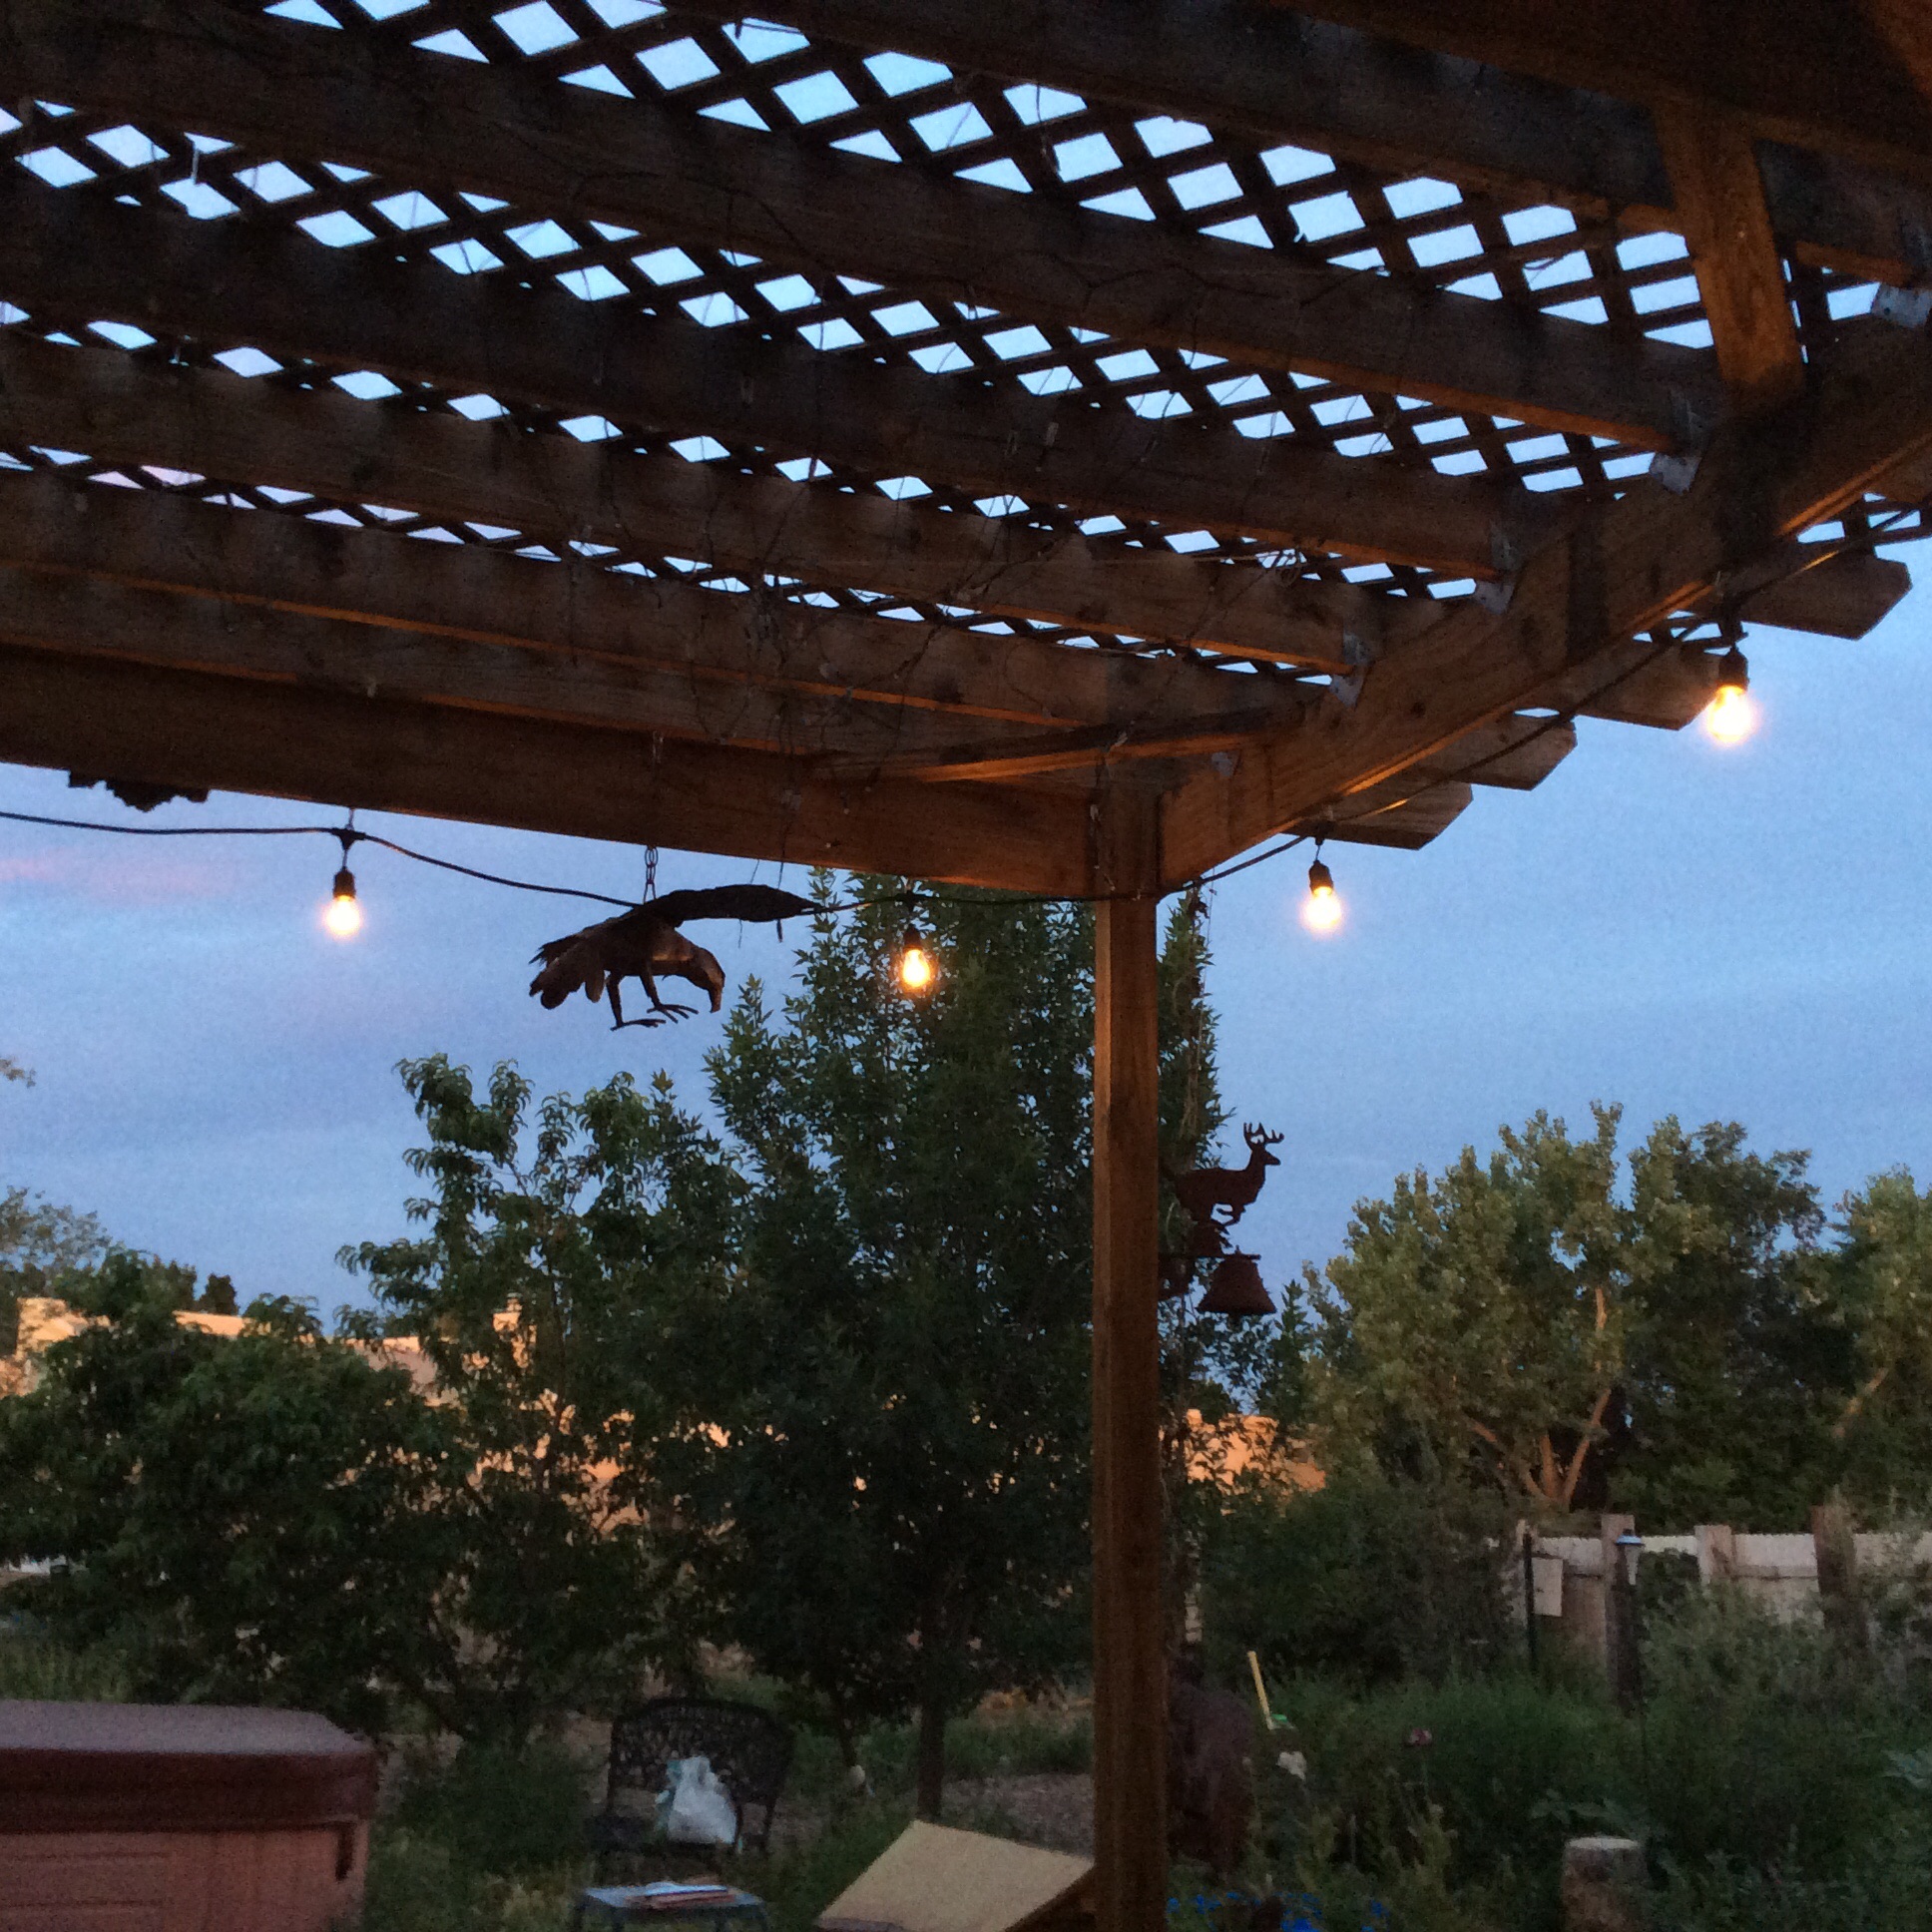
Eat in solitary splendor. You are doing a good thing for your body and it tastes good. How cool is that? So eat on the patio under the romantic lights.
Have a little dark chocolate for dessert, because life is short.
Archive for the ‘greens’ Category
9 Jun
Vegetables for One
4 Jun
Mulberry Heaven
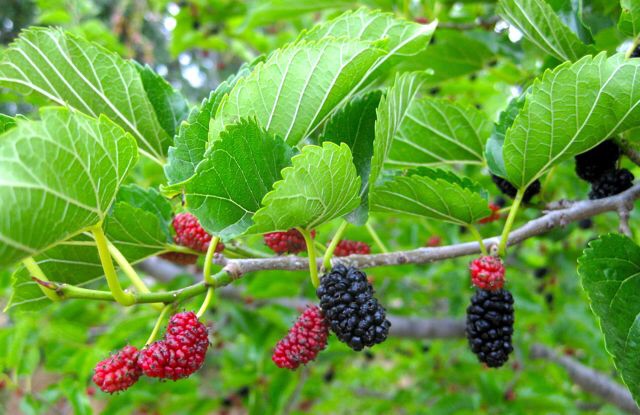
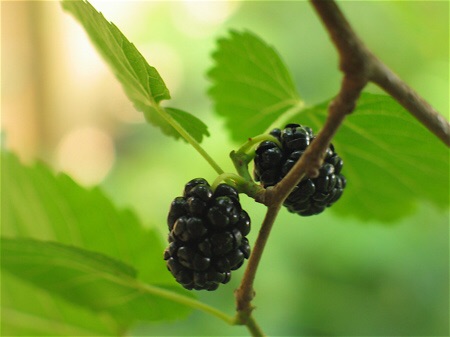
Near my home there is a mulberry tree that has delicious black fruit and low-hanging branches. When the fruit ripens, I throw my ketogenic diet temporarily out the window and go every evening to stand under it, gorging myself, while my dogs eat dropped fruit off the path. This is one of the greatest joys of the summer season. But it isn’t by any means the only use for mulberry trees.
On my own property I don’t have any mulberries big enough to fruit, but I do have two mulberries that I harvest greens from. The leaves of all mulberries are edible when young and tender, but flavor ranges from tasty to nasty. By hanging around a local organic nursery and surreptitiously tasting leaves, I got a couple that had fairly good-tasting leaves. At my last home I had a mulberry with delicious and large leaves, but alas, that tree is no longer mine, and I didn’t try rooting cuttings because I had no clue how hard it would be to replace. But the ones I now have are passable. The trees will rapidly grow tall if you let them, which I don’t. From the time they are 4 feet high I start managing them for leaf harvest by keeping them small. At first this is a matter of a little delicate trimming and weighting some branches so that they grow out nearly parallel to the ground. Later on in their lives, much harder cutting is needed, and by the time that they are 5-7 years old, they need coppicing (cutting off a few feet above the ground) to keep them in check. Coppicing keeps them from producing fruit, and incidentally they also don’t bloom and produce their incredibly allergenic pollen when managed this way. They do produce masses of young tender tips that can be pinched off at the point where they are nonwoody and break easily and cooked as a green, a good green that fills in gaps between cold-weather and hot-weather greens and contains resveratrol as a bonus.
At the point when my coppiced trees start producing more greens than I can use (which is a few years down the road,) I will start harvesting bigger branches for my goat, who thinks that mulberry branches are the food of queens. Mulberry leaves can also be dried to make tea, although I think the resulting tea is pretty insipid stuff and needs other herbs for interest. I would also use “extra” cuttings for mulch and spare biomass.
For more about mulberry trees, see the link below for a terrific and very comprehensive post about mulberries in permaculture. Don’t miss the wonderful pictures of stuffed mulberry leaves! The recipes are available too, and I plan to try this soon.
Temperate Zone Permaculture mulberry post
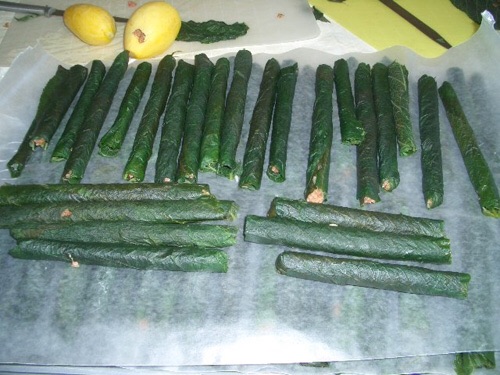
This image of stuffed mulberry leaves, poached from the Temperate Zone Permaculture post linked in above, looks especially interesting to me. Check out the recipes in that post.

The stigmata of the mulberry fancier. Consider yourself warned.
28 May
The Cook’s Treat: Lambs-quarters

I am the cook in our household, and one of the reasons that I love my kitchen work is that I can have cook’s treats, little experimental dishes that I cook up while working on something else and eat standing up in the kitchen. They are something like impromptu tapas for one.
Recently I was preparing large quantities of tender lambs-quarters tips for the freezer, and began to speculate about how a handful of the tops could be turned into a cook’s treat. I have been very happy with some recent experiments that involved pan-frying hops shoots or scorzonera shoots over medium-high heat with just olive oil and salt, but hadn’t tried it with a leafy green vegetable.
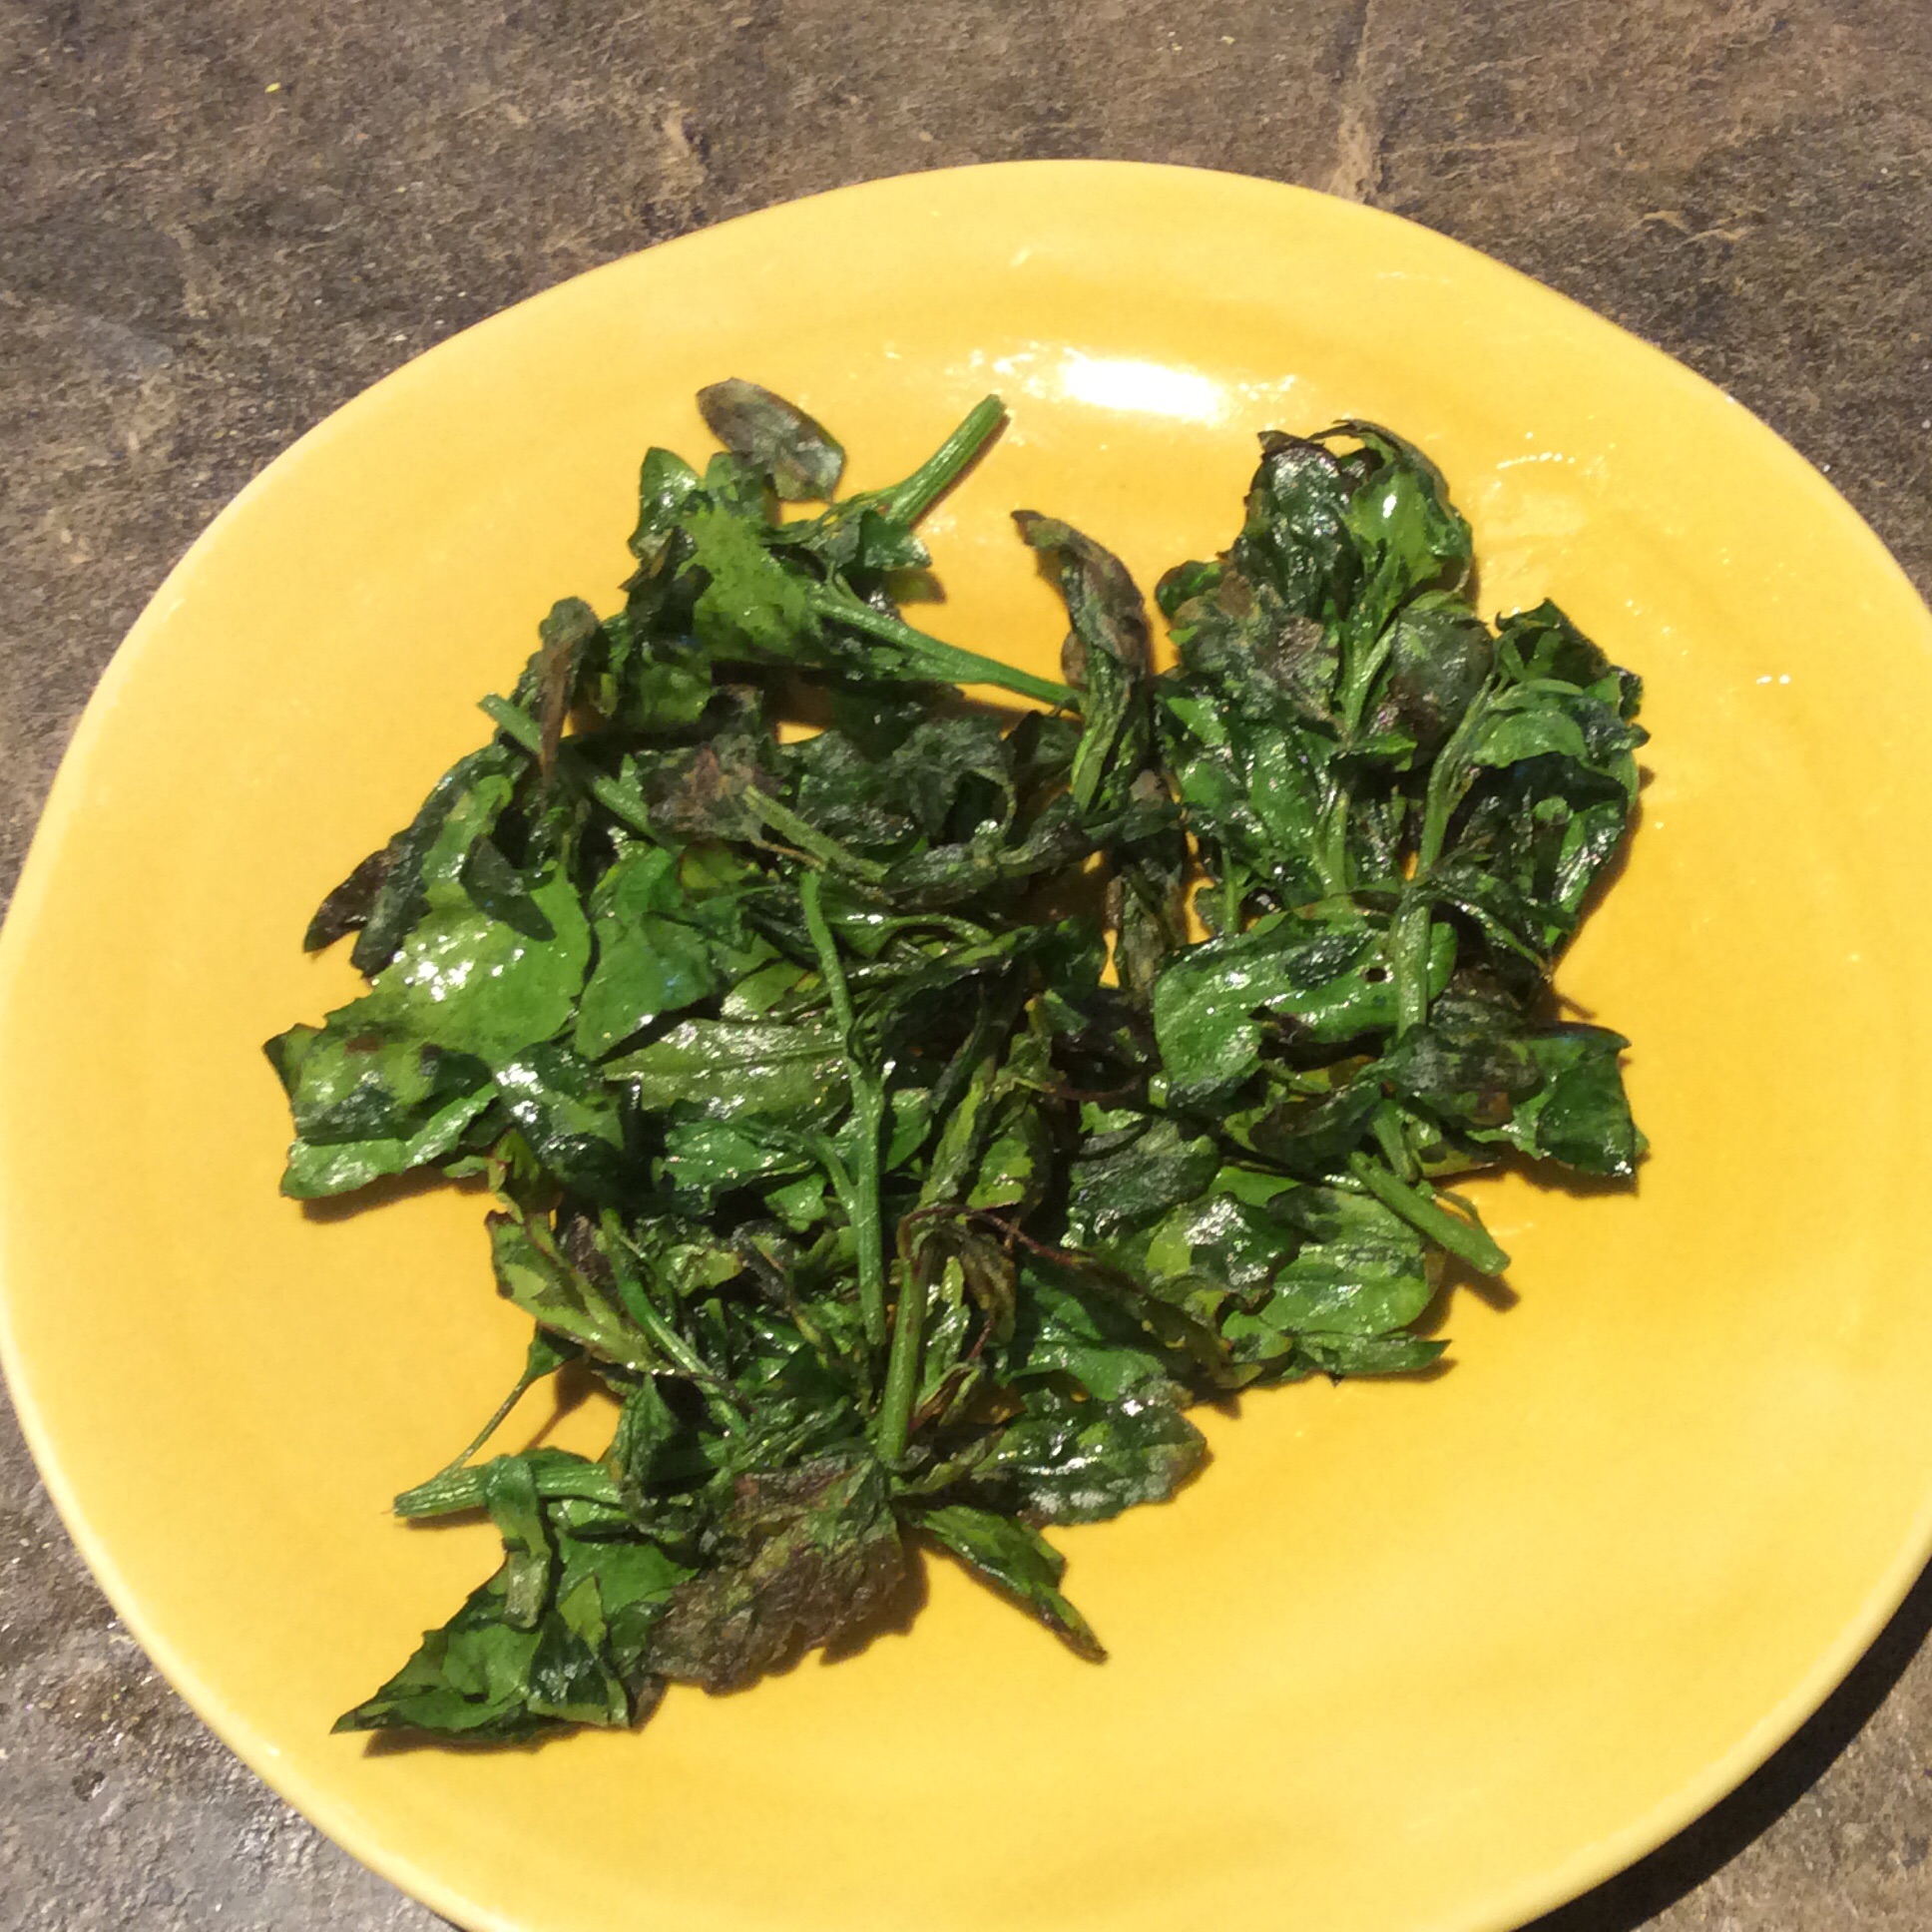
I was delighted with the results. I chose about a dozen small tender tips, maybe three inches long on average, and washed them but didn’t make any special effort to dry them beyond setting them on a towel to drain. While washing them, I set my little 7 inch skillet over medium high heat to heat up. When the pan was hot, and my greens were washed and drained, I put in a glug of good olive oil. I never measure olive oil, but I would guess that the glug that looks right in my small skillet is about 2 tablespoons. You do need enough oil in the pan for the greens to be able to fry in spots. Wearing an apron and standing back a bit from the stove, I threw the greens into the skillet. They spat and hissed ferociously. After a minute, I sprinkled on a generous pinch of salt and turned them roughly. After another minute I turned the heat down to medium and continued to turn them over every minute or two until the stems were tender enough to eat and many ( but not all) of the leaves were browned and crisp. I turned them out onto a small plate, sprinkled on a bit of Fleur de Sel, and ate them hot in between other kitchen tasks. Yum. The flavor is fuller and maybe slightly more bitter than mild lambs-quarters can usually reach, and the crisped leaves crunch delicately between your teeth, like very thin ice.
They have to have enough space in the pan to crisp up and not steam each other into softness. I think that my large skillet would probably hold enough for three people, but not more. To serve more people, possibly one batch could stay hot in the oven while the next was frying, but I haven’t tried it yet. I do know that from thought to finished cook’s treat took about seven minutes, and that the cook, thus treated, returned to her kitchen tasks very happily.
Addendum: I did try making it for more people, and the hold-in-the-oven idea doesn’t work, I regret to say. The greens rapidly go soft, and taste fine in a toasty way but the delicate crunch is lost. So this is a treat for one or two people. But then, it’s very romantic to have a special treat that simply can’t be shared with a larger group.
26 May
Integrating Your Weeds I: lambs-quarters

I’ve written a lot at various times about the Holy Trinity of edible weeds: lambs-quarters, amaranth, and purslane. In this post I don’t plan to say anything much about harvesting and cooking lambs-quarters, Chenopodium album, since I’ve said that already and the short version is “harvest them young, collect as little stem as possible, and use them like any other mild-flavored leafy green.” Personally I dislike the texture and mouthfeel of the raw leaves intensely, and only like them cooked, but others see it differently. This is their great season; after midsummer they are very eager to make seeds and are no longer very usable as a leafy green.
The focus today is on how to have them in your garden without losing everything else. They are highly competitive. First, don’t just let a nice big plant go to seed in your garden, unless you have a lot more space than I do, because they get six feet tall and nearly the same across and tend to flop around, and nothing else in that bed will survive. Instead, look over your self-sown lambs-quarters (which you almost surely have,) choose one right at an edge or corner of a garden bed, cut it down to an inch from the ground, and keep hacking at it until late summer, allowing it to make exactly one branch which lies out horizontally over the ground of the bed. This branch is allowed to go to seed, and everything else is clipped off. It helps if the planned plants in that bed are large and robust. All other lambs-quarters in that bed are pulled out by the roots after harvesting. Your mother plant will dry out in early fall, very unattractively I might add, and when you are sure that it’s dropped its seed, you can dig the husk of the mother plant out. This will take a lot of effort and a good shovel.
Next spring, you will see a fine mist of seedlings on that bed. Keep them watered for tenderness, harvest them at 6-8 inches tall, and be sure to pull out the roots. If you are growing other things in that bed, be sure to give everything else a head start. In the bed shown above, I hoed up the ground when the seedlings showed and planted collards and onions. Don’t worry about hoeing the seedlings. There are millions more to come. Then I let the second wave of lambs-quarters seedlings grow up among my plantings. Today I’ll harvest the lambs-quarters, and mulch around the remaining veggies and let them take over.
No doubt this decreases the total yield of collards and onions, but if you use a rich mulch like stable bedding they will make up for the slower start, and overall you are getting remarkable yields for the space. The returns are especially remarkable if you consider nutrient density, since lambs-quarters are among the most nutritious greens that you can eat.
You should only have to do this once, or maybe once every several years. You will then have millions of potential lambs-quarters in your soil and can grow a crop of them at any point in late spring or early summer that you have a bit of empty space. Just water the ground and stand back.
The marvelous foraging guide by Dr. John Kallas called “Edible Wild Plants: Wild Foods from Dirt to Plate” will enable you to identify and cook your bounty.
