Archive for the ‘front yard gardening’ Category

An Easy Southeast Asian Evening: Thai-ish lettuce wraps

In hot weather  I start to crave the food of hot climates, especially Thai food.  Since I eat as few carbohydrates as possible, much of what I cook is pseudo-Thai, but it can still be delicious.  Having some good condiments on hand can be a shortcut on an evening when I worked late, and my favorite Thai condiment is nam prik pao.  Once I made my own according to the complex directions in David Thompson’s authoritative and addictive cookbook Thai Food,  and it was the best I ever had, but it is quite an undertaking and involves deep frying a succession of ingredients before grinding them together, and deep frying is not my favorite cooking modality.  Too messy.  So except for special occasions, I use the fairly good bottled one from Mae Pranom.  Just as a warning, this excellent Thai company makes several different condiments that all say “Thai chili paste” on the label, and are only fully and accurately labeled in Thai.    So my recommendation would be to order through Importfood.com, a very good US purveyor of Thai ingredients, and get the one that they say is nam prik pao.  While you’re at it, order some Shark brand Thai sriracha sauce, which is different from the Vietnamese style and can be hard to find.

Besides the nam prik pao, you will need a pound of good ground meat.  I used wild boar because I had some in the freezer, but ground goat, ground pork, or plain old ground beef would all be fine.  The vegetable component was a pound of Oregon Giant snow peas. Any good snow pea or sugar snap pea will do.  Lettuce leaves are needed for serving, and I used leaves of the hot climate celtuse-type  lettuce Balady Aswan,  but romaine is fine if you don’t grow your own.  Other needed ingredients are a small knob of ginger, two cloves of garlic,  one large or three small green onions,  fish sauce,  coconut cream (unsweetened) or coconut oil for cooking, sweetener of your choice, and a large handful of chopped fresh mint.

Blanch the snow peas or sugar peas in boiling water for two minutes, drain and cool in ice water, and slice diagonally.  Slice the scallions diagonally, and chop the ginger, garlic,  and mint. Now you’re ready to cook.

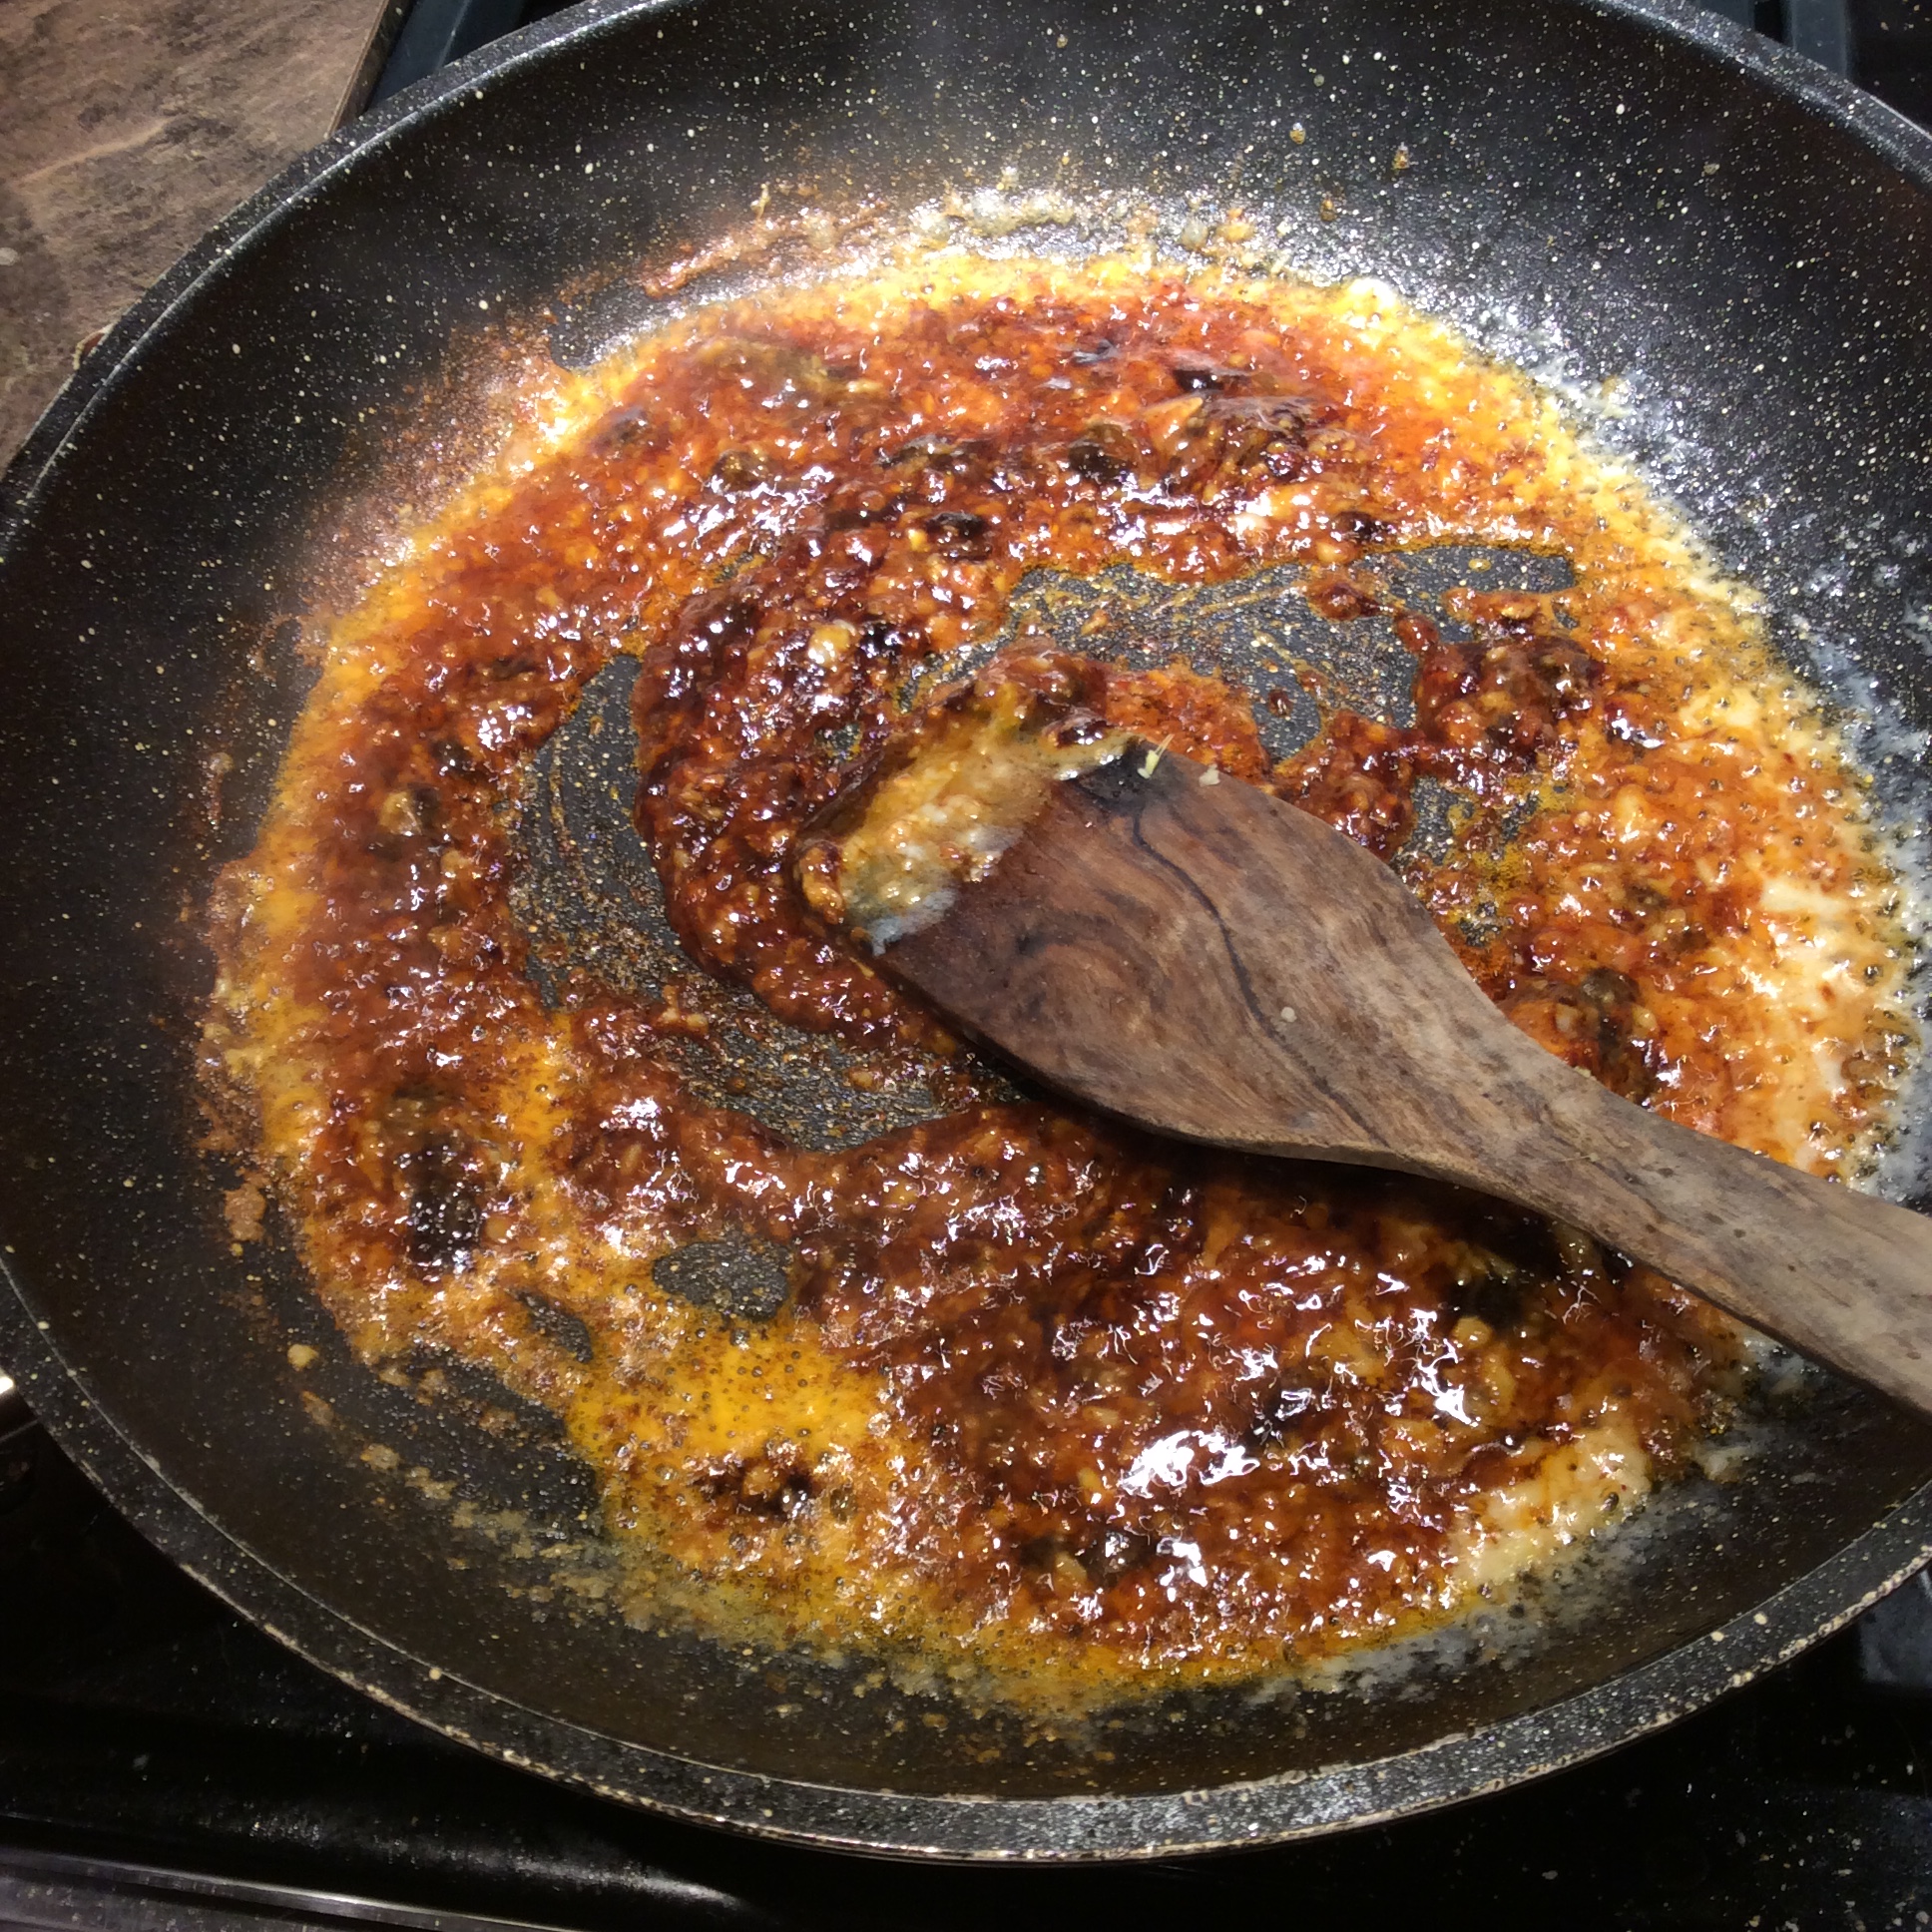
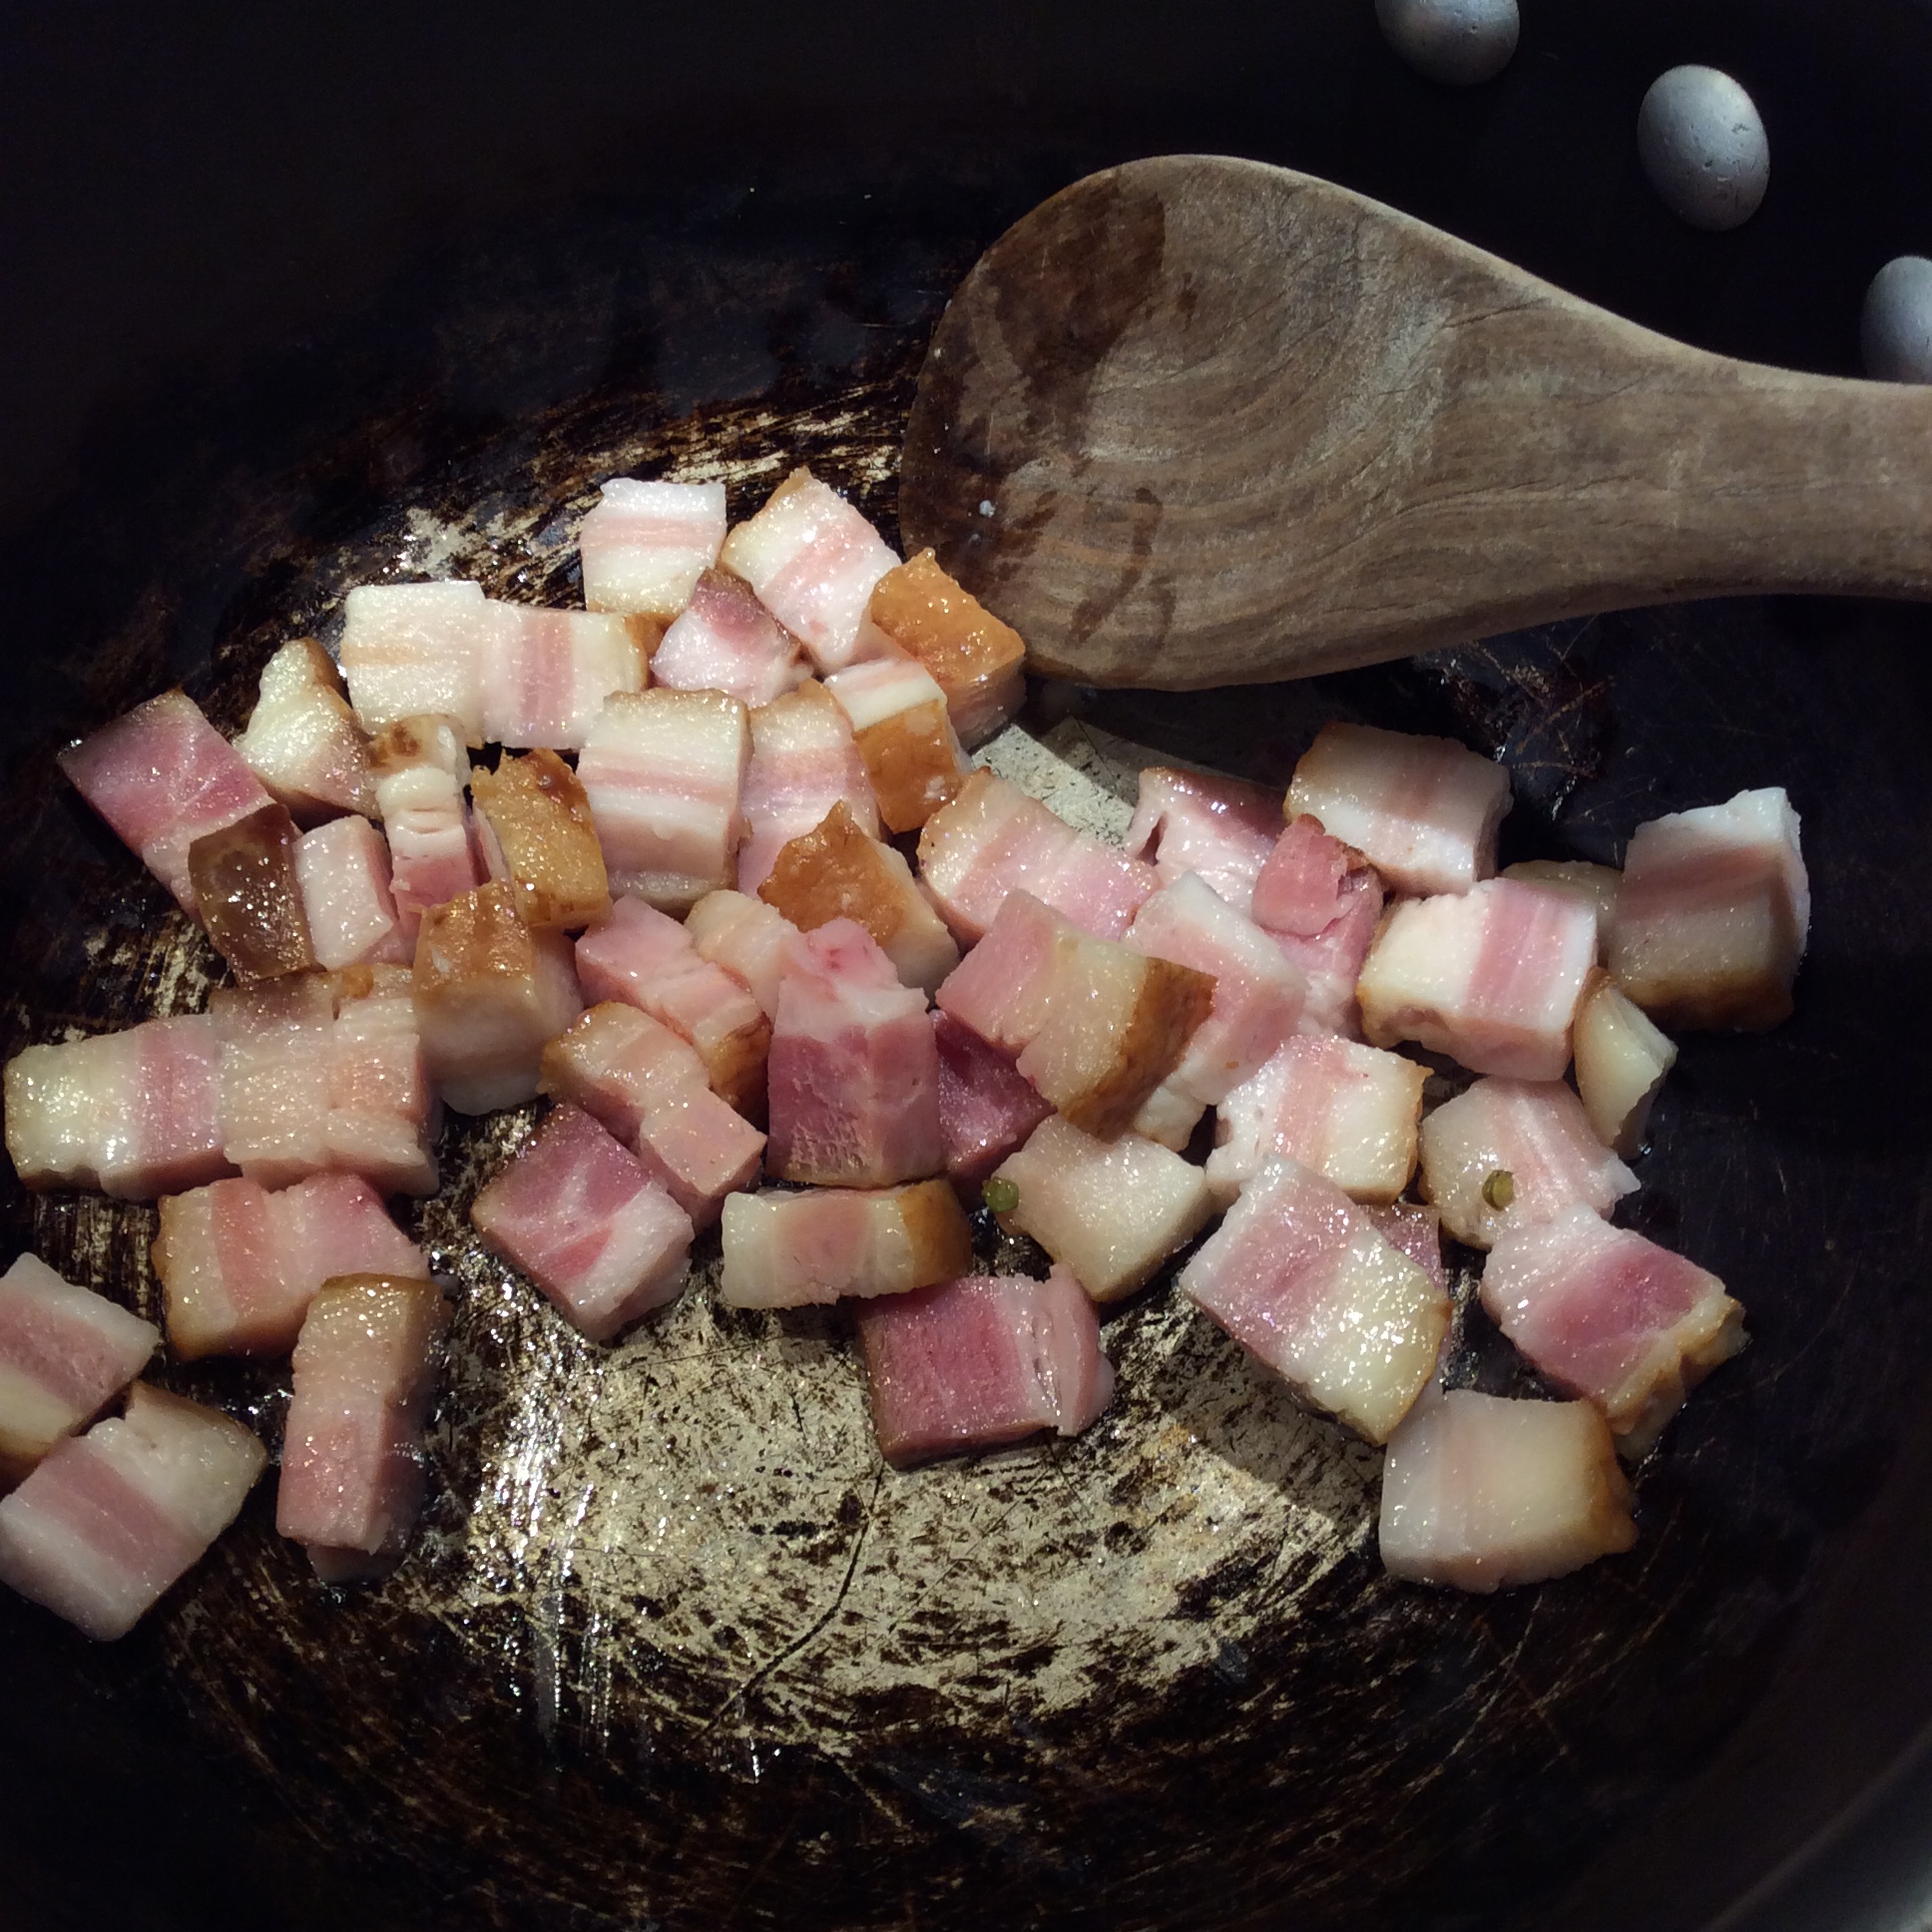
Heat a skillet or wok over high heat and boil the coconut cream hard for a minute or melt coconut oil. Stir-fry in the chopped ginger and garlic for a minute, then add 1/4 cup of nam prik pao  and fry until it looks like the picture. Add your ground meat now and continue to stir-fry over high heat. When it’s about half cooked, add the sliced green onions, sweetener to taste, and fish sauce to taste. I used a quick squirt of liquid sucralose and about 3 tablespoons of fish sauce. If you’re being authentic and using palm sugar, I would guess that about two tablespoons would do it. Go easy if you’re not sure, because you can adjust later. Stir-fry until the meat is completely cooked, add the blanched snow or snap peas, and cook over high heat another minute or two until they are heated through. Taste and correct the seasoning if needed.

I should add that I was using my large perennial green onions, and in the hot weather this time of year they take a bit of cooking to become tender and pleasant to eat. If you are using the store-bought kind, you can add them closer to the end of the process. Know your ingredients and adapt your methods to get the best out of them.

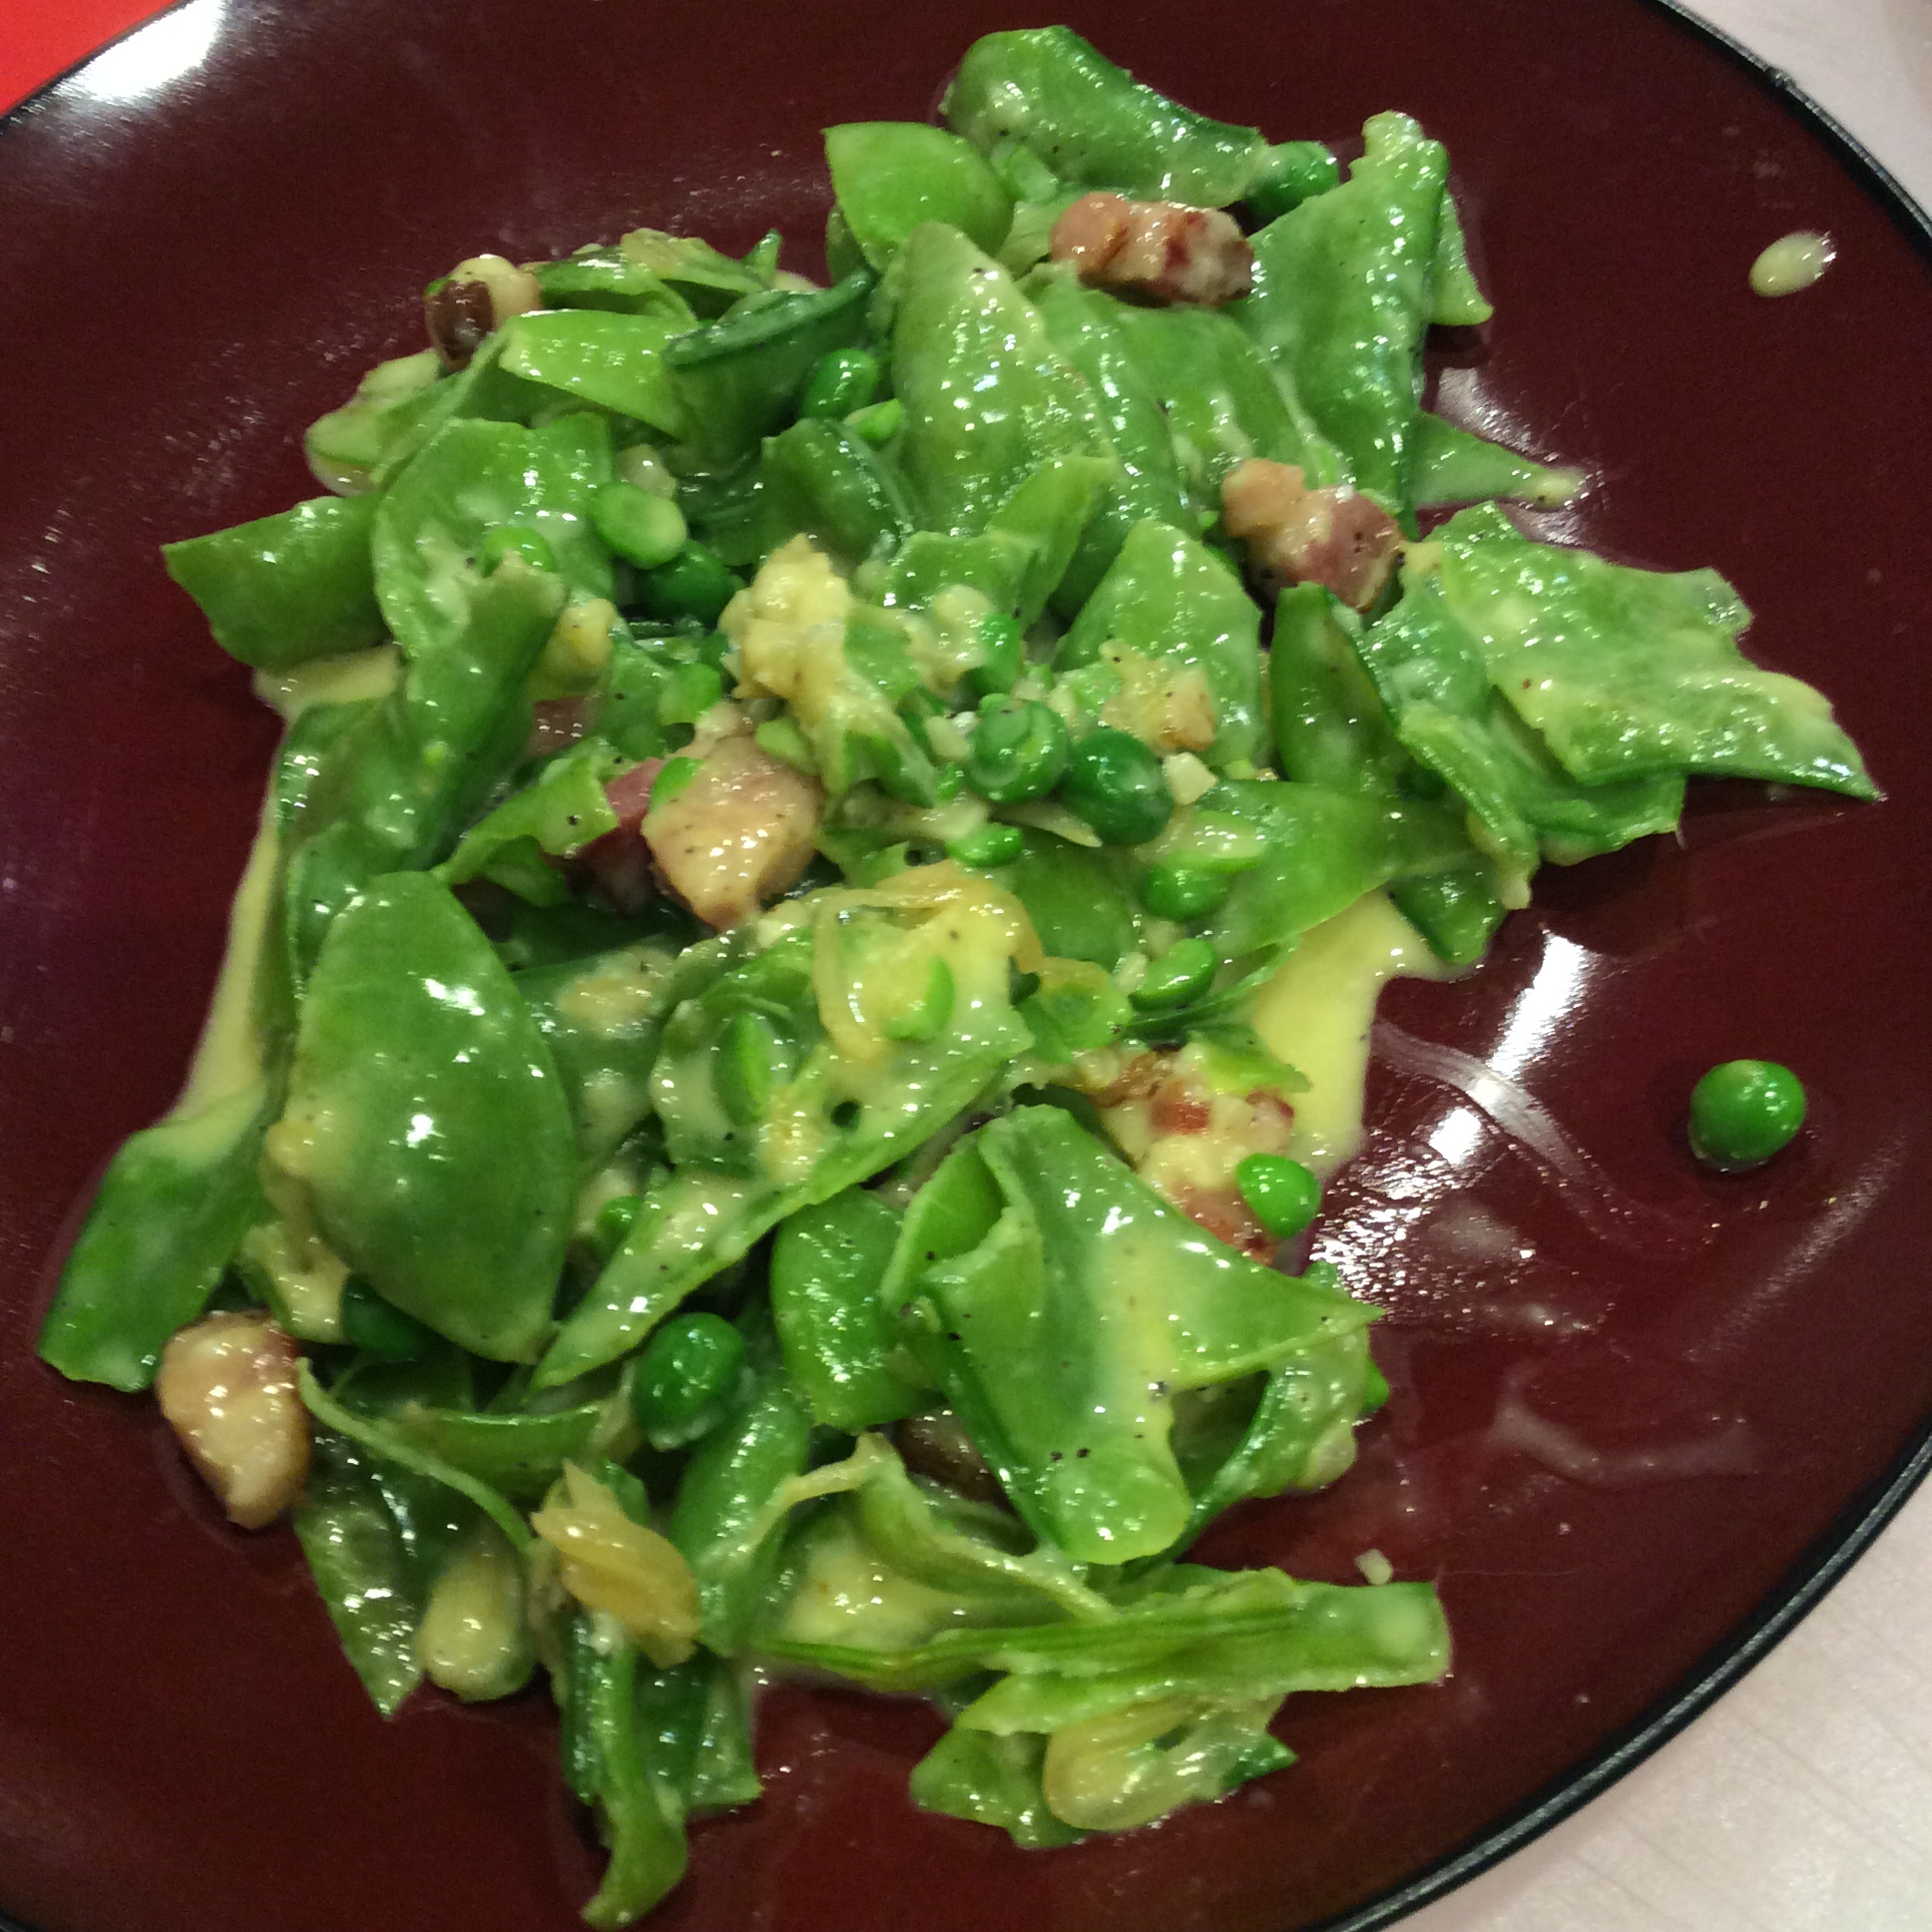
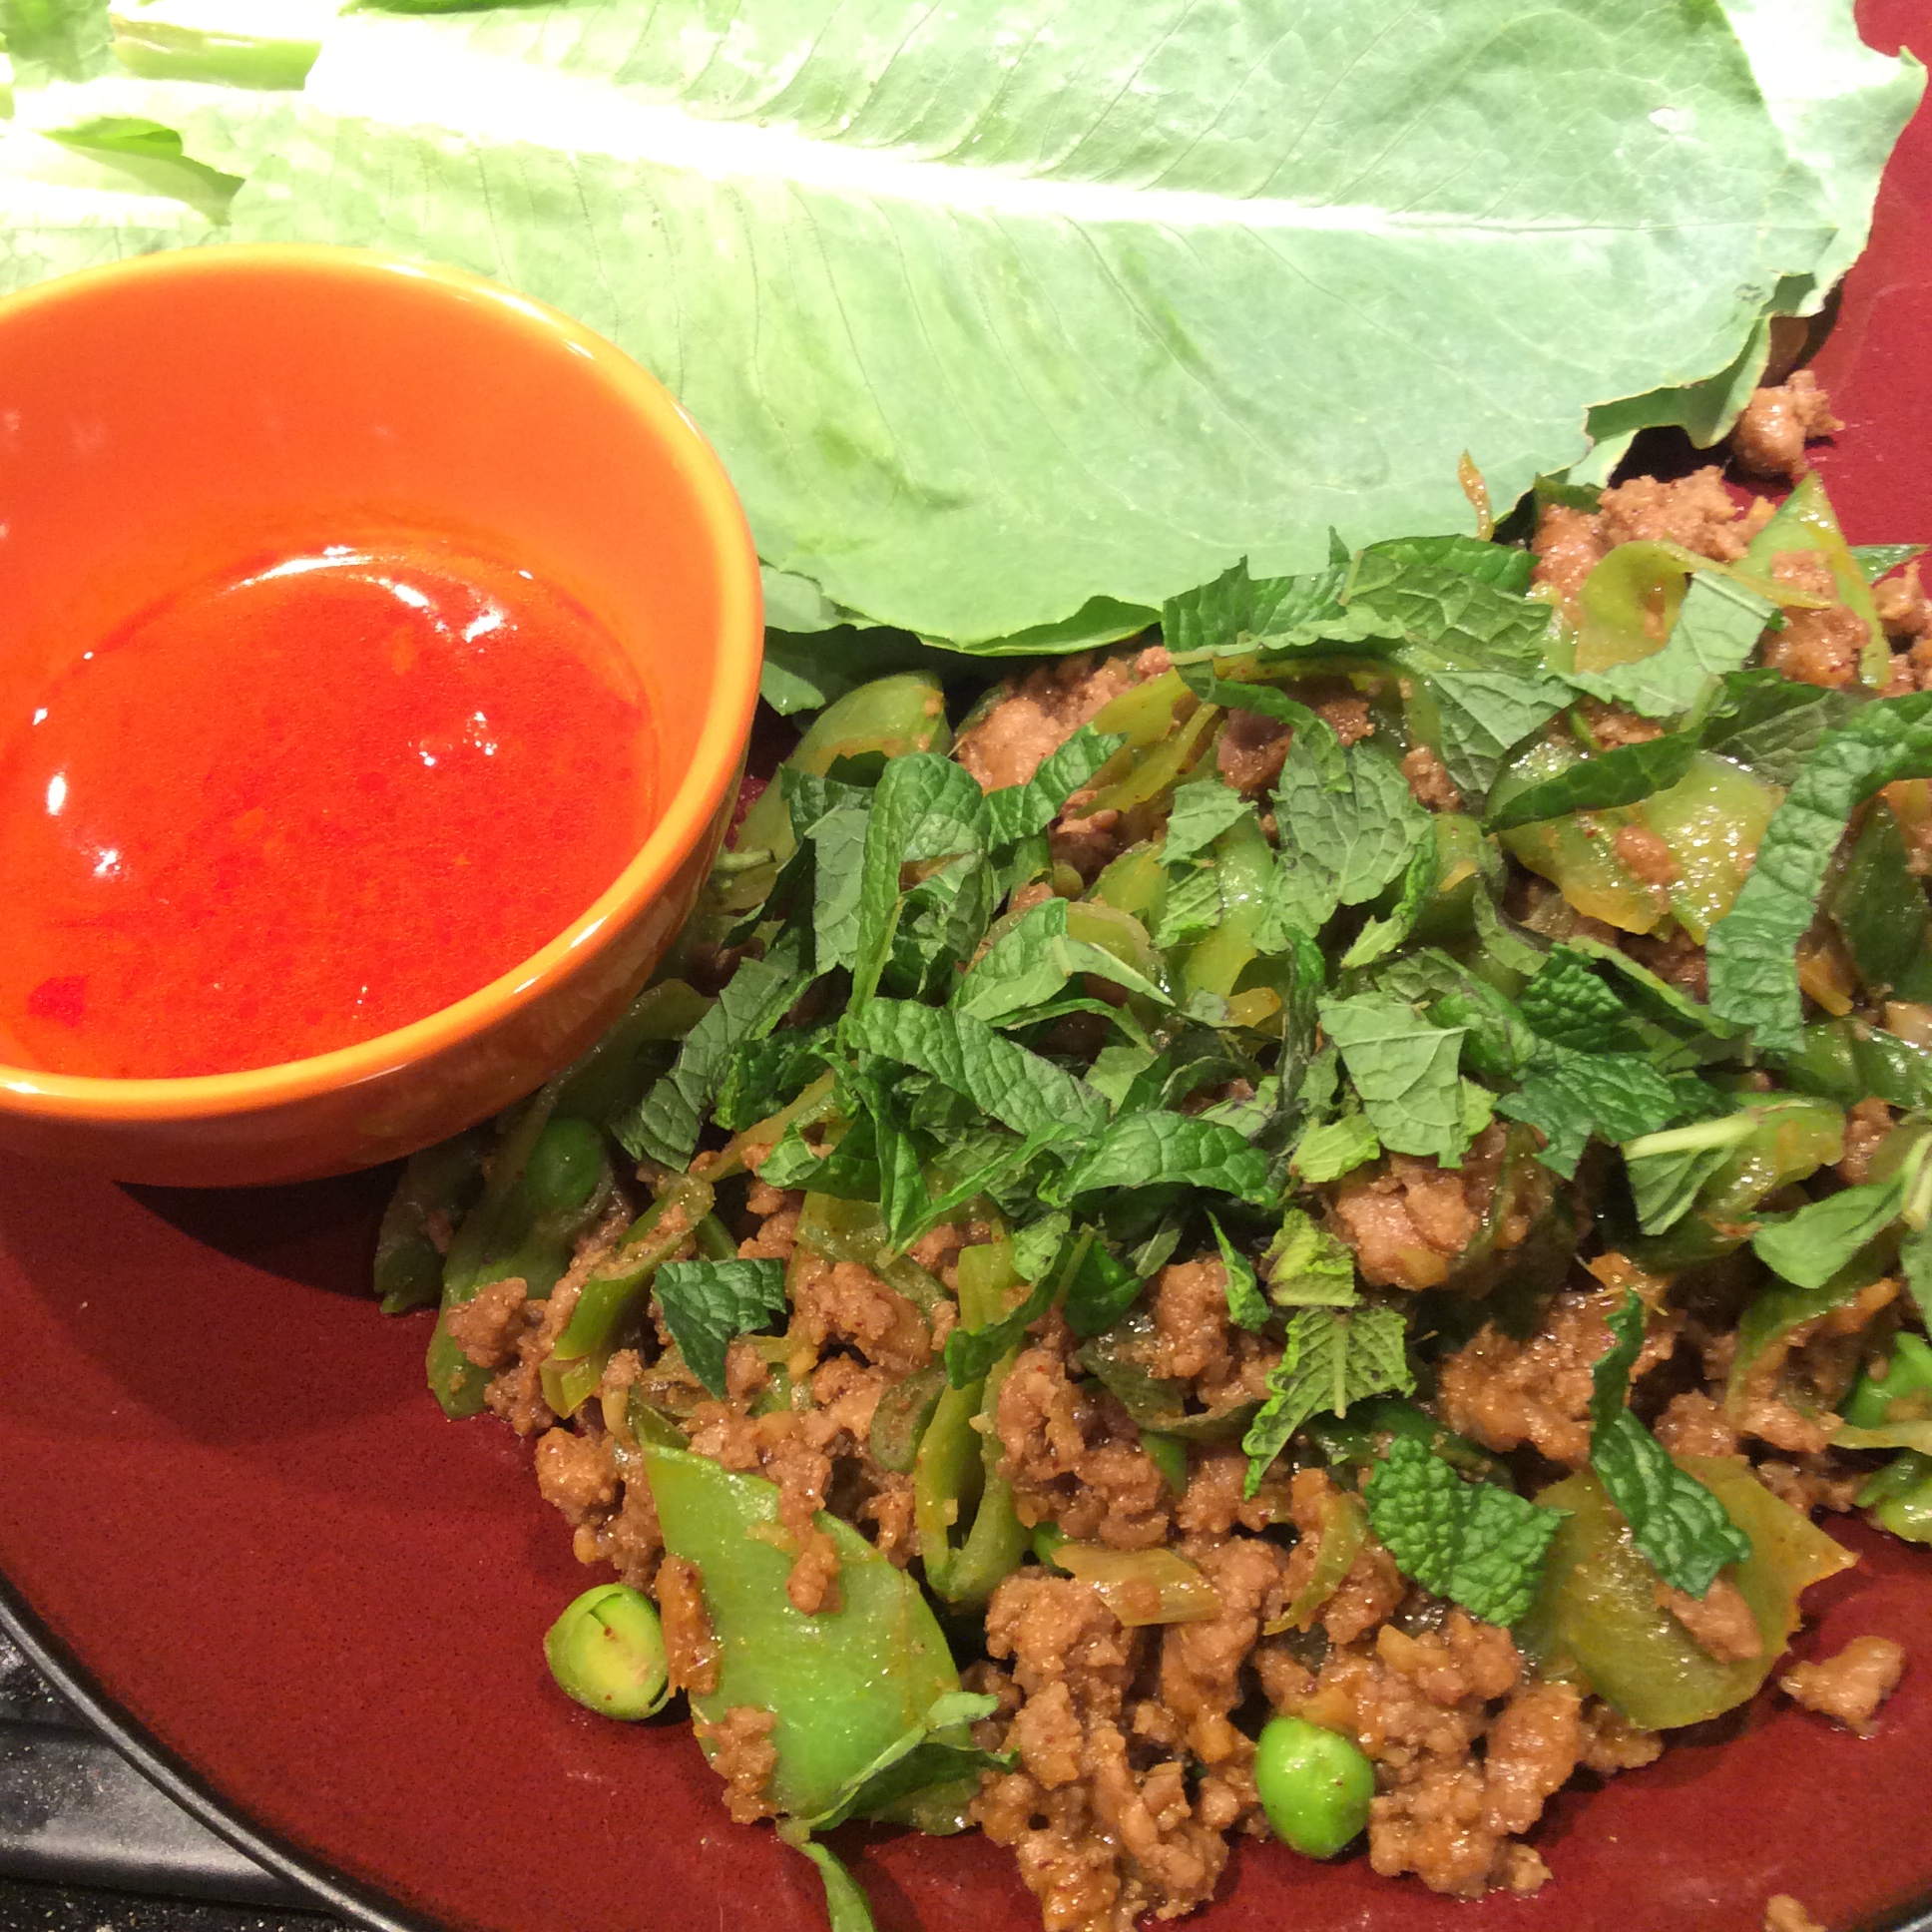
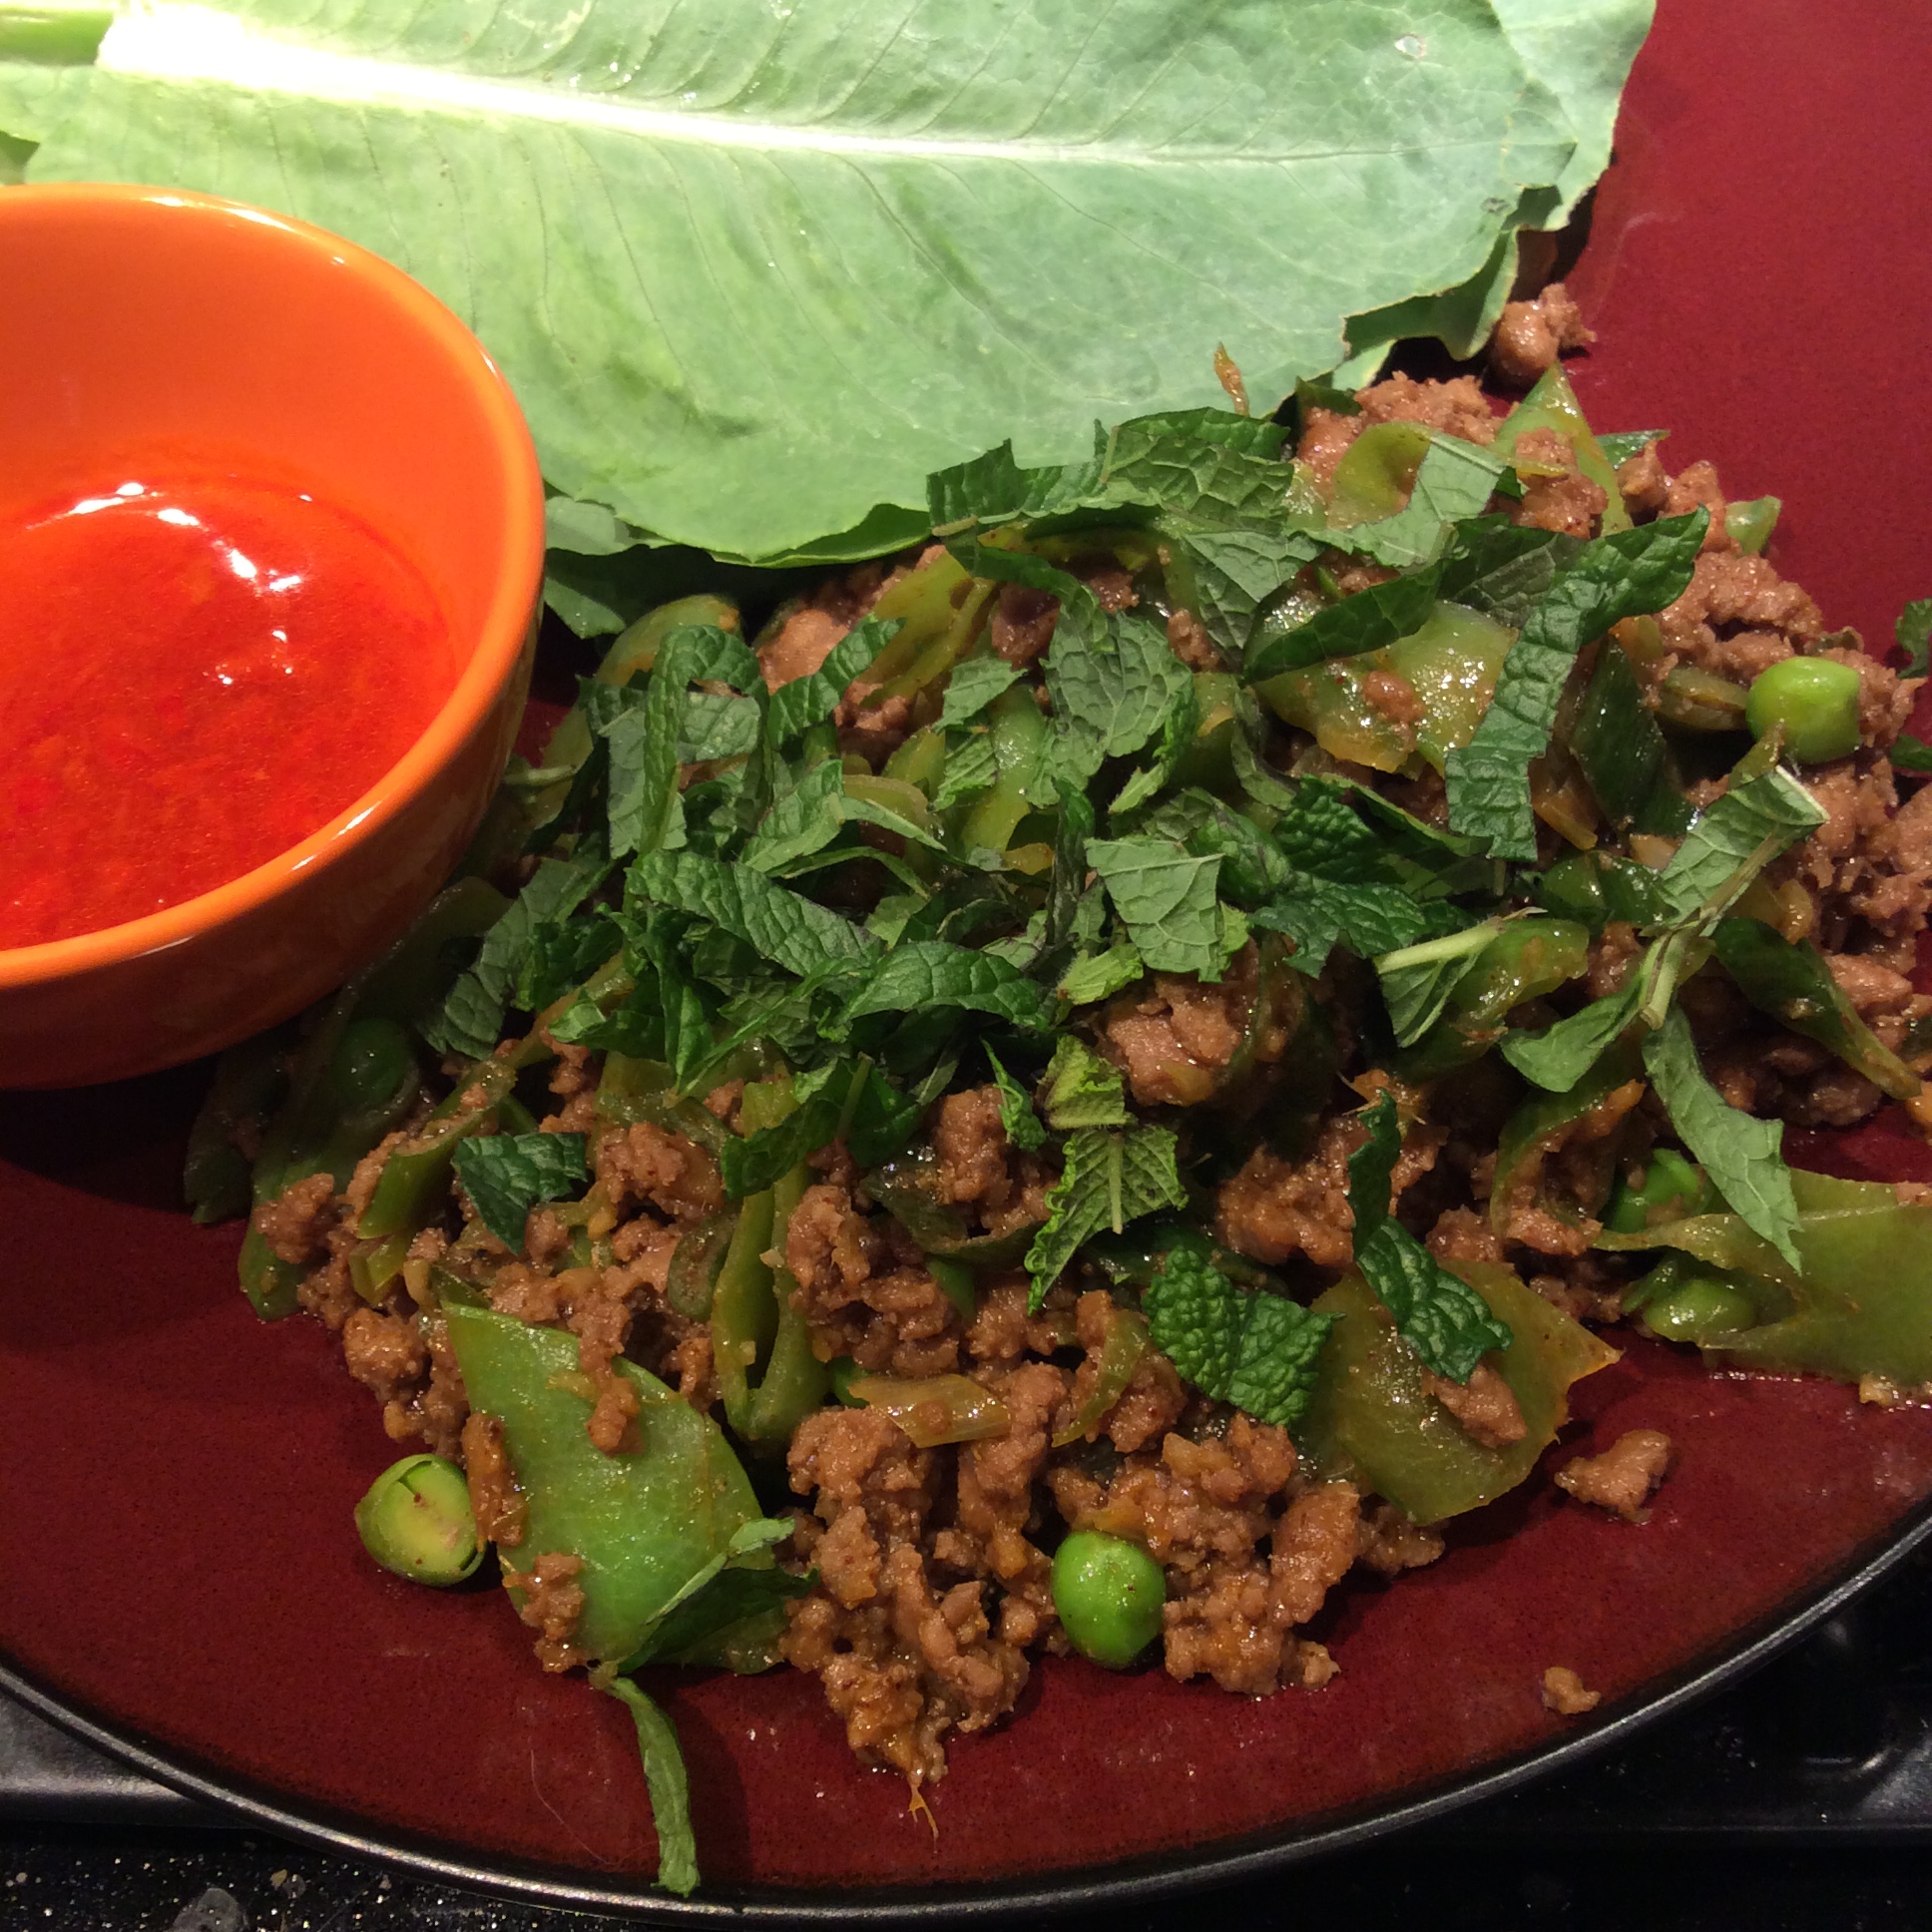
Top with chopped fresh mint just before serving and serve with stacks of lettuce leaves. I like to add a sweet-hot dipping sauce made with equal parts fish sauce and rice vinegar, artificial sweetener added until it’s pretty sweet, and sambal oelek or sriracha added until it’s pretty hot.

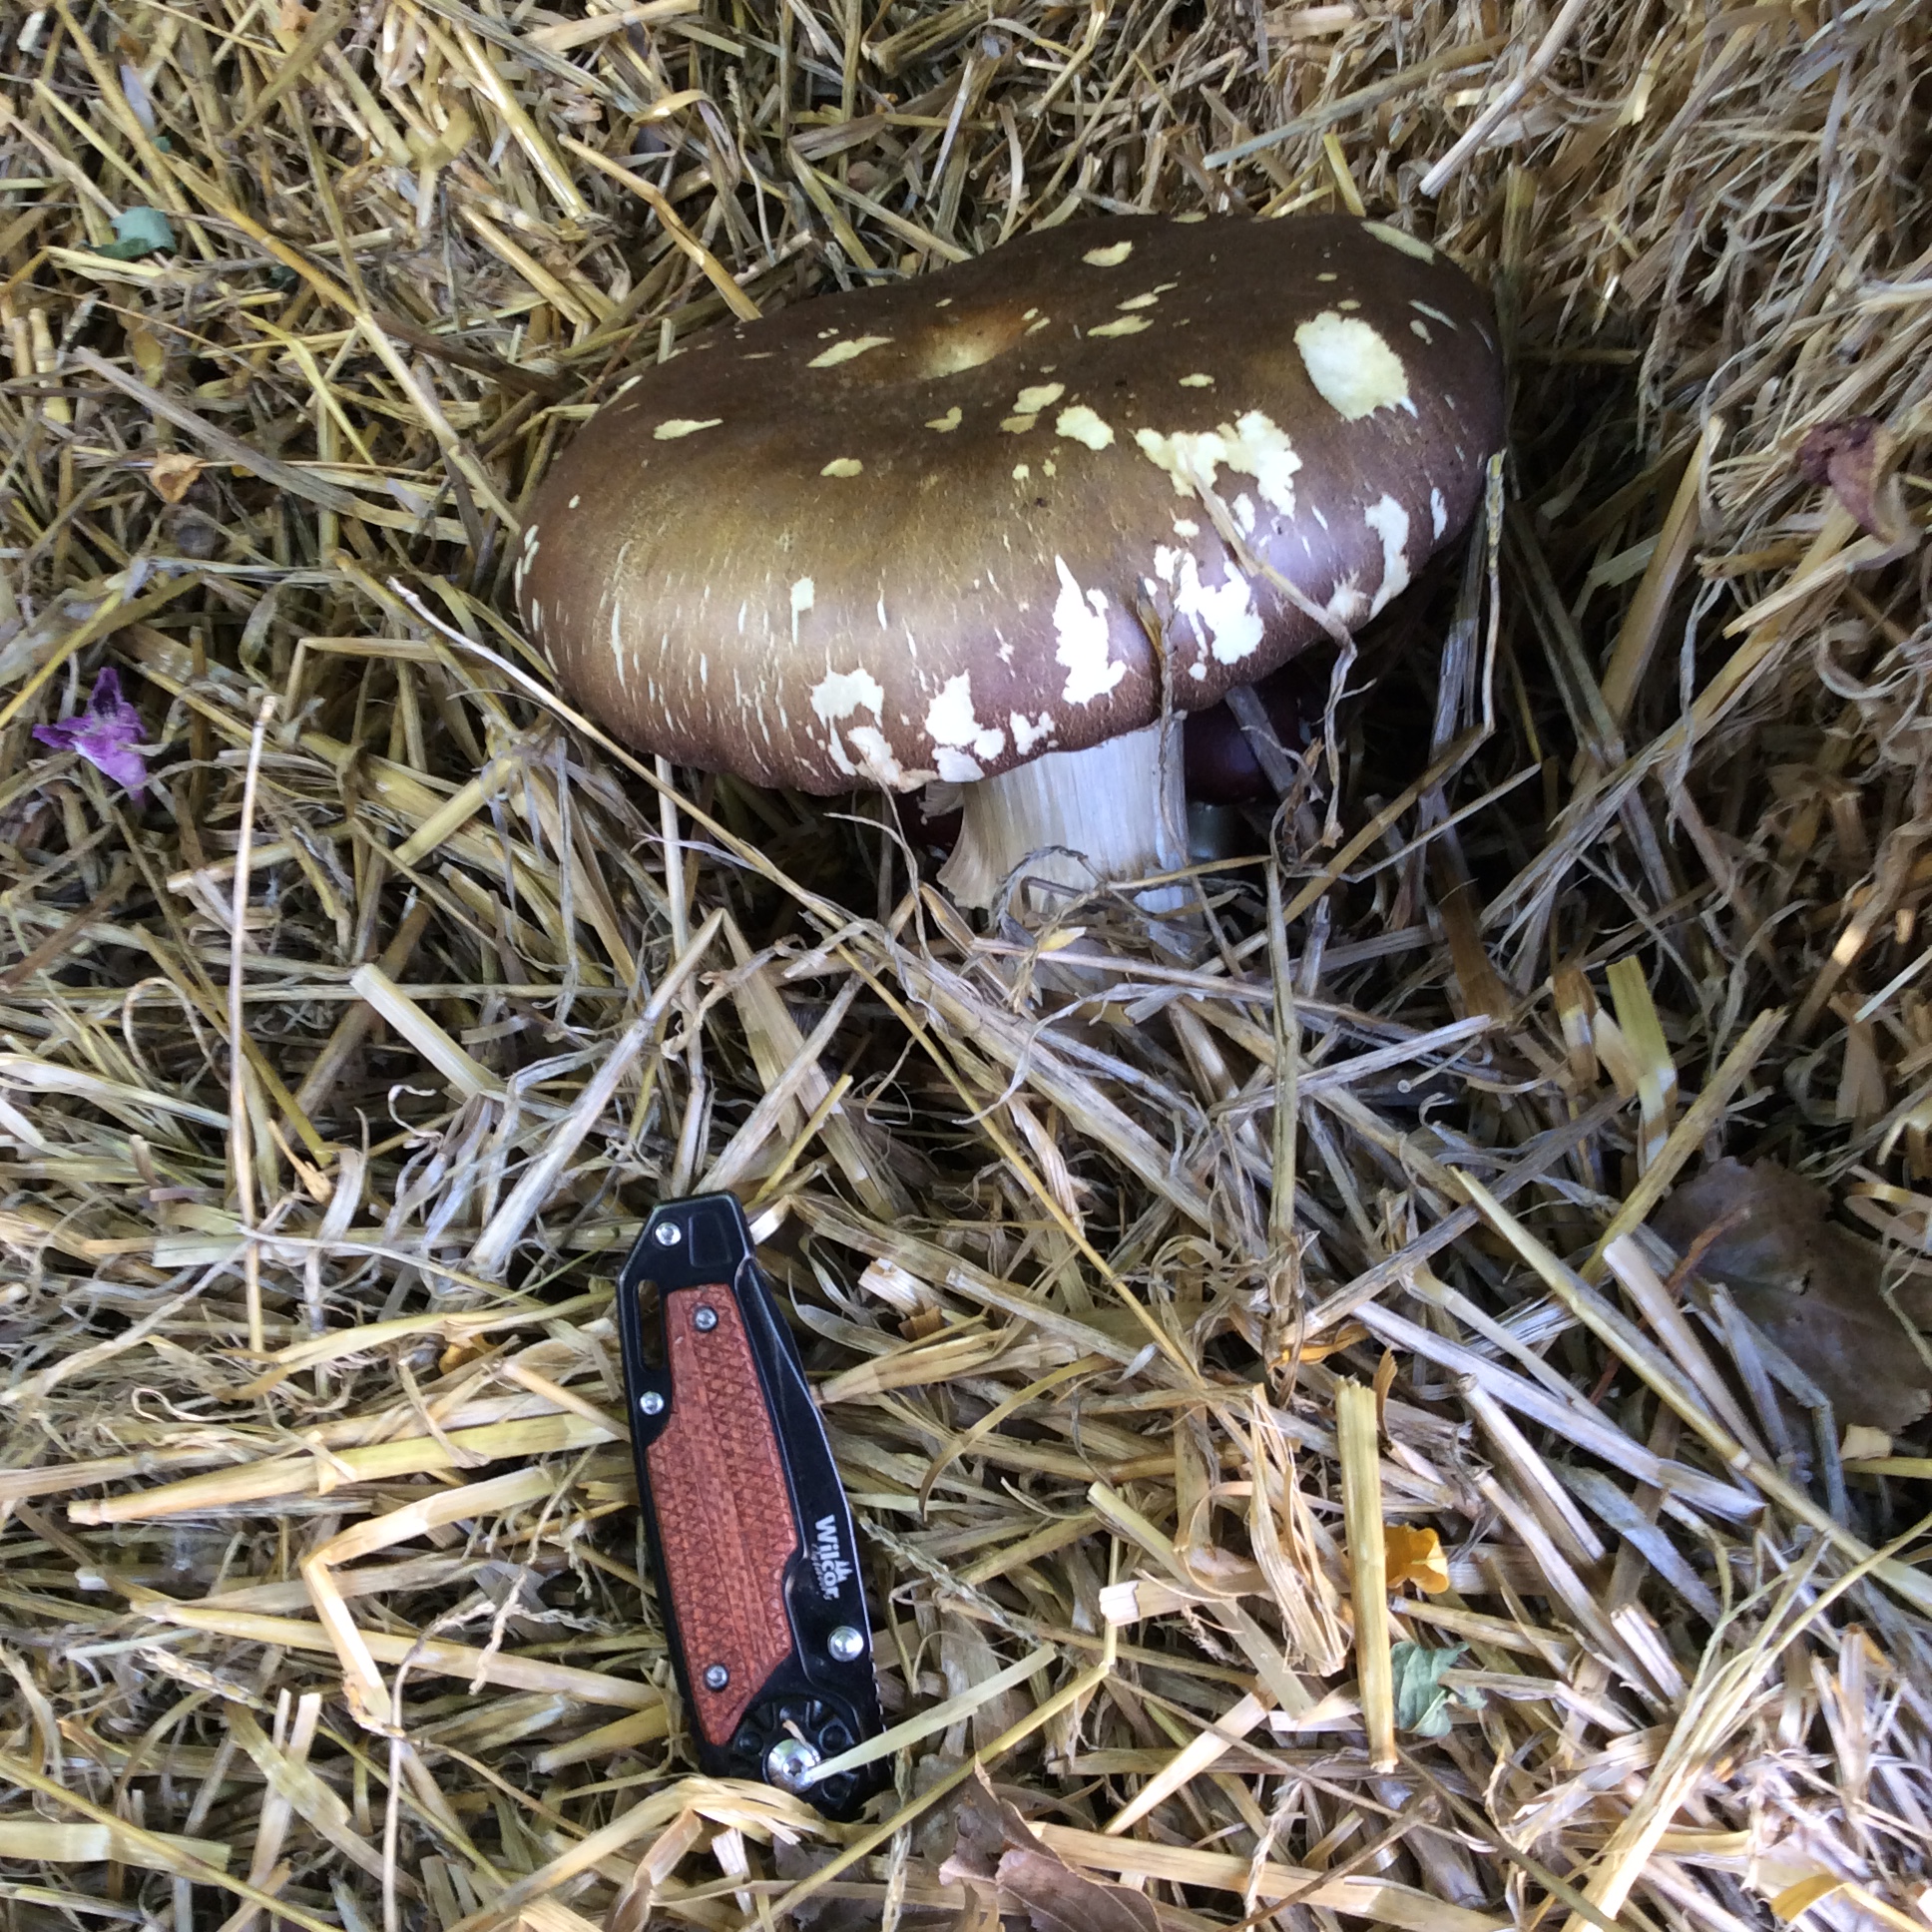
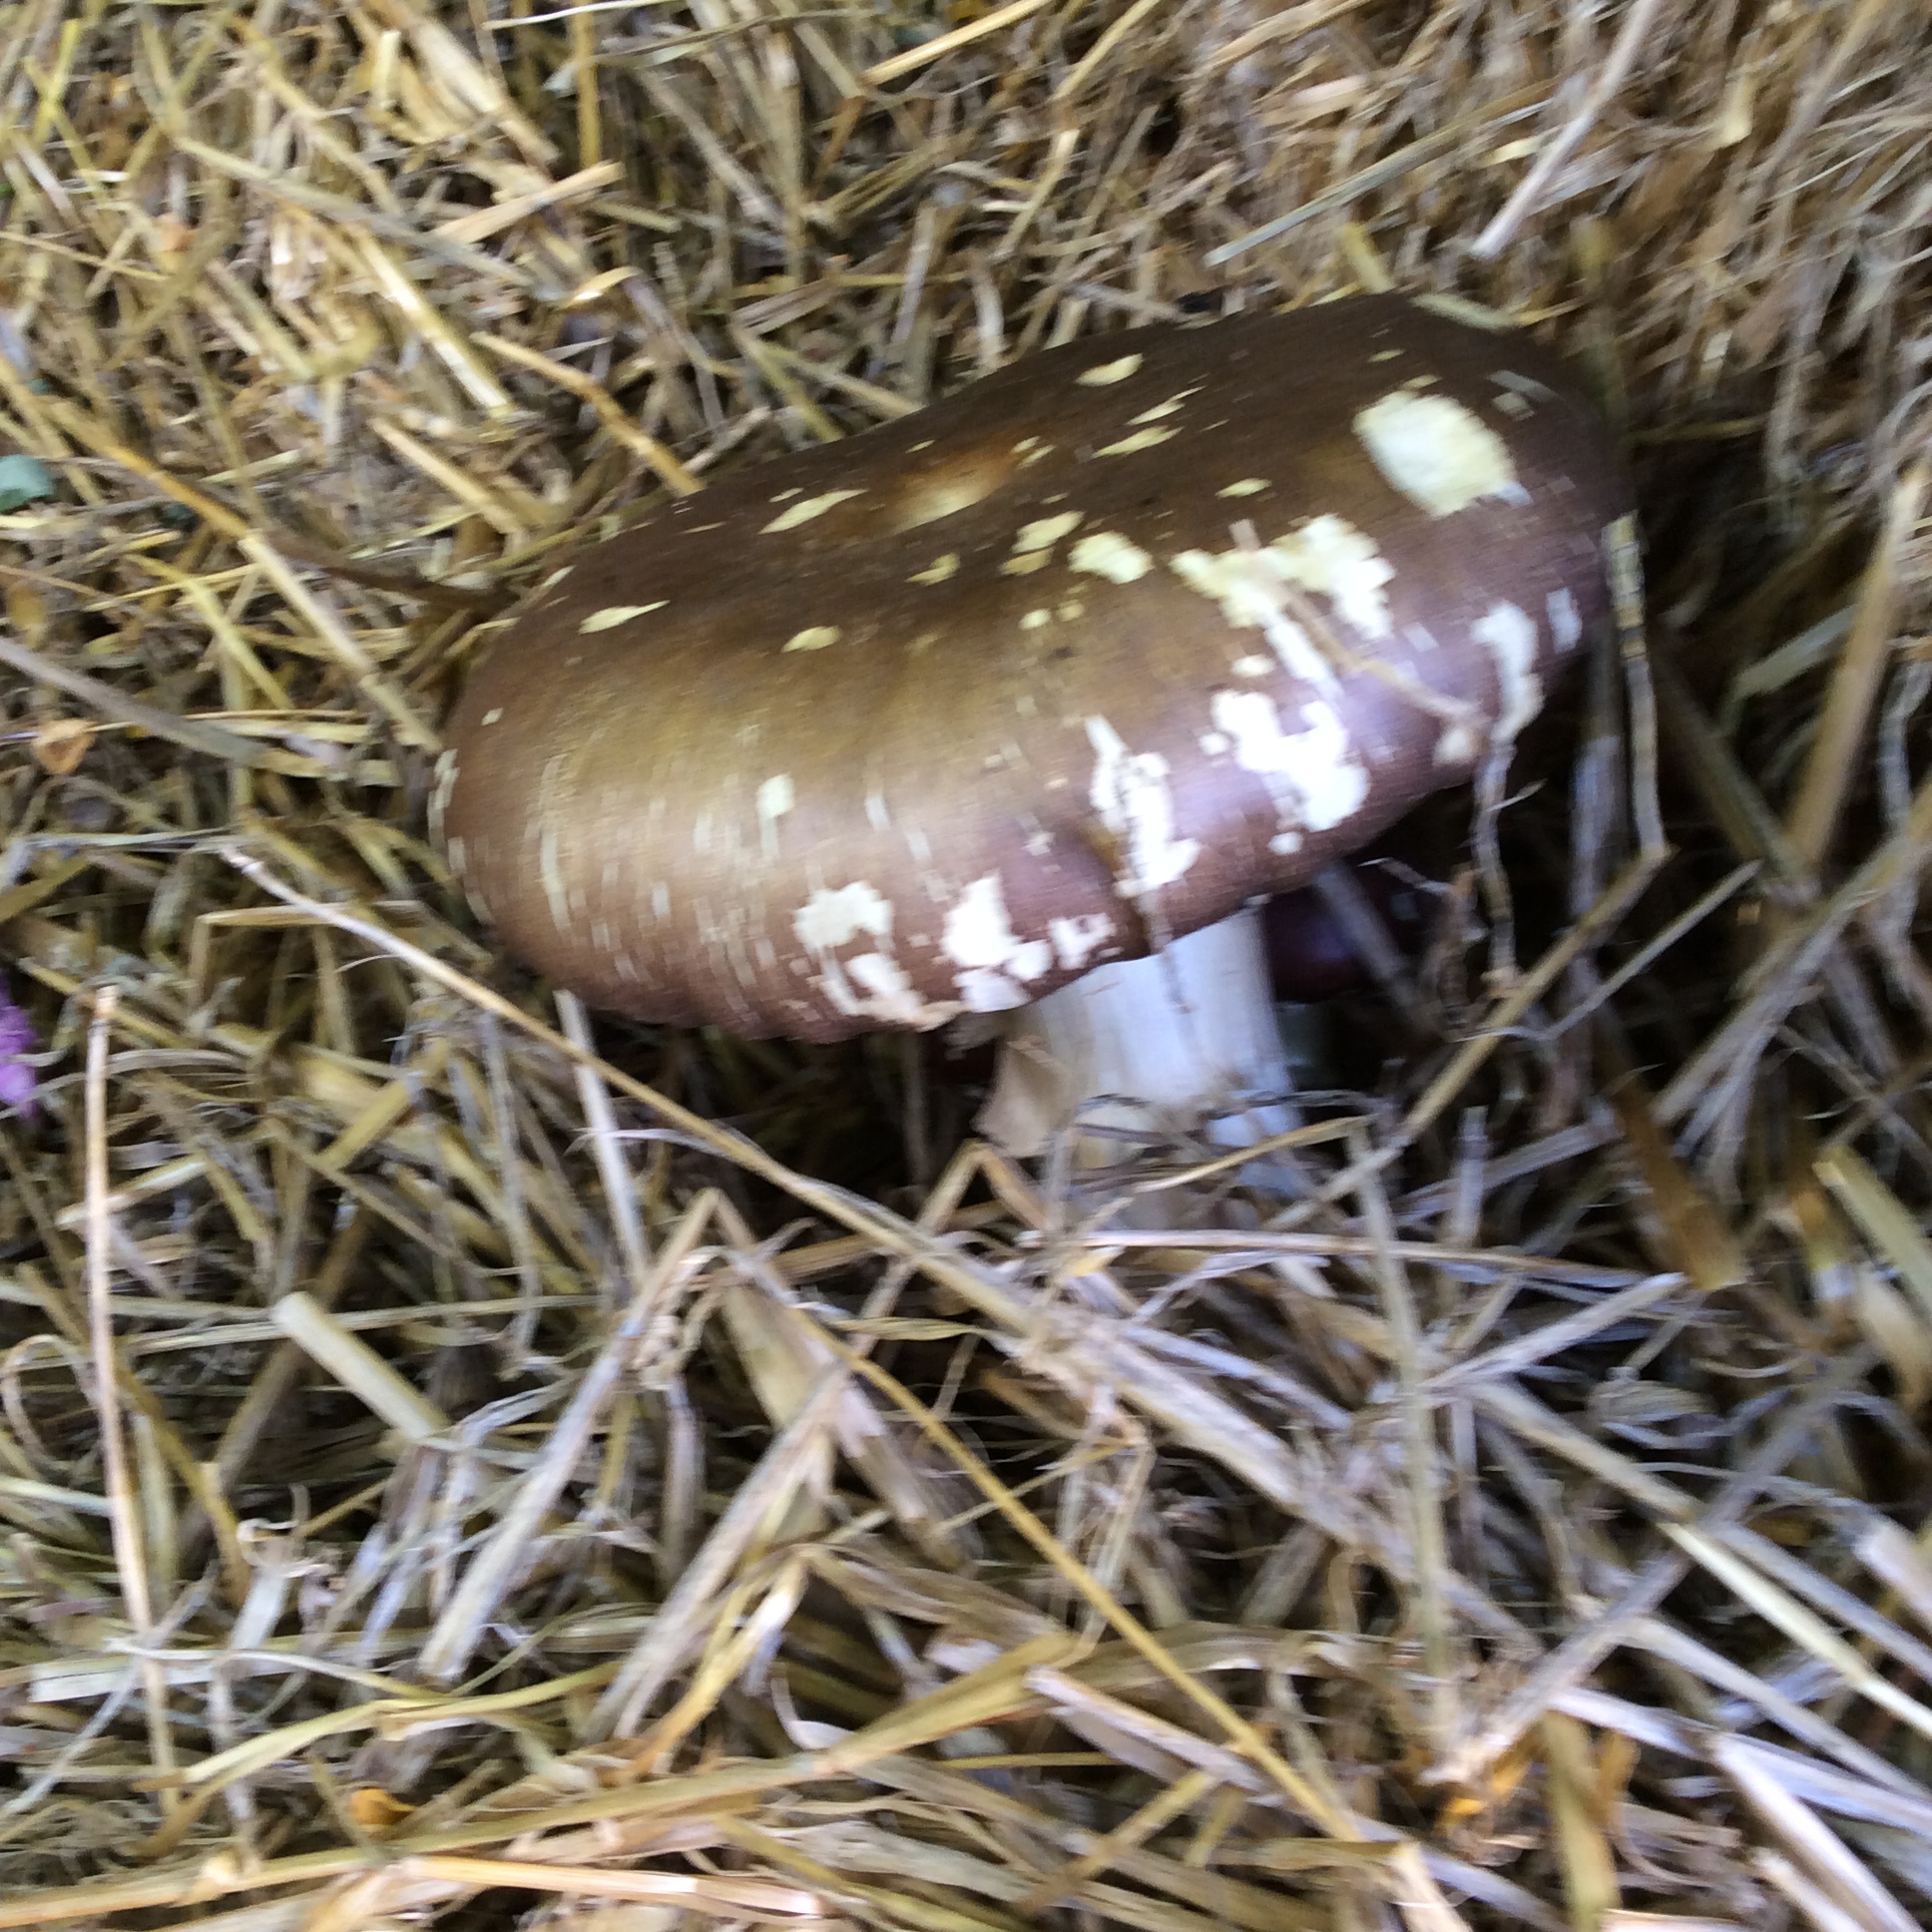
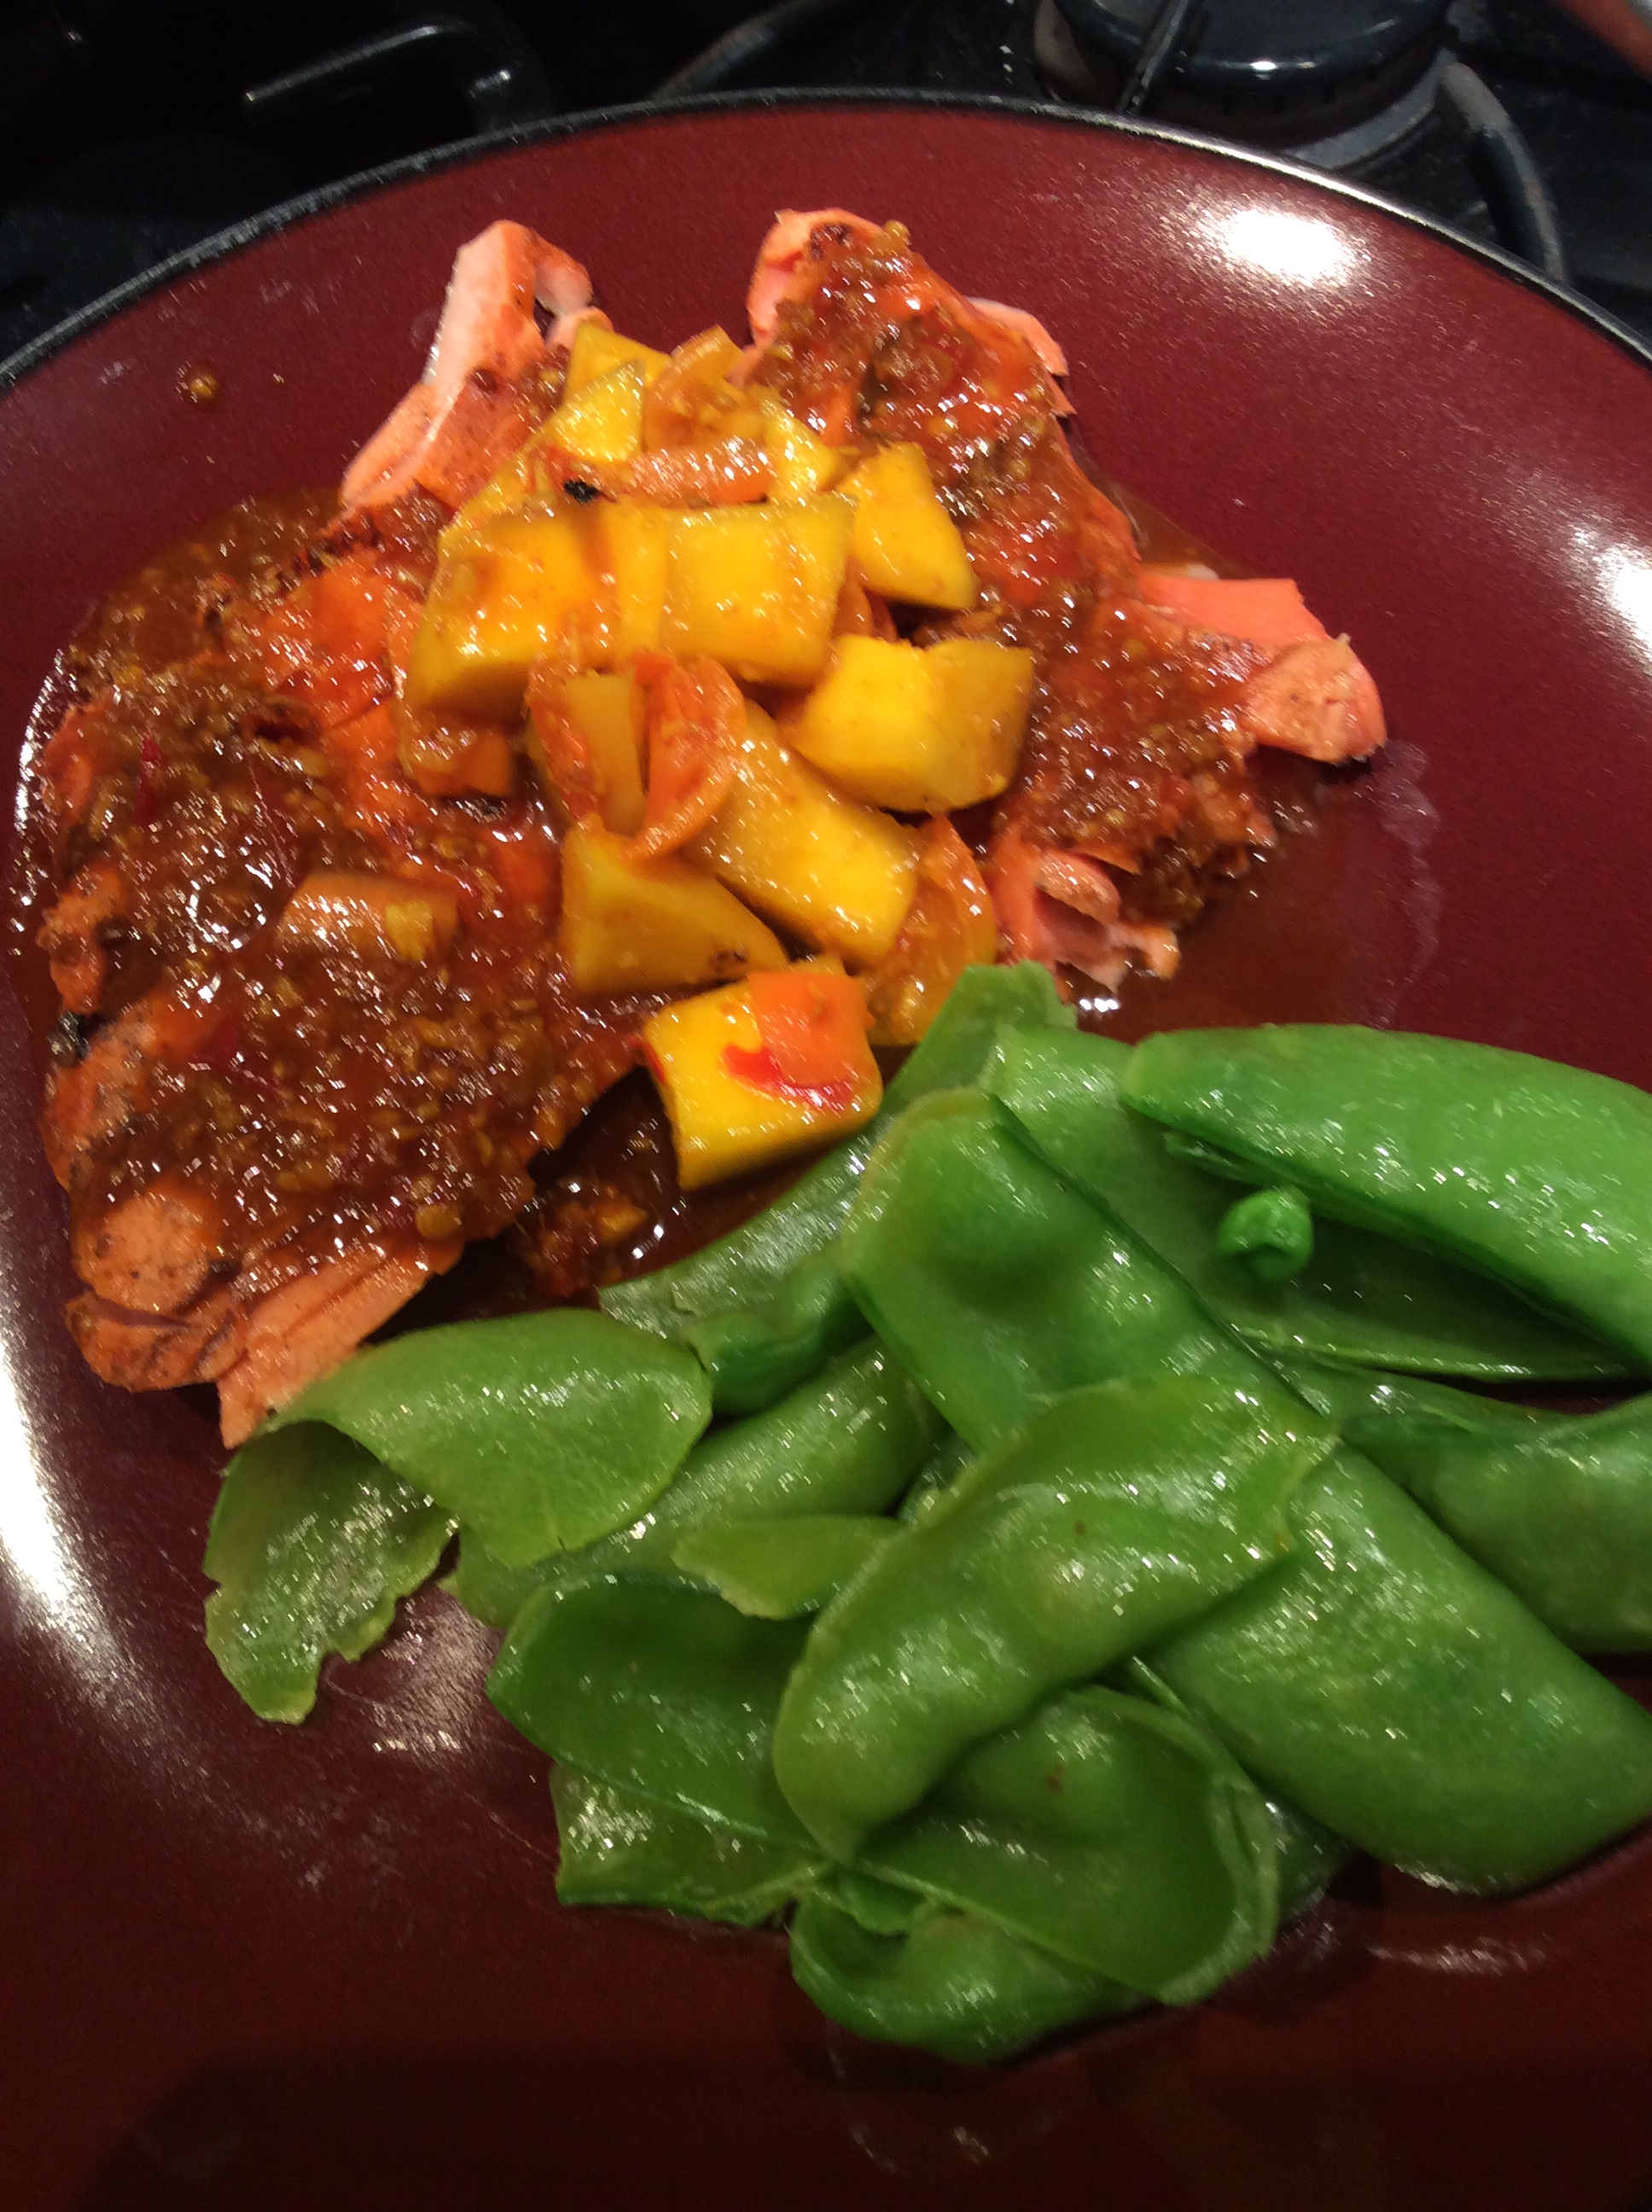
Once you have the basic formula, the dish is endlessly accommodating.  Use whatever ground meat you have, and I speculate that ground chicken or salmon might work well too. If snap or sugar peas aren’t in season, consider green beans ( be sure to blanch until tender) or greens of almost any kind. Collards could be delicious, especially if preblanched for a minute to improve tenderness.  Even slightly bitter greens are worth considering, although I would reduce the quantity and not use anything more than slightly bitter. But the coconut fat and sweetening does a lot to  ameliorate a small amount of bitterness.  Broccoli would be delicious if blanched and then cut in small cubes to fit into  the general texture of the dish. Mushrooms  are another excellent possibility, and dried soaked shiitakes cut in cubes would be good but mushrooms that you grow yourself might be even better. Some mushrooms such as oysters are pretty juicy and it is worth dry sautéing them in a separate pan to get excess liquid out before adding them to the mixture.

Other herbs are worth considering. Thai basil is a natural, and Italian basil is  something that I would consider if I did not have Thai basil or mint handy.  It just occurred to me that the licorice-sweet leaves of sweet cecily might be really good in this context, so I will be trying that.

Personally I get very annoyed with finding most  Thai food in America smothered in chopped peanuts, but I admit they’re delicious and they do add a good texture. If you want to explore other texture additions, a little chopped jicama or maybe even raw Jerusalem artichokes would add a sweet crunch.


The hallmark of a good basic recipe is that you rapidly learn how to make it come together easily and adapt to your whim of the day and what is available in your garden.  I always keep ginger, garlic, fish sauce, and some basic Thai condiments in the house, but ultimately your supply of basics may be different.  If you want to announce your food as authentic Thai, then by all means read David Thompson’s cookbook and follow his lengthy and exacting directions. But if what you want is to have delicious food on your table that suits your needs and what is available in your garden, then be imaginative and don’t worry yourself overmuch about authenticity. Just pay attention to the basic logic of the flavors.

My Winecap Mushroom Bed

Early this spring I was putting down straw mulch around some new plantings in the shade and decided to order and incorporate some spawn for the winecap  mushroom, Stropharia rugosa-annulata.  I have never grown or tasted this mushroom before, and so I was very excited yesterday when a young friend pointed out “a giant mushroom” under one of the new little saplings.  My first winecap was a healthy 6 1/2 inches in diameter.  I cooked it plainly in butter with a little bit of salt, and it was perfectly nice but I would say not significantly  better than store-bought cremini mushrooms.  Still, my homegrown mushrooms are deep organic and came from my own land, so of course I favor them,  and they benefit the soil and the growing plants as well as me.

The advantage of Stropharia  is that it is fairly rugged and easy to grow. I am told that it grows much better in deciduous wood chips than in straw, and at the very least I should have mixed in some deciduous wood chips or put some on top, but it is one of those things that I meant to get around to and haven’t done yet.  Maybe I will still top up with some wood chips.

They grow well in the paths between garden beds, and once you have them established I am assured that you can move shovelfuls of the substrate around and start new  mushroom beds pretty much at will. The presence of fungi can be very important to the health of plants, and for much more on this fascinating subject I recommend reading “Mycelium Running.”

Here’s an important safety bulletin: just because you “planted” mushrooms in a specific spot, it is not safe to assume that any mushroom that comes up in that spot is what you planted.  There is absolutely no substitute for knowing the identification points for the mushroom you planted as well as for any poisonous look-alikes.  The mushrooms that I grow in my garden, oyster mushrooms and Stropharia, are easy to identify so this is not a difficult task.

The hugeness of the Stropharia  mushrooms can make your whole garden seem Wonderland-like and magical. It might not be the very best eating mushroom there is, but it is quite wonderful to have a visitor gasp and say “Ooh, what is THAT?”


The Oregon Giant Pea and the Taste of Early Summer

I think that I have written before about my entrancement with the snap pea/sugar pea called Orgeon Giant. In my opinion, it’s the most delicious thing of its kind  and I gorge on this type for as long as its season lasts. I begin to harvest my early spring planting in late May, waiting until the pods are bulging but not round and making sure to pull the strings off, and at first I eat them blanched in boiling salted water for four minutes and then sautéed in butter with a pinch of salt for a couple of minutes. They go well next to everything.

But as the season gets into full swing, I have enough of them to get ambitious. I continue to be obsessed with Joshua  McFadden’s new cookbook Six Seasons,and tonight I happened to be struck by his addition of English peas to Pasta Carbonara. I don’t eat pasta for carby reasons, but it occurred to me that the traditional carbonara flavors, while rich, are also rather full and gentle, and might go wonderfully with sugar peas even if there were no pasta involved. I hasten to add that there is no question that a large plate full of sugar peas will not do anybody’s carbohydrate count any good. However, we all have our vices, and I do tend to allow anything green.

Have all the prepping done before you start cooking because it goes very fast.
So I started with 2 quarts of enormous peapods, loosely packed. I picked them over and pulled the strings off, and cut them diagonally into pieces roughly an inch long as you see above.
There is no question that piggy products do peas a world of good. I did not happen to have the classic carbonara ingredient pancetta on hand and so I decided to use a thick slice of mild applewood smoked bacon. I cut it into cubes a little bigger than 1/4 inch square. I chopped two cloves of fresh garlic very fine, finely  chopped a small onion, grated about a cup+ of very good Parmesan, and separated out the yolks of three eggs. A quarter cup of heavy cream ended up smoothing out the mixture.

The bacon cubes were rendered gently over medium heat, and the onion and garlic thrown in when they were about half cooked. This mixture was cooked together until the onions were cooked soft without allowing it to color, and meanwhile a couple of quarts of salted water were brought to a fast boil. The heat was turned off under the bacon mixture, and the chunks of pea pods thrown into the salted water and cooked for exactly 4 minutes. The pea pods were drained well in a strainer but not shaken totally dry, and then returned to the hot saucepan, the bacon mixture added, the cream poured in, and sautéed over medium heat for about a minute. Now, working very fast off the heat and stirring  continually with a wooden spoon because a metal spoon would break up the peapods, the egg yolks were added and tossed around for a little under a minute, until the cream looked a bit thickened. Then the Parmesan was tossed in off the heat. When the sauce amalgam look thick and creamy, about a half teaspoon of freshly ground pepper was stirred in and the dish was immediately plated. You can add a little more cheese on the top if you like. Serve hot with some additional black pepper ground over the top.
This may be the purest expression of the sugar snap pea pod, somehow even more classic than the simple blanched pods. The pods retain some texture, and the swollen peas that float around the finished dish are pure essence of early summer. This is a main dish  and if you accompany it with some good white wine, you are very unlikely to want anything else.

Feeding Our Pollinators

Sometimes I write a post that is a thinly disguised excuse for posting a bunch of pictures of flowers. However, it isn’t frivolous because flowers really matter. One of my gardening goals this year is to keep a fairly steady supply of flowers going for the pollinators and notice which ones they visit the most.

Starting in early spring, the Japanese plum trees were heavily visited. The next thing that bloomed was the black locust tree, and it was absolutely mobbed with bees. I could sit under the tree and listen to the loud hum.

Next, wisteria, which seemed to be especially attractive to bumblebees.

Turkish Rocket  proved to be a fair bee plant.

The olive-leaved sylvetta arugula is exceptionally attractive to pollinators of all kinds. It’s reliably perennial in my garden and can tolerate any amount of neglect.

The most wildly attractive of all my nectary plants are the poppies. Lavish Shirley poppies, unimproved cornfield poppies, breadseed poppies, Oriental poppies, the bees adore them all. They would be worth a lot of trouble to have, but they aren’t any trouble.

IMG_5625

This year I planted patches of bee’s friend, Phacelia tanacetifolia, which is supposed to be the best nectary plant going.  In my garden it bloomed at the same time as the poppies and is being somewhat ignored in the poppy frenzy, but bees do visit it and I enjoy having it around, so I will certainly plant some more next year.

Ornamental and edible alliums that are allowed to flower are a hit with honeybees.

I plant alfalfa all over the place and always let some flower, and my common yard hollyhocks are visited frequently by bees.  There are many unspectacular flowers that the bees like just fine. I  grew a lot of arugula around my yard and let it go to flower so that it will see that self, and the bees like the small nondescript flowers.  If you grow vegetables in the mustard family and don’t get around to eating them all, you can always let one or two go to seed and the bees will enjoy them. Edible weeds dandelion and sow thistle are liked by bees, making them nice  to have around on two counts.

Just don’t spray. Please don’t spray.