Archive for the ‘edible landscaping’ Category

Garden Errors

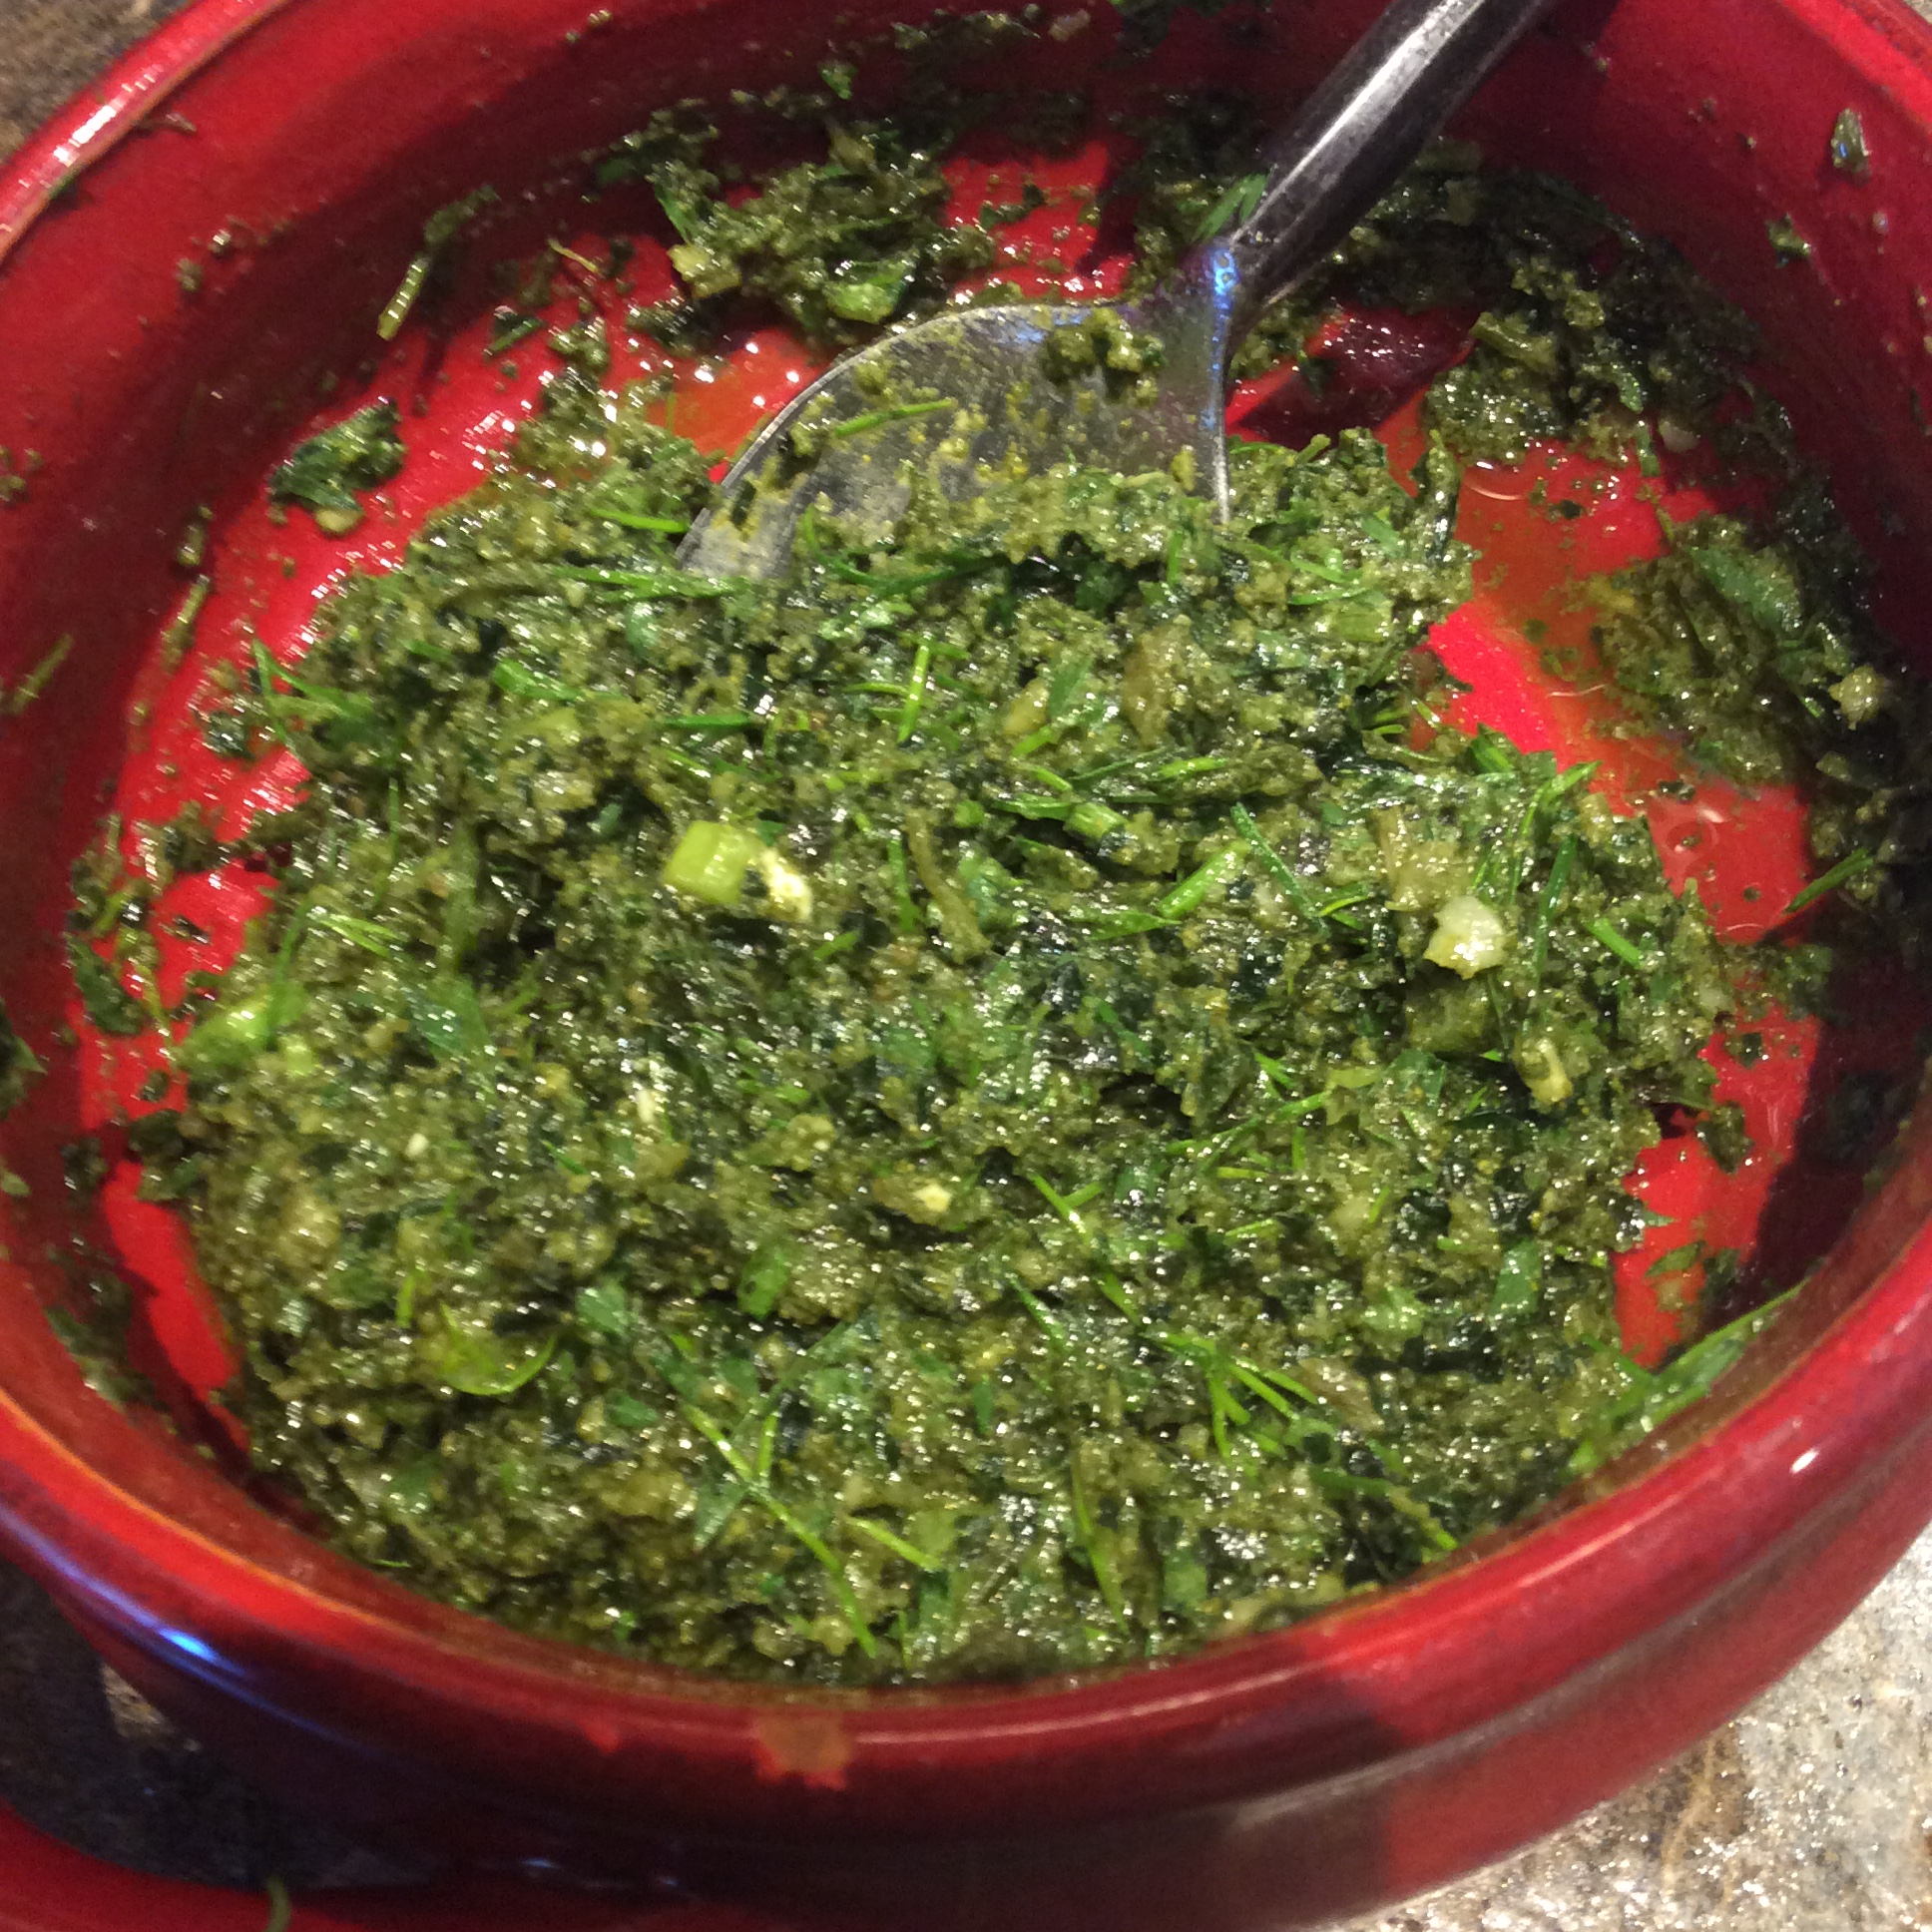
In my last post I mentioned using finely chopped carrot leaves in an herb pesto, and it occurred to me that there is a bit more to say about this because it pertains to what to do when things go wrong in the garden. The brief answer is: see if you can eat them anyway, maybe in some other form.

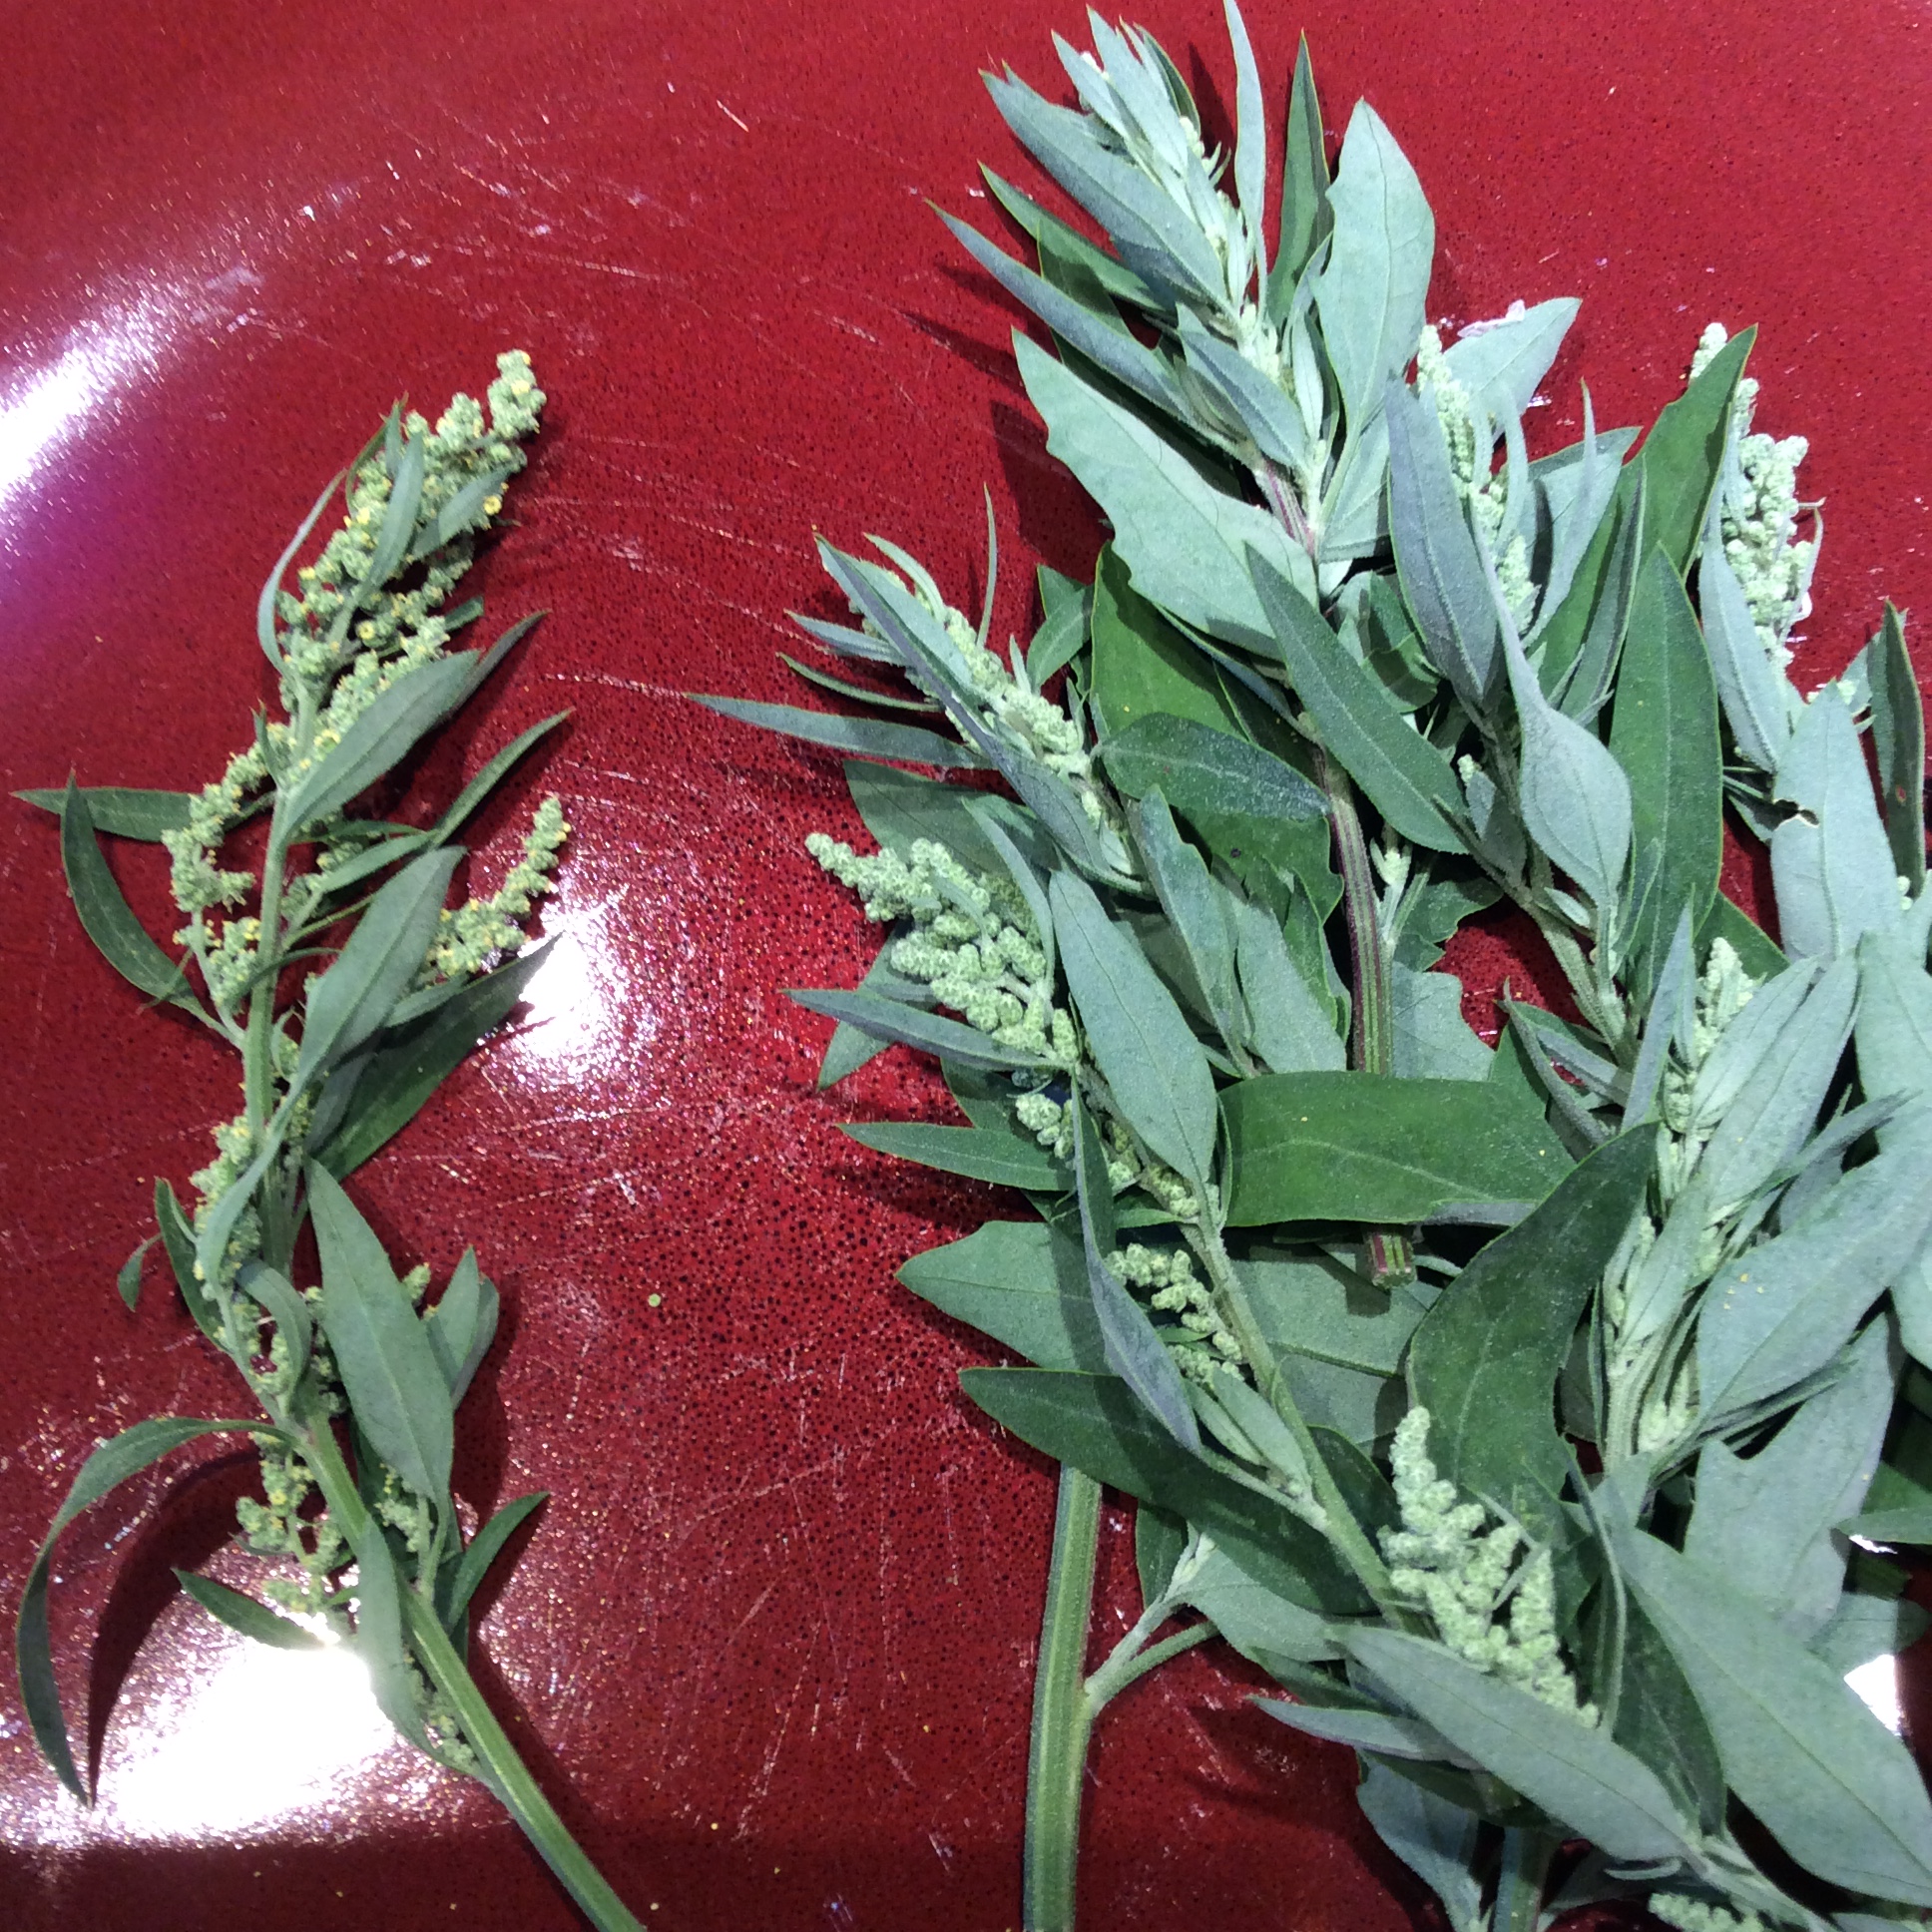
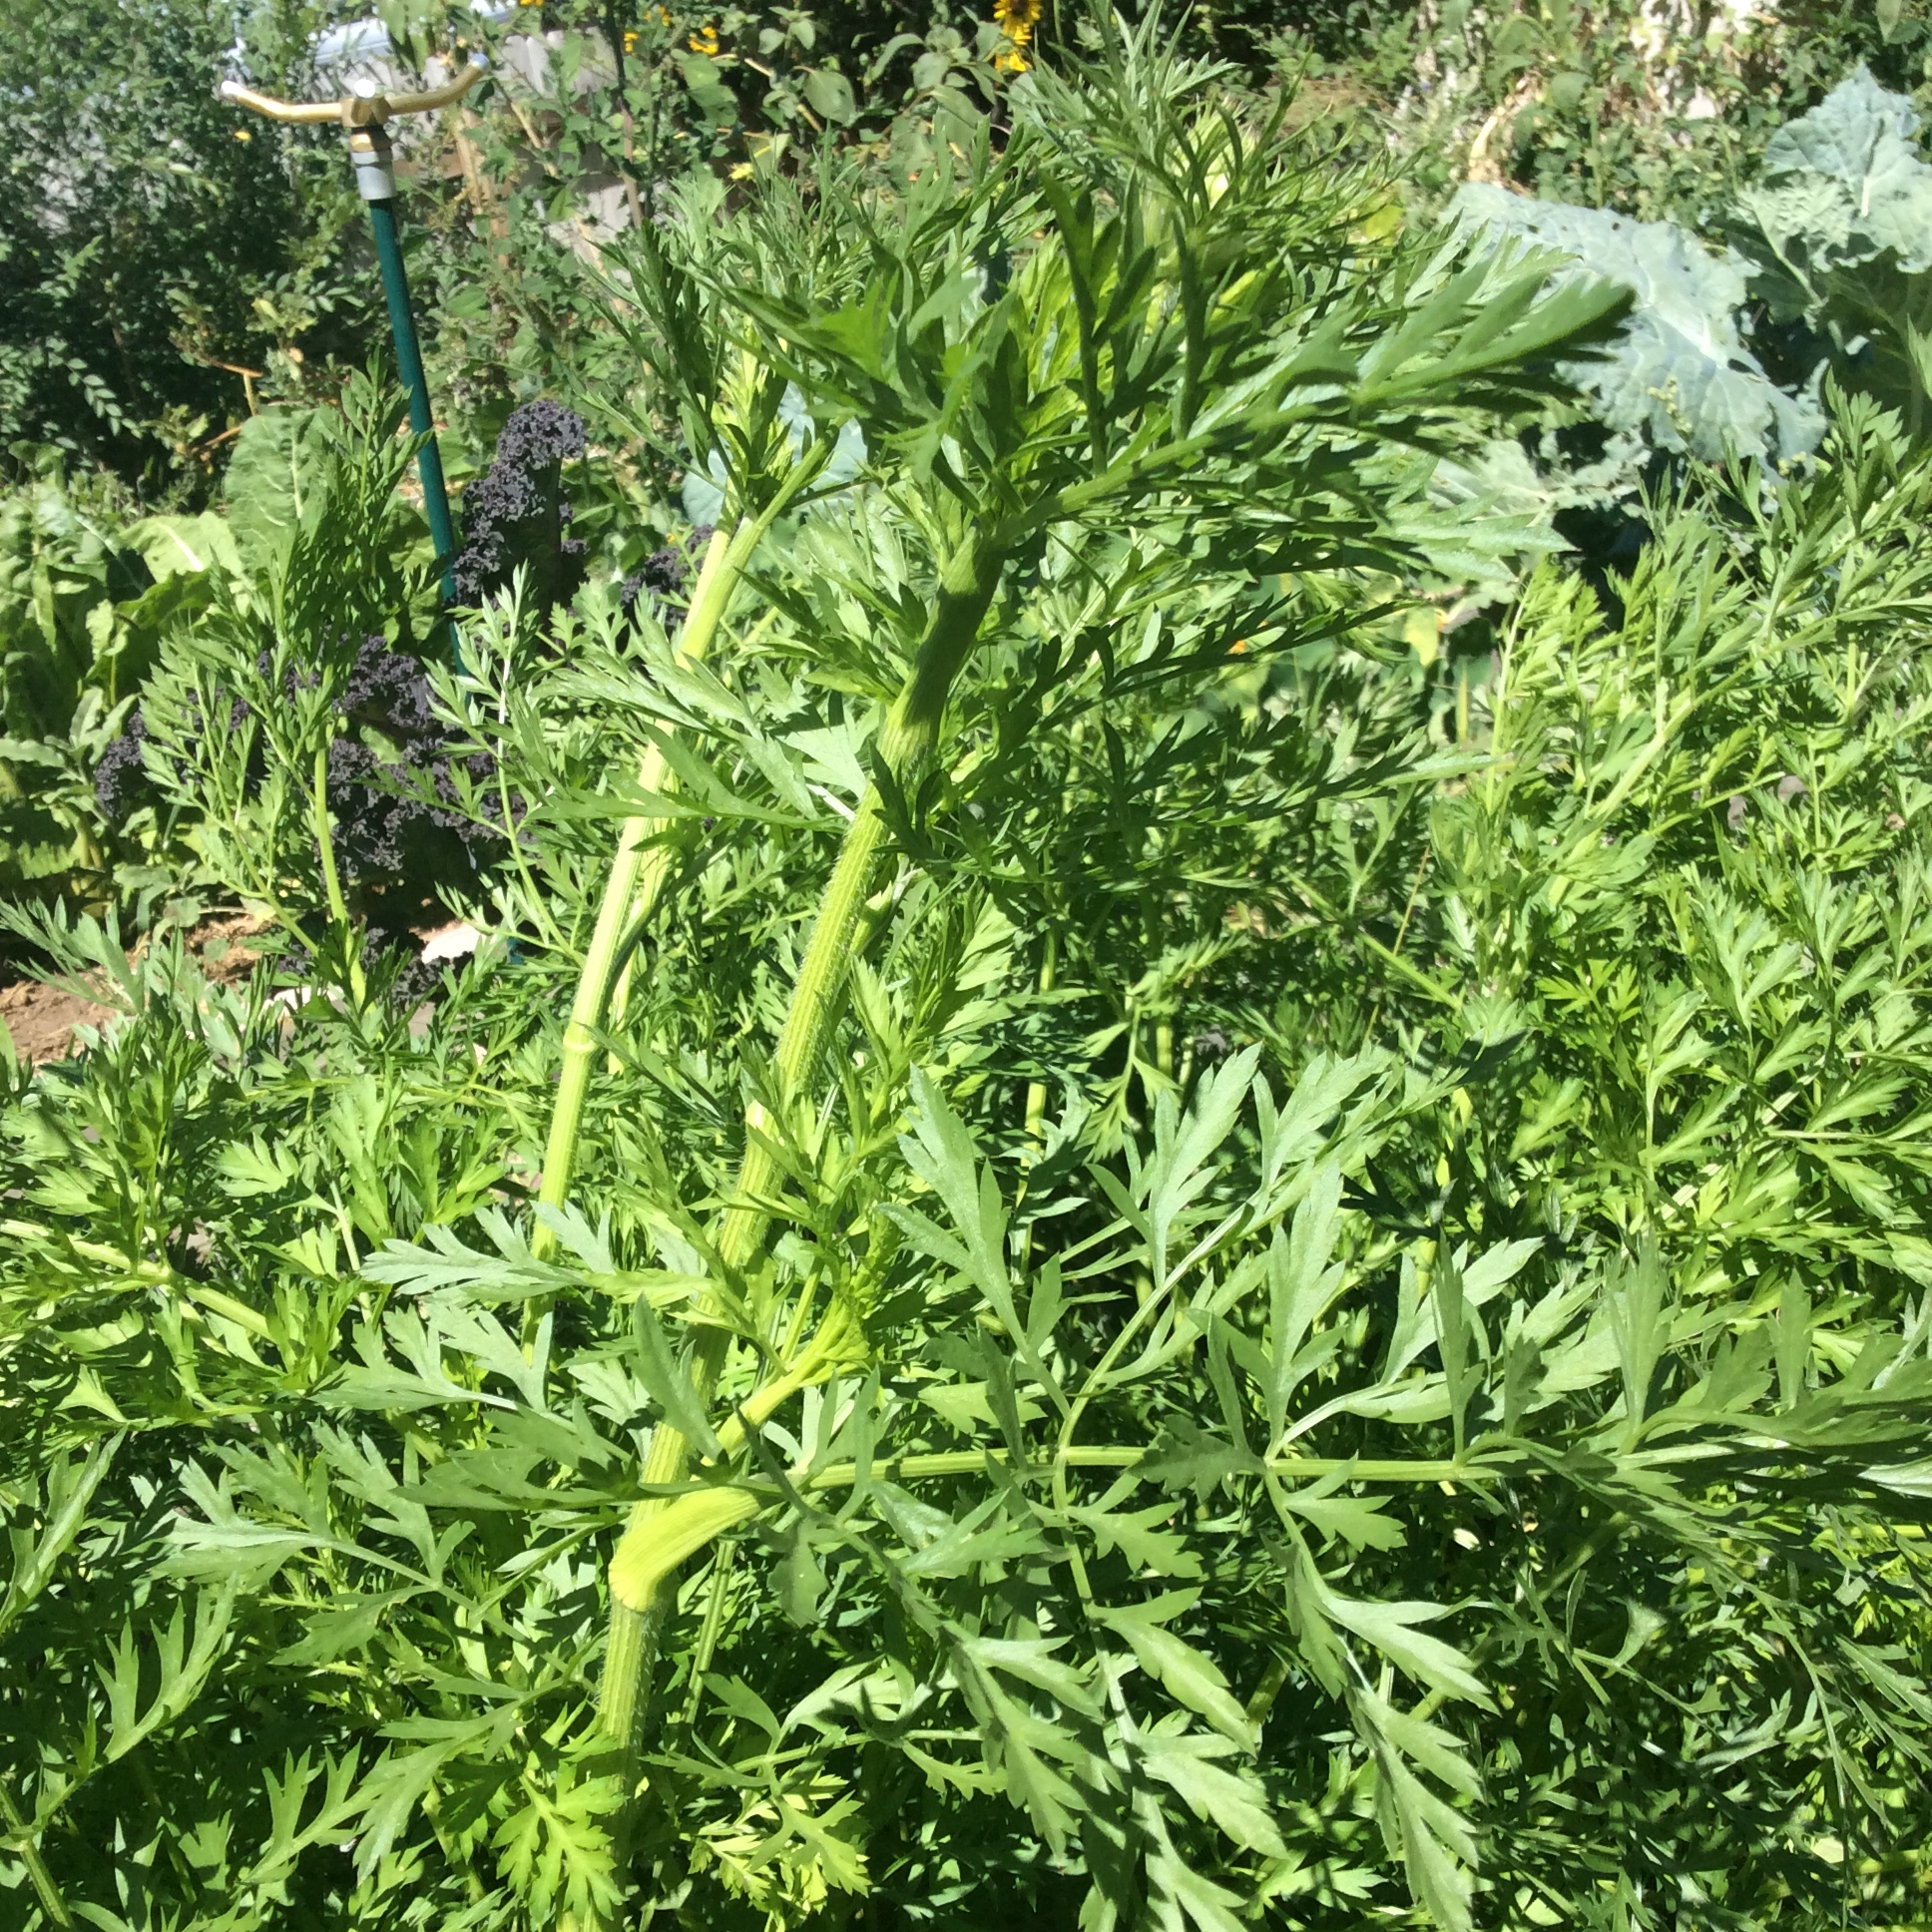
This spring I used all my allotted carrot space on an heirloom carrot called Oxheart, because it was billed as not only tasty but short and thick, perfect for my heavy soil. And it was a very nice carrot indeed except that at the four month point most of the row shot to seed, jettisoning the typical biennial habit of right-thinking carrots. So there I was with no carrots for fall and winter and a row of ferny foliage and lacy white blossoms so pretty that I hated to tear them out.

So I began experimenting with how to eat them anyway.  The ones already blooming were left in place for bee fodder.  The ones that were just beginning to throw up short bloom stalks, with stalks less than 6 inches high when I discovered them, were pan-grilled as whole shoots, a tasty and delicious use.

Carrot shoot in the center

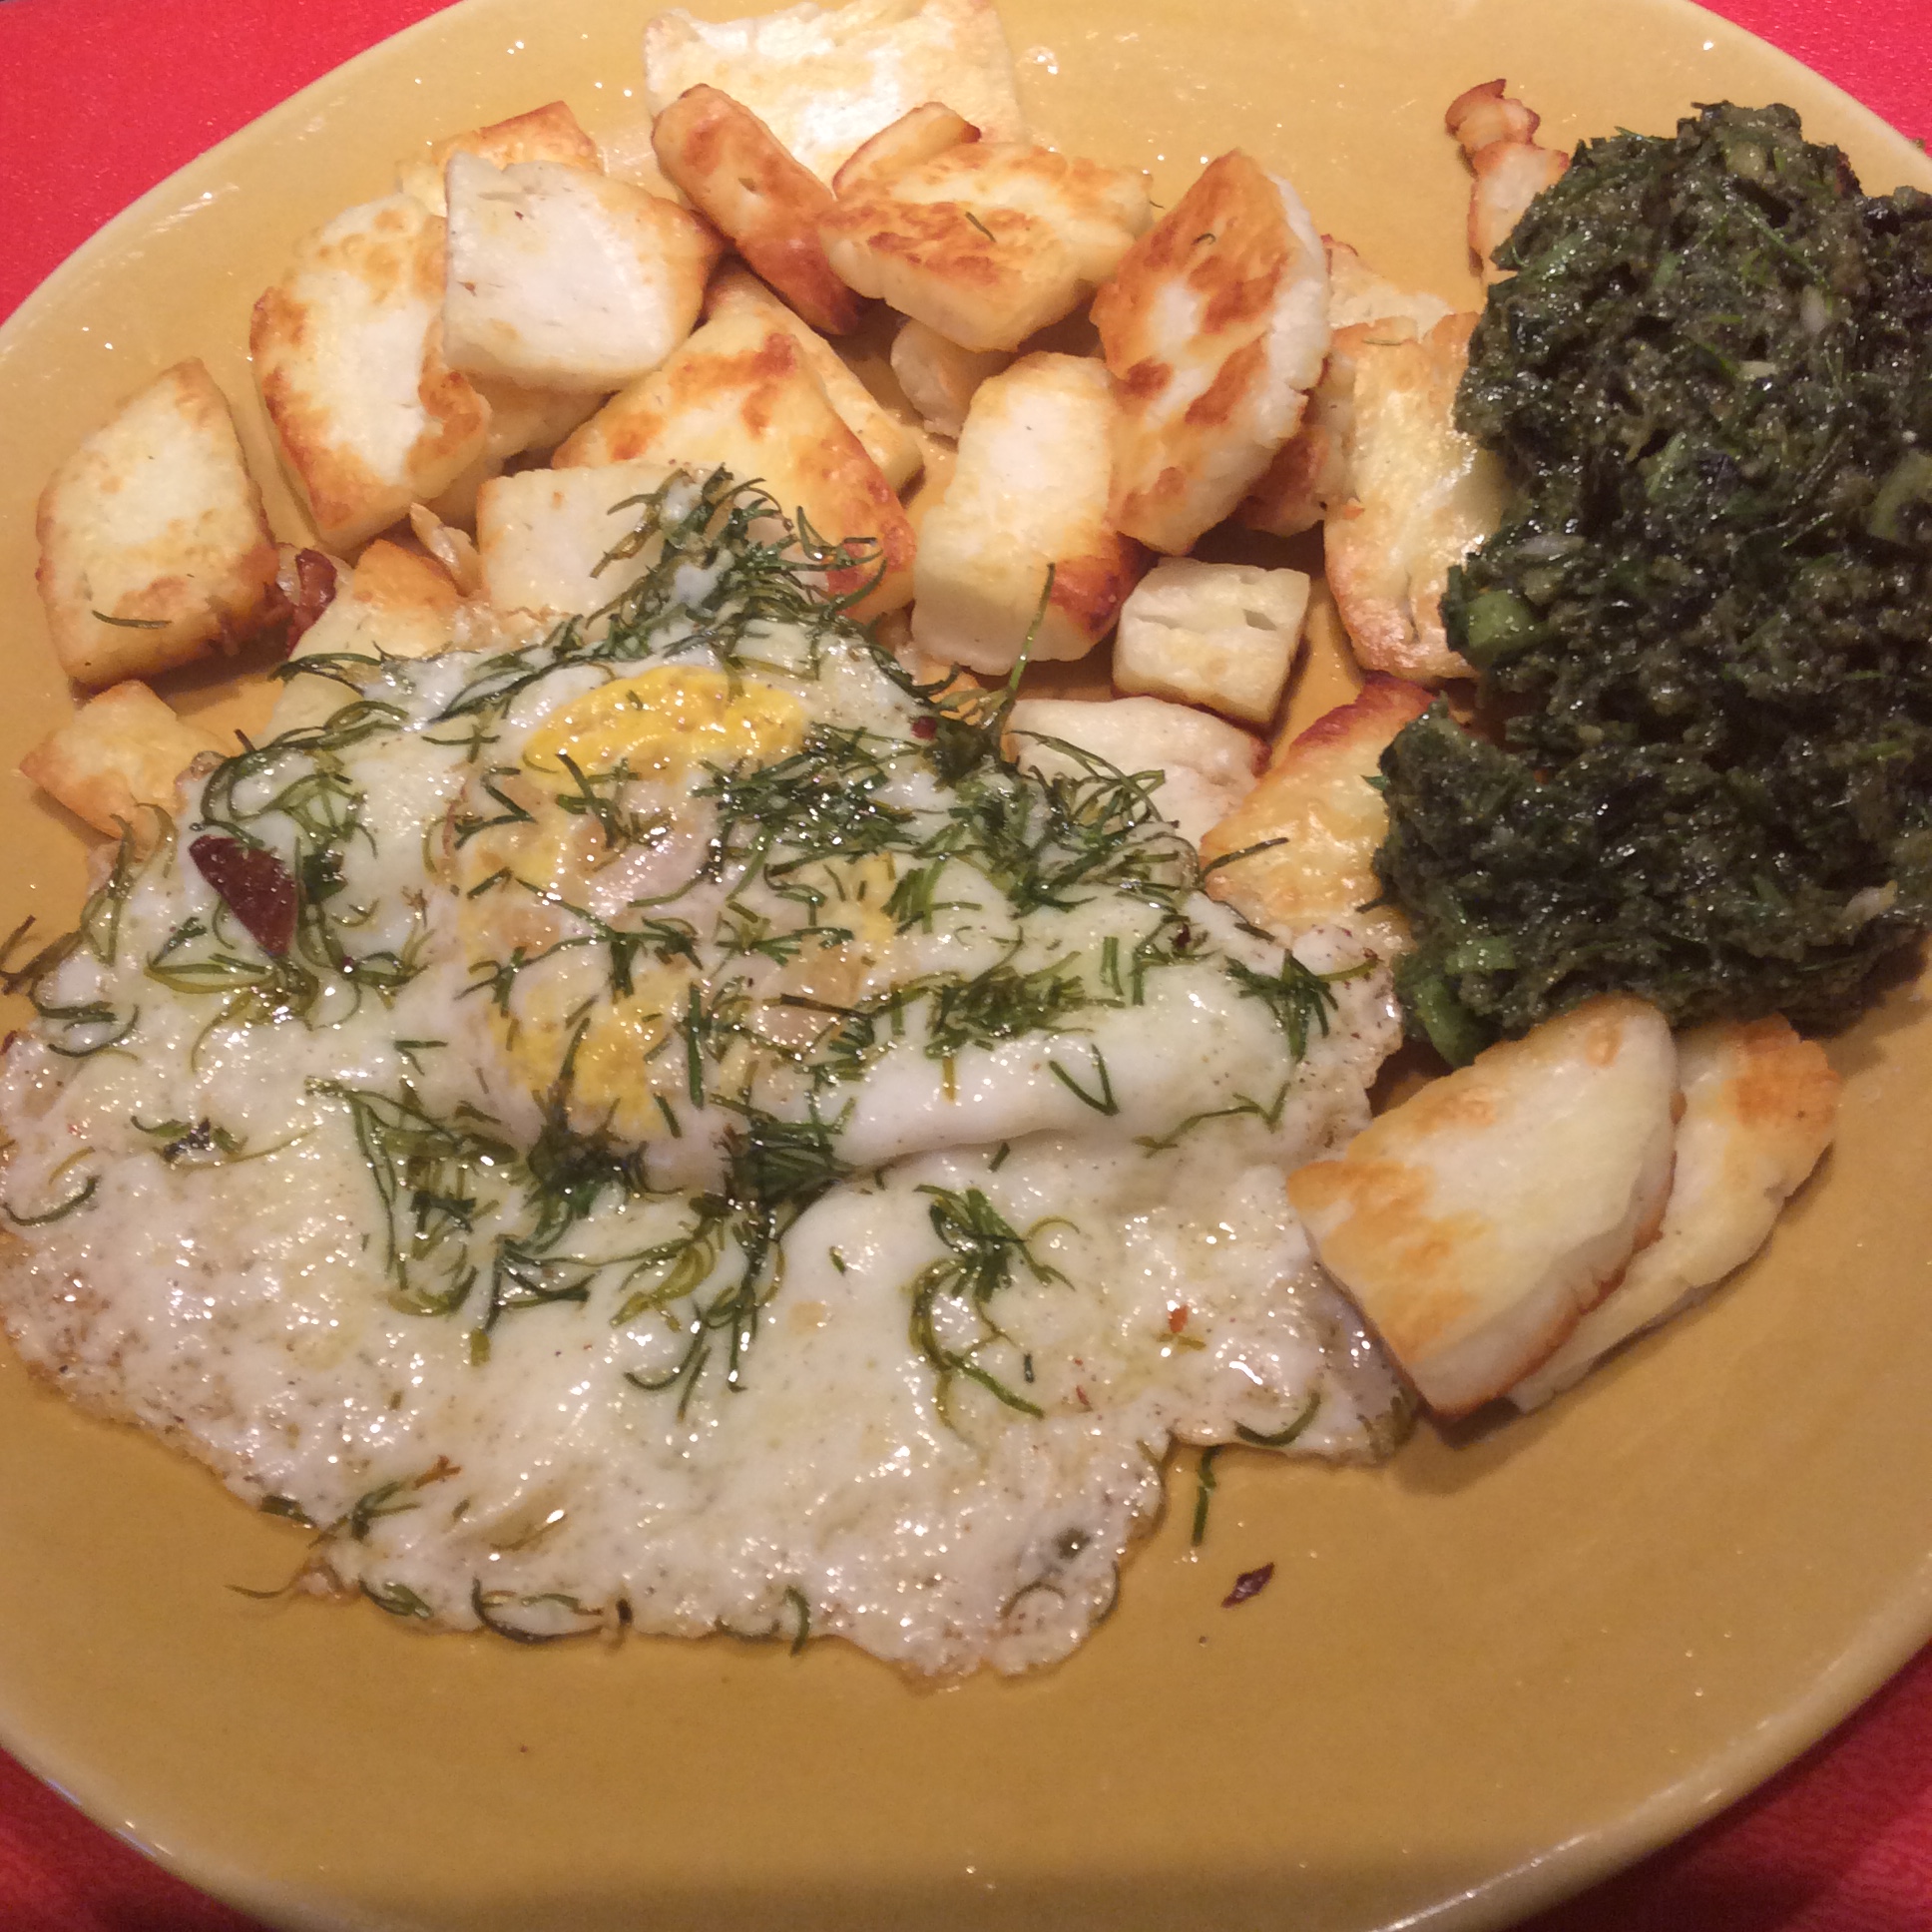
This left a large number that were beyond the shoot stage and beginning to form buds, but not yet blooming.  The leaves were still tender, and I began to gather them to add to cooked greens mixtures, and then began to use them chopped finely as a garnish, much in the manner of parsley. They taste different, of course, but have a fresh green flavor with a dose of terpene that I found very attractive.  They are loaded with vitamin K, if that is of interest to you.

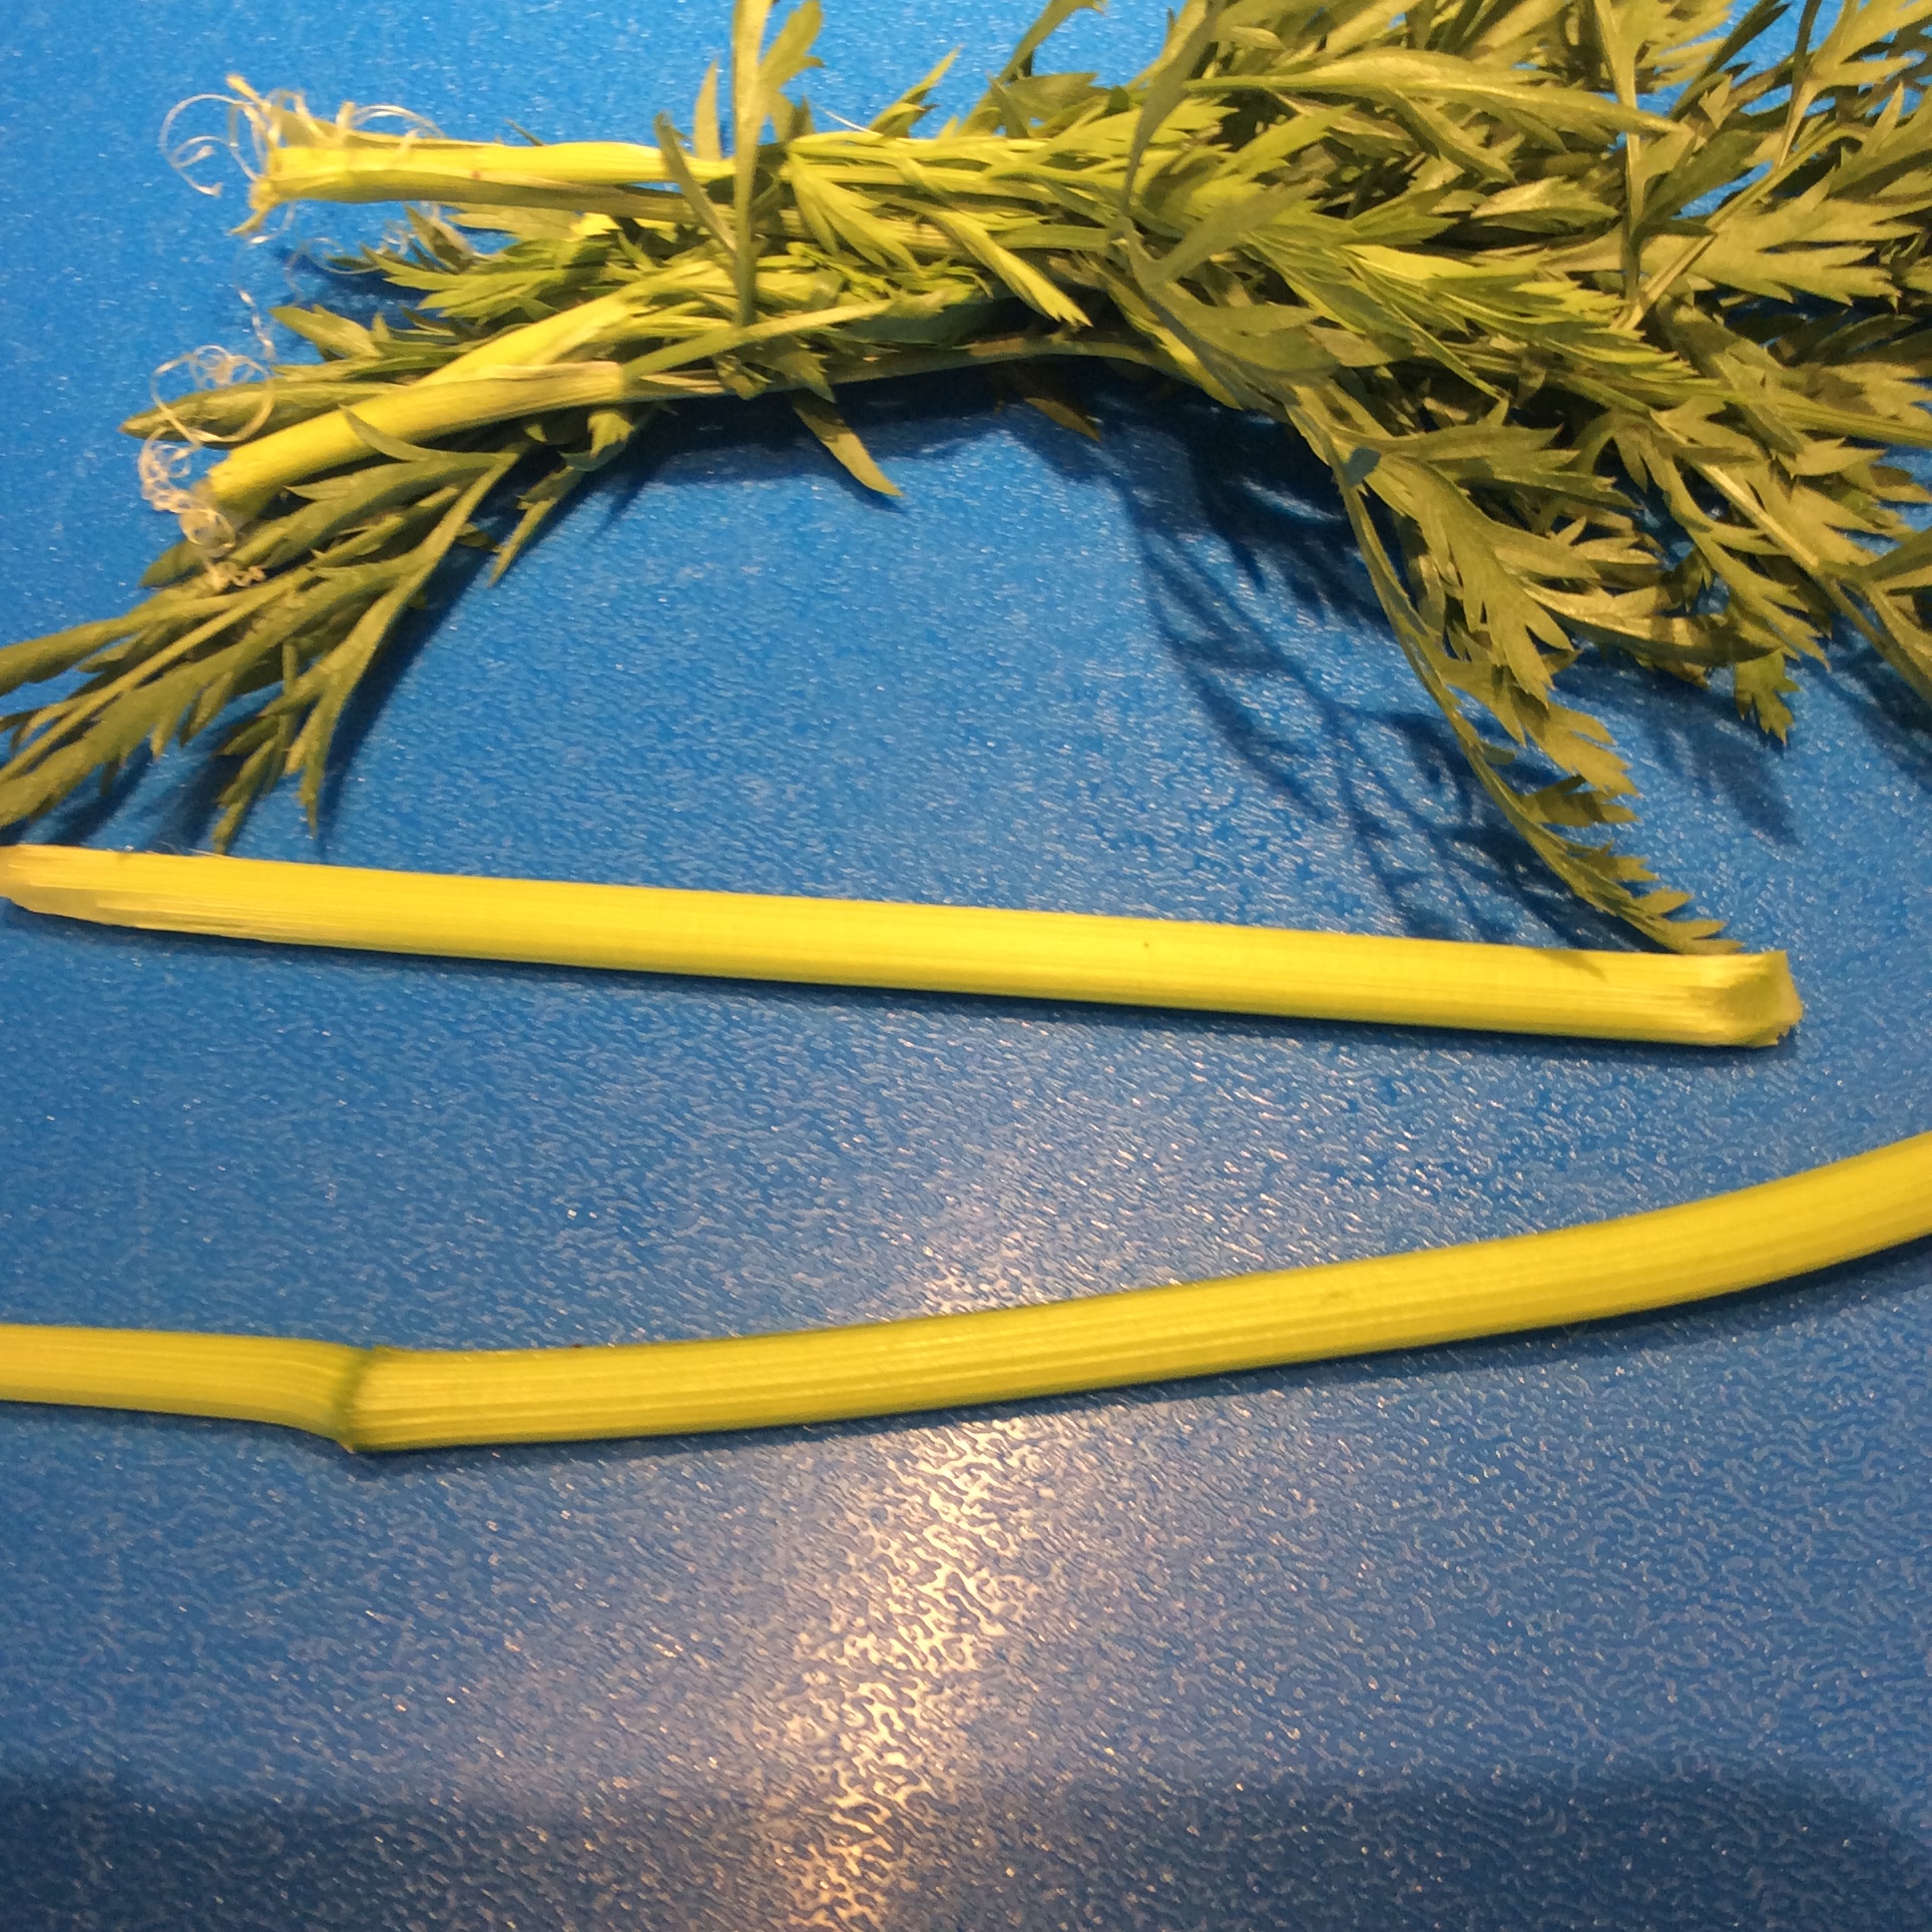
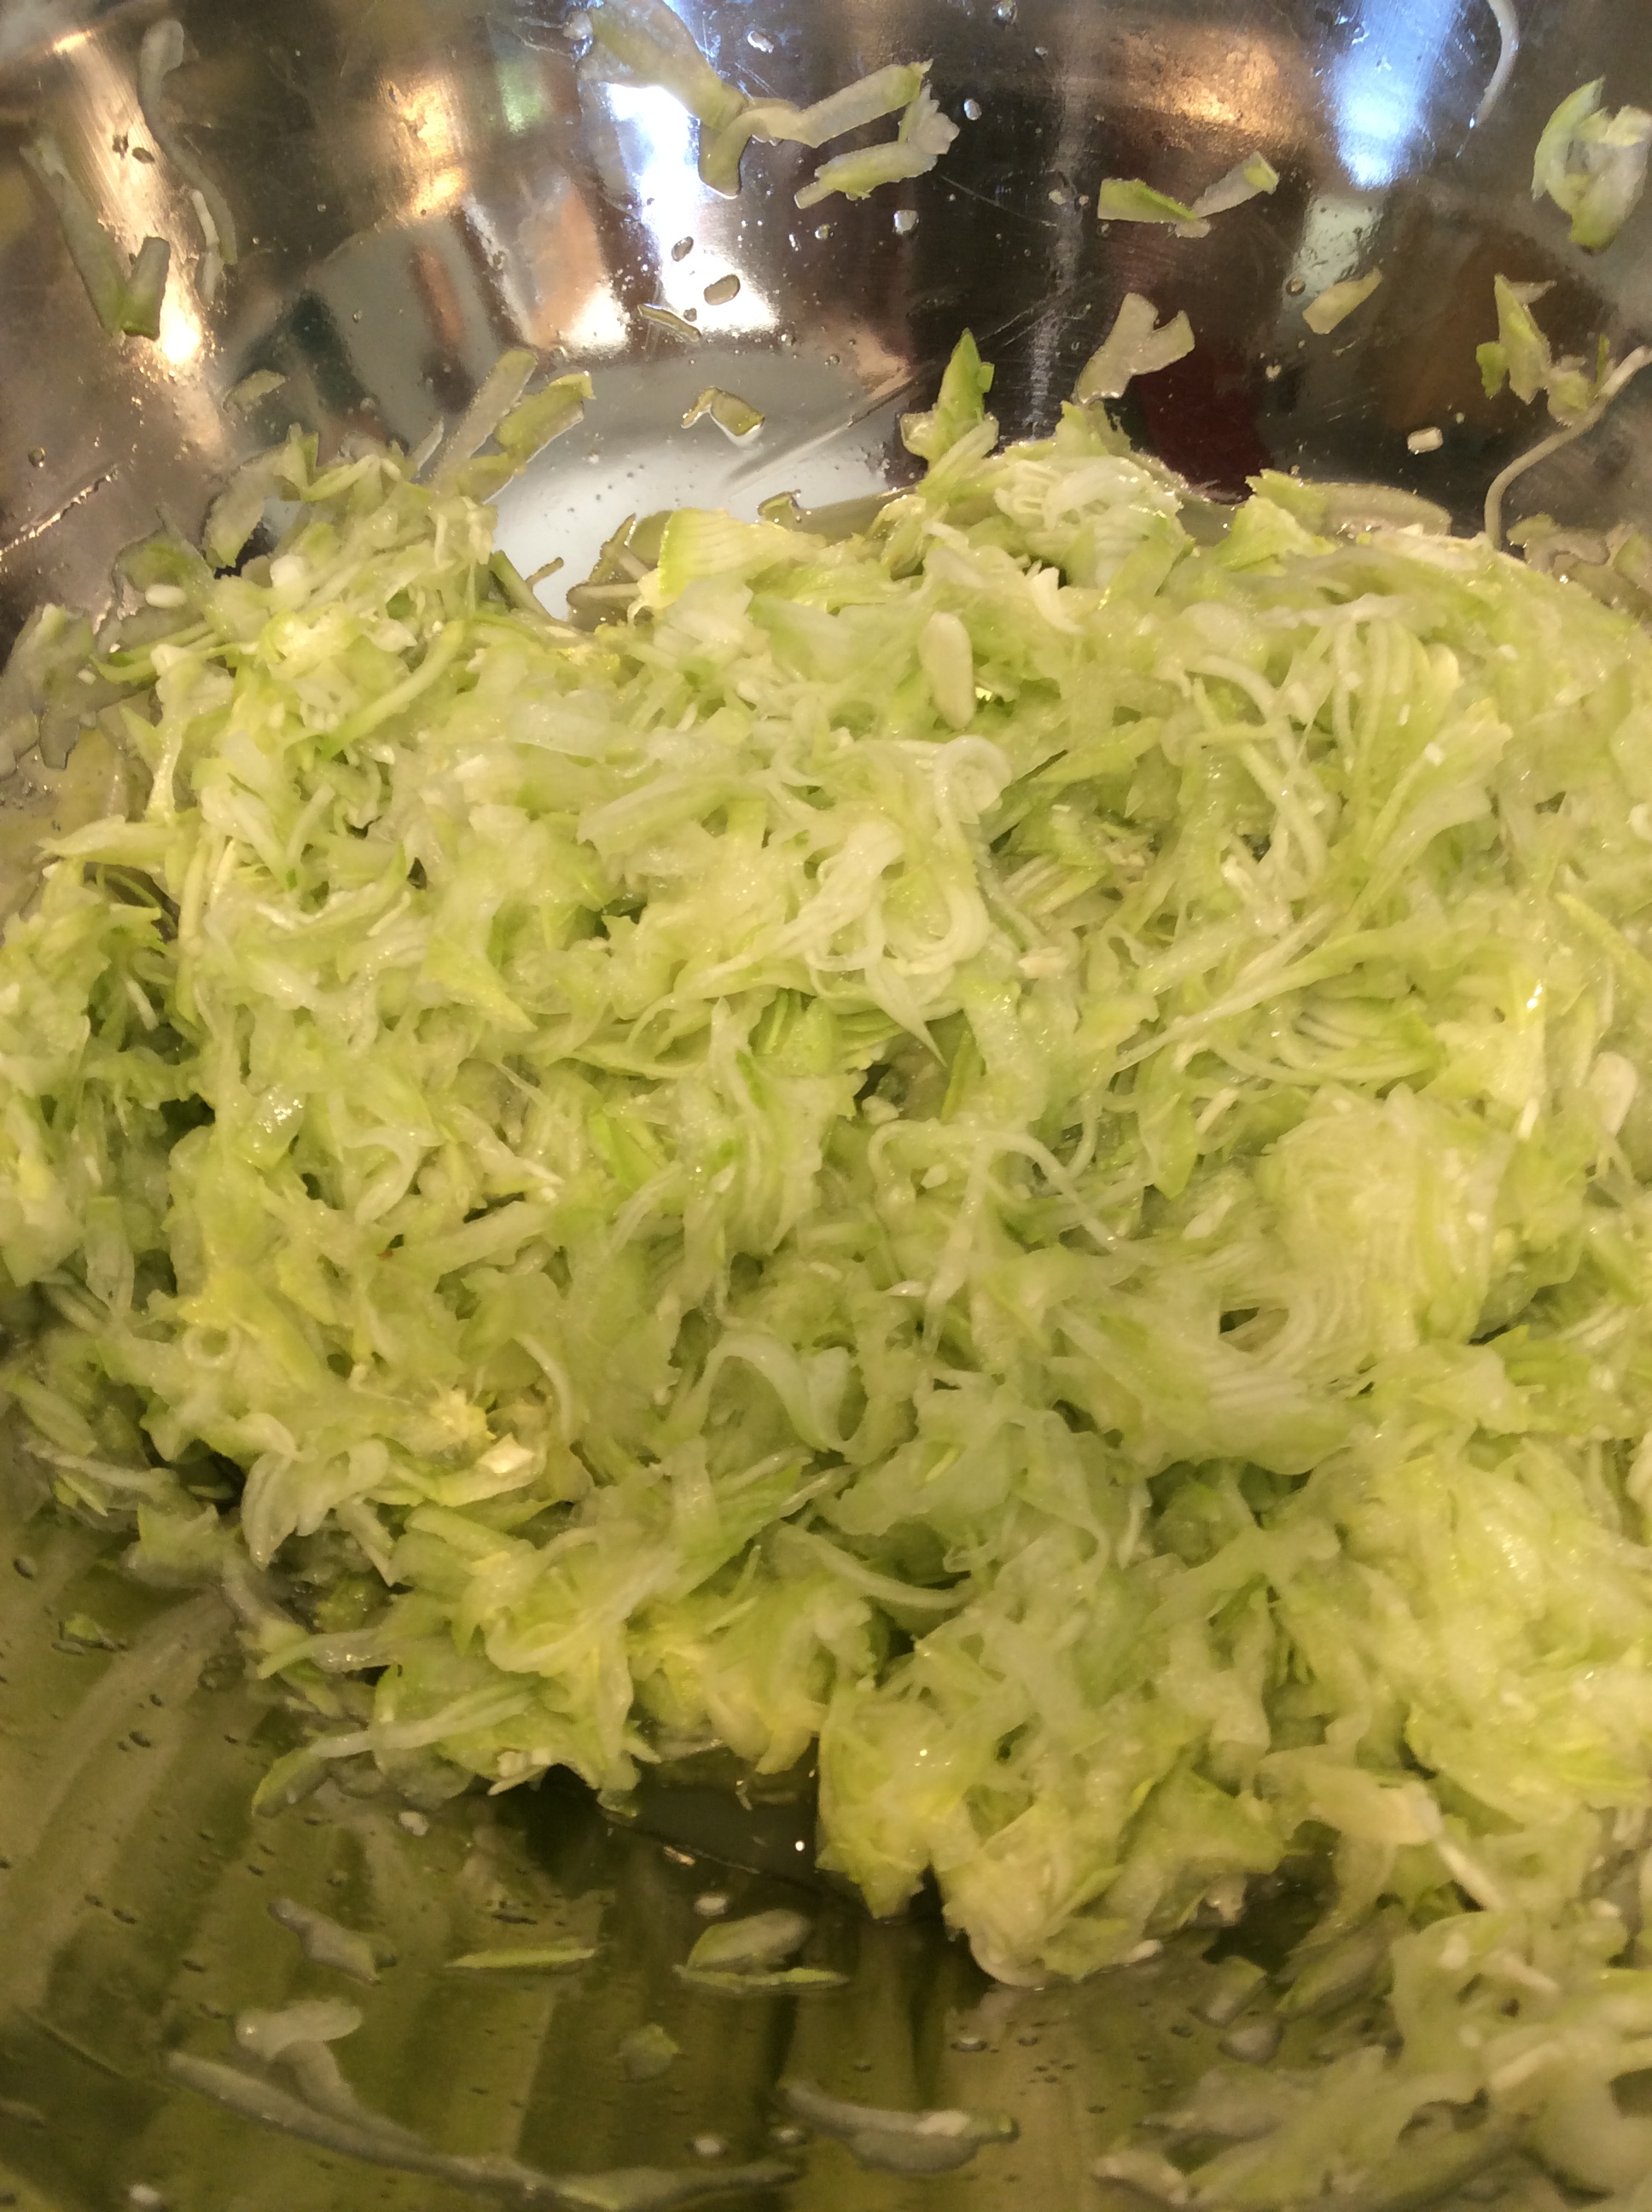
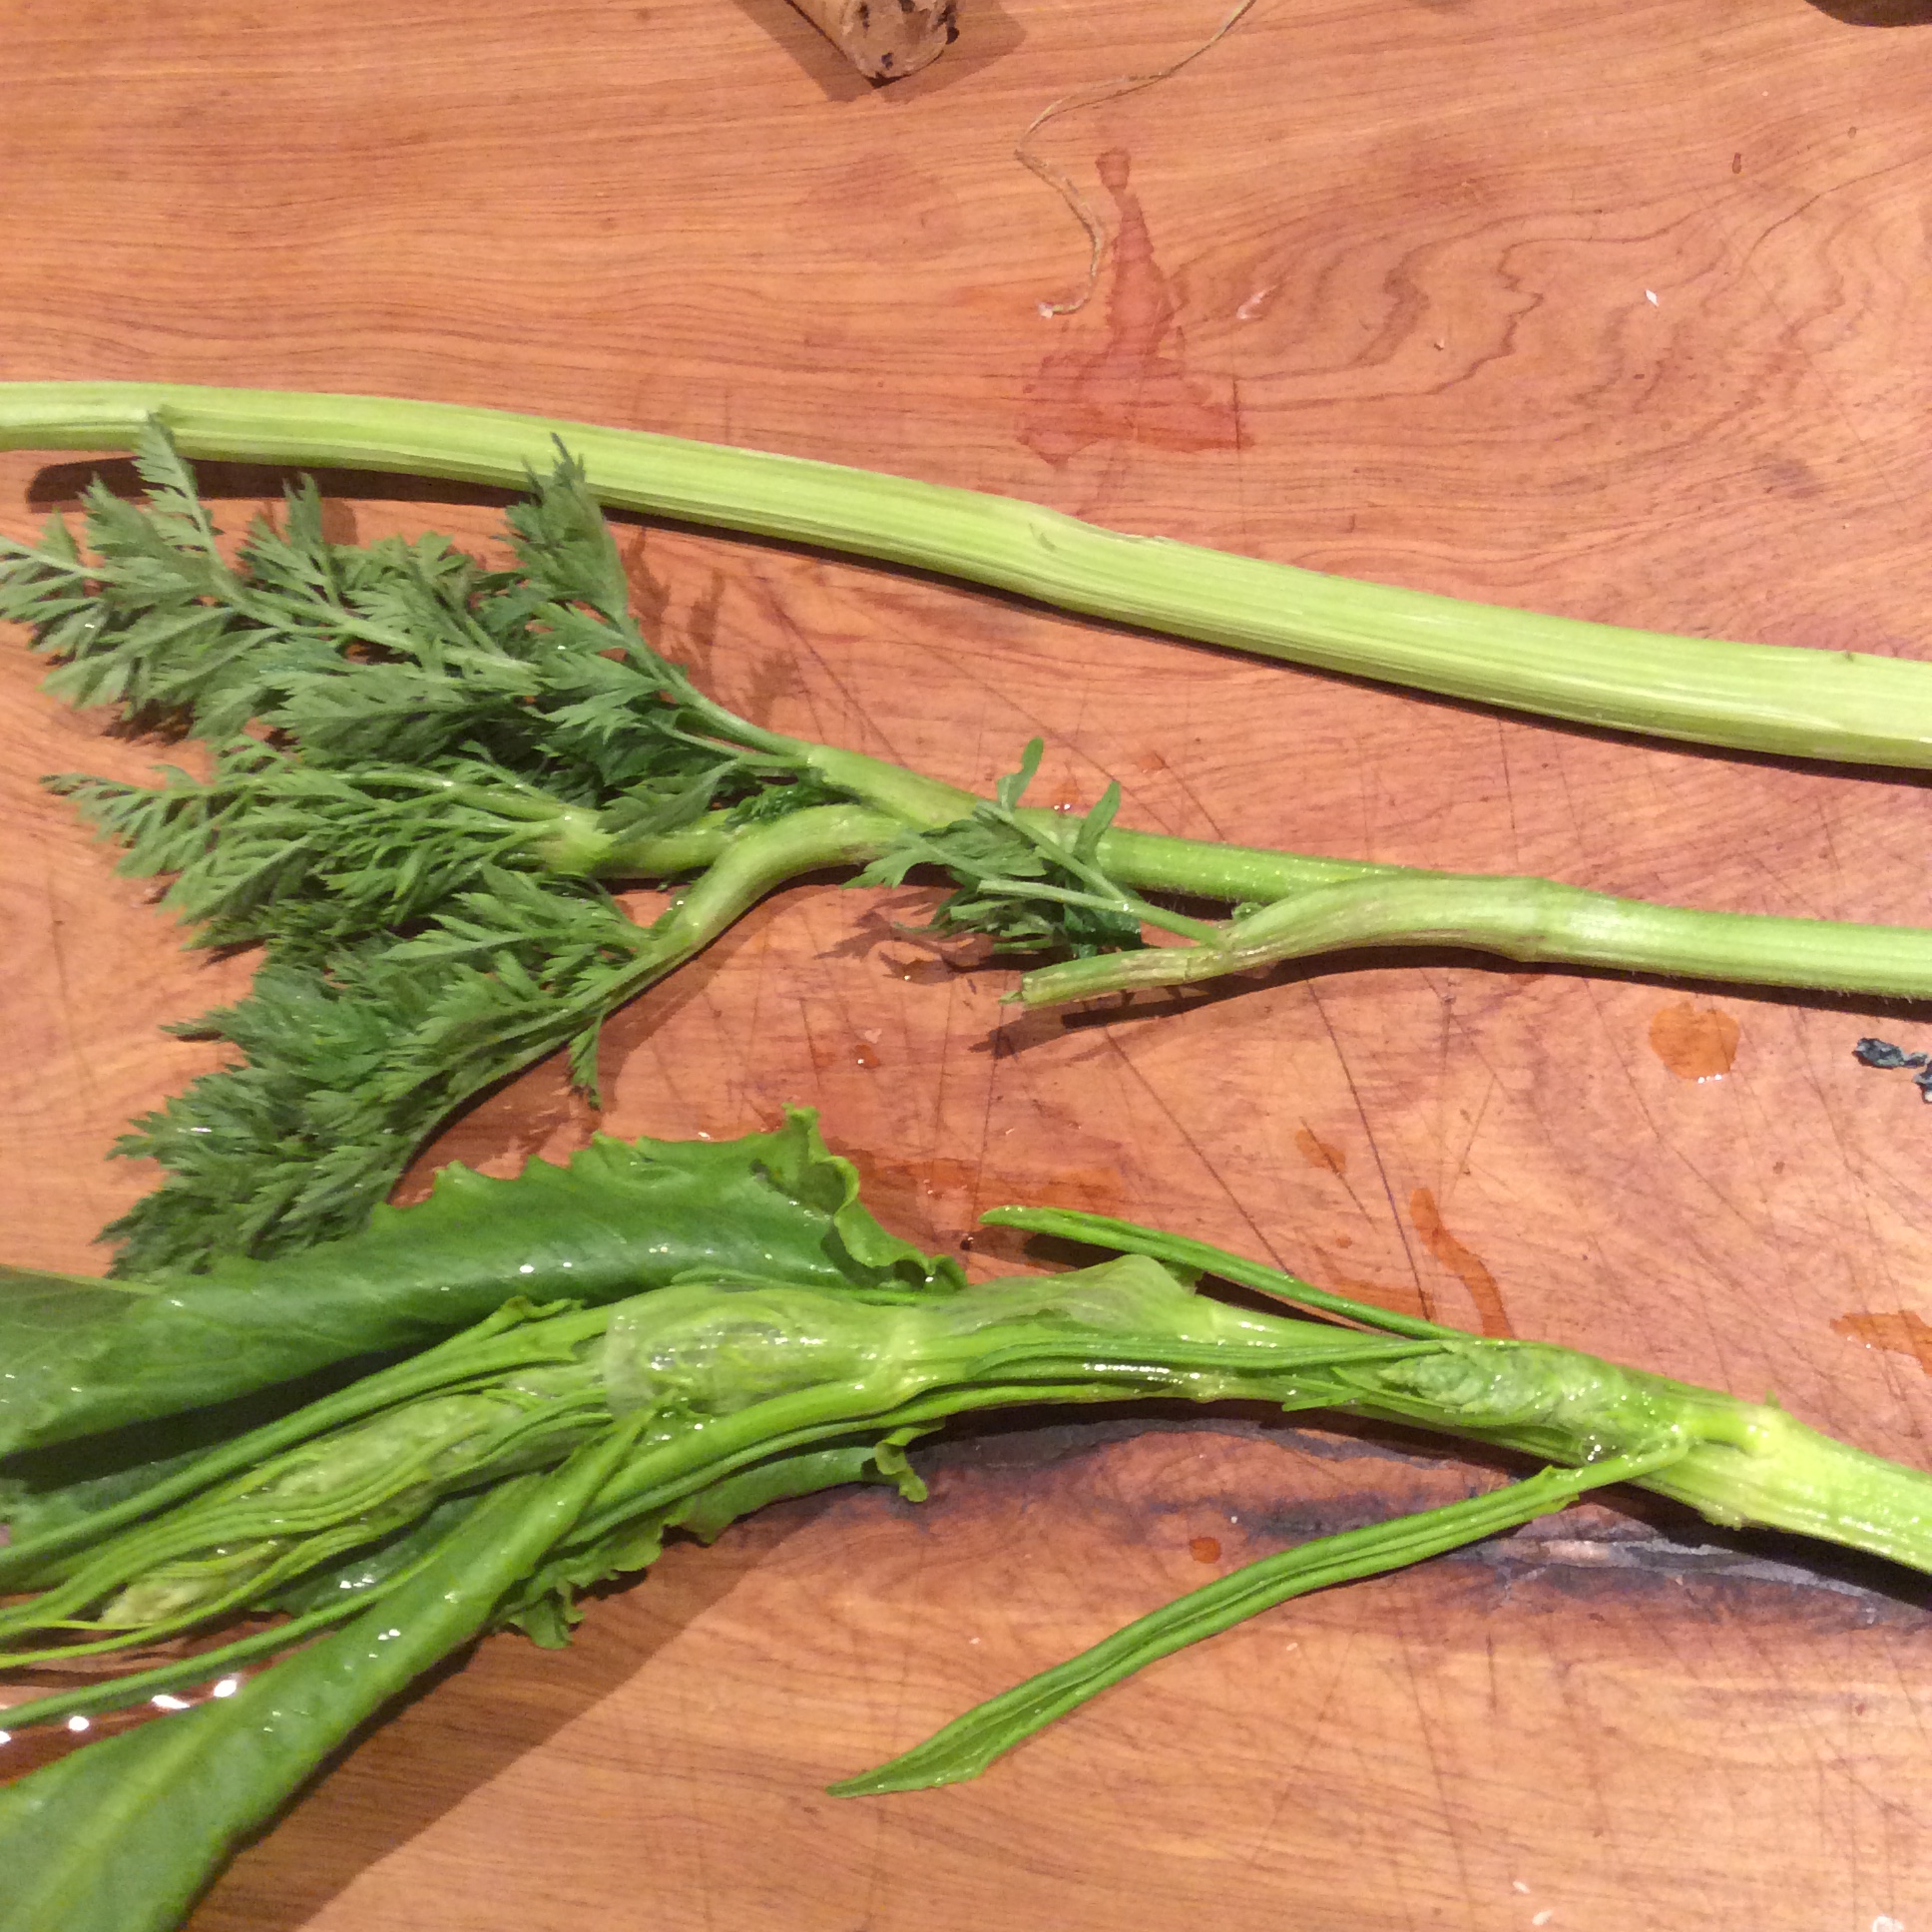
This left the stems, and I found that they too had a use, although they are a little tedious to prepare.  The top half of the stem can have the fibrous outsides pulled off and you’ll see a crisp green pith  that has a fresh juicy flavor a little bit like celery but with a carrotty tang.  There is an inner fibrous layer that doesn’t come off, so you have to cut them in cross-sections no more than a quarter inch long.  They add a nice crisp crunch with a fresh flavor to nearly anything, especially herb pestos and chimichurris.  When in doubt about whether a particular segment of the stem is edible, peel it as well as you can and then bite into it. If your teeth do not go cleanly through it and nasty threads are left hanging off the end, don’t bother with it.

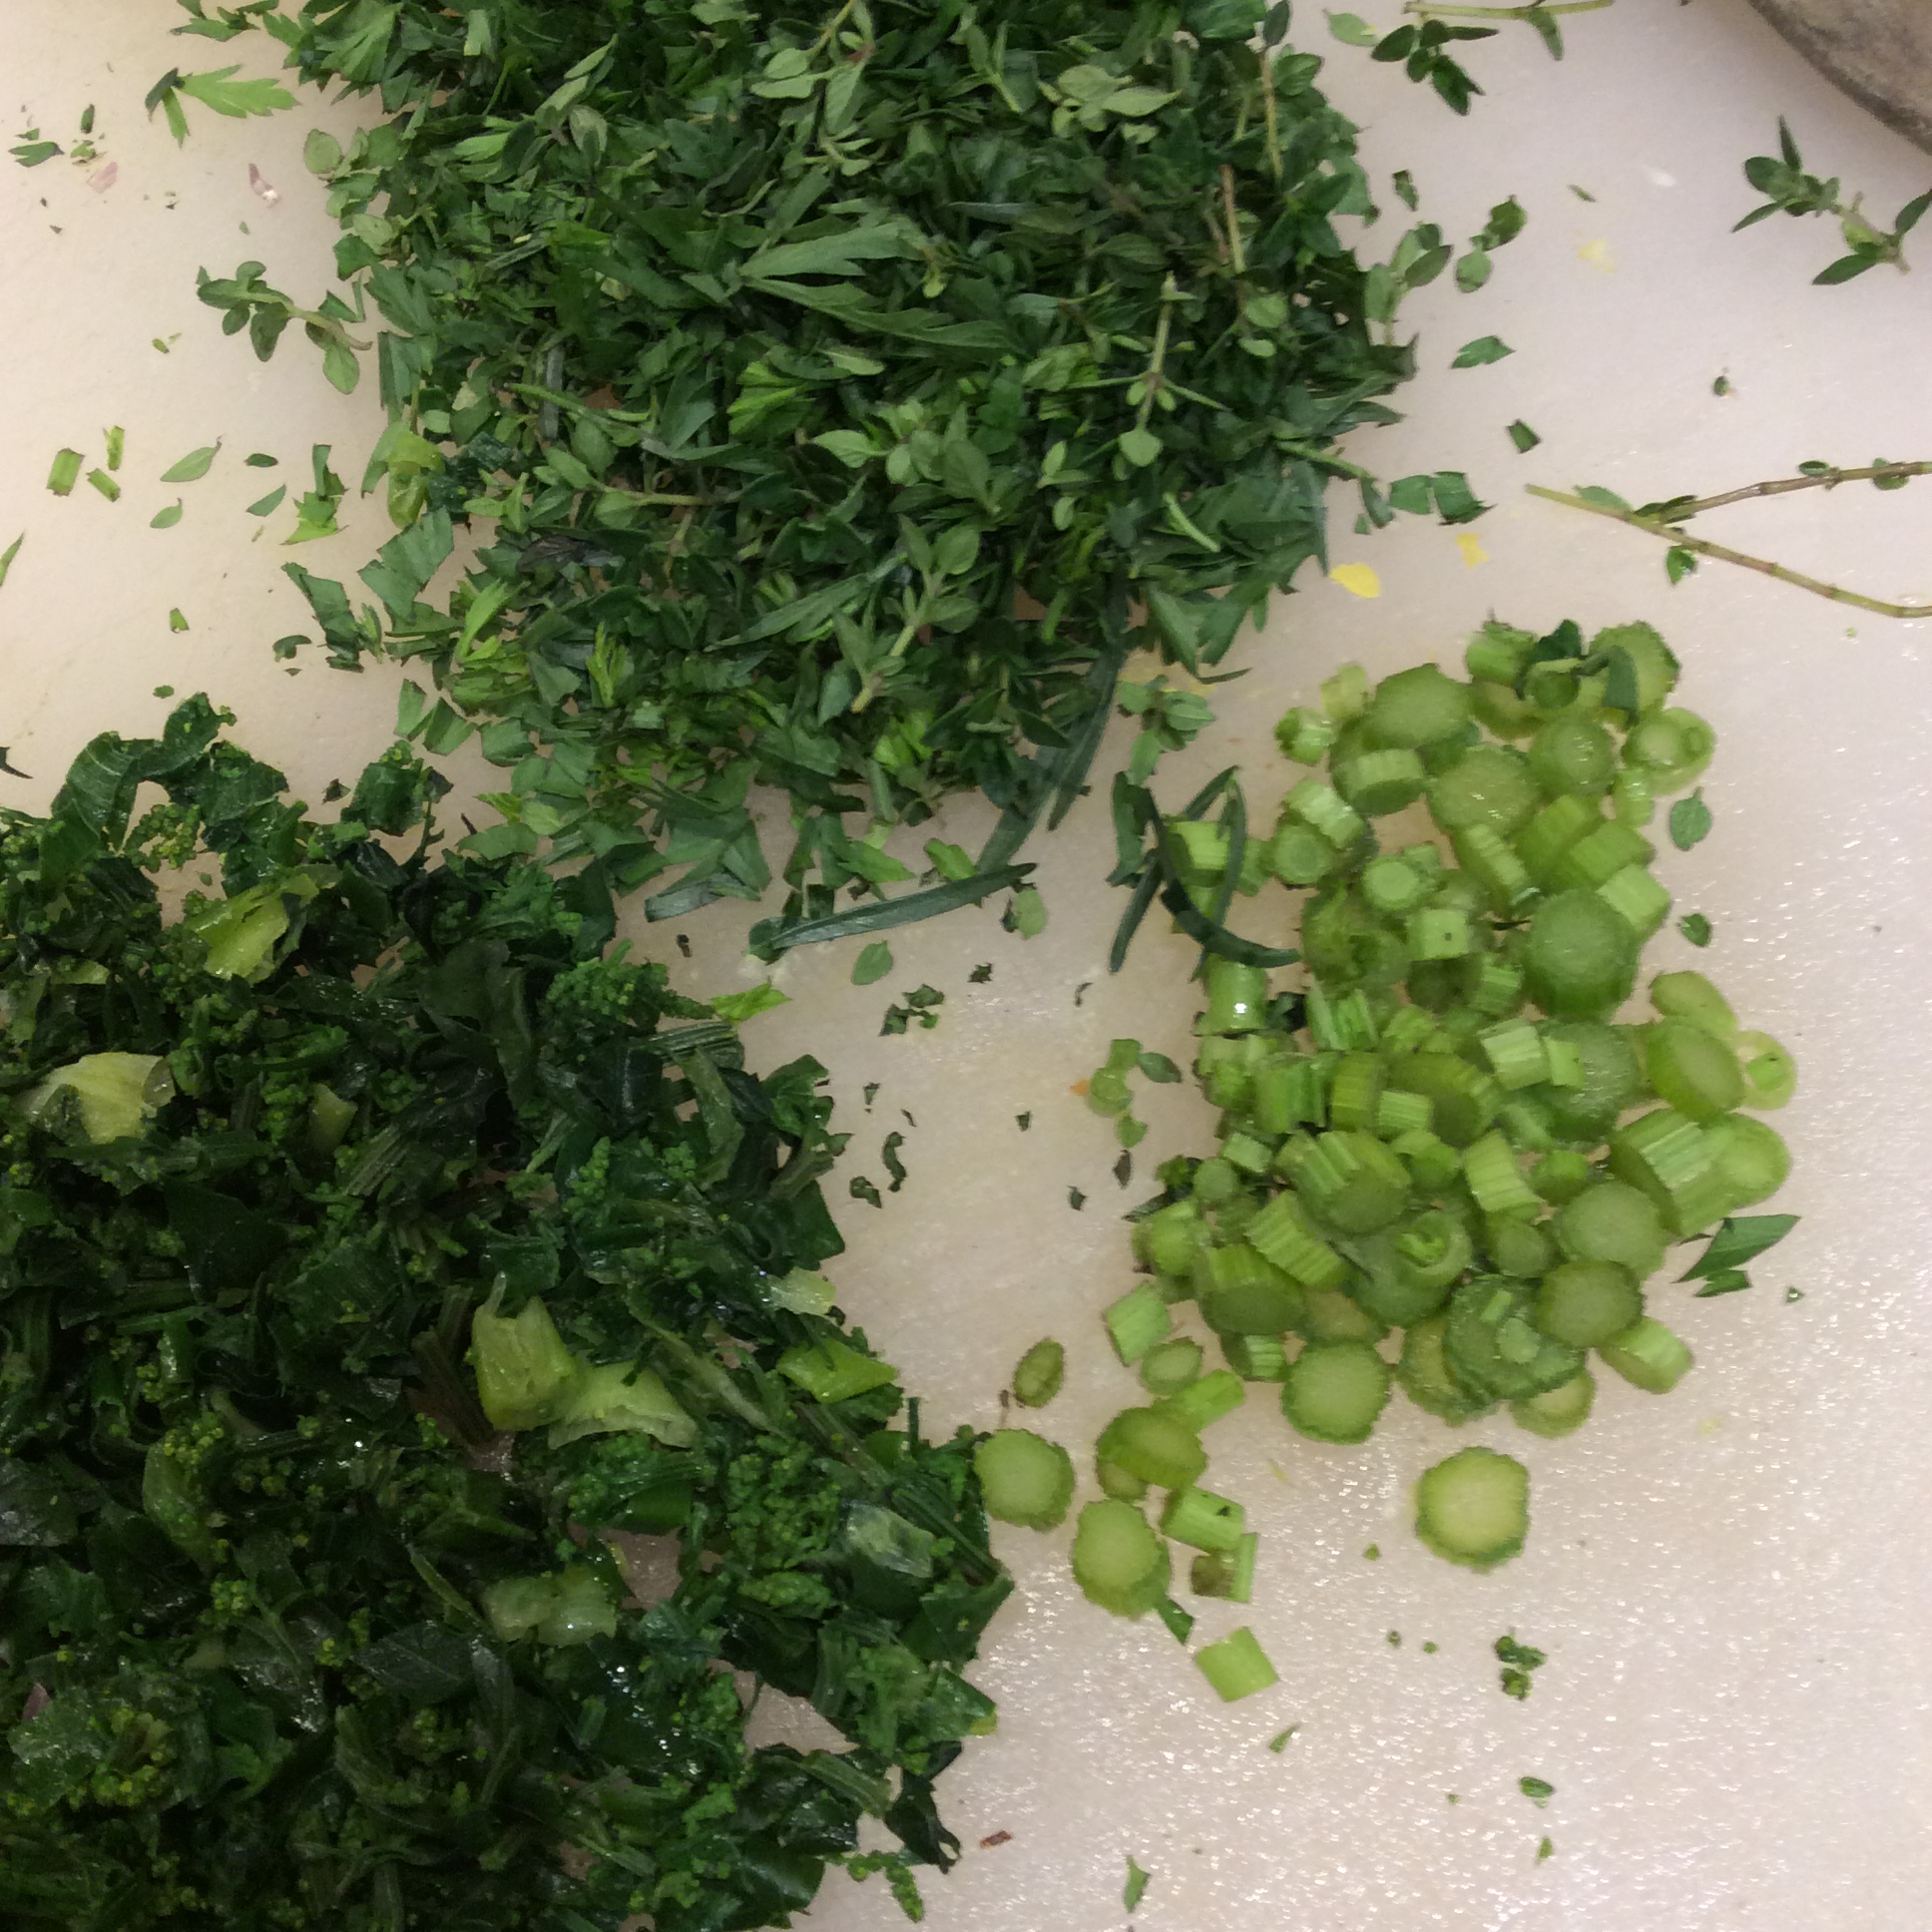
Peeled carrot stalks shown to the right, chopped carrot leaves and thyme at the top

The roots of carrots that have shot up a bloomscape are no longer tender, but they can still be peeled, sliced, roasted, and made into flexible Romesco or roasted carrot hummus, proving the carrot’s status as a true nose-to-tail vegetable.

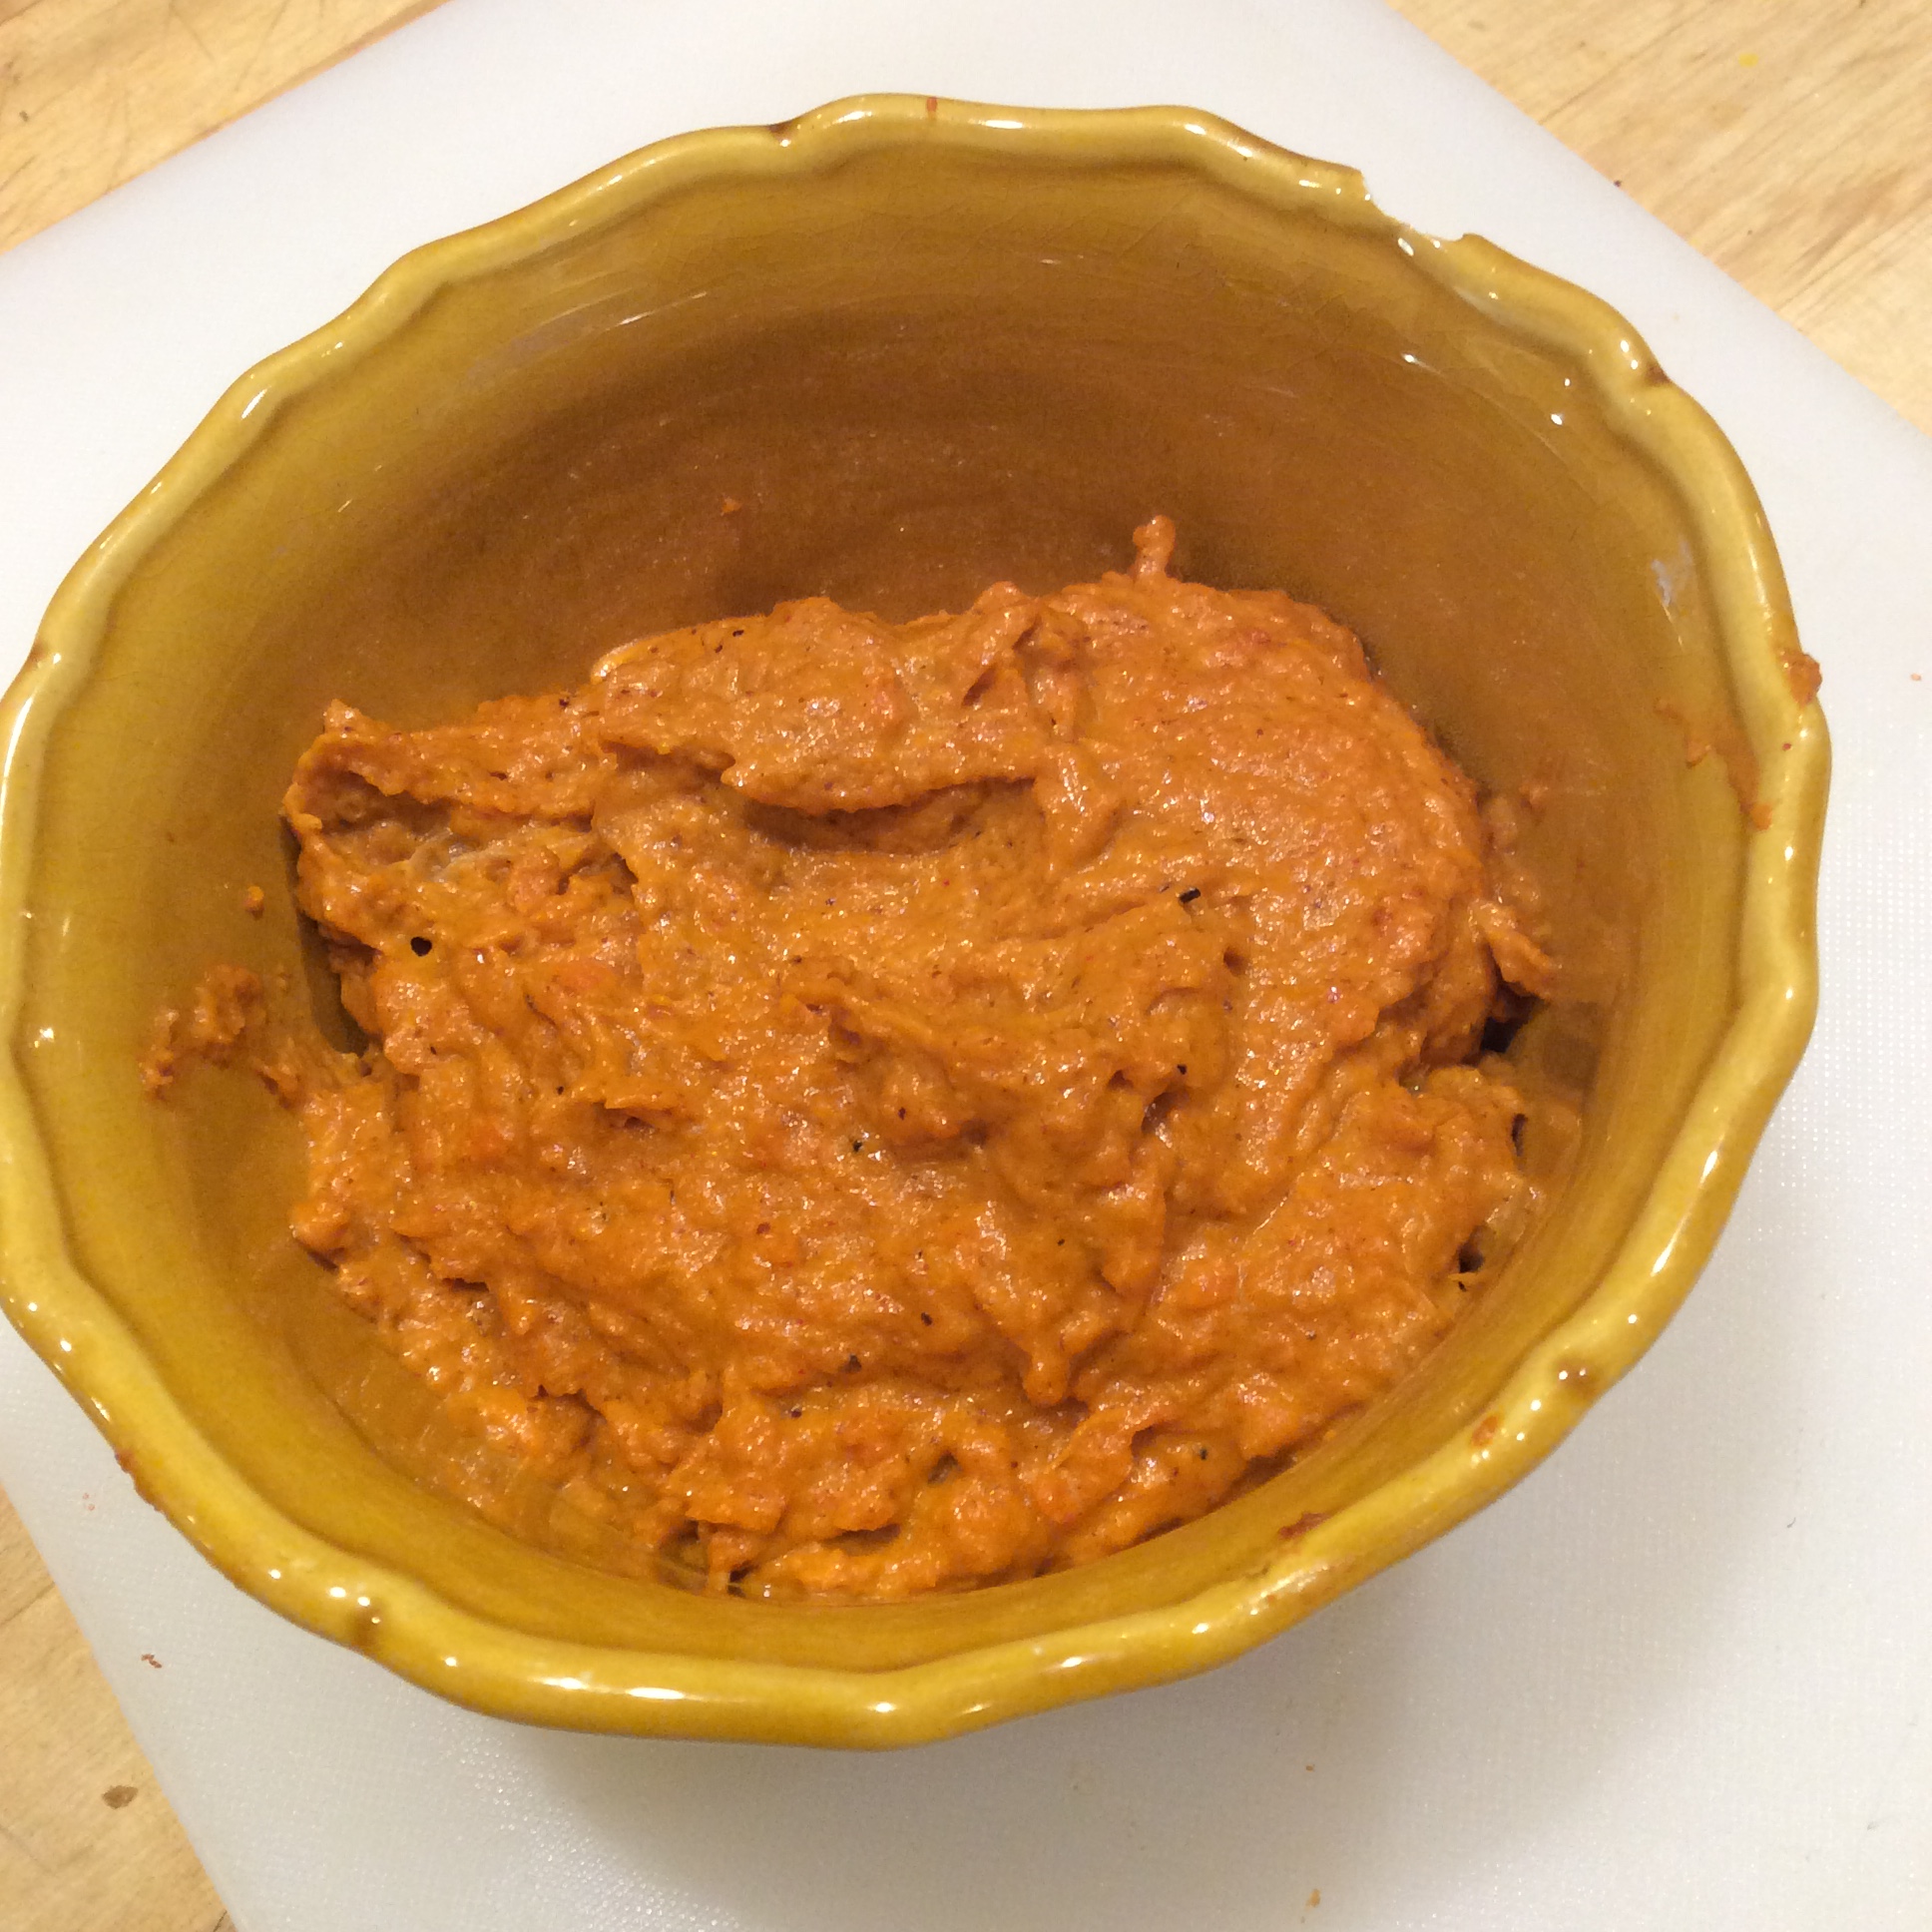
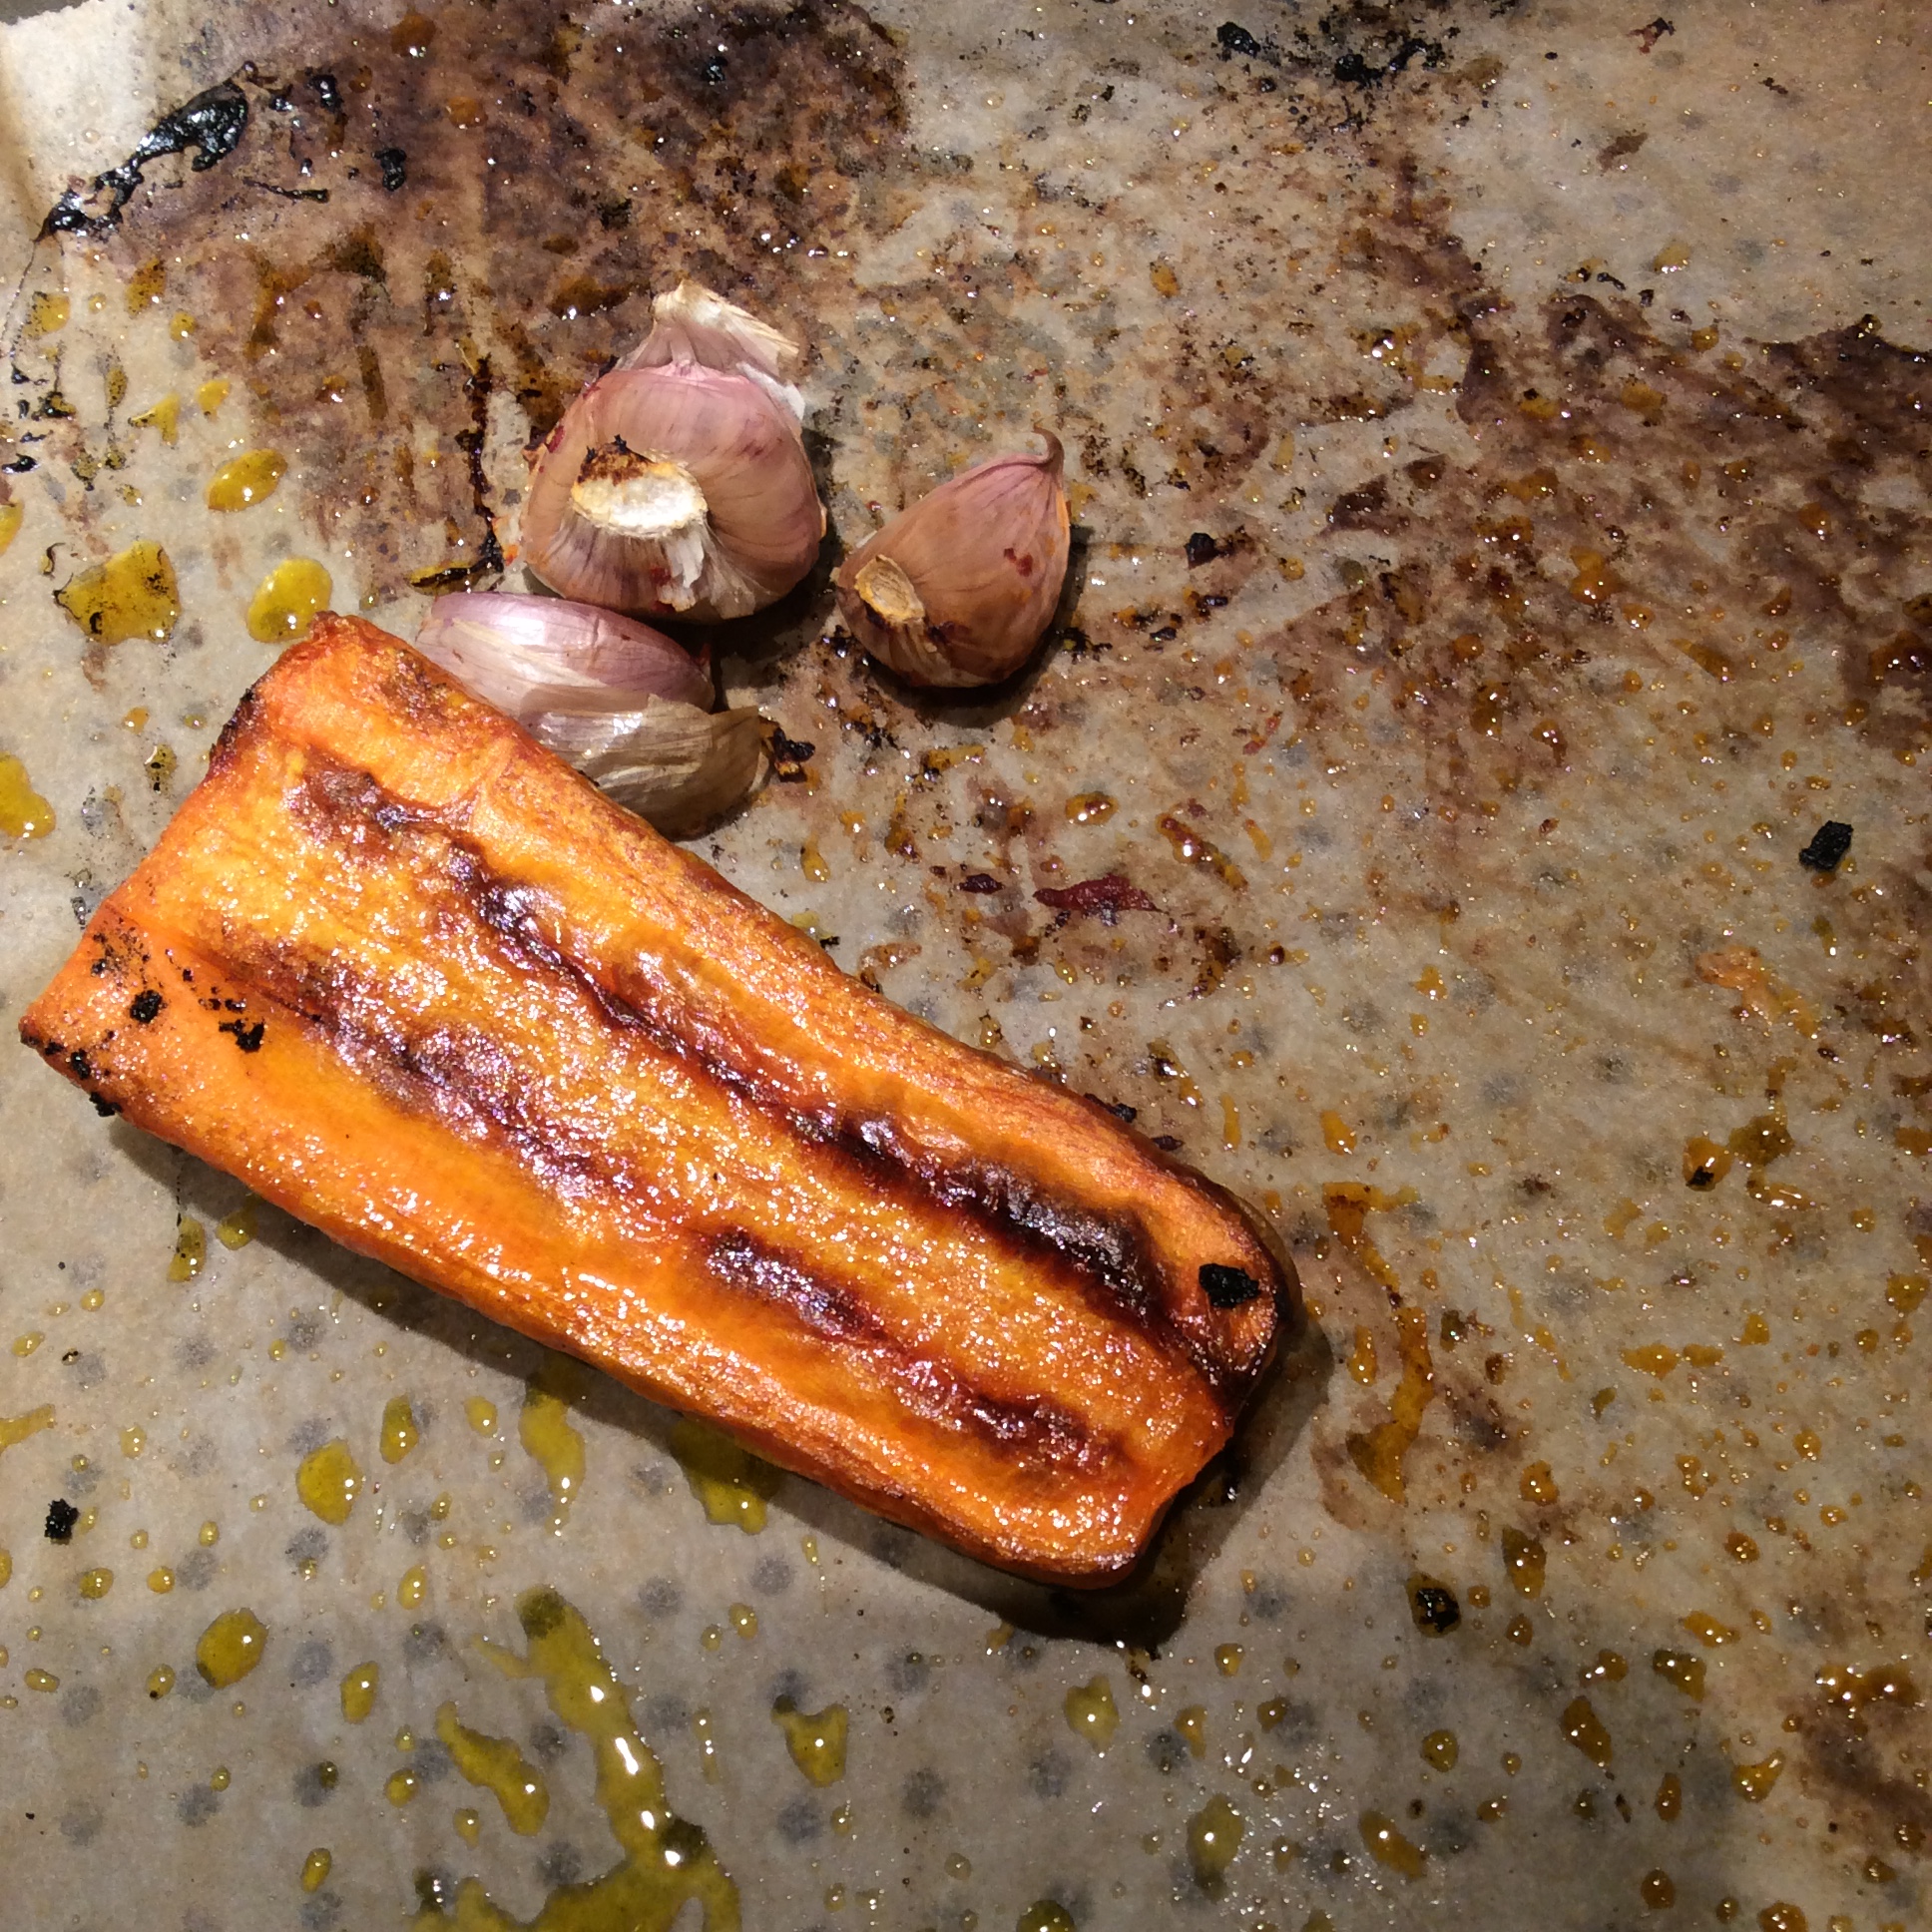
Above, gone-to-flower carrots were oven-roasted for carrot Romesco, but don’t try to eat them as plain roasted carrots at this point, because they are fairly tough.

I should add that creative harvesting is like foraging; never make assumptions about safety. The fact that one part of a plant is edible and safe never means that another part is.   As it happens, I already knew that carrot leaves and stalks were safe to eat, and most problems that happen when foragers try to eat wild carrots come from dangerous misidentification with poisonous, even deadly, members of the same family.  So if you gather carrotty looking things outside your own garden, be very, very sure that you know what you are looking at.

Once all of the above is said, I have to add that I would rather have had winter carrots, and next time I will be a little more careful with my seed source. But an error here and there keeps our thinking fresh.

Green Odds and Ends

On my occasional staycations I have time to interact with my garden and kitchen in a leisurely way. I have time to notice things. Unfortunately, some of what I notice is at best a call to action and, at worst, a problem unfolding itself.

Take lambsquarters. This  weed is a real nutritional powerhouse, and also is happy to take over your world if you allow it.   I have written in the past about how to make it behave itself, and I do wish that I had followed my own good advice this year. But I foolishly let some plants go to bloom, which means that the leaves are scant and seeds will shower on my garden soon.

Well, all is far from lost, because Chenopodium album is still producing something edible. Notice the branch tips and you will see the clustered buds ready to pick and cook. This common weed is a true nose-to-tail vegetable.

To the right above, you see tightly packed buds, perfect for cooking. The single branch to the left shows looser formation and tiny little yellow stamens, indicating that it’s gone to flower. It’s still edible at this stage but the stem is tougher. A little later the seeds start forming and, to my taste, a slight unpleasant bitterness develops and the stems get noticeably tough, so I try to eat it up before that point, but the seed clusters look a lot like the initial bud clusters. Chew a bit raw if you want to be sure. If it tastes mild and green but not bitter, and the stem can be snapped in your fingers without undue effort, it’s kitchen-ready.

Steam or cook in a skillet in a little good olive oil until done to your taste, season with salt and freshly ground pepper, and eat. I steamed a batch for dinner and had some leftovers the next day, enough for one but there were two of us, which is how I came to use the cooked leftovers as the basis for a thick pesto to eat with halloumi and eggs.

The lambsquarters buds are very mild, so I chose a handful of fresh dill leaves to be the dominant seasoning, and some young carrot leaves chopped finely for the bright fresh green element (my parsley didn’t do well this year.) I put a clove of garlic in the mini-prep, added 1/3 cup of olive oil and the juice of half a lemon, ground in the cooked lambsquarters buds, and then turned it into a dish and stirred in the chopped dill and carrot leaves to avoid too fine a texture. Add more olive oil or lemon juice if called for, salt and pepper to taste, and it’s ready to serve alongside nearly anything. If you don’t like dill, use something else. Only fresh herbs are appropriate for this type of vegetable-relish.

After frying the halloumi in olive oil, I decided to fry an egg apiece in the remaining hot olive oil. To add a little pizazz I dropped two generous pinches of chopped dill leaves in two places in the hot skillet, then immediately broke two fresh eggs on top of them. Flip the eggs after a minute and cook to preferred doneness.  Those who are only familiar with the fusty-musty dried dillweed may be surprised how much they like fresh dill in this context.

I’m curious about the nutritional content of this lambsquarters-broccoli but there isn’t any available data. So I can only say that the leaves are powerfully nutritious and the buds probably are too. And wherever you may go in your life, short of prison, lambsquarters will be there. At times when I worry about the future, it’s comforting to think that if I’m ancient and beyond digging and planting, lambsquarters will grow just fine and will be on the menu as long as I can totter to the kitchen.


Bold Scrambled Eggs, and Notes on Egyptian Onions

I love Indian food and cook it frequently, and I especially love the simple dishes that make quick meals in Indian homes. This is a cuisine that vegetarians should get to know well, since the population of India is about 40% vegetarian and vegetable dishes abound. But it can seem daunting to view the ingredient list of many Indian recipes, and the toasting and grinding of spices for each dish can require more time than is available.

So start with simple scrambled eggs. These are loaded with bold flavor, and easy to make. I lean low-carb so I eat them plain, but you can scoop them up with warm parathas or warmed-over naan from last night’s take-out, or pat out squash flatbread thin and use that. It’s always a good investment in your health to use the best eggs that you can lay hands on if you don’t keep your own hens. Check out the farmer’s market and get eggs from hens that have been fed a lot of greens, since bugs and leaves are a big part of the natural diet of a hen.

The only out-of-the-ordinary prep that you need to do is to toast some whole cumin seeds in a dry skillet just until they are fragrant and a little darker and then grind them in a spice grinder. In the summer I do a tablespoon at a time so that I always have a bit on hand, but don’t make too much because once toasted and ground it doesn’t stay fresh for long.

Be sure to add salt to the vegetables as they cook, as directed. This is part of getting them to soften properly and assures that they are seasoned through.

For two hungry people, you’ll need:

3 eggs and three egg yolks, or 4 eggs if you prefer, beaten a bit

4 large green onions or a bunch of the little grocery store type, cut in 1/4″ slices crosswise, whites and greens kept separate

Ghee, 2-3 tablespoons, or neutral oil of your preference

one small bunch of cilantro, washed and chopped finely crosswise, stems and leafy parts kept separate

one teaspoon of ground toasted cumin seed

Heat the ghee in a skillet, and add the white parts of the green onions with a good pinch of salt and sauté over medium-high heat until cooked through but not browned. Add the onion greens and the cilantro stems and another small pinch of salt and cook until the onion greens look softened; taste one to be sure that they have become pleasant to eat. Add the beaten eggs and yolks and cook, turning over with a spatula, until they are cooked to your preference. Taste for salt and add more if indicated. Add half the cilantro leaves and the toasted ground cumin to the pan and stir to distribute, serve, and top with the remaining cilantro leaves.

This is great as part of an Indian brunch for two as shown above, or by itself as a quick easy meal that can be on the plate in 15 minutes if you have the ingredients handy. You can also make a mini version in your smallest skillet with one big green onion, a few stalks of cilantro, and one egg, if you aren’t hungry enough for a meal but want a nutritious snack.

If you love green onions and want to have them around throughout the growing season, my blogging friend Luke has helped me figure out how to do it with Egyptian, or walking, onions. Once you have these sturdy onions, you have them. To get started, I ordered a hundred top-set bulbs off Etsy one fall when they were plentiful. It’s a bit of an investment by gardening standards, but it’s a one-time thing. Choose an area with good rich soil that gets plenty of sun and water. When the top set bulbs arrive, plant 20 of them and keep the rest in a cool dry place well away from direct sun, with excellent air circulation. No plastic bags. The following spring, when the ones you planted in the fall are about 6″ high, plant 20 more. Keep going in like fashion until you have succession-planted them all. If I notice the ones in the storage box sprouting, I put the box in the refrigerator until they are all planted.
When the fall planting is over a foot tall, but has not yet sent up the tough inedible central stalk that forms the top bulbs, start harvesting. This is important: snap or cut them at the soil surface rather than pulling them out. The bulb and roots that you left in the ground will sprout a few new green onions for later in the year. After managing your patch this way for a year, they will get so thick that they are pretty well defended against weeds and you will need to start pulling some out by the roots to prevent overcrowding. At that point, you can also start deciding when to let some go long enough to form top bulbs, and you can either start a new succession bed or give them to a friend who wants to try it.
At this point I let mine perpetuate themselves from the ground and rarely let them form topsets. I keep two smaller beds, one in full sun and one in partial shade, and they yield at different times and keep a fairly good succession going with minimal input from me except harvesting and cooking.

I do top-dress periodically with well-rotted goat manure and kelp meal. I’m a great believer in kelp meal, for bringing back onto the land some of the trace minerals that we washed off it into the ocean. I strongly prefer the organic Icelandic kelp meal from Thorvin, because it is harvested from an area of the ocean tested for heavy metals and some of the other nasties that we are washing into the water. I don’t want a closed system on my tiny urban farm, because any trace mineral deficiencies that existed wouldn’t get corrected. The Thorvin meal would get pretty expensive on a commercial scale, but for the small urban homesteader it’s a healthy investment. I also use it generously as a supplement for my chickens and goat. For the chickens I mix some into any moist food that they like to eat, such as any leftover cooked greens or wilted salads, and for the goat I mix it with organic blackstrap molasses to make a treat that she will trample me to get.


The Squash Chronicles II: Squash Flatbread

I love my ketogenic diet and my blood sugar is superbly controlled, but there are times when I really miss bread.  Not just the flavor of bread, although the flavor of a really good sourdough bread is unbeatable. For that, there is no substitute. But there are times when what I really crave is the ease and convenience of bread, and the way it  pads out a meal and pulls it together.  In this case what I miss is not really the flavor of bread but its use as a “landing” for all kinds of other foods.  I have a few ways to fill in without adding too many carbohydrates, and one of my favorites is zucchini flatbread.

In addition to a couple of good sized zucchini or about a foot of serpiente squash,  you will need two eggs, a cup of grated mozzarella (the semi soft processed kind, not true fresh mozzarella for this purpose,)  half a cup of grated Parmesan, seasoning of your choice, and about a half cup of low-carb baking mix.  The best mix that I have found is the one from Trim Healthy Mama,  which is extremely expensive but does work well.

First, grate the squash and mix in about a tablespoon of salt.  Let it sit for half an hour. At this point, the shreds of squash will be swimming in liquid.  Over the sink, wrap the squash in cheesecloth or a thin dishtowel and start squeezing out liquid.  Keep squeezing and wringing, until you are left with about a cup of pulpy squash shreds.  Put these in a bowl and beat in the two eggs with a fork.  Mix in the shredded mozzarella and Parmesan.  Add a half teaspoon of salt (most of the salt that you used for disgorging the squash disappeared with the excess water) and seasoning of your choice. I like some fresh thyme leaves and a pinch of granulated garlic. For some reason fresh garlic doesn’t work well in this recipe. Add in a half cup of low-carb baking mix and half a teaspoon of baking powder and beat until evenly incorporated.

Preheat the oven to 425. Now line a baking sheet with parchment paper, oil your hands with olive oil, and begin pressing out the mixture into a thin even oblong.  Generally I aim for something a little less than a quarter inch thick, but if you plan to use it for breadsticks or a pizza crust you may want it a little bit thicker.  Make sure that there are no holes. The dough is lumpy and you will have to keep patting it down with the flat of your hands.

Bake at 425 until done to the right degree for your purposes.  It has to be baked enough to hold together well, but if you want to use it as a wrap, you will have patted it out pretty thin and should bake it only until it is cooked through and will come off the parchment paper in one piece but is still flexible.  If you want to make sticks as shown above, it should be more crisp, and the same goes for a low-carb pizza crust.

Above, it’s just cooked through, browned on the bottom, and right for making wraps. To make the breadsticks shown above, once it is baked to the right degree, top with another half cup of shredded mozzarella  and some chopped roasted garlic.  Return to the oven and broil until the cheese is melted and a little bit browned.   It is good dipped into your favorite pizza sauce, preferably the kind that you make yourself.  Any kind of herb pesto or sour cream dip is also good.

To make an impromptu low-carb pizza, cook the flatbread until fairly crisp. Brush the top lightly with a thick flavorful pizza sauce, coat with shredded mozzarella, and top with pepperoni, sausage,  or what you will.  Return to a very hot oven and bake until the cheese melts.

It goes without saying that if you insist on the wonderful malt flavor of really good bread, you need to eat really good bread and there are no substitutes.  But having a few options like this one means that you can save the great bread for very special treats and keep your carb intake down the rest of the time.  This is also a good way to take in extra vegetable fiber, with all its health benefits.