Archive for the ‘fish and seafood’ Category

Luxury Dances With Penury

Tonight I ate one of the most extravagant meals I’ve had for a while, and somehow it led me to meditate upon thrift. The main ingredient, two legs of the highest quality Alaskan king crab I’ve come across in years, cost a bomb. But careful orchestration of other ingredients made this all come together in (reasonably) economical style.

Let’s start with the broth. I have written obsessively about the value of good broth, but that won’t stop me from doing it again. When it comes to seafood, it’s essential to remember a few basic things:

1. Seafood broth should be made from seafood, maybe with the addition of some white fish scraps but no salmon or other oily fish and no commercial clam broth. Any avid seafood eater can smell those spurious additions from a long way away.

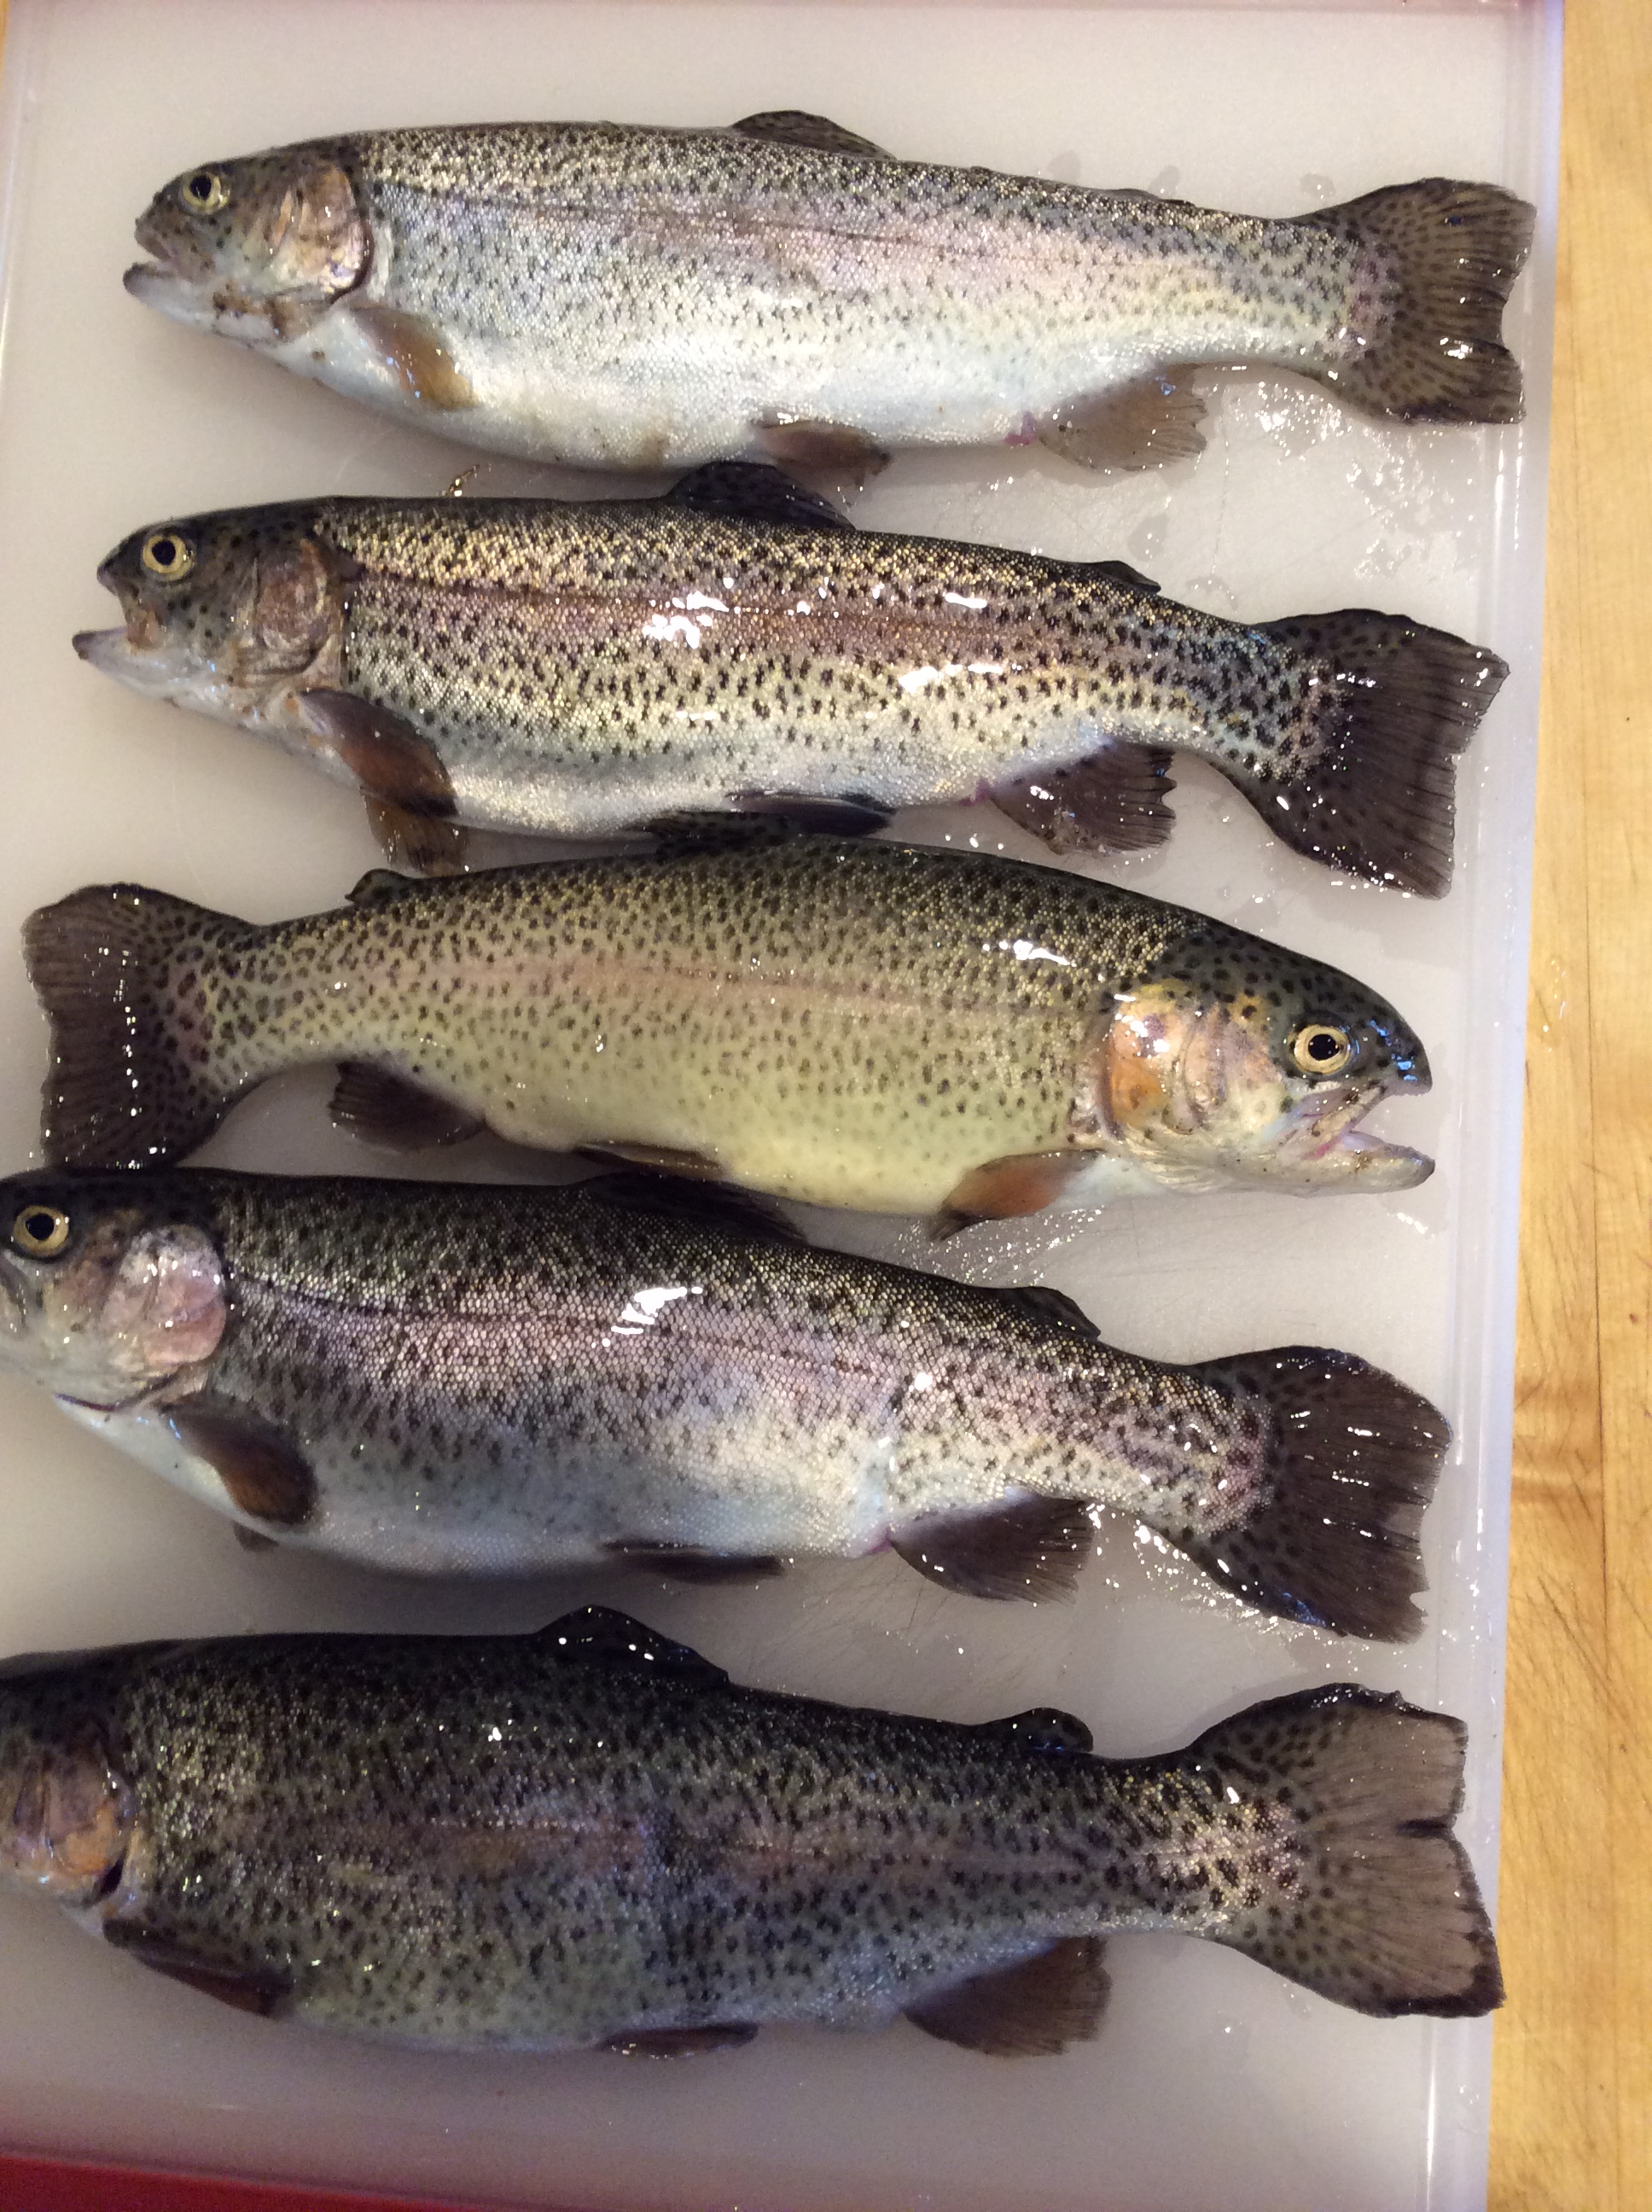
2. You’re looking for the waste bits of otherwise excellent seafood; shrimp shells, crab shells, shrimp heads, etc. For the clean but intense broth above, I lucked into some lobster carcasses by trading Louisiana seafood stories with the proprietor of a luxury seafood shop. Accept what you are offered with glad thanksgiving.

3. Fish and seafood broth should be boiled at a furious boil for 20 minutes, not simmered for longer times. Then cool, drain, and use or freeze.

4. Build up intensity in layers. Boil, drain, cover new ingredients with the broth, and boil and drain again. You can freeze between boiling episodes. The lobster carcasses came my way over a year ago, and made a quart of rich stock. Then I thawed it and used it to boil shrimp shells, cooled it, and froze it again. Finally, it was thawed and used to boil the shells of the king crab. It was loaded with seafood flavor, but had a clean fresh taste because it was never overcooked.

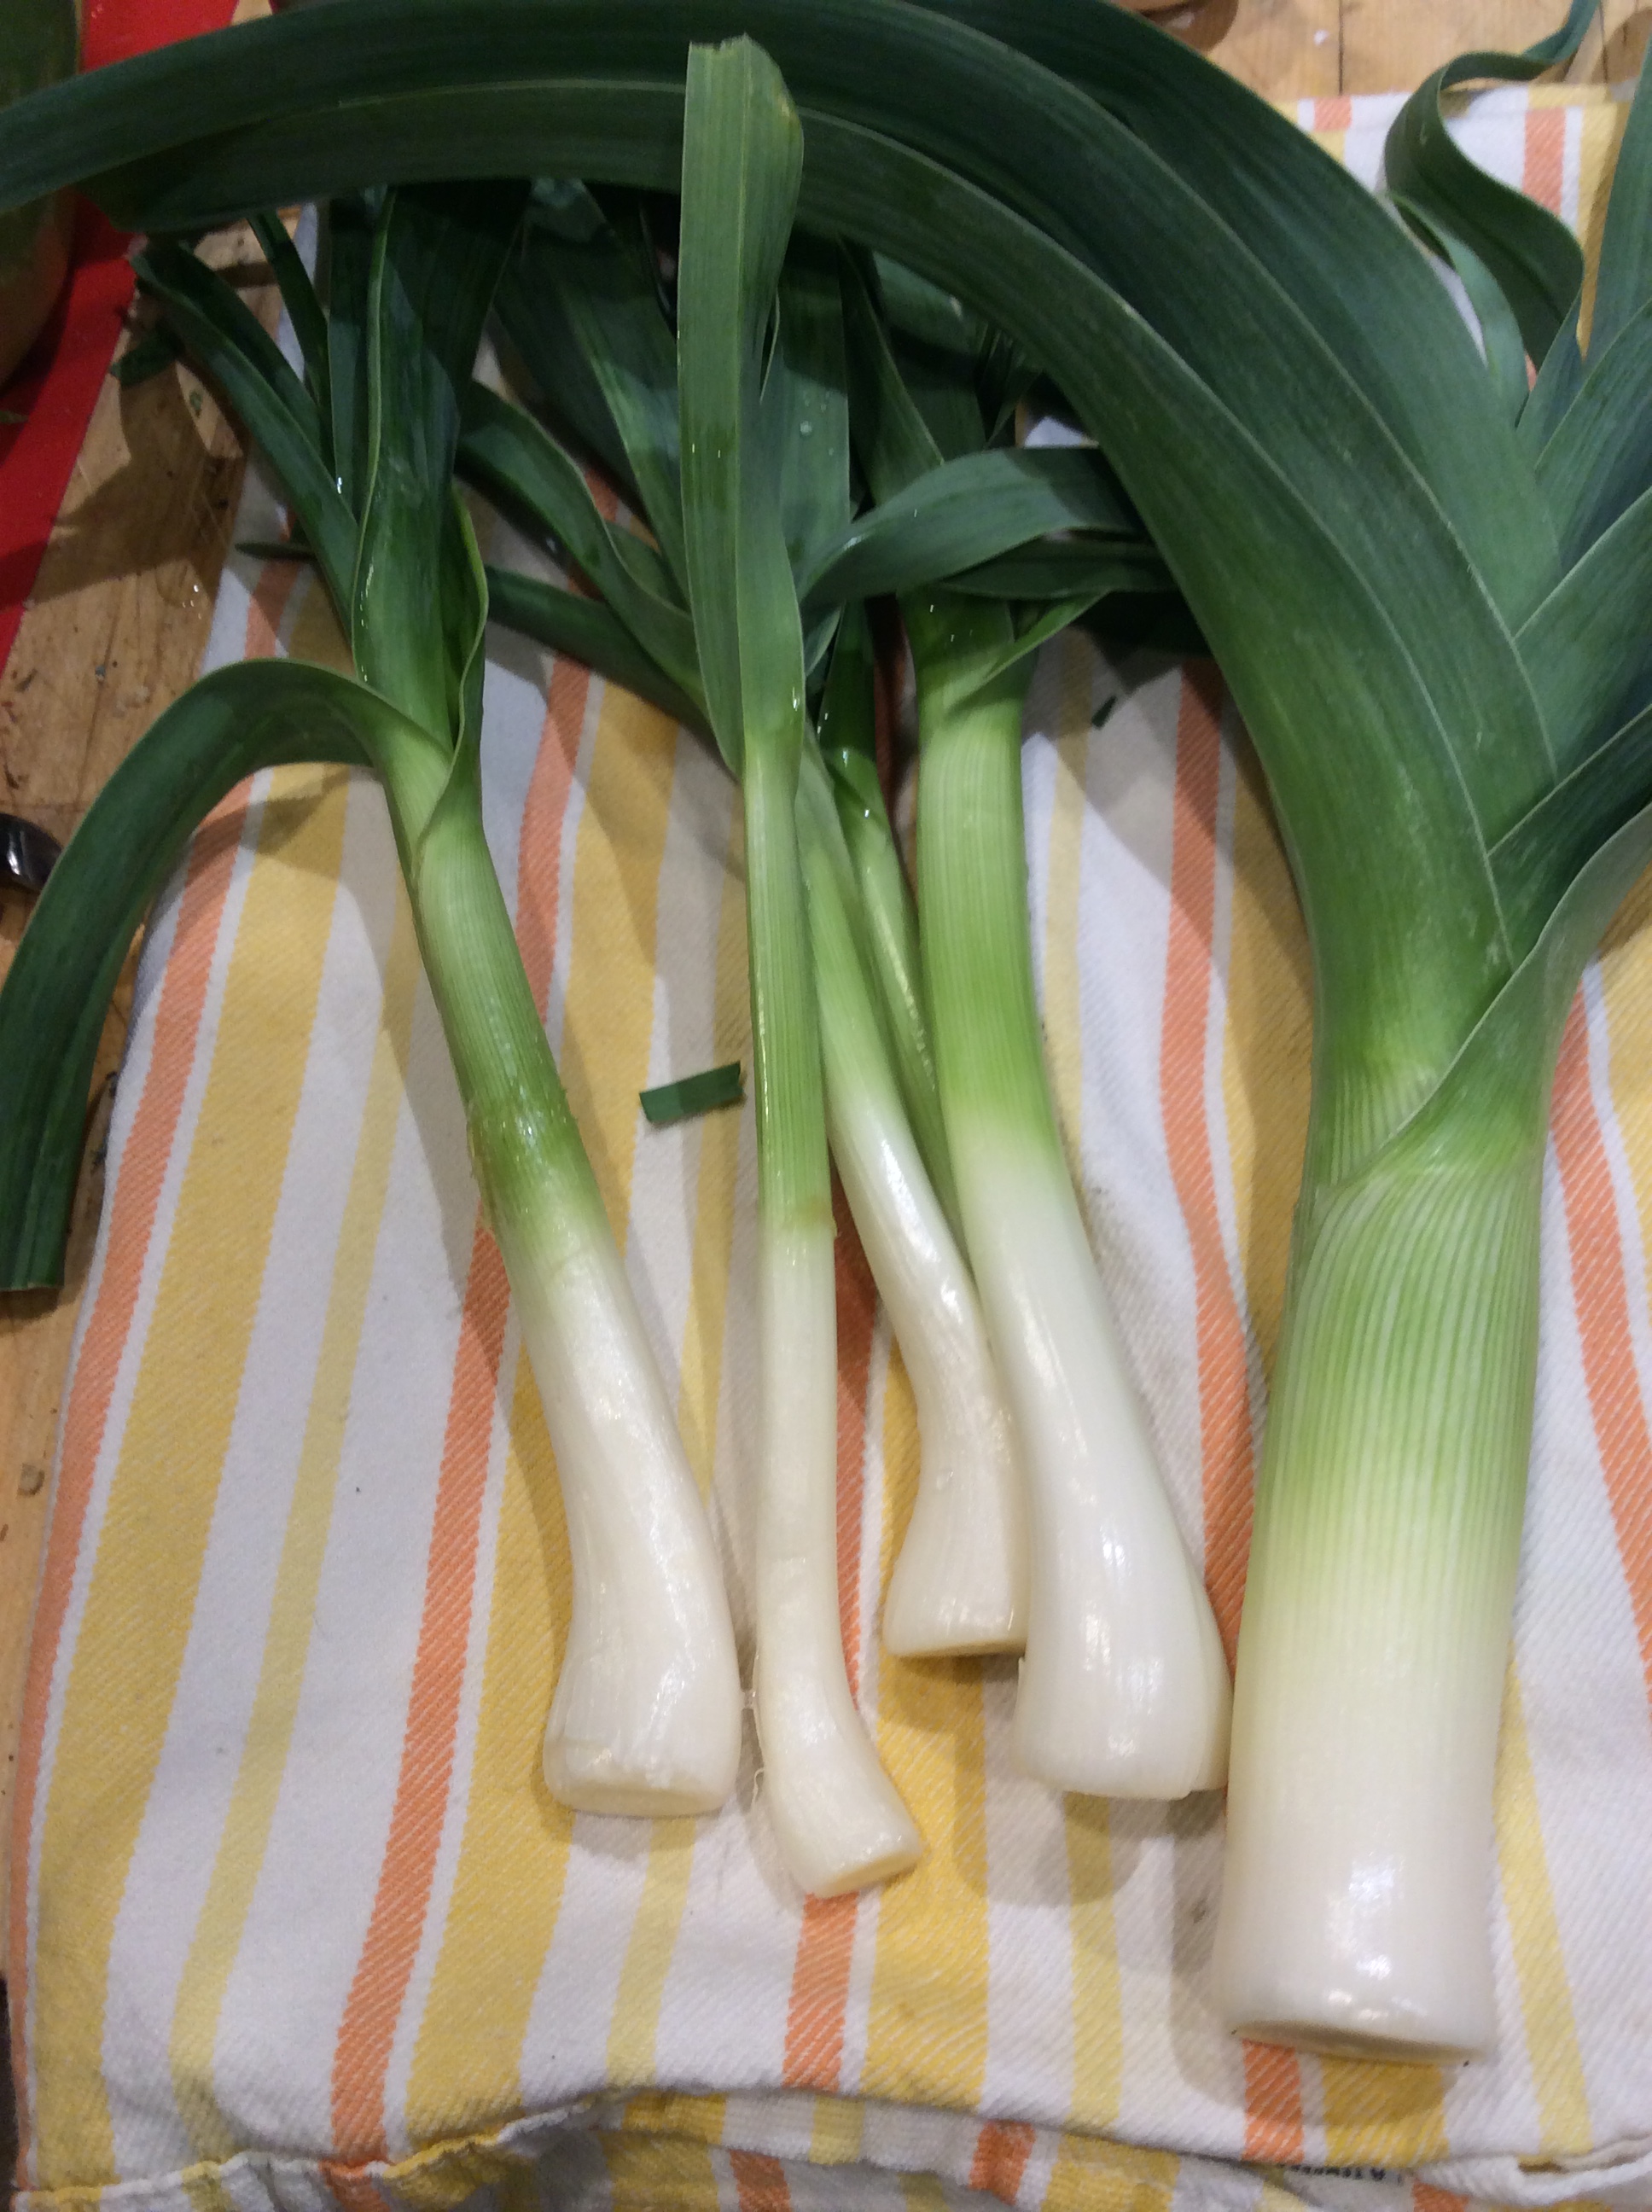
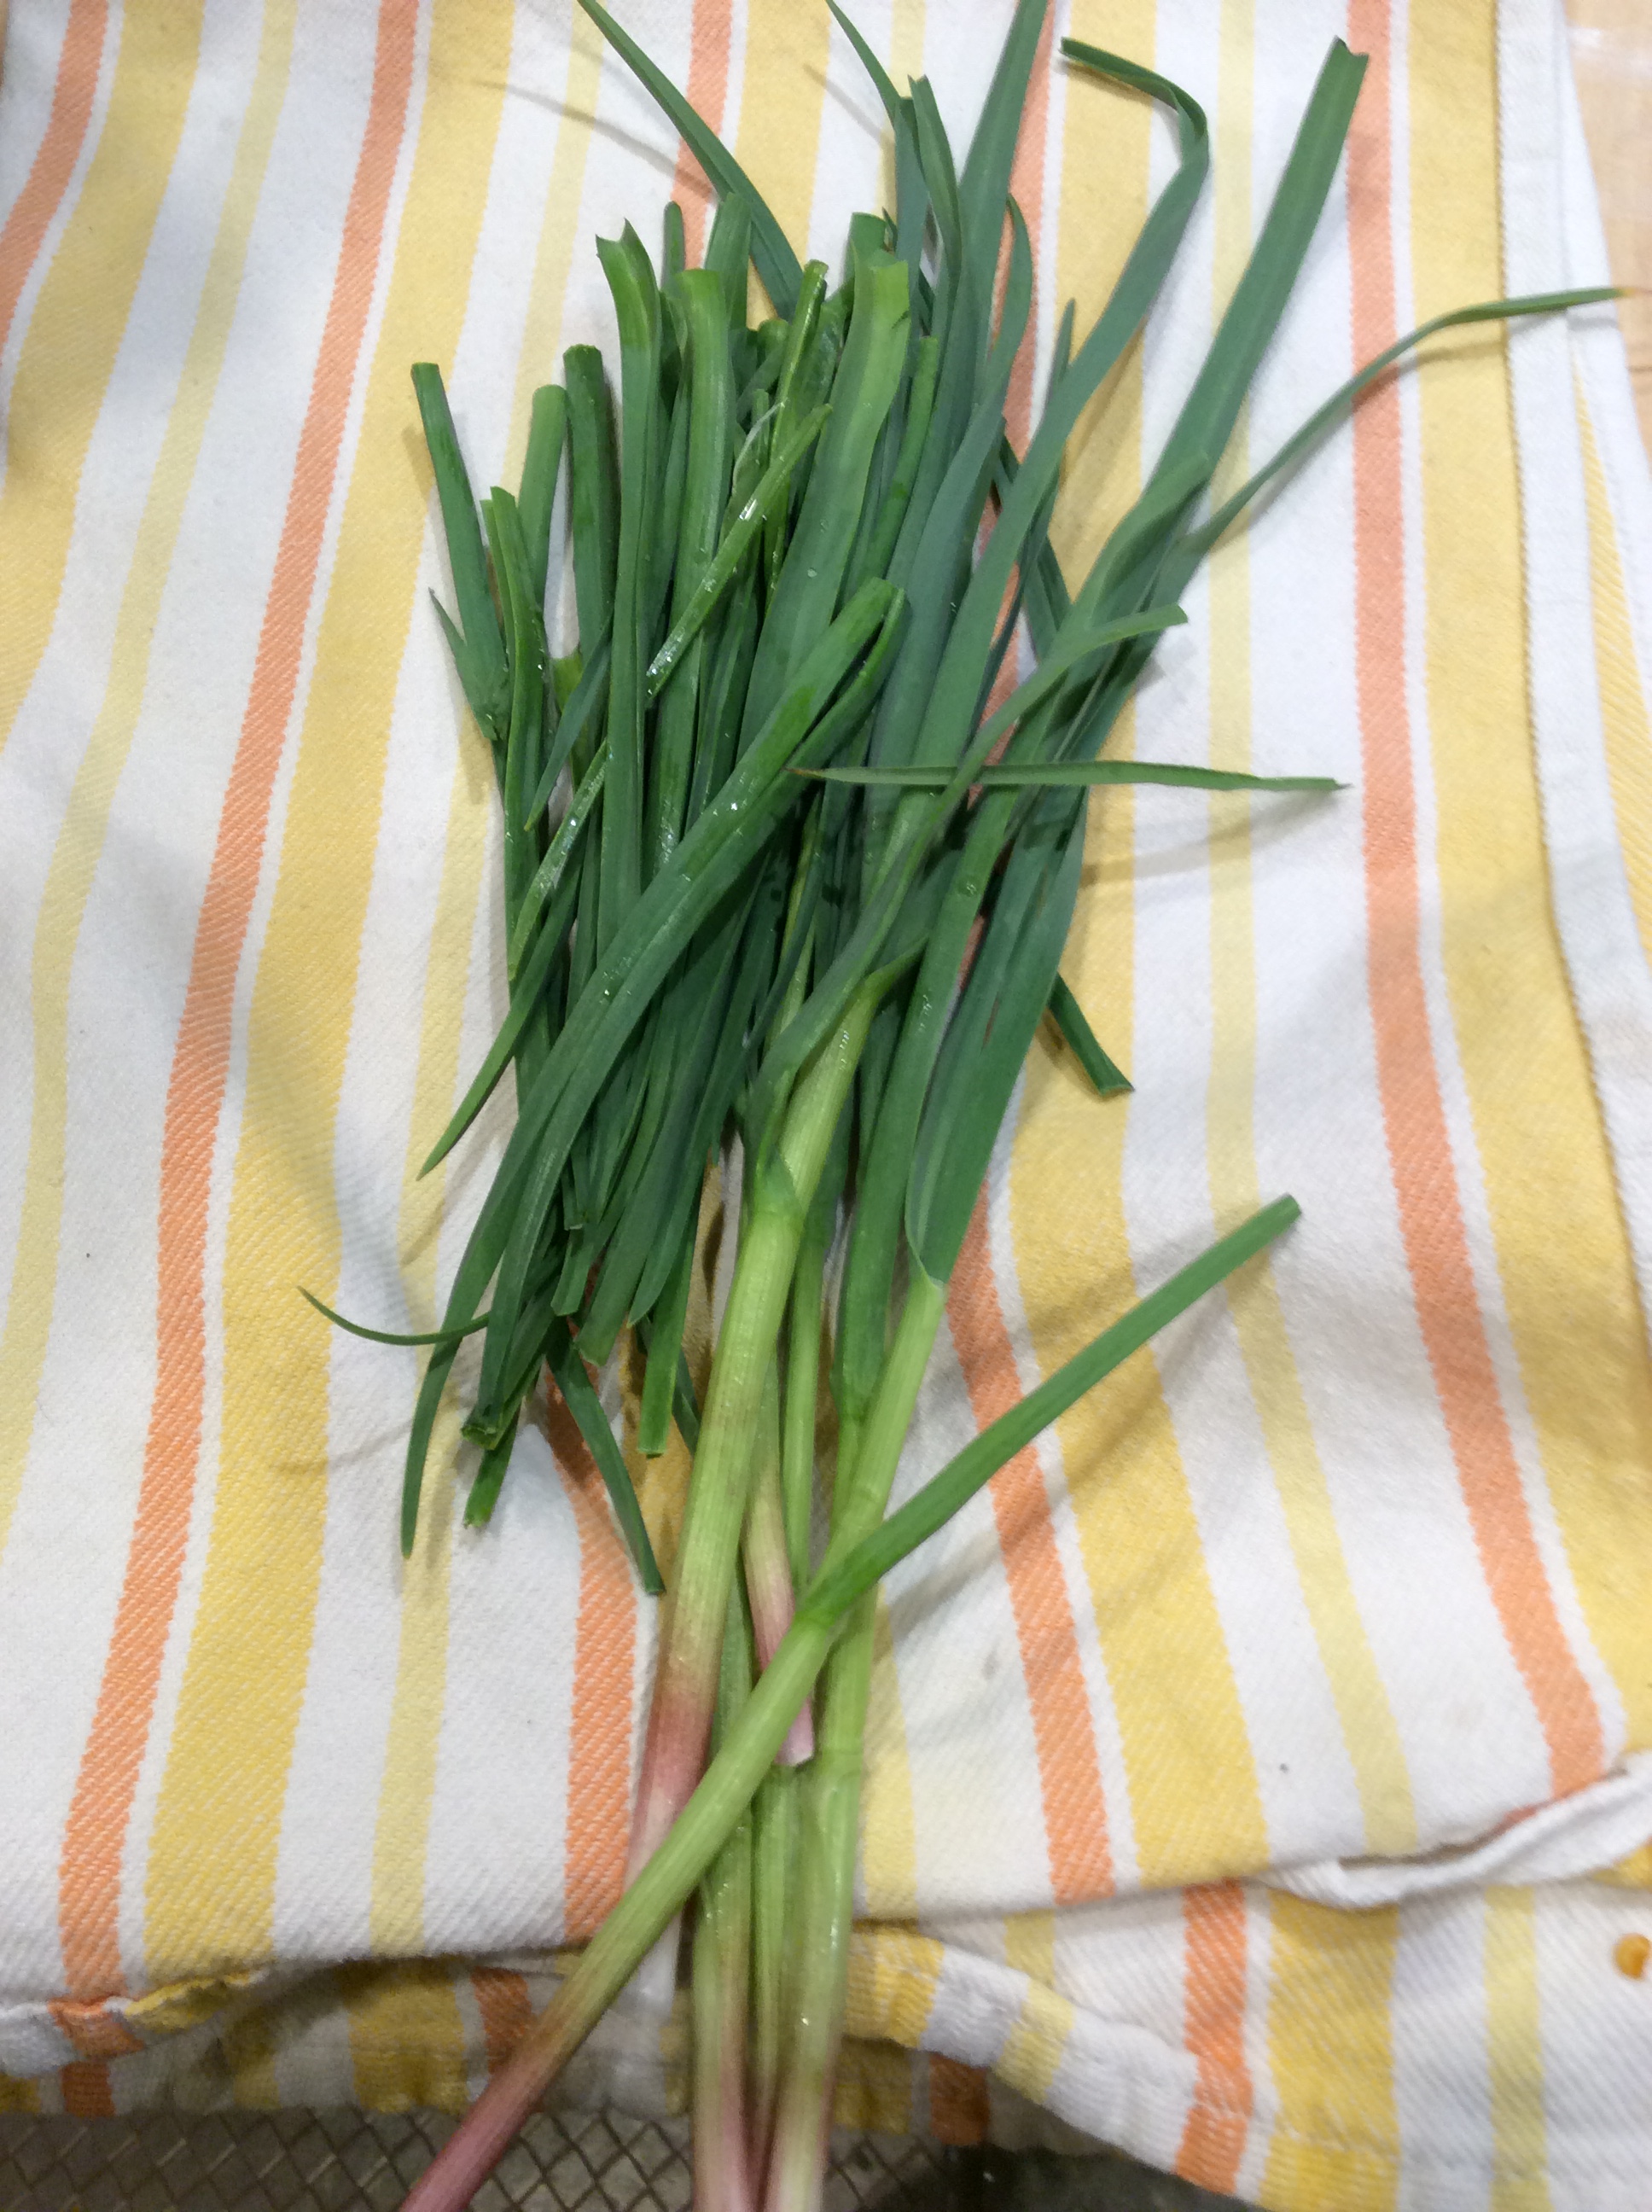
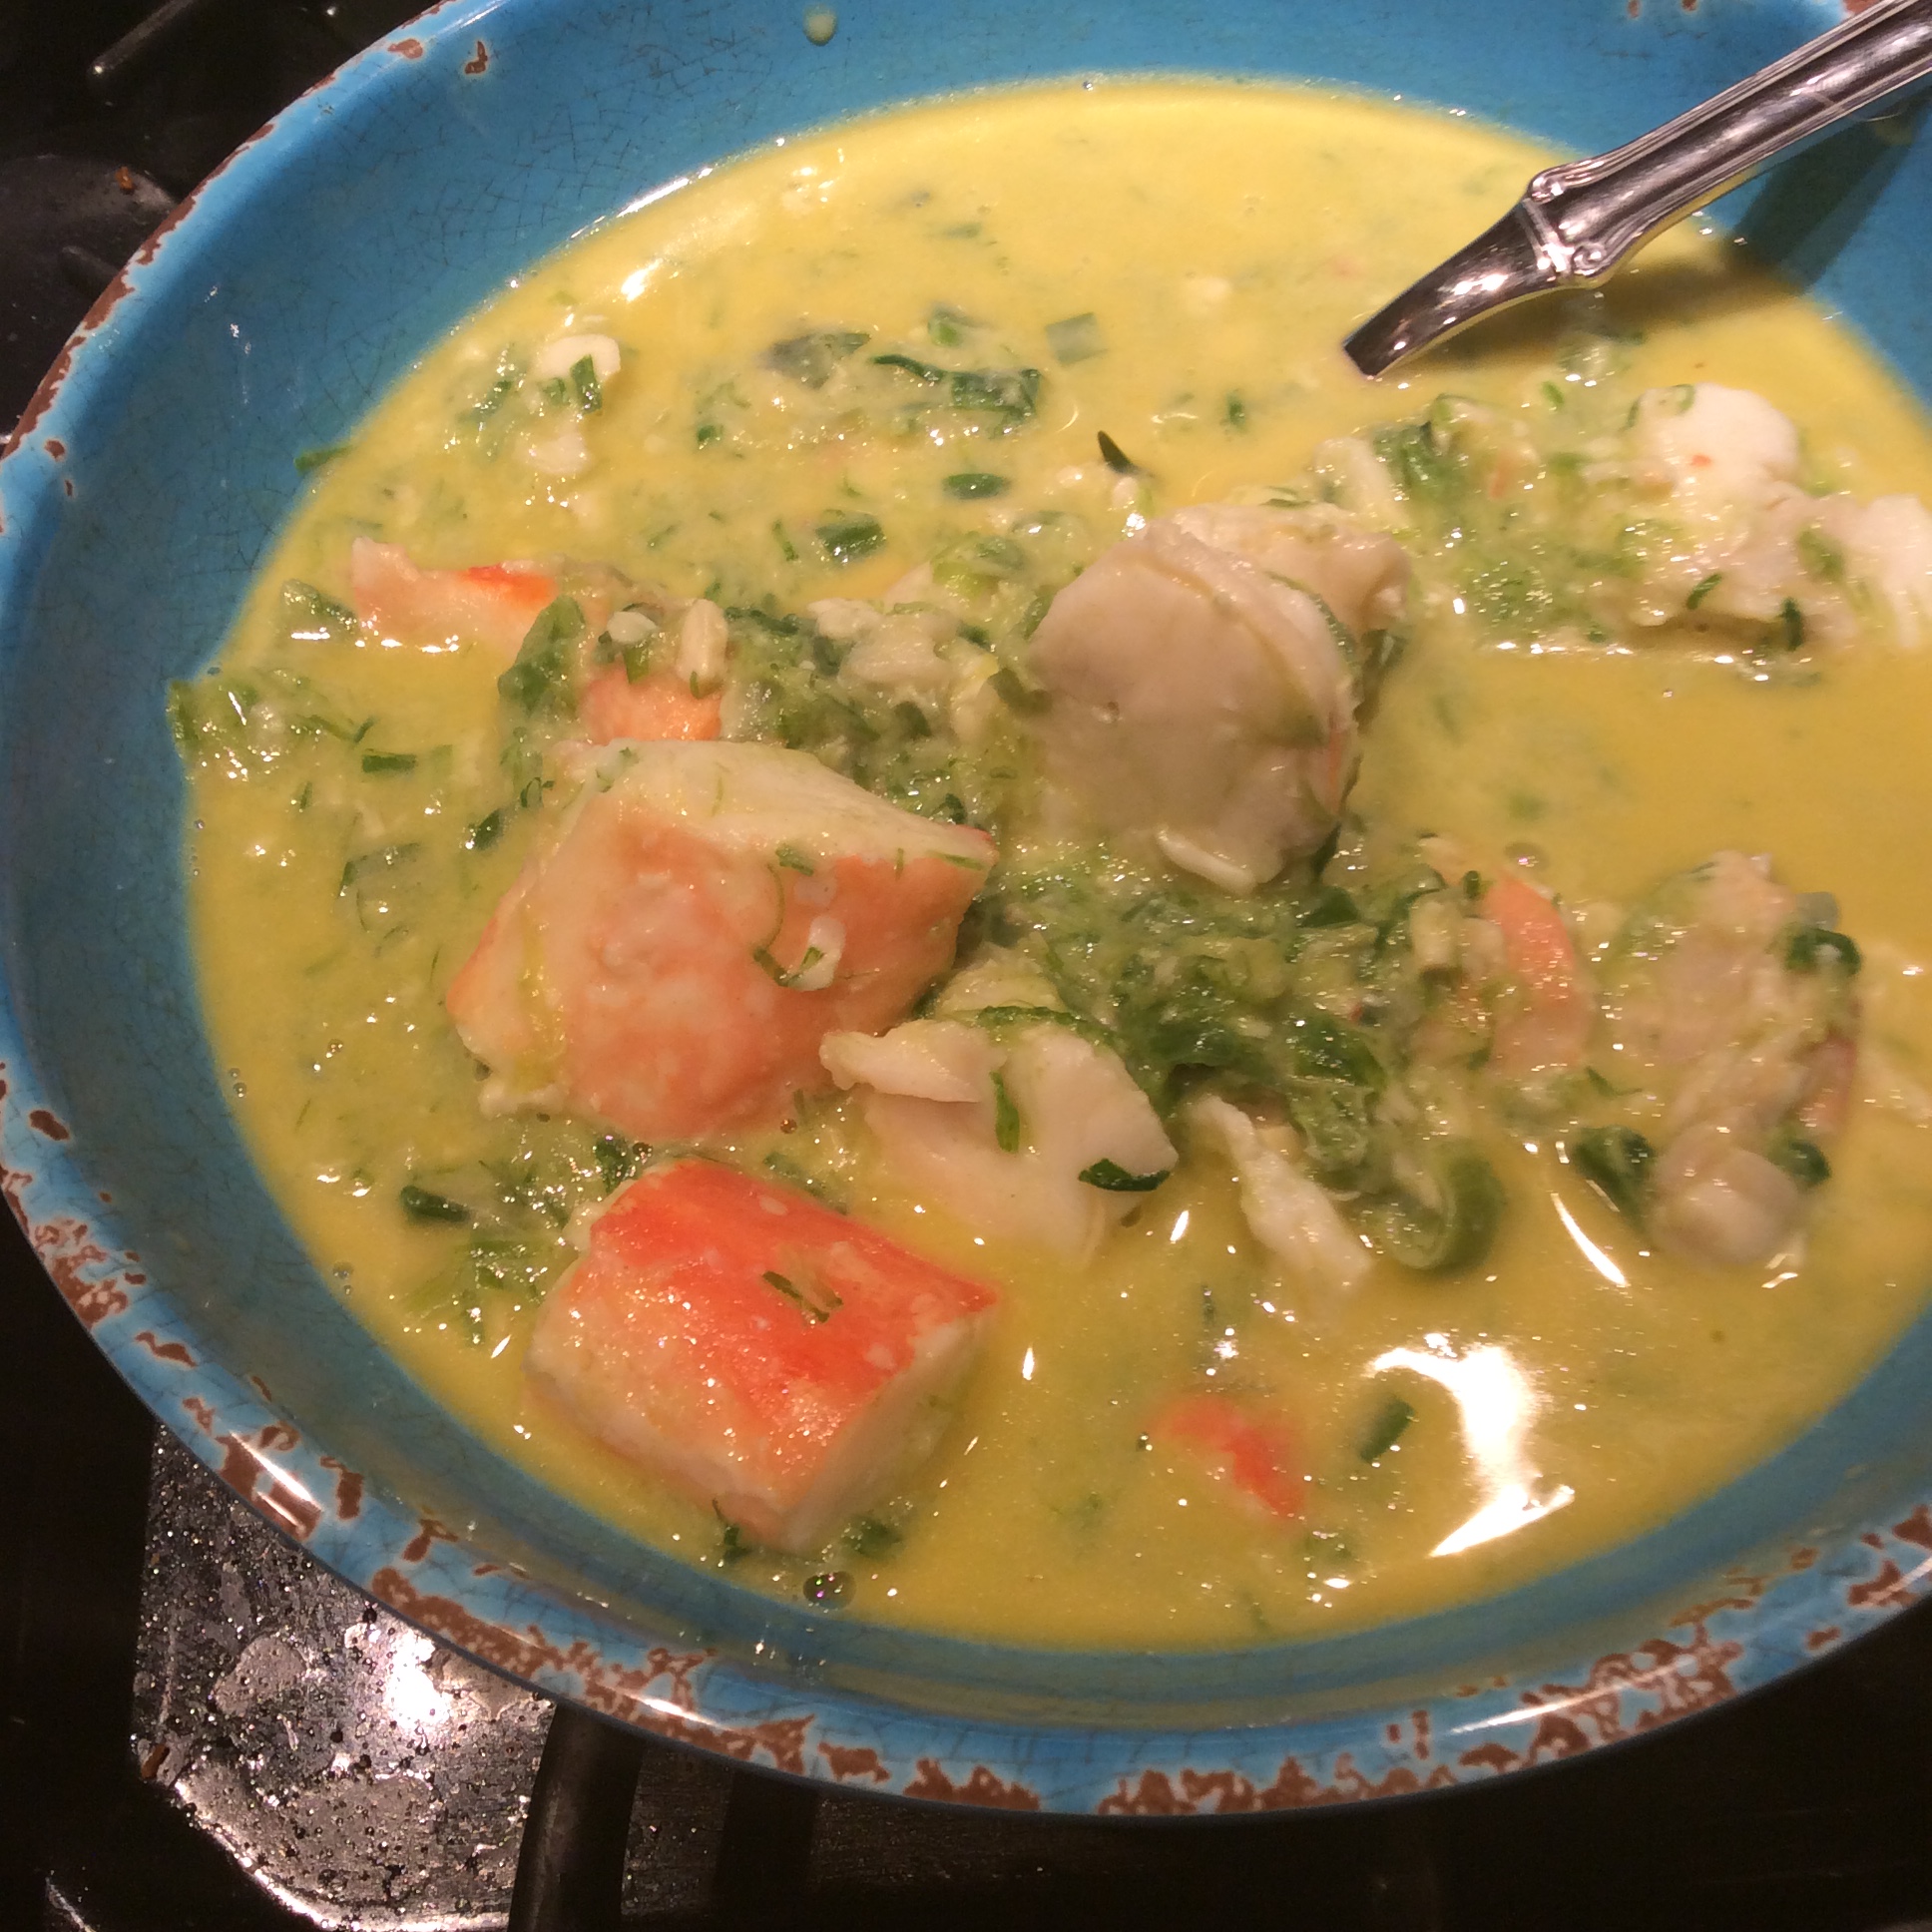
Given a potent base like this, you don’t need much else. The meat of the two crab legs was cut into good-sized chunks. I used four large stout scallions from my garden, sliced crosswise at 1/4″ intervals and  whites kept separate from greens. My garden scallions are huge, and a dozen store-bought scallions would be needed to approximate them.   Other ingredients were butter, a cup of heavy cream, and three egg yolks from my backyard hens.

Sauté the white parts of the scallions in a quarter cup of butter over medium heat with a hefty pinch of salt until they are softened and translucent. Add the green parts, sauté another minute or two, and add a quart of rich seafood broth. Boil hard until reduced by about half, then add the heavy cream and bring to a boil. Taste and check for salt. Reduce heat and lay the chunks of crabmeat in the saucepan and heat through. Lift the crabmeat and some of the scallions in two soup bowls, leaving most of the broth and cream behind.

To make the egg yolk liaison, beat up the three egg yolks in a bowl, add about half a cup of the hot seafood broth from the saucepan slowly to the bowl while whisking rapidly, then pour the yolk mixture slowly into the saucepan while whisking rapidly. Let heat, whisking, just until the broth is steaming and lightly thickened. Taste. Any distinct “egg” flavor should have cooked away, and it should taste of the sea in the creamiest way.  Pour over the crab and scallions in the soup bowls, and finish each bowl with a generous pat of butter. Serve, eat, and marvel at the goodness to be found in the cosmos.

There are ways to make this even more economical. If you are a carb-eater, put a hunk of sourdough baguette in each bowl before spooning in the crab. The bread will be soaked with seafood essence and will provide elevation, so that one crab leg will serve two generously. Boiled salted fingerling potatoes or good cooked rice can be used the same way.

But in the final analysis this is a dish to make when you feel a bit flush and want to serve your love the best. It goes well with a buttery Chardonnay and a brief discussion of how lucky we are to be on the planet.

The best modern book on thrift and grace in cooking is Tamar Adler’s An Everlasting Meal. Read it, and cook on in good heart.

Spring Alliums

img_5237

One of the many reasons that I love green garlic and green alliums generally is that they are among the earliest things to come out of the garden, assuming that you planted in early fall. I have plenty of summer veggies in my freezer, but as the days start to lengthen I get ravenously keen for the first real, fresh greens, and by mid-February I’m eating out of the garden again.

For early green alliums, plant some in a block that you can cover with Agribon or other frost blanket material. I like to put a short row of my regular yellow storage onions in this block in September, and each will divide and make four or five superbly sweet green onions in early spring.

Garlic is another must, and my favorite for early green garlic is Chinese Pink, because it is super-early and is eight inches tall and half an inch in diameter by mid-February if frost protection is used. Plant your early block with the cloves about three inches apart each way. When I’m ready for green garlic I pull alternate stalks, and leave the rest 6″ apart to mature for my earliest garlic bulb harvest.

In the case of leeks, there isn’t even any need to replant in fall. Plant extra in spring, cover with frost blanket in late fall, and they will winter over nicely for February eating.

Contrary to much popular advice, I don’t suggest that you even think about cutting the green leaves off and discarding them. They are delicious. They are also the healthiest part of the plant, full of the antioxidant allicin which has multiple health benefits. Do cut them in fine cross-sections, about a quarter inch long, to  eliminate  any possible stringiness  in the leaves.

image

I love a good assortment of green alliums chopped up and sautéed in butter with salt to taste until they are succulent and sweet. Keep the heat medium-low and let them cook at least twenty minutes for best flavor. I eat them as a side dish, but they would also be great on slices of crisp baguette, in an omelette, over scrambled eggs or rice,  on a broiled fish fillet, or nearly any other way that you can imagine.

img_5236

Two years ago I stuck some garlic cloves in a flower bed planning to harvest them for green garlic, but forgot all about them in spring. After two growing seasons they’ve divided so much that the leaves are as fine as grass. I’ve started harvesting the tops and chopping them finely to use as a fresh seasoning. They have a stronger but cleaner flavor than garlic chives. I love them over egg salad, green salad, broiled or grilled meats, on soup, or anywhere that you might crave a hit of freshness and garlic. They give some distinction to a regular or low-carb pizza.

Wax Currants

image

I have written before about clove currants and how I finally learned to leave them on the bush until they sweeten. Right now I’m enjoying wax currants, Ribies cereum. They thrive in the Southwest and don’t require much supplemental water. They are extremely pretty. And oh, they are delicious. From the hard green phase they first turn waxy yellow. At this stage they’re very tart and make a wonderful substitute for lemon juice, with a special tang of their own. A handful tossed over grilled fish or seafood is decorative as well as tasty. Then they get smaller and turn red, and are a sweet, spicy, sprightly fruit for snacking.

I would happily eat them by the bowlful, but here’s the issue: like all our native currants, they are very tedious to pick and clean. Each currant has a “tail” of withered flower that has to be pulled off, and the currant itself has to be pulled off the stem, and it all takes time, especially given the very small size of the fruit. I have read another forager’s suggestion to just leave the tails on, and have tried it, and all I can say is that it’s a lot like adding a handful of very short threads to your bowl of fruit. Tailing them is worth the trouble, to have this fruit at its very best. But most of us have jobs and families, and little time to sit around meditatively topping and tailing currants.

My bushes are young and only one of them is in fruit, so ecstatic snacking in the garden uses them up. But when I have more available, I speculate that juicing them would produce a gorgeous and delicious juice and eliminate the tedium of tailing them. The juice would also be very interesting as a cooking medium. I recall a dish I used to make ( back when I lived where I could get passion flowers to grow,) which involved cooking passion fruit juice with lemon grass and coconut milk, seasoning with salt and pepper, and dropping seared scallops onto a pool of the resulting sauce. The same sauce made with wax currant juice should be just as delicious and even prettier.

The bushes are large, 6-7 feet tall and nearly as wide when mature, and are healthy and not subject to any pests or diseases that I have noticed. They are attractive enough at any time, but when sunlit and covered with their sparkling carnelian fruit, they are beautiful.

image

Foraging Your Protein

image

Here in the high desert, fishing might seem like an unlikely pastime. But we have world-class trout fishing, and recently I decided to learn to fish. After exactly one month of reading and practice, I had the day commemorated above. Of course this is balanced against several days when I didn’t get anything, which is part of the fun. NATURE DOES NOT EXIST FOR YOUR CONVENIENCE. If you insist on a sure thing, go buy your fish at the store.

For people like me who are learning on their own, here are my recommendations:

  1. First, get a basic book on fishing. Read it. I used Fishing for Dummies, and everything you need to know to get started is in there somewhere. A good book will help you understand what tackle you really need and what can wait.
  2. Study the section on reel types, but if you are new to all this, get a spincast reel for your first reel. They are so very easy to use. I caught all the trout above on a $20 spincast rod and reel. They work.
  3. Get a fishing license. It’s the law. Be sure to go to your local Fish and Game office and get it in person, because if you tell them you’re a beginner, they will load you down with useful advice about where to fish.
  4. Plan to be outdoors in a pretty area, and catching fish is a bonus.
  5. Practice casting in your back yard before you go out to fish.
  6. In popular fishing spots you will usually see lovely grandfatherly people who got there ahead of you. Walk up to them, tell them you’re a beginner, and ask for advice. A few will chase you off and the vast majority will bend over backwards to help you understand how to fish that particular bit of water.
  7. Before you ever catch your first fish, know how to kill a fish humanely and how to gut it, and how to fillet it if that’s your preference, so that you will actually enjoy eating it. The second trout that I caught was cooked without removing the bloodline. Yech. Watch videos on YouTube that show you exactly what to do. Do this BEFORE you ever go fishing. Don’t waste an animal’s life, ever.
  8. Don’t get too fancy too early. Don’t start with fly fishing unless you insist. Bait-fishing is very successful.
  9. Make sure you have butter, lemon, and capers in the house at all times, so that when you are finally successful, you can do your catch proud.
  10. Have fun, and post a picture of your first catch, because you may find out that you have fishing friends you didn’t know about.
  11. image
  12. image
  13. Basic sauce for trout: drain a tablespoon of pickled capers per fish. Chop up a clove of garlic per fish. Have ready a quarter of a lemon per fish. Warm a tablespoon of butter per fish, plus a tablespoon for the pan, in a skillet over medium heat. When it starts to bubble, add the capers and garlic and stir over medium heat until the garlic is slightly browned. Squeeze in the lemon juice,  cook hard for 30 seconds, and drizzle over the filleted cooked fish.